
Mayan Prophecies: Ship of Spirits: Chapter 9: The Portal
Our Mayan Prophecies Ship of Spirits Walkthrough will help you stay out of trouble as you explore the dangers and mysteries of the ancient Spanish Galleon your boat crashed into. Chock full of valuable information and custom screenshots to help you complete each and every chapter, this comprehensive Mayan Prophecies Walkthrough is a must-have companion to this exciting hidden object adventure game.
General Info and Tips
Chapter 1: Entering the Ship
Chapter 2: Freeing the Cabin Boy
Chapter 3: The Treasure Room
Chapter 4: The Exorcism
Chapter 5: The Cure
Chapter 6: The Jacket
Chapter 7: Gregory’s Release
Chapter 8: Preparation
Chapter 9: The Portal
Chapter 10: Trapped
Ask for help in the comments below!
Chapter 1: Entering the Ship
Chapter 2: Freeing the Cabin Boy
Chapter 3: The Treasure Room
Chapter 4: The Exorcism
Chapter 5: The Cure
Chapter 6: The Jacket
Chapter 7: Gregory’s Release
Chapter 8: Preparation
Chapter 9: The Portal
Chapter 10: Trapped
Ask for help in the comments below!
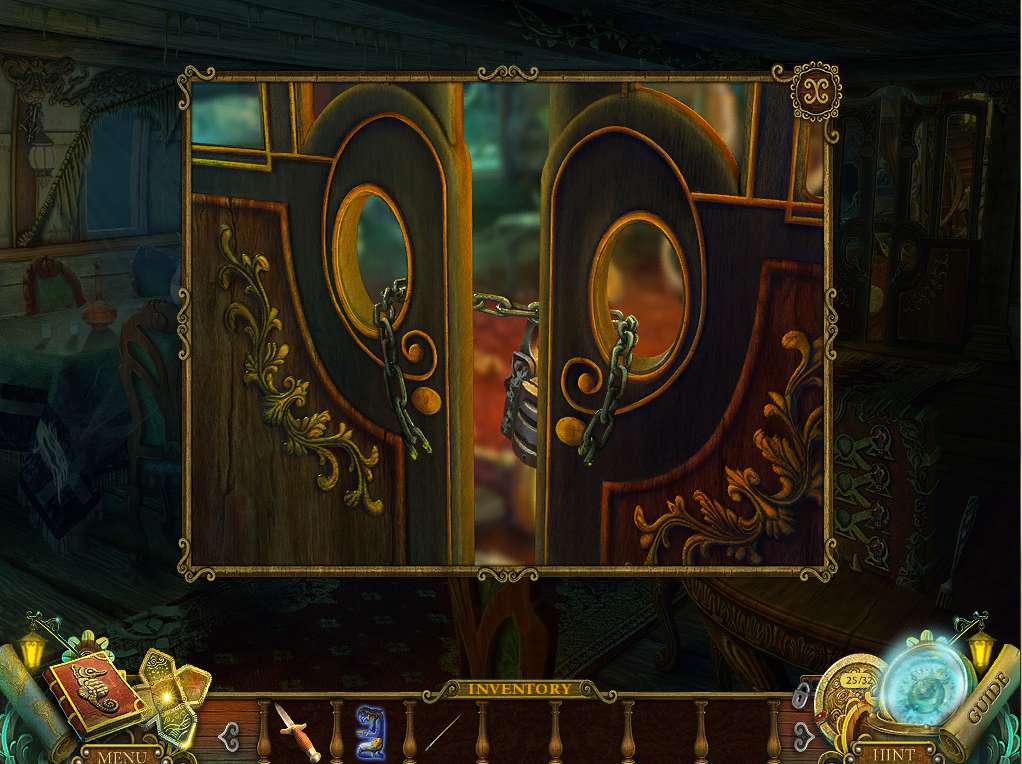
- Zoom into the door at the back of the room.
- Use the ACID to dissolve the chain, then take it.
- Proceed into the next room.

- Gee, is this old tub set up better than the London Philharmonic, or what? Initiate the HOA puzzle to the left.
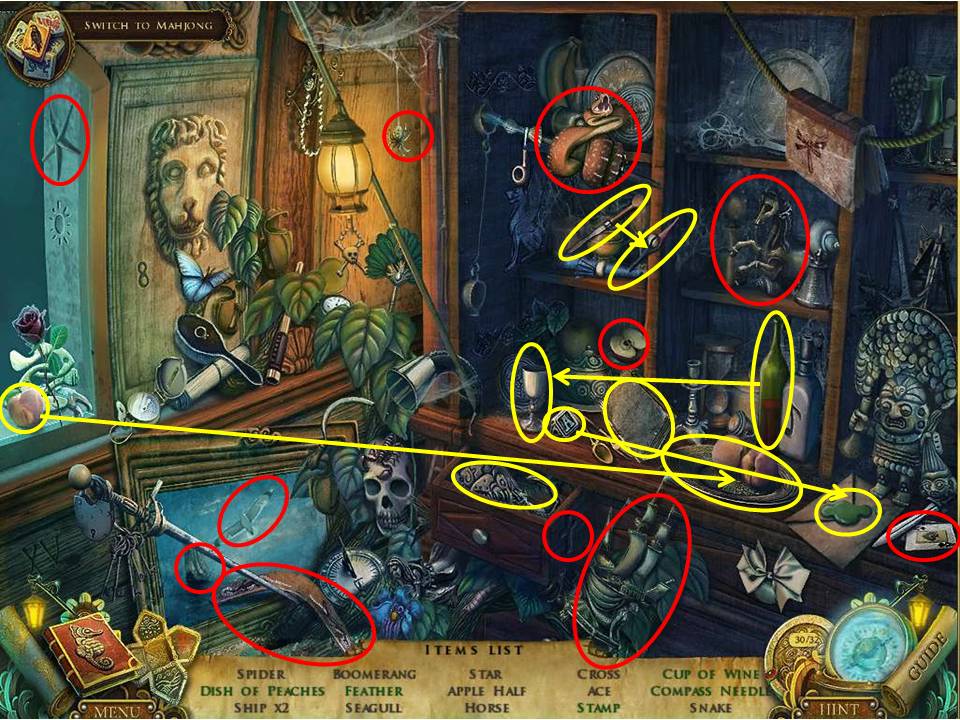
- Click on the HOA to the left to initiate it.
- Collect the items circled in red.
- Those circled in yellow require multiple moves.
- Click on the carving to release and capture the hummingbird.
- Paint the white cross with the red paint.
- Open the chest to retrieve the mask.
- Repair the tambourine.
- Open the large egg to retrieve the bird.
- When finished, take the MACE HANDLE.
- Try and go up the stairs to the right.
- Next, zoom into the sofa at the back of the room and use the knife to cut into the cushion.
- Retrieve the calendar piece, then go to the aft deck.
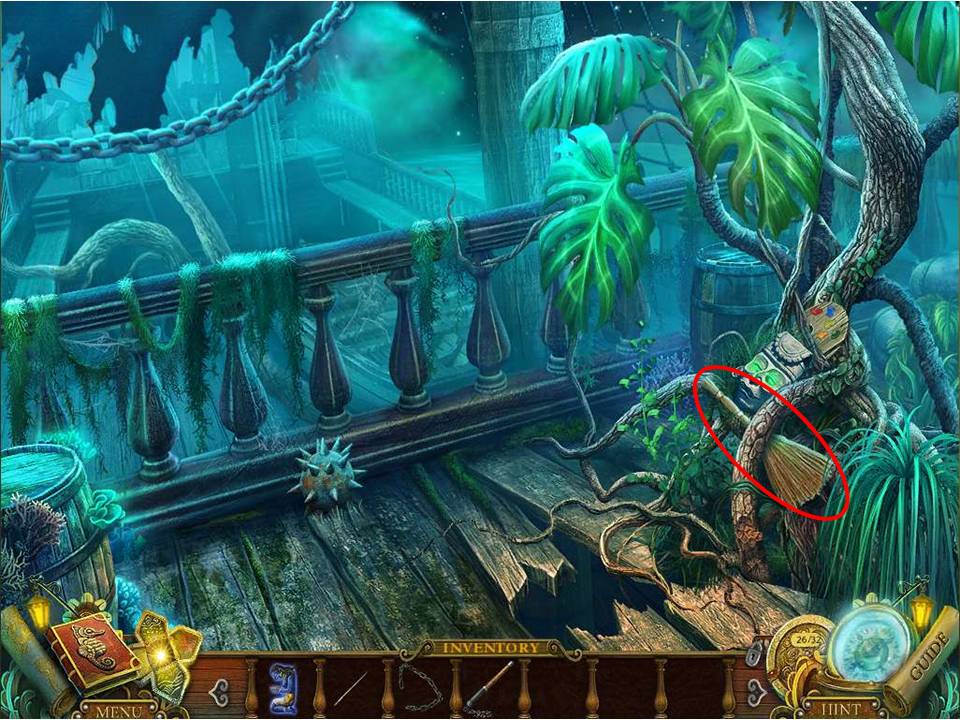
- Zoom into the roots and take the BROOM.
- Return to the music room and use the BROOM to sweep aside the spiked balls.
- Proceed up into the navigation room.
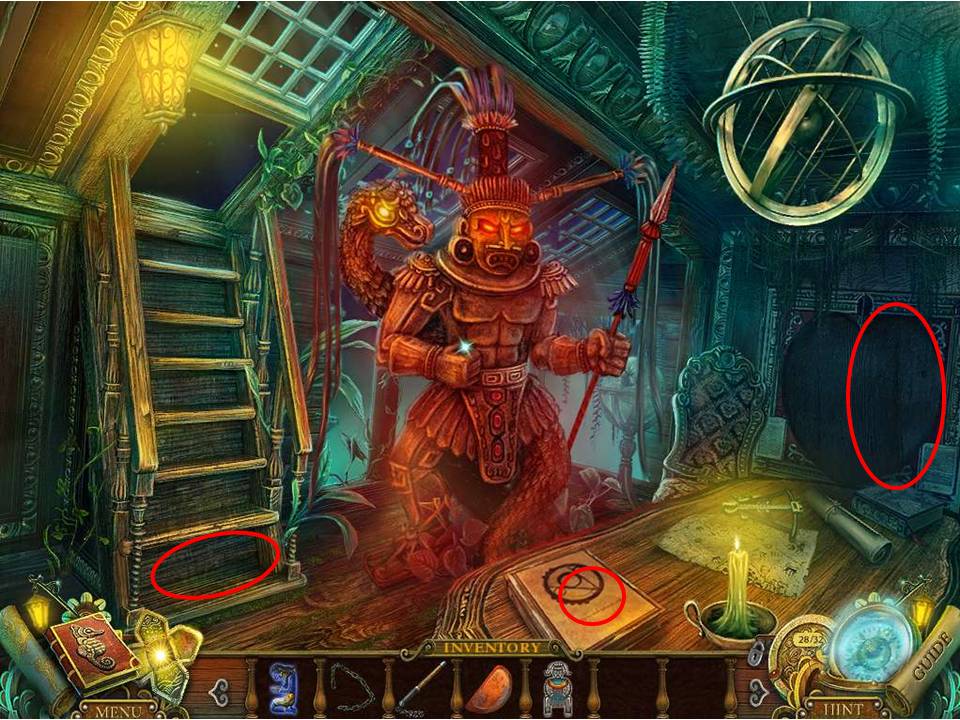
- Okay, does someone need a chill pill? Take the calendar piece on the desk, collect the AXE, read the note, and take the HEMISPHERE over on the right.
- Head to the aft deck.
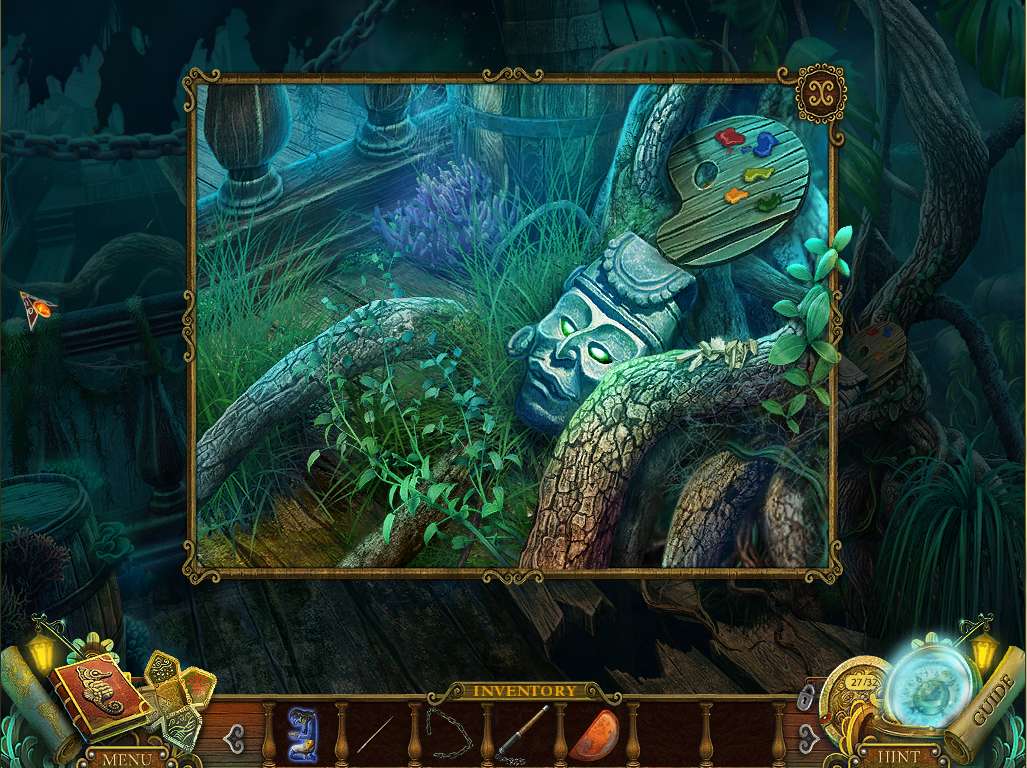
- Take another look at the roots. Use the AXE a few times to cut away at the growth, then place the BRUSH with the palette to get the PAINTS.
- Also pick up the calendar piece, then head to the balcony.

- Zoom into the fan and use the PAINTS to spruce up the fan, noting the color order in the screenshot.
- When finished collect the WHEEL ICON and the RAINBOW GOD STATUETTE, then head to the navigation room.
- Zero in on the trap door to the left with the wheel indentation.
- Place the WHEEL ICON and click on it to initiate the next puzzle.
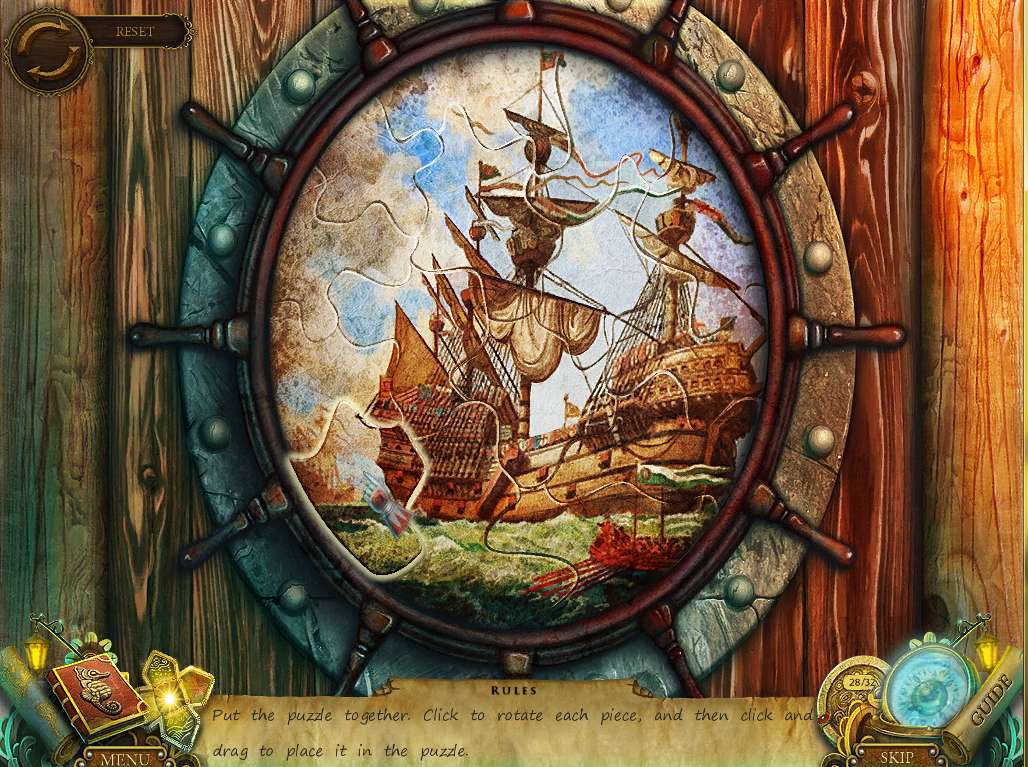
- The aim of the puzzle is basically assemble the picture into the correct order.
- Note the screenshot for the solution and bear in mind that clicking on the pieces will rotate them at need.
- The edges of each piece will also glow when placed in the correct position.
- Once complete, head up through the opening.
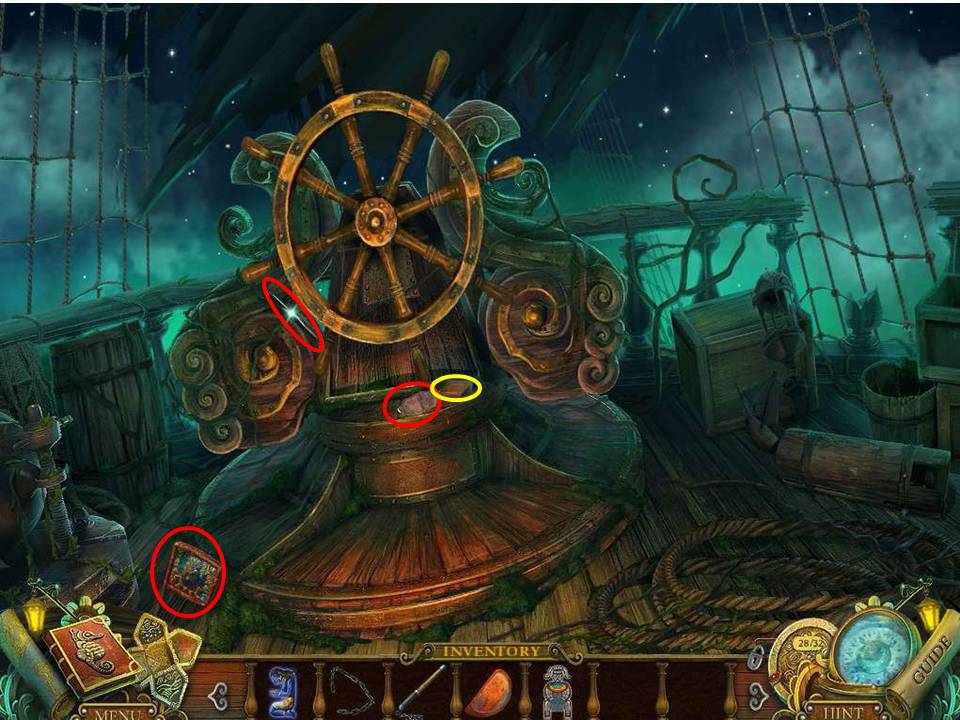
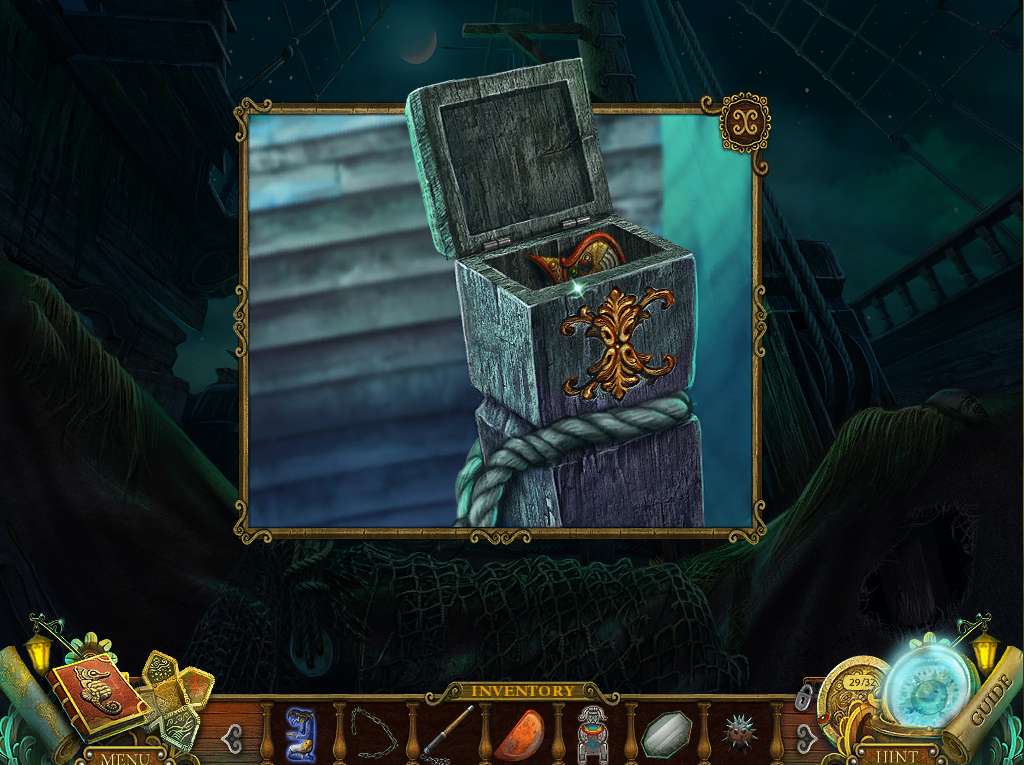
- Zoom in on the wheel and collect the CROWBAR hiding on the left.
- Collect the MIRROR, and pick up the calendar piece lying on the deck.
- Open the useless compass while you’re at it.
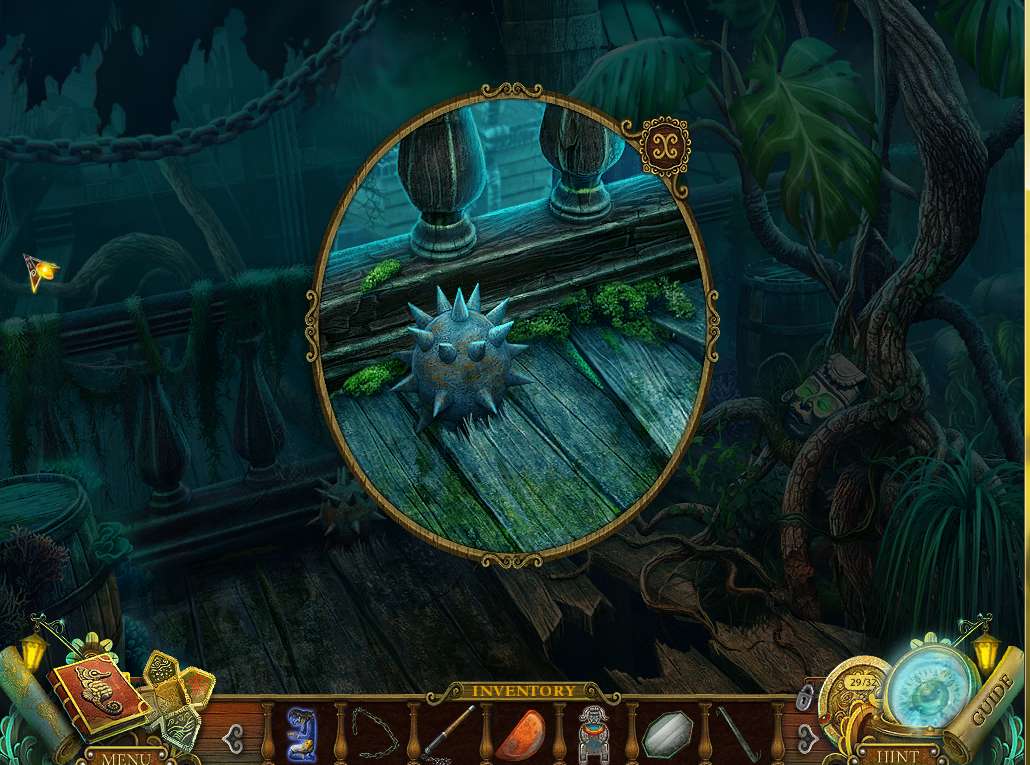
- Go to the aft deck and use the CROWBAR to listen the SPIKED BALL.
- Then head to the music room.

- Click on the HOA to the left to initiate it.
- Collect the items circled in red.
- Those circled in yellow require multiple moves.
- Use the key (circled in blue) to open the guitar case – click on the turtle to release and capture the hummingbird and pick up the parrot partially concealed inside the case.
- Place the mirror segment into the frame.
- Pick up the two notes to complete the music page.
- When finished, take the SCREWDRIVER and go to the helm station.
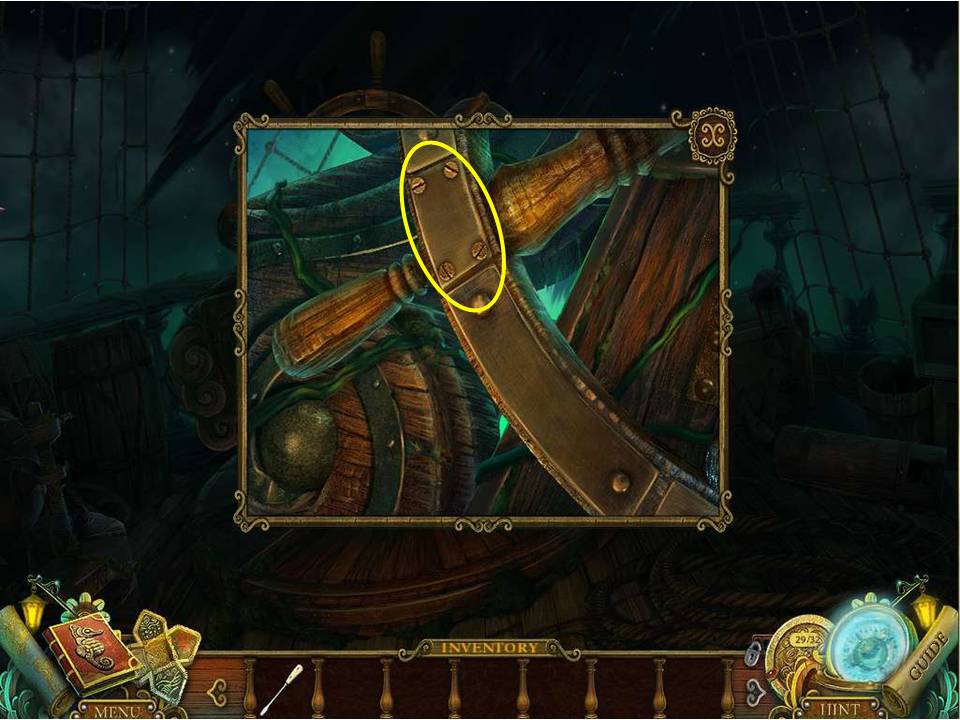
- Zoom in on the left side of the wheel and use the SCREWDRIVER to open up the concealed plate.
- Remove the PATTERNED PLATE and proceed to the upper deck.
- Zoom into the post with the and insert the missing half of the PATTERNED PLATE .
- Take the calendar piece and go to the officer’s dining room.
- Click on the HOA in the background to initiate it.
- Collect the items circled in red.
- Those circled in yellow require multiple moves.
- Open the drawer and click on the carving to release and capture the hummingbird.
- Pour the wine into the cup to get the cup of wine.
- Open the book and take the feather.
- Move the peach from the left over to the right to acquire the dish of peaches.
- Take the A-stamp from the shelf and imprint it on the letter’s wax.
- Use the screwdriver to loosen the compass needle.
- When complete take the COMPASS NEEDLE and head to the ship’s helm station.
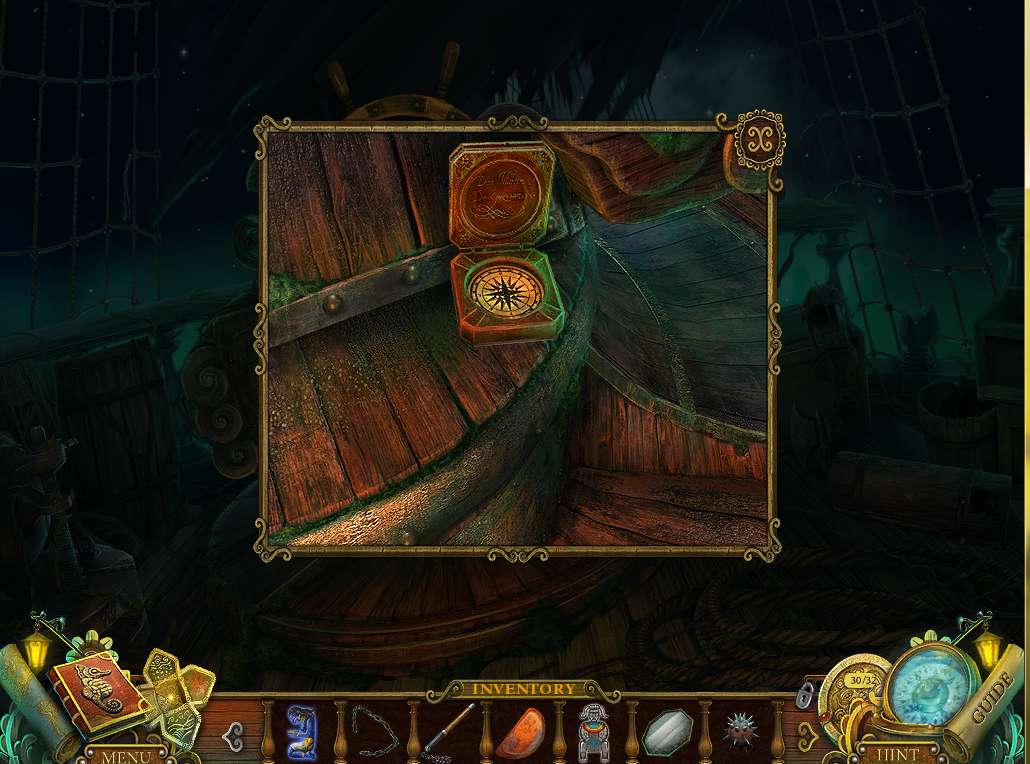
- Zoom into the broken compass perched below the wheel.
- Insert the COMPASS NEEDLE inside to repair and take it.
- Head to the navigation room.
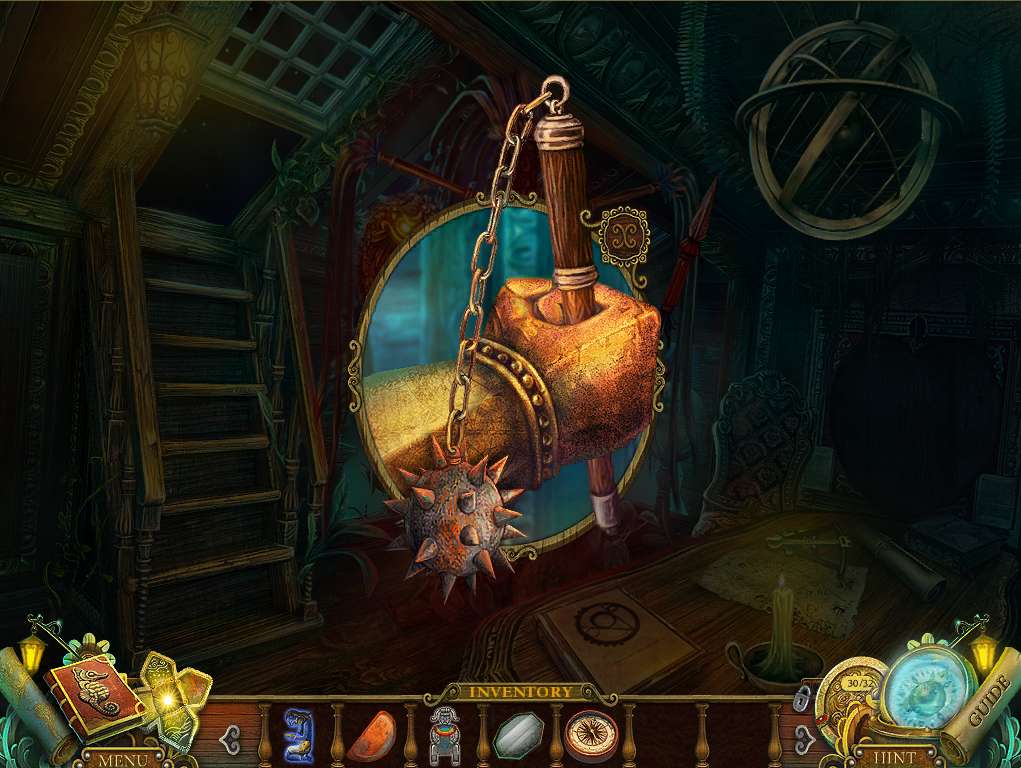
- Zoom into the idol and combine the MACE HANDLE with the CHAIN and SPIKED BALL in the figure’s right hand. Wow, he’s simmered down!
- Guess he’s happy now that he’s got his toy back.
- Take the WAR GOD STATUETTE and head to the portal.
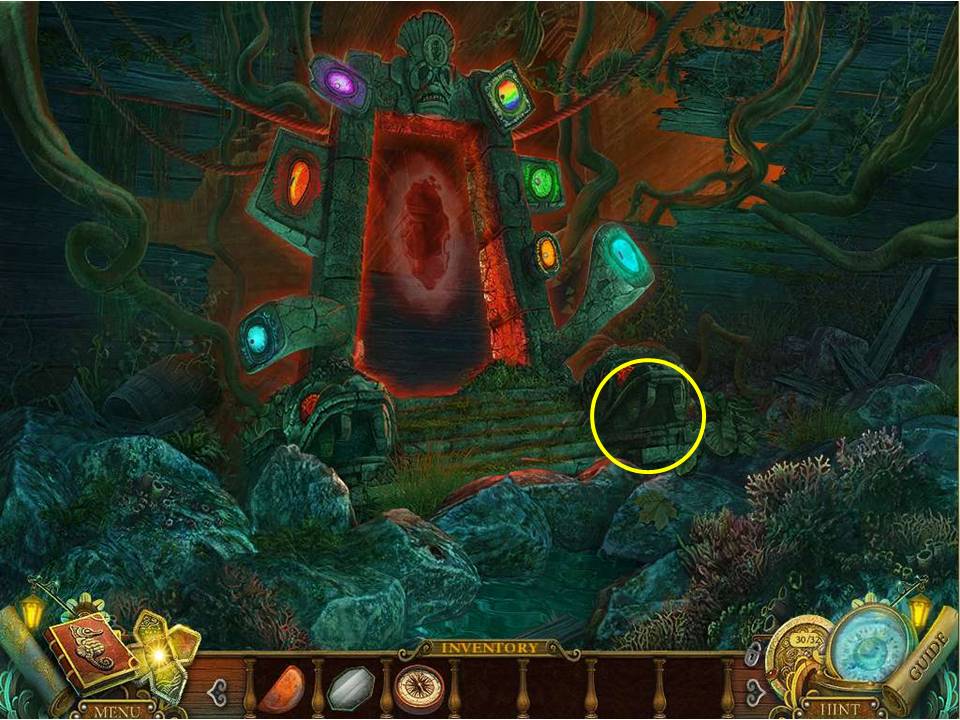
- Place the WIND GOD STATUETTE, WAR GOD STATUETTE, RAINBOW GOD STATUETTE, and SACRIFICE GODDESS STATUETTE in the proper places.
- Zoom into the jaws to the right and take the HEMISPHERE.
- Go to the corridor.
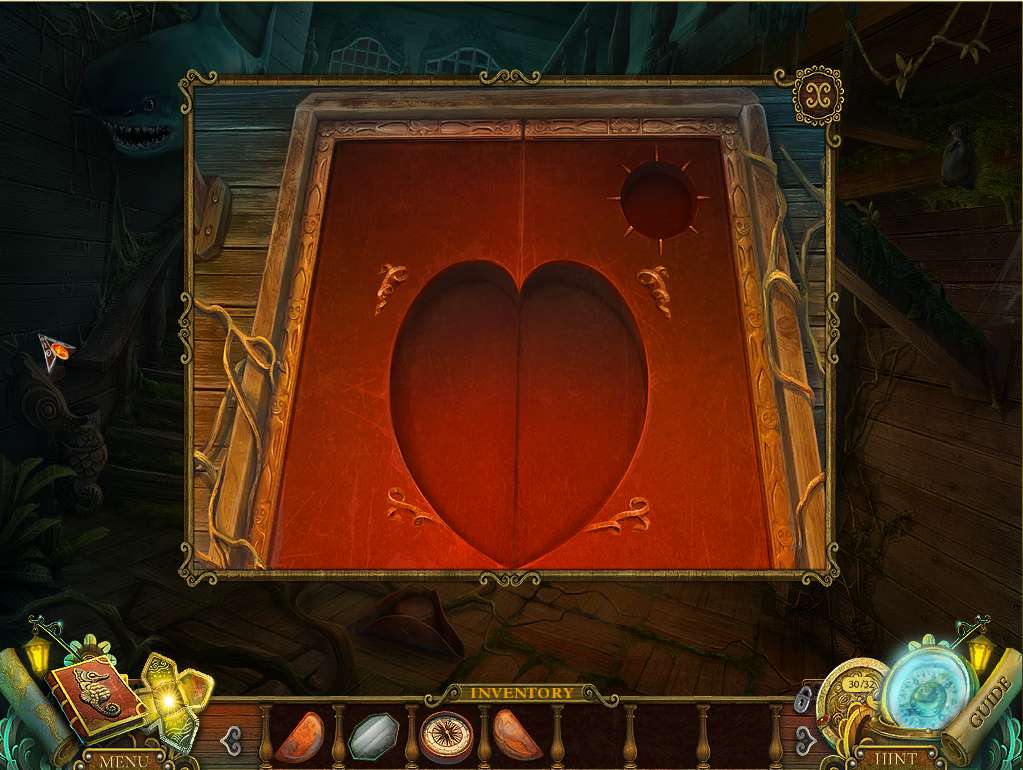
- Zoom in on the red doors on the right and insert both HEMISHPERES and the COMPASS.
- Enter once the doors open.
General Info and Tips
Chapter 1: Entering the Ship
Chapter 2: Freeing the Cabin Boy
Chapter 3: The Treasure Room
Chapter 4: The Exorcism
Chapter 5: The Cure
Chapter 6: The Jacket
Chapter 7: Gregory’s Release
Chapter 8: Preparation
Chapter 9: The Portal
Chapter 10: Trapped
Ask for help in the comments below!
Chapter 1: Entering the Ship
Chapter 2: Freeing the Cabin Boy
Chapter 3: The Treasure Room
Chapter 4: The Exorcism
Chapter 5: The Cure
Chapter 6: The Jacket
Chapter 7: Gregory’s Release
Chapter 8: Preparation
Chapter 9: The Portal
Chapter 10: Trapped
Ask for help in the comments below!