Mayan Prophecies: Ship of Spirits: Chapter 8: Preparation
Our Mayan Prophecies Ship of Spirits Walkthrough will help you stay out of trouble as you explore the dangers and mysteries of the ancient Spanish Galleon your boat crashed into. Chock full of valuable information and custom screenshots to help you complete each and every chapter, this comprehensive Mayan Prophecies Walkthrough is a must-have companion to this exciting hidden object adventure game.
General Info and Tips
Chapter 1: Entering the Ship
Chapter 2: Freeing the Cabin Boy
Chapter 3: The Treasure Room
Chapter 4: The Exorcism
Chapter 5: The Cure
Chapter 6: The Jacket
Chapter 7: Gregory’s Release
Chapter 8: Preparation
Chapter 9: The Portal
Chapter 10: Trapped
Ask for help in the comments below!
Chapter 1: Entering the Ship
Chapter 2: Freeing the Cabin Boy
Chapter 3: The Treasure Room
Chapter 4: The Exorcism
Chapter 5: The Cure
Chapter 6: The Jacket
Chapter 7: Gregory’s Release
Chapter 8: Preparation
Chapter 9: The Portal
Chapter 10: Trapped
Ask for help in the comments below!
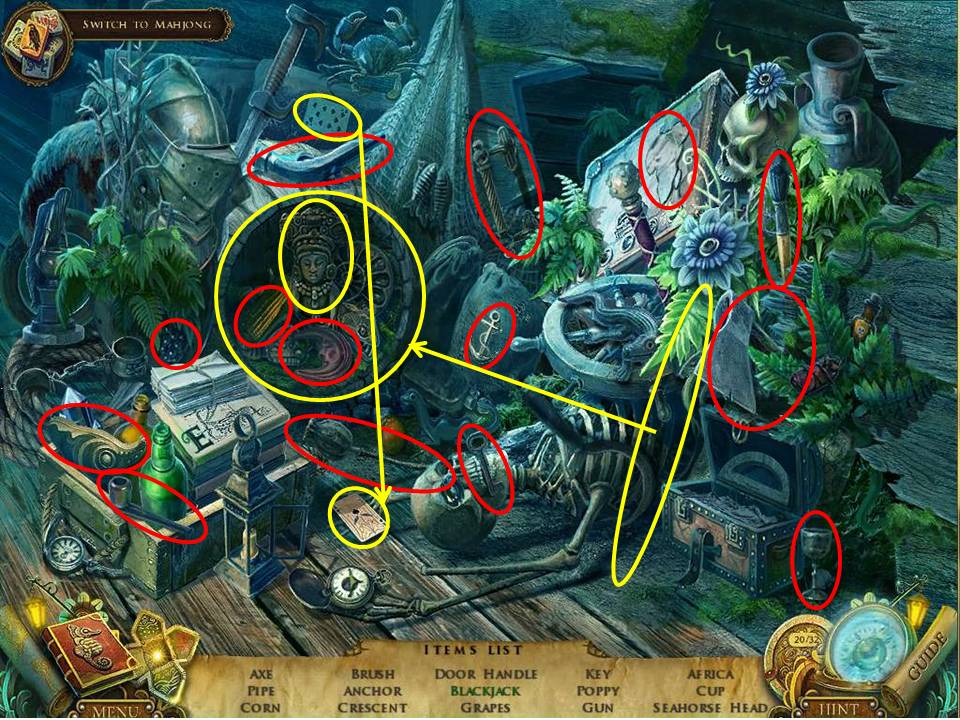
- Click on the HOA to the left to initiate it.
- Collect the items circled in red.
- Those circled in yellow require multiple moves.
- Use the crowbar on the barrel to open it and click on the carving to release and capture the hummingbird.
- Put the playing card with the ace to get the black jack.
- Receive the SEAHORSE HEAD.
- Go to the purser’s quarters.
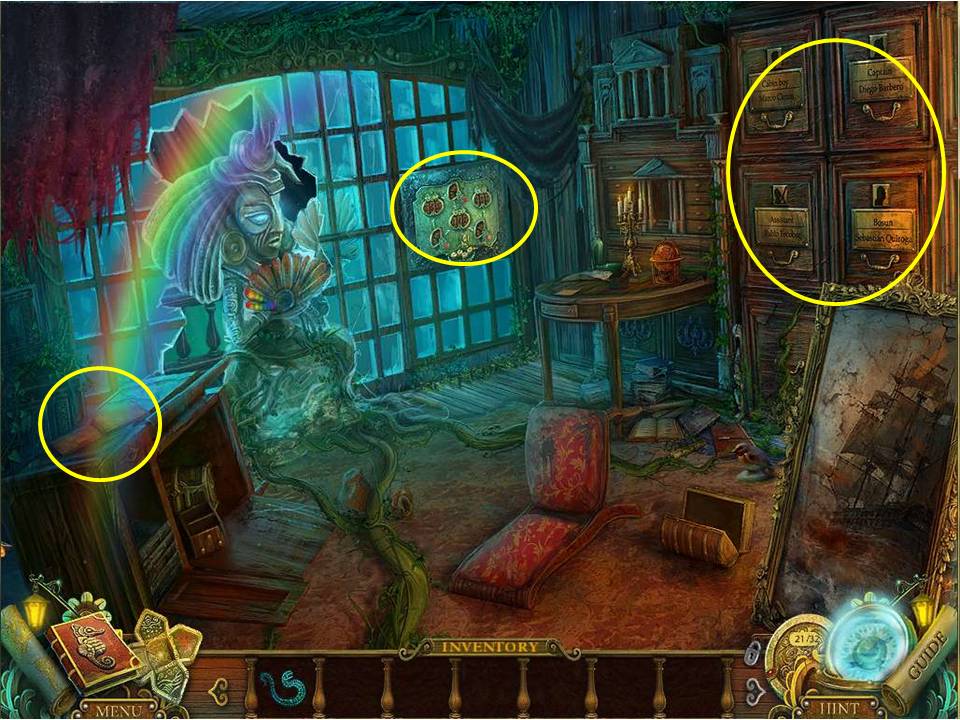
- Zoom in on the cabinet to the left, pick up the calendar piece and leaf through the book.
- Note the puzzle on the window, as well as the personnel drawers to the right.
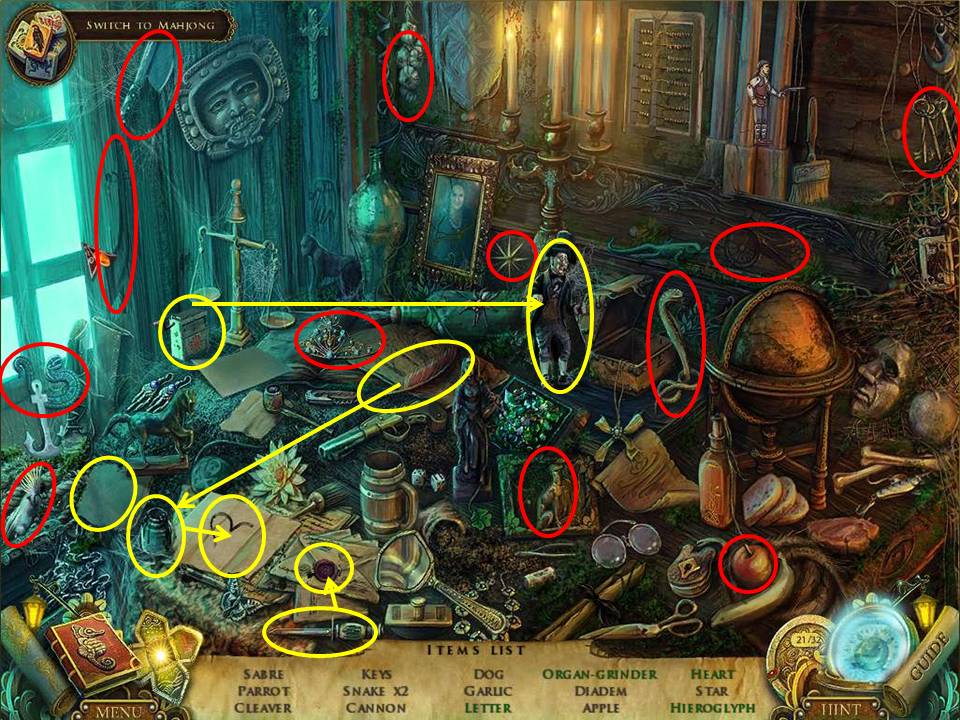
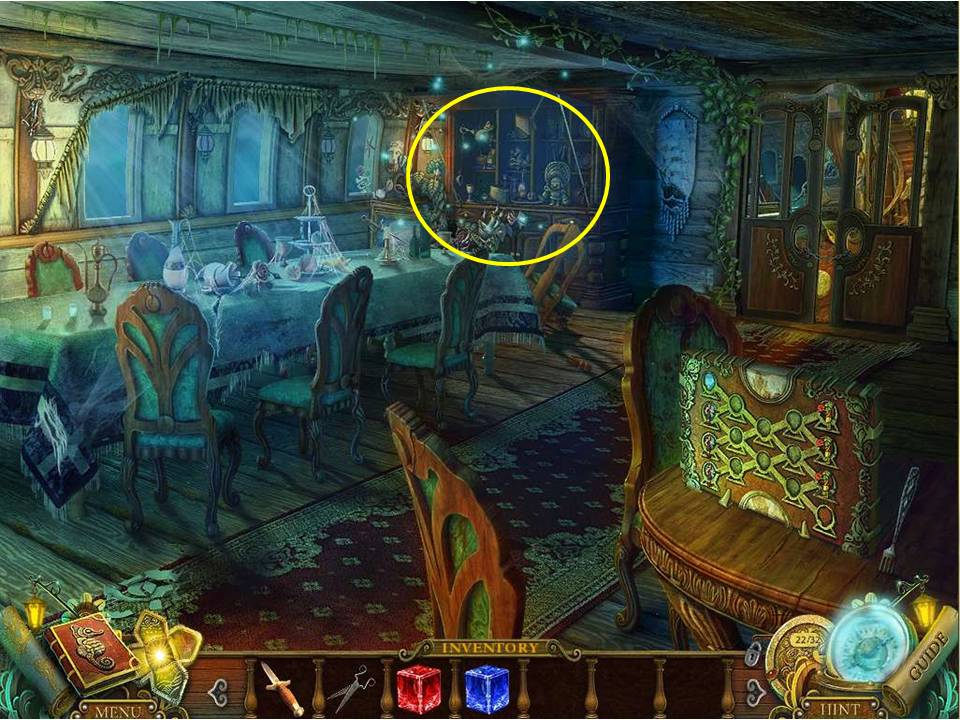
- Zoom in on the HOA to the right to initiate it.
- Collect the items circled in red.
- Those circled in yellow require multiple moves.
- Click on the carving to release and capture the hummingbird.
- Move the cloth on the table to hieroglyph.
- Give the poor old organ grinder his organ.
- Use the letter opener to open the nearby letter.
- Use the feather on the inkwell, then complete the heart on the nearby piece of paper.
- When finished, take the JADE SNAKE and proceed up the mast to the crow’s nest.
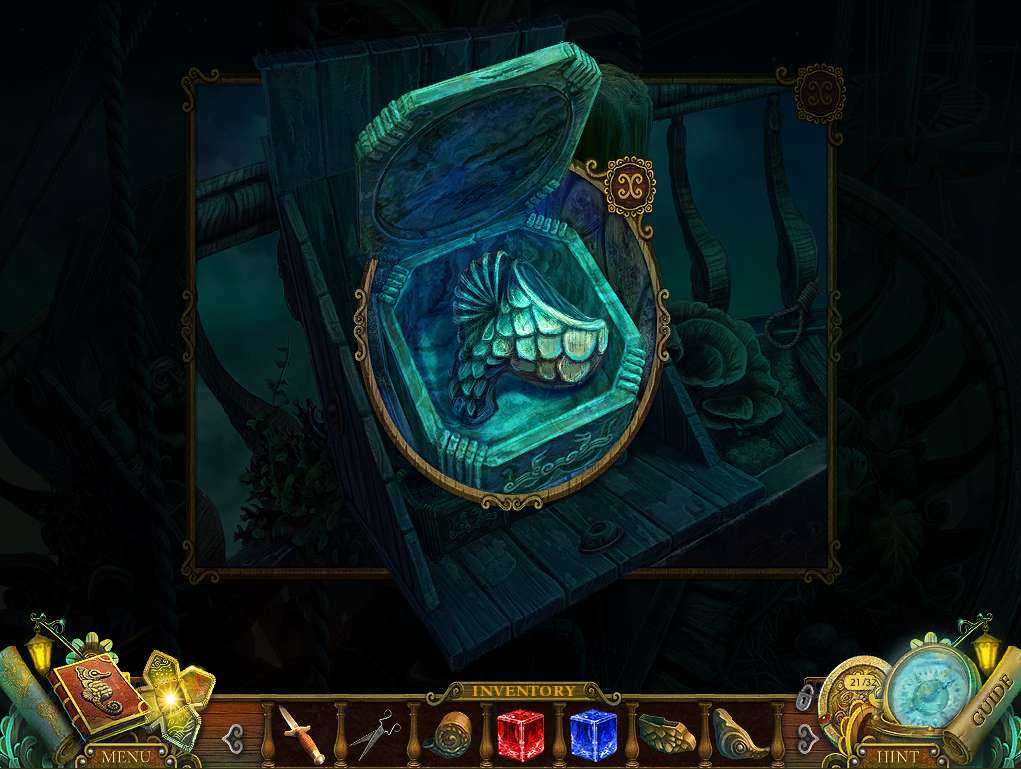
- Zoom into the small casket within the box and insert the JADE SNAKE into position. Take the SEAHORSE LOWER BODY and head down to the corridor.
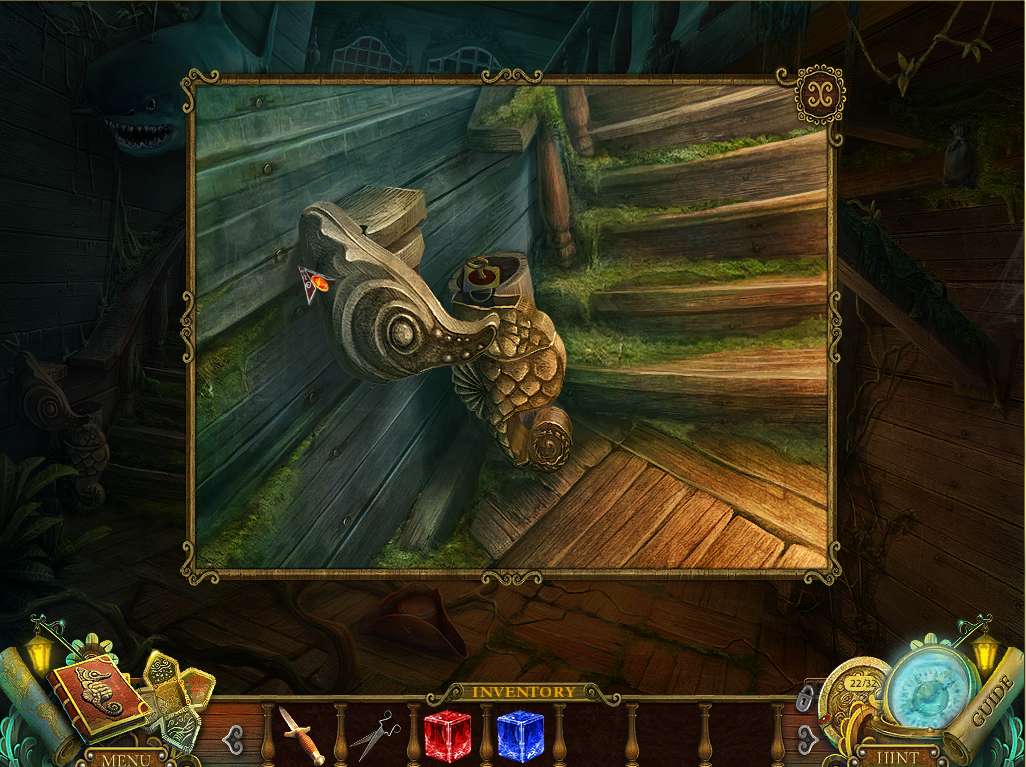
- Click on the shark and collect the calendar piece that falls on the steps.
- Next, zoom in on the left post of the staircase and reassemble the seahorse there, starting with the tail and working up.
- When complete, take the BAR KEY and proceed to the officer’s dining room.
- Zoom into the cabinet at the rear of the room and open it with the BAR KEY.
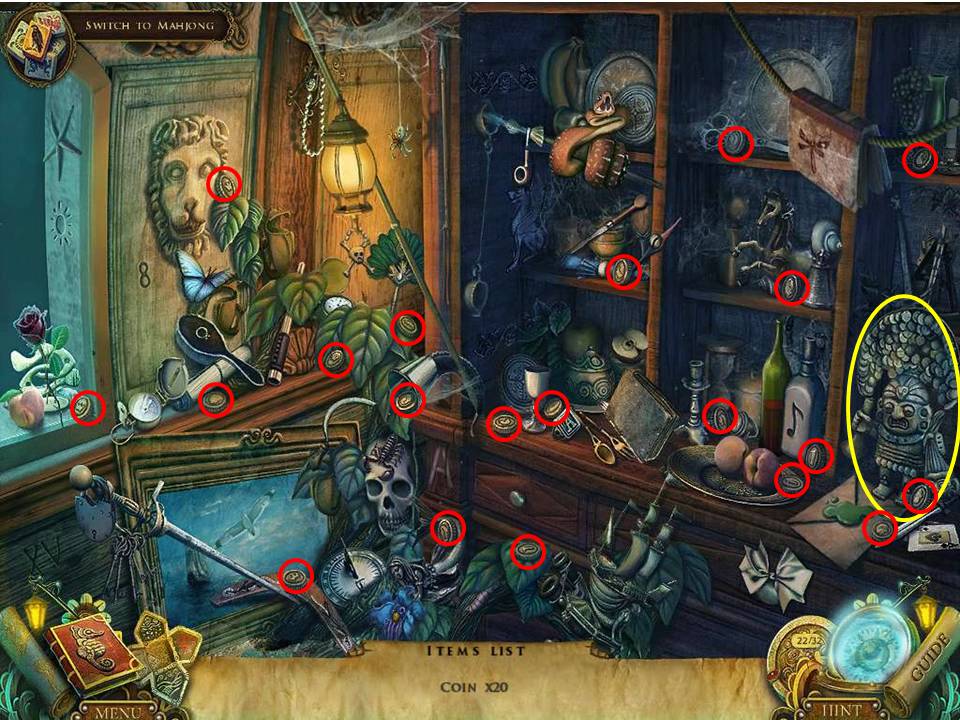
- Click on the HOA to initiate it.
- Here’s one with a difference – all you have to do is locate the 20 coins hidden about! Oh well, nothing like money to give you an incentive, right?
- Click on the statue to release and capture the hummingbird.
- When finished, take the COINS and head to the purser’s office – where else, with all that loot?
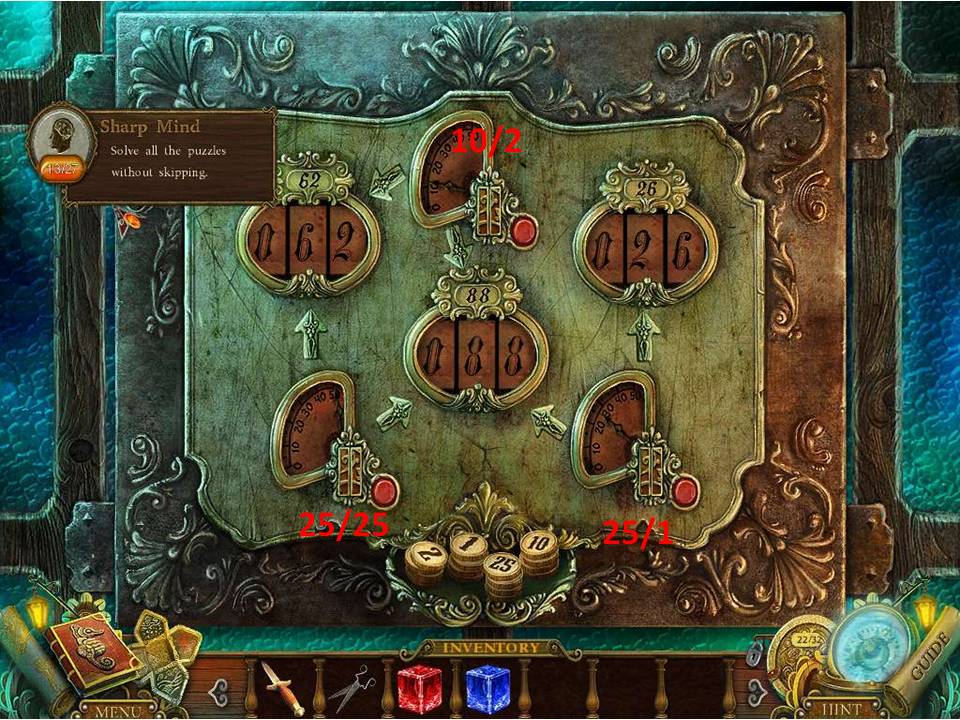
- Zoom in on the puzzle located on the window and initiate it via the COINS.
- The aim is to place enough coins in each slot to match the total above each frame (IE. 62 cents for the frame to the top left). There’s a couple of tricks though.
- You can only put one coin in each slot, and as you can see from the arrows, each coin will add a total to two of the counters.
- So here’s how to proceed – on the bottom left insert two quarters, on the center top insert 10 cent and 2 cent coins, (what currency is this?) and finish off by inserting a quarter and a 1 cent piece in the slots to the bottom right.
- Once complete proceed through the door.
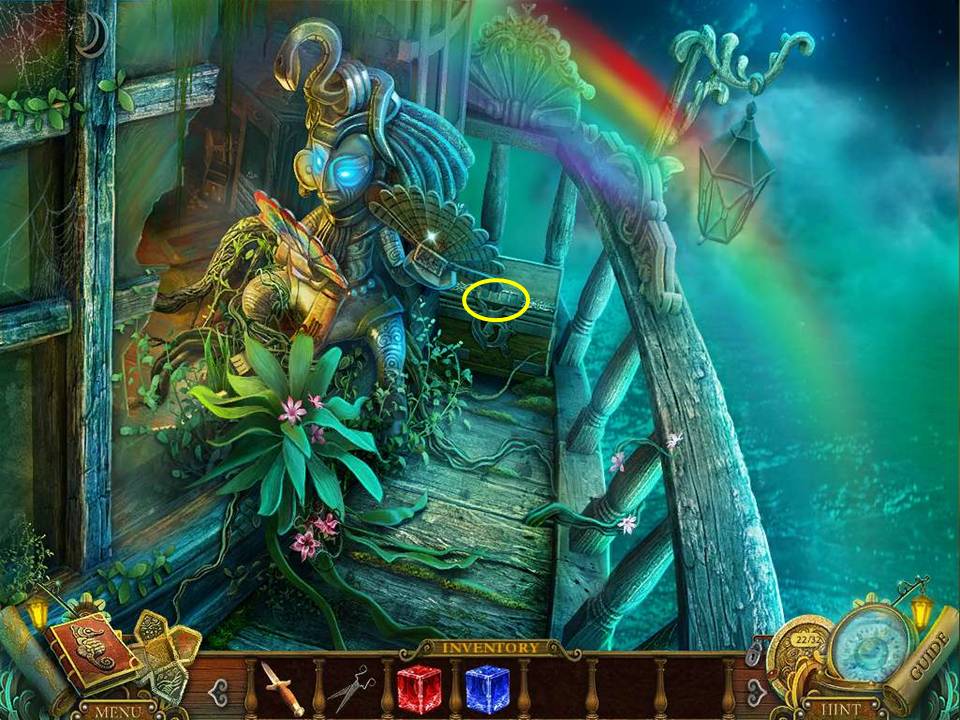
- Note the colorless fan on the idol, then zoom in on the chest in the background to initiate the next puzzle.
- The aim is to crack the code by noting two things from within the purser’s office – the numbers in the book next to the names, and the portraits of each individual on the drawers.
- Put it all together, and you get a figure of 1364.
- Once open, take the EMERALD CUBE and the calendar piece, then go to the sentry room.
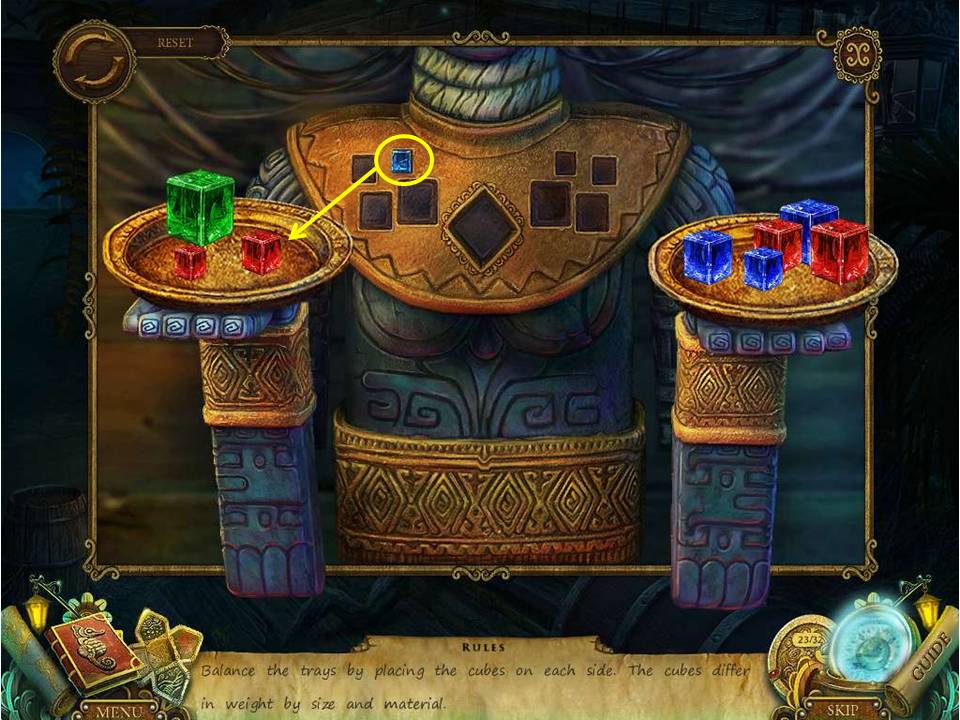
- Zoom in on the statue and slot the three cubes into place to initiate the puzzle.
- The aim is to place all the cubes on the scale in such a way that the two sides remain perfectly even, noting that the stones weigh differently not only by dimension, but also by type.
- Play around with it, given that you have the reset to fall back on, or go straight to the screenshot for the solution – noting the last gem ready to slot in on the left.
- When finished, take the SACRIFICE GODDESS STATUETTE and another calendar piece from the chest cavity.
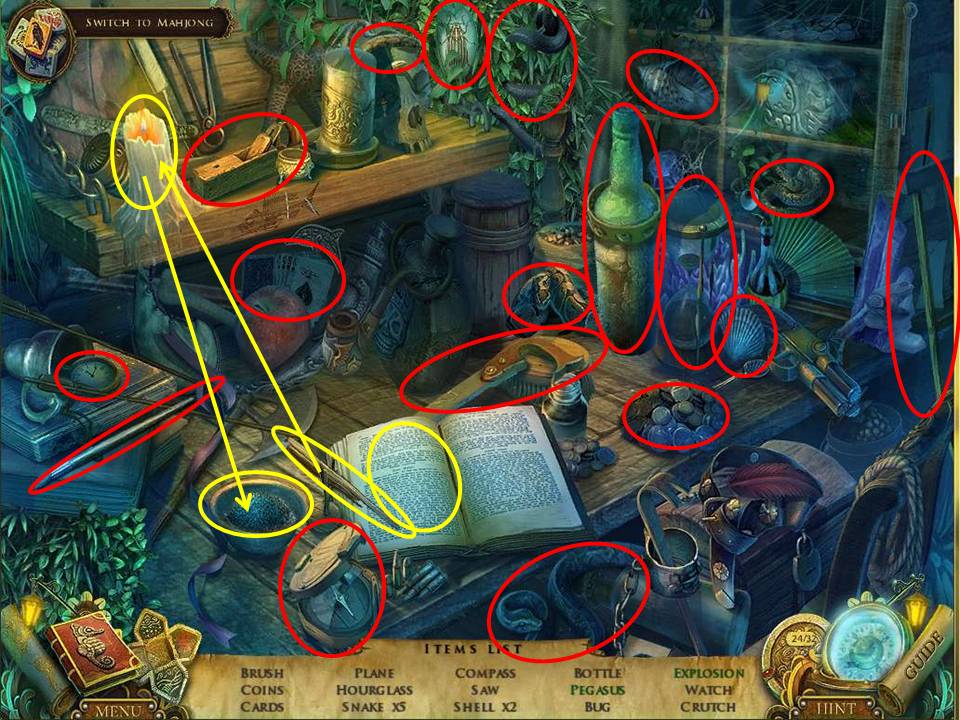
- Zoom in on the HOA to the left to initiate it.
- Collect the items circled in red.
- Those circled in yellow require multiple moves.
- Move the fabric on the right and click on the carving to release and capture the hummingbird.
- Use the candle to light the piece of wood and place it on the gunpowder to set off the explosion.
- Flip through the pages of the book to find Pegasus.
- When complete receive the BRUSH and proceed to the balcony.
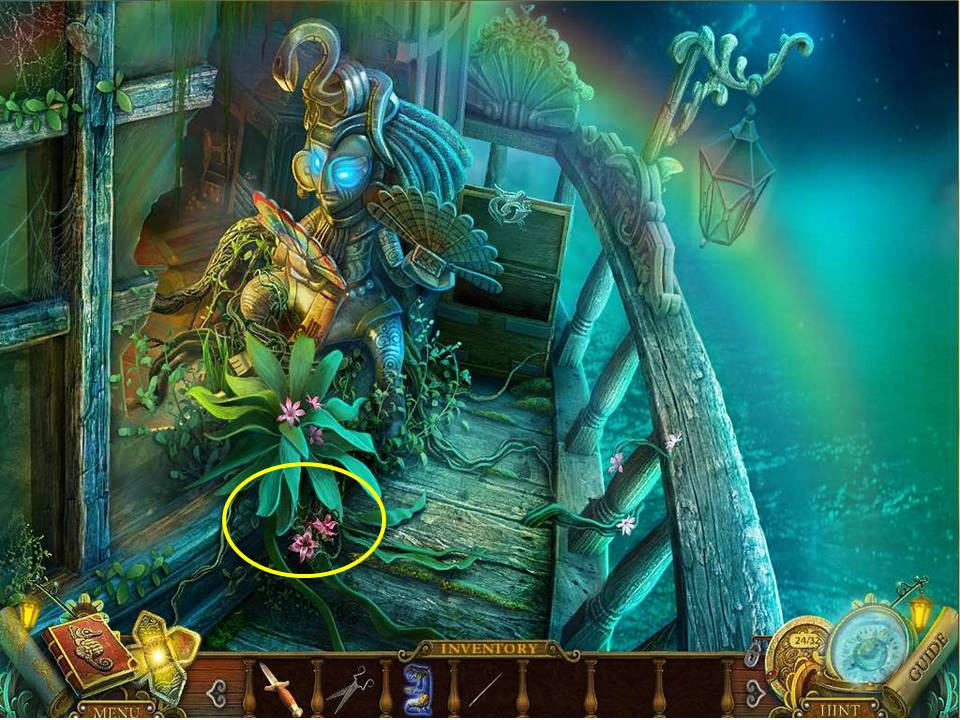
- Zoom in on the plant and cut merrily away with the SCISSORS until you free up the MAYAN FIGURE.
- Proceed to the purser’s office.
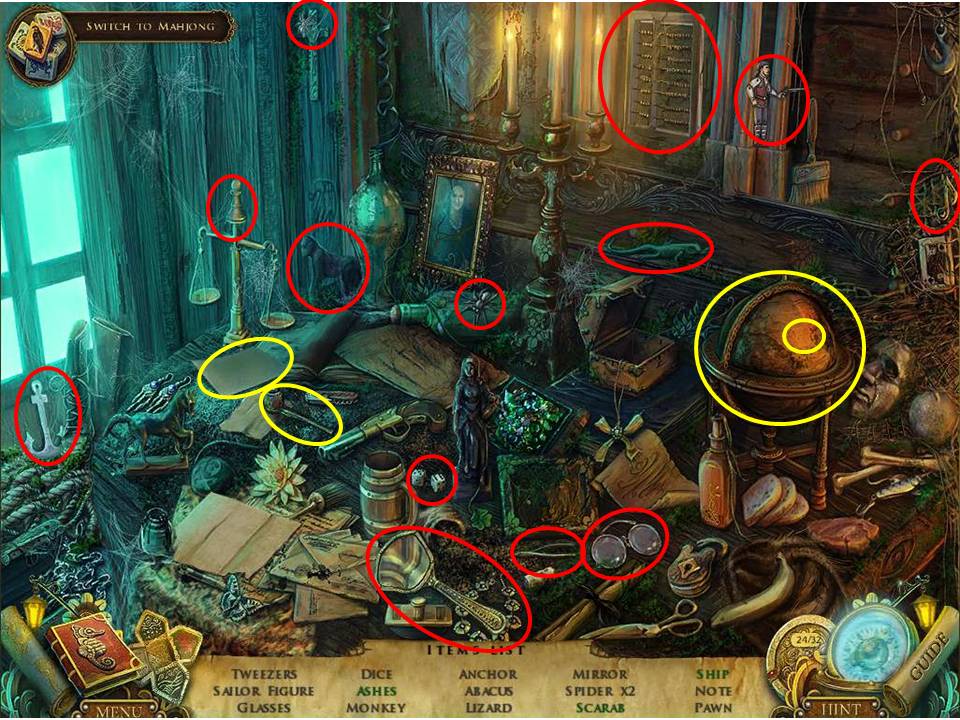
- Zoom in on the HOA to the right to initiate it.
- Collect the items circled in red.
- Those circled in yellow require multiple moves.
- Open the globe, and click on the statue to release and capture the hummingbird.
- Empty out the pipe to get the ashes inside the bowl.
- Use the sheet of paper to make the ship.
- When finished collect the SAILOR FIGURE and head to the officer’s dining room.
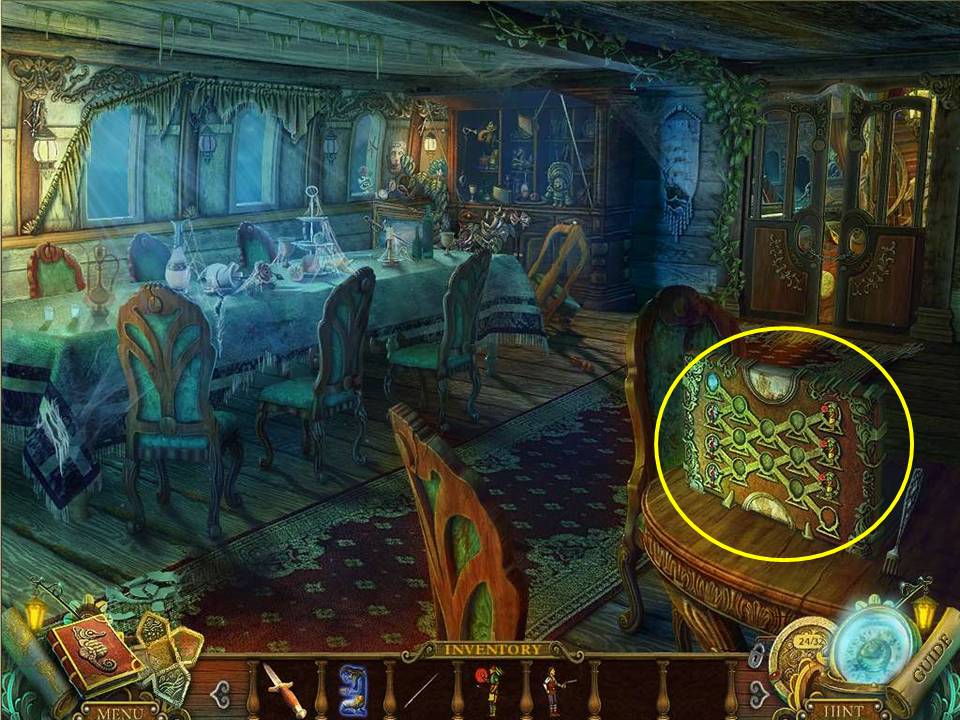
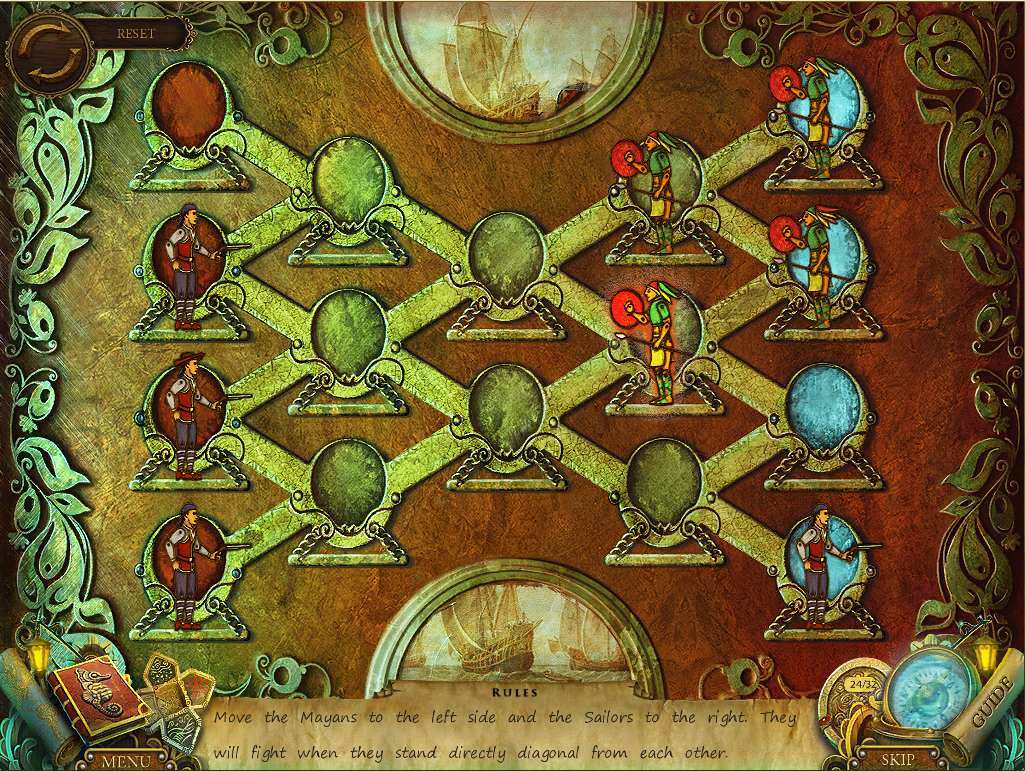
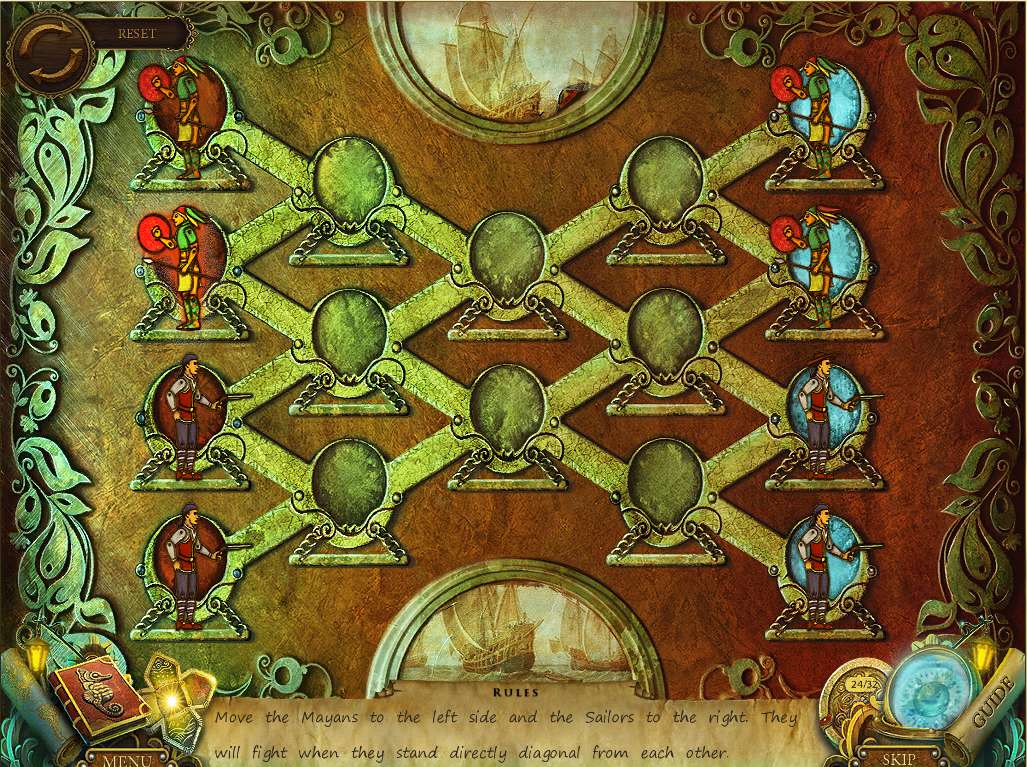
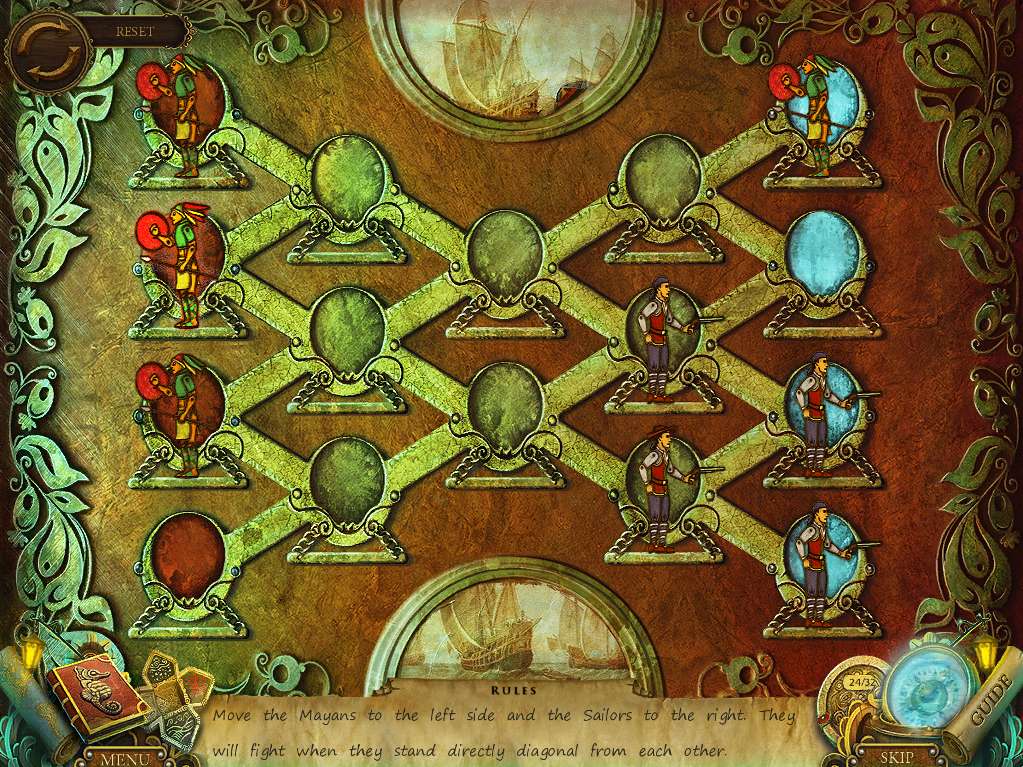
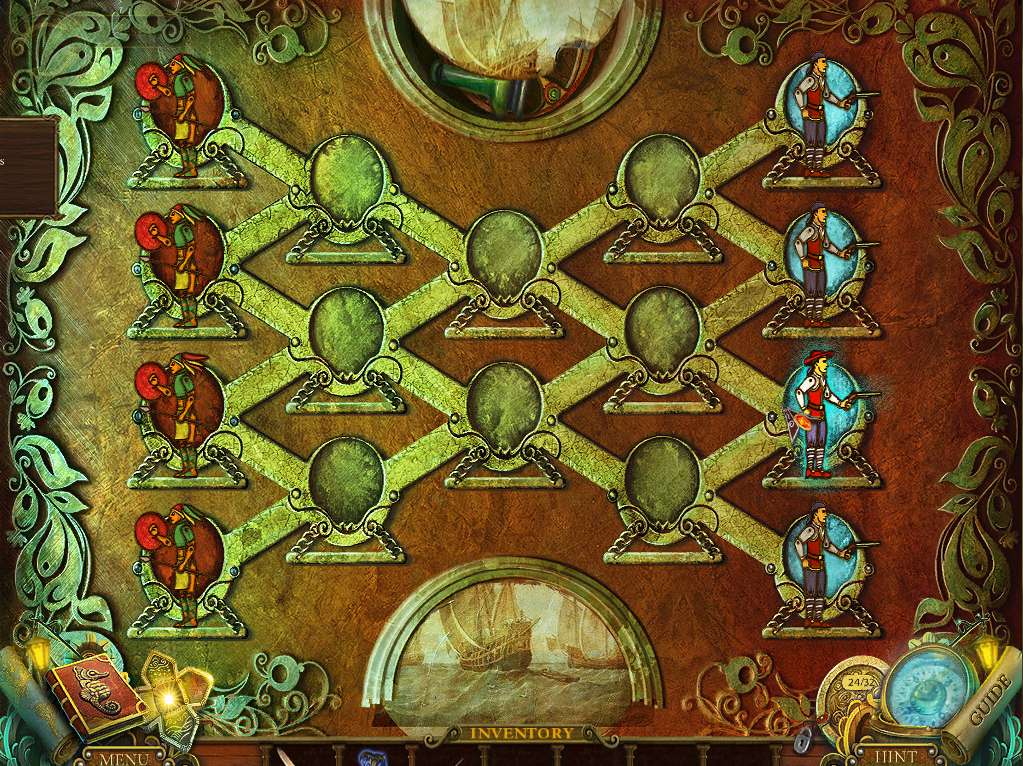
- Zoom into the table at right and add the SAILOR FIGURE and MAYAN FIGURE to the game board to initiate a mini-game.
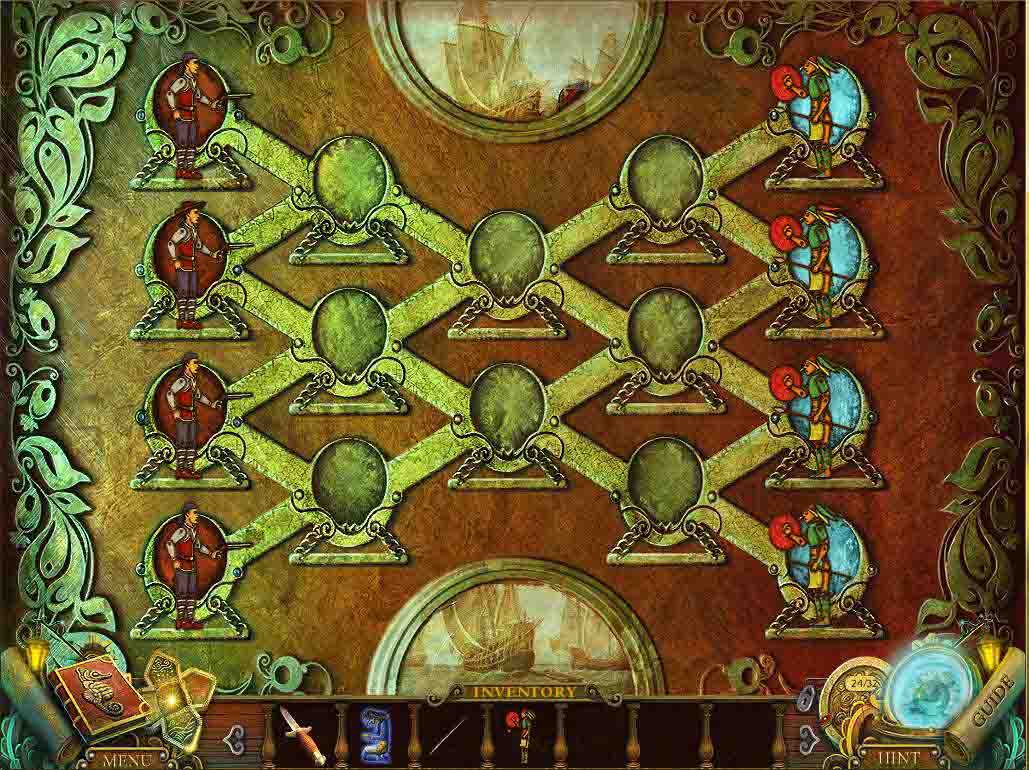
- The object of the game is to have the sailor and Mayan figures swap positions, with one proviso – while swapping around, the opposing pieces can’t come adjacent to each other in a direct line (note that point) else they go to war with each other – try it out and see. Somebody ought to give them a piece pipe to smoke!
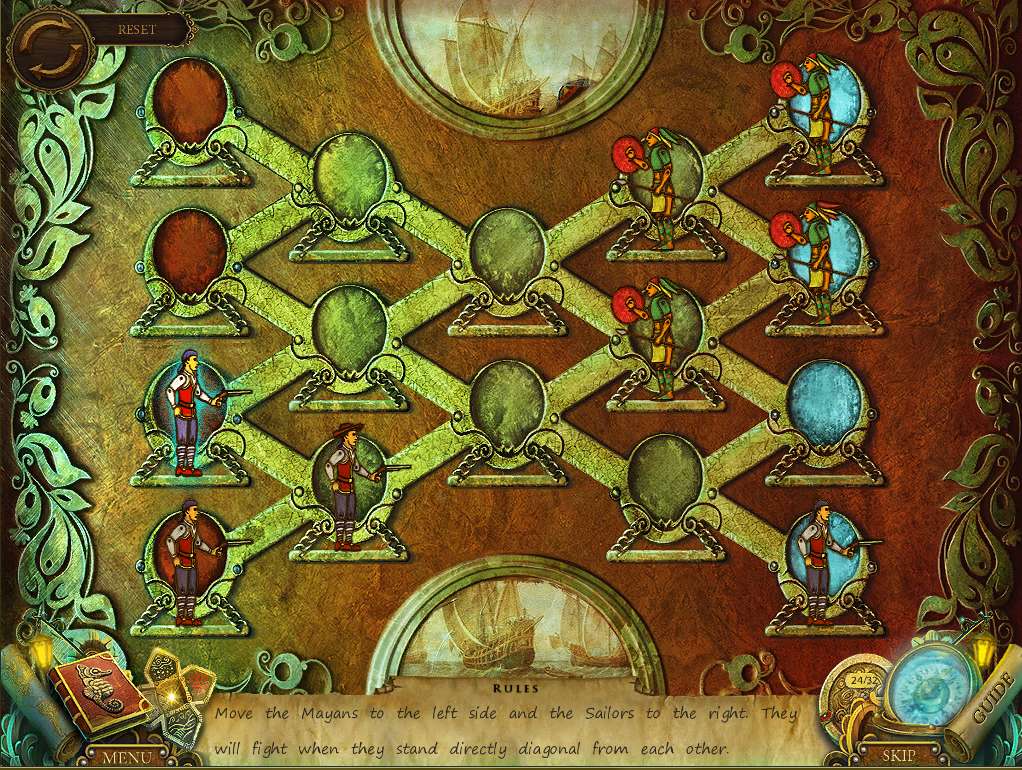
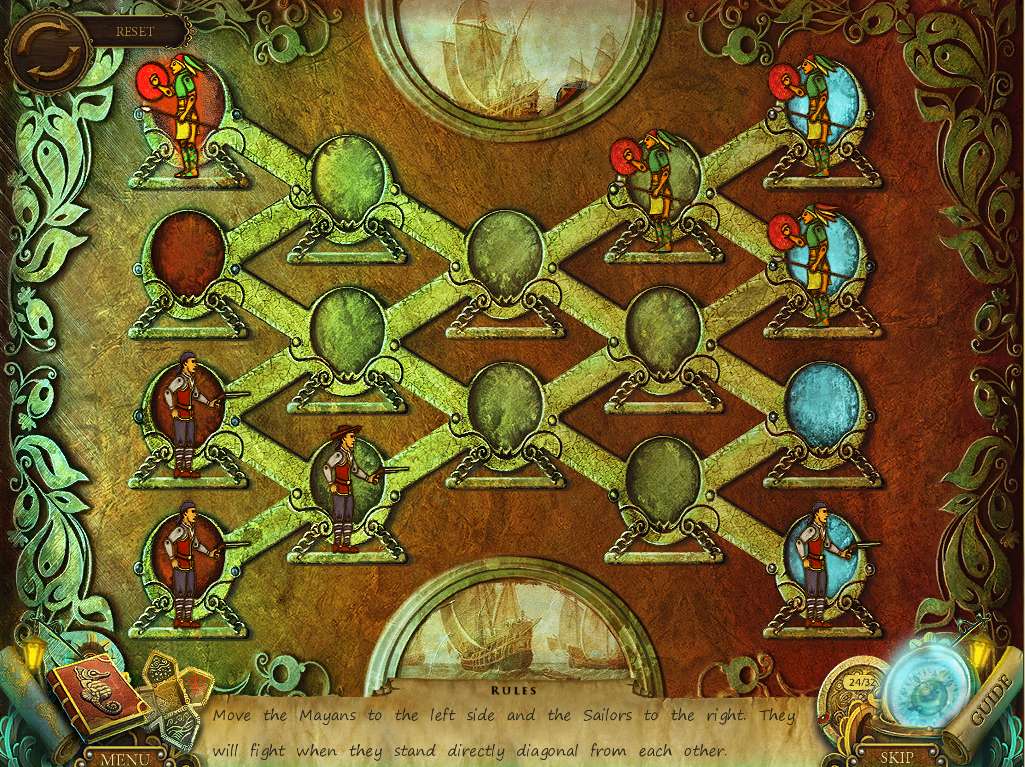
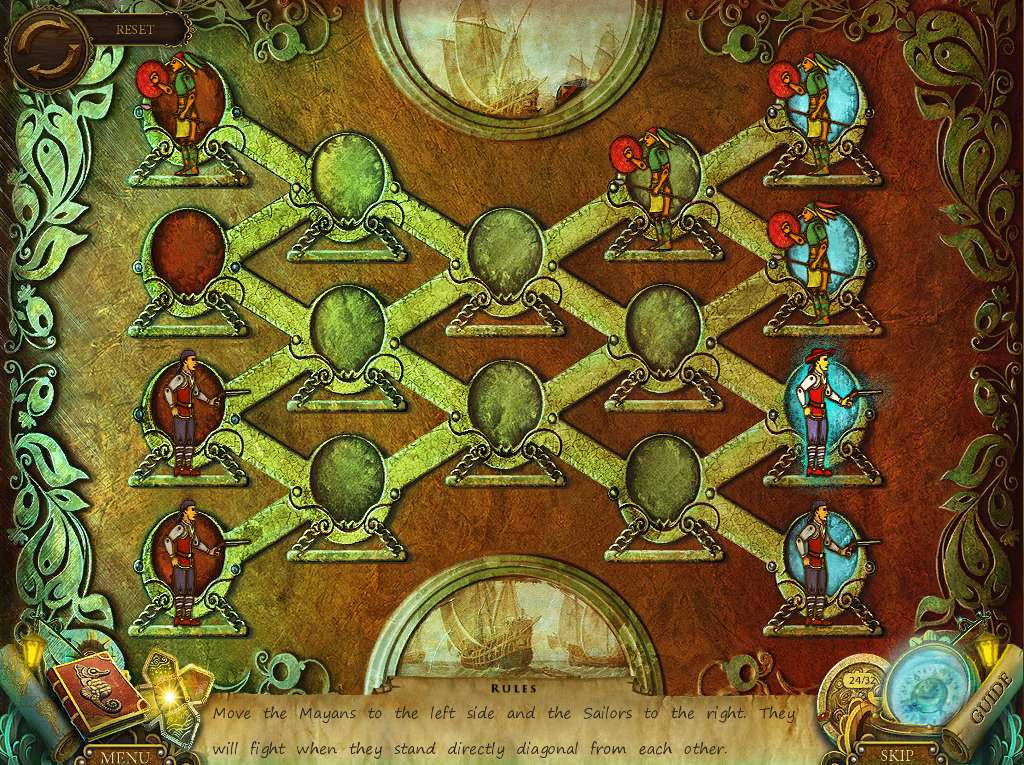
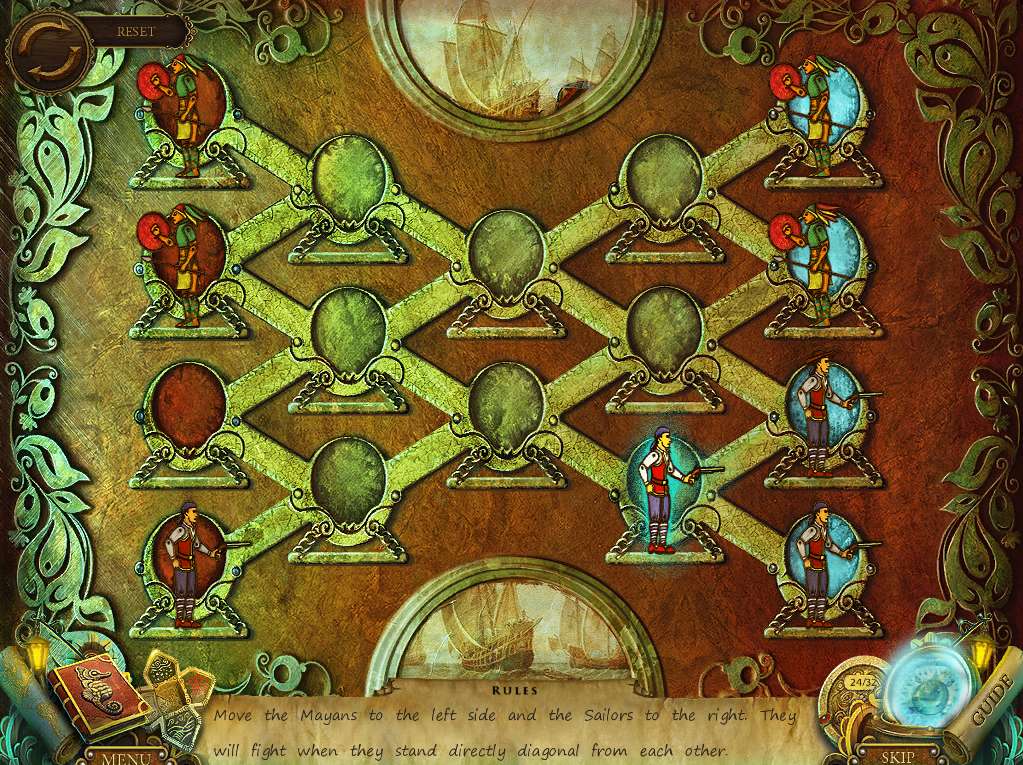
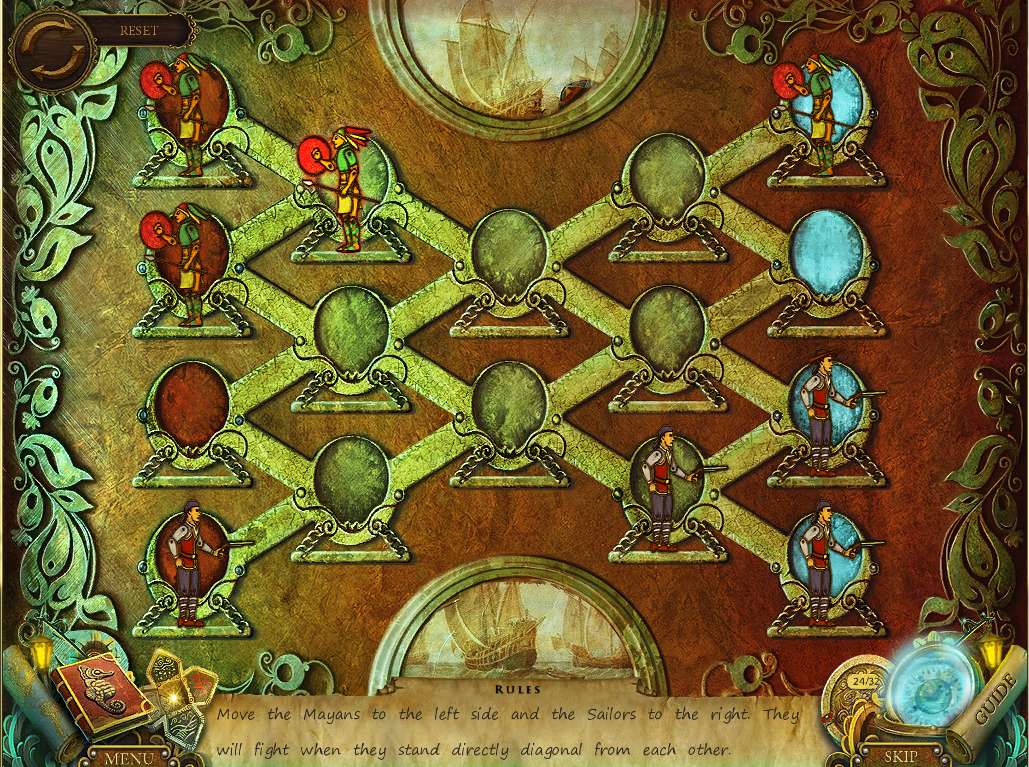
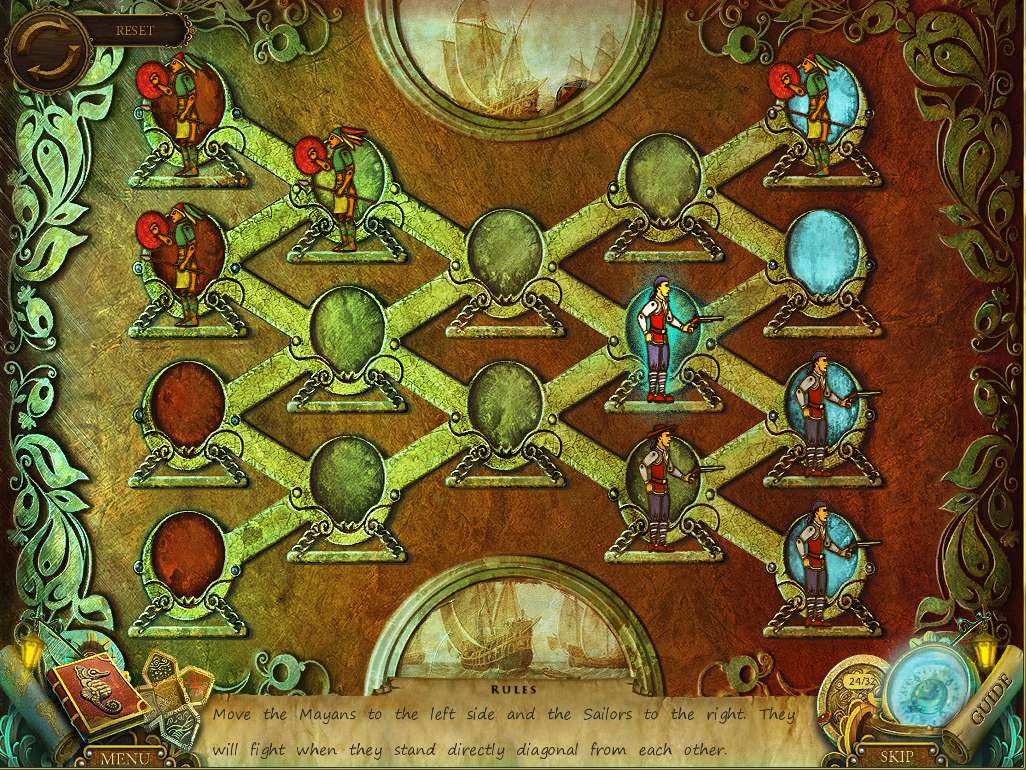
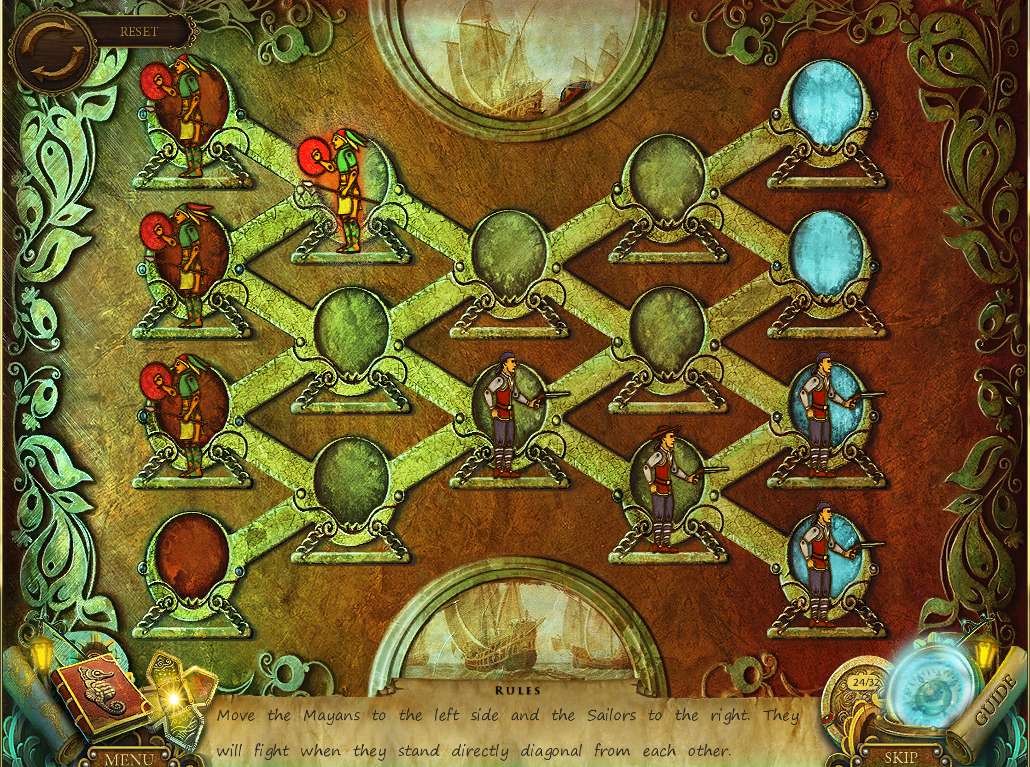
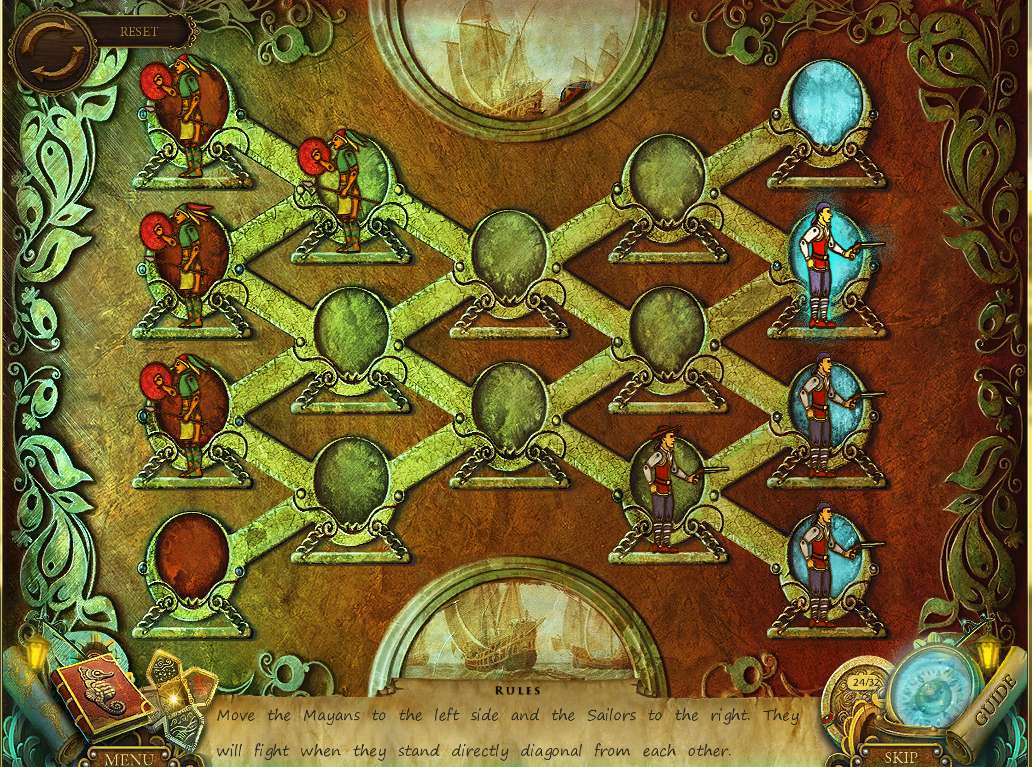
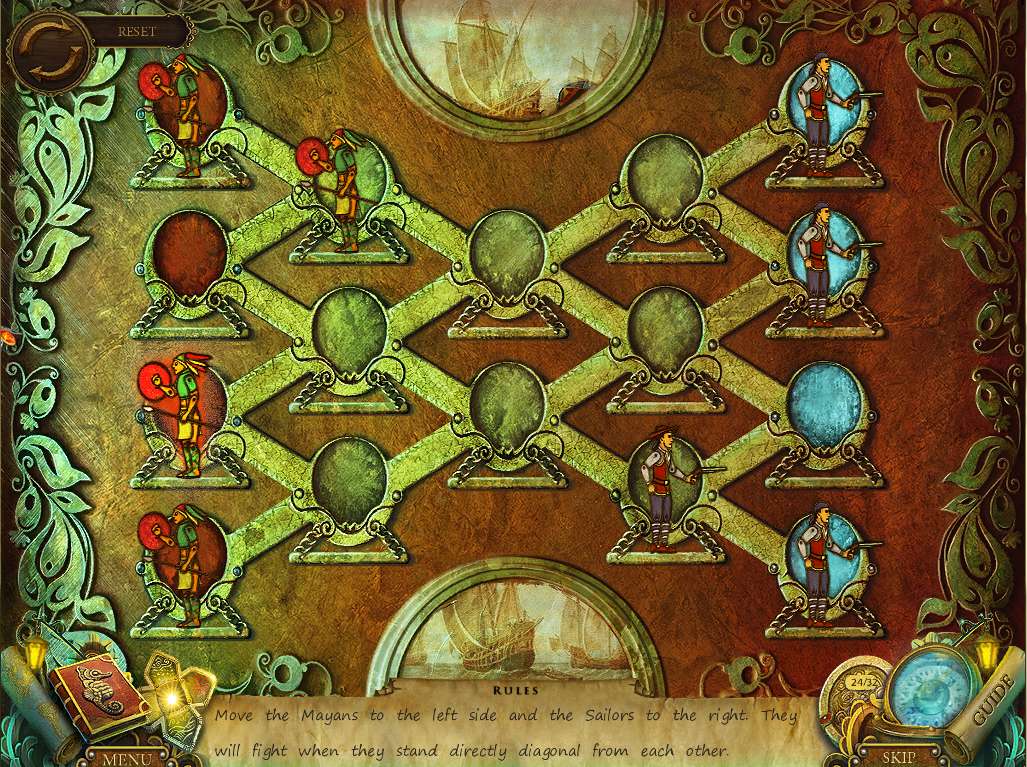
- There are doubtless numerous ways of approaching the problem, but try the sequence shown in the screenshots below, noting that the assumption is made that you can set the pieces up as seen in the second shot (the first one after these instructions) by yourself, as no opposing pieces come into contact while setting them up.
- Note that some screen shots show two pieces being moved, rather than just one.
- Once complete, take the ACID and the calendar piece.


General Info and Tips
Chapter 1: Entering the Ship
Chapter 2: Freeing the Cabin Boy
Chapter 3: The Treasure Room
Chapter 4: The Exorcism
Chapter 5: The Cure
Chapter 6: The Jacket
Chapter 7: Gregory’s Release
Chapter 8: Preparation
Chapter 9: The Portal
Chapter 10: Trapped
Ask for help in the comments below!
Chapter 1: Entering the Ship
Chapter 2: Freeing the Cabin Boy
Chapter 3: The Treasure Room
Chapter 4: The Exorcism
Chapter 5: The Cure
Chapter 6: The Jacket
Chapter 7: Gregory’s Release
Chapter 8: Preparation
Chapter 9: The Portal
Chapter 10: Trapped
Ask for help in the comments below!