
Riddles of Fate: Memento Mori: Chapter Six: Prague Retake
Our Riddles of Fate: Memento Mori Walkthrough will be a valuable tool as you attempt to hunt down several dangerous criminals for Death who threaten the very existence of the world! Turn to our detailed instructions, our custom marked screenshots, and our simple puzzle solutions whenever your run into a wall in your search or don't know where to turn next! We'll step you through every obstacle and every puzzle to ensure the world survives another day!
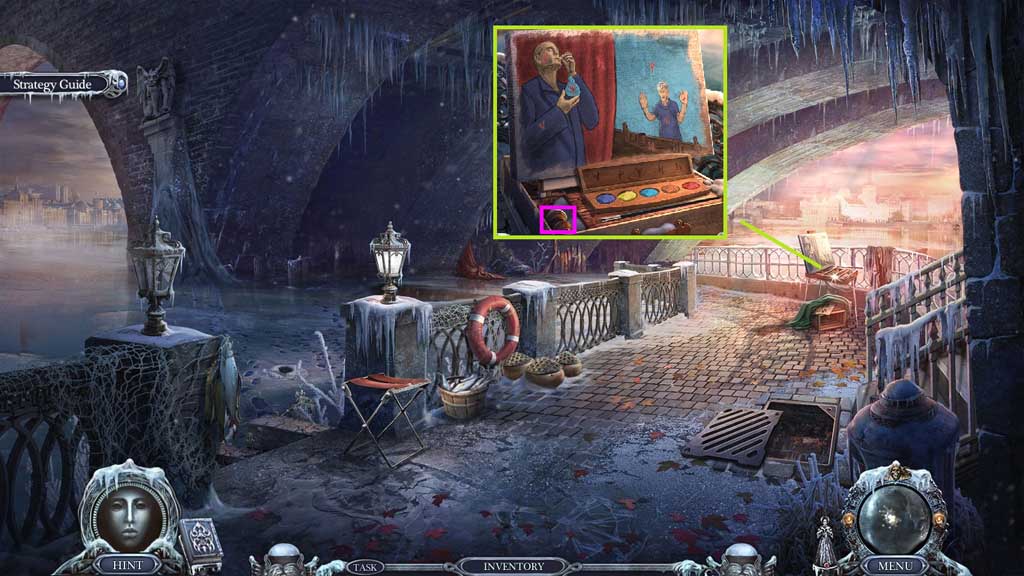
- Place the paintbrush and the paint set onto the easel to trigger a mini game.
- Solve the game by painting the picture based on the symbols.
- Collect the seal.
- Move to Alfred Kristen’s House.
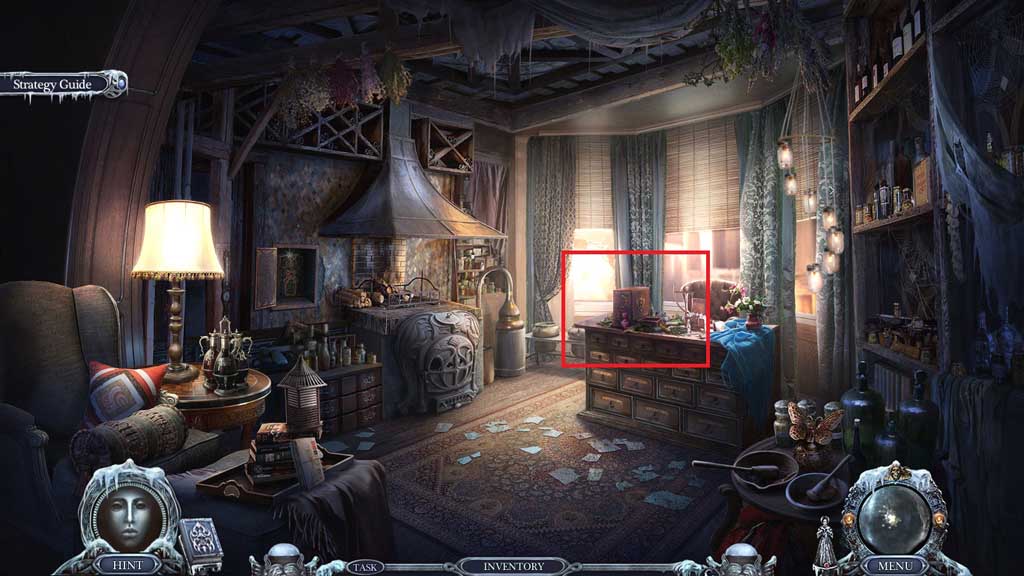
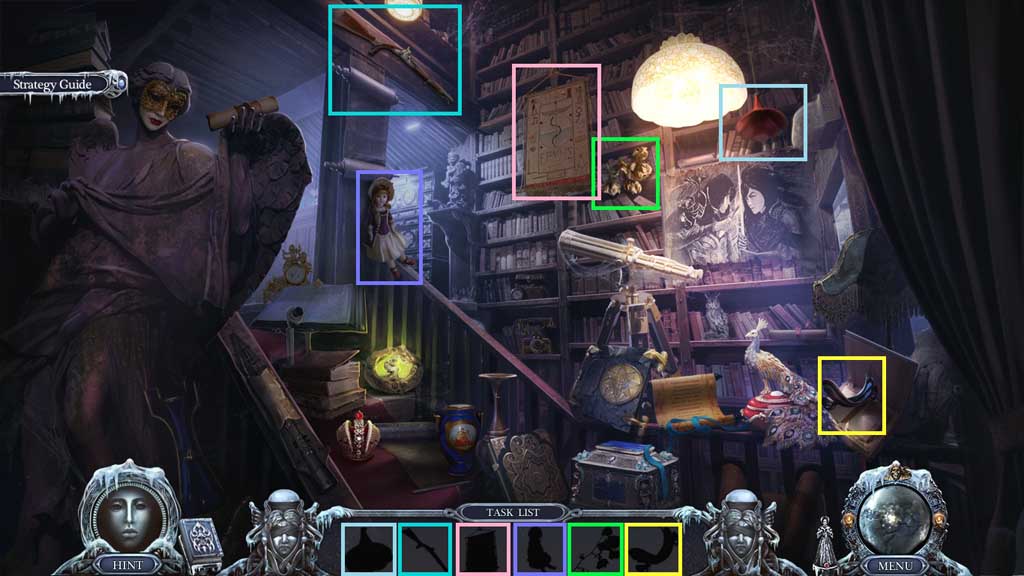
- Insert the seal to trigger a hidden objects area.
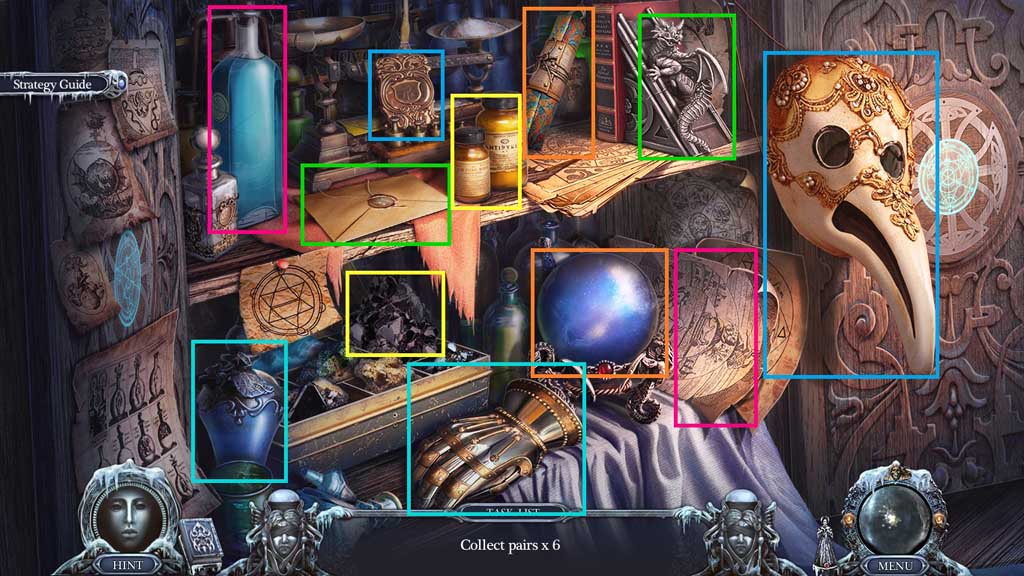
- Find the paired items.
- Collect Alfred’s lamp.
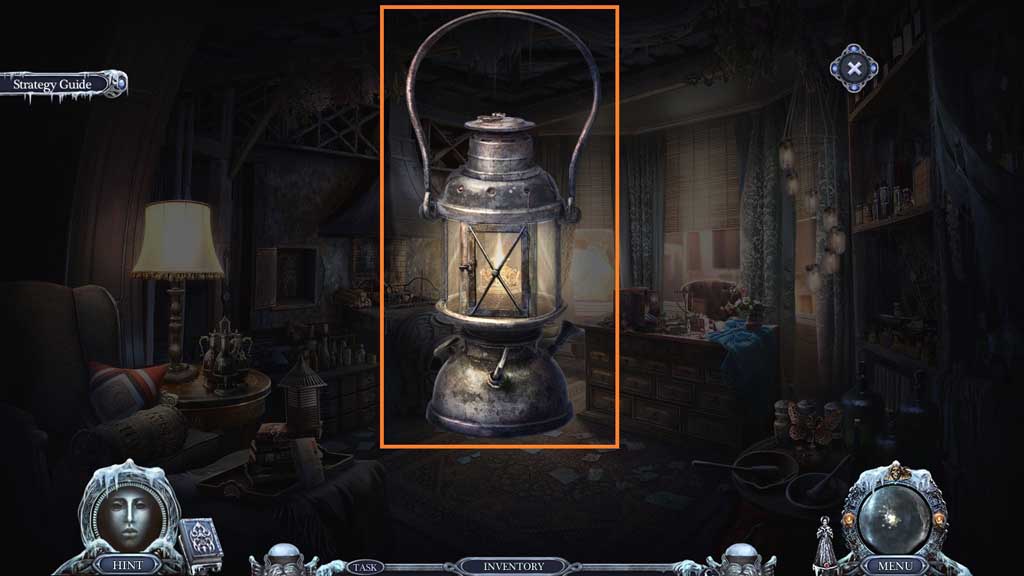
- Zoom into Alfred’s lamp.
- Click it open and use the flint to ignite it, click it closed.
- Collect the burning lamp.
- Move to the area Under the Bridge.
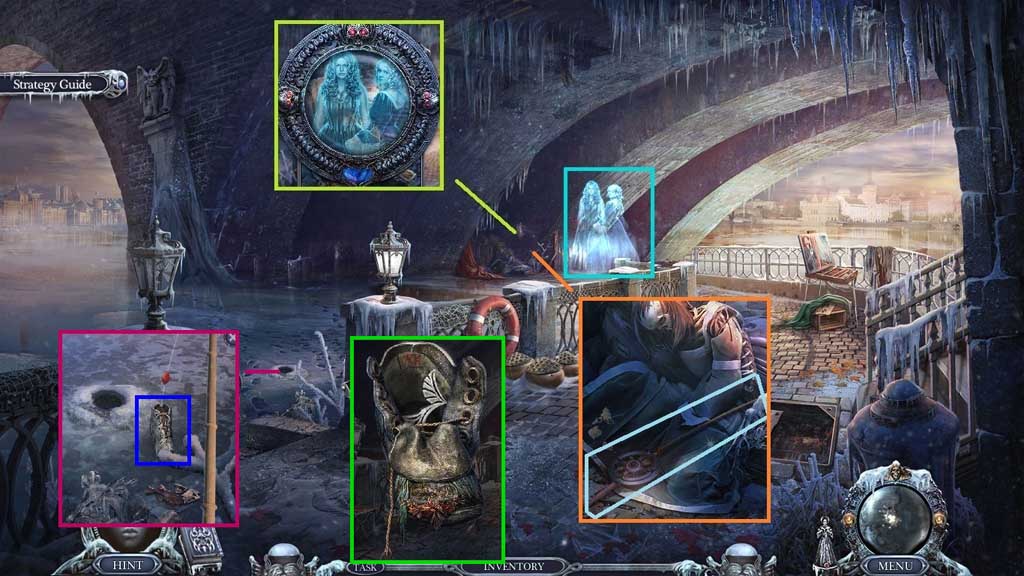
- Select the burning lamp to illuminate the dark space and use Death’s amulet on the area.
- Speak to the spirits; receive the cache part.
- Click the leaves 2x’s; collect the fishing rod and place it into the hole in the ice.
- Click the rod 2x’s ; collect the worn out boot.
- Click the worn out boot 3x’s; collect the cache part.
- Move to Alfred Kristen’s House.
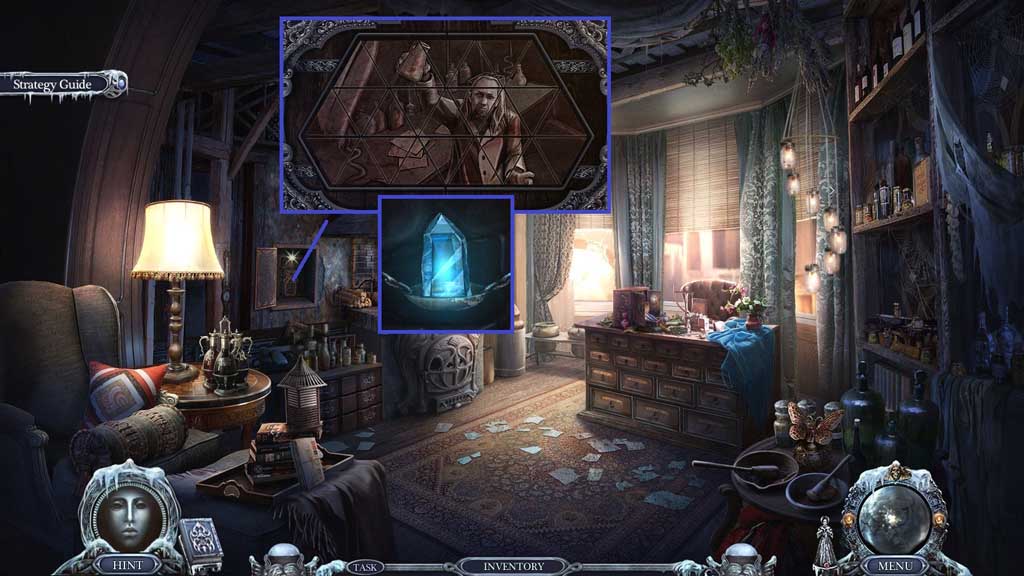
- Insert the 2 cache parts; click to trigger a mini game.
- Solve the game by adjusting the triangles to complete the image.
- Collect the philosopher’s stone.
- Move to Alfred Kristen.
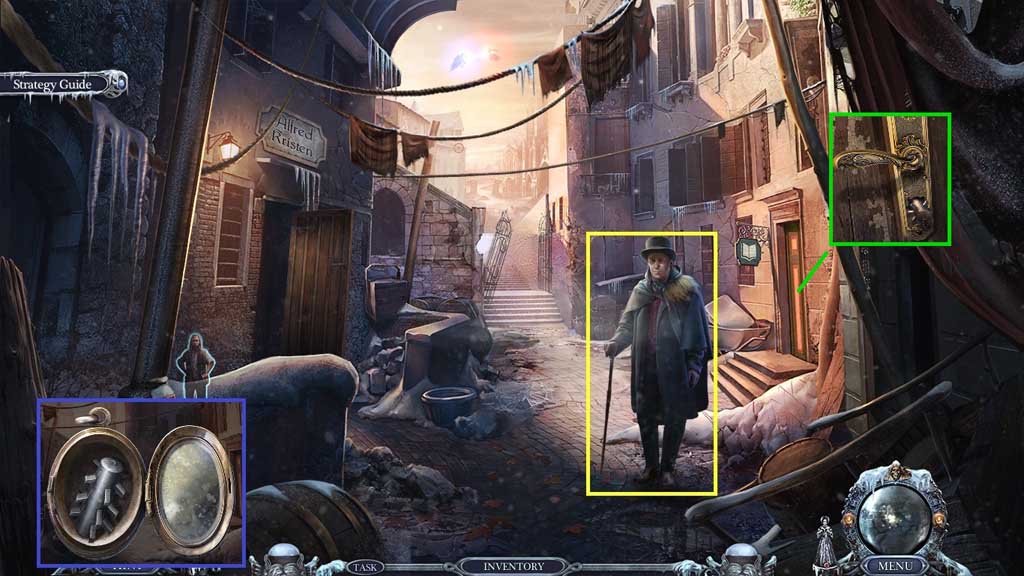
- Select the philosopher’s stone to use on Alfred.
- Speak to Gerard ; receive the archivist amulet.
- Click the archivist’s amulet 2x’s; collect the archivist’s punch card.
- Insert the archivist’s punch card.
- Enter the doorway.
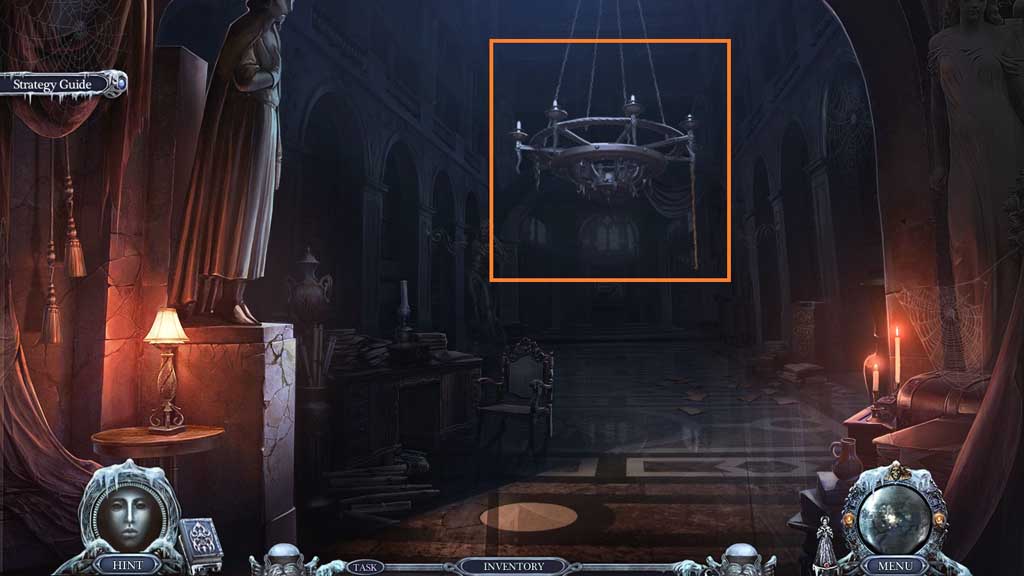
- Select the flint to ignite the chandelier and illuminate the darkness.
- Insert the archivist’s punch card; collect the gargoyle statuette and the torn paper.
- Insert the gargoyle statuette to; collect the dummy key and Gerard’s code.
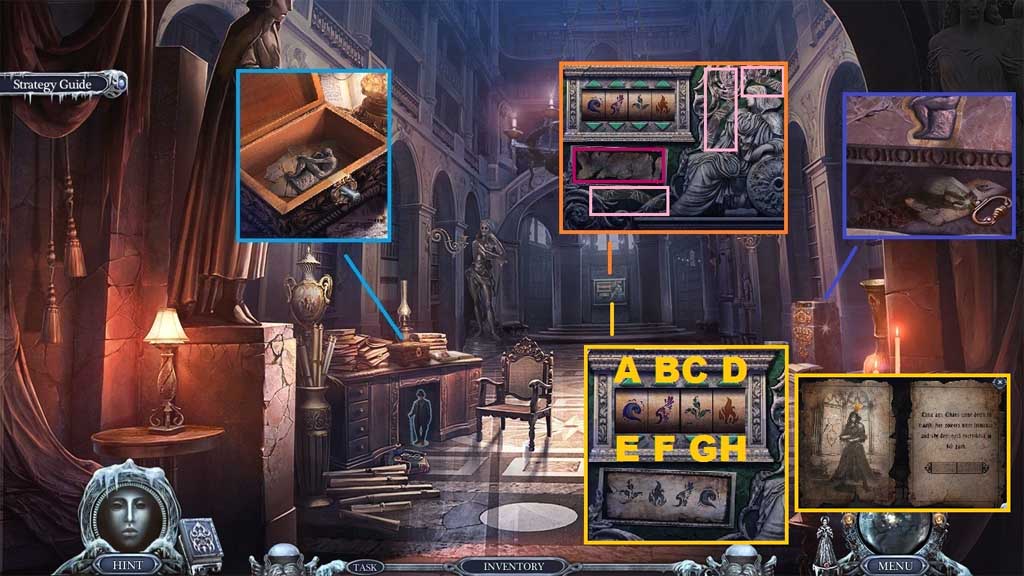
- Collect the adhesive tape; click the faded paper; insert Gerard’s code to trigger a mini game.
- Solve the game by entering the code as shown on the clue.
- Use the following sequence to solve the game H – C – F – F – E – E
- Collect the archivist’s book.
- Zoom into the archivist’s book to trigger a mini game.
- Solve the game by placing the items correctly in the scene.
- Click the diary; collect the paper piece and the transmitter part.
- Click the torn paper and place the paper piece onto it; assemble the pieces.
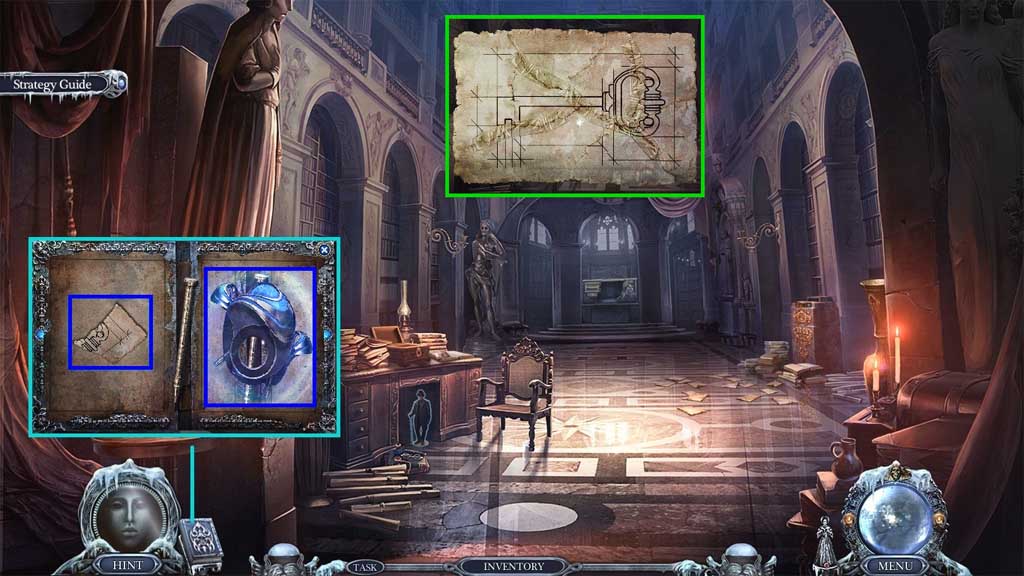
- Select the adhesive tape to repair it; collect the archivist’s key drawing.
- Move to your House.
- Place the archivist’s key drawing into the holder and the key dummy into the mold.
- Click the needle 2x’s; collect the archivist’s stash key.
- Move to the Prague Archive.
- Insert the archivist’s stash key to trigger a hidden objects area.
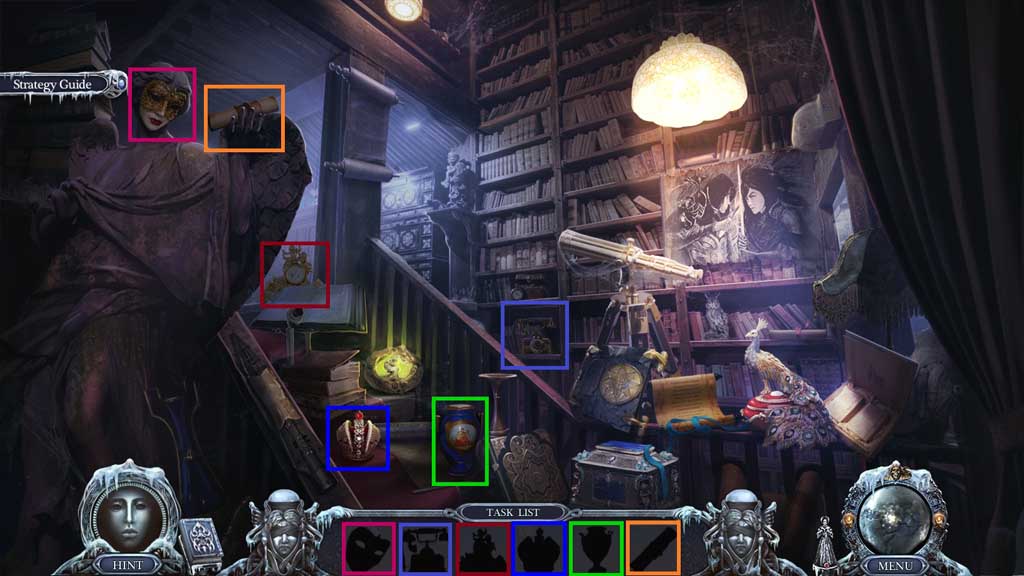
- Find the items.
- Collect the transmitter part.
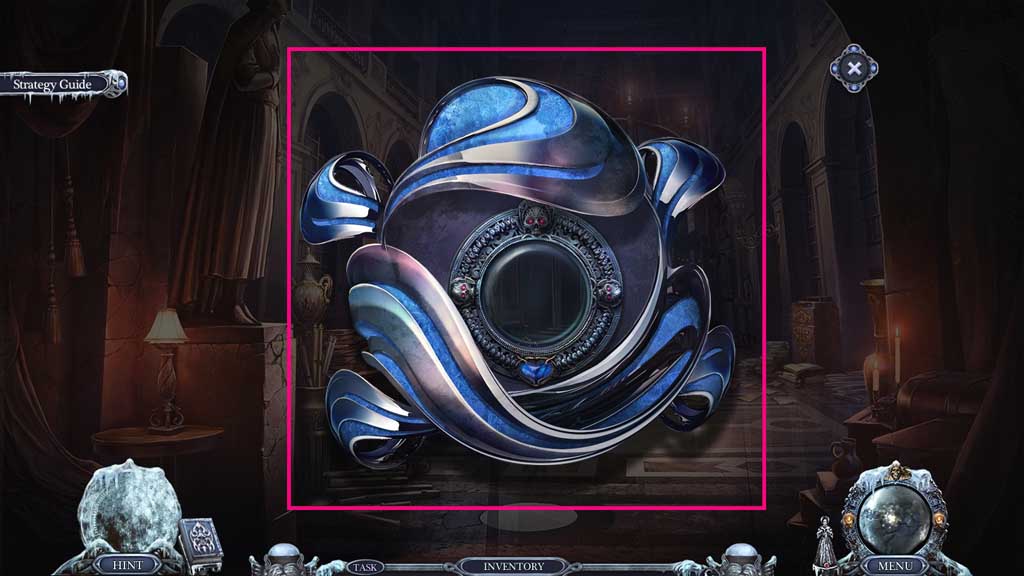
- Click the transmitter part and attach Death’s amulet followed by the final transmitter part.
- Collect the isolation transmitter.
- Move to the area Outside the Cathedral.
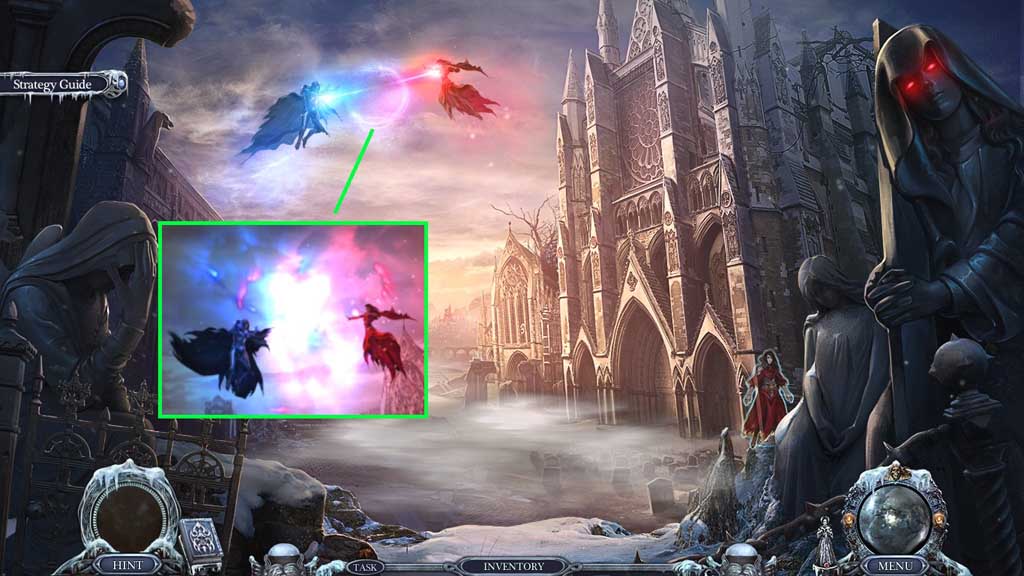
- Select the isolation transmitter to use on the scene.
-
Congratulations! You have successfully completed the main game of Riddles of Fate: Memento Mori C. E.