
Riddles of Fate: Memento Mori: Chapter Two: Paris Part Deux
Our Riddles of Fate: Memento Mori Walkthrough will be a valuable tool as you attempt to hunt down several dangerous criminals for Death who threaten the very existence of the world! Turn to our detailed instructions, our custom marked screenshots, and our simple puzzle solutions whenever your run into a wall in your search or don't know where to turn next! We'll step you through every obstacle and every puzzle to ensure the world survives another day!
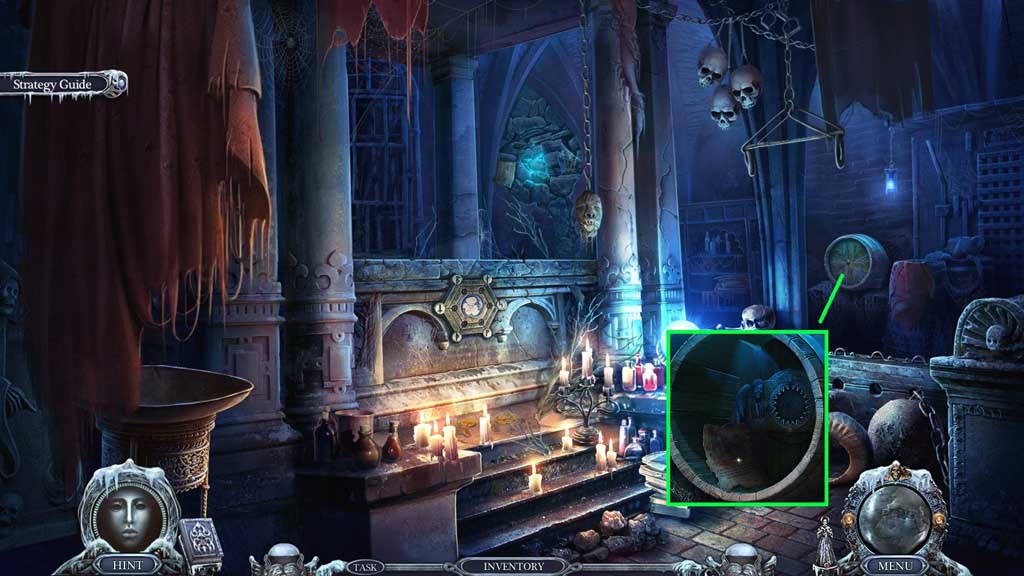
- Select the corkscrew to uncork the barrel; collect the diary page and the sandpaper.
- Move down once.
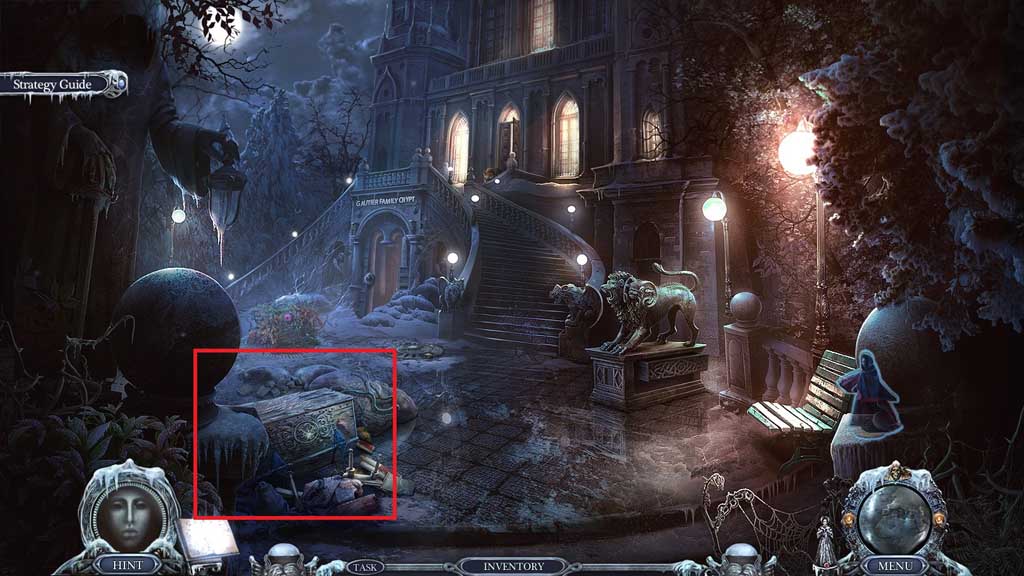
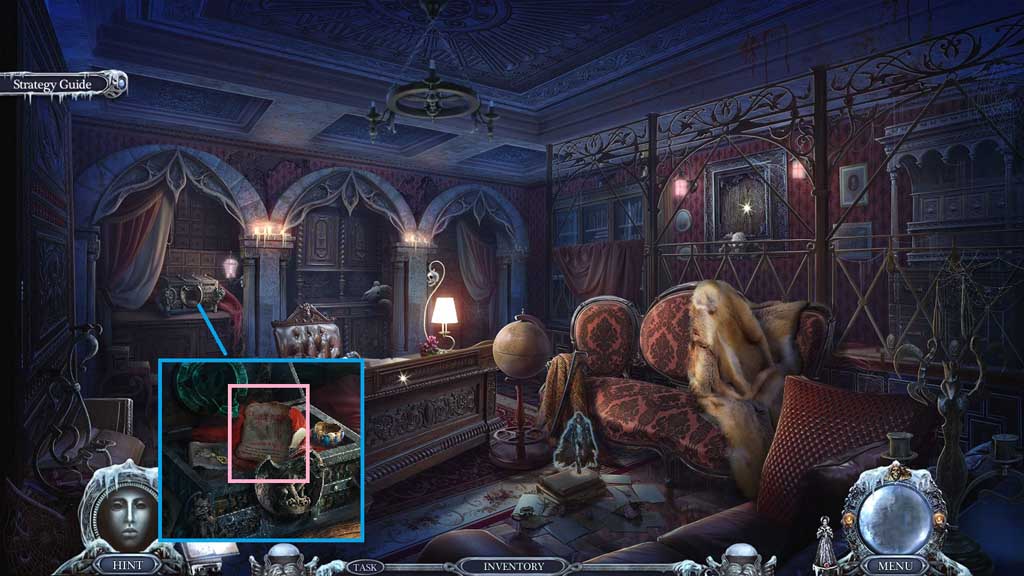
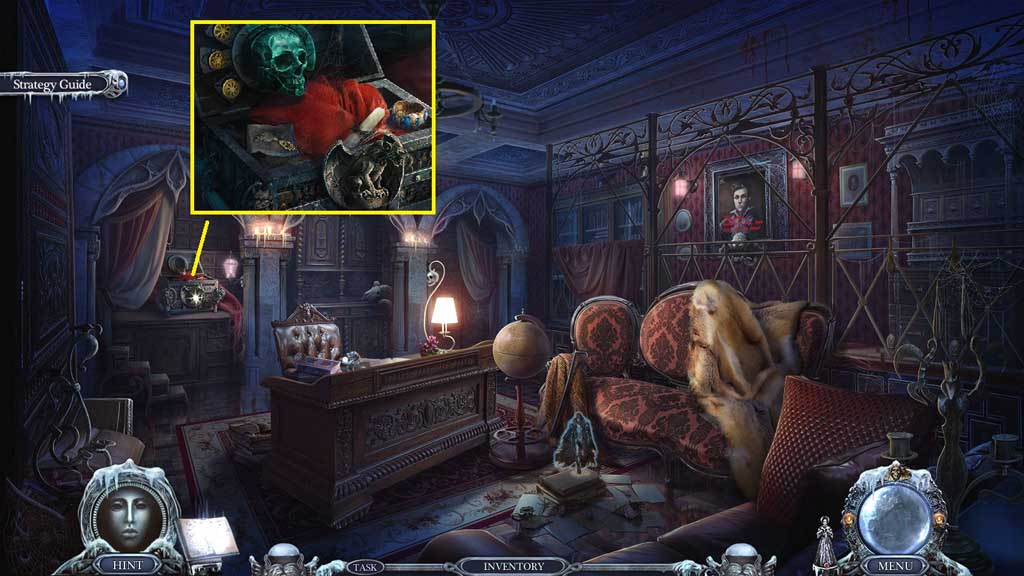
- Select the sandpaper to remove the splinters and click the chest.
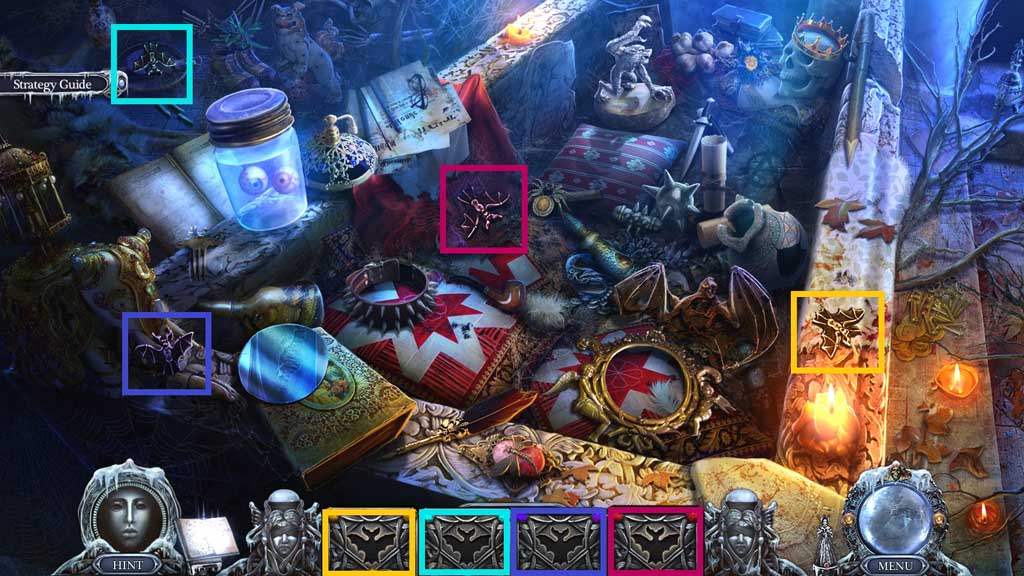
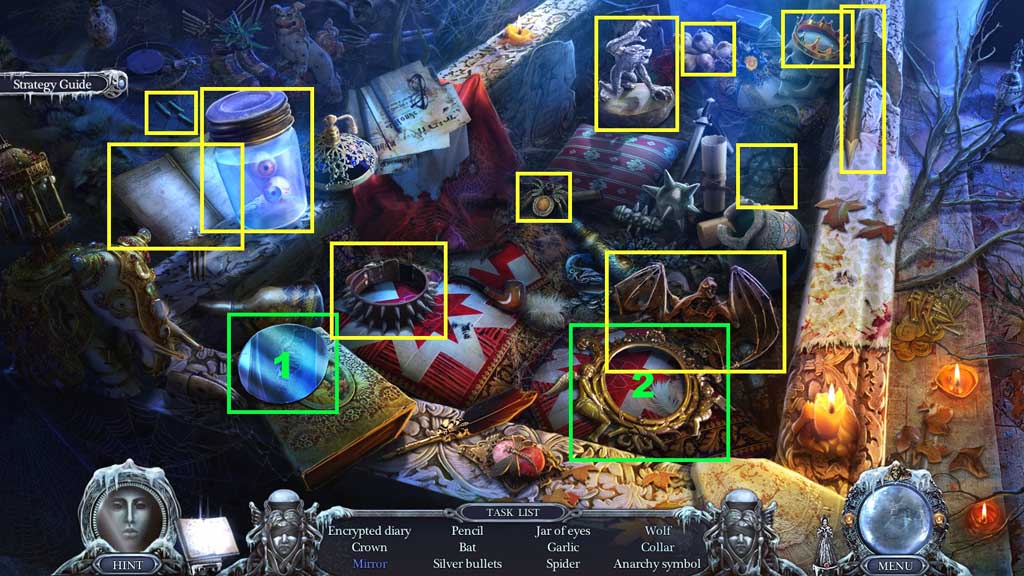
- Click the hidden objects area.
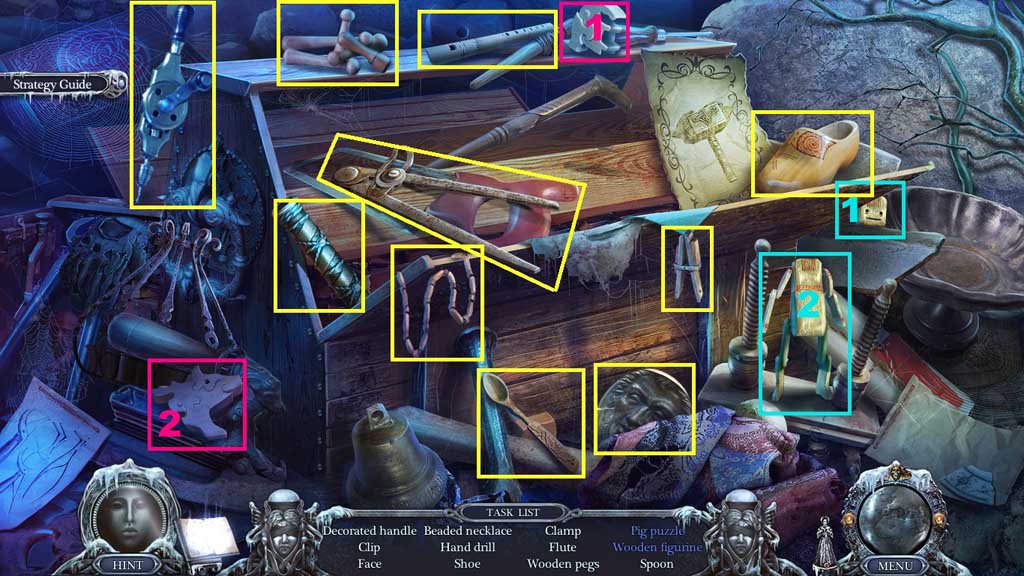
- Find the items.
- Select the puzzle half and place it along with the other half; collect the pig puzzle.
- Select the wooden head and place it onto the wooden body; collect the wooden figurine.
- Collect the decorated handle.
- Move to the Front Hall.
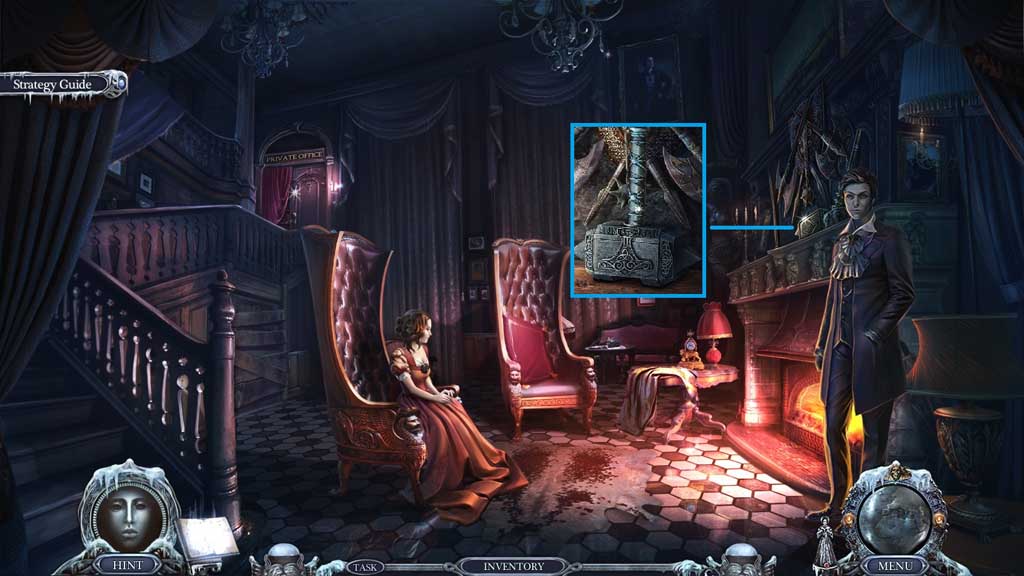
- Attach the decorated handle; collect the enchanted hammer.
- Move to the Family Crypt.
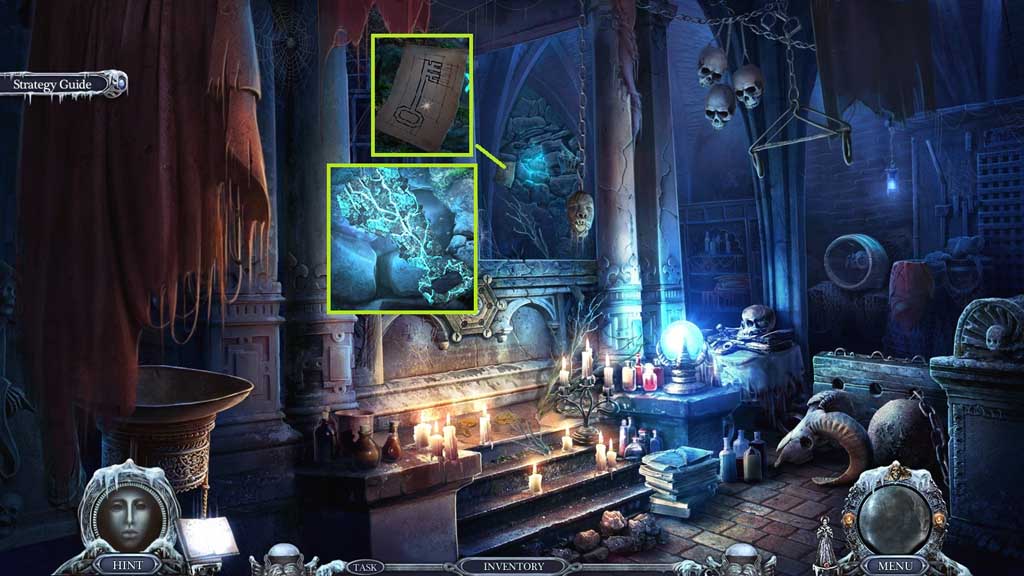
- Collect the key sketch.
- Select the hammer to smash the bricks; collect the glowing ore.
- Move to your House.
- Place the key sketch into the holder and the glowing ore into the mold.
- Click the needle 2x’s; collect the office key.
- Move to the Front Hall.

- Insert the office key and click it once.
- Enter the doorway.
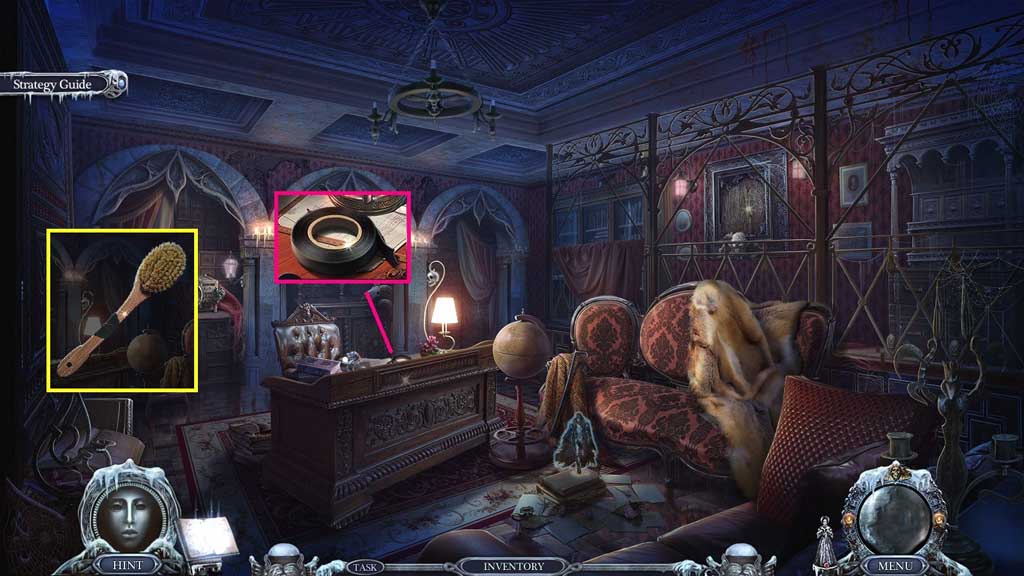
- Collect the electrical tape and use it to repair the broken brush.
- Move to the Family Crypt.
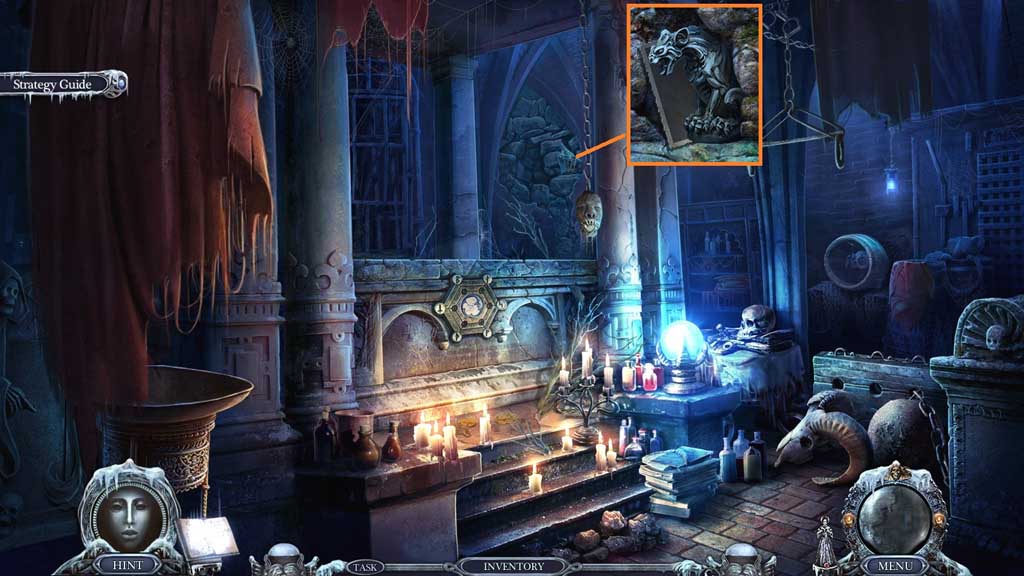
- Select the brush to remove the cobwebs.
- Collect the gargoyle statuette and the undeveloped photo.
- Move to Leonard’s Office.
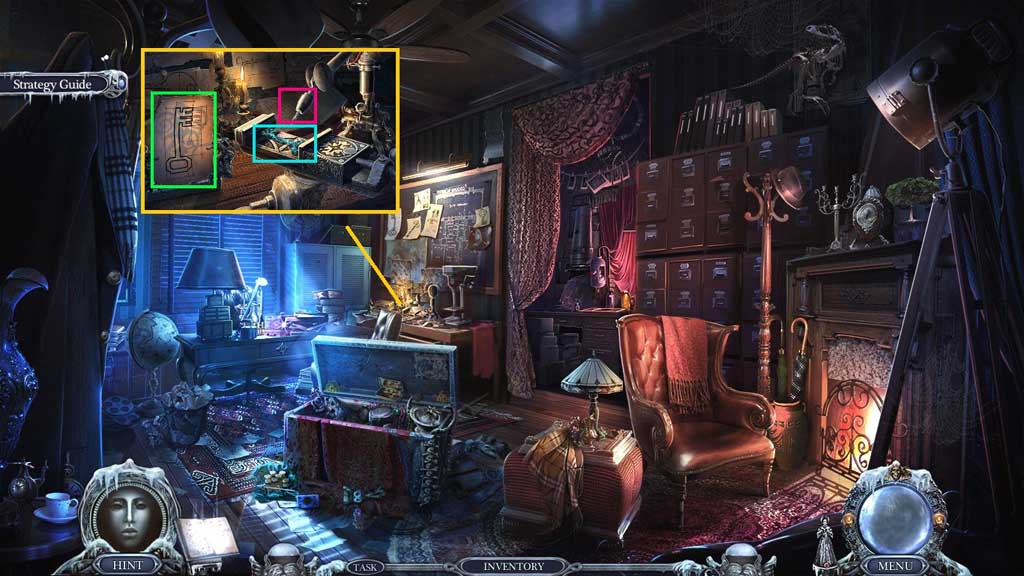
- Select the gargoyle statuette to insert into the box.
- Collect the diary page and the bat symbol parts.
- Move to the Mansion Yard.
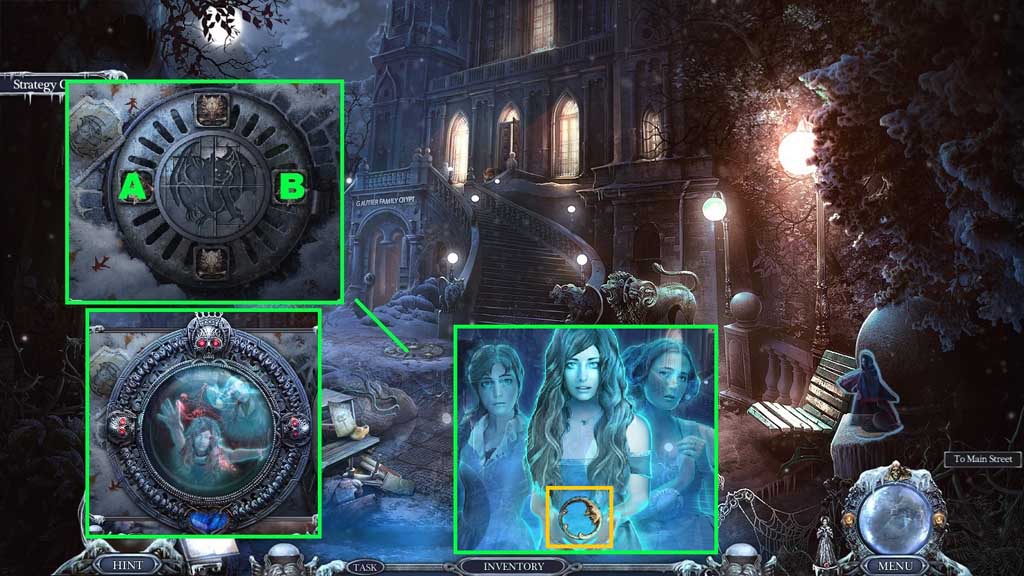
- Insert the bat symbol part to trigger a mini game.
- Solve the game by rotating the parts to match the image.
- Use the following solution to solve: A x 3 – B x 3
- Select Death’s amulet to use on the hole; click it once.
- Collect the glowing amulet.
- Move to the Family Crypt.
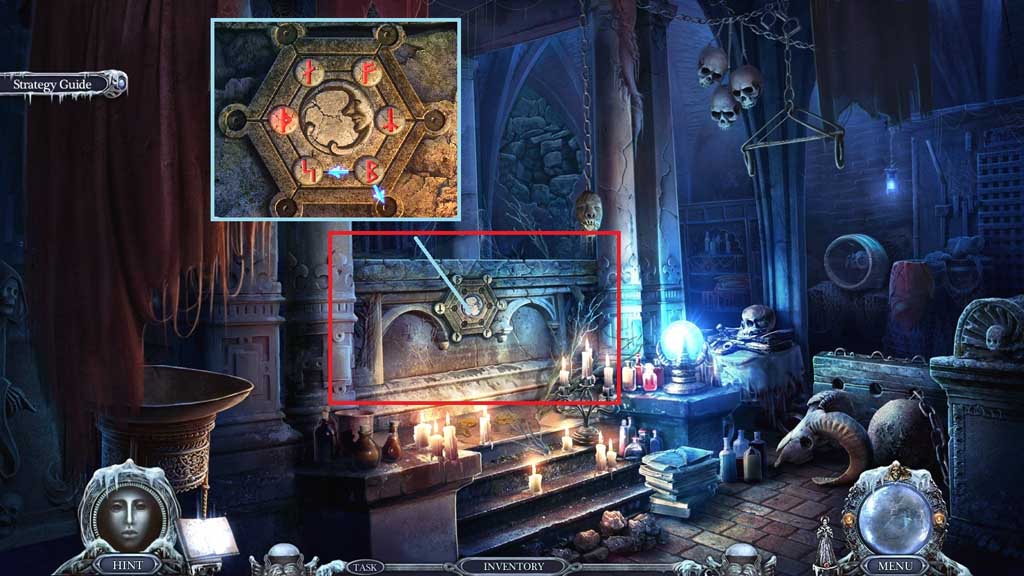
- Insert the glowing amulet to trigger a mini game.
- Solve the game by adjusting the runes correctly.
- Click the hidden objects area.
- Find the items.
- Select the mirror and place it into the frame; collect the mirror.
- Collect the encrypted diary.
- Move to your House.
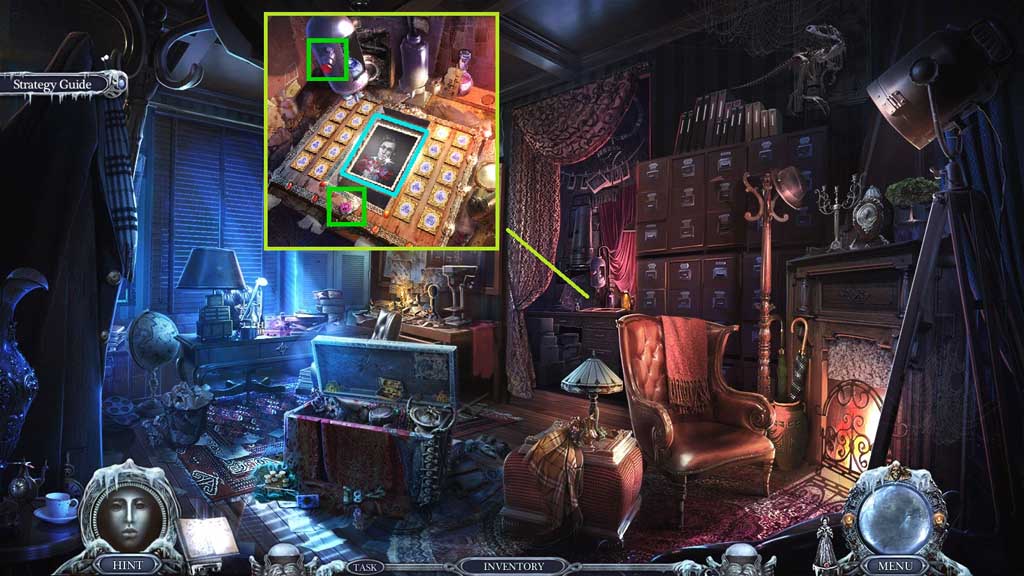
- Place the undeveloped photo onto the rack and click the buttons.
- Collect Leonard’s portrait.
- Move to Leonard’s Office.
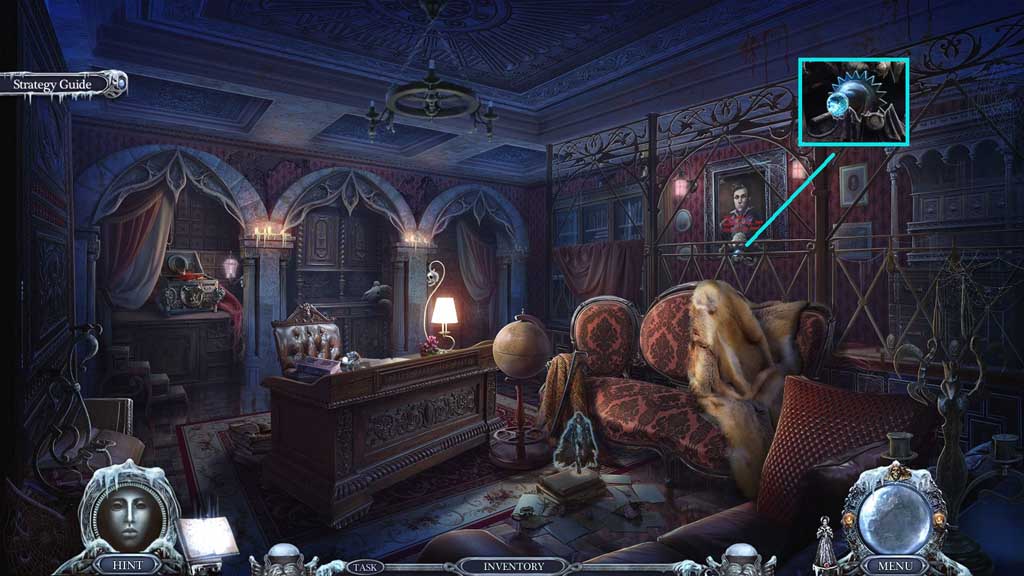
- Insert Leonard’s portrait.
- Collect the family seal.
- Move to the Family Crypt.
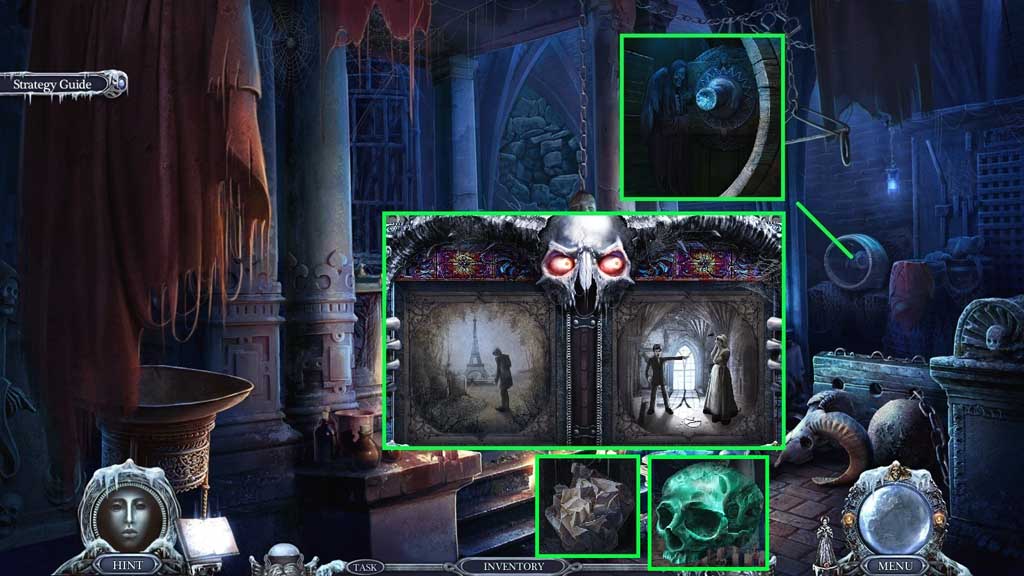
- Place the family seal to trigger a mini game.
- Solve the game by assembling the images correctly.
- Collect the package and click it 4x’s.
- Collect the skull.
- Move to Leonard’s Office.
- Attach the skull.
- Collect the 3 coins.
- Move to the Tower Park.
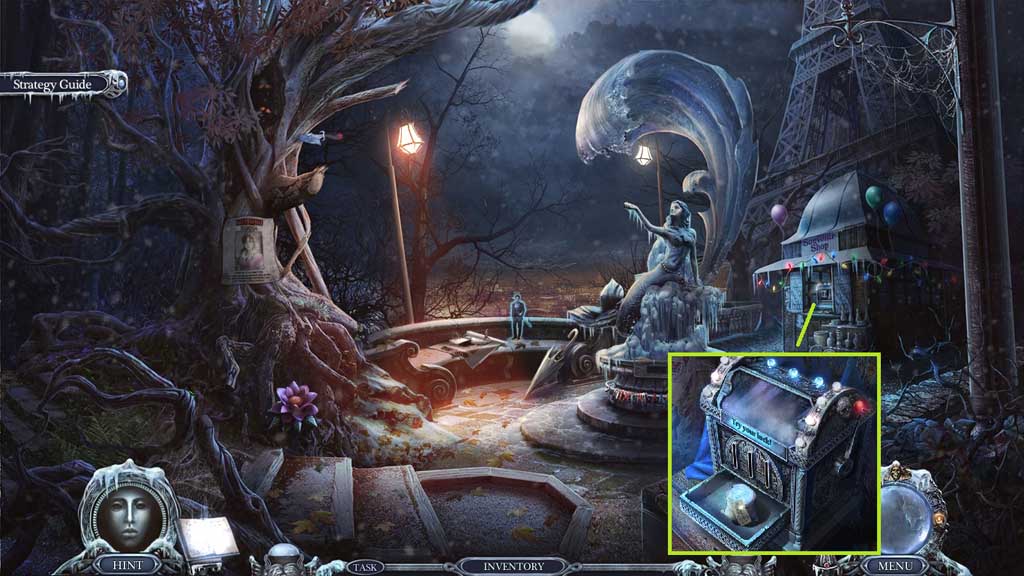
- Insert the 3 coins; click the lever.
- Collect the glowing powder.
- Move to your House.
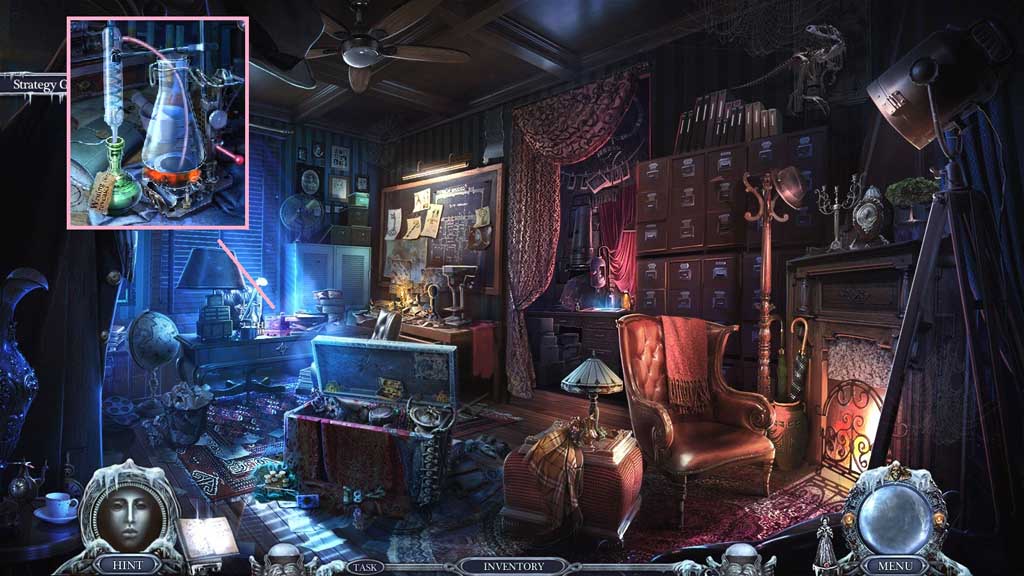
- Place the empty bottle beneath the tube and pour the glowing powder into the beaker.
- Click the lever.
- Collect the writing revealer.
- Click the bottle from the mechanism and replace it with the writing revealer.
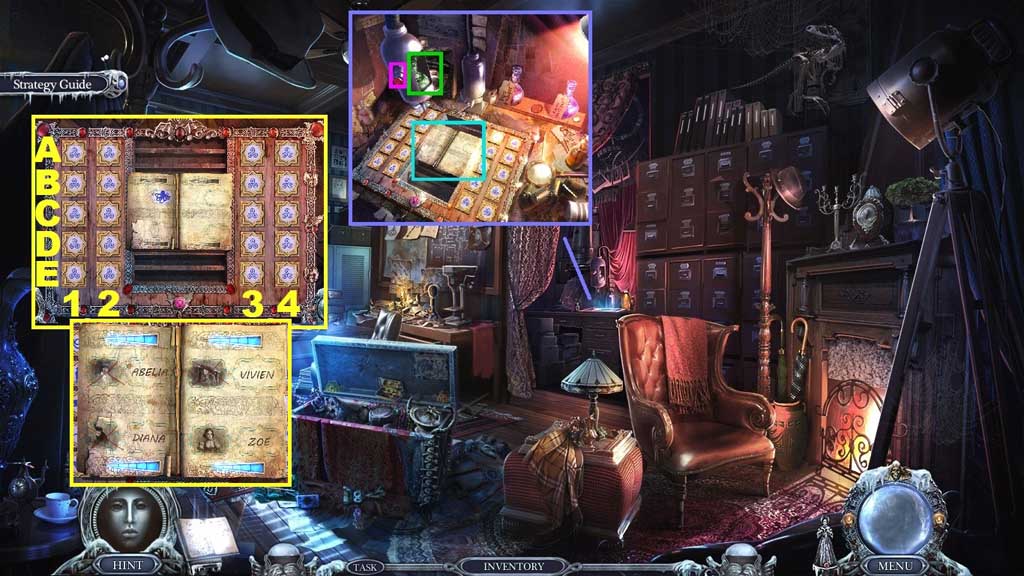
- Place the encrypted diary onto the rack and click the button to trigger a mini game.
- Solve the game by clicking the tiles to match what is shown in the book.
- Use the following sequence to solve:
- Part A: E2 – C2 – B1 – A2 – C1
- Part B: E1 – A3 – E3 – A1 – D2
- Part C: D1 – C4 – D4 – E4 – C3
- Part D: B4 – B3 – D3 – A4 – D2
- Collect the victim’s list.
- Move to the Front Hall.
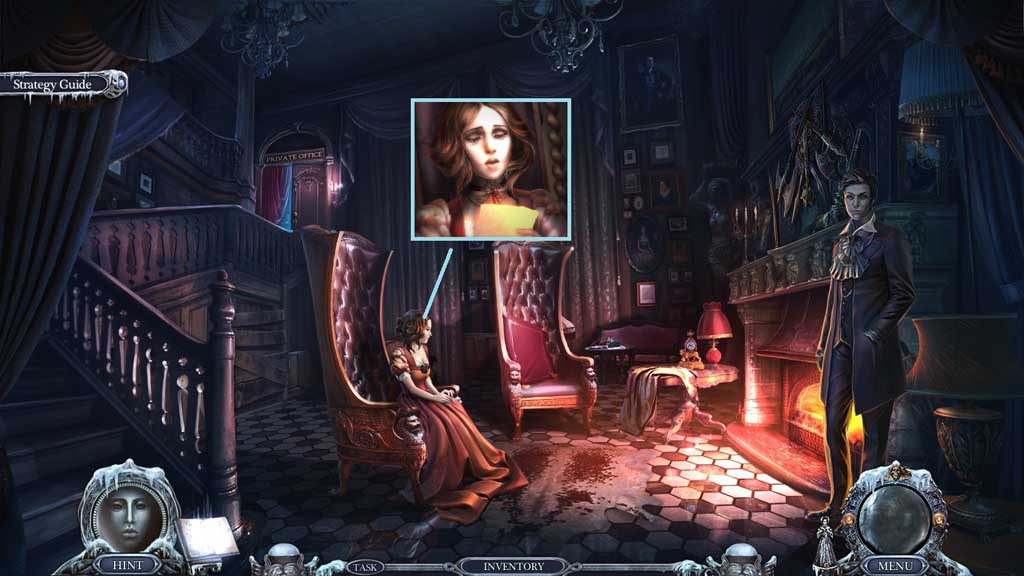
- Select the victim’s list to give to Zoe.
- Move to London and go to the Apartment.