
Riddles of Fate: Memento Mori: Chapter Four: London Redux
Our Riddles of Fate: Memento Mori Walkthrough will be a valuable tool as you attempt to hunt down several dangerous criminals for Death who threaten the very existence of the world! Turn to our detailed instructions, our custom marked screenshots, and our simple puzzle solutions whenever your run into a wall in your search or don't know where to turn next! We'll step you through every obstacle and every puzzle to ensure the world survives another day!
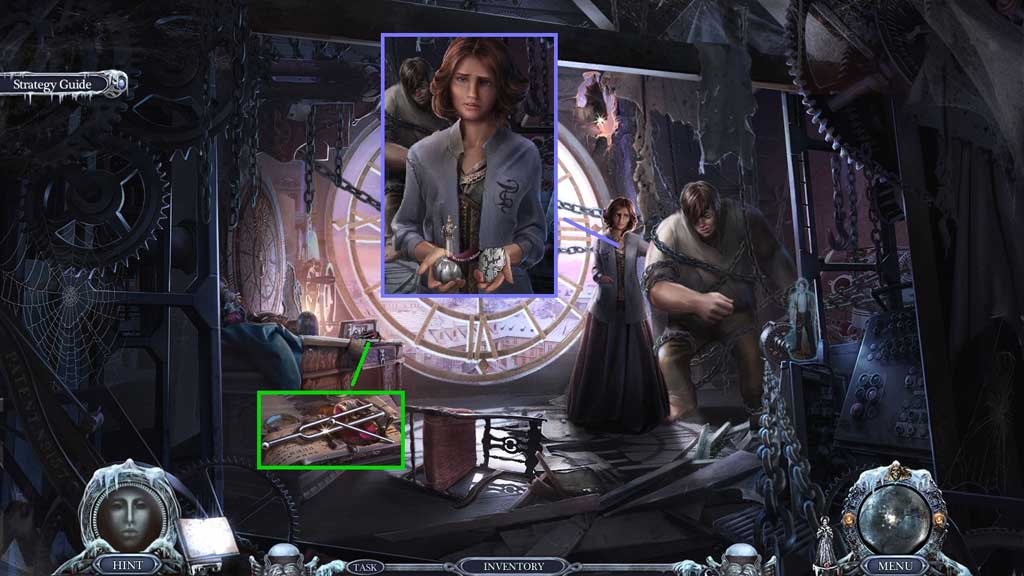
- Speak to Emily.
- Collect the inhibitor bottle and the lab code.
- Collect the tuning fork.
- Move down once.
- Select the tuning fork to break the glass.
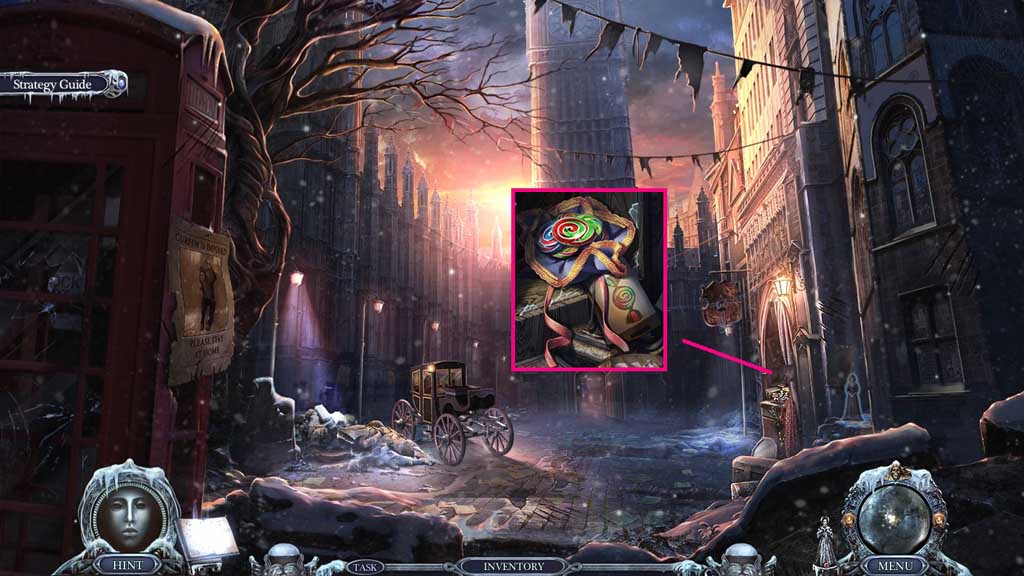
- Click the candy bag 3x’s; collect the candy.
- Move ahead.
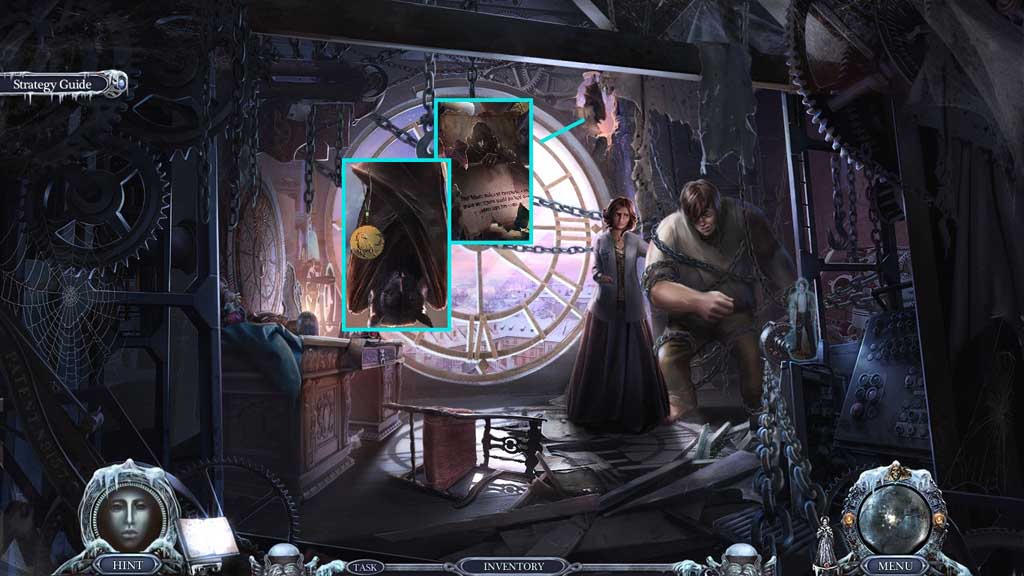
- Collect the diary page.
- Select the candy to feed the bat; collect the medal.
- Move down once.
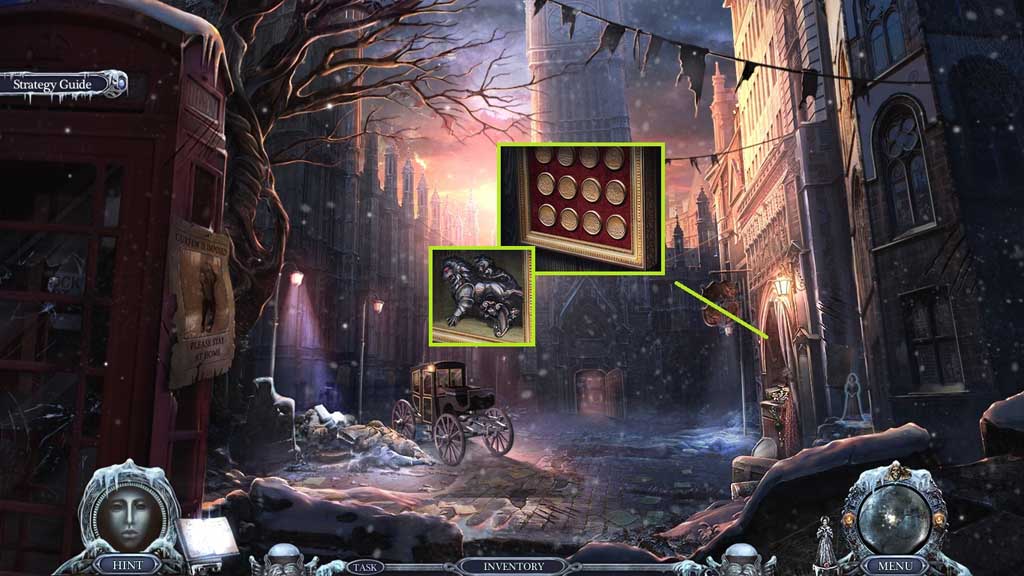
- Insert the medal; collect the lion statuette.
- Move ahead.
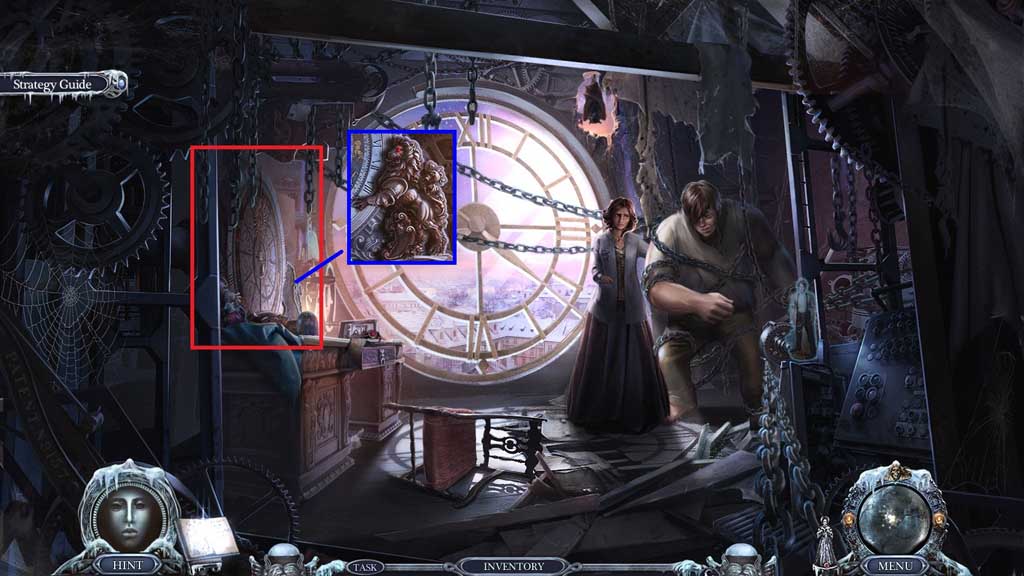
- Place the lion statuette.
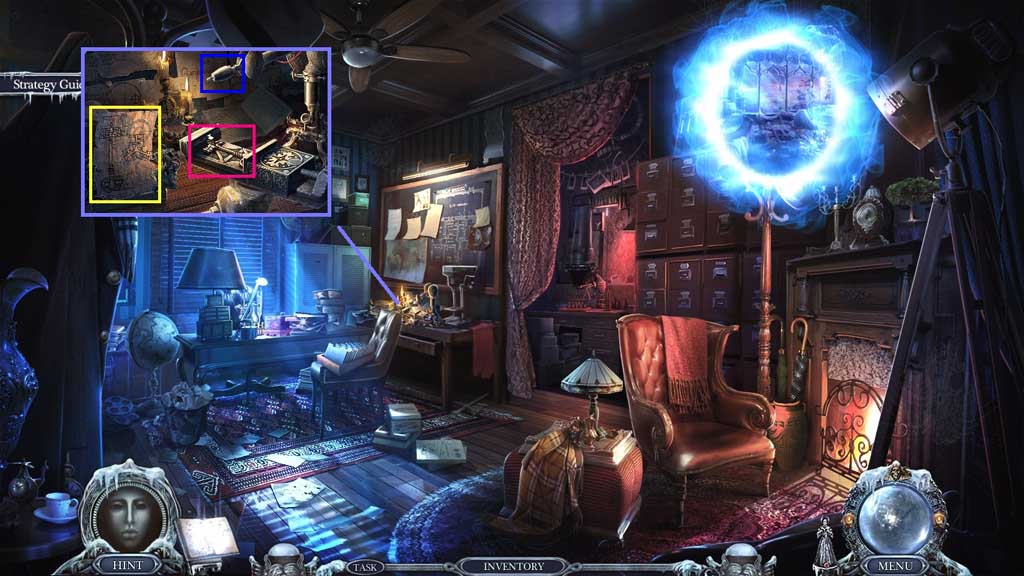
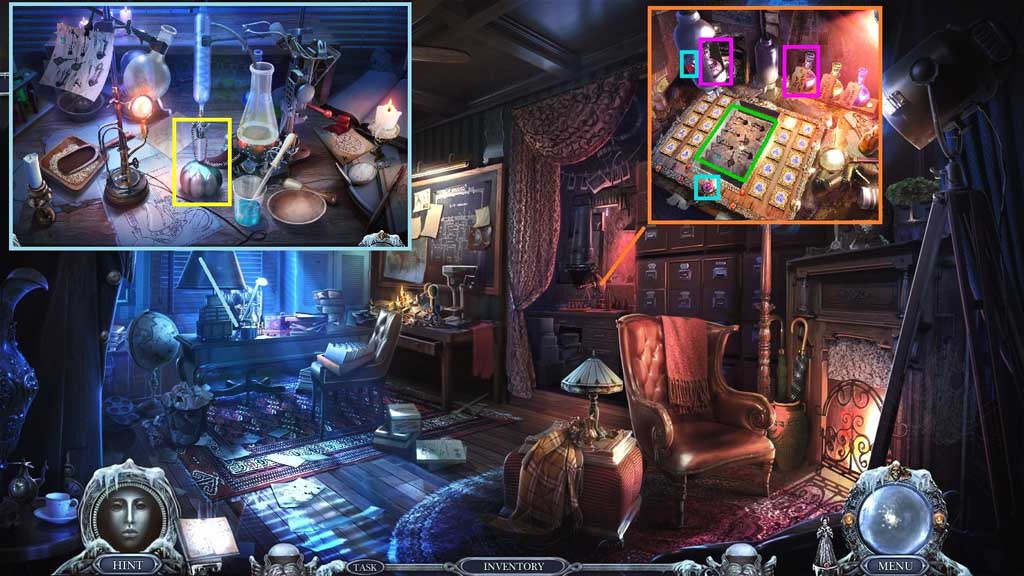
- Click the sundial to trigger a hidden objects area.
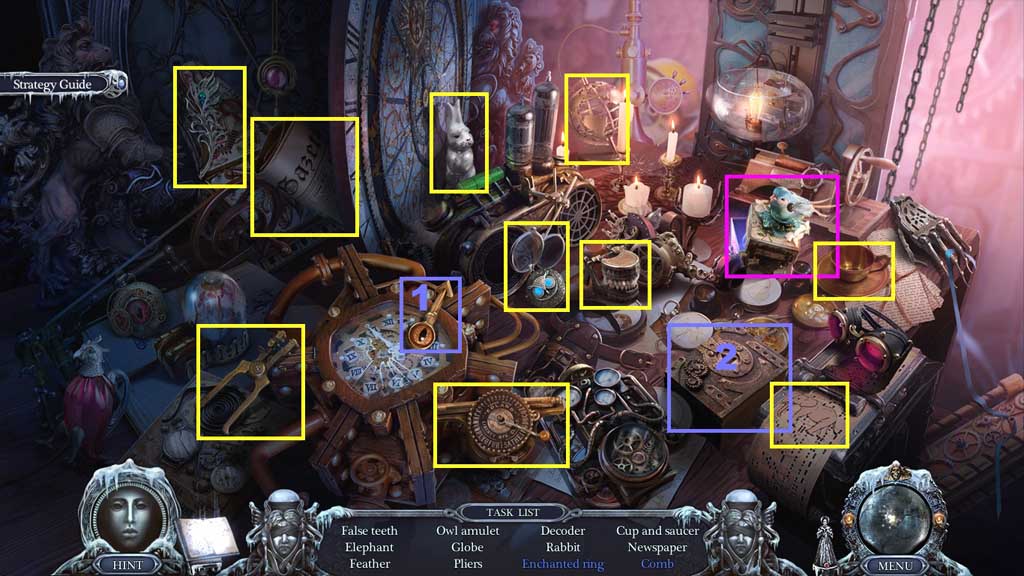
- Find the items.
- Click the bird box; collect the enchanted ring.
- Select the triangle key and insert it into the box; collect the comb.
- Collect the enchanted ring.
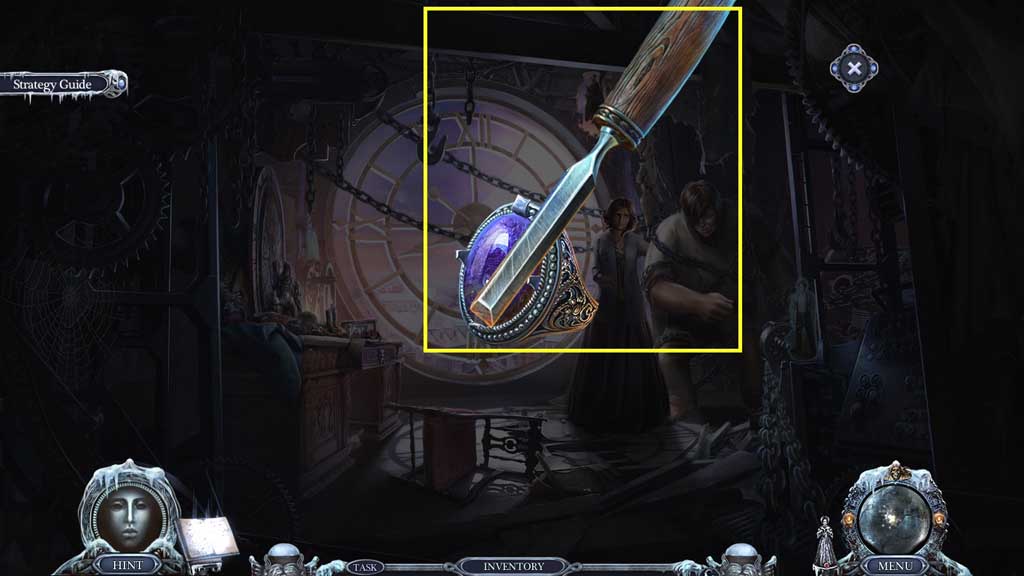
- Select the enchanted ring and use the chisel to loosen the gem stone.
- Collect the gem.
- Move to the Pharmacy.
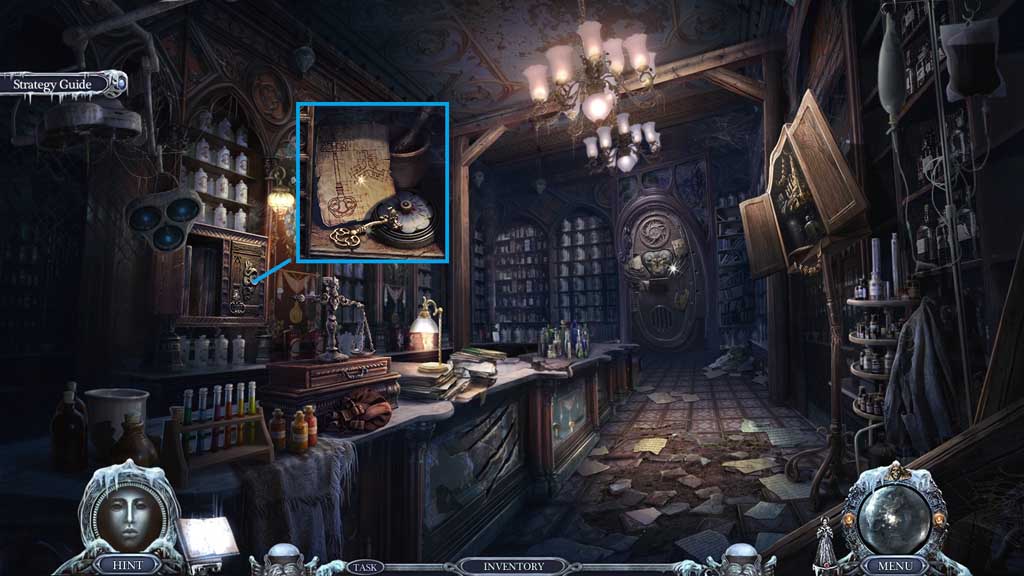
- Insert the gem.
- Click the cabinet; collect the broken lab key and the lab key sketch.
- Move to your House.
- Place the lab sketch into the holder and the broken lab key into the mold.
- Click the needle 2x’s; collect the lab key.
- Move to the Pharmacy.
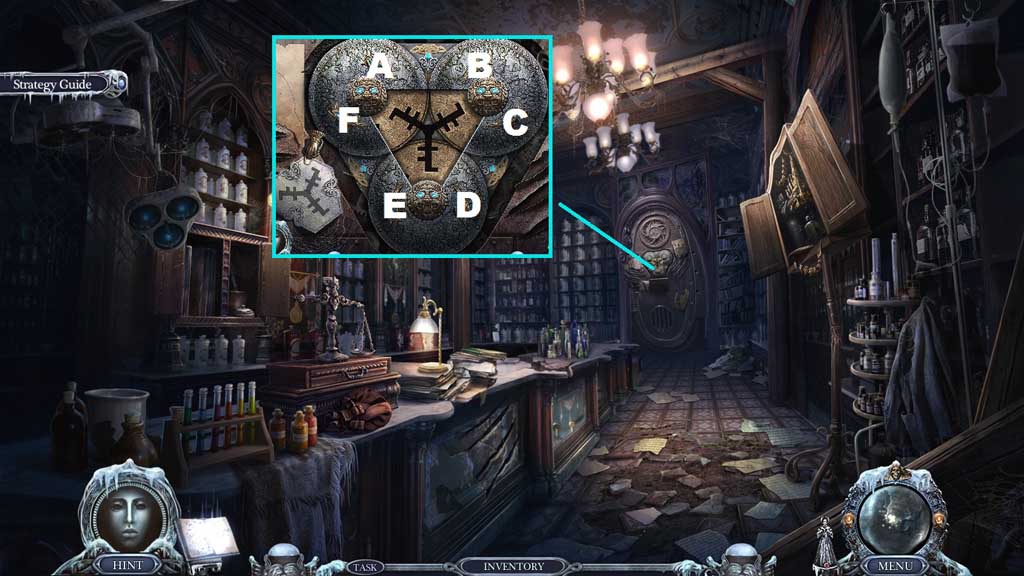
- Place the lab key and the lab code to trigger a mini game.
- Solve the game by adjusting the locks to match the diagram.
- Use the following solution to solve the game E x 4 – A x 2
- Move ahead.
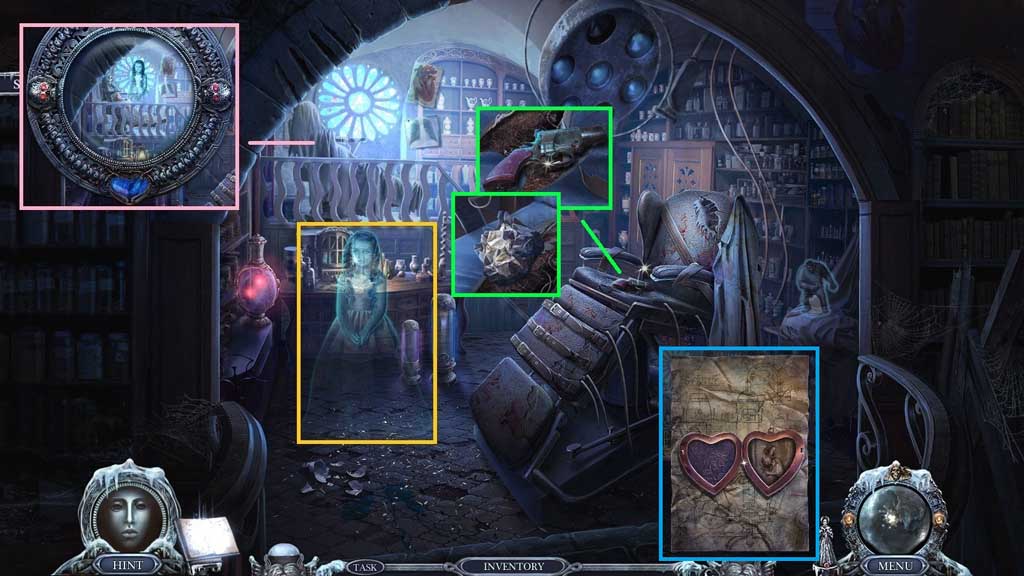
- Click the cloth and use death’s amulet on the skeleton; click it once.
- Speak to the girl; receive the belt.
- Collect the signal flare; collect Emily’s parcel.
- Click Emily’s parcel 3x’s.
- Collect Emily’s amulet.
- Collect the encoded recipe.
- Move to the Apartment.
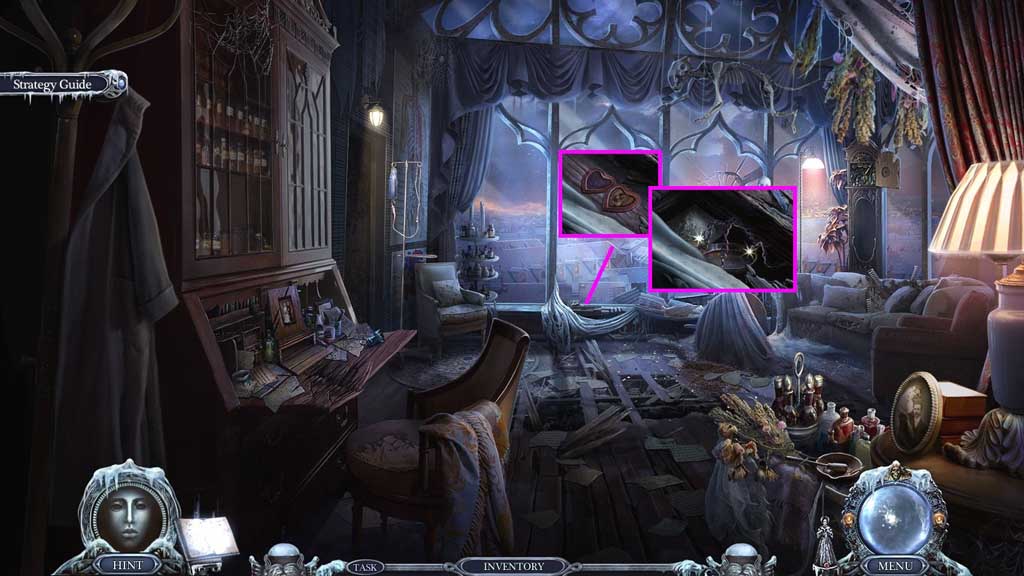
- Insert Emily’s amulet.
- Collect the ingredient and the scale.
- Move to the Pharmacy.
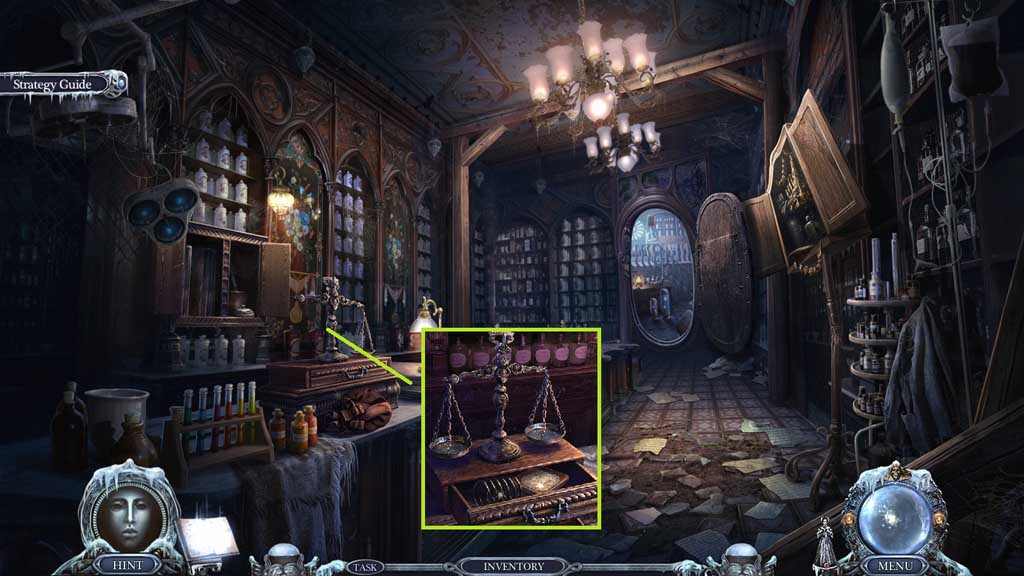
- Place the scale and collect the spring and the ingredient.
- Move ahead.
- Click the mechanism; collect and replace the spring.
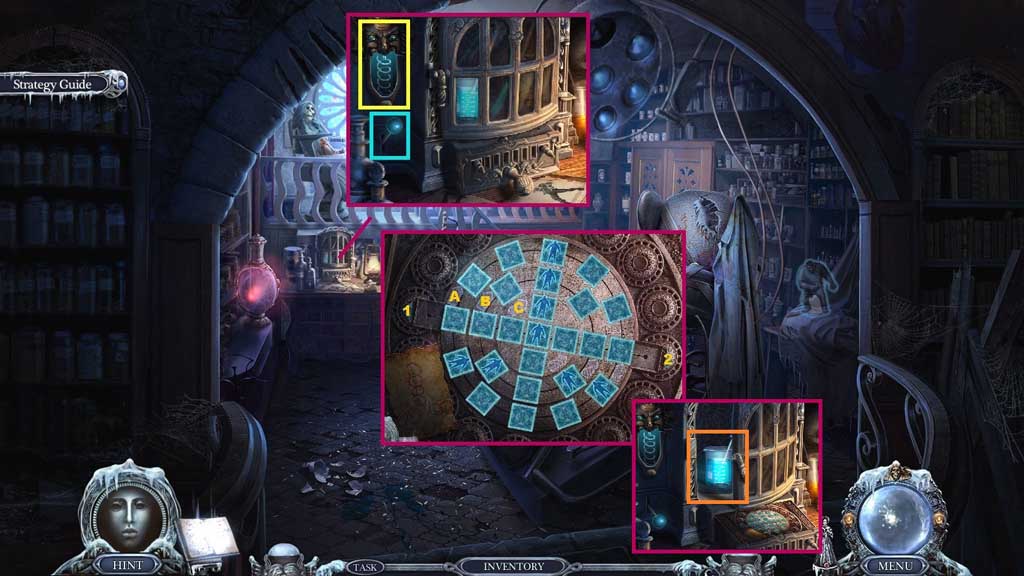
- Click the lever to trigger a mini game.
- Solve the game by aligning the images as shown on the diagram.
- Use the following sequence to solve: 1 – C – 2 – C – 2 – C – 1 – 1 – B – B – A – A
- Collect the ingredient.
- Move to your House.
- Place the encoded recipe onto the rack.
- Select the paper developer bottle and insert it into the mechanism.
- Click the buttons.
- Collect the medicine recipe.
- Place the inhibitor bottle, the medicine recipe and the 3 ingredients onto the table to trigger a mini game.
- Solve the game by correctly following the recipe shown on the diagram.
- Collect the medicine.
- Move to the Tower Top.
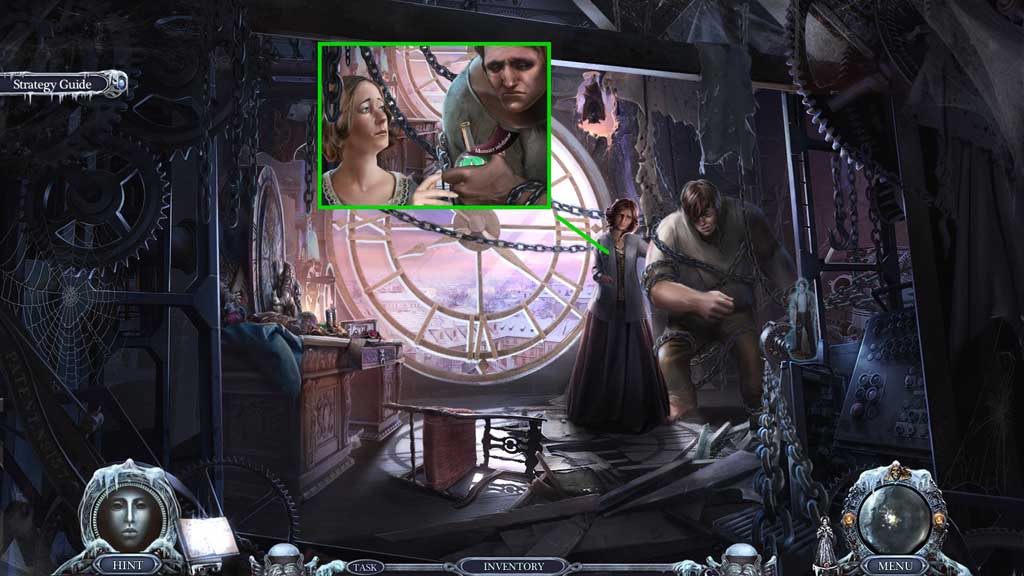
- Give Emily the medicine.
- Move to Prague and go to the Bridge.