
Grim Facade: The Cost of Jealousy: Chapter Seven: Finale
Our Grim Facade: Cost of Jealousy Walkthrough will help you unravel this elaborate mystery brimming with intrigue, deceit, and betrayal. Rely on our trusty tips, puzzle solutions, and in-depth instructions to weave your way to the truth in this exciting whodunit hidden object adventure game.
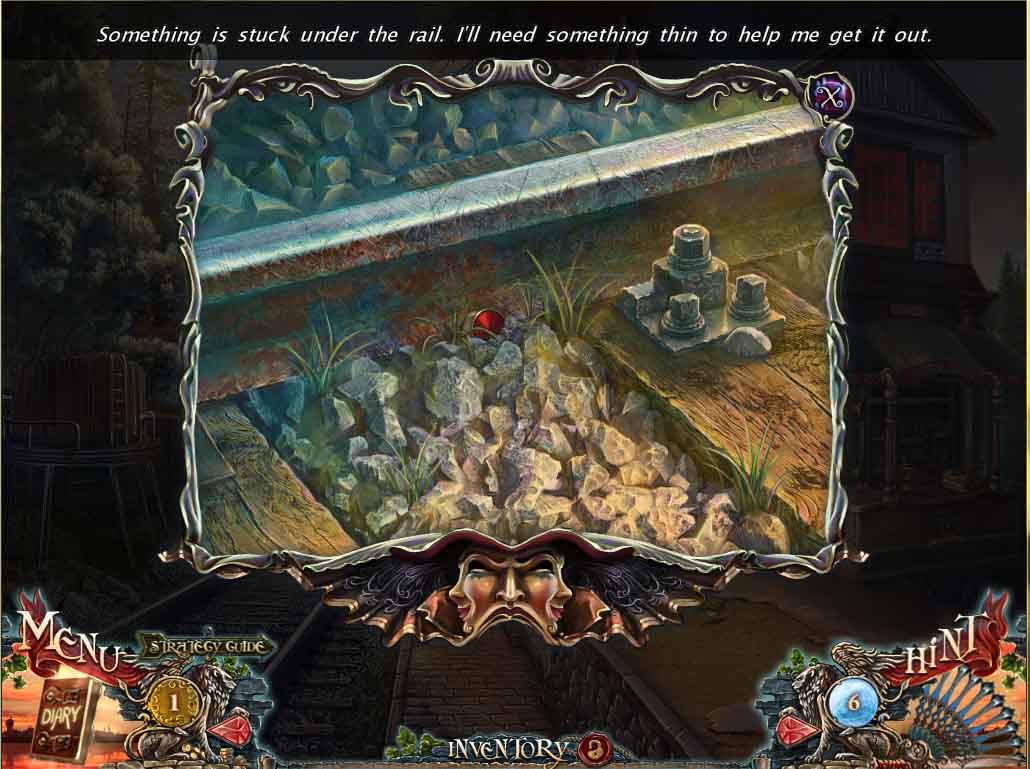
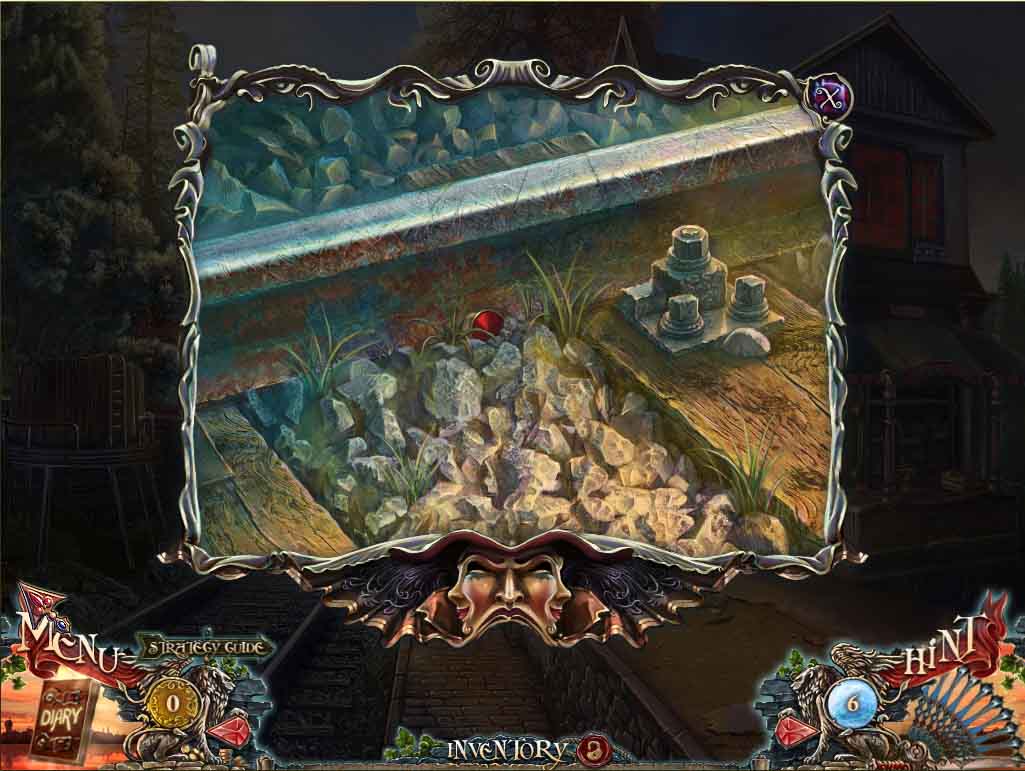
- Take a look at the water tank on the left and note the object you can’t quite reach.
- Next zoom in on the rails and take a look at the object jammed underneath.
- Zoom out and head to the shop on the right.
- Approach the shop and buy the CROWBAR – why does it say you’ve ‘found it’ at point of purchase?
- And why doesn’t this shop – or any of the shops – sell some good ol’ food?
- You haven’t eaten for days since starting out on this job!
- Zoom out.
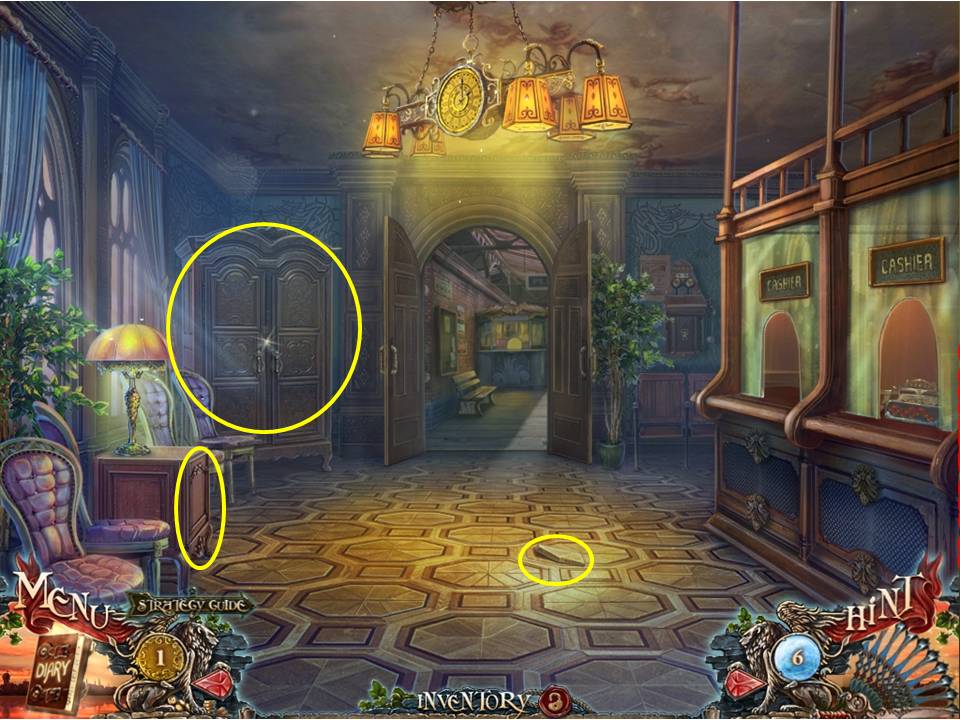
- Look closely at the floor and pick up the gold coin lying loosely on the floor.
- The use the CROWBAR to prize up the flooring – take the KEY and the BUTTON.
- Note the cabinet on the left and use the KEY to open it.
- Take the HORSE and the EMPTY BUCKET inside.
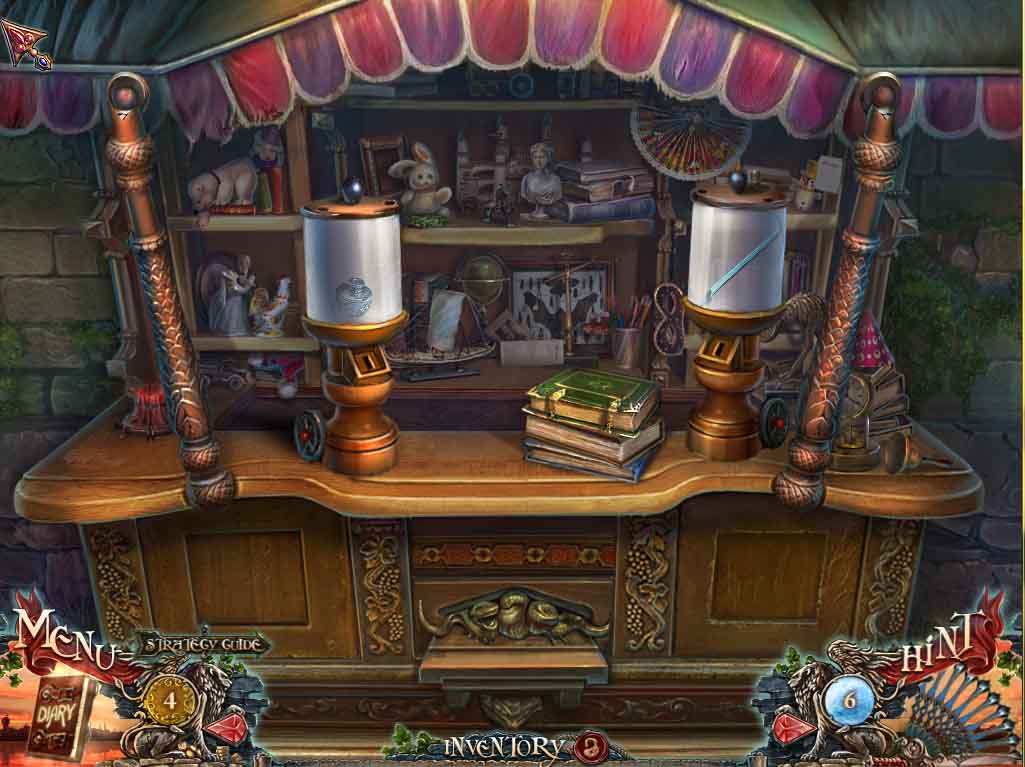
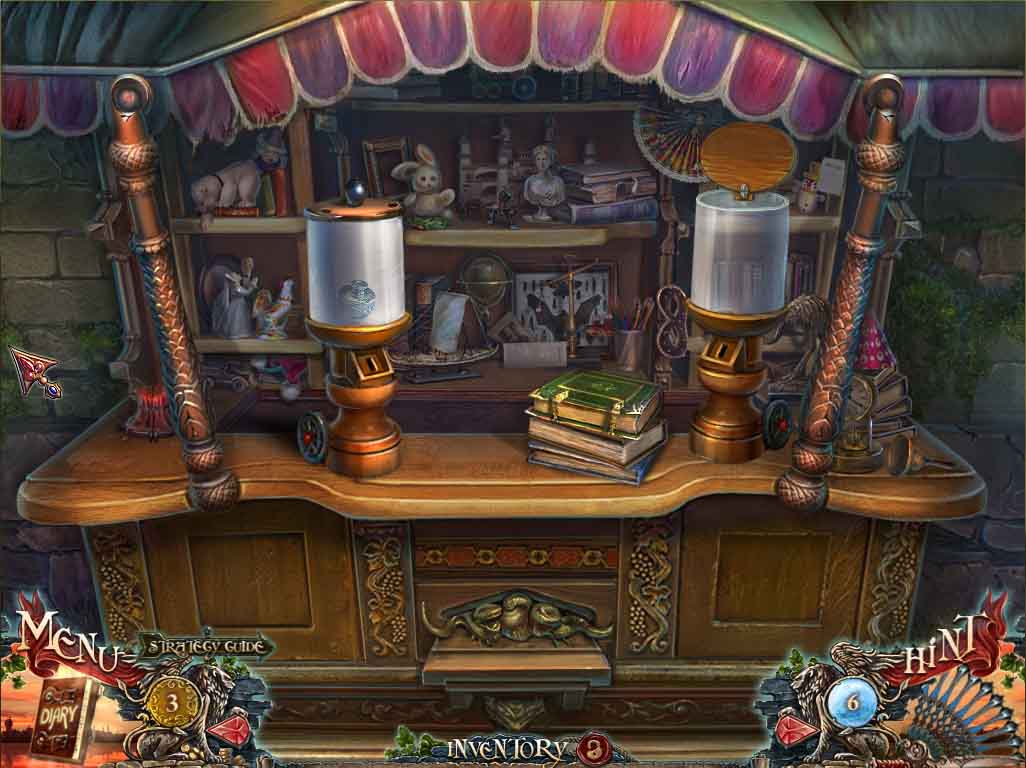
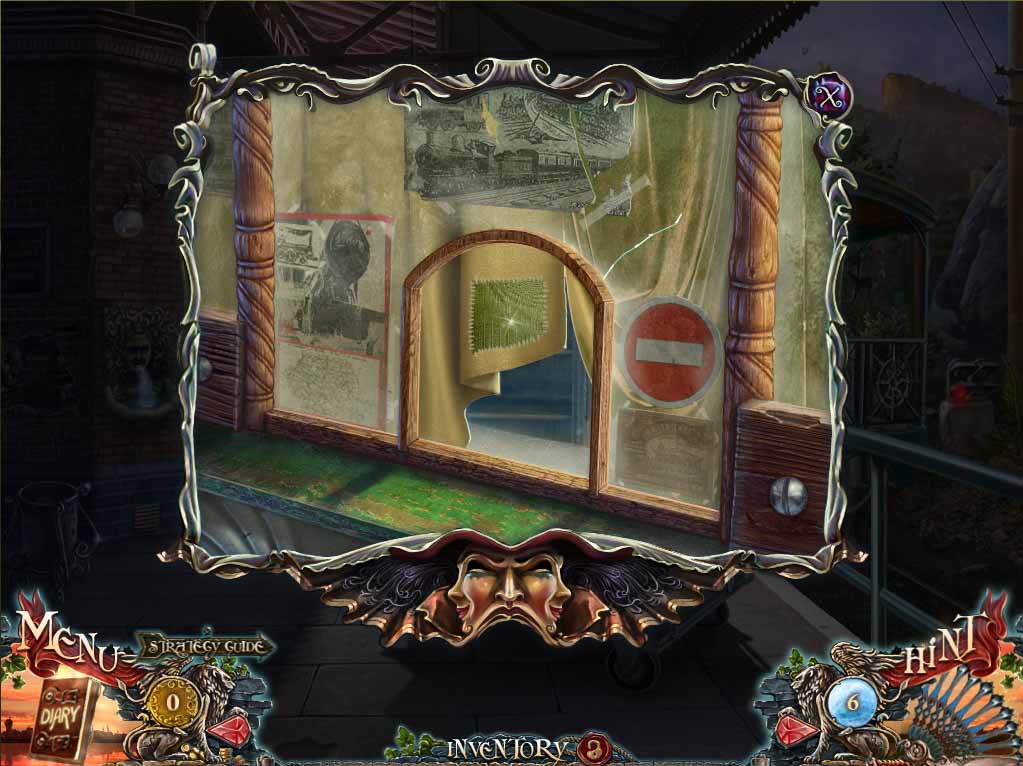
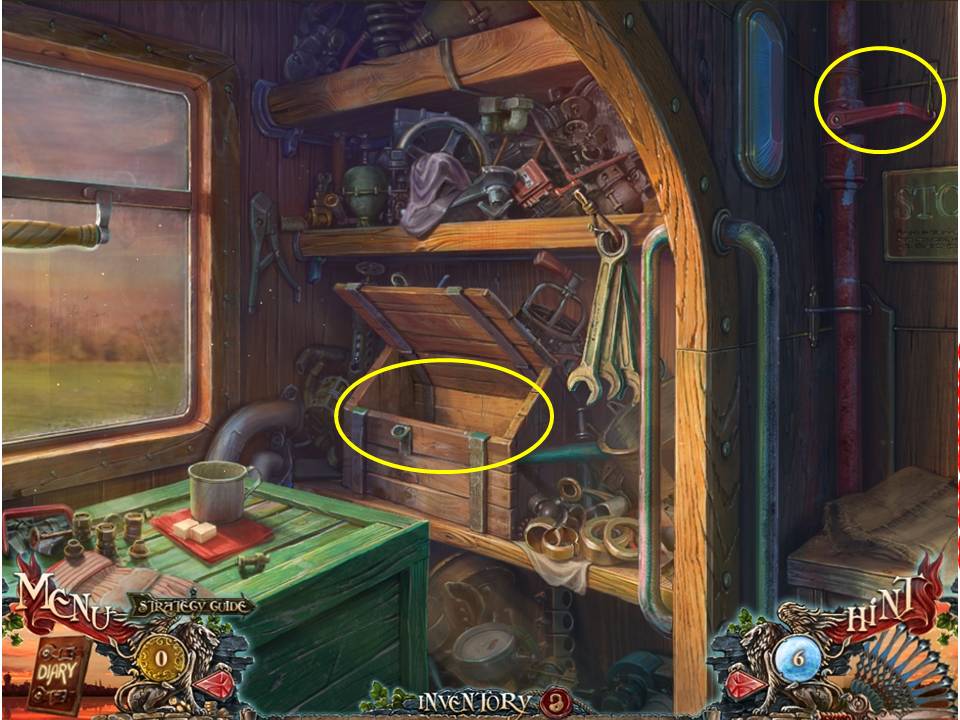
- Click on the armoire in the background to initiate the next HOA puzzle.

- Click on the umbrella to close it.
- Open the book to obtain the stamps inside.
- Note the screenshot to pick up the remaining objects circled in red.
- When finished take the PIN and go out to the station platform in the background.
- Note the fountain on the left that won’t work.
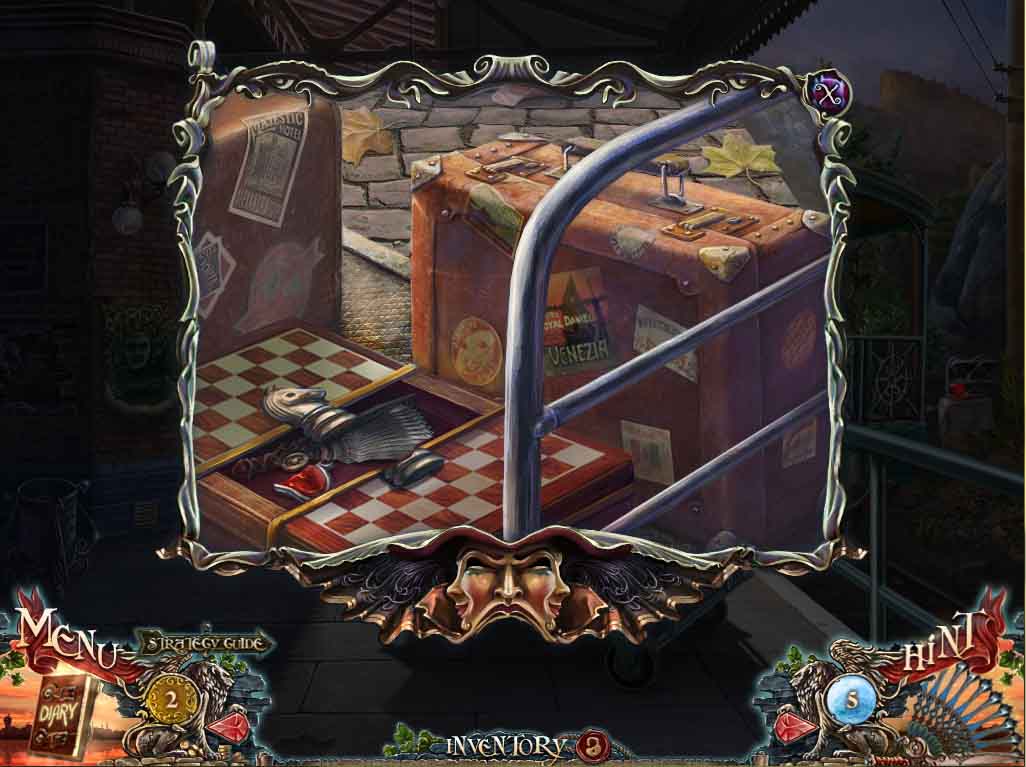
- Glance at the luggage on the right and note the chessboard with the recess shaped like a horse – insert the matching piece from inventory.
- When the case opens take the fan, the BUTTON, and the HEART HALF.
- Zoom in on the kiosk in the background and pick up the gold coin on the counter.
- Return back to the shop at the front of the station.
- Buy the INK from the shop and return down to the tracks.
- Use the PIN to prize the BUTTON loose from the track.
- Return to the lobby and click on the HOA puzzle in the armoire.

- Open the purse to access the scarf.
- Retrieve the reaming items circled in red on the screenshot.
- When finished take the VALVE and exit out on to the platform.

- Zoom in on the fountain and put the VALVE in place to turn the water on.
- Place the BUCKET underneath it to fill it and obtain a BUCKET OF WATER.
- Exit out on to the tracks.
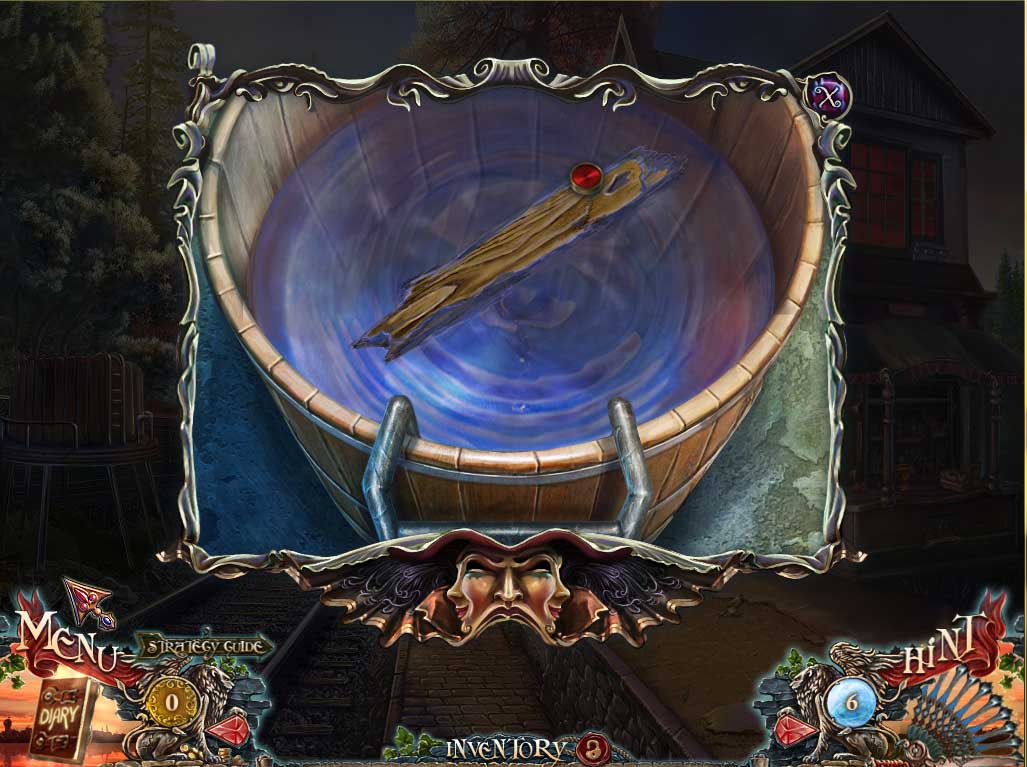
- Zoom in to the water tank, take the BUCKET OF WATER and empty the contents into the tank.
- Repeat the process by going back to the water fountain for a refill.
- Once the tank is full enough reach in and pick up the last of the BUTTONS.
- Head back inside to the foyer.
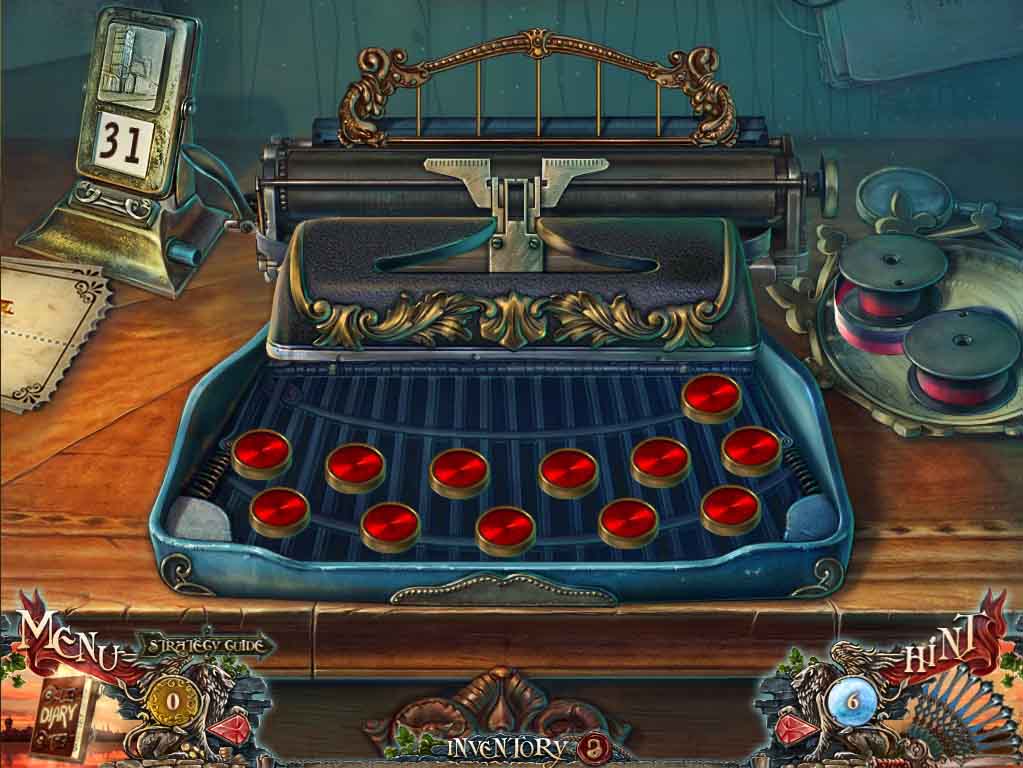
- Go up to the cashier’s window and place the four BUTTONS, the INK, and the ENVELOPE down to initiate the next problem to solve. The first step is to pour the ink on the ribbons sitting on the tray to the right.
- Once done put the ribbons in place on the typewriter.
- Now comes the hard part. As with the sucker dart puzzle earlier, you need to find matching pairs of symbols under the buttons. The only problem with this one is that each time you miss the buttons shift around, and as the process is random it’s impossible to give a set guide.
- The best bet is to keep track of one individual button that you’ve already turned over as it moves off.
- Next turn pick another one at random and if you find the match for the one you’ve memorized great – if not pick another button randomly to see if you get lucky pairing up the first selection.
- If it doesn’t work, keep track of one of them and start the process again, noting of course that the more you get the easier it will become.
- It took me four rounds to get the first pair matched up, and then it went on from there for another 3 – 4 minutes until I got them all. Once done take the newly printed ticket and head out to the platform.
- Zoom in on the ticket window and hand in your freshly printed ticket – if only it was this easy!
- The gate will open and allow you access to the train. Hop on.
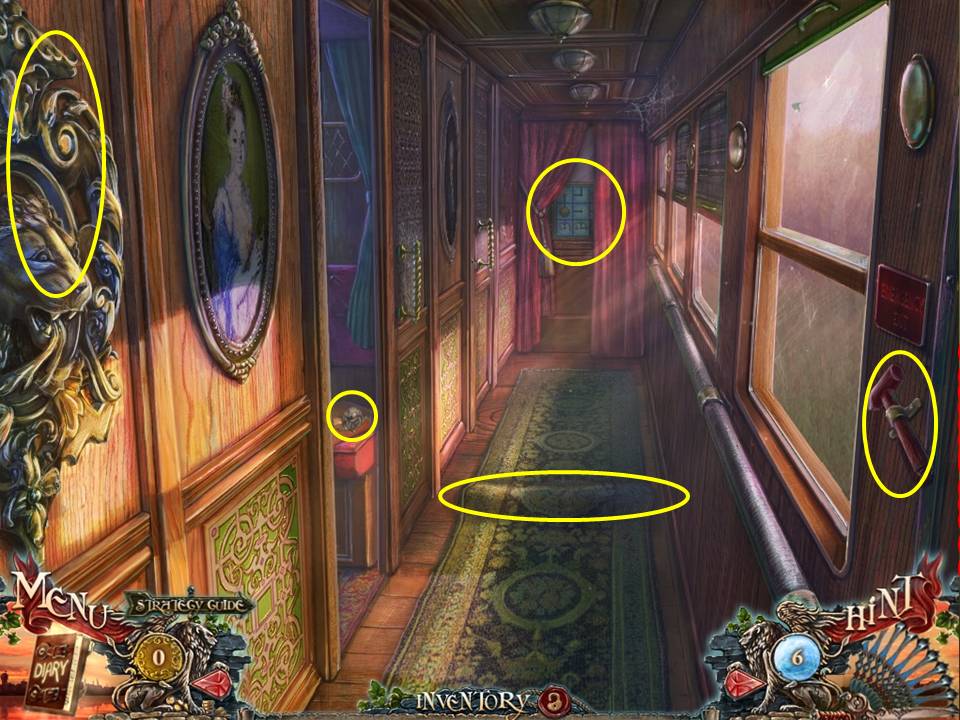
- Meet and talk to Aidan.
- Then note the box slightly in view on the seat in the nearest compartment.
- Next note the crease in the carpet ahead – seems that a little rodent is living there!
- Zoom in on the hammer to the right and use the CROWBAR to rip it from the bracket holding it – add it to inventory.
- Take a closer look at the lion directly to your left, where you’ll find the other half of the METAL HEART.
- Place it on the locking mechanism on the box noted earlier.
- Take the METAL FRAGMENT you’ll find inside.
- Now click on the door furthest down the corridor to reveal a locking mechanism that provides the next puzzle to try and solve.
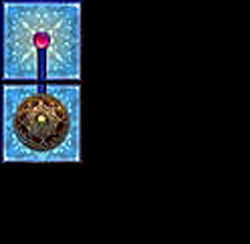


- Place the METAL FRAGMENT on the puzzle to initiate it.
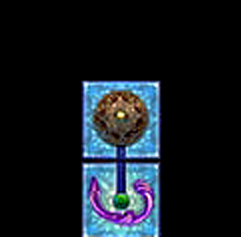
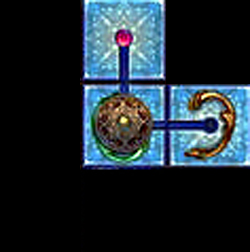
- The object is to get the large golden ball you’ve just inserted into the puzzle into the square with the matching golden handle. It takes a while to figure this one out because of the mechanisms involved.
- Firstly, you can only slide the various tiles around one by one, using the vacant square to maneuver them.
- Secondly, because the tiles can’t be rotated, you need to find tiles with channels that match the one the ball is on in order to slide it across.
- Lastly, you need to rotate some of the handles in order to access certain pathways, and to do that you have to get the gold ball on to a tile with a button matching the color of the handle.
-
This will rotate the handle once. It’s a tricky little son of a gun to solve – here are the easiest steps I found:
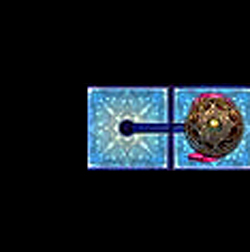
- 1) Move the ball up to the square above.
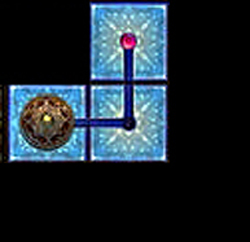
- 2) Move the three tiles in the bottom left hand corner across the bottom row, then move the three tiles in the top left hand corner one move in a clockwise direction
- 3) Slide the ball down and across to the left tile
- 4) Now move the same three tiles back in an anticlockwise direction so that the tile with the ball ends up in the centre
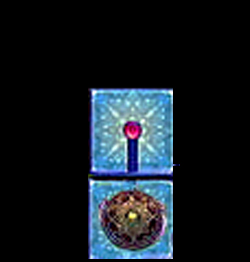
- 5) Slide the ball across to the tile with the pink handle
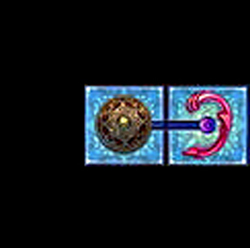
- 6) Slide the ball back to the center tile
- 7) Slide tile with the ball across to the left, the middle tile on the top row down to the center position, and the tile in the top left hand corner across to the middle position on the top row.
- 8) Slide the ball across to the center tile, then up
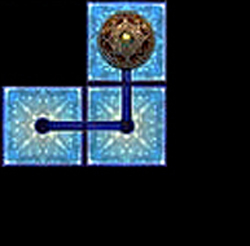
- 9) Move the tile on the left of the middle row up, then move the center tile across to the empty square
- 10) Slide the tile with the ball down to the center square position
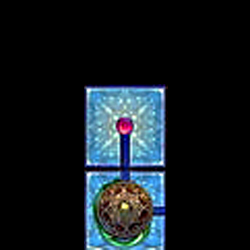
- 11) Slide the ball down to the tile with the lilac handle
- 12) Slide the ball back up, then move the five tiles across the bottom and on the left side around in a clockwise direction so that the bottom right hand corner is left empty
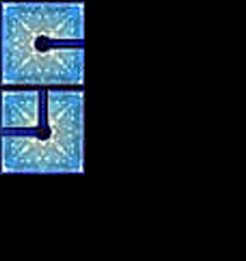
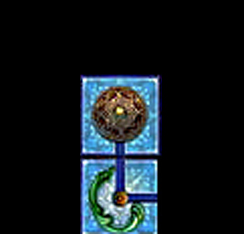
- 13) Slide the ball down to the tile with the green handle – you ‘ll note that the ball and the tile with the golden handle are now in the perfect position to slide up against each other on opposite rows
- 14) Move the two tiles on the right row down to the bottom, move the top tile on the central row across to the vacant square, then move the two tiles left in the central row up one space. The ball and the tile with the golden handle should now be perfectly aligned. Move the ball across to complete the exercise! Now that the door is finally open, enter the workshop at the end.
- Zoom in on the tool box on the shelf and use the HAMMER to open it up – take the CUTTING PLIERS inside and use them to sever the wire protecting the brake handle. Pull the handle, exit back out to the corridor, and watch the final scene play out – so there WAS a reason for that crease in the carpet!
Congratulations! You’ve solved the crime and completed Grim Facade: Cost of Jealousy – hope you enjoyed it!