
Grim Facade: The Cost of Jealousy: Chapter Three: Hugo’s Office
Our Grim Facade: Cost of Jealousy Walkthrough will help you unravel this elaborate mystery brimming with intrigue, deceit, and betrayal. Rely on our trusty tips, puzzle solutions, and in-depth instructions to weave your way to the truth in this exciting whodunit hidden object adventure game.
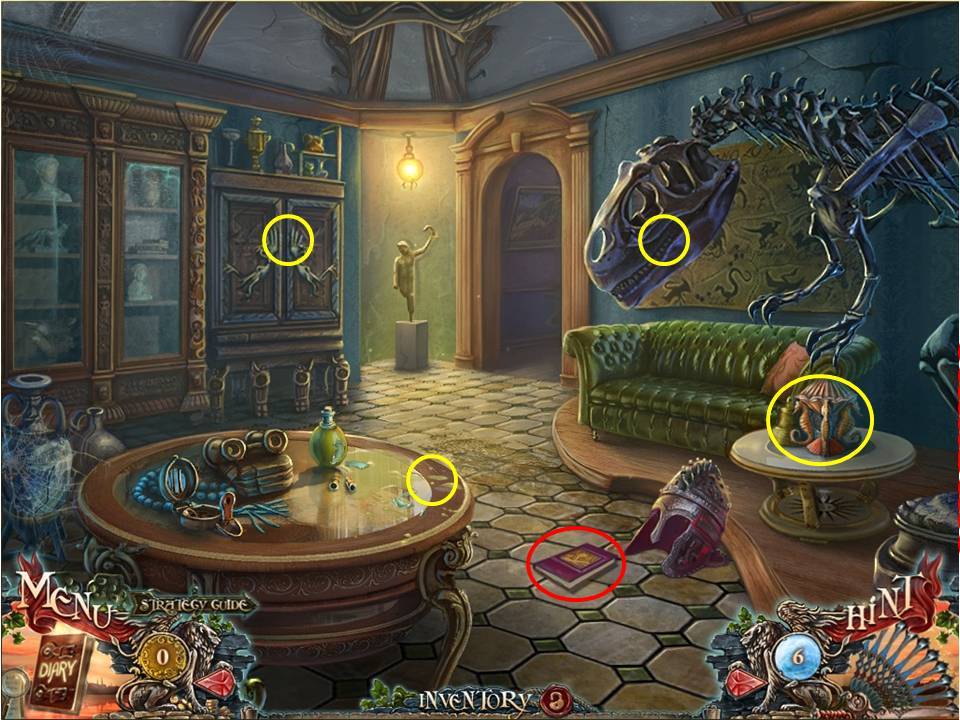
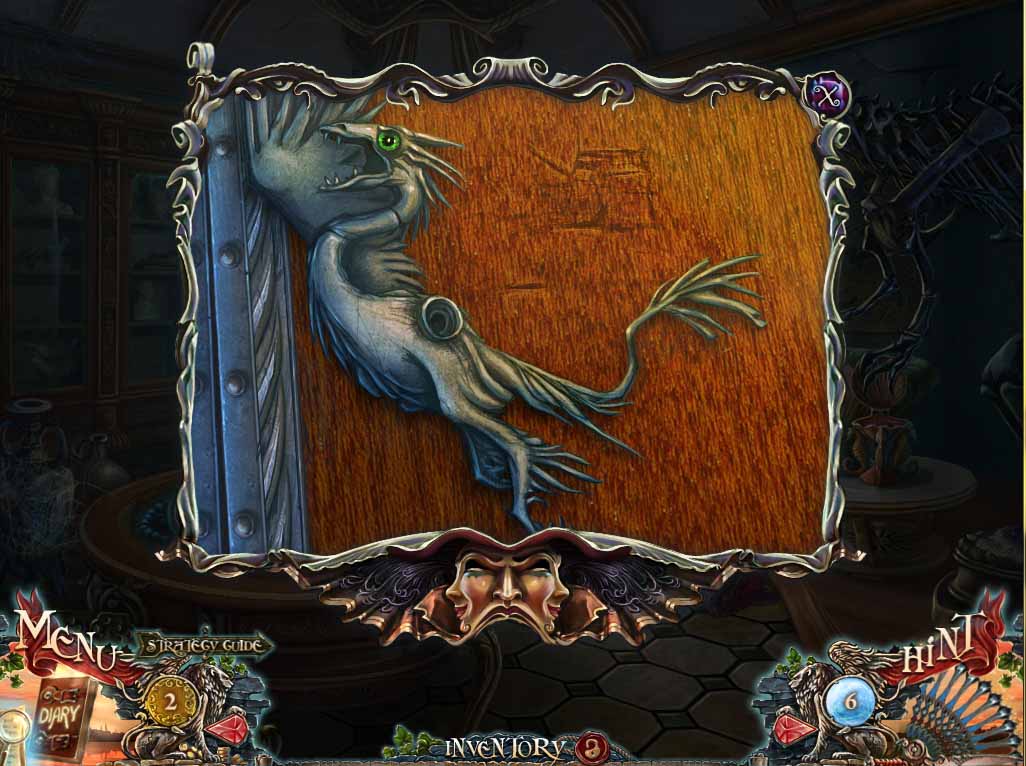
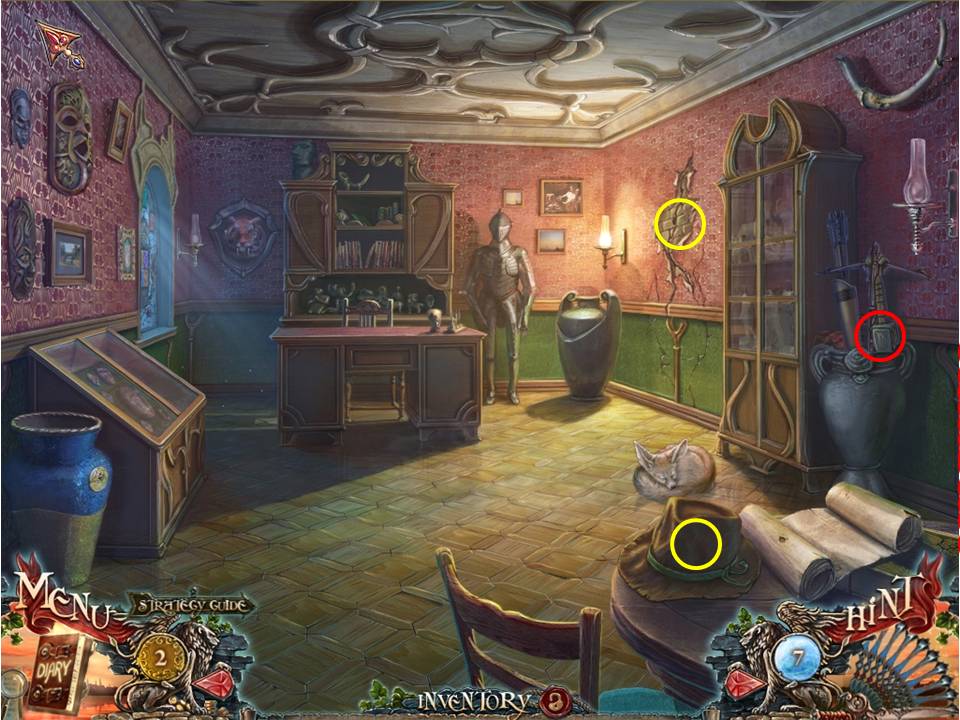
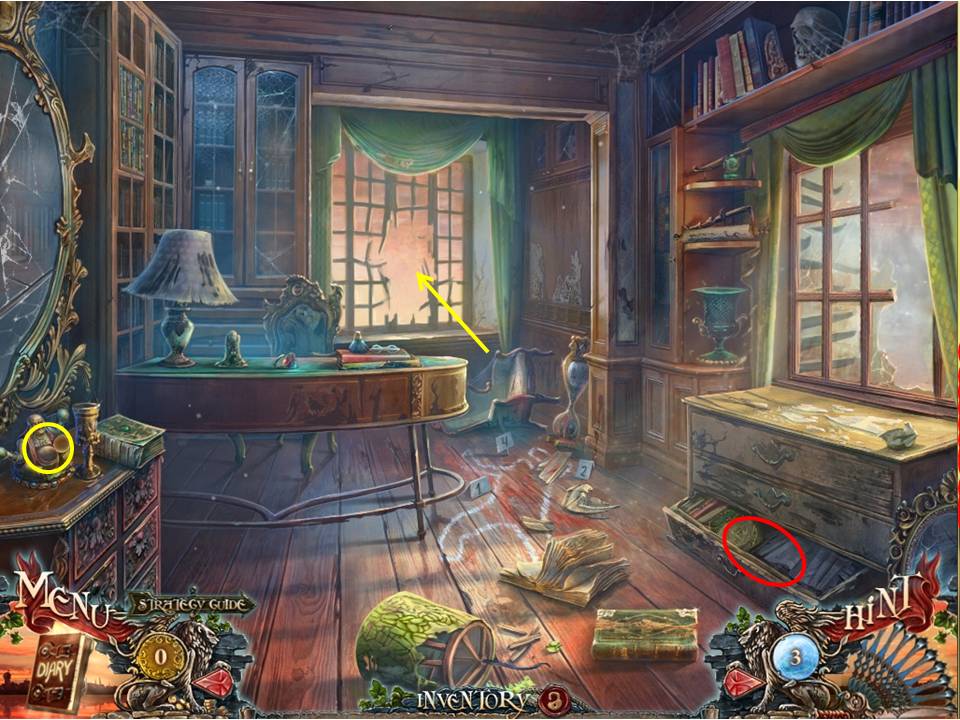
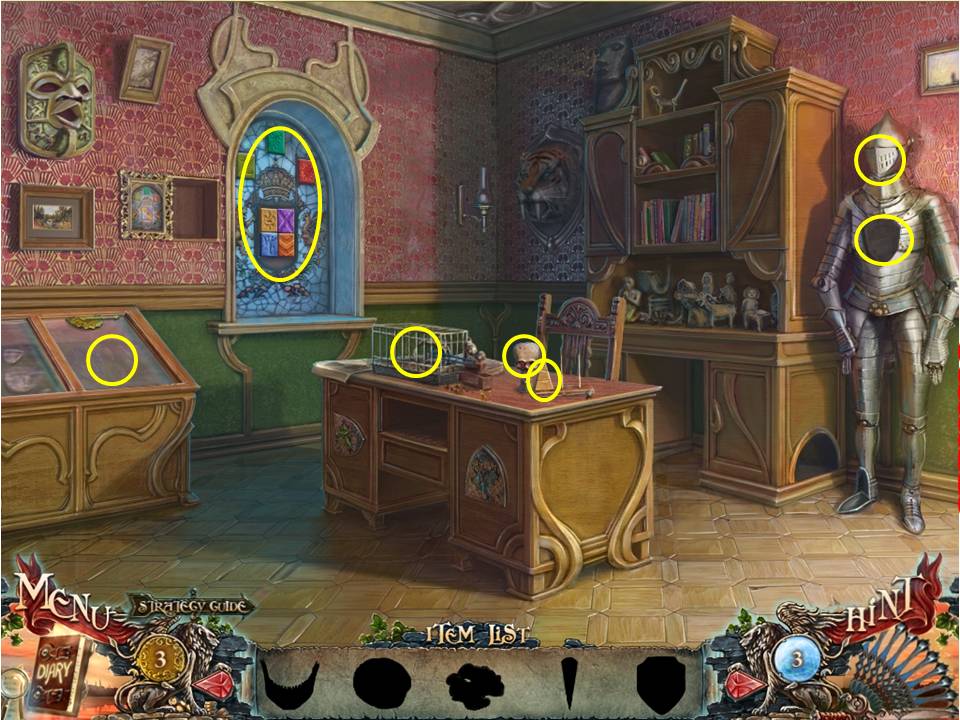
- Click on the dino-skull and watch the resulting scene play out – collect the BOOK left behind by the fox.
- Click on it again and use the FORK from inventory to prop the jaw open – take the MAP FRAGMENT 1/5 lodged in the teeth.
- Use the FLASK from inventory to collect the oil dripping from the table in the foreground, which will give you a FLASK WITH OIL.
- Note the cupboard in the background with the one-winged birds.
- Open the item on the coffee table to the right and take the gold coin and the PEARL.
- Go through the doorway in the background.
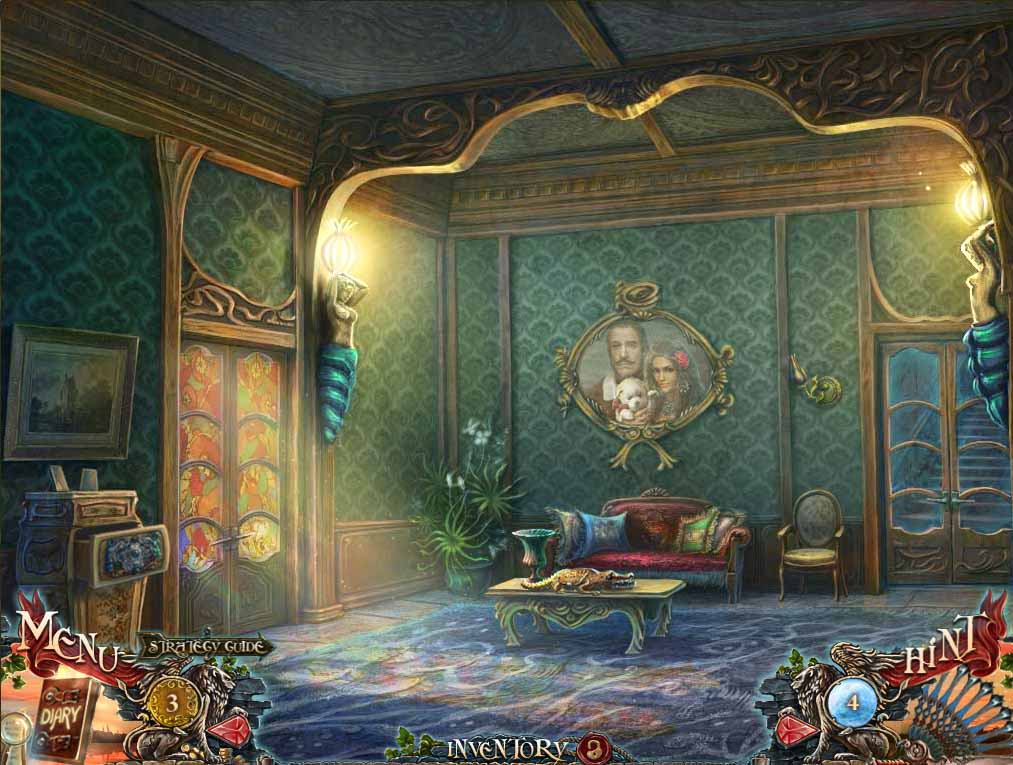
- Note the picture of Helios on the left.
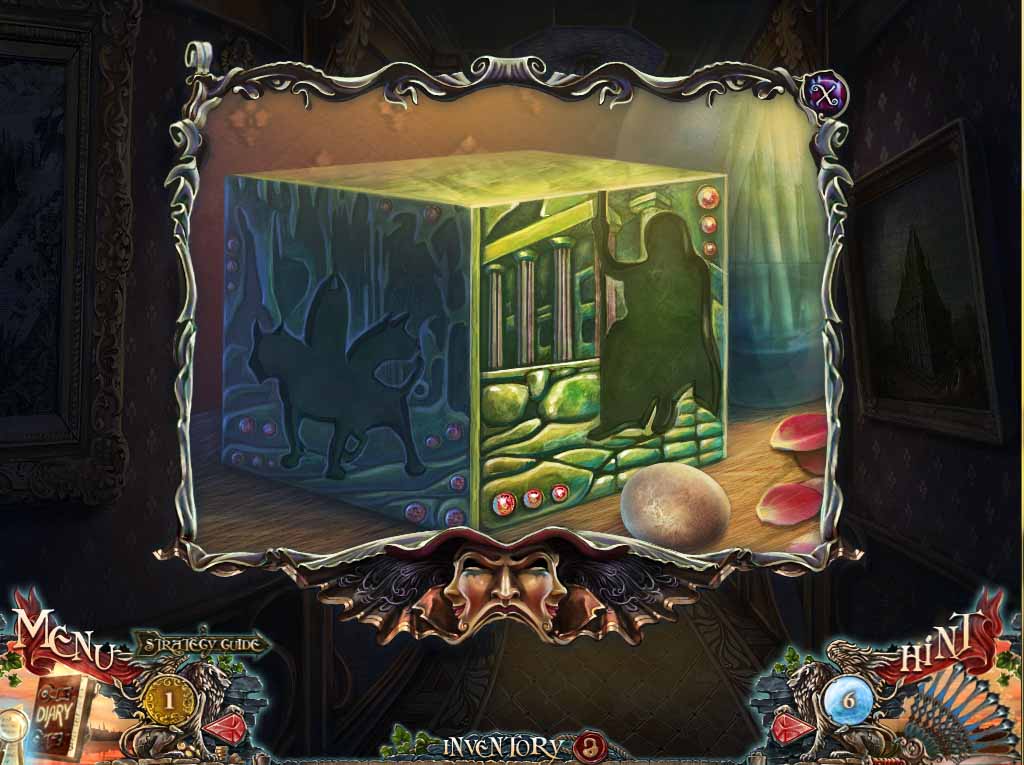
- Zero in on the cabinet on the left, take the EGG, and note the green box with the missing figures.
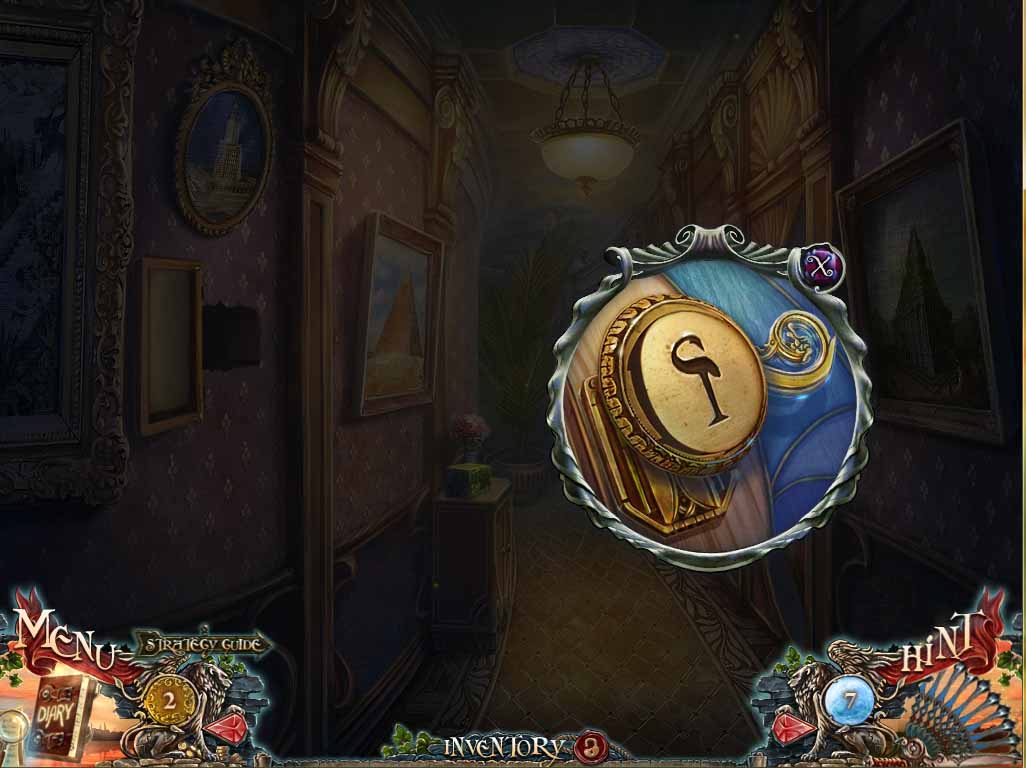
- Note your little canine buddy in the background scratching on the door and note the special lock on the door.
- Return through the office to the square outside.
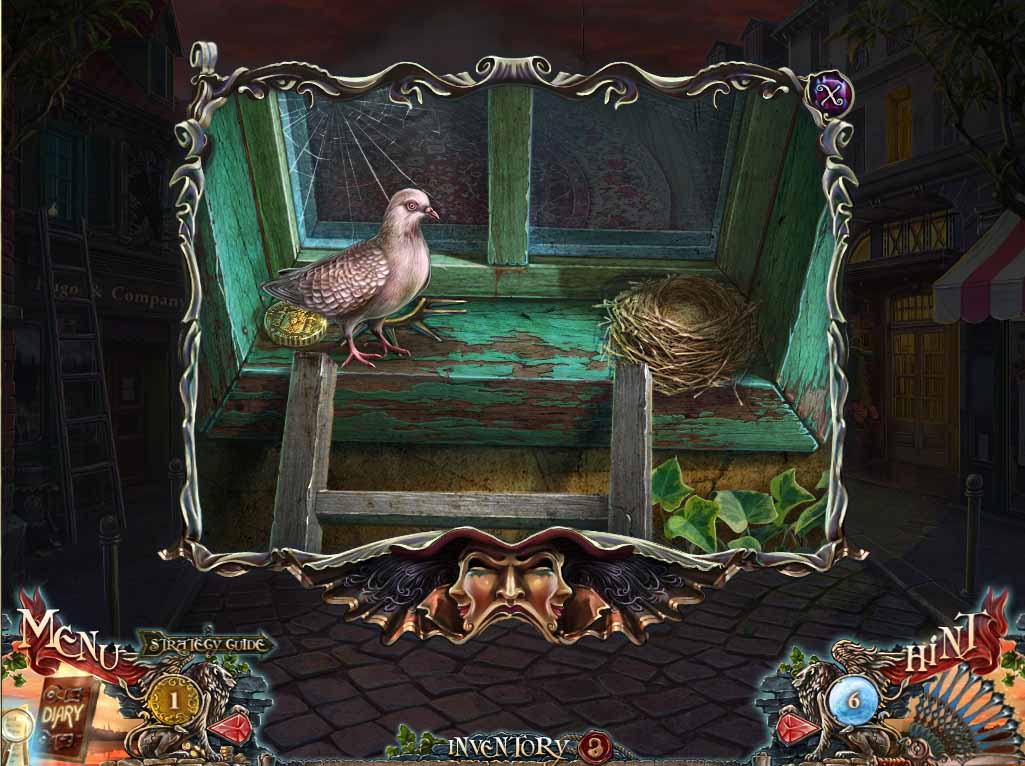
- Climb the ladder and place the EGG in the nest.
- When the bird happily nests on it, take the gold coin and the CROWN.
- Return back to the hallway.
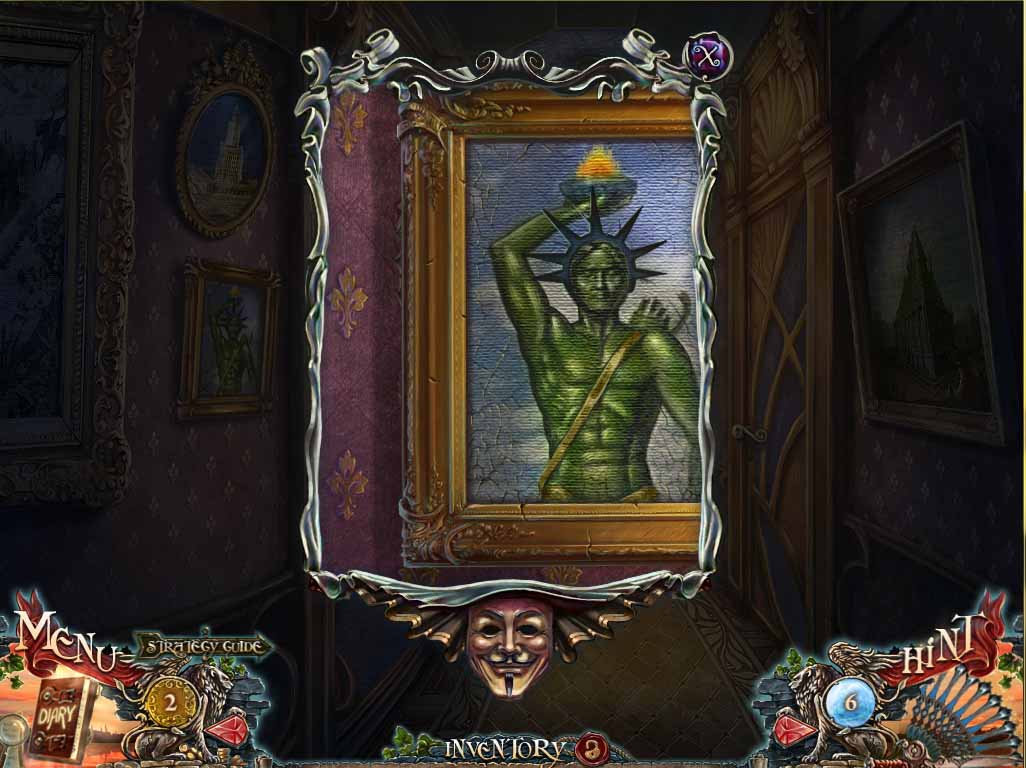
- Click on the image of Helios again, and put the CROWN in place.
- When the picture swings open, take the WING inside and return to the office.
- Click on the cupboard with the birds and put the WING in place.
- When the doors swing open, zoom in on the interior to initiate the next HOA puzzle.
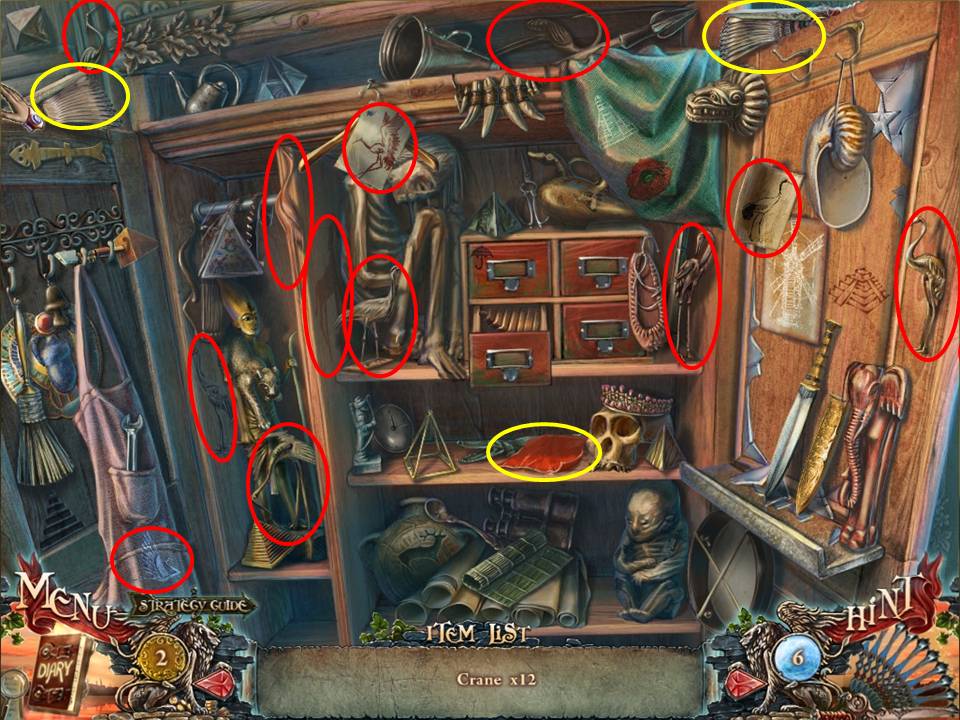
- This is a HOA puzzle with a difference. In this one, you’re required to collect a series of cranes.
- 12 are plainly in evidence, while another is concealed on a piece of paper that needs to be clicked four times to reveal it.
- Remember to collect the fans for extra clues.
- Once complete you’ll receive (wait for it) a CRANE. Hmmm, wonder what this is for?
- Return to the hallway and use the CRANE to unlock the door the fox is scratching on.
- Go through the open door.
-
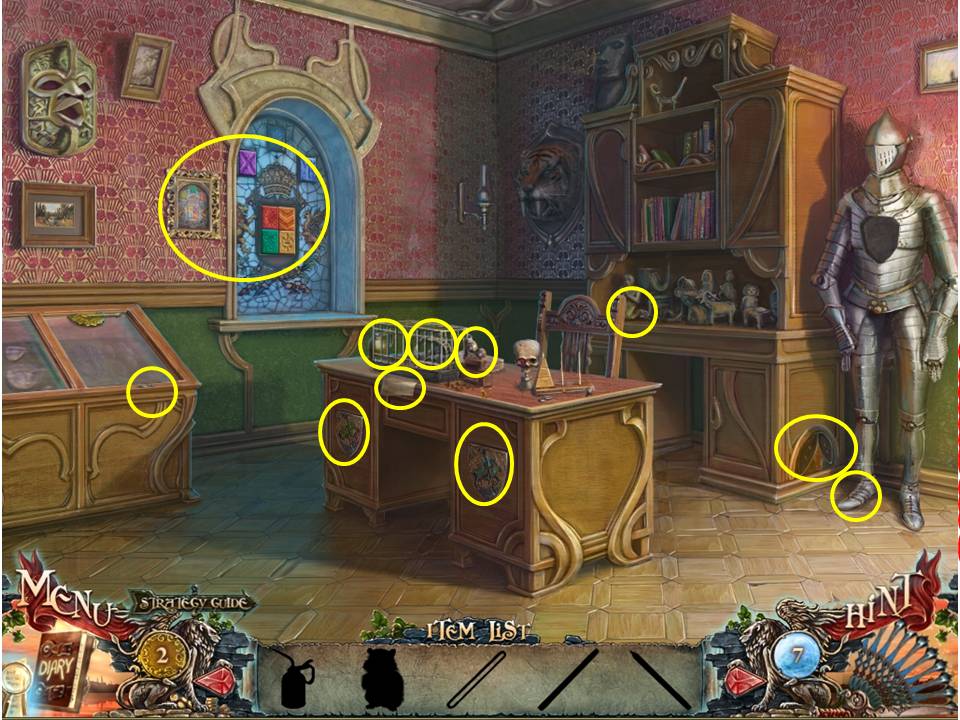
This is a sequential HOA, meaning that specific objects have to be sourced in an approximate order to proceed through the puzzle –
- Pick up the pencil on the glass case to the left
- Zoom in on the desk, take the oiler, slide the piece of paper to the side, and slot the pencil into the sharpener
- Zoom into the cabinet to the right and take the pulley belt sitting on the counter
- Zoom into the suit of armor on the right and use the oiler to lubricate the boot to the left. Take the little hamster inside.
- Zoom back in on the cage, slot the hamster in place, and put the pulley on the wheel. When the pencil gets sharpened, use it to reveal the drawing on the piece of paper. Note the direction each shield is pointing to.
- Click on the matching shields on the desk face to rotate them in the appropriate directions to match the drawing, at which point a secret panel will open up. Take the two items inside.
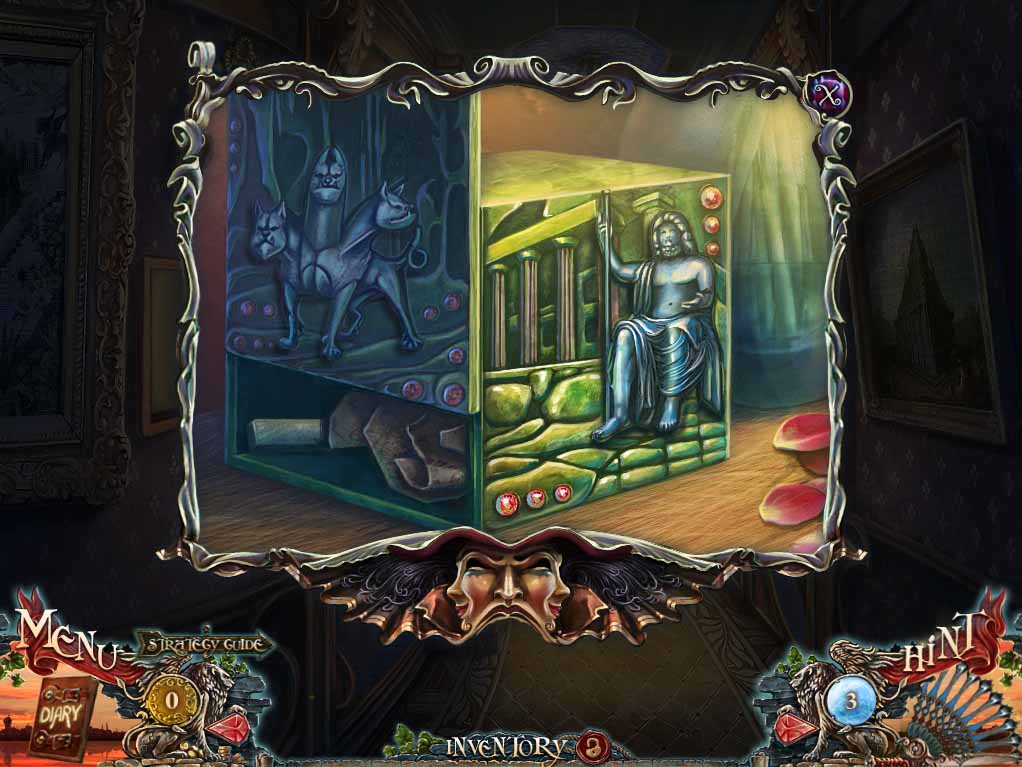
- Place the stained glass piece on the window, then shift the pieces around to match the drawing on the left. Once done the picture will open and reveal another wooden embellishment inside.
- Zoom back in on the suit of armor’s boot, and place the two embellishments on the matching recesses of the cabinet to the left. When done a panel will slide open – take the figure of CERBERUS.
- Move Indiana Jones’s hat on the desk and take the second MAP FRAGMENT underneath.
- Collect the HAMMER in the large vase to the right.
- Zoom in on the torn wallpaper on the wall to the right, take the gold coin embedded in it, and note the missing beak on the nearby mask.
- Return to the hallway.
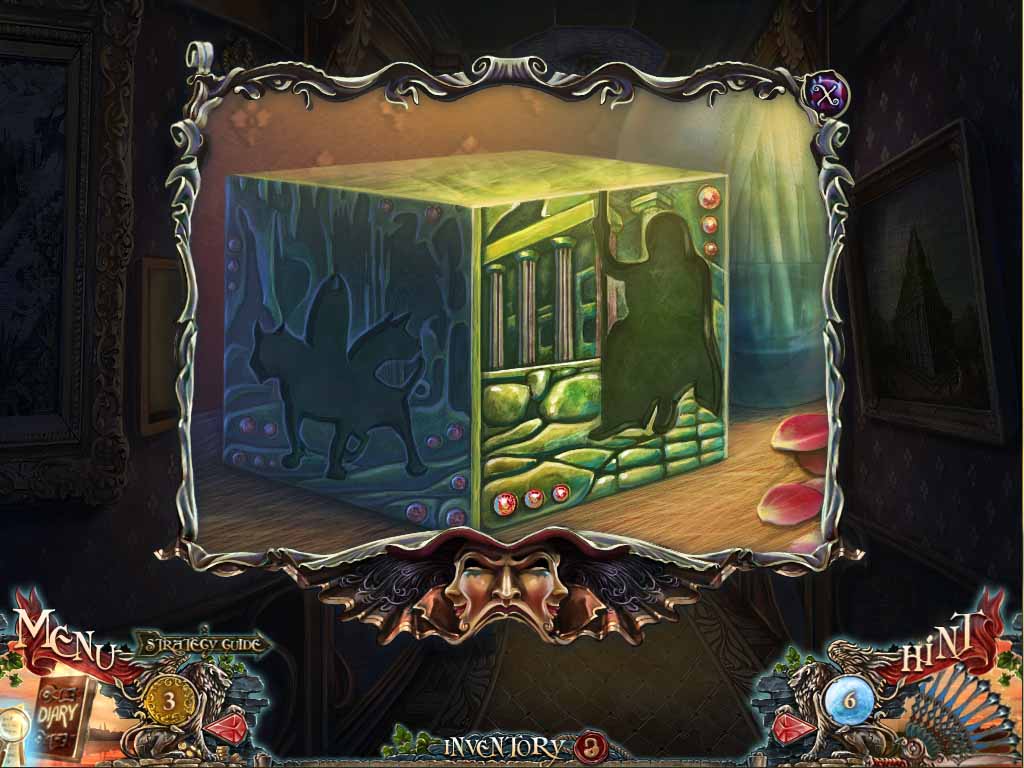
- Zoom in on the green box to the left and slot the figure of CERBERUS in place on it.
- Exit out through the store to the street outside.
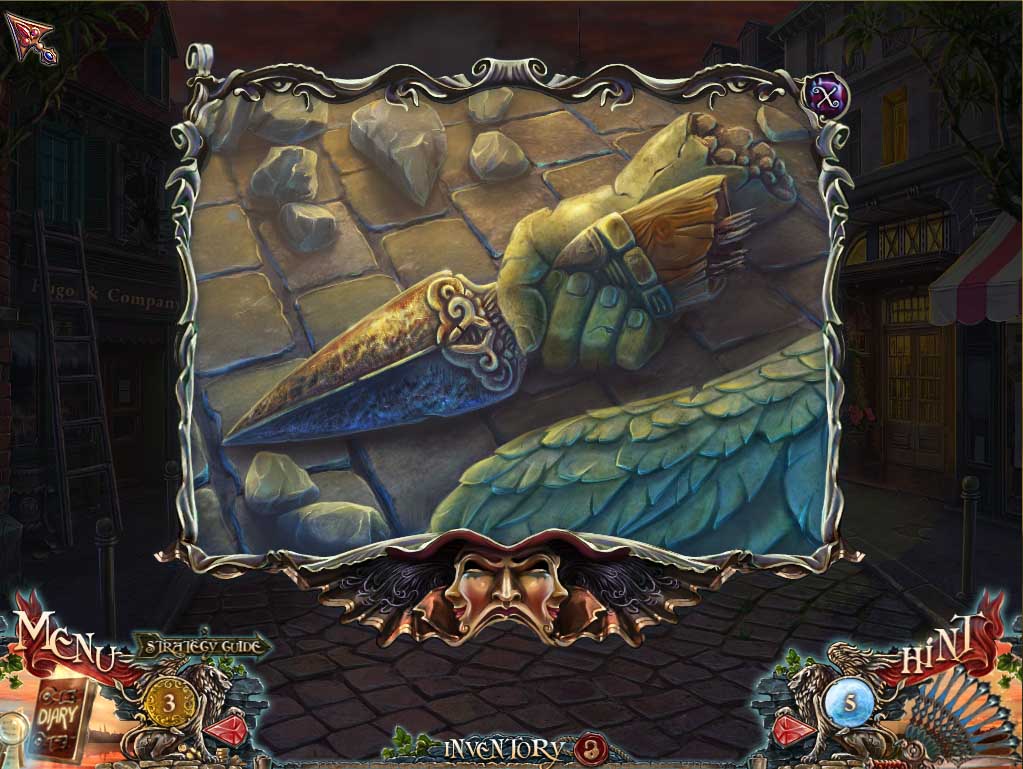
- Zoom in on the statue’s arm holding on to the knife, and use the FLASK OF OIL to loosen the grip on the knife.
- Take it, and return to the study.
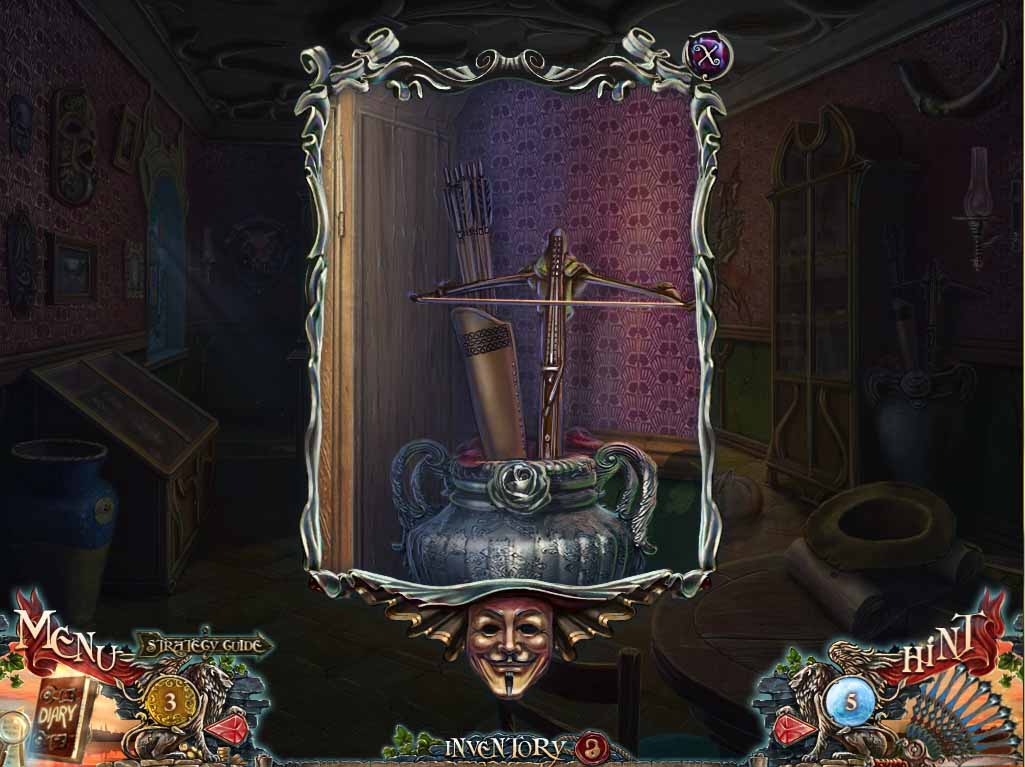
- Use the KNIFE to cut away the BOW STRING on the crossbow.
- Exit back out to the street.

- Zoom in on the tables in the background, and use the KNIFE again to cut open the purse and take the two gold coins inside (reduced to stealing to continue the game? Oh the shame!)
- Return to the fountain courtyard.
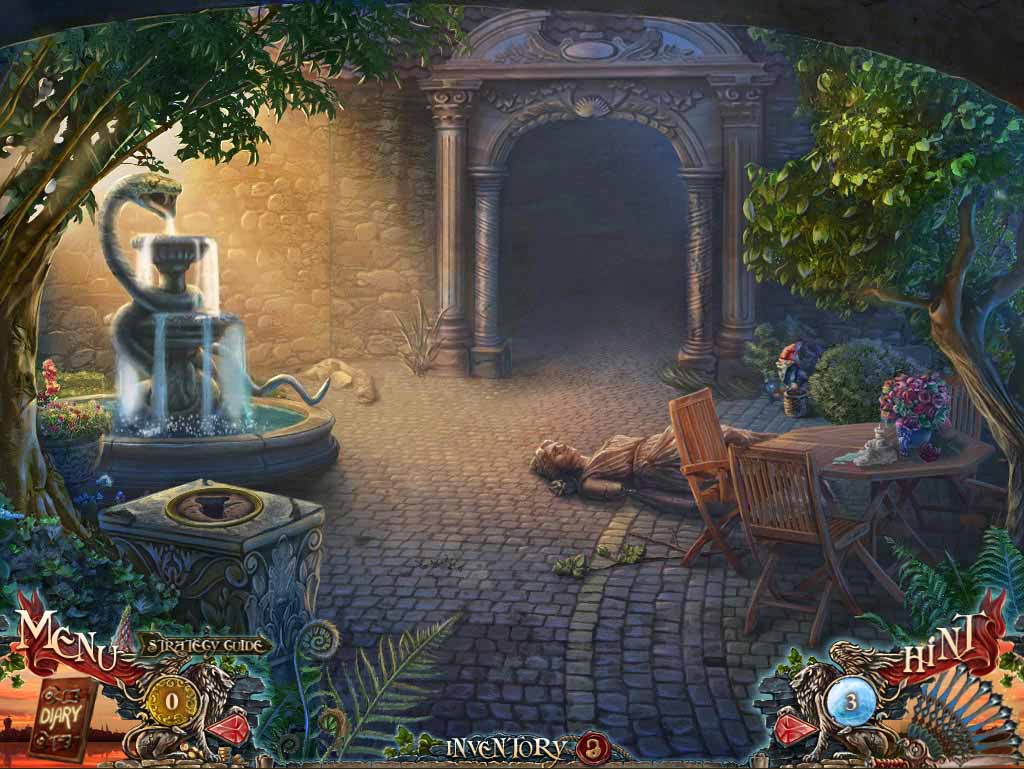
- Note the red envelope lying on the pavement by the fallen statue.
- Inside is a receipt for a set of knives.
- Murder weapons, or did Gabriela simply win a set of Ginsu knives in a contest? Hmmmm.
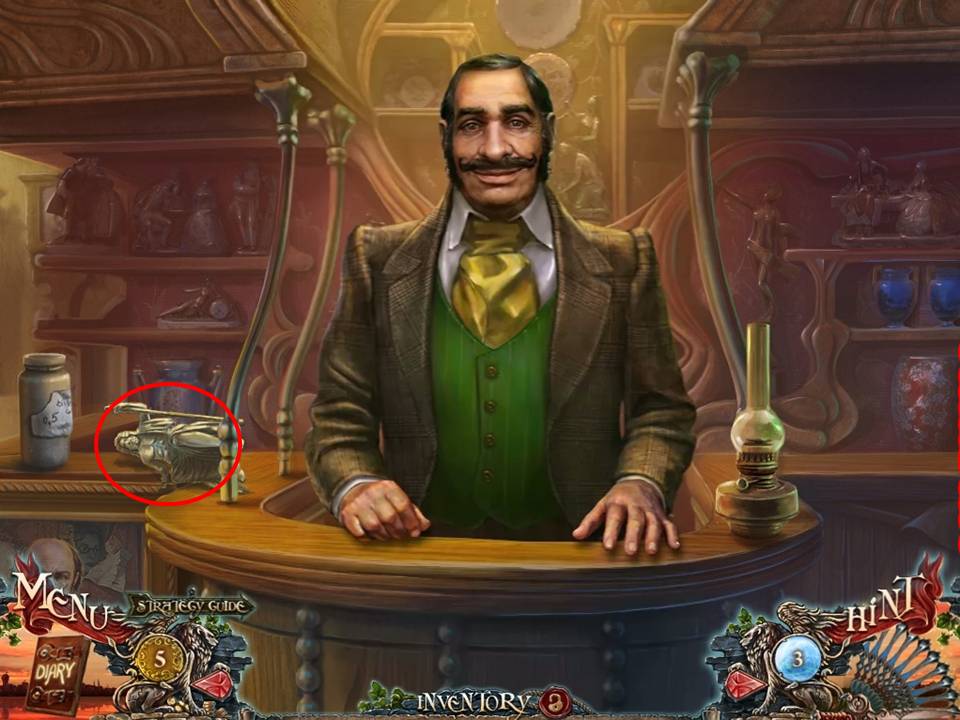
- Return to Martinez’ store, and him the five coins necessary to purchase the figure of HADES.
- Exit the store, and return back down the street to Hugo’s shop and the hallway leading to the study.
- Zoom in on the green box and place the figure of Hades in the appropriate slot.
- When the end slides open, take the third MAP FRAGMENT as well as the CHISEL inside.
- Go back through the open door ahead.
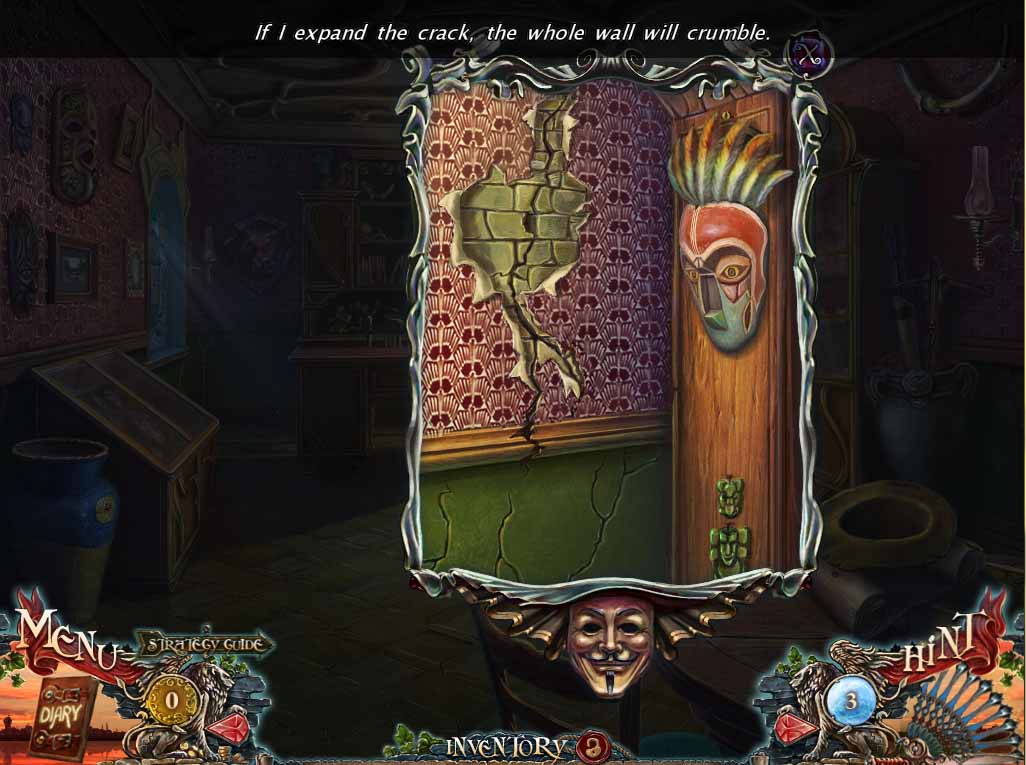
- Zoom in on the crack in the wall where the wallpaper is missing, wedge the CHISEL into it, then HAMMER away to open the wall up.
- Our little furry friend will hop through the hole in the wall – follow him.
- Watch the scene play out as you enter the room (this guy is has REALLY got something against you, eh?) then zoom in on the open drawer to the right and acquire the book inside.
- Zoom in on the chubby figurine on the bureau to the left and place the PEARL from inventory in the open hand to balance the figure out – take the fourth MAP FRAGMENT.
- Note the crime scene, then head out through the broken window at the back of the room.
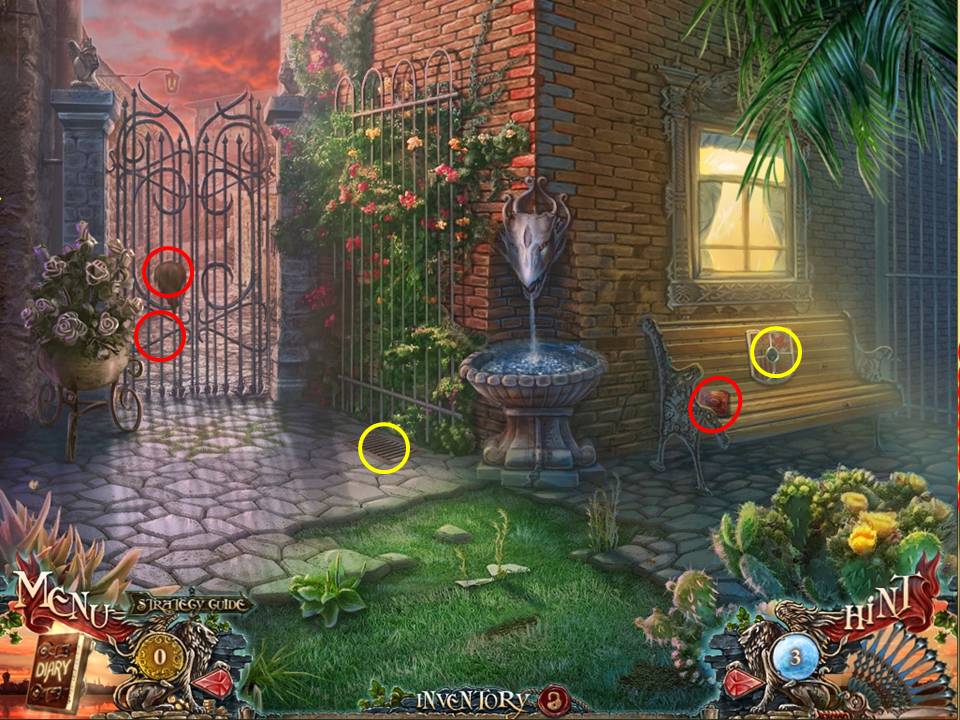
- Zoom in on the bench seat, note the missing crown from the coat of arms, and pick up the BOOK.
- Zoom into the gate near the vase to acquire the final MAP FRAGMENT and a COAT FLAP fragment.
- Zero in on the drain just to the left of the fountain to pick up a note, after which your able assistant will reappear and suggest returning back inside.

- Once back in the office, zoom into the map frame just to the right of the broken window and insert the five MAP FRAGMENTS.
- You will be given three visual clues to the next puzzle.
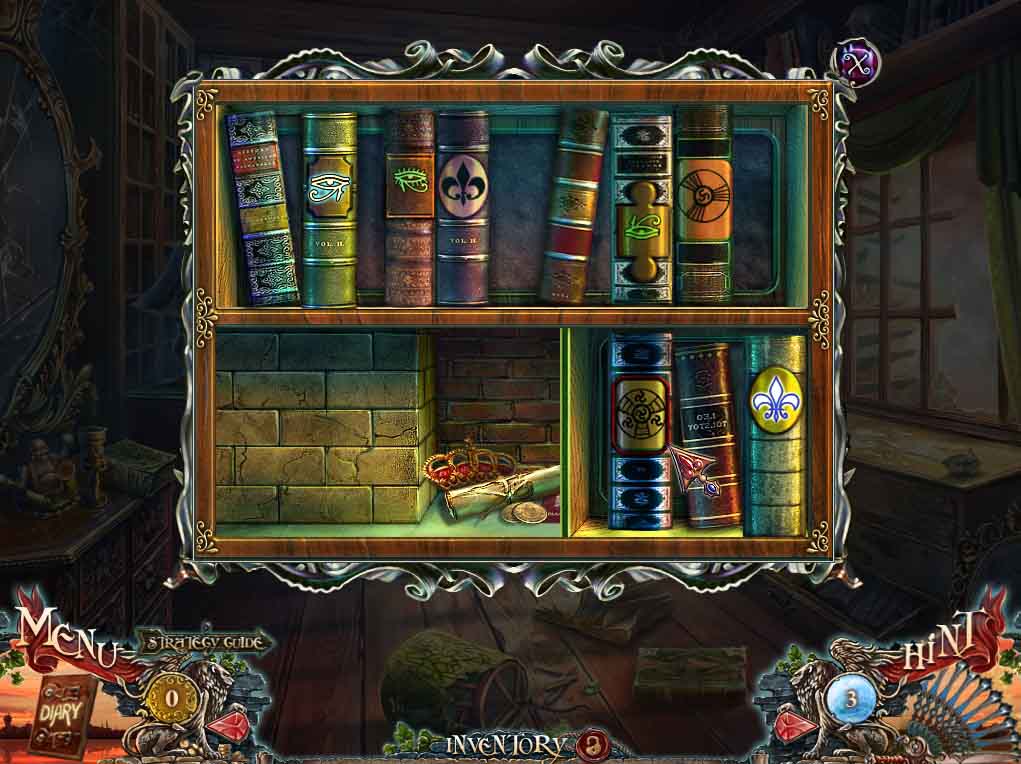
- Place the three books from inventory on to the book shelf up on the left.
- The idea is to click on the three books with symbols that match those found on the completed map.
- When done the lower shelf will slide to the right (note the screen capture that shows, in white, two of the three symbols needed).
- Take the two gold coins, the will of Hugo Sanchez, a fake passport, and a CROWN. Head back out through the broken window.
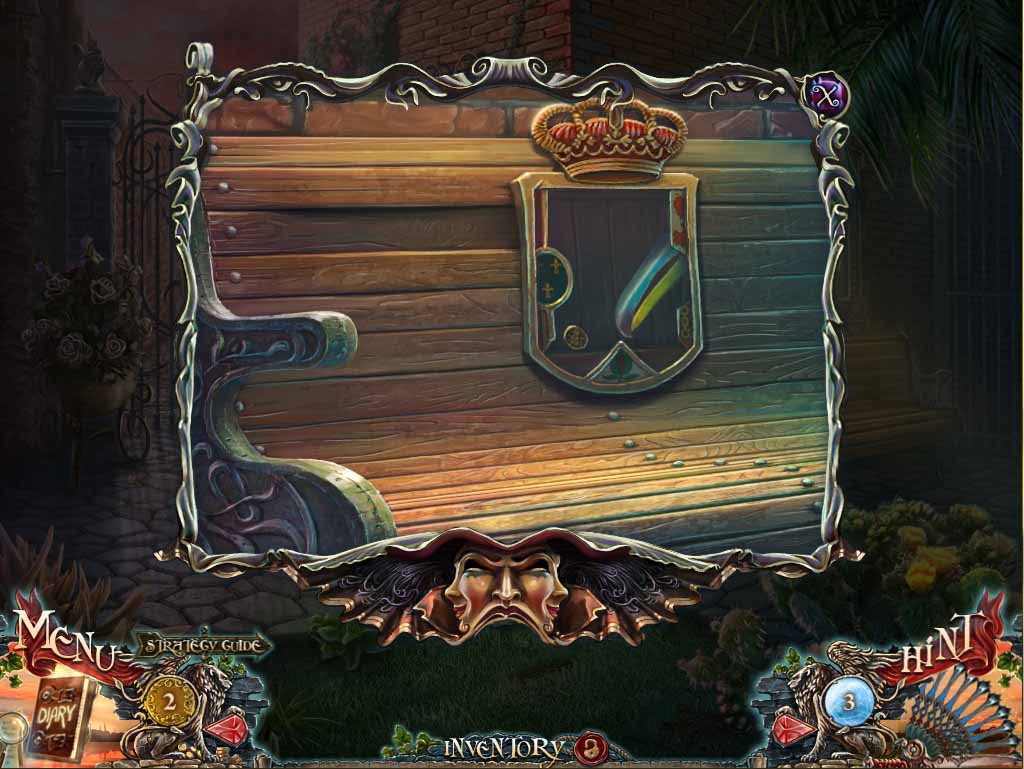
- Zoom in on the bench seat and place the CROWN on it.
- When the panel slides open take the coin and the BEAK.
- Return back inside.
-
As noted on the first visit to this area, this is a sequential HOA, meaning that specific objects have to be sourced in an approximate order to proceed through the puzzle –
- Zoom in on the hamster’s cage, and retrieve the jaw bone
- Zoom in on the skull at the nearer end of the desk and put the jaw bone in place. Pick up the walnut nearby, use the jaw of the skull to crack it open, and retrieve the pieces.
- Return to the hamster cage and feed the walnut to the cute little creature, who will bite you on the finger, give you rabies, and thus consign you to a miserable and painful death – just kidding! Being such a friendly little guy, he’ll thank you for the nut by handing you a priceless green crystal – hardly seems a fair trade, does it?
- Go to the display case on the left, and use the crystal as a glass cutter to cut your way into the display and retrieve the shield
- Place the shield on the chest section of the suit of armor, at which point the face piece will swing down and reveal the missing piece from the pyramid set on the desk.
- Put the pyramid piece in place to initiate a small and fairly simple variation on the classic tower puzzle. The aim is to move the pyramid from the left peg over to the one on the right by observing two basic rules – you can only move one piece at a time, and a big piece can never be placed on top of a smaller piece. Here’s the solution: Move the top piece to the far right, take the middle section of the pyramid and slip it on to the middle peg, then retrieve the top piece and also add it to the middle peg. Now take the base section of the pyramid and move it across to the peg on the far right. Finish off by placing the top section on the left peg, move the middle section over to the right peg, then complete the puzzle by grabbing the top piece and placing it on top of the pyramid pieces on the right.
- When done, the pyramid will open and reveal a HOOK for you to add to inventory.

- Zero in on the damaged wall section and place the BEAK on the mask to the right – take the GLOVE that will be revealed.
- Proceed through the office and back out to the garden through the smashed window.
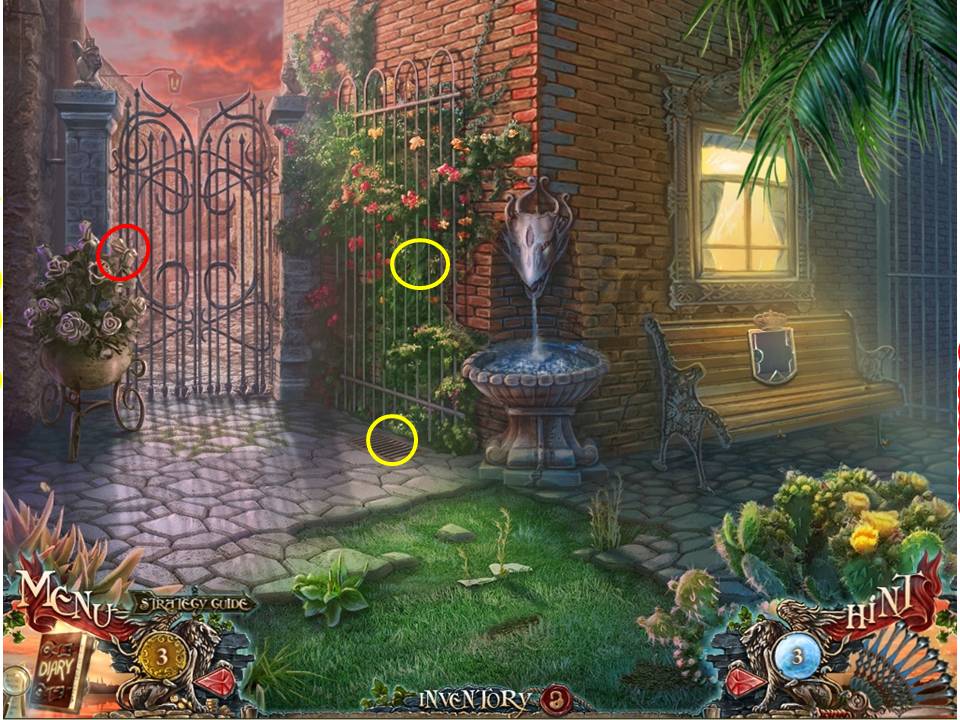
- Start off by using the GLOVE to retrieve the SAW from behind the rose bushes.
- Next, place the BOWSTRING on the drain grill and attach the HOOK to it to retrieve the LOCKPICK underneath.
- Finish off by using the SAW to cut off one of the metal roses to the left of the gate.
- Retreat back to the front room of Hugo’s store.
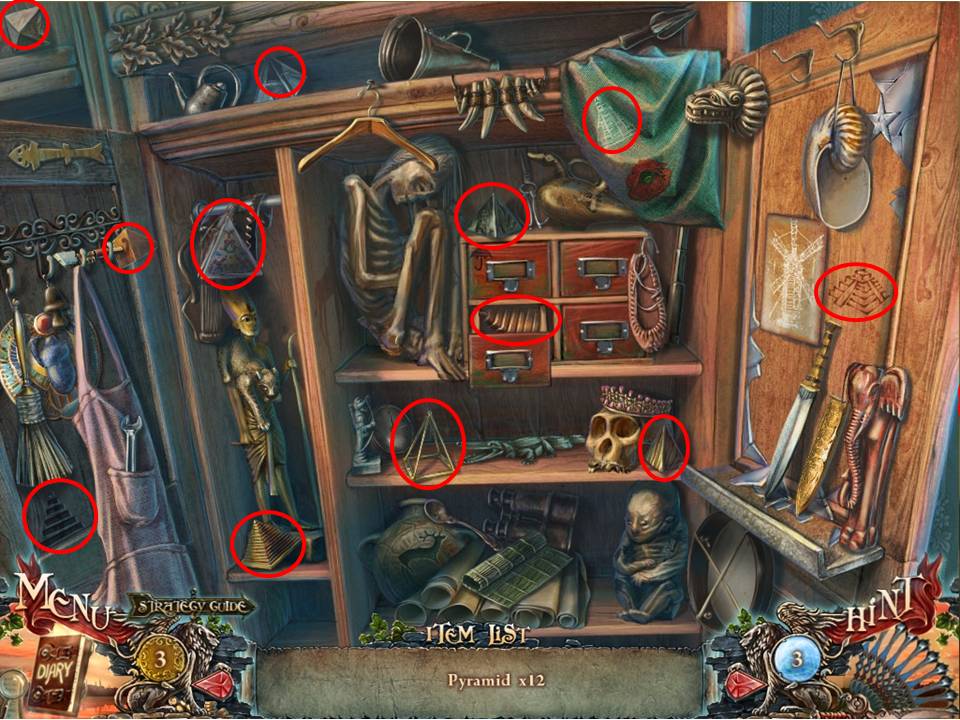
- As before, the point here is to pick up a number of identical objects, in this case a collection of 12 pyramids hidden at various points inside the cabinet.
- Once the task is completed you'll receive a GLASS CUTTER.
- Exit outside to the street.
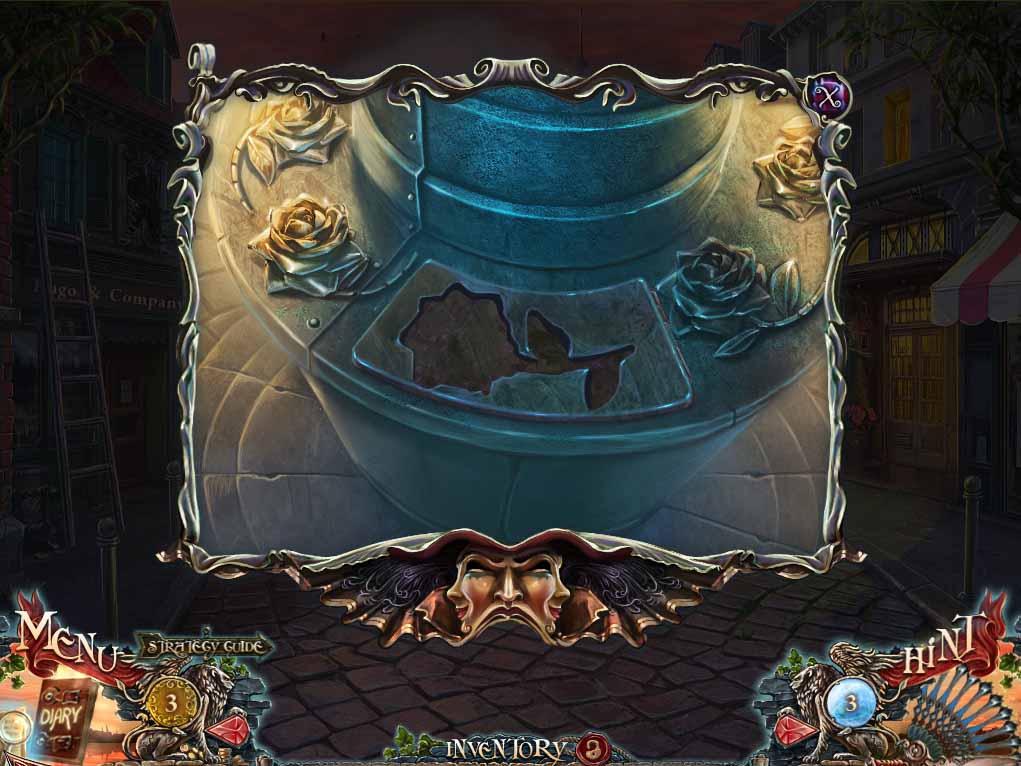
- Zoom in on the shattered column, place the ROSE in the matching recess, and take the GARDEN SHOVEL.
- Go back one step to the HOA puzzle just to the right of the door leading in to the general store.
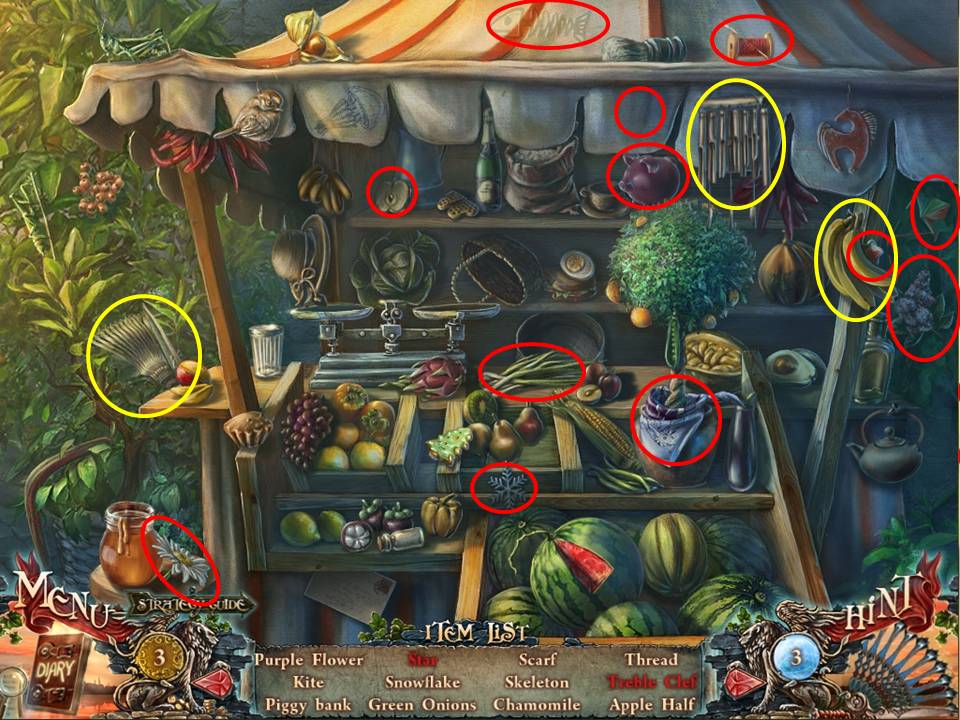
- Retrieve all the items circled in red.
- To obtain the star first shift the bananas, and to obtain the treble clef touch the wind chimes.
- When finished collect the thread.
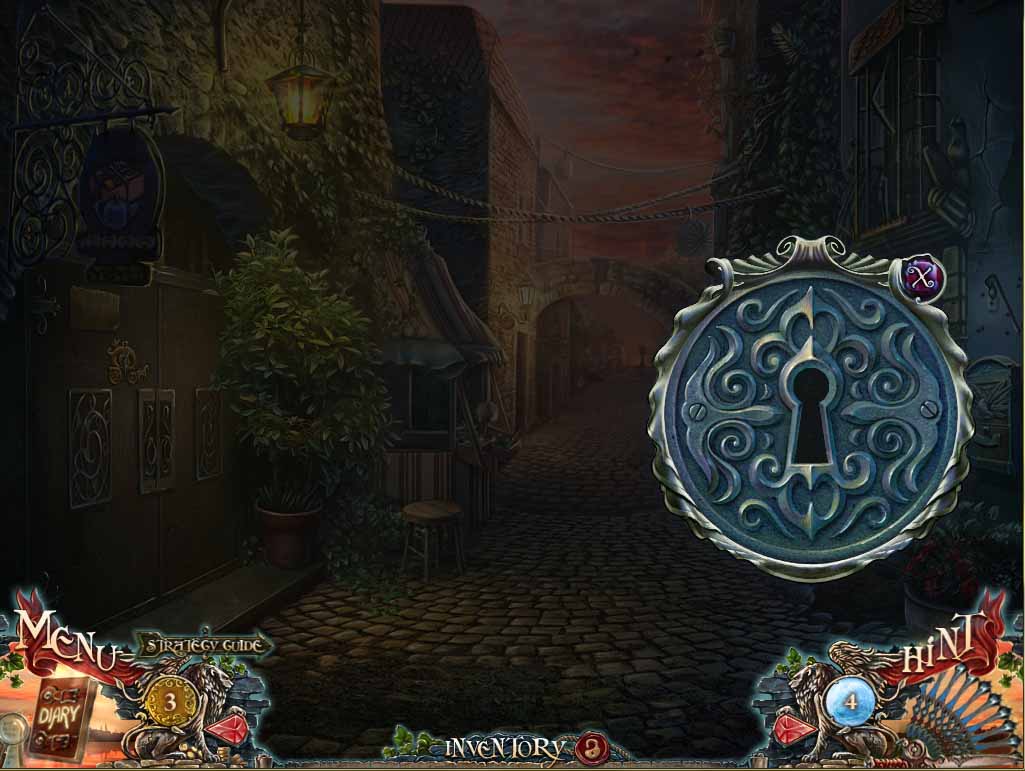
- Approach the door to Esmeralda's home and use the LOCKPICK to open the door and enter in.
- Zoom in on the plant in the corner and click on it. Take the NAIL PULLER and the first MOSAIC piece, then look more closely at the table and take the SUCKER DART.
- Exit out through the door on the left.