
Grim Facade: The Cost of Jealousy: Chapter One: Gabriela
Our Grim Facade: Cost of Jealousy Walkthrough will help you unravel this elaborate mystery brimming with intrigue, deceit, and betrayal. Rely on our trusty tips, puzzle solutions, and in-depth instructions to weave your way to the truth in this exciting whodunit hidden object adventure game.
- Click to talk to to Aidan.
- Take the photo fro Aidan.
- Take the scroll.
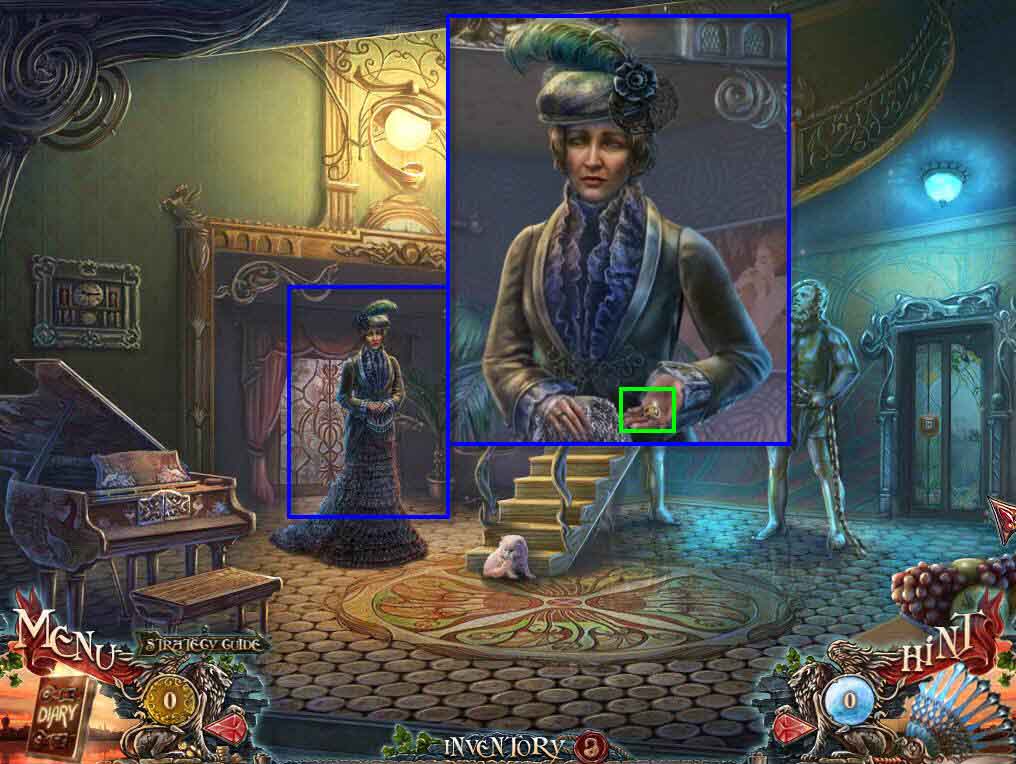
- Click to talk to Gabriela.
- Take the SIGNET.

- Click to zoom into the table.
- Read the newspaper.
- Take the FRAGMENT 1/4.
- Take the STATUETTE.
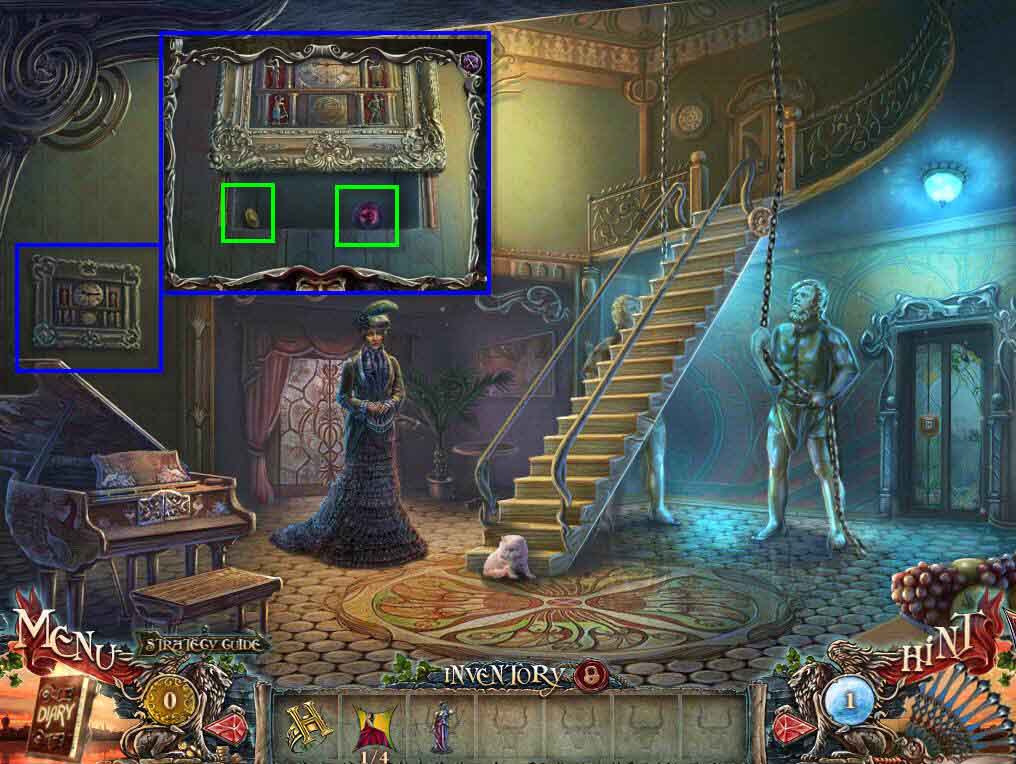
- Click to zoom into the clock on the left wall.
- Click on it.
- Take the GOLD COIN.
- Take the SNAKE EYE.

- Click on the door to zoom in.
- Use the SIGNET on the lock.
- Go forward through the door.
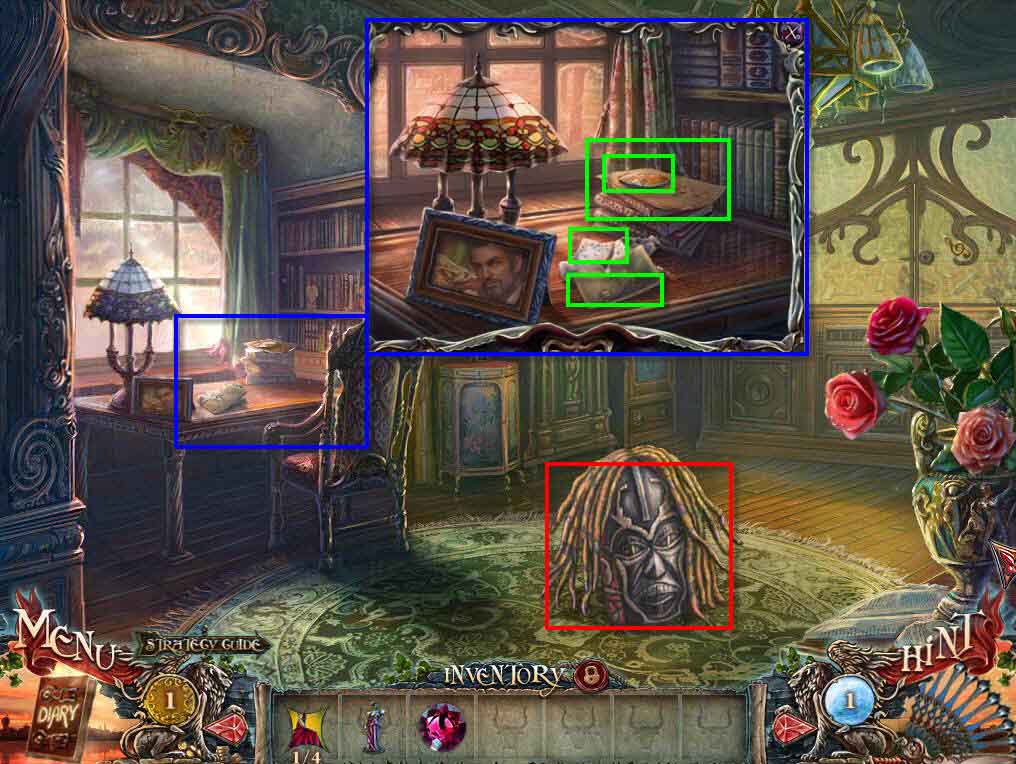
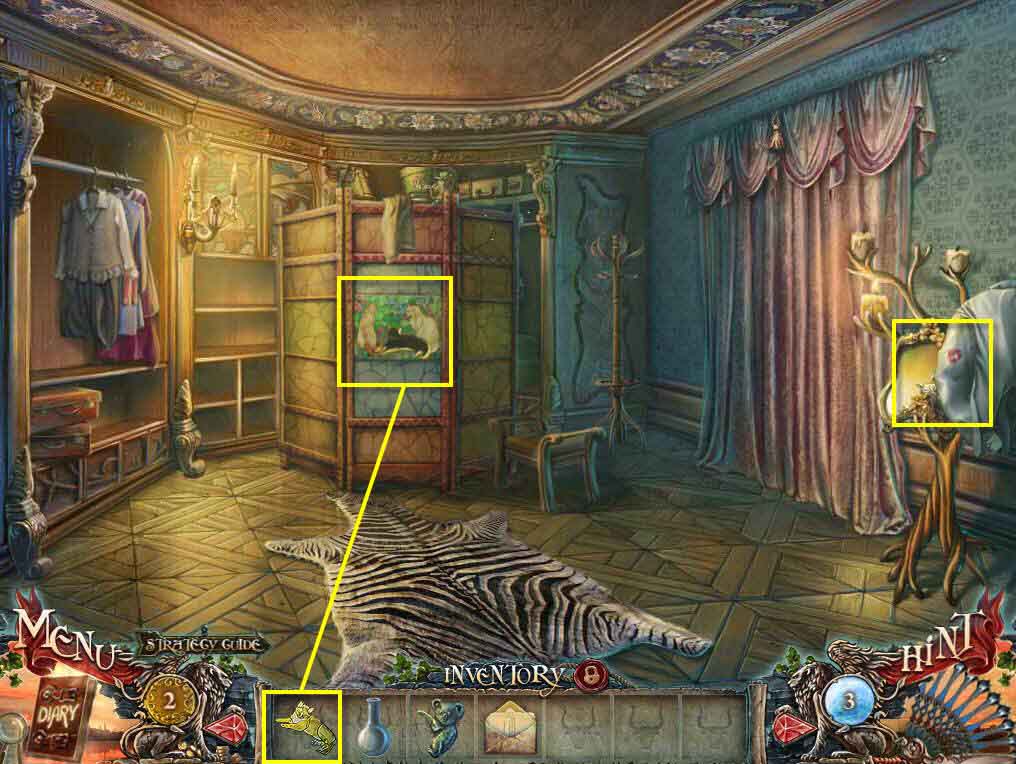
- Click to remove the mask from the fox.
- Click on the fox and he'll run away. Isn't he cute?!
- Click to zoom in on the desk.
- Take the photo.
- Take the FRAGMENT 2/4.
- Take the MUSIC NOTES.
- Take the HANDKERCHIEF.
- Click to talk to Aidan.
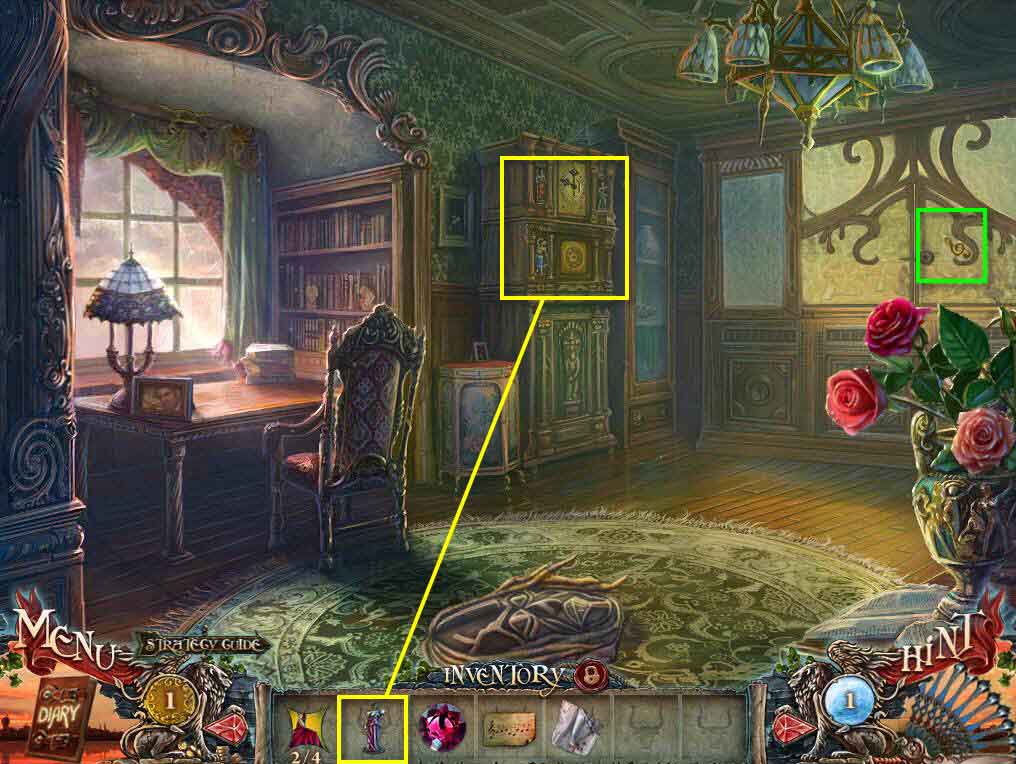
- Click to zoom in on the window.
- Take the TREBLE CLEF.
- Click to zoom in on the clock.
- Use the STATUETTE on the clock.
- This will start a mini-game.
 3
3
- The goal of the game is to place the statues in the right place and then set the time to the correct time.
- This is based on the clock in the previous room.
- See the screenshot for the solution.
- Take the PIANO KEY.
- Go back one screen.
- Take the fan.
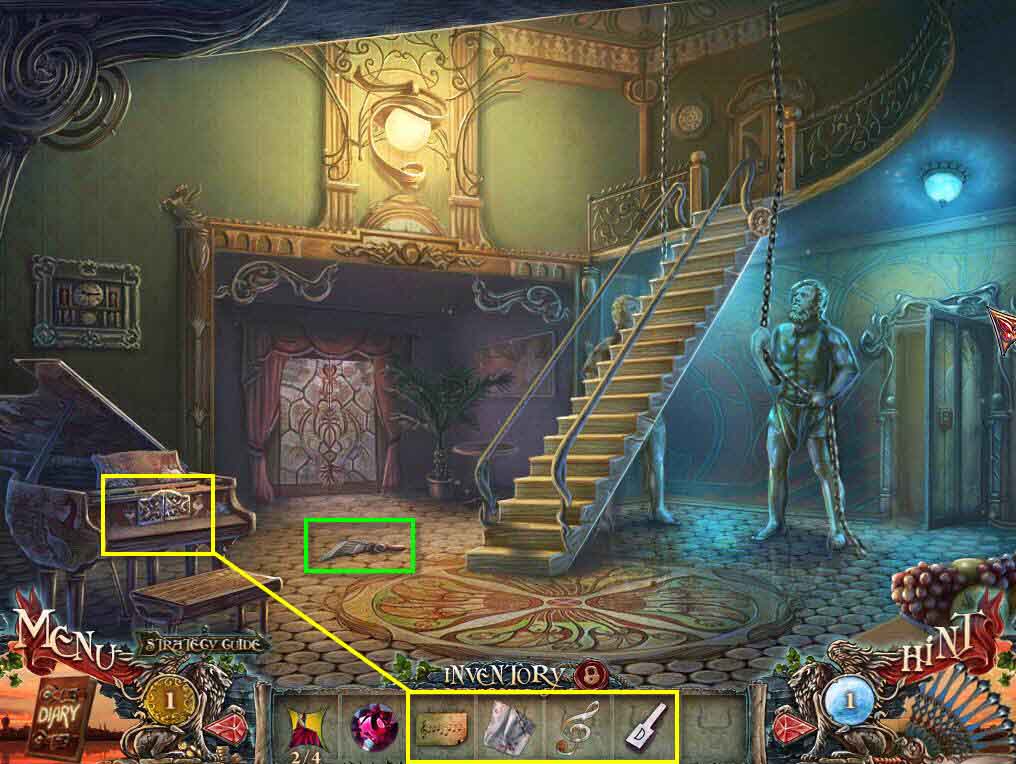
- Click to zoom in on the piano.
- Use the MUSIC NOTE on the piano.
- Use the HANDKERCHIEF on the piano to dust it. Wait... wasn't that evidence??
- After the cut scene, click on the piano again.
- Use the TREBLE CLEF on the slot to open the piano.
- Use the PIANO KEY on the missing slot.
- This will start a mini-game.
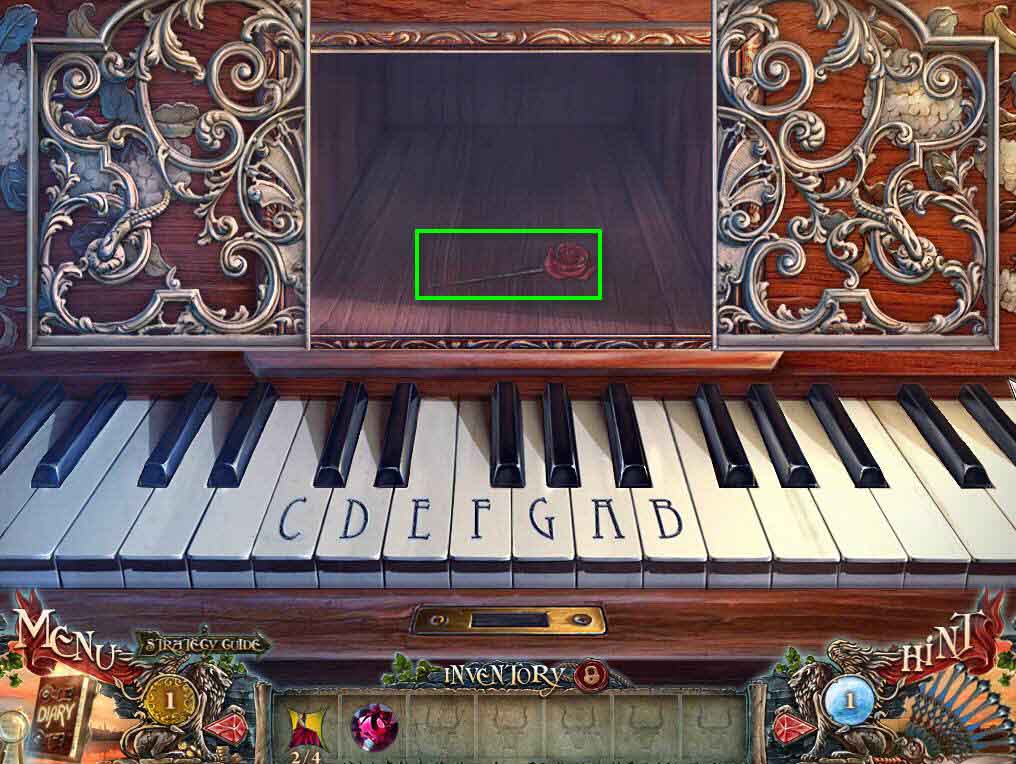
- The goal of the game is to play the correct notes by following the music.
- The solution is: G, A, B, F, E, B, A, B
- Take the note.
- Take the HAIRPIN.
- Go back through the door on the right.
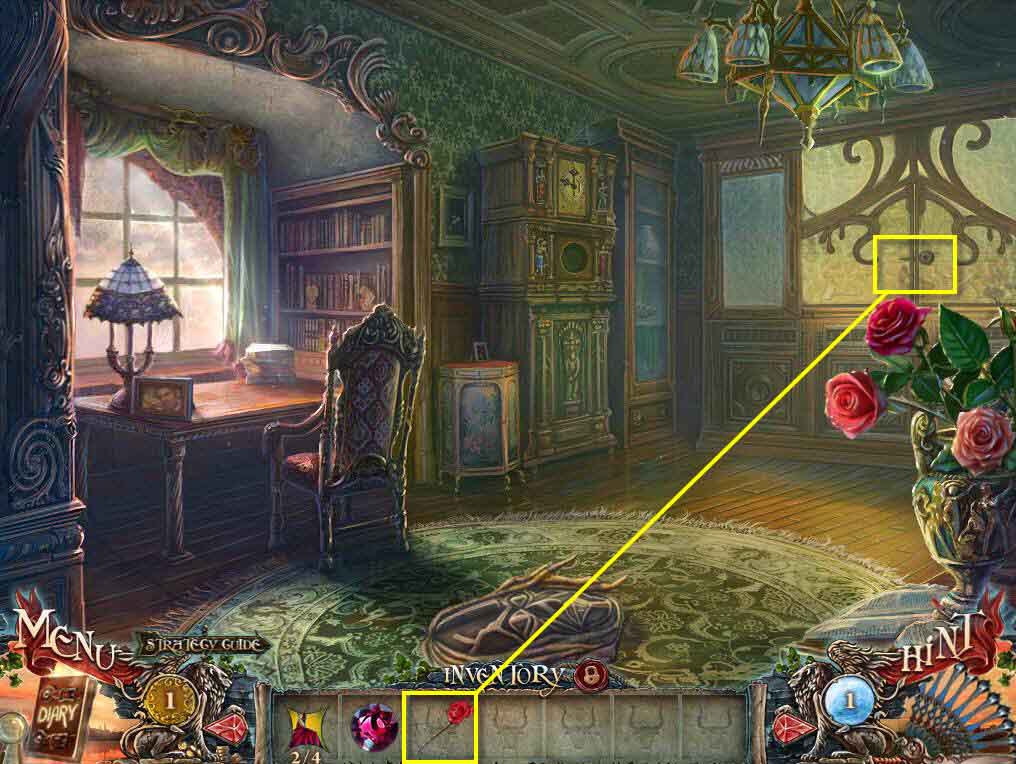
- Click to zoom in on the window.
- Use the HAIRPIN to unlock the door.
- Take the HAMMER.
- Go back one screen.
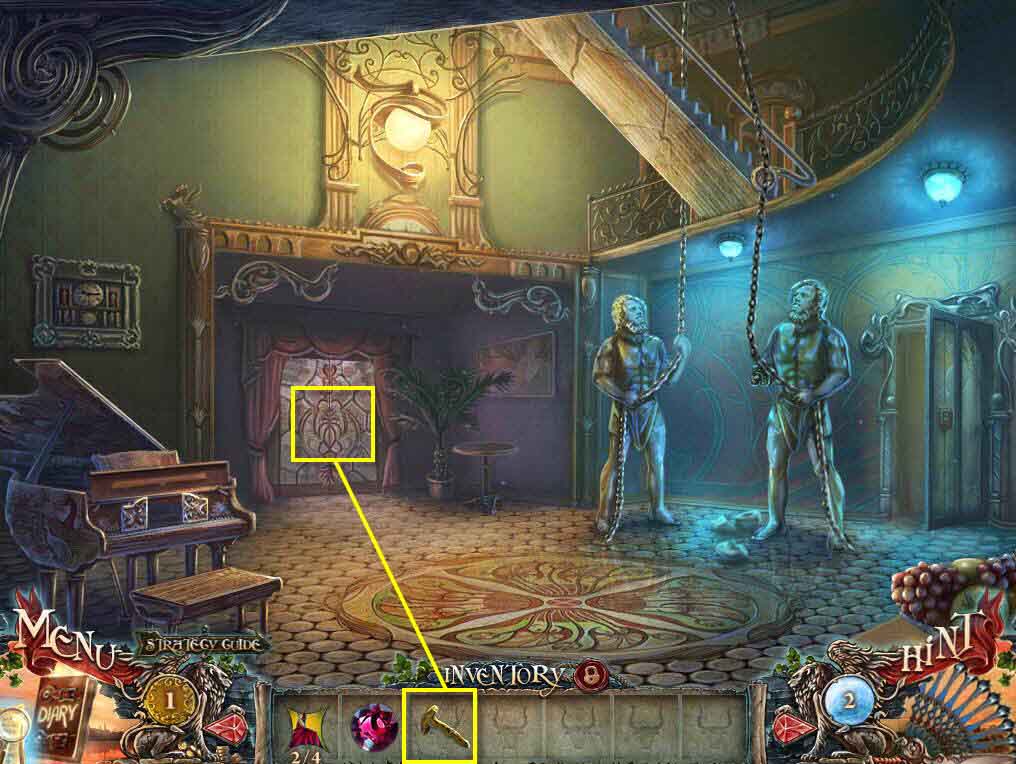
- Click to zoom in on the door on the left.
- Use the HAMMER to break the glass.
- Click on the handle and go through the door.
- Click to talk to Aidan.
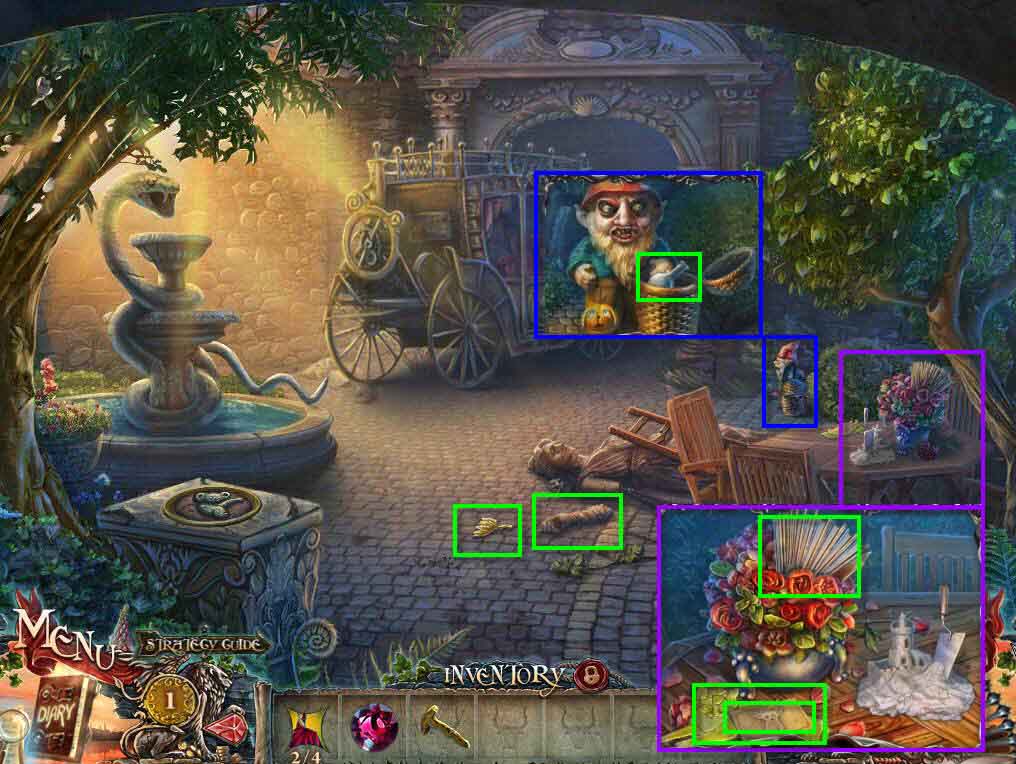
- Take the LILY on the ground.
- Click to zoom into the statue.
- Click on the stones.
- Take the STATUE ARM.
- Click to zoom in on the table.
- Click on the photo.
- Take the CAT.
- Take the FAN.
- Click to zoom in on the gnome.
- Click on his basket.
- Take the FLASK.
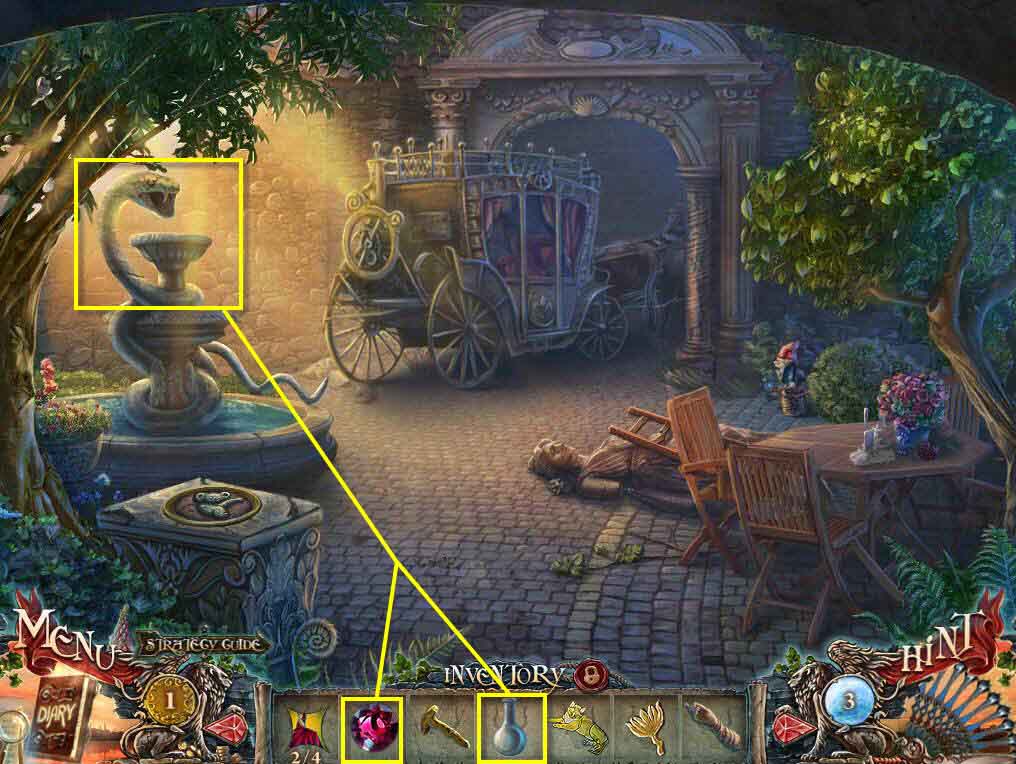
- Click to zoom in on the snake fountain.
- Use the SNAKE EYE on the snake.
- Take the FRAGMENT 3/4.
- Use the FLASK on the water.
- You will receive the FLASK WITH WATER.
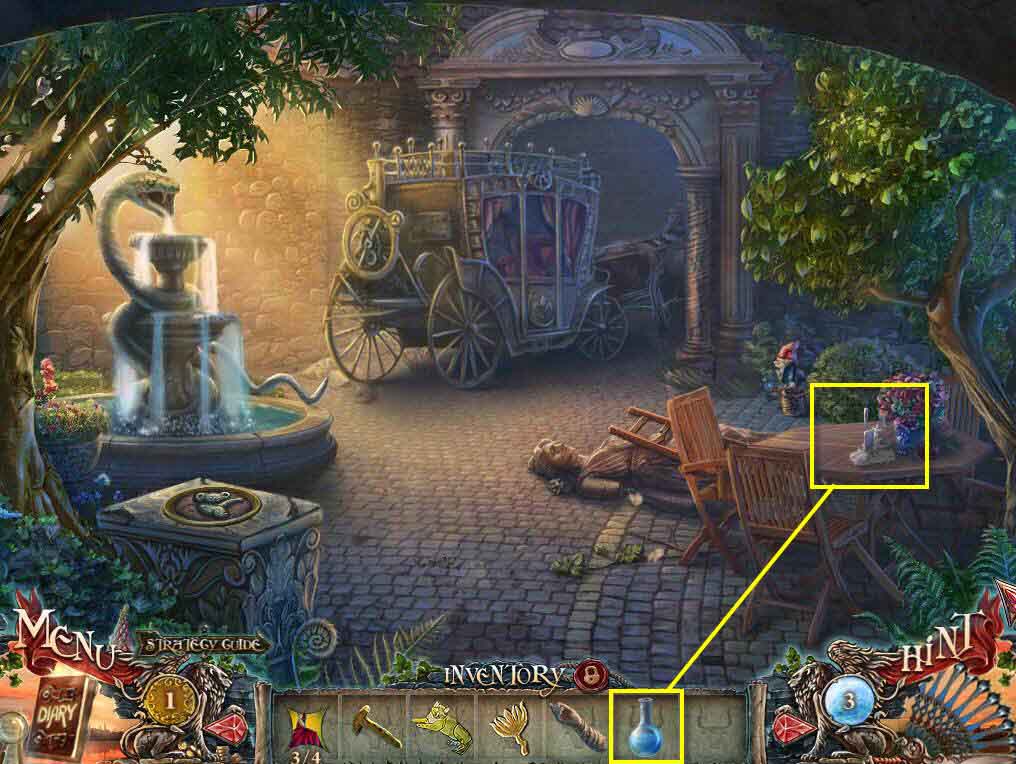
- Click to zoom in on the table.
- Use the FLASK WITH WATER on the sand castle.
- Take the TROWEL.

- Click on the pedestal with the koala on it to zoom in.
- Use the TROWEL on the pedestal.
- You will receive the KOALA.
- Go back one screen.

- Click to zoom in on the statue on the right.
- Use the STATUE ARM on it.
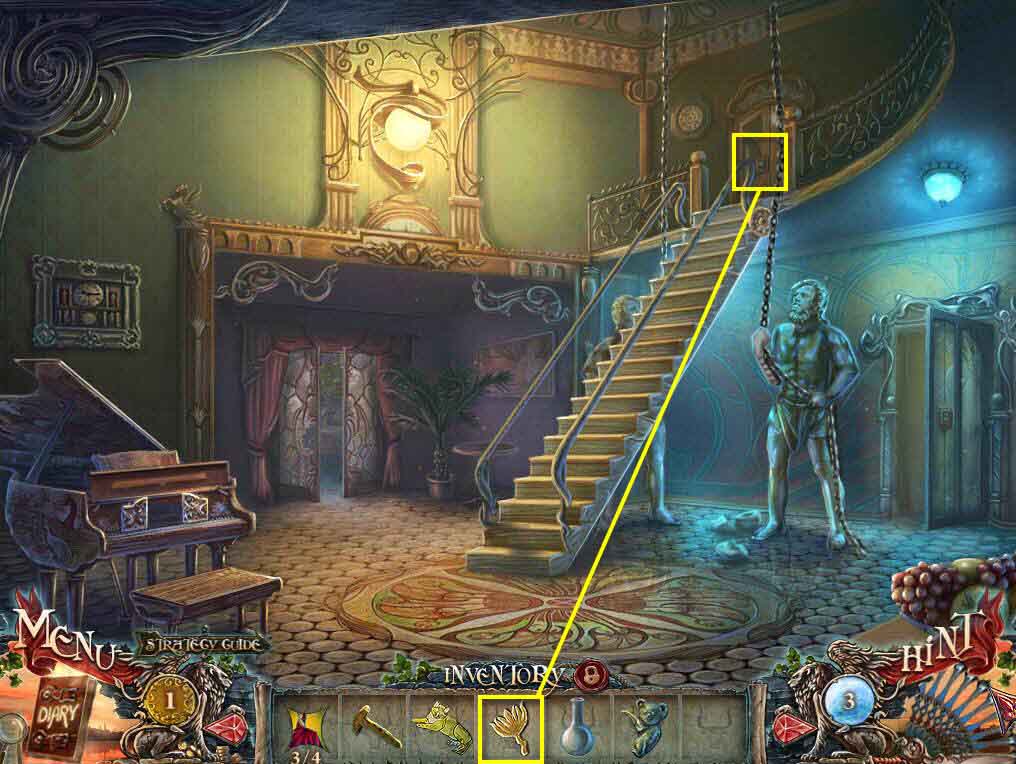
- Click on the door at the top of the stairs to zoom in.
- Use the LILY on the lock.
- Go through the door.
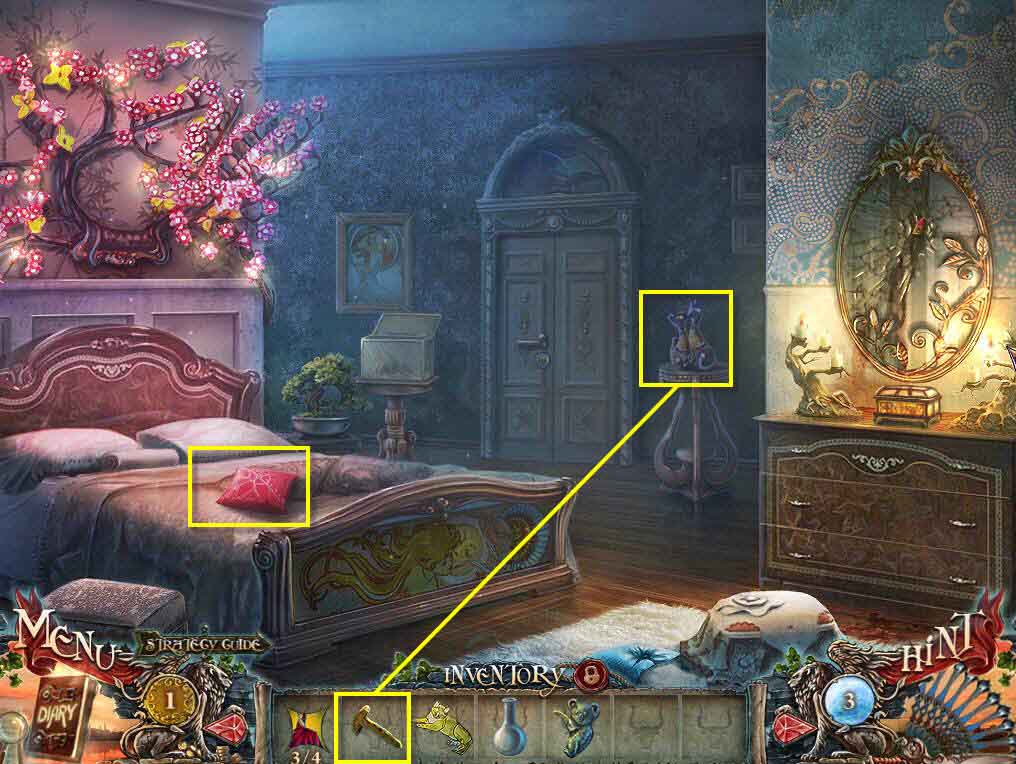
- Click to zoom in on the pillow.
- Click to move it.
- Take the diary.
- Take the PINCERS.
- Click to zoom in on the cat bank.
- Use the HAMMER on it.
- Take the GOLD COIN.

- Click to zoom in on the mirror.
- Click to talk to Aidan.
- Zoom back into the mirror.
- Use the PINCERS on the mirror.
- You will receive the FRAGMENT 4/4.
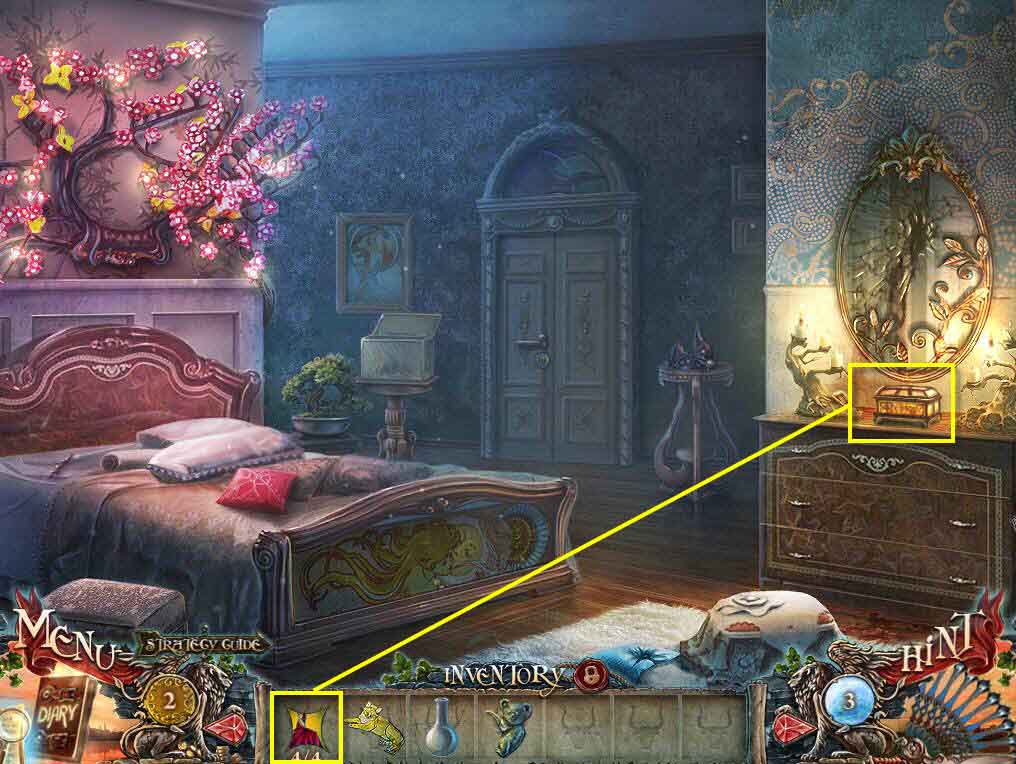
- Click to zoom into the box on the dresser.
- Use the 4 FRAGMENTS on the box.
- This will start a puzzle.
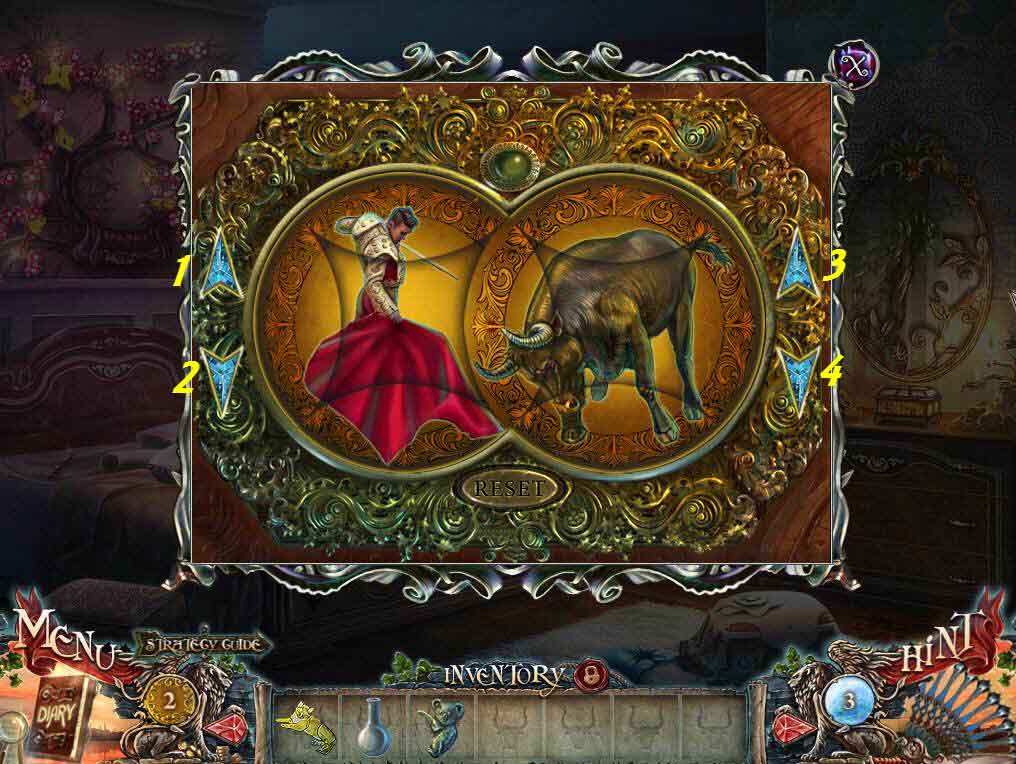
- Use the arrows to rotate the pieces.
- Click the arrows in this order to solve the puzzle: 3, 2, 3, 1 , 1, 1
- Click to open the envelope.
- Take ESMERALDA'S LETTER.
- Take the KEY.
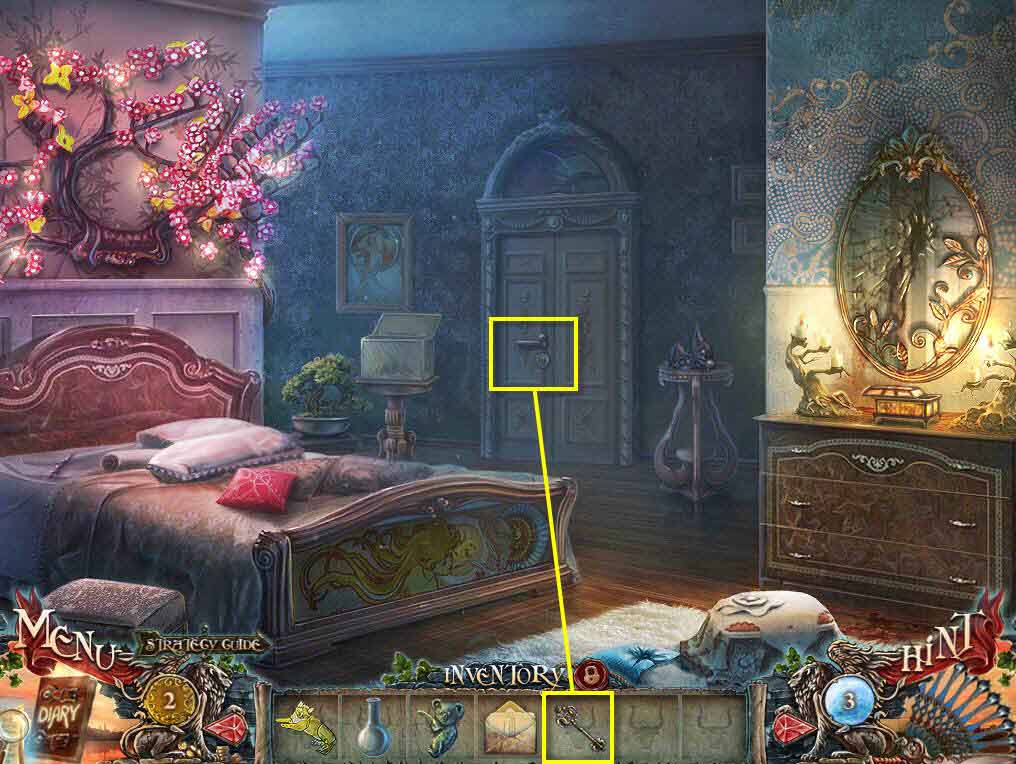
- Click to zoom in on the door.
- Use the KEY on the lock.
- Go through the door.
- Click to zoom in on the shirt.
- Click on it.
- Take the fan and the MOUSE.
- Click on the divider to zoom in.
- Use the CAT on the slot.
- Click on the sparkles to play the HOS.
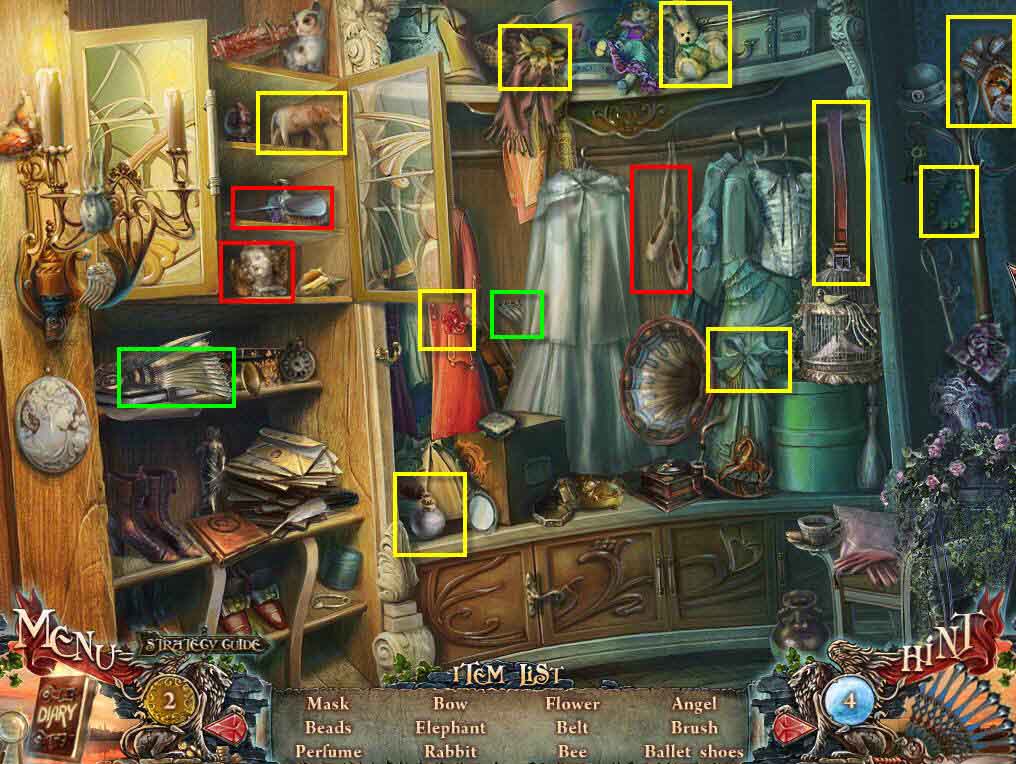
- Find all the items on the list.
- Take the 2 fans.
- You will receive the BELT.
- Go back one screen.
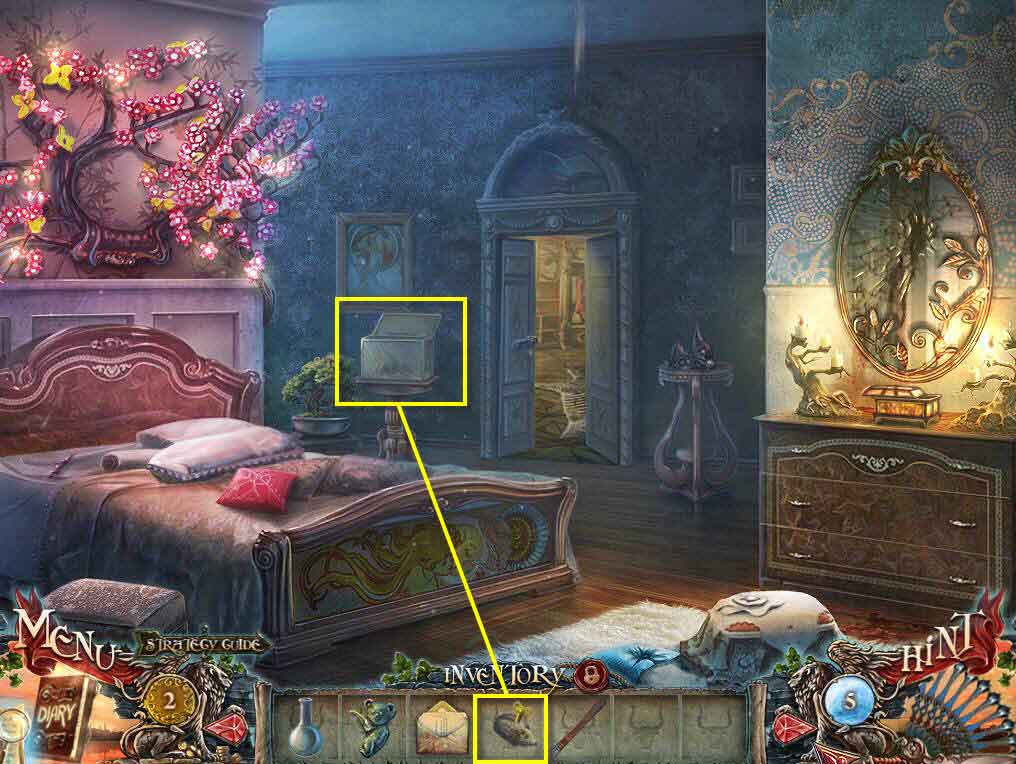
- Click to zoom into the tank.
- Use the MOUSE on it.
- Take the CURTAIN ROD.
- Go through the door to the closet again.
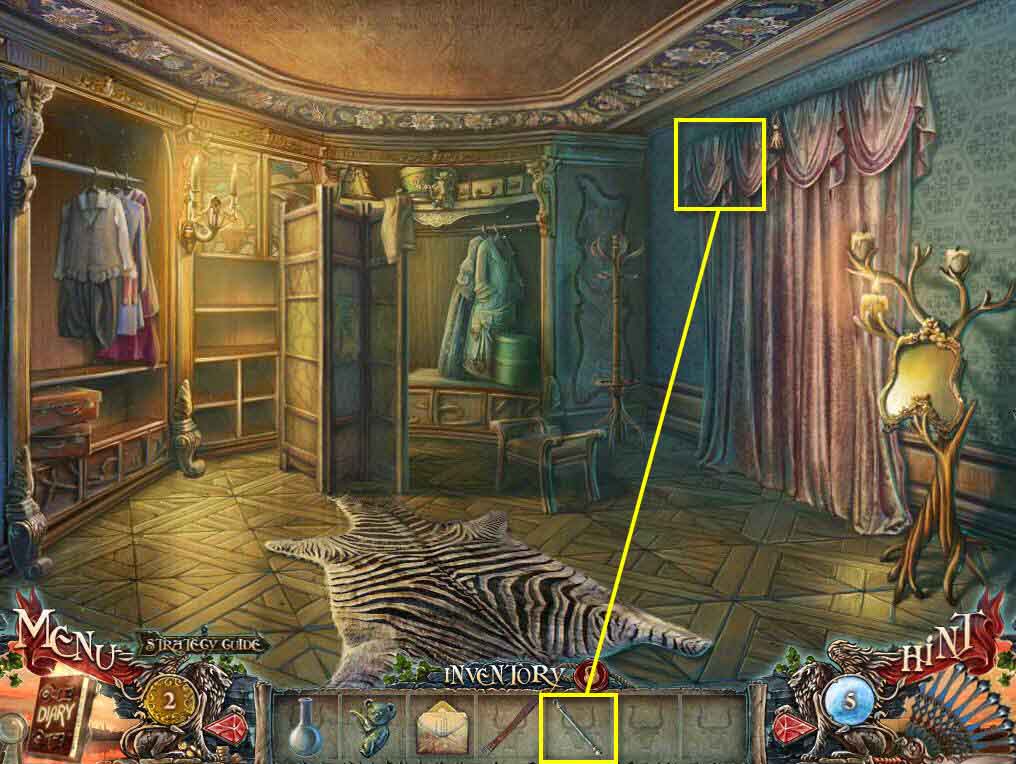
- Click to zoom in on the top of the curtains.
- Use the CURTAIN ROD.
- Click to zoom in the window.
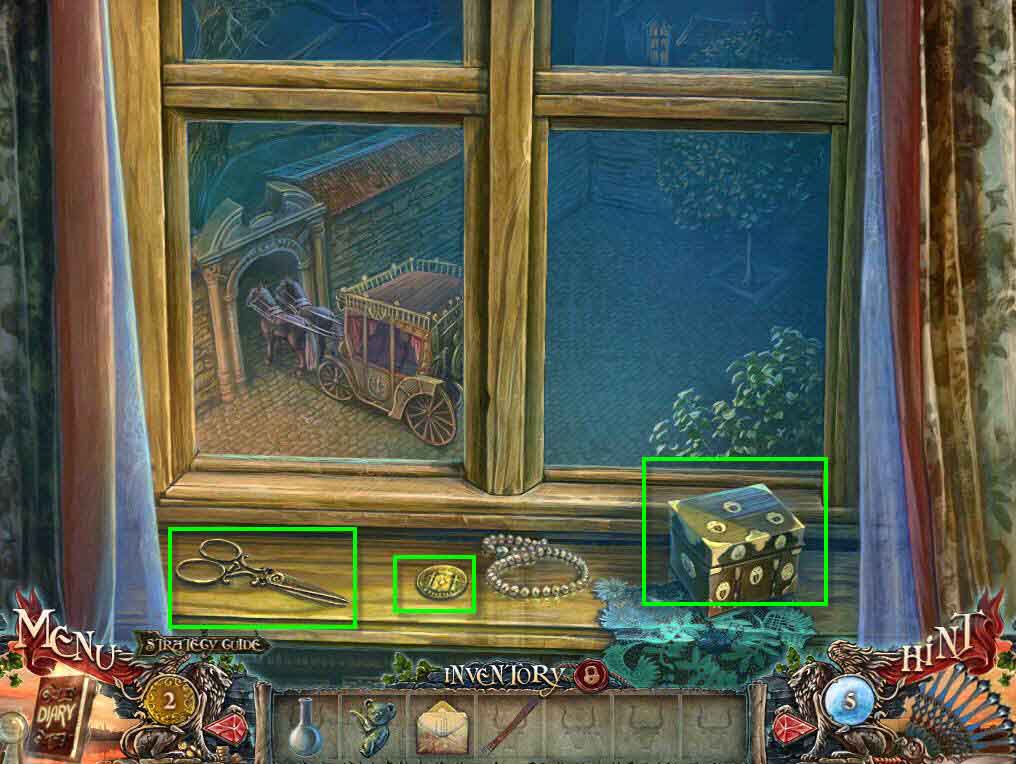
- Take the GOLD COIN.
- Take the SCISSORS.
- Click on the box to open it.
- Take the note.
- Click to talk to Aidan.
- Go back one screen.
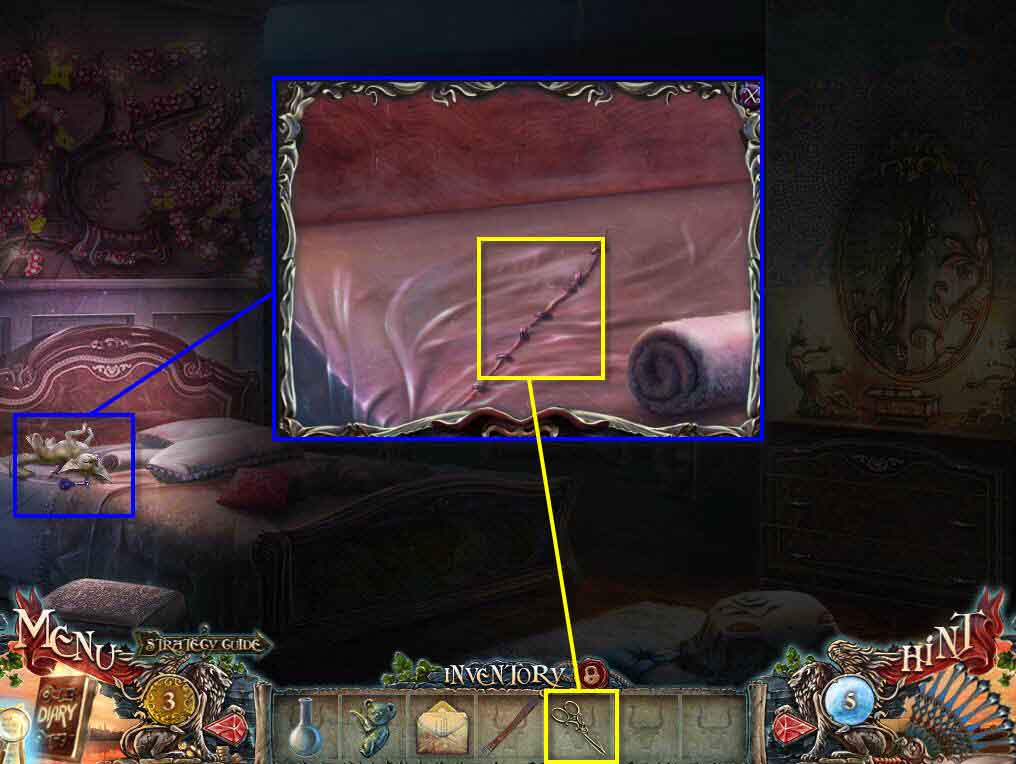
- Click to zoom in on the fox.
- Click to blow the horn.
- Use the SCISSORS on the sheet.
- Take the LADY IN RED.
- Go back one screen and go to the left.
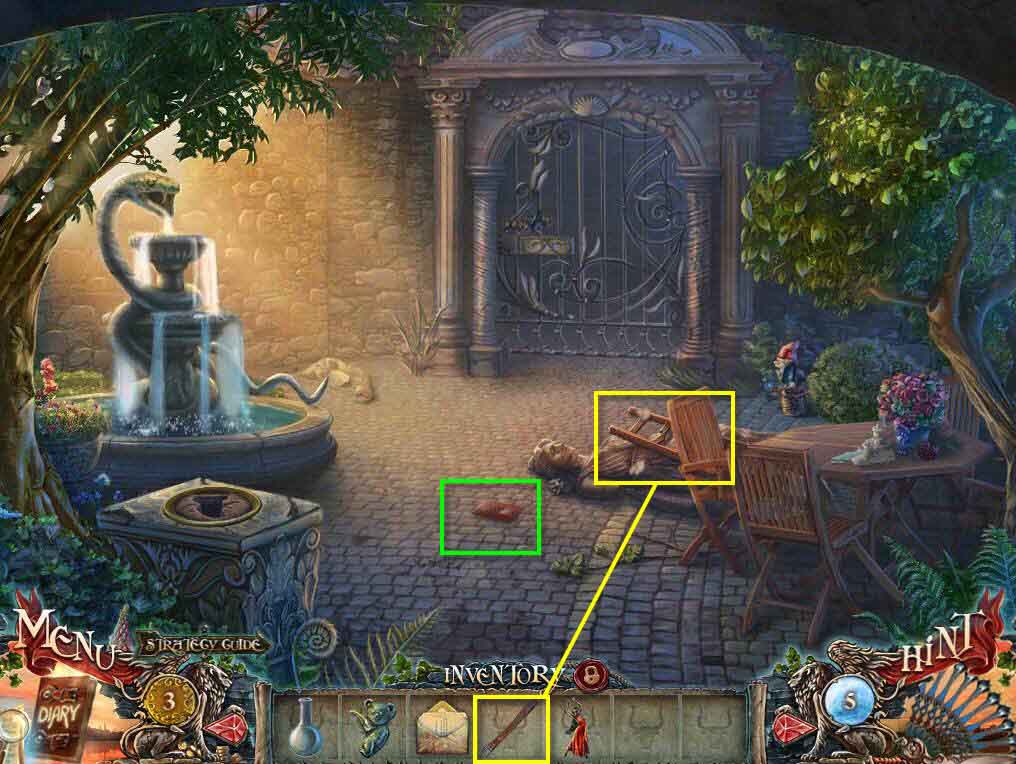
- Click on the wallet on the ground.
- Click on it to open it.
- Talk to Aidan.
- Click to zoom in on the statue.
- Use the BELT on the run of the ladder.
- Take the LADDER.
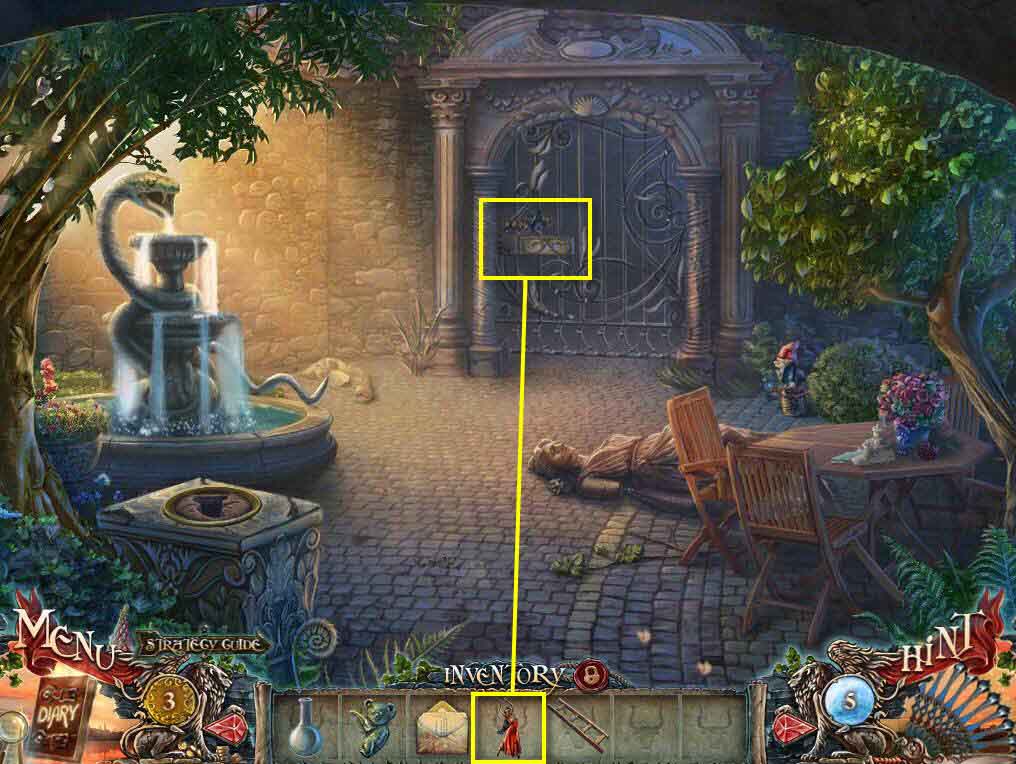
- Click to zoom into the gate.
- Use the LADY IN RED on the gate.
- This will start a puzzle.
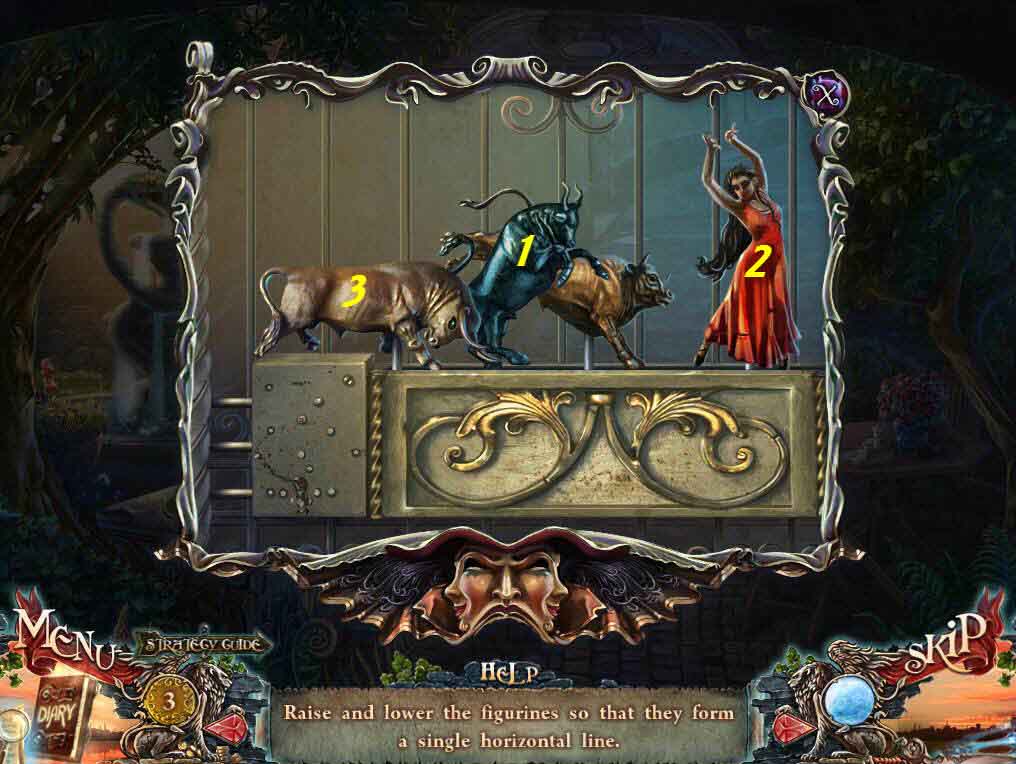
- The goal of the puzzle is to click on statues in the correct order so that they line up.
- See the screenshot for the solution.
- Go forward two screens.