
Grim Facade: The Cost of Jealousy: Chapter Two: Esmeralda’s house
Our Grim Facade: Cost of Jealousy Walkthrough will help you unravel this elaborate mystery brimming with intrigue, deceit, and betrayal. Rely on our trusty tips, puzzle solutions, and in-depth instructions to weave your way to the truth in this exciting whodunit hidden object adventure game.
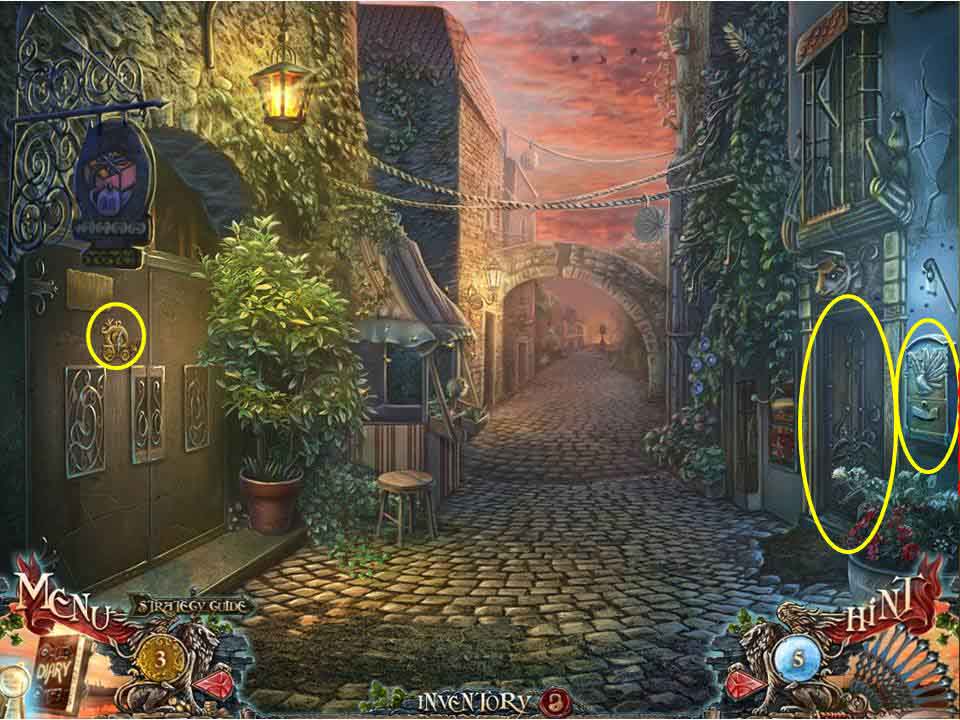
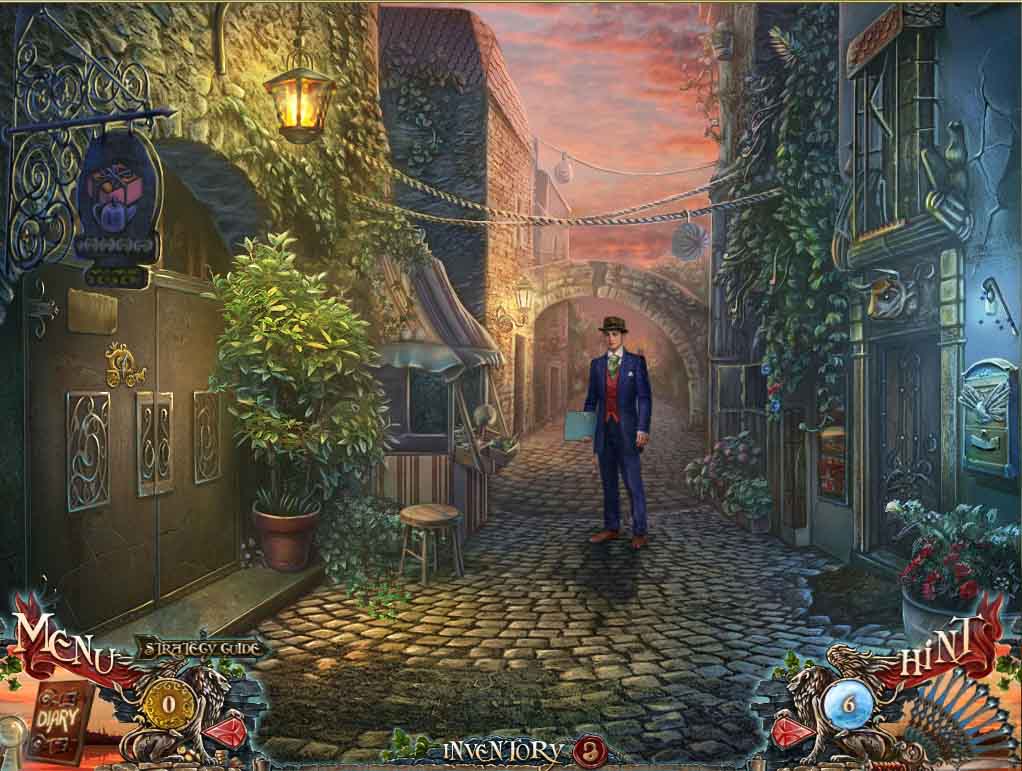
- Does anyone have any bug spray – the moths and bees are driving me crazy!
- Note the locked door to the right, and the mailbox next to it with the de-plumed dove.
- Glance at the door to the left, noting the opening times, the time on the clock, and the missing horse from the carriage.
- Move forward.
- Zoom in on the tables under the awning, watch the Fennec fox take the cake (now c’mon, tell me you wouldn’t want one of these cute foxes?) and grab the FORK.
- Click on the column amidst the fire and watch as it narrowly avoids crashing down on you.
- Note the broken arm holding the arrowhead.
- Zoom into the façade of Hugo & Company on the left and use the LADDER to reach the window up above and grab the HORSE.
- Climb back down and return to the shop.
- Place the HORSE in the mechanism on the door and enter inside.
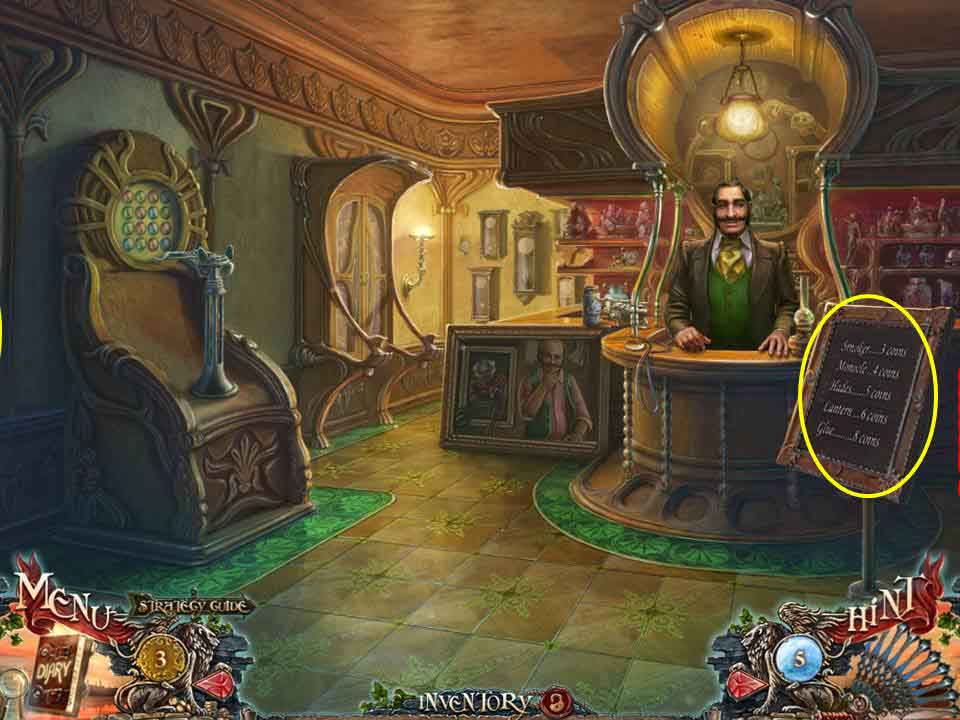
- Glance at the wacked out price list on the right, then talk to the proprietor.
- Seeing as you only have 3 coins, the smoker seems the best bet, especially with those pesky bees outside. Exit.
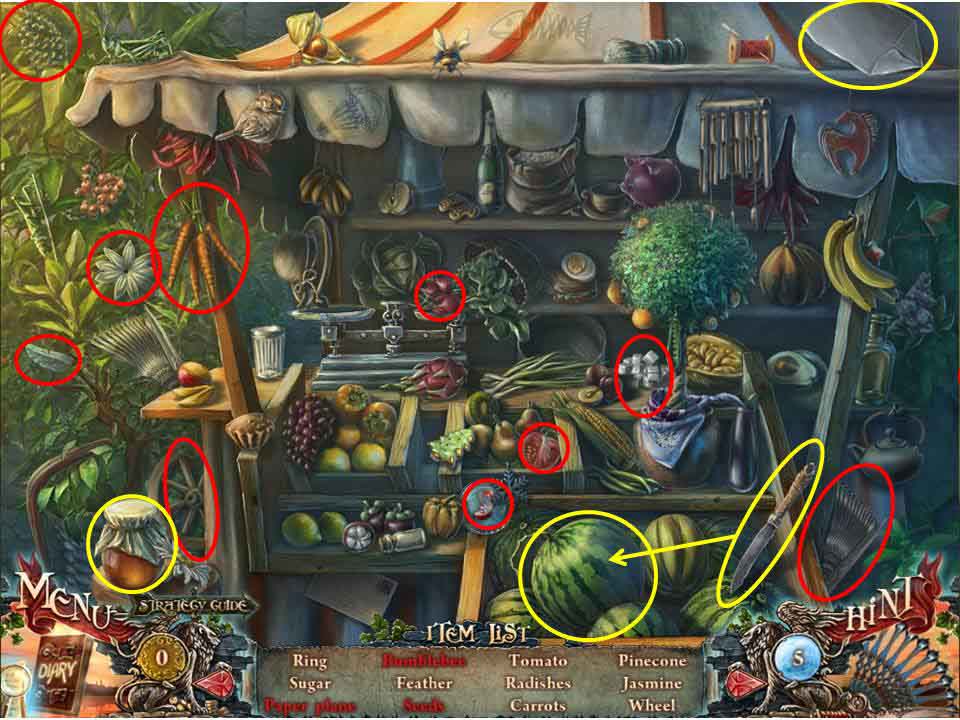
- Collect all the items circled in red, noting that the items circled in yellow require multiple moves to gather.
- To obtain the seeds, use the knife to slice open the watermelon.
- To locate the bumblebee, open the jar of honey to release it, then click on it when it finally settles back down on the jar.
- To obtain the paper airplane, click on the partly folded piece of paper to complete its creation.
- Once all items have been gathered, collect the FEATHER.
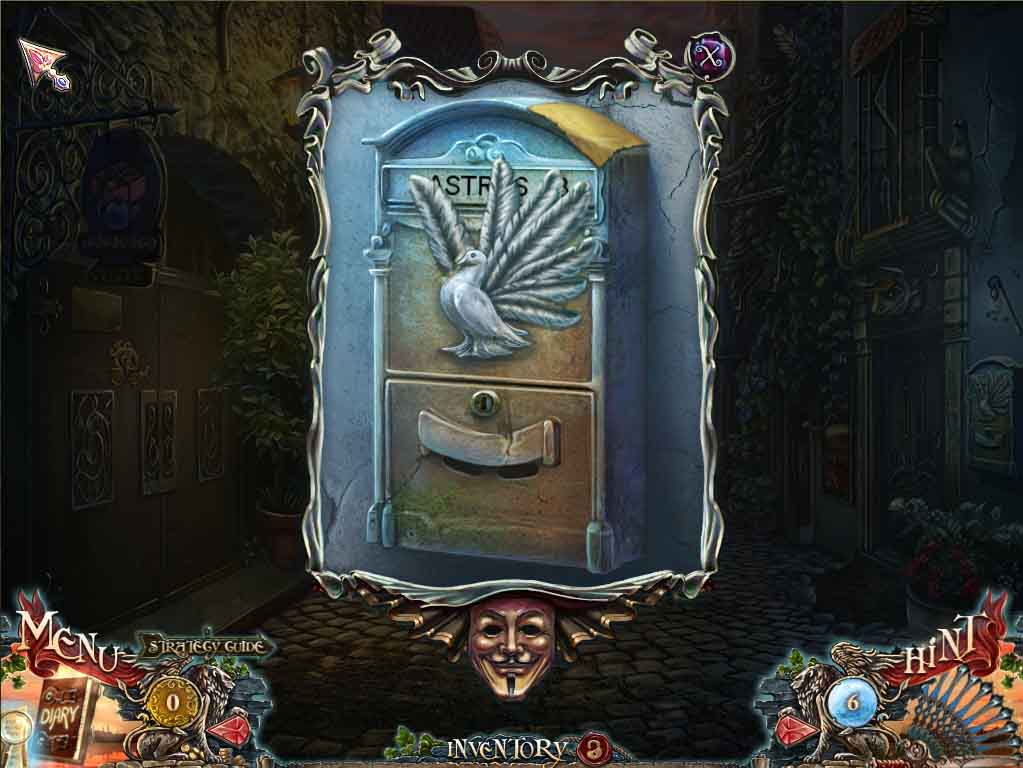
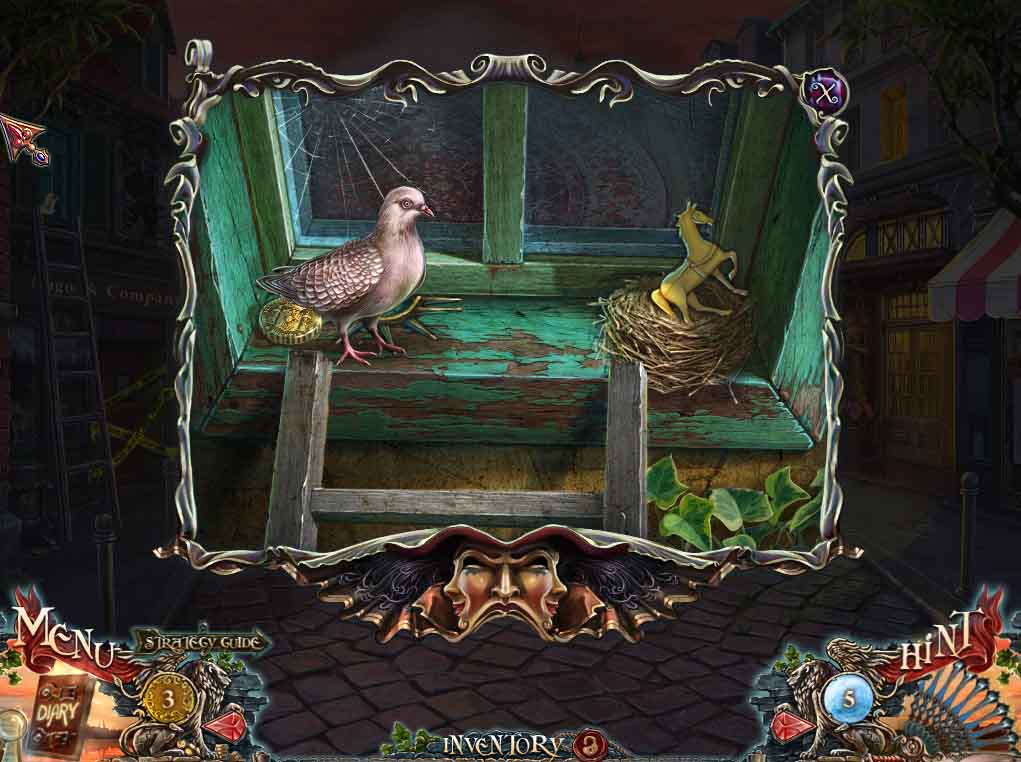
- Zoom back in on the mailbox and put the FEATHER in place – note the address.
- Match it to the LETTER in inventory, after which a small scene will play out.
- Follow Esmeralda into her house.
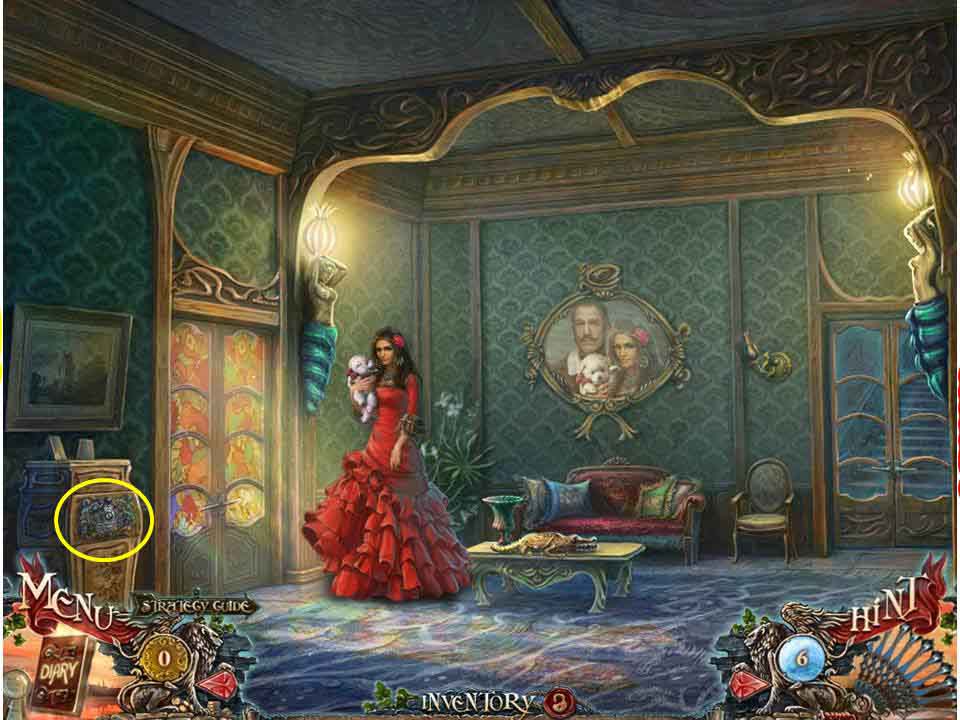
- Talk to Esmeralda, then take the CHIP she offers you.
- Zoom in on the cabinet to the left to reveal the next puzzle
- Put the CHIP in place to initiate the puzzle.
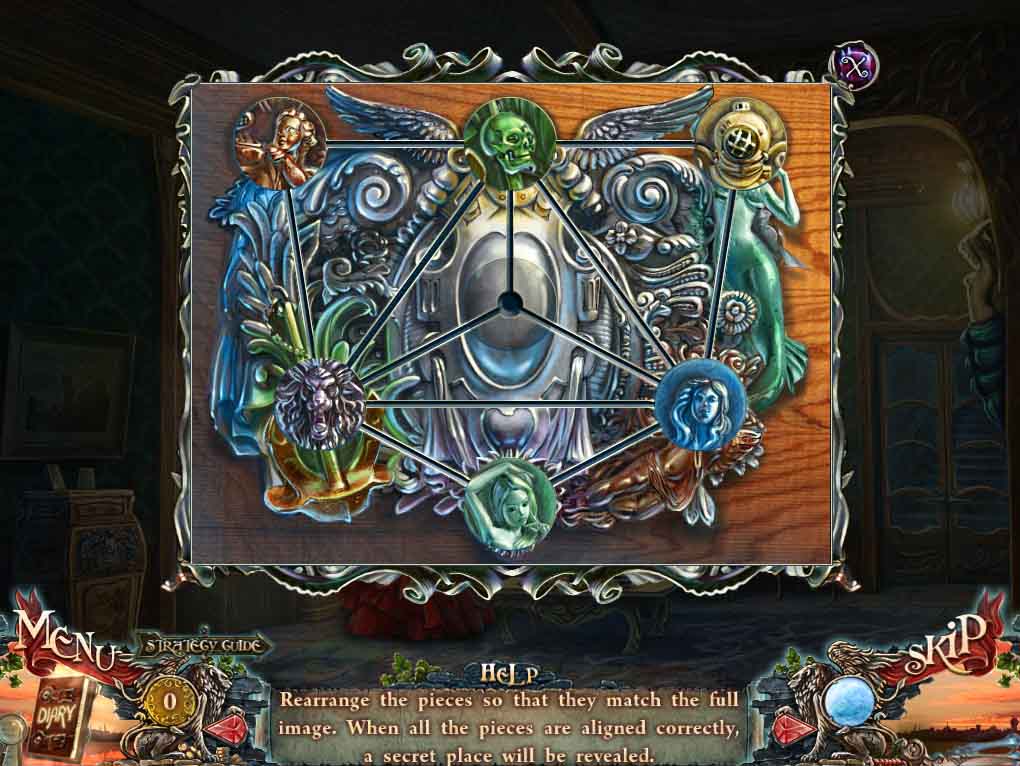
- The aim is to rearrange the 6 chips so that they match the full image.
- The clue is the color of each chip – if you glance at the image, you’ll note that various areas bear the same shades as the chips.
- The key is to use the vacant area in the center to create room to maneuver the pieces around.
-
See the video clip for the solution.
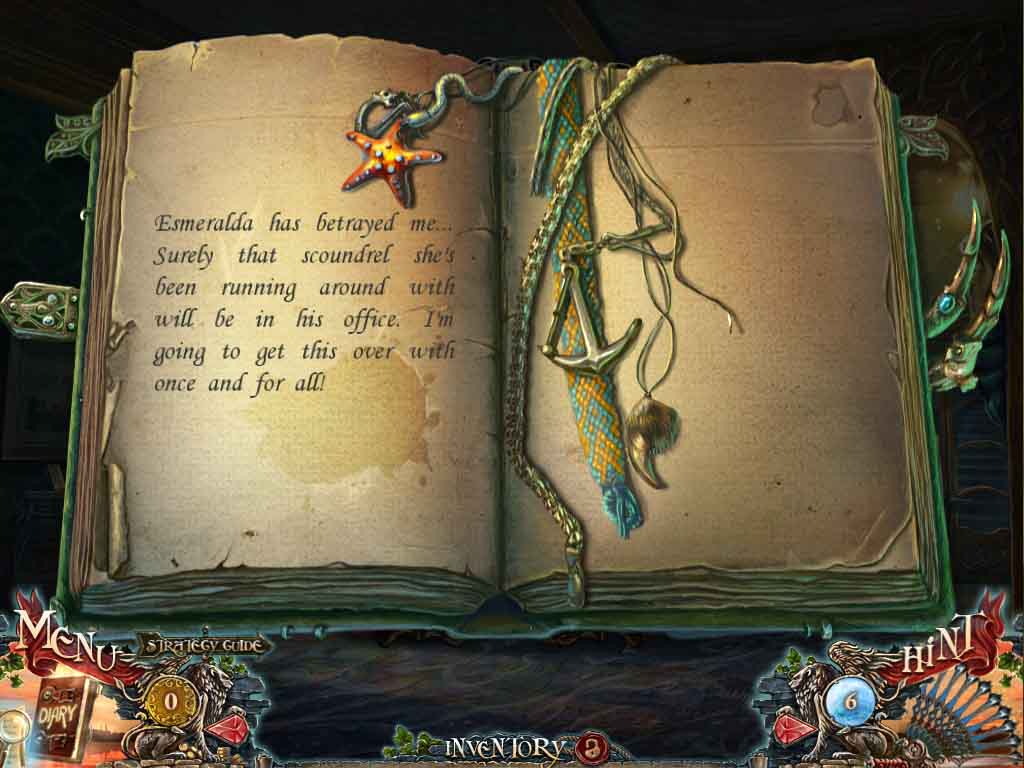
- Once open, look inside and open the diary.
- Take the coin and the RIBBON, note the tiny writing, and exit back out to the street.
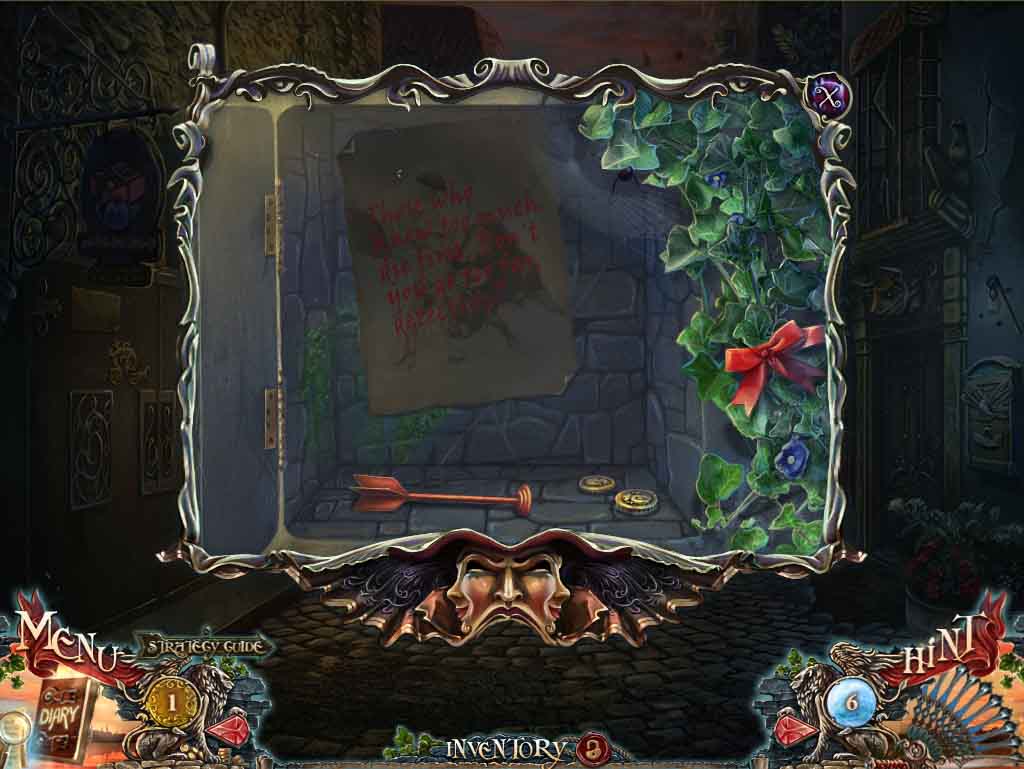
- Zero in on the flowering bush to the right, and use the RIBBON to tie it back.
- Place the KOALA behind the other, and when the box opens take the SUCKER DART and the two coins, then exit.
- Return to the shop.
![]()
- Approach the game on the left and load it up with the SUCKER DART to initiate the next puzzle.
- It’s actually quite simple, just a variation on the old card game of using memory to try and find pairs – every time you get a match you score, if you miss you turn them back over.
- Same principle here except you have to load the crossbow with one of the three different colored arrows to turn over the same color disk on the board.
- Bear in mind that the pairs you’re hunting for aren’t necessarily going to be under the same color.
- The quickest way to solve it is to methodically work your way through the entire board and note what is hidden under each disk on a piece of paper.
- Once done you can then easily go through the whole lot and knock out the pairs quickly and easily.
- When complete take the coin on the board and exit.
- Approach the proprietor and use the four coins you’ve accumulated to buy a MONOCLE.
- Return back to Esmeralda’s home.
- Open the diary and use the monocle to read the contents, then watch the scene with Carlos.
- Esmeralda will then suggest you leave – you can’t search her place while she’s there, drat it!
- Maybe if you stuck the fork from inventory into her dog’s leg she’d leave you alone to go the nearest vet?
- No, guess you can’t do that, so you’ll have to exit.
- Talk to Aidan on the street, and he’ll suggest heading off to have a little chat with Hugo.
- Walk forward and watch the scene of someone breaking into Hugo’s shop, then enter in yourself.