
Grim Facade: The Cost of Jealousy: Chapter Four: The Attic
Our Grim Facade: Cost of Jealousy Walkthrough will help you unravel this elaborate mystery brimming with intrigue, deceit, and betrayal. Rely on our trusty tips, puzzle solutions, and in-depth instructions to weave your way to the truth in this exciting whodunit hidden object adventure game.
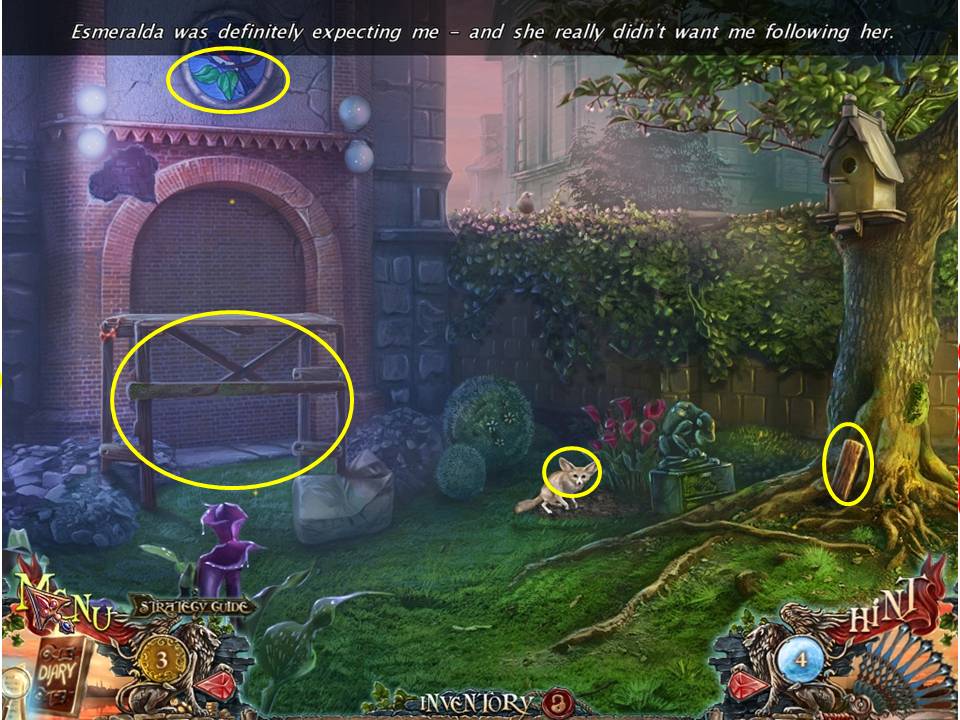
- Zoom in on the base of the tree and use the NAIL PULLER to pry away the NAIL and the PLANK OF WOOD.
- Take a closer look at the scaffolding on the left and use the PLANK, the NAIL, and the NAIL PULLER to secure it.
- When the work is complete take the BOW and give it to your little furry friend as gift to keep it happy.
- When it departs use the GARDEN SHOVEL to dig away at the soil to uncover a lidded container with a gold coin and a DRUMSTICK inside.
- Finally, zoom in on the stained glass window above, use the GLASS CUTTER to cut away most of the glass, then lay the COAT FLAP across to clear away the remaining shards.
- Proceed through the opening into the attic.
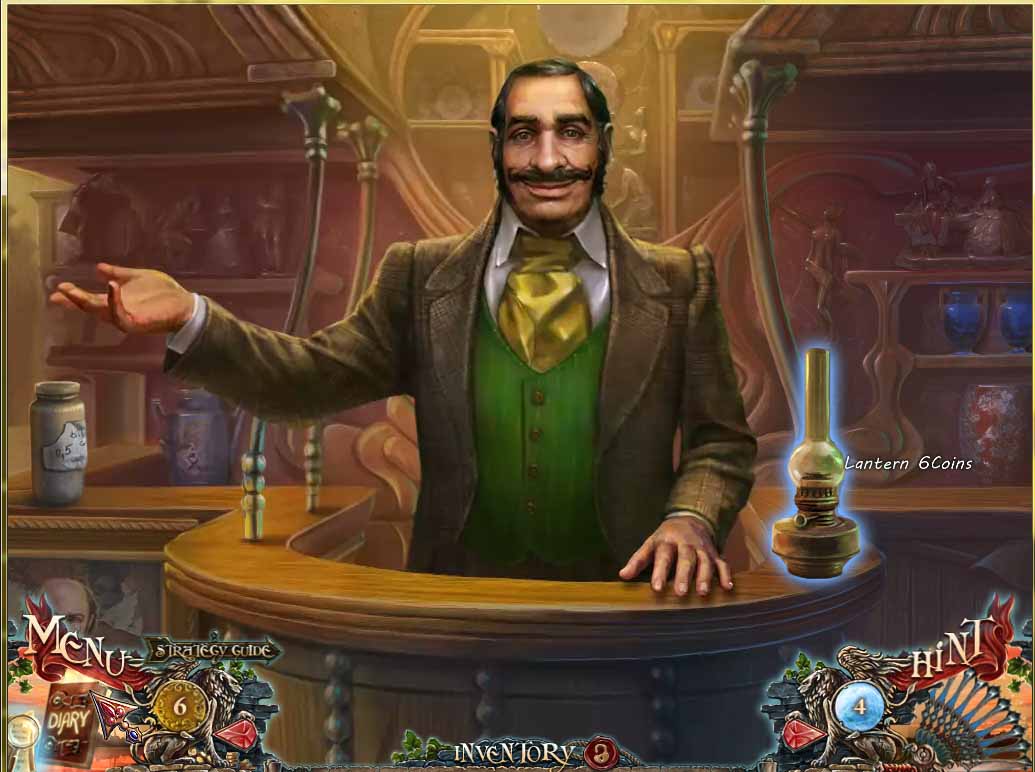
- You'll find it's too dark in the attic, so exit straight out and head back to Mr. Martinez' store.
- Head over to the dart game again and load it up to initiate the game.
- The rules are the same as before, to try and find the pairs.
- Note that in my version of the game the pairs were all screwed up the second time around so it became a matter of picking on one particular disk and simply working round the board until one of the others would match up, even though they were not identical – very tedious!
- When finished collect the two gold coins, grab the lantern and pay Mr. Martinez the required amount, then return to the attic.
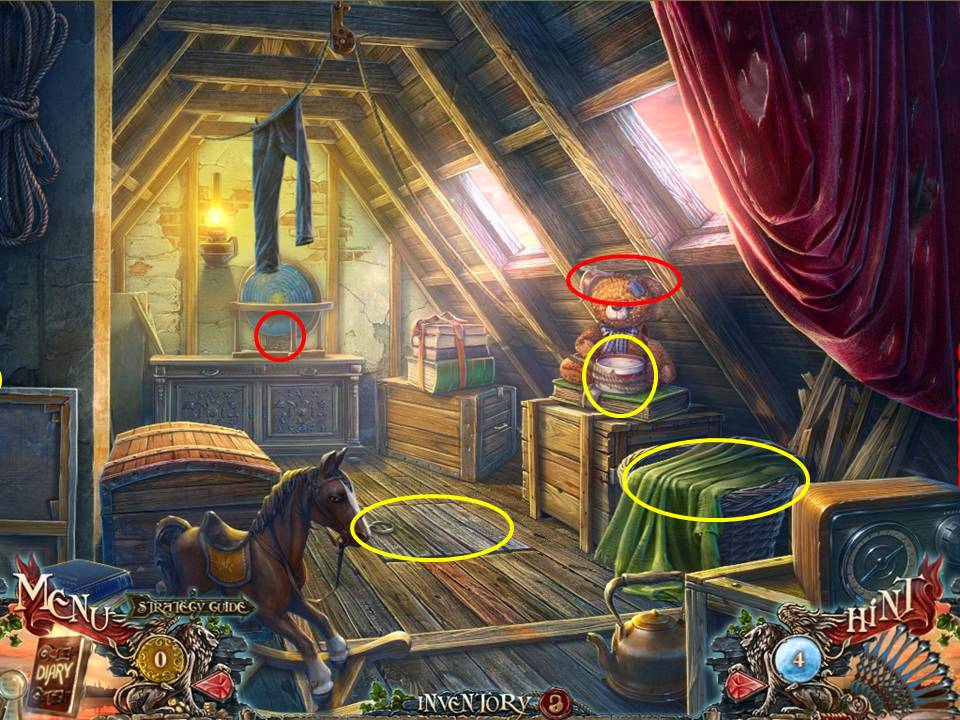
- Use the lantern to light up the attic.
- Take a closer look at the clothes hamper on the right – take the gold coin, the note, and the PLANET.
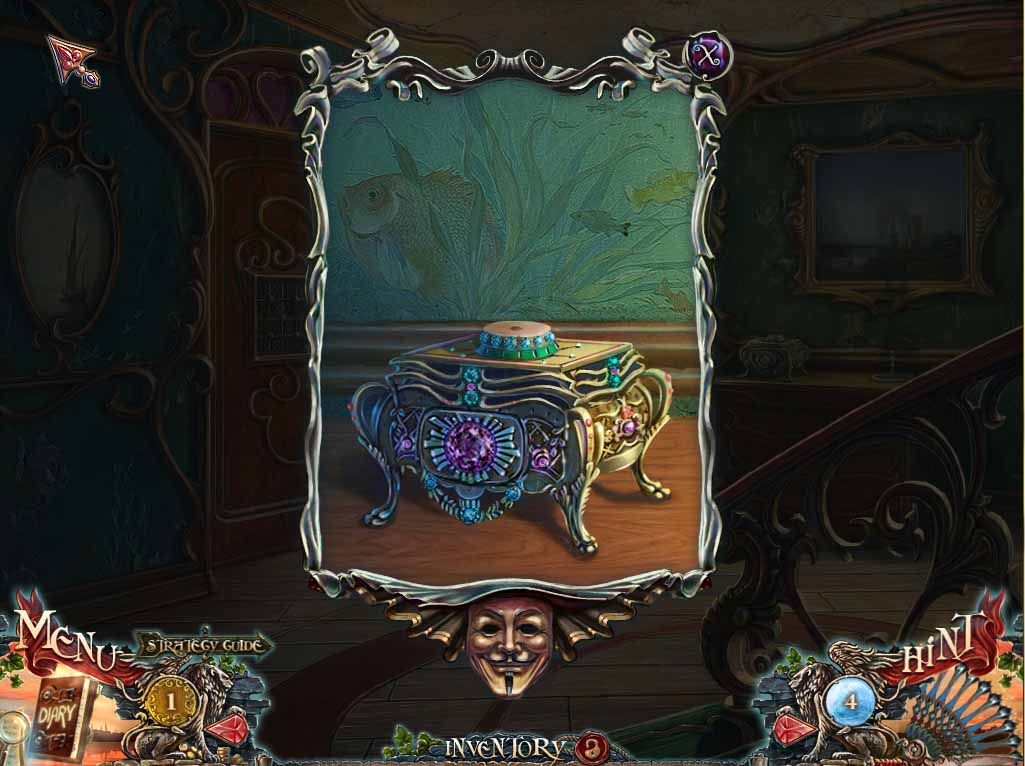
- Try using the drumstick on the bear with the drum – drat, it doesn't work!
- Even sewing the arm up with the THREAD doesn't work!
- Teach the little ingrate a lesson by taking its PIRATE HAT.
- Zoom into the planetarium at the back of the room and take the SEAHORSE lying on it – note the four missing planets, one of which you've already collected.
- Zoom out, open the trap door in the middle of the floor, and go down.
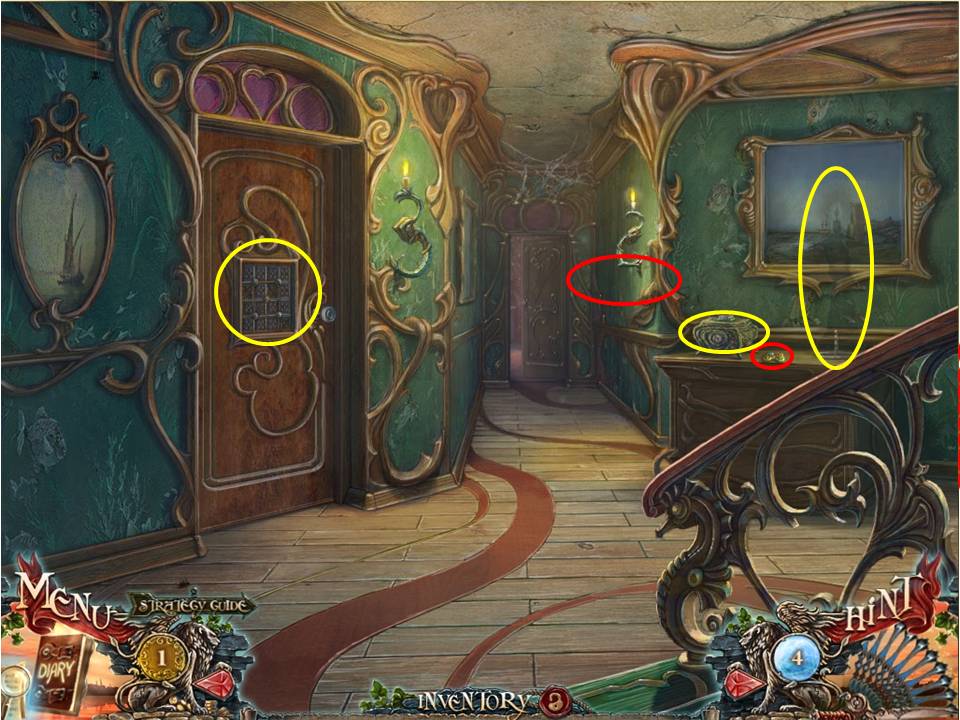
- Note the missing mosaic pieces from the door on the left.
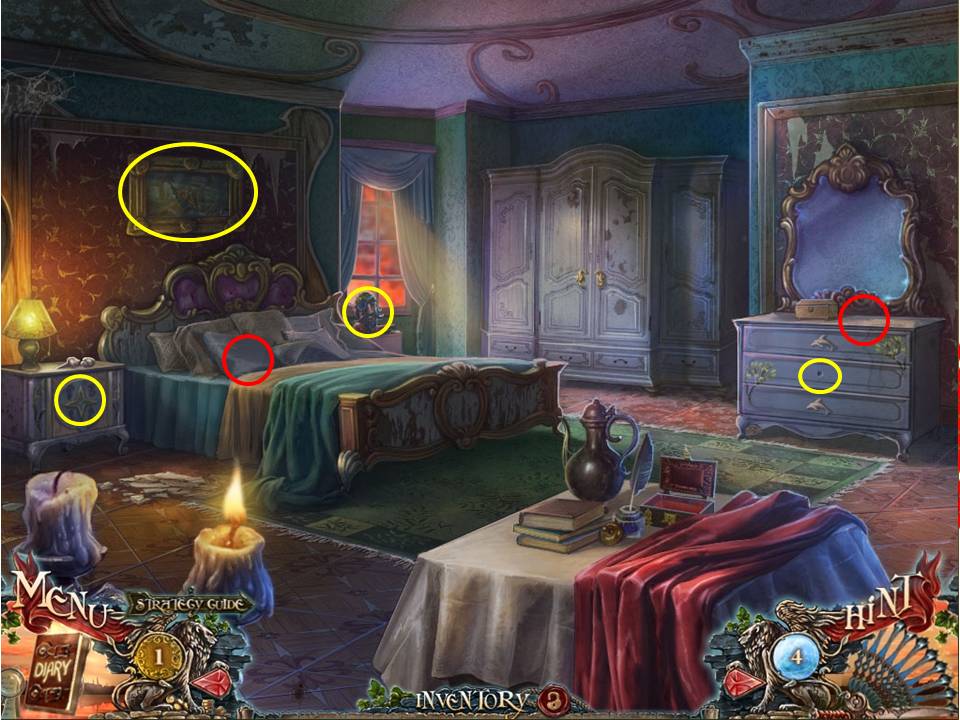
- Zoom in on the chest of drawers to the right and also note the shaded outline on the wall, as well as the missing figure from the music box. Take the first BUTTERFLY and exit through the door at to the rear.
- Zoom in on the dresser to the right and take the second MOSAIC PIECE.
- Note the drawer with the missing handle.
- Look closely at the bed and take the DANCER as well as the note with the number ‘231’ on it.
- Zoom in on the bedside table on the right and place the PIRATE HAT on the head, then take the SEAHORSE that will appear in its mouth.
- Also pick up the second DRUMSTICK.
- Note the bedside table on the left and the fact you still need another 2 seahorses to complete the device.
- Zoom in on the picture above the bed, noting that it’s missing a couple of sections.
- Return to the previous room.
- Place the DANCER on the music box and click on it to set it dancing – when the drawer opens take the next PLANET from within, as well as the third MOSAIC PIECE.
- Return to the attic.
- Zoom in on the bear and hand it the two DRUMSTICKS from inventory, at which point it will start threshing away at the drum like a demented version of John Bonham.
- When the pants fall down from the clothes line across the room – because that’s what all great drummers induce with their playing –zoom in and pick up the last of the MOSIAC PIECES and the CANDELABRUM.
- Go down again through the trapdoor.

- Place the CANDELABRUM from inventory on the chest of drawers to the right and click on each in the order shown earlier on the sheet of paper – 231.
- When done the picture to the left will fall away and reveal a safe – open it.
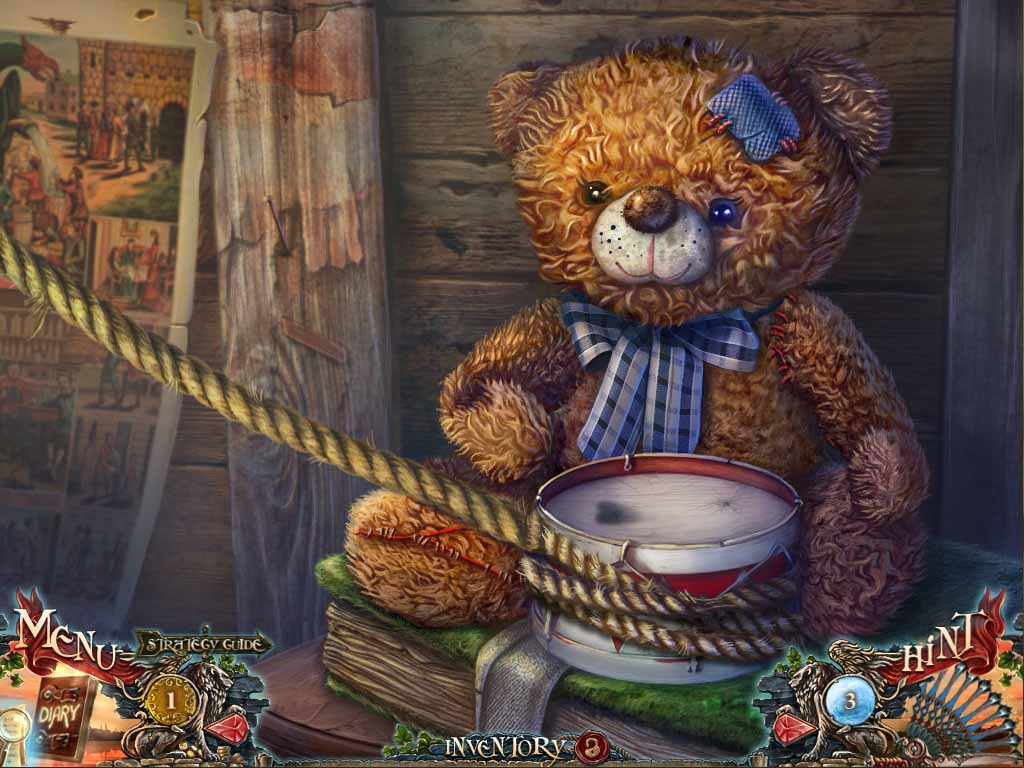
- Take the gold coin inside, as well as the RING HANDLE and DOLPHIN.
- Move forward to the bedroom again.
- Use the DOLPHIN to open the 2nd drawer of the dresser, and take the TENTACLE and the 3rd SEAHORSE.
- Exit back and zoom in on the door to the left to initiate the next puzzle.
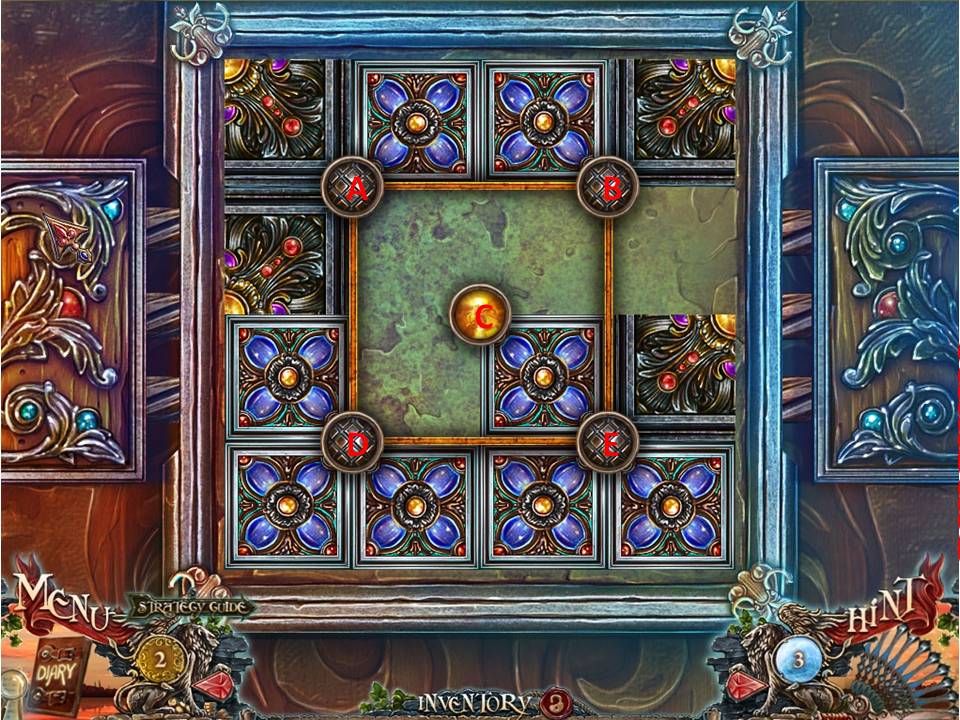
- Place the four MOSAIC TILES on the puzzle to initiate it.
- The aim of the puzzle is to get all four black tile pieces into the central square.
- Using the letters marked on the screen shot, use the following steps - Ex 2, A x 2, B x 2, C x 2, A x 1, C x 1, E x 1.
- When the door opens enter the room.
- Take a close look at the safe to the right and note that you need to find the correct combination in order to open it.
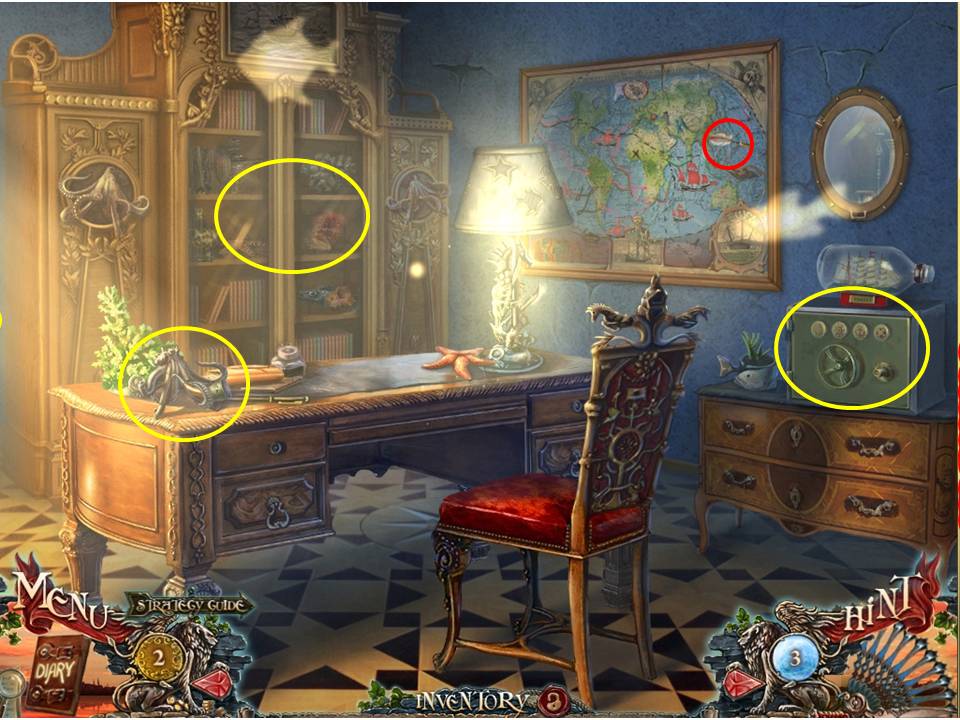
- Look at the map on the wall and take the DART. Note the fact that the revolving lamp can be turned on and off by clicking on it with the cursor.
- Take a look at the cabinet in the background and note the items inside you need to access – use the DART to pick the lock.
- Take the last SEAHORSE and the note with the combination for the safe.
- Zoom in on the safe and use the code to open it – take the two gold coins, the PUZZLE STRIP and the NUMBER PLATE, and look at the note you also find.
- Aidan will pop up and suggest visiting the hotel.
- Zoom in on the desk to look at the octopus, place the TENTACLE on it, then take the HORN and the nearby LEAF.
- Exit the study and head back the front room.
- Place the LEAF on the wall sconce, click on it, and take the BUTTERFLY from within when it opens.
- Click on the coffee table and take a close look at the crocodile – place the missing BUTTERFLY’S on its tail.
- When the compartment opens take the gold coin and the PLANET.
- Return back to the bedroom.

- Zero in on the bedside table to the left and place the four SEAHORSE’S on the device.
- It then becomes a simple exercise in matching each one to the appropriate recess.
- When it opens, read the next note, take the next PUZZLE STRIP, as well as the APPLE.
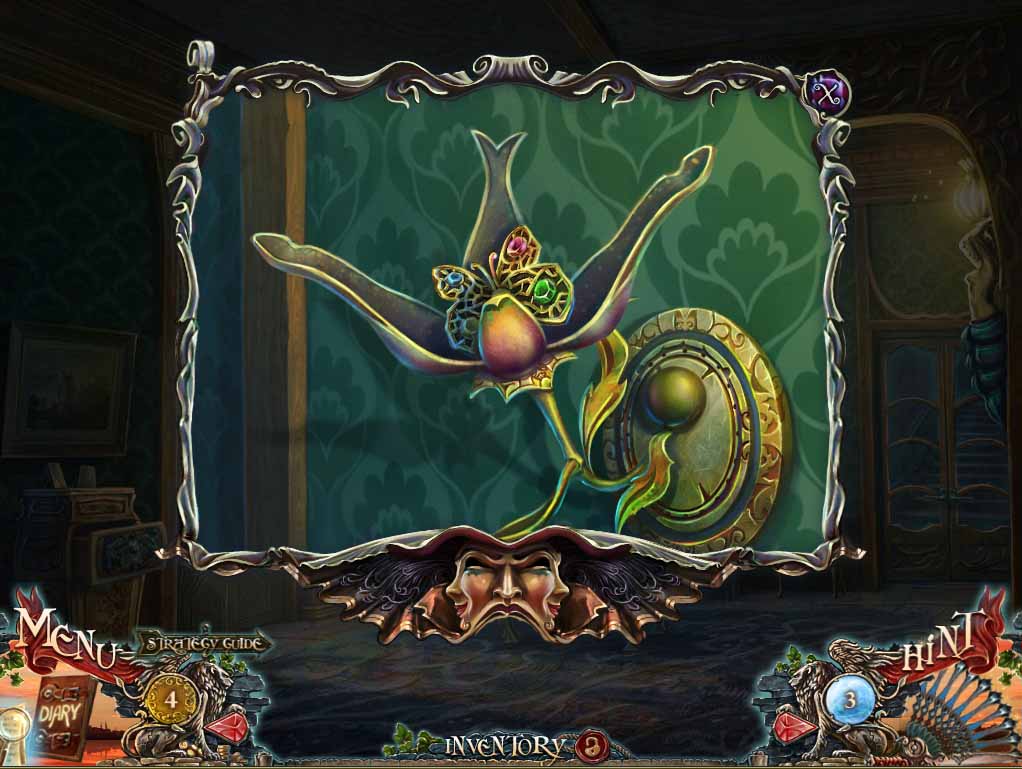
- Now zoom into the picture on the wall.

- Place the two PUZZLE STRIPS on the picture to initiate the next puzzle.
- It’s actually quite simple.
- You don’t need to swap strips around, rather you click on each strip and slide it up or down until it matches the neighboring strip.
- Start from the left and work your way across, using the screenshot as a guide.
- When done, the picture will slide down to reveal a trove of items hidden inside.
- Take the golden coin and the last of the PLANETS, then head to the attic.
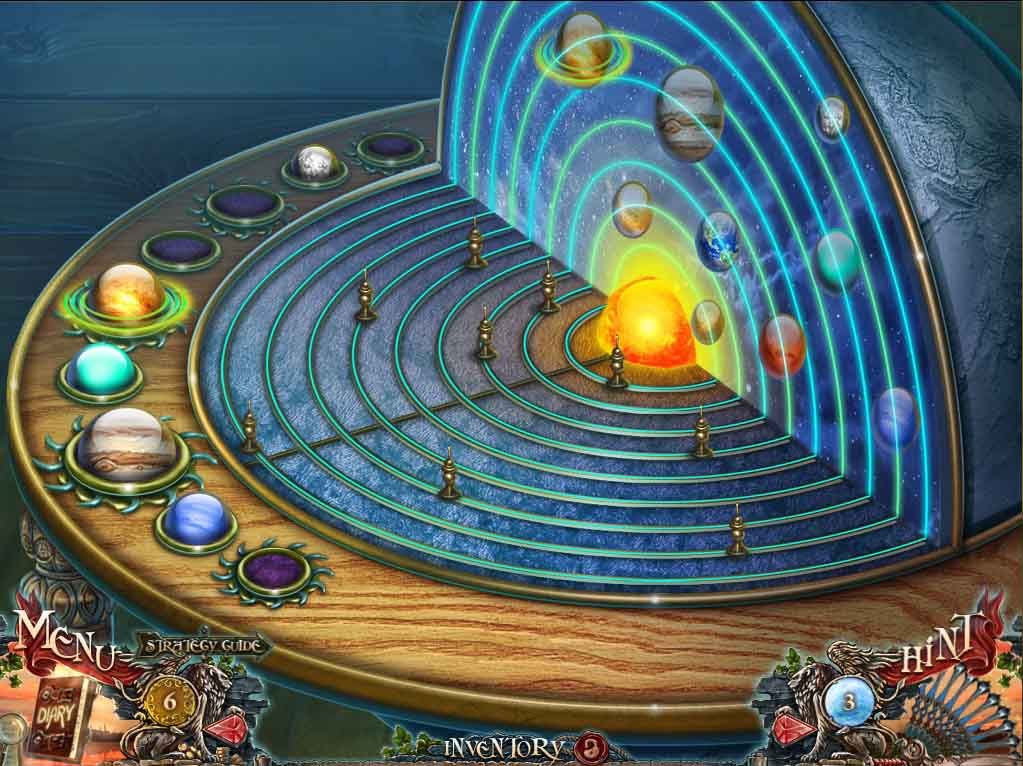
- Zoom in on the planetarium and place the four PLANETS from inventory on it to initiate the puzzle.
- It’s pretty straightforward – place each of the planets on the device in order of their orbits from the sun.
- Starting from the innermost orbit, here’s the order, as shown in the picture behind the mounts – Mercury, Venus, Earth, Mars, Jupiter, Saturn, Uranus, Neptune, Pluto.
- The device will then open and close, revealing a BULL for you to take.
- Exit out of Esmeralda’s home and walk forward towards the area with the fire.
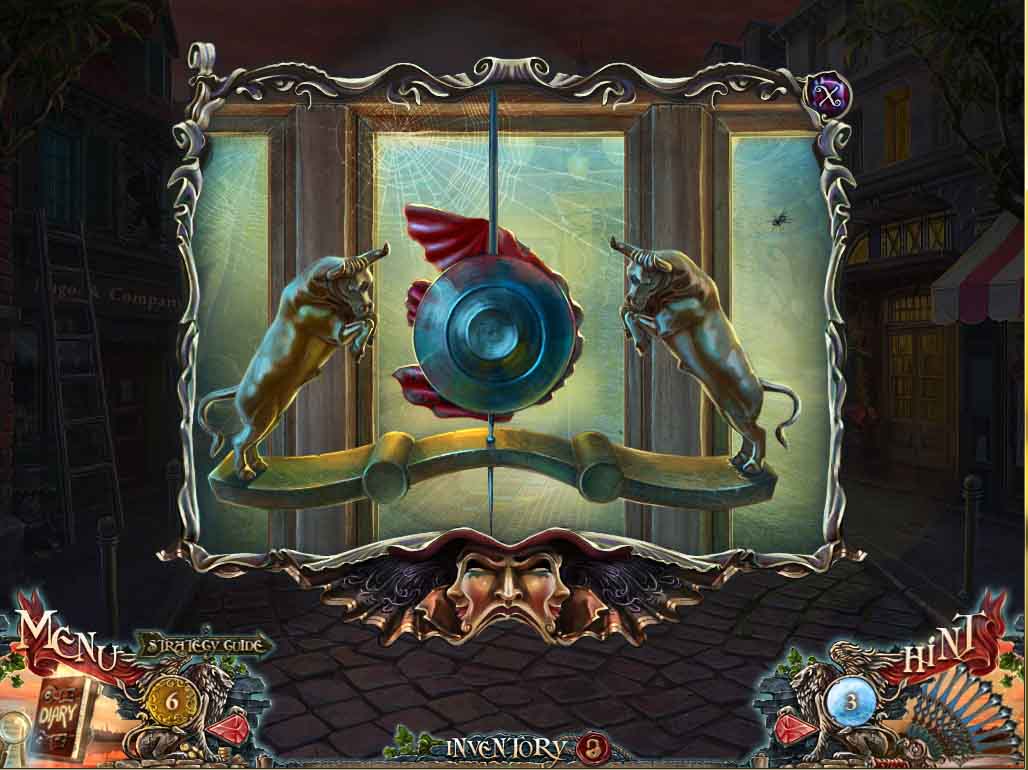
- Zoom in on the hotel door to the right and place the BULL on it.
- Click on the door again, and enter inside.