Spirits of Mystery: The Dark Minotaur: Chapter Four: The Forest
Our Spirits of Mystery The Dark Minotaur Walkthrough will help you in your search-and-rescue mission to find the princess's missing magical animal friends. An evil witch Mortis and her henchman Isa wish to harness the animals' extraordinary powers to summon a dark beast to the land. Equipped with the detailed instructions, custom screenshots, and puzzle solutions found in our Spirits of Mystery Walkthrough, you'll have no problem thwarting their devious plans.
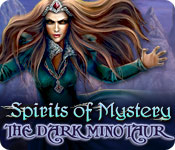
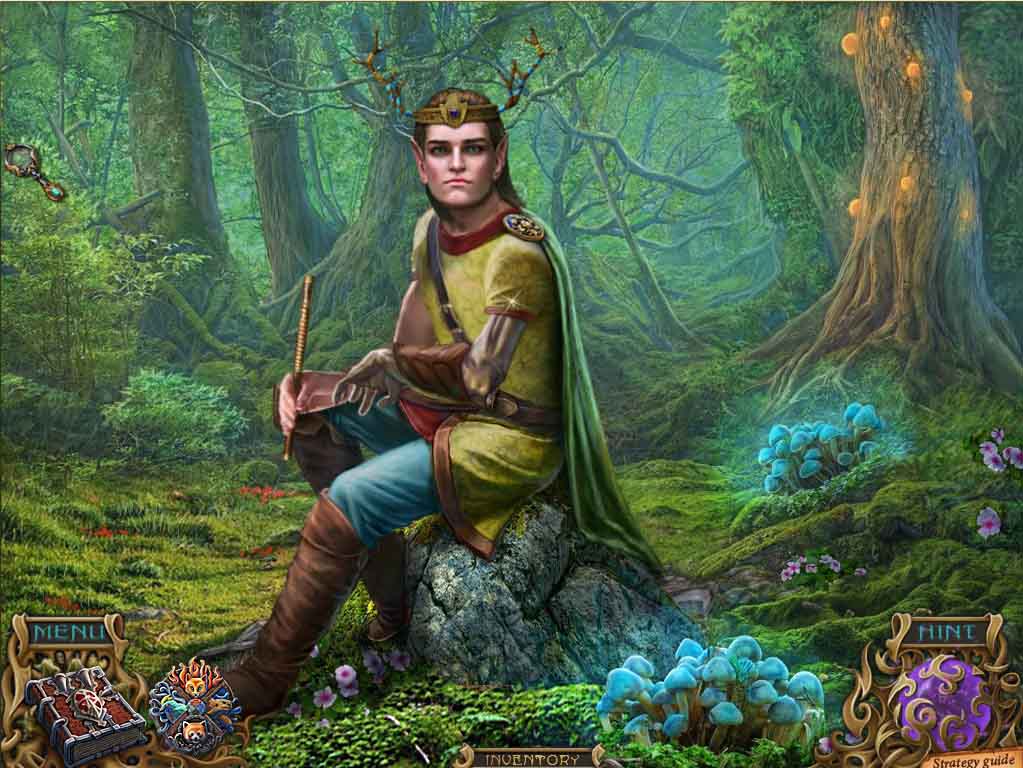
- Watch the scene with Mortis play out, then talk to the prince – he will end up giving you a MIRROR.
- Exit the close-up, and take BERRIES on the bush slightly to the right of the prince.
-
Walk ahead.
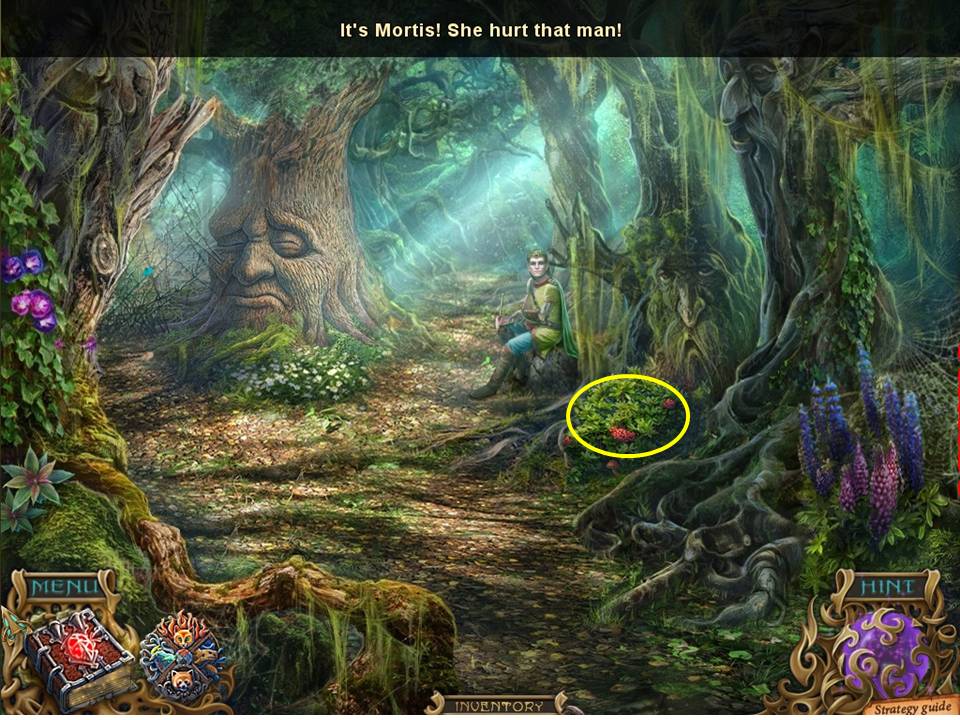
- Zoom in on the tree to the left.
- Take the BAMBOO, and use the COPPER KNIFE to scrape some CINNAMON from the trunk.
-
Note that something is hidden behind the snake, but you can’t access it at the moment – so head down the path to the right.
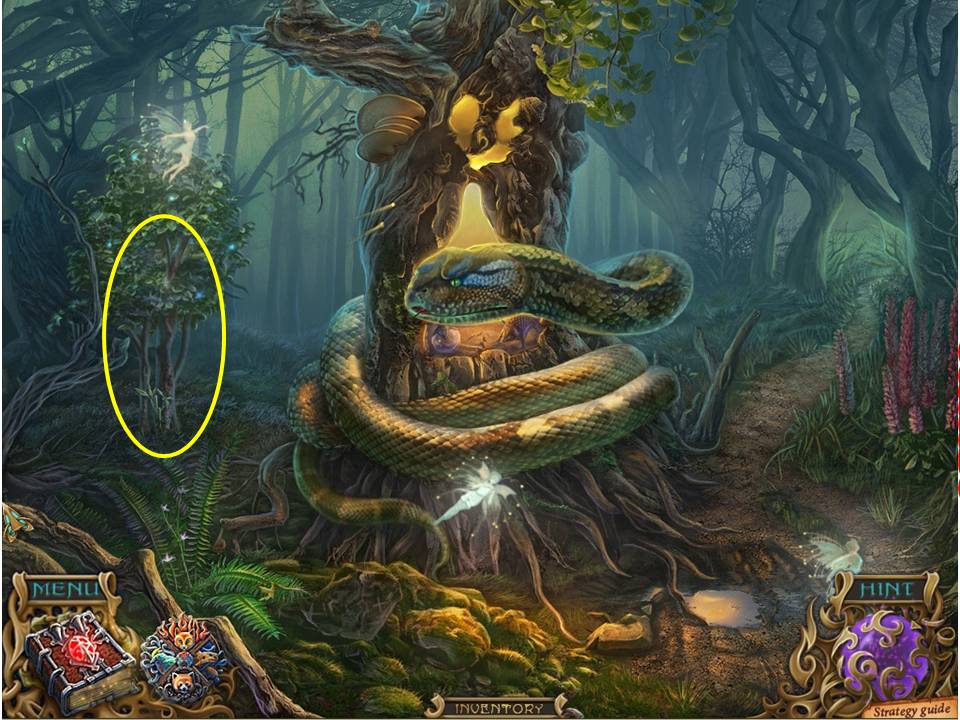
- Use the MIRROR on the scene to highlight it, then use it to find six nasty little monsters hiding in the scene – click on each one as you find it to make them disappear in a puff of smoke! When done the nymph will awake, talk to you, and hand you two items in succession, firstly a RECIPE, and secondly a WINE GLASS.
- Open the journal to take a look at the recipe requirements.
- Zoom in on the right to pluck an onion from the ground.
- Next click on the amulet and give the BAMBOO to Chester, who will thank you this time by handing you a PESTLE – what handy little pet, so full of surprises!
-
Finally click on the waterfall to initiate the next puzzle.
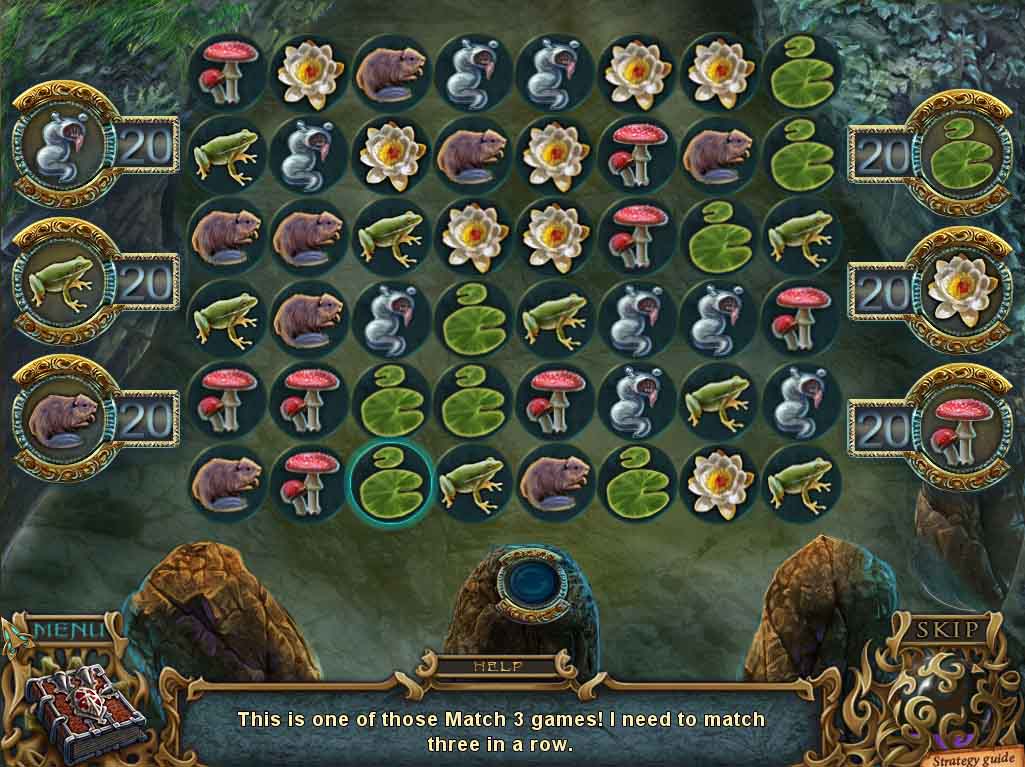
- There is no set solution for this puzzle, as the items appear at random.
- The object is to keep setting three identical items in a row vertically or horizontally, at which point they will disappear and score for you in the boxes right and left.
- The idea is to zero all of the boxes by scoring the appropriate items on the board, noting that you can still keep making rows out of objects you’ve already cancelled out if it allows you to keep the game alive.
- The method for playing is to click on two adjacent items in order to make them swap over, noting of course that you can’t complete such a move unless the maneuver actually completes a row.
- As each row disappears upon completion, the rows above will drop down to fill the spaces left. It’s easy enough once you get the hang of it, but if all else fails and you can’t find any more rows to keep the game going, there’s always the reset button below.
- When complete use the WINE GLASS on the waterfall to obtain a WINE GLASS WITH WATER.
-
Return back to the snake.

- Give the snake the WINE GLASS WITH WATER, and when it moves to the side zoom in on the recess in the tree.
- Place the RECIPE inside, then take the CAULDRON and exit.
- Head back to the right.
- Fill the CAULDRON in the waterfall to obtain a FULL CAULRDON.
-
Walk back to where the prince is sitting.
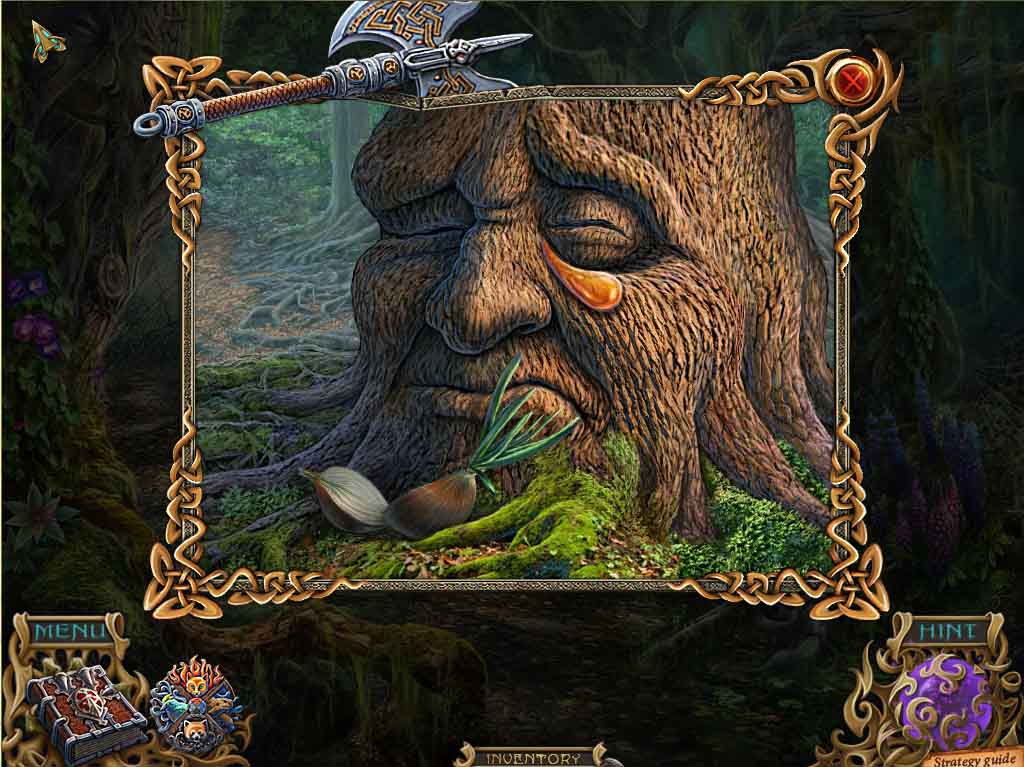
- Zero in on the tree face, place the ONION underneath it, and then slice it open with the COPPER KNIFE.
-
When the face tears up, take the TEAR and return to the tree recess with the recipe.

- Place the CAULDRON in the recess.
- Use the CINNAMON on the grater and place the powder in the cauldron.
- Place the TEAR in the dish and use the PESTLE to grind it up – toss the powder into the cauldron as well.
- Finish off by tossing in the BERRIES.
- Pour the mixture in the nearby bottle to give you the ELIXER.
- Exit out and head back to the prince.
- Hand the prince the ELIXER, and take PART OF THE ELF WAND that he offers you in return, noting his request on how to use it for good.
-
Zoom out, and head to the left of the tree face.
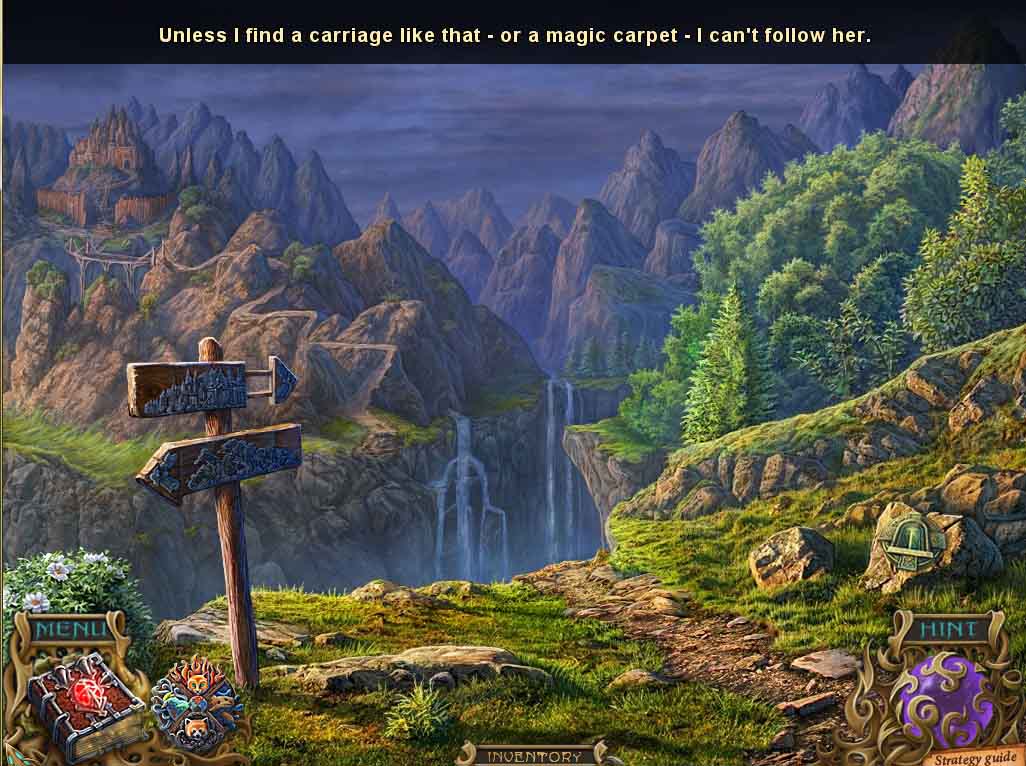
- Watch Mortis fly over the chasm in her carriage - oh for a Stinger missile!
- Note the strange looking carving on the rick to the right, then zoom in on the arrows on the left.
-
Place the PUZZLE PART in place to initiate the next puzzle.
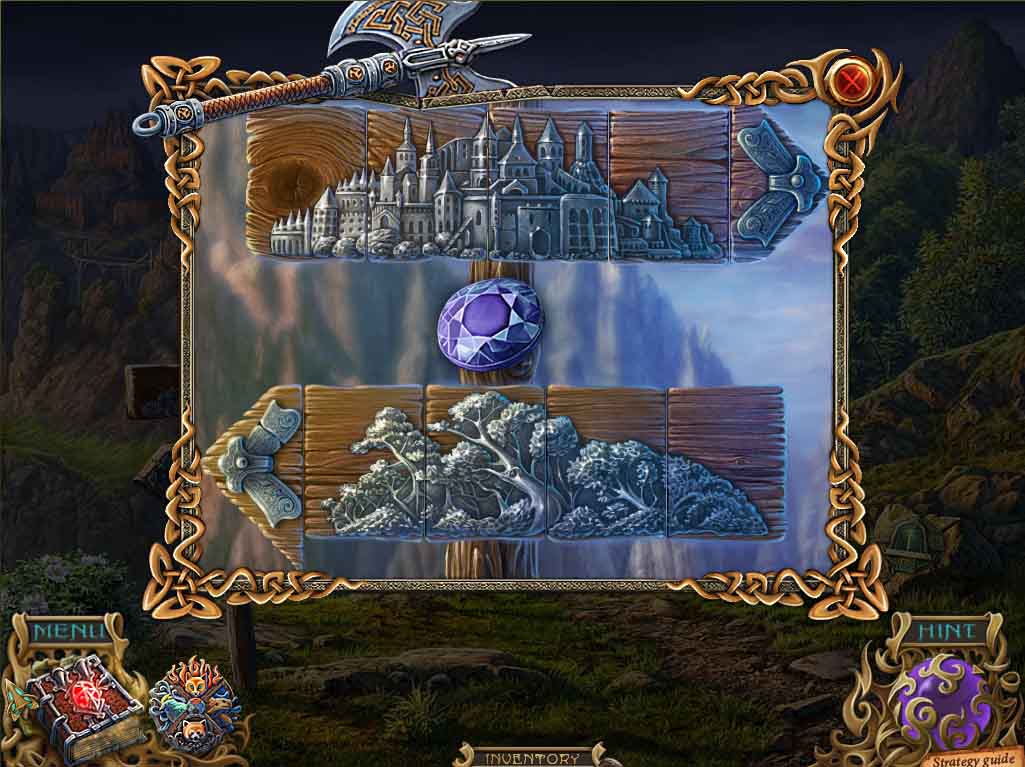
- Use the screenshot for guidance to place the pieces in the correct order.
- When done, the two signs will slide a part and reveal a diamond – take it.
- Isa will now appear with his pet panther and offer you a bag of MAGIC POWDER that he states can be used to help transport you across to Mortis’ castle.
- Place the powder on the strange carved door on the rock to the right, which will then open.
-
Enter in.
- Note the grumpy one who won’t let you past.
-
Try your luck and head to the right.
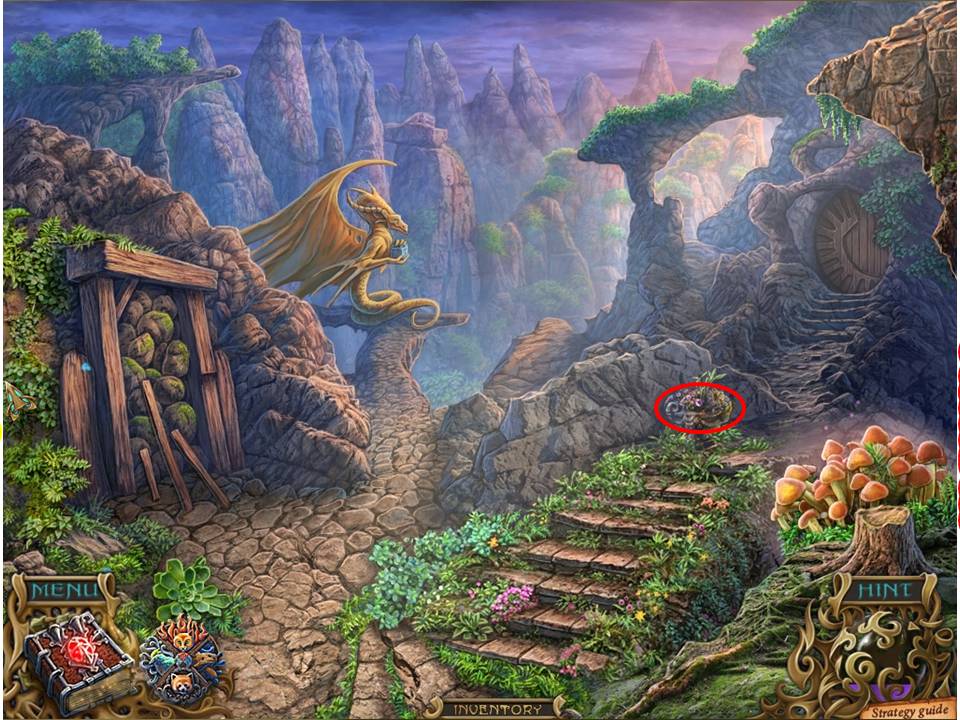
- Zoom in on the flower pot half way up the steps and take the BAMBOO and SPIDER.
- Zero in on the amulet and give Chester some more BAMBOO – hasn’t this animal ever heard of a rounded diet?
- Take the MONSTER’S HEAD 1/2 he gives you back in return.
- Note the dragon with the missing bracelet, and the cave-in to the left.
-
Head through the circular doorway at the top of the steps.
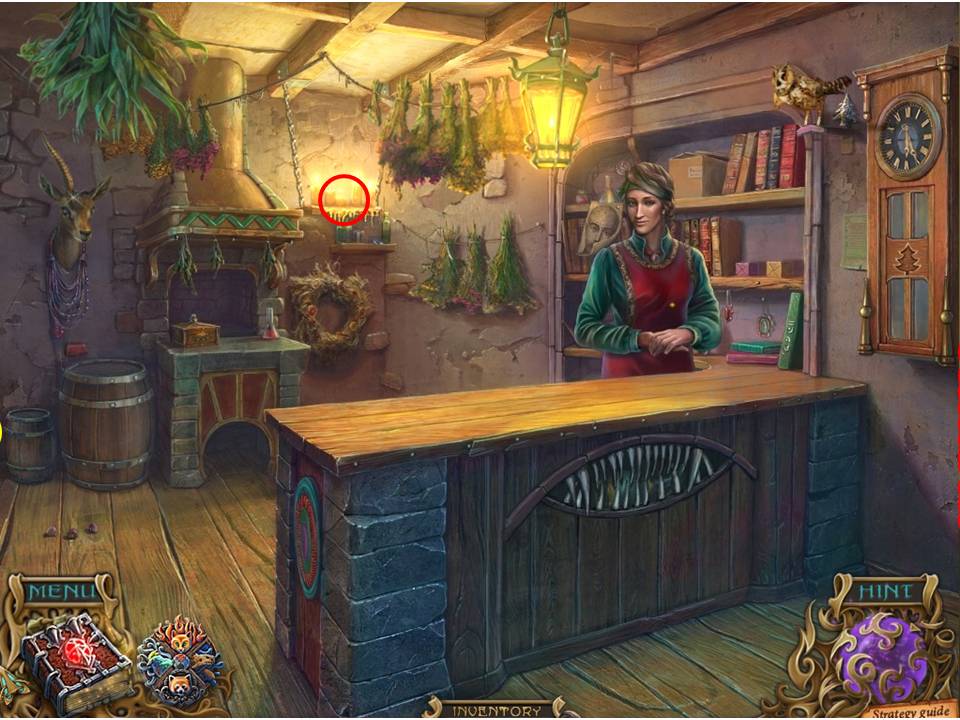
- Well, how’s that, uh? We’re back in Hanna’s store.
- Talk to her briefly, then zoom in on the candle-lit shelf in the background and help yourself to the SICKLE sitting on it.
-
Exit back out, go down to grumpy, and head to the left.
- Zero in on the statue, let her have her say, then take the BRACELET from her wrist. Wrench the SICKLE WITH HANDLE from the railing on the right.
-
Go through the door on the right.
- Note the basket on the floor – take the piece of CHEESE underneath.
- Zero in on the desk and help yourself to the SEAWEED, as well as the note that the dead man was writing.
-
Place the SPIDER on the web to the right to initiate the next puzzle.
- The aim is to go down each strand without going back over an area already covered.
- The solution is simple enough – follow the video clip if you need help.
-
Once complete, take the HAMMER , exit the room, and head over to the door on the left.
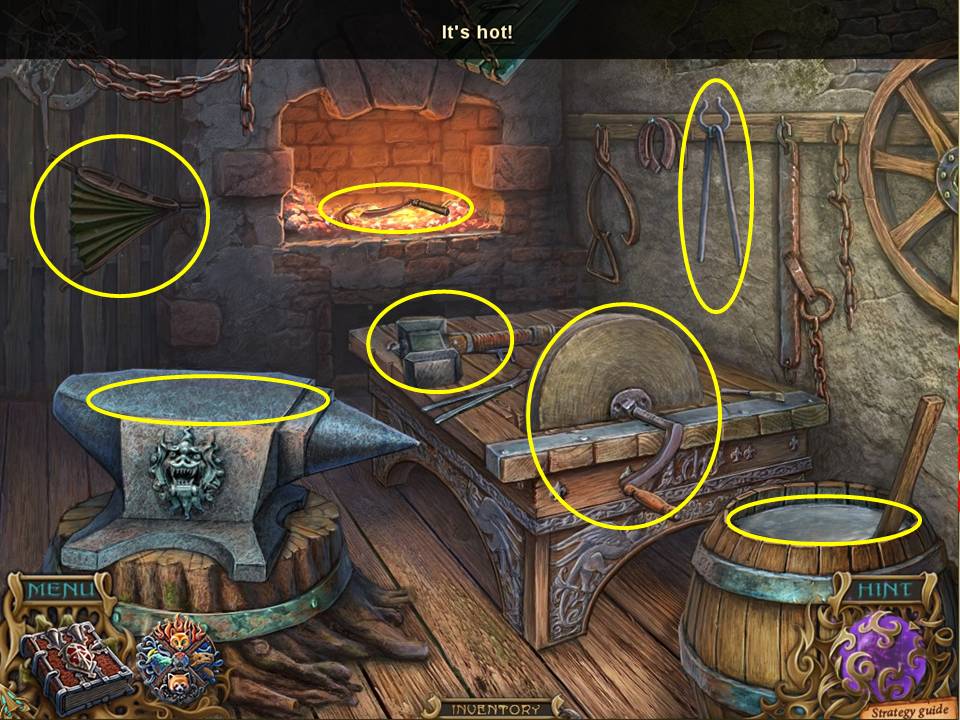
- Place the two parts of the SICKLE on the anvil and place the HAMMER on the work bench.
- Place some firewood on the coals and use the bellows to fan the flames.
- Place the two sickle parts in the fire, then use the tongs on the right to pluck them from the flames and put them back on the anvil, where you can use the HAMMER to beat the two pieces back into one.
- Use the tongs again to pick the now complete sickle up and dump it into the water barrel to cool the tool off.
-
Finish off by using the grinding wheel to sharpen it and give you an EDGED SICKLE. Exit out.
- Go back down to grumpy and past him to the right.
- Zoom in on the dragon and place the BRACELET on it.
-
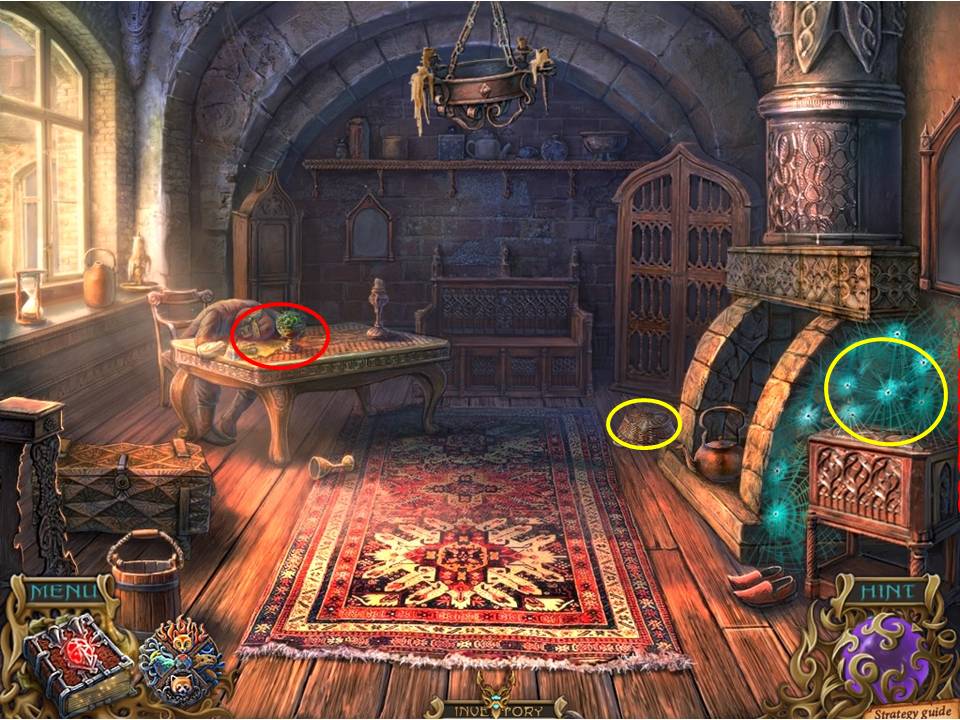
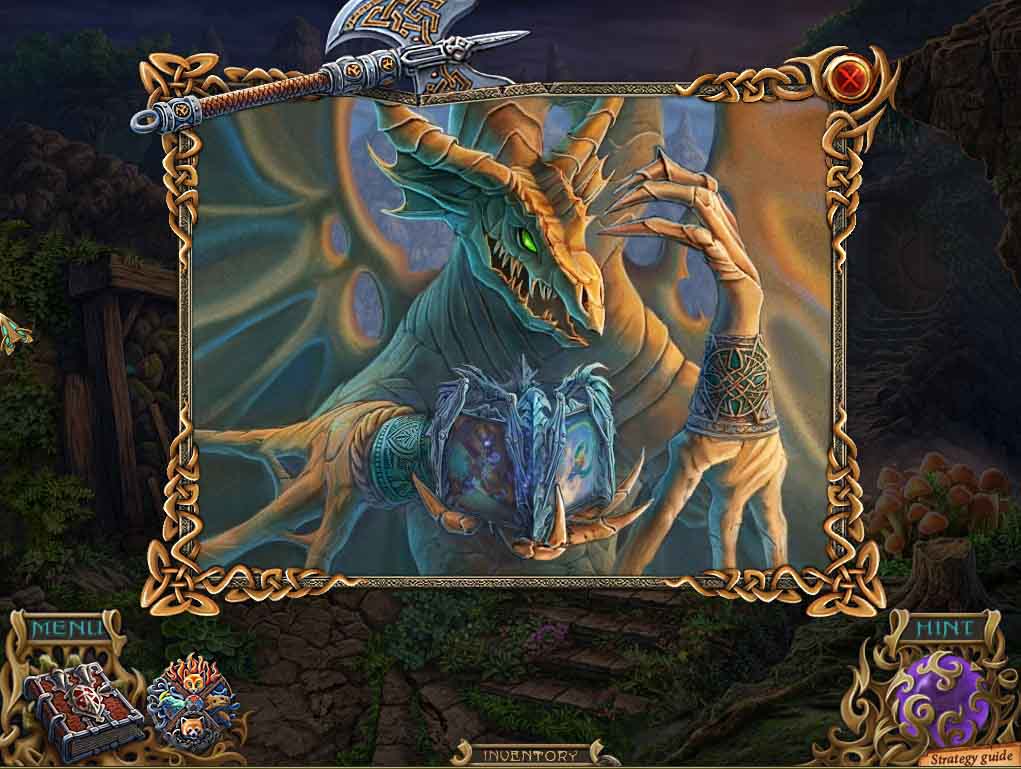
It will present you with another dragon box – zoom in to initiate the next HOA puzzle.
- As with the previous similar puzzle, there are two screens to keep moving between to gather the circled items sequentially – note the video for help.
- When finished, take the TOP OF THE ELF WAND and exit.
-
The dragon will look at you expectantly – hand it the PART OF THE ELF WAND and the TOP OF THE ELF WAND, then head in to Hanna’s place.
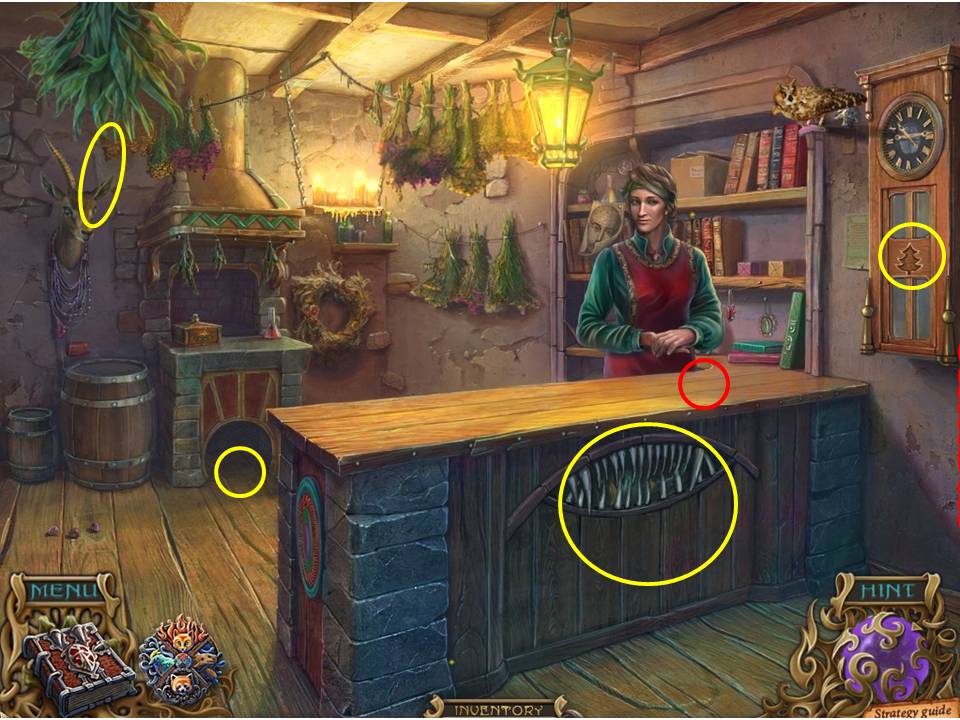
- Zero in on the mouse hole and give the little rodent the CHEESE.
- It will run out, hotly pursued by the owl, which will drop a FIR TREE on the counter in front of Hanna.
- Take it and place it in the matching recess on the clock to the right.
- Take the HORN inside and place it on the deer head on the wall to the left.
- The horns will move apart, opening the odd-looking mouth at the front of the counter.
- Retrieve the JUG inside.
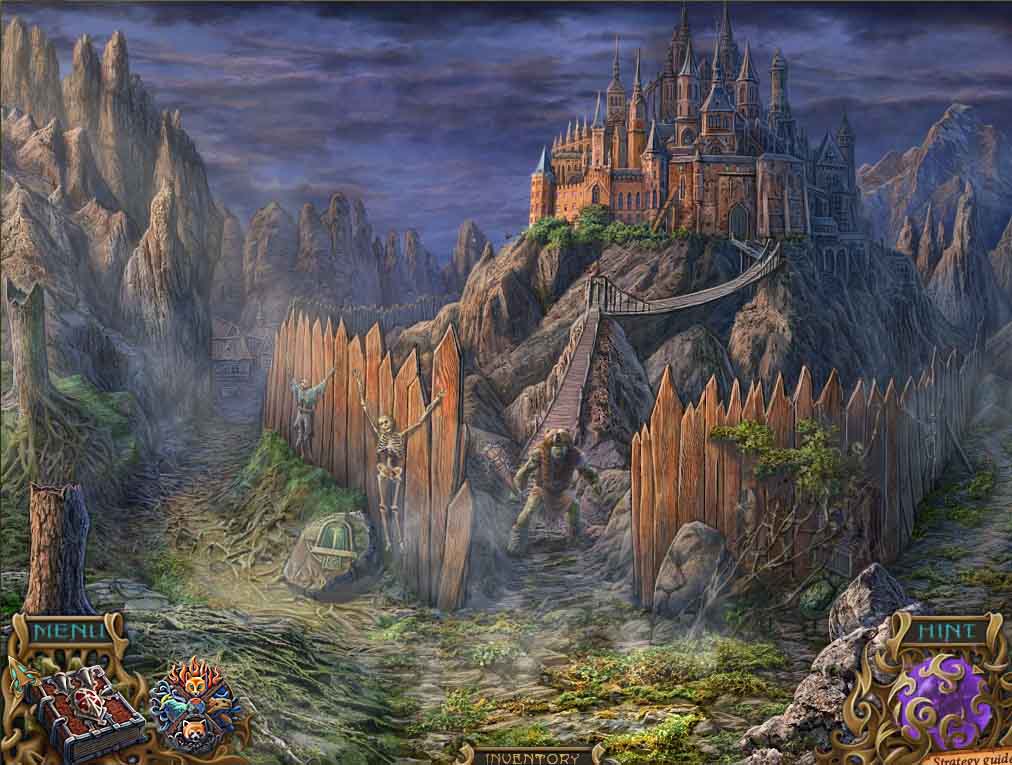
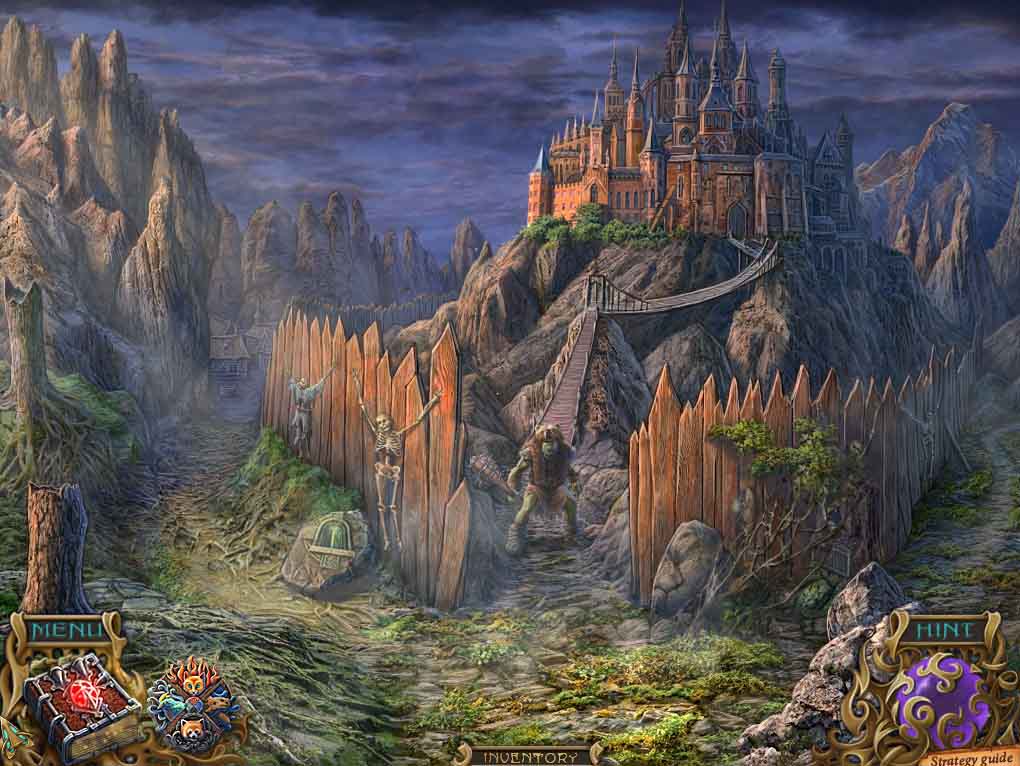
- Head down to the guarded castle entrance and use the EDGED SICKLE to cut away the growth to the left on the entrance.
-
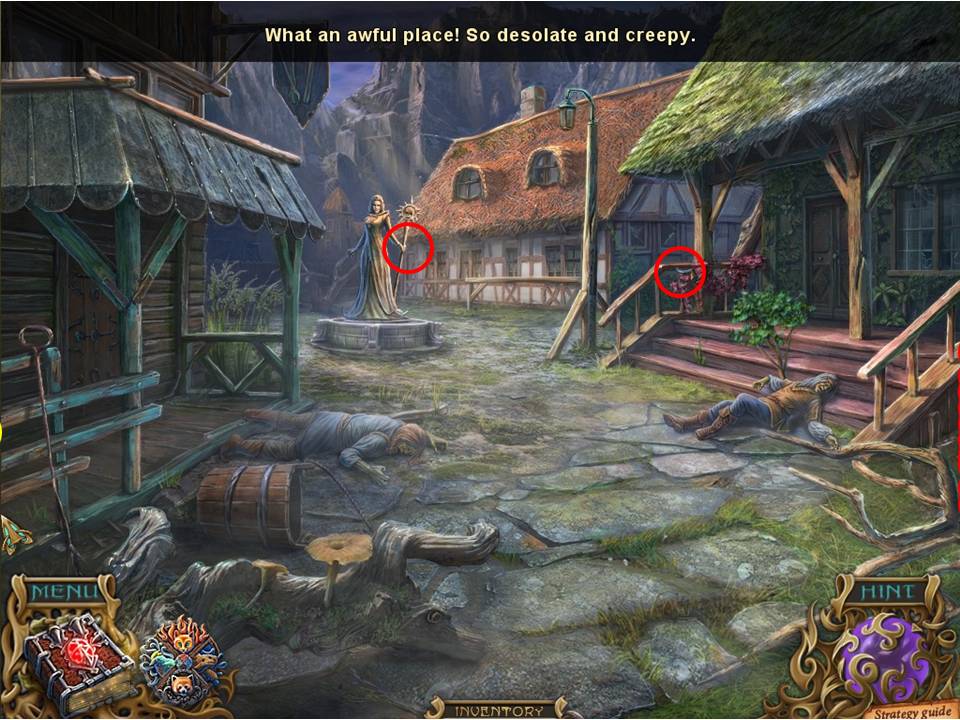
Click on the area to initiate the next HOA puzzle.
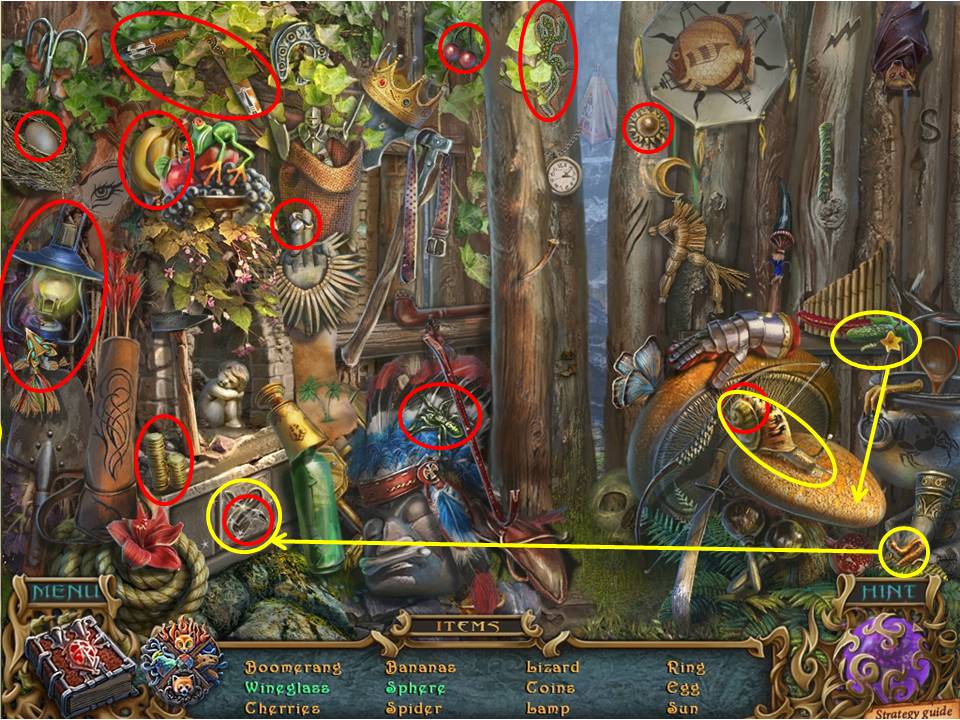
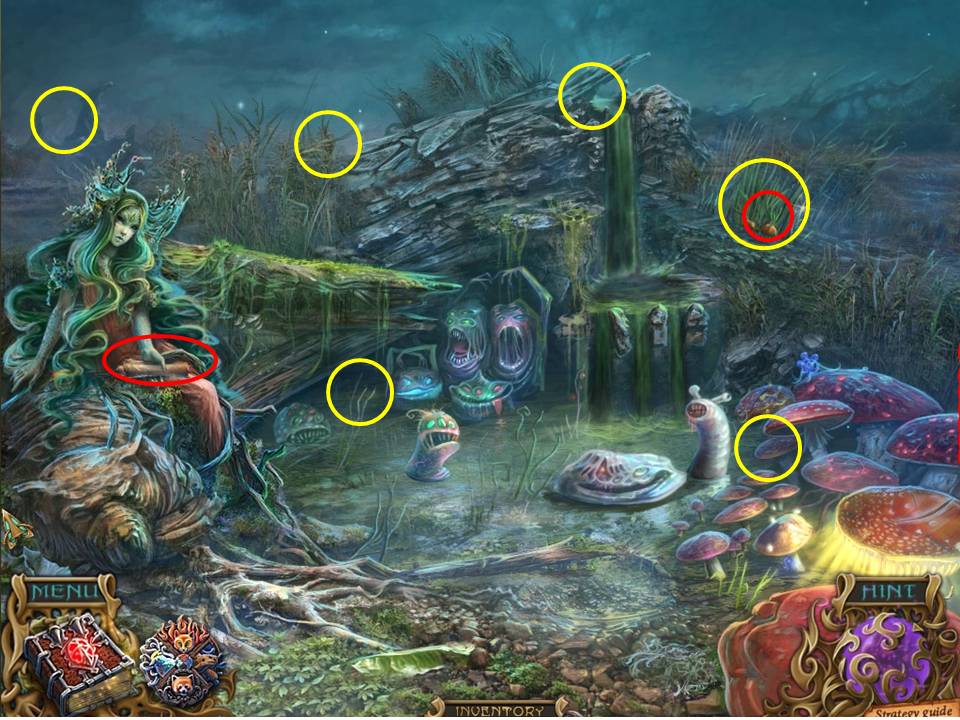
- Collect all the items circled in red, noting that items circled in yellow require multiple moves.
- Place the small plant in front of the snail to entice it forward, revealing the wine glass behind it.
- Use the snail to place on the door of the box to the right to get the sphere inside.
-
When complete, take the ELF WAND SPHERE and head back to the dragon.
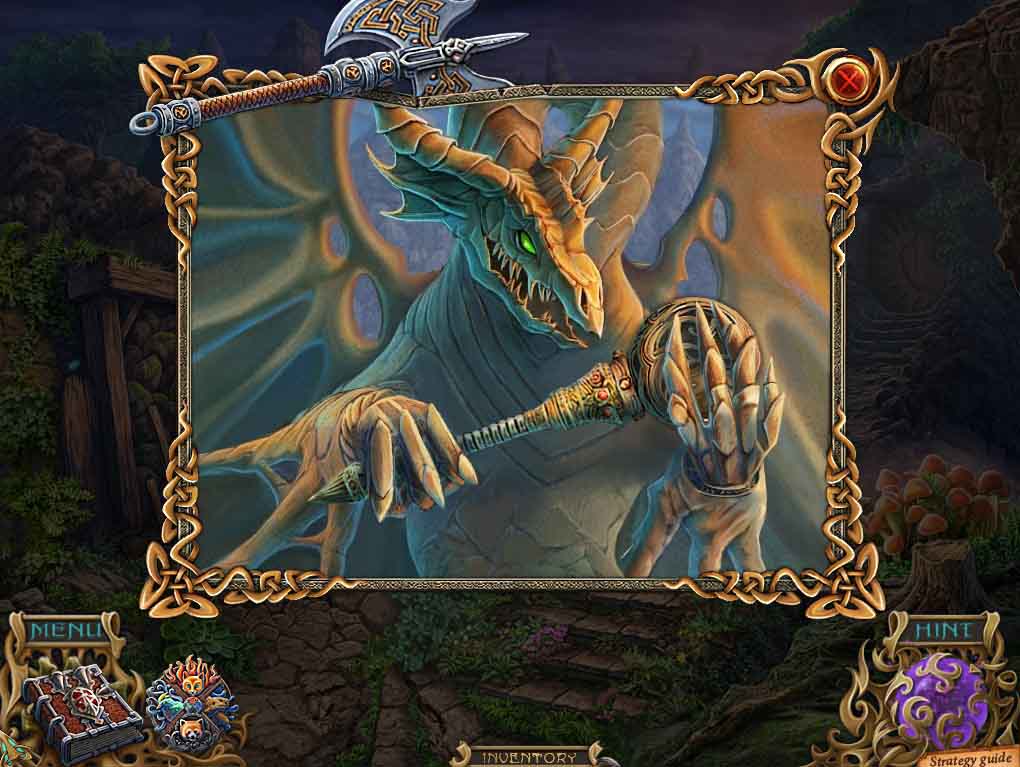
- Put the ELF WAND SPHERE in place, at which point the dragon will give it the magic breath of life.
- Take the now complete ELF WAND.
-
Wander back down to the guard.
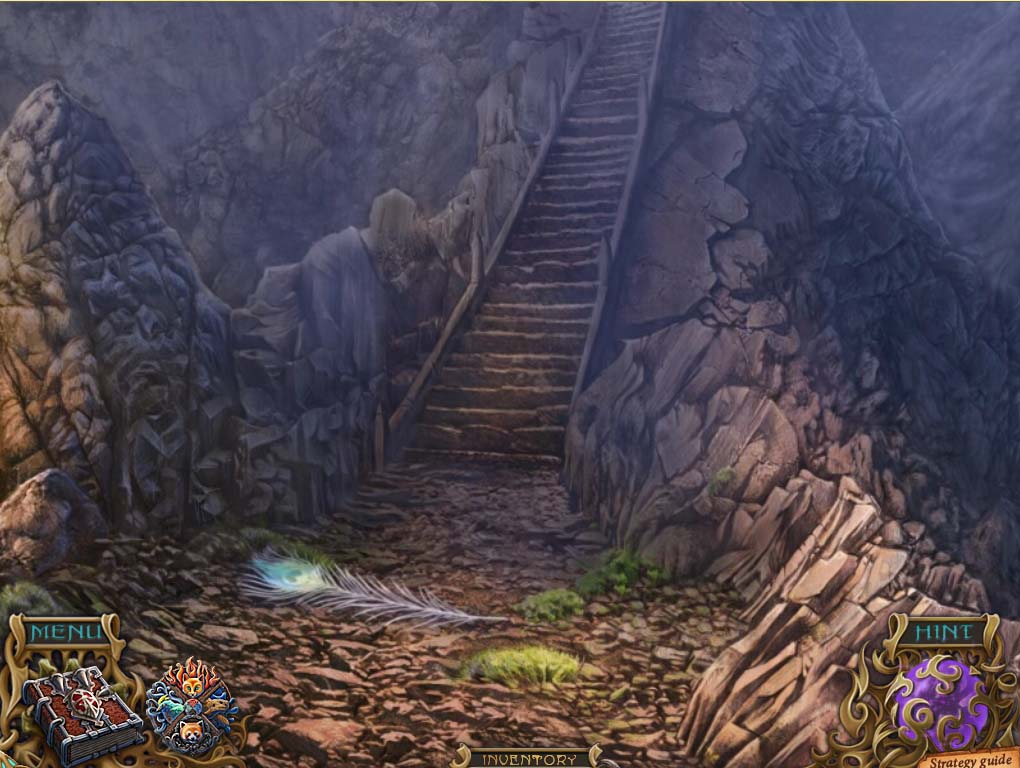
- Zoom in on the guard and sock him with the ELF WAND – he’ll turn into a peacock and fly away (wish I could do that to a few people I know) and pick up the feather he leaves behind.
- Head up to the castle.