
Spirits of Mystery: The Dark Minotaur: Chapter One: The Missing Animals
Our Spirits of Mystery The Dark Minotaur Walkthrough will help you in your search-and-rescue mission to find the princess's missing magical animal friends. An evil witch Mortis and her henchman Isa wish to harness the animals' extraordinary powers to summon a dark beast to the land. Equipped with the detailed instructions, custom screenshots, and puzzle solutions found in our Spirits of Mystery Walkthrough, you'll have no problem thwarting their devious plans.
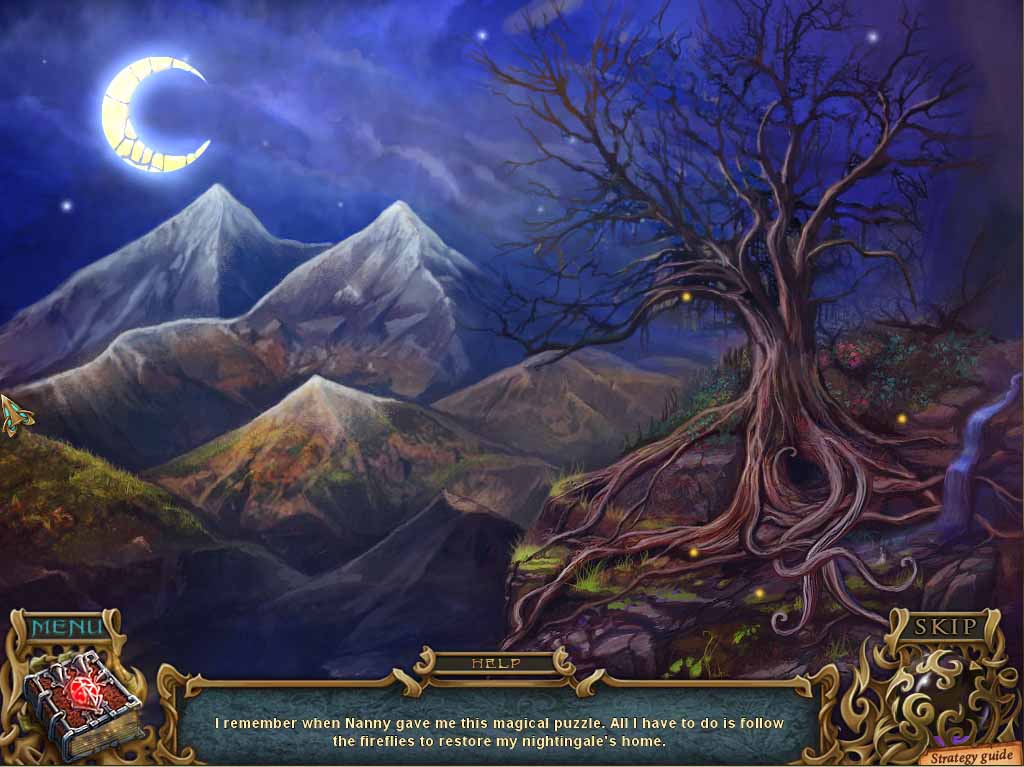
- Watch the introductory scene, then click on the open doorway.
- The nanny will then engage you in a dialogue before departing through the open doorway.
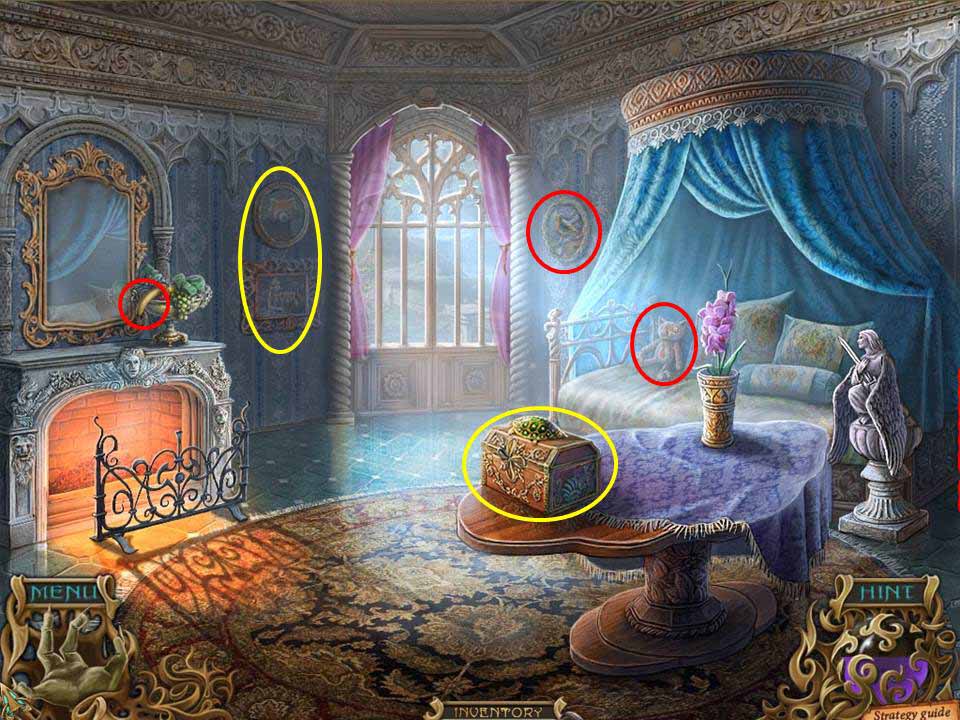
- Note the jewelry box on the nearby table and the missing pieces from it.
- Click on the statue to the right, and note the object at its base - pick up the CREST.
- Note the toy cat on the bed and pick up the RED DROP hanging around its neck.
- Zero in on the picture to the right of the door and take the AQUAMARINE DROP at the bird’s feet.
- Note the picture of the girl on the left and her much-beloved and missing pet – below in the frame is a matching slot for the CREST.
- Insert it, and the picture will swing open to reveal a BLUE DROP for you to acquire.
- Zoom in on the fruit bowl and take the BANANA – you just never know when you might run low on potassium!
- To round things off, zoom back in on the jewelry box and insert the three colored DROPS.
- This will open the box and reveal three objects – a pair of NAIL SCISSORS, a SHELL, and a DIARY, which will come in useful during the course of the game.
-
Time to exit through the doorway.
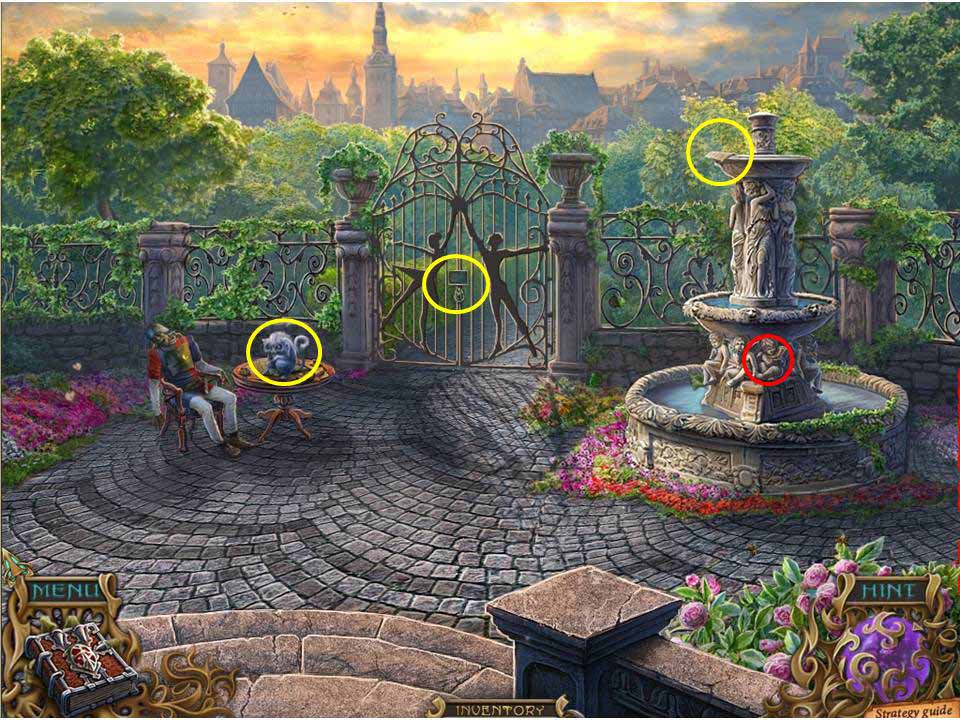
- Note the sheet of paper sitting atop the fountain.
- Zoom in on the lower section of the fountain and pick up the TRUMPET held by the central cherub.
- Put the SHELL in its place.
- This will start the water to flow through the fountain, which will cause the BOOK PAGE to flutter down to the ground.
- Zoom in on the gates and note the fact that you need a key to unlock the padlock.
- Click on the slumbering figure of the guard in the chair and watch the subsequent scene play out.
- Zoom in on the animal sitting on the table and give it the BANANA to calm it down.
- After it leaves, use the SCISSORS to cut open the scroll, which will slip into the journal for future reference.
- Next pick up the CHESTER’S BRUSH sitting on the pages of the book.
- Note that a piece of the page is missing from the guestbook – this is the BOOK PAGE in inventory.
- Put it in place, at which point the guestbook will slip into your journal (okay, how do you put a book inside another book – this really is magic!)
- At this point the nanny will reappear and hand you the KEY to the gate.
- Take it and put it to use to open the gates.
- Proceed through.
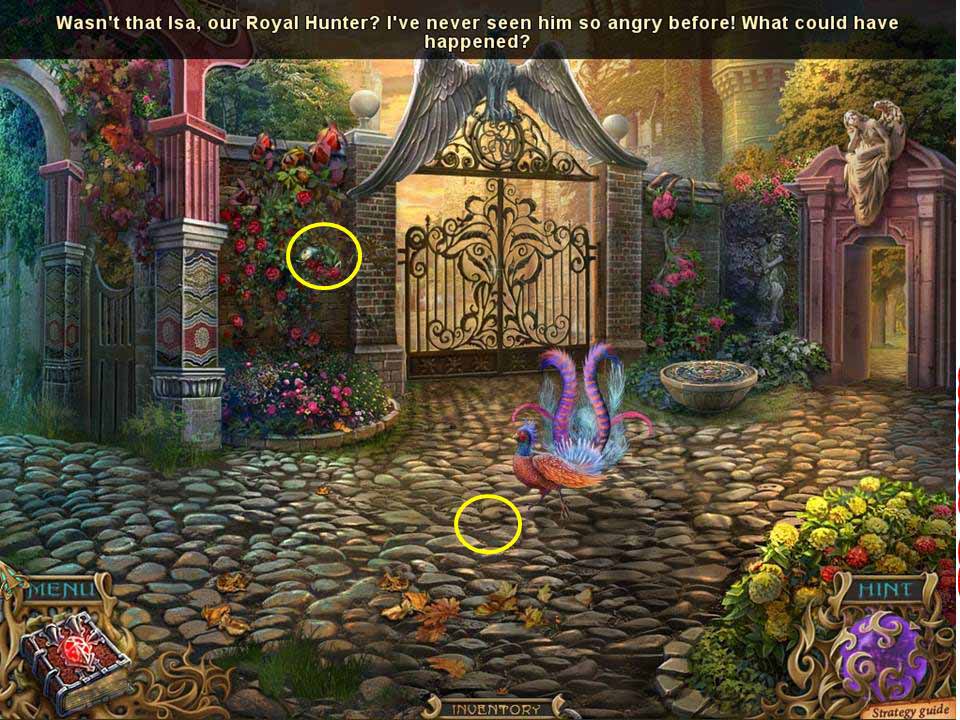
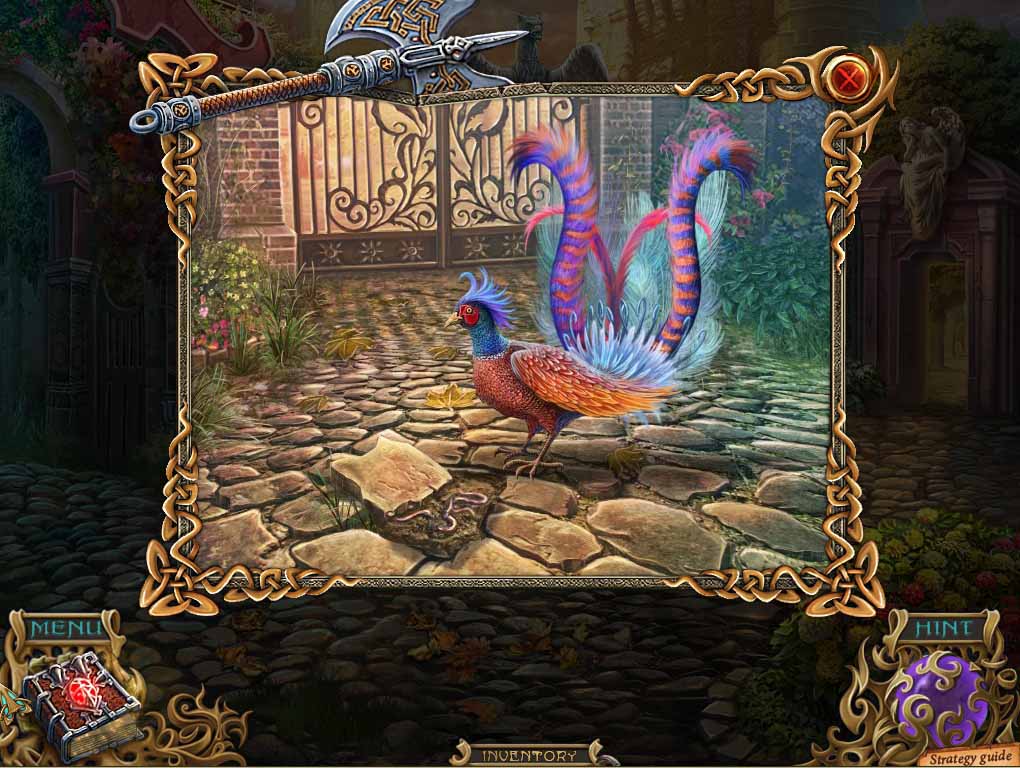
- A scene will play out involving the Royal Hunter, who will lock the central gate with a spell.
- Note the stone by the peacock that needs some kind of tool to prize up, and the rose bushes to the left that need pruning in order to access the object behind them.
-
Head through the gateway to the right.
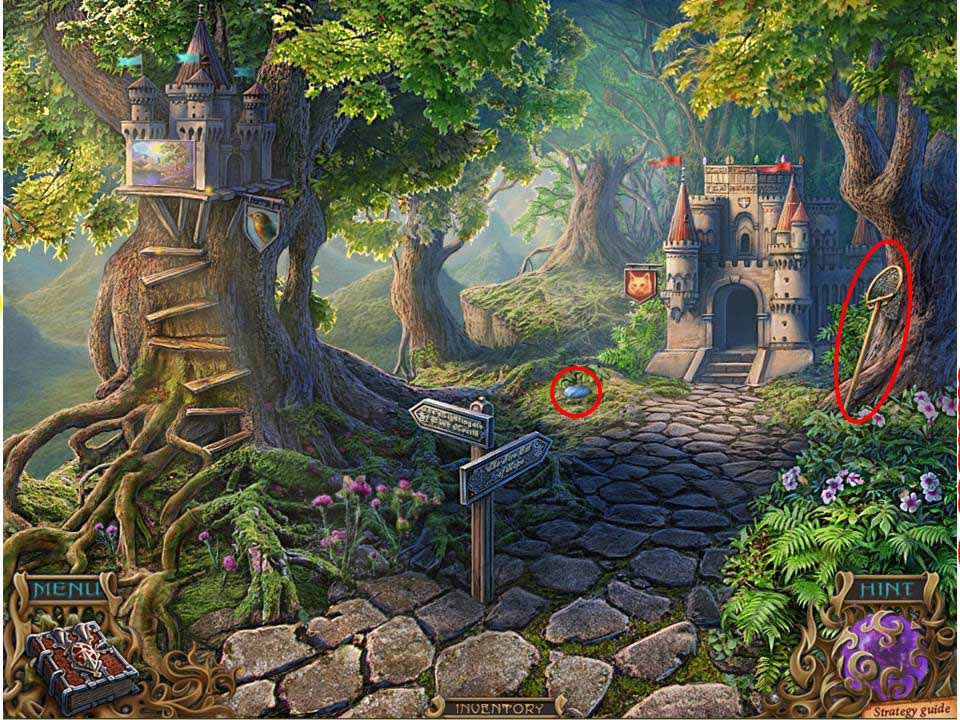
- Pick up the SCOOP NET leaning against the tree on the right.
- Then pick up the MEDALLION sitting to the left of the path, showing a picture of the woman you saw earlier, after which you’ll also find a HANDKERCHIEF WITH INTITIALS.
- Zoom into the castle on the left to initiate the first puzzle.
- The aim is simple enough.
- The moths basically guide you through each allotted task in order to complete the puzzle.
- Click on the roots and you’ll discover that there are three to remove in order to allow the river to flow again.
- The moths will then guide you to the moon, which you need to click on once.
- Next in line is the sun, which needs four clicks in order to bring out all four sun rays.
- Finish off by clicking on the cloud that appears from the left.
- When done an AIR SYMBOL will appear for you to acquire.
-
Exit out, then head back to the three gates and across to the left side.
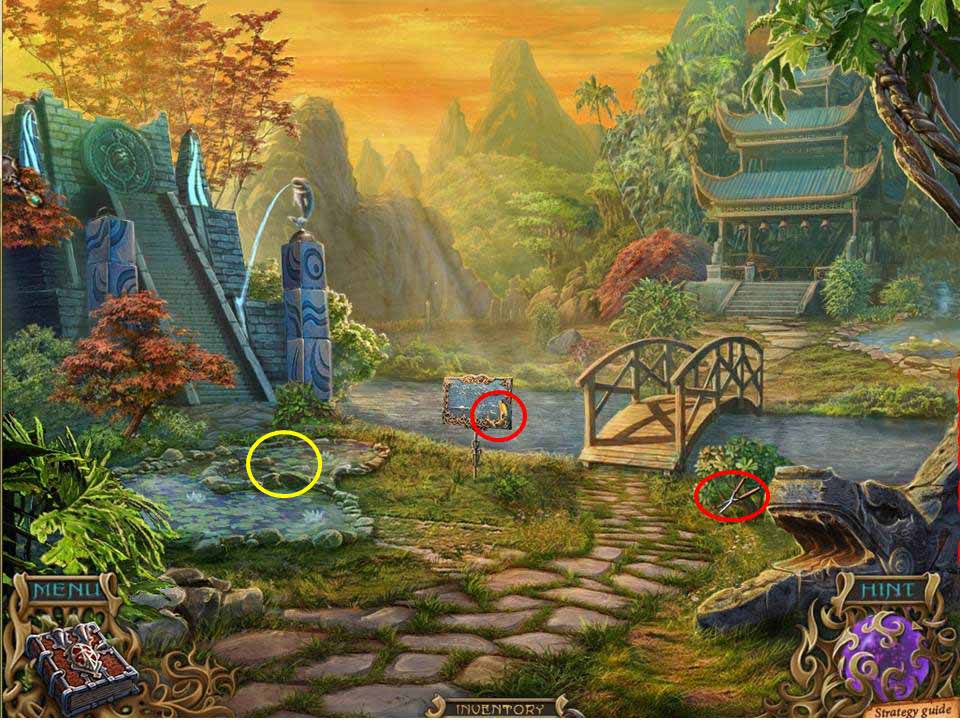
- Pick up the PRUNERS just to the right of the bridge.
- Note the sign to the left, and pick up the FISH 1/3 attached to it.
- Note the tangled Koi in the fishpond to the left.
- Also glance at the temple to the left and note the three missing fountain-heads.
-
Head across the bridge.
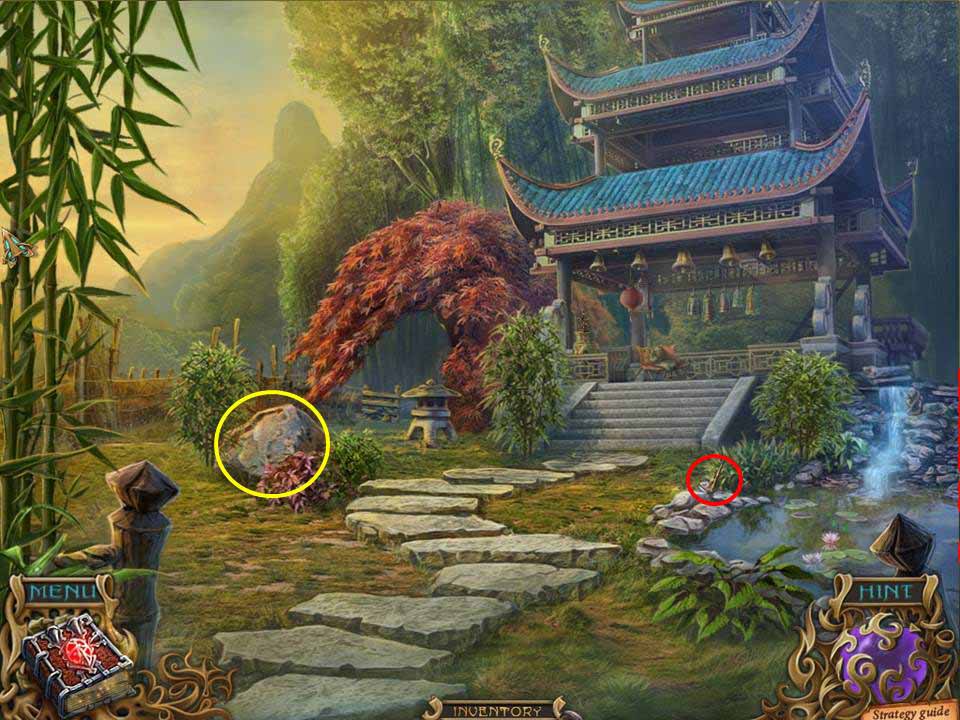
- Take the PICKAXE to the right of the steps.
-
Note the glimmering rock to the left – use the PICKAXE to open it up and zoom in.
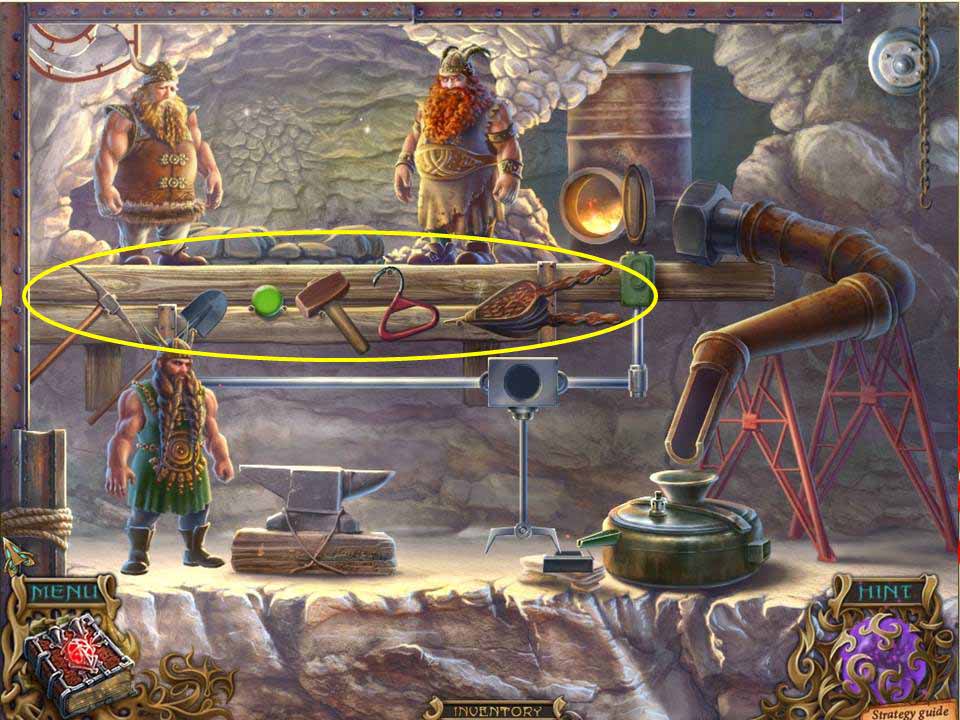
- First things first, use the TRUMPET to wake the dwarves up.
- The next phase is to place specific pieces of equipment in the appropriate places and to equip each dwarf with the appropriate tool so that the process of forging the EARTH SYMBOL takes place.
-
Here’s the placement –
- Give the pick to the dwarf on the top left
- Hand the shovel to the dwarf on the top right
- Hook the red handle on the chain hanging on the right
- Place the bellows on the bottom right next to the cylindrical object
- Position the green orb inside the control box for the hook mechanism
- Hand the hammer to the bottom dwarf so he can put the finishing touches to the EARTH SYMBOL.
- Once you’ve collected the symbol, proceed into the temple
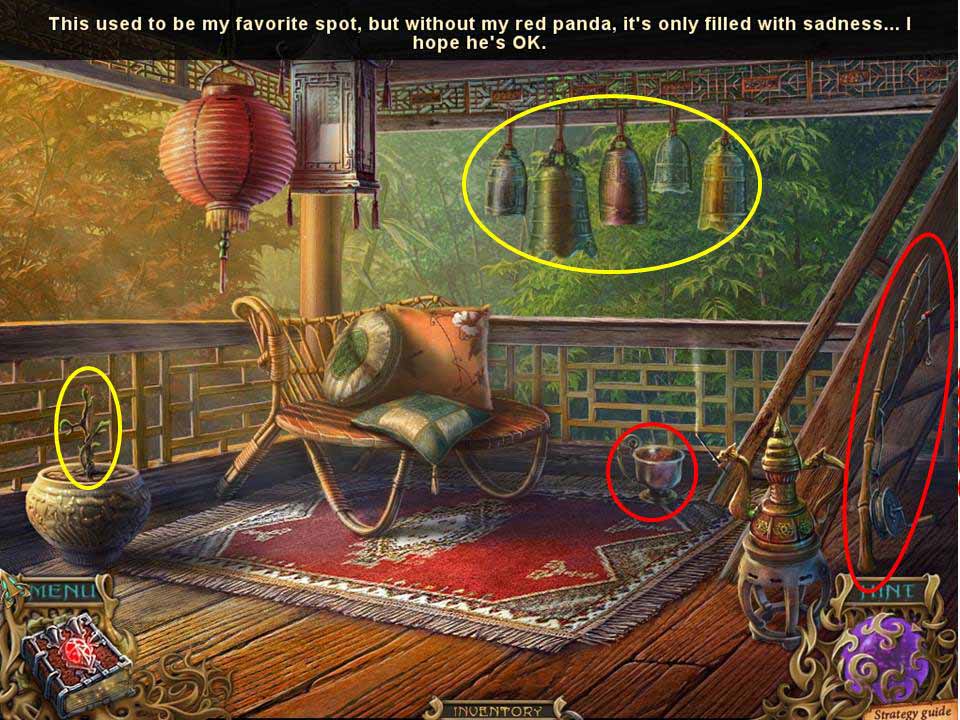
- Collect the FISHING POLE on the right and take the BOWL sitting to the right of the ladder.
- Note the bells waiting to be played, and the flower to the right withering away for lack of water.
-
Leave the temple.
- Zoom in on the waterfall and use the BOWL to get yourself (wait for it) a BOWL OF WATER!
-
Exit back over the bridge and on to the three gates.
- Zoom in on the roses and use the PRUNERS cut away the roses and retrieve the 2nd FISH, as well as the CRYSTAL concealed behind it.
- Next zoom in on the peacock and use the PICKAXE to dislodge the stone.
-
Retrieve the WORM underneath and head back through the gate on the left.
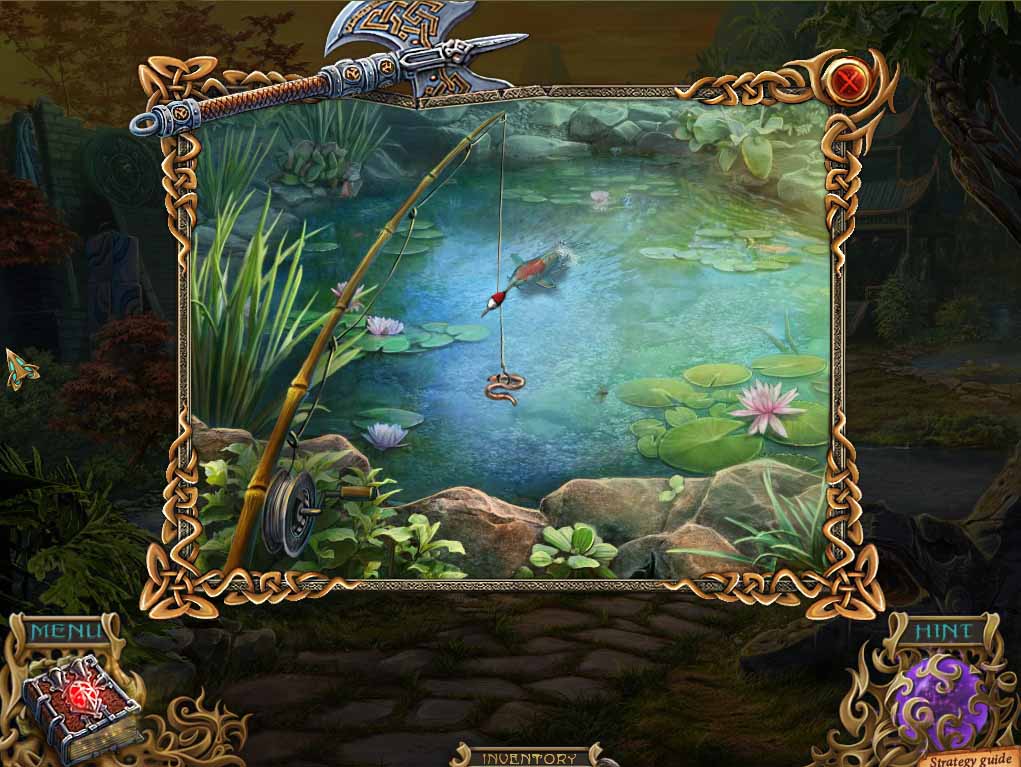
- Zoom in on the pond to the left and place the FISHING POLE and worm in place to lure the koi in.
-
Then use the SCOOP NET to gently draw the fish up and free it of the NET after which he’ll happily jump back out of the scoop net and back into the pond – damn, there goes lunch! Head back to the three gates and go through the gate on the right towards the castles.
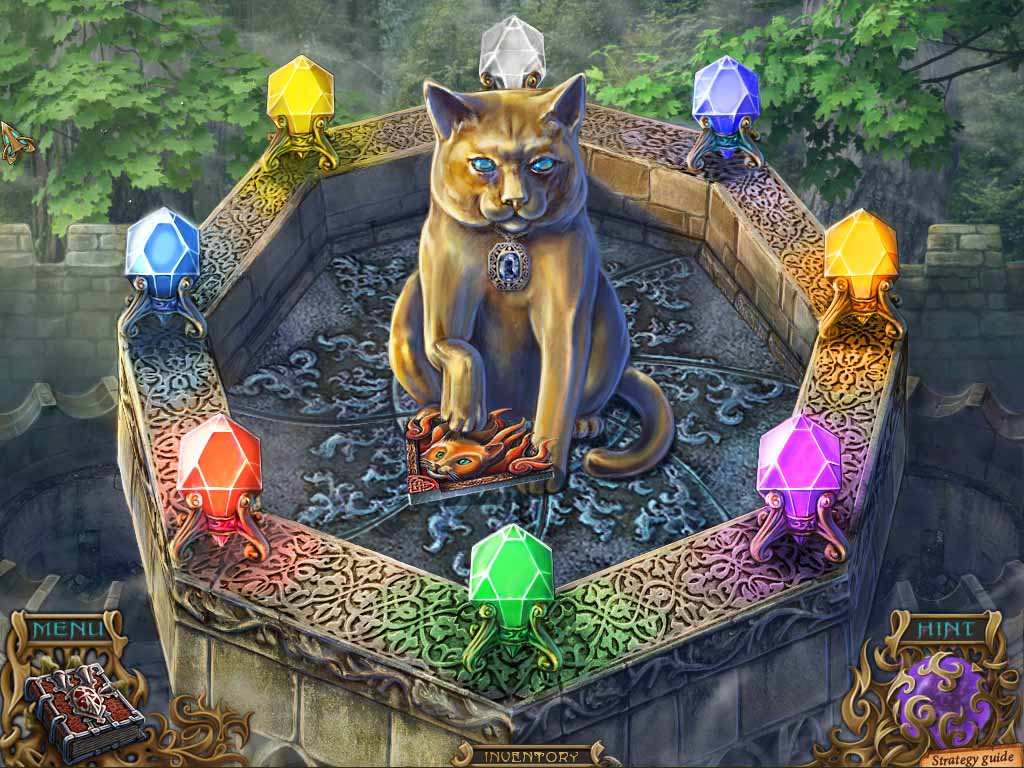
- Zoom in on the castle to the right and put the CRYSTAL in place to initiate the next puzzle.
- The clue to solving it is the parchment you picked up earlier, which shows a rainbow – the idea is that you have to light up the crystals in the order they appear on the rainbow.
- Here’s the order – red, orange, yellow, green, light blue, dark blue, and purple.
- When complete you’ll be presented with the FIRE SYMBOL.
-
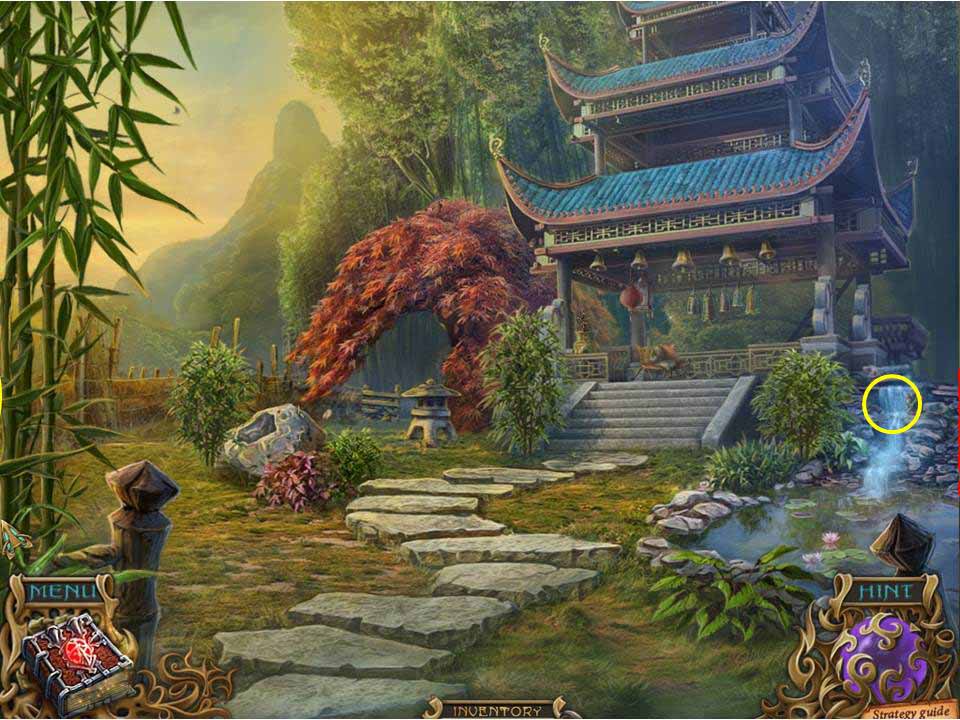
Return to the three gates and head towards the temple complex.
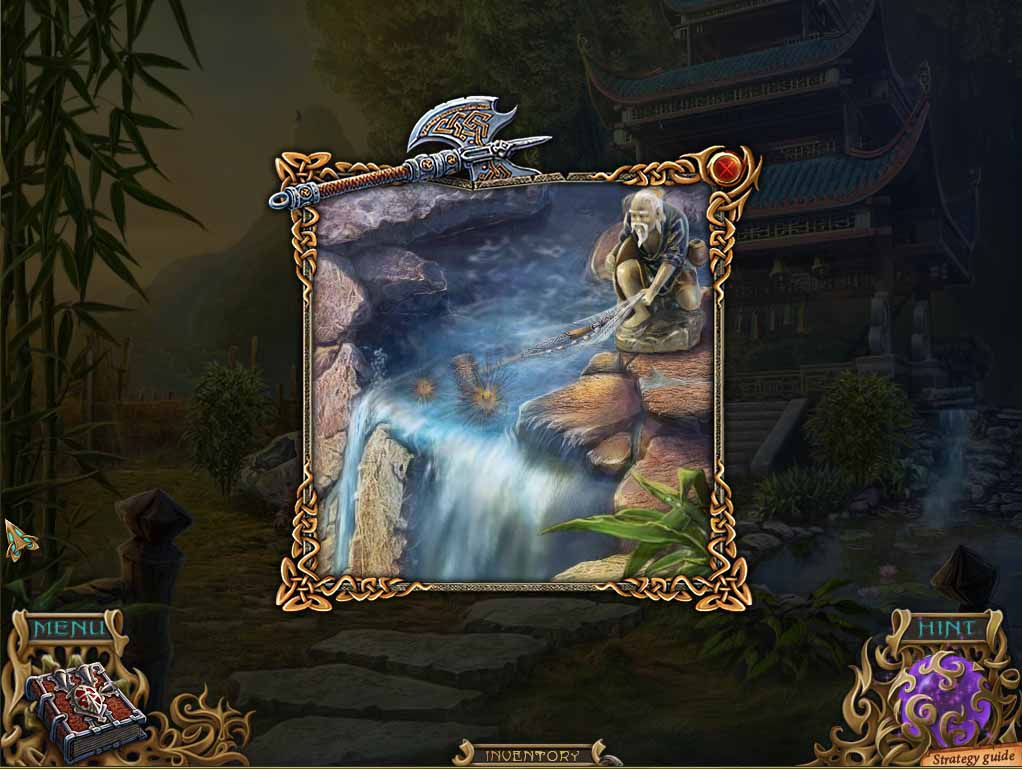
- Go back over the bridge and zoom in again on the waterfall.
- Place the NET on the small statue overlooking the fall, which will then cast the net out and retrieve the BELL HAMMER for you.
-
Enter the pagoda temple.
- Pour the BOWL OF WATER on the flower to the left to water it.
-
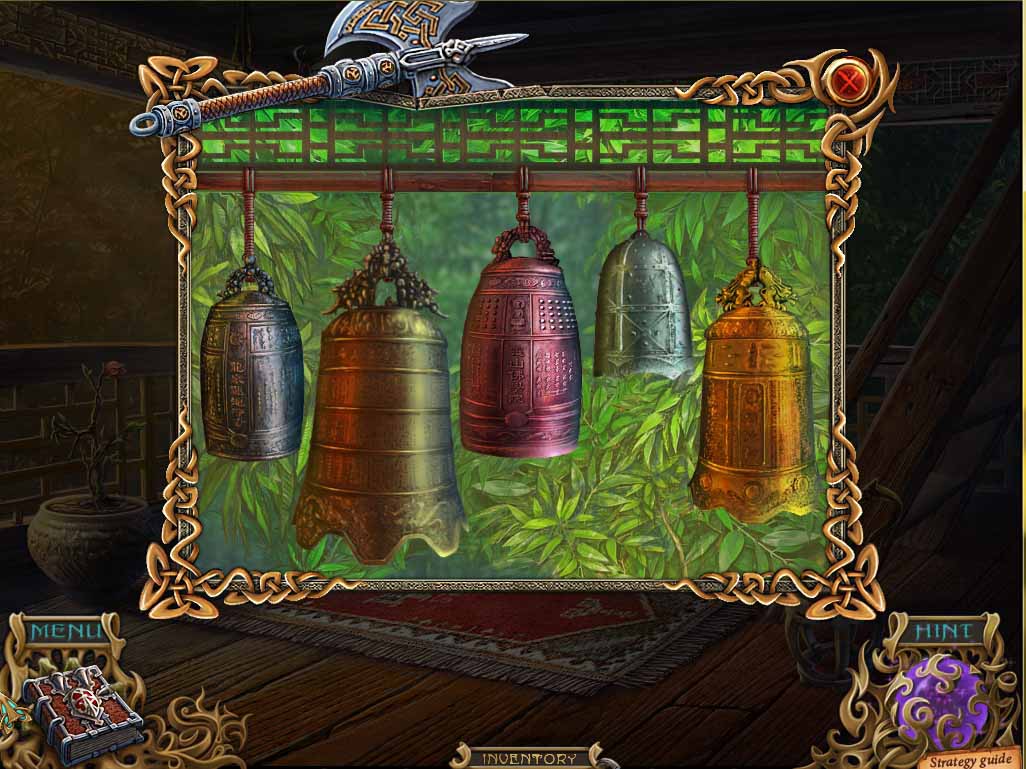
Next zoom in on the bells to initiate the next puzzle.
- The aim is to repeat the three sequences that will be given to you by striking the bells with the BELL HAMMER in the appropriate order.
- See the attached clip.
- When done correctly, the soothing tones will perk up the flower immeasurably and it will produce the third and last of the necessary FISH 3/3.
- Head over to the other temple.
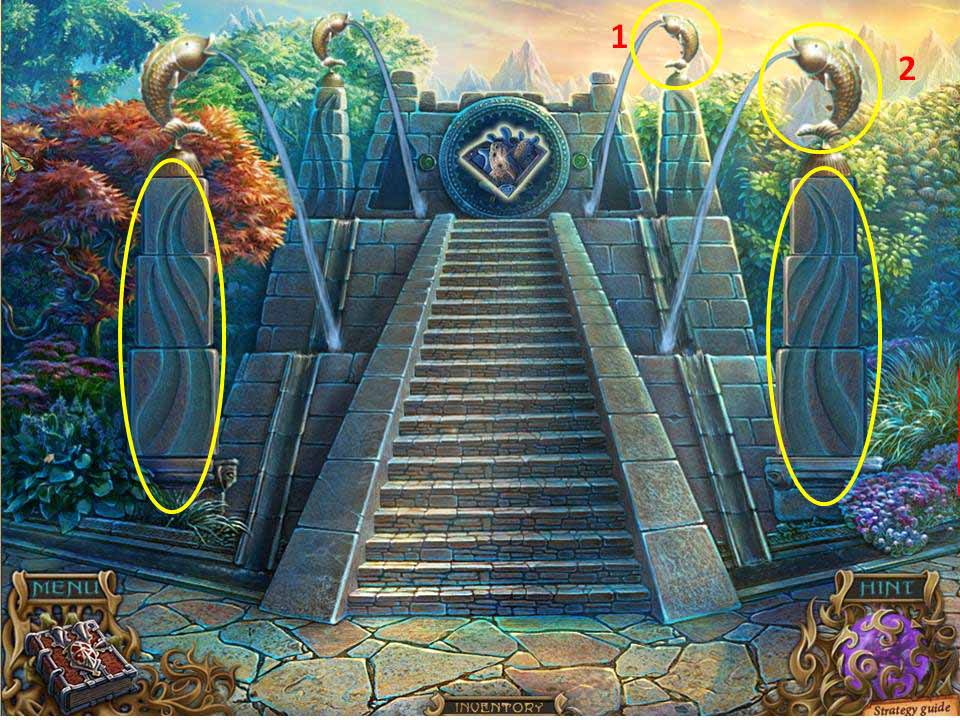
- The first order of business is to place the three FISH in place atop the pedestals.
- Next job is to set the design for two front pedestals in the right order, noting that all three segments each rotate – see the screenshot for the solution.
- Finally all four fish have to be pointing inwards to direct the flow of water appropriately, noting that clicking on one will rotate three fish in total.
- To solve it, click on the fish at the back on the right, then the other fish at the front to the right.
- Once done the WATER SYMBOL will appear at the top of the steps.
- Take it, and head back to the three gates.
- Zoom in on the bowl-shaped object slightly to the right of the central gate.
-
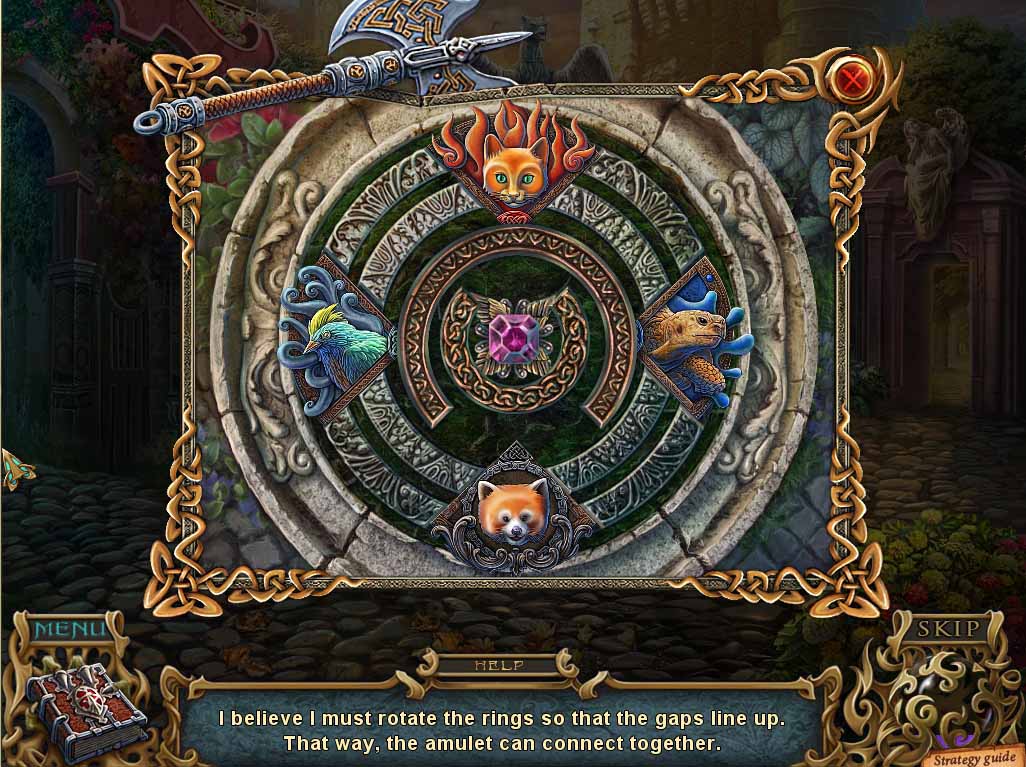
Place the four SYMBOLS in place to activate the next puzzle.
- The idea is to turn the two central rings in a set sequence in order to eventually line up the gaps so that each symbol locks into place.
- Once complete, take the amulet AND the central gate will unlock and swing open, at which point the nanny will put in another appearance.
- Hand her the HANDKERCHIEF WITH INITIALS and the MEDALLION, then head through the gate.