
Ghosts of the Past: Bones of Meadows Town: Chapter Two: Murder
Our Ghosts of the Past: Bones of Meadows Town Walkthrough will assist you as you investigate the strange happenings in the small town of Meadows Town. With the sheriff missing, strange weather wreaking havoc on the town, and a string of murders to deal with, you'll be relieved to know you can count on our reliable instructions, simple puzzle solutions, and custom marked screenshots to see you through this harrowing investigation.
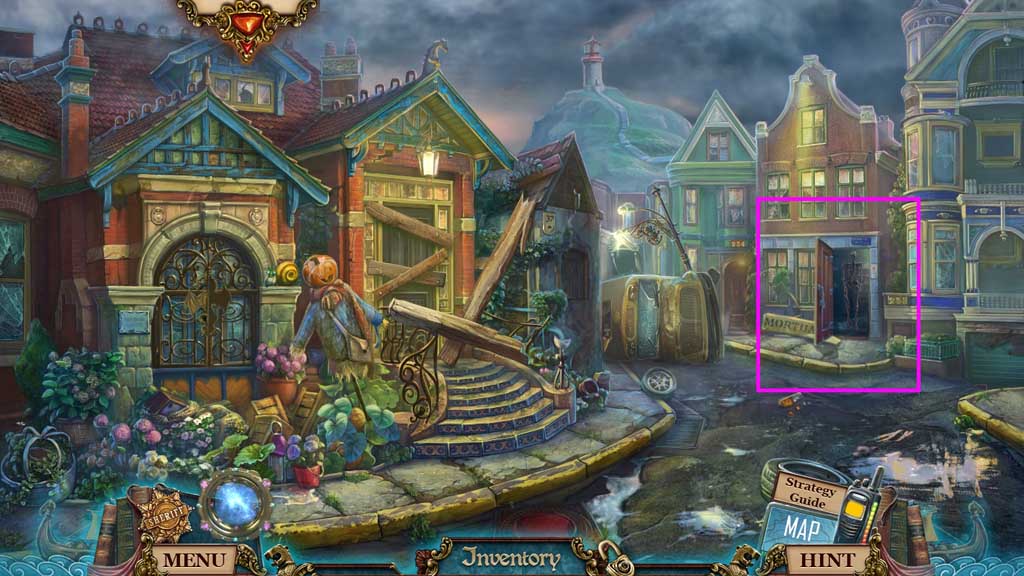
- Zoom into the Mortuary.
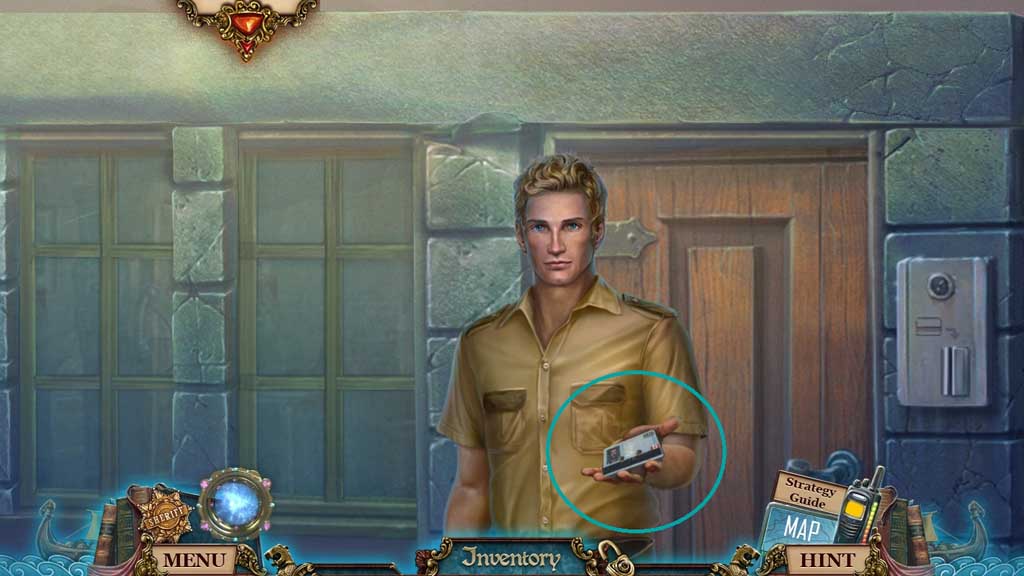
- Collect the access card.

- Zoom into the overturned school bus and use the police siren to trigger a hidden objects area.
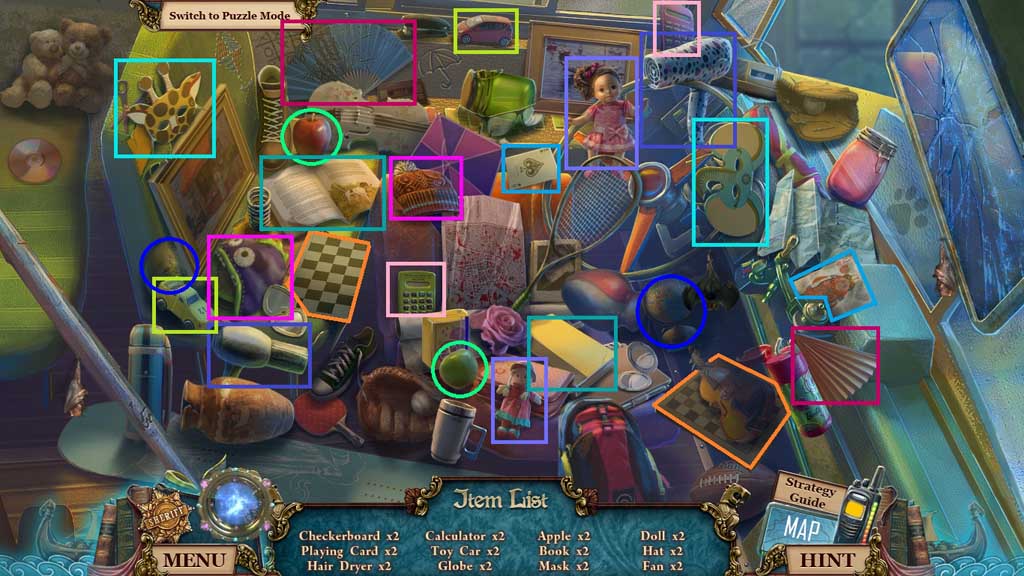
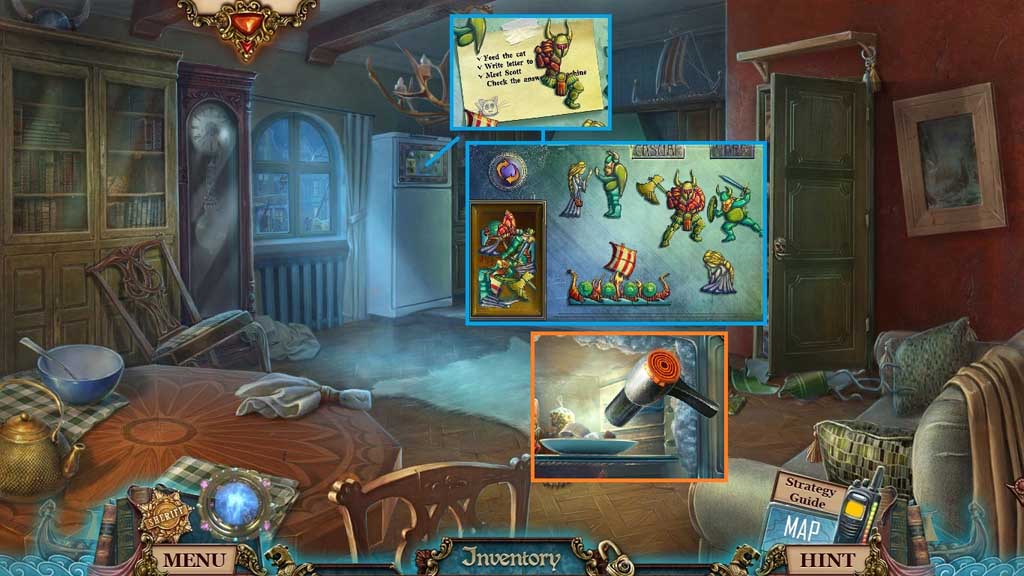
- Find the items.
- Collect the hair dryer.
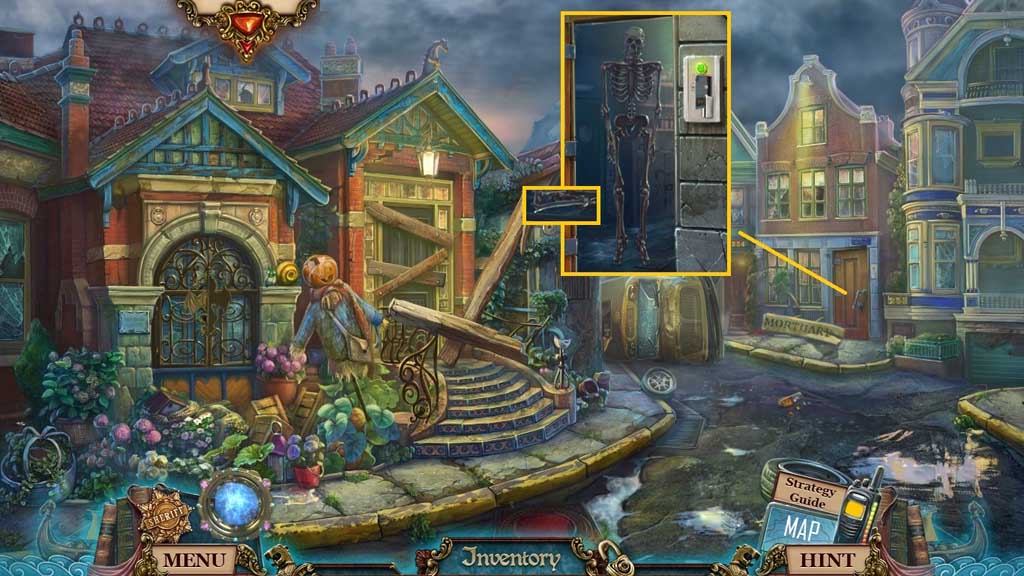
- Slide the access card.
- Smash the skeleton; collect the bone.
- Move into the Mortuary.

- Speak to Jones.
- Collect the office key and the 2 case files.
- Collect 1 /3 pencils.
- Insert the office key and click it once.
- Move to the right.
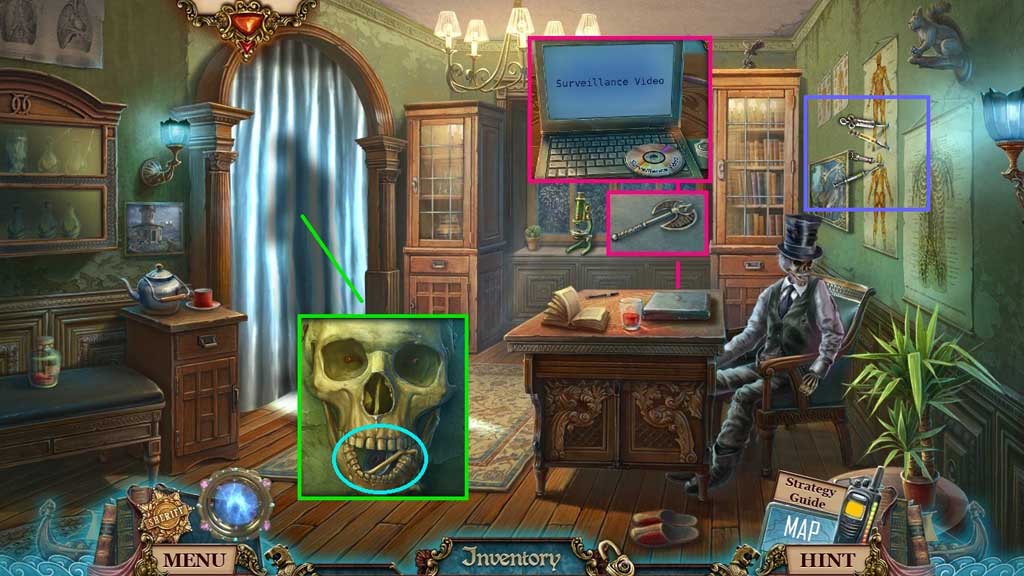
- Collect the axe.
- Click the laptop.
- Insert the CD into the drive.
- Click the curtain open; select the bone to prop open the mouth; collect the drawer wheel and the bone.
- Collect the acid.
- Move down once.
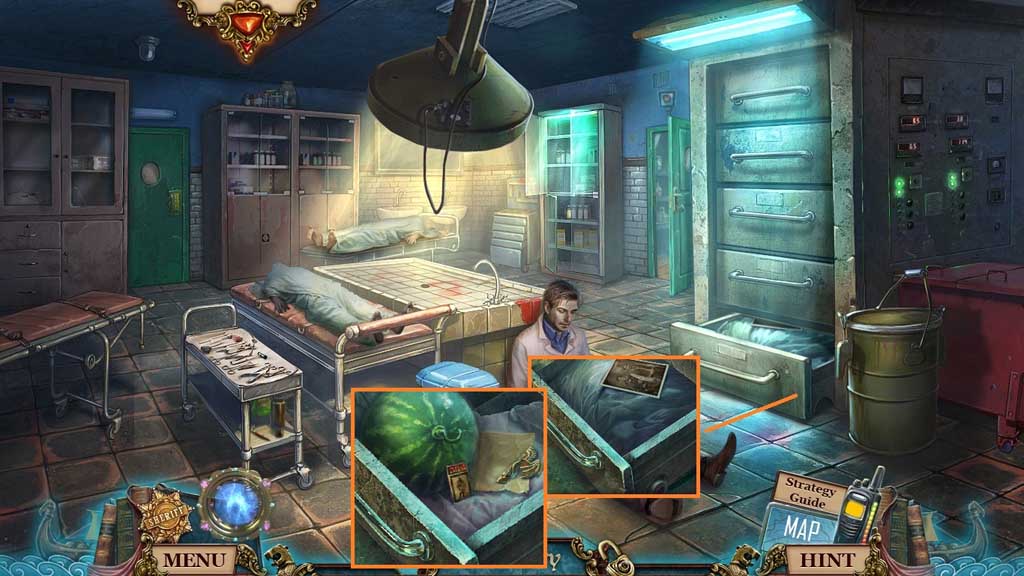
- Attach the drawer wheel; click it once and collect the evidence.
- Click the plastic and place the matches into the box; collect the dragon part and the matches.
- Move down once.
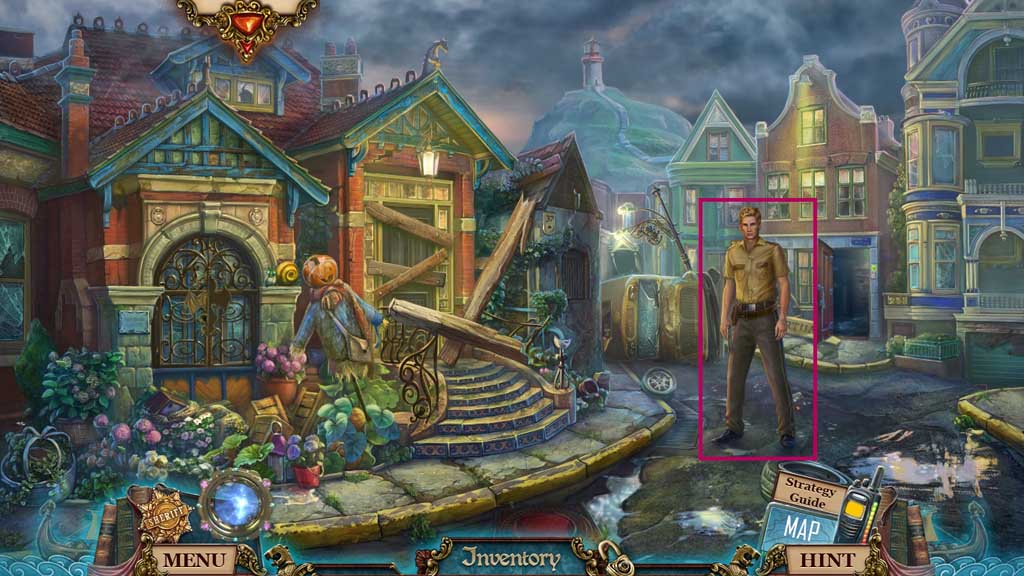
- Speak to Jones.
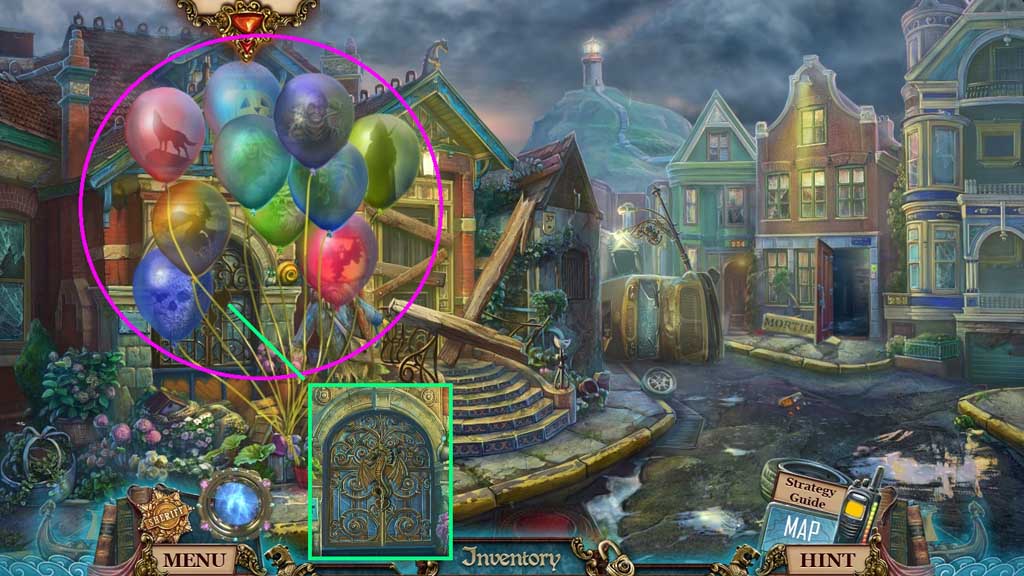
- Use the needle to pop the balloons; receive the button.
- Insert the dragon part and click the window.
- Enter the window.
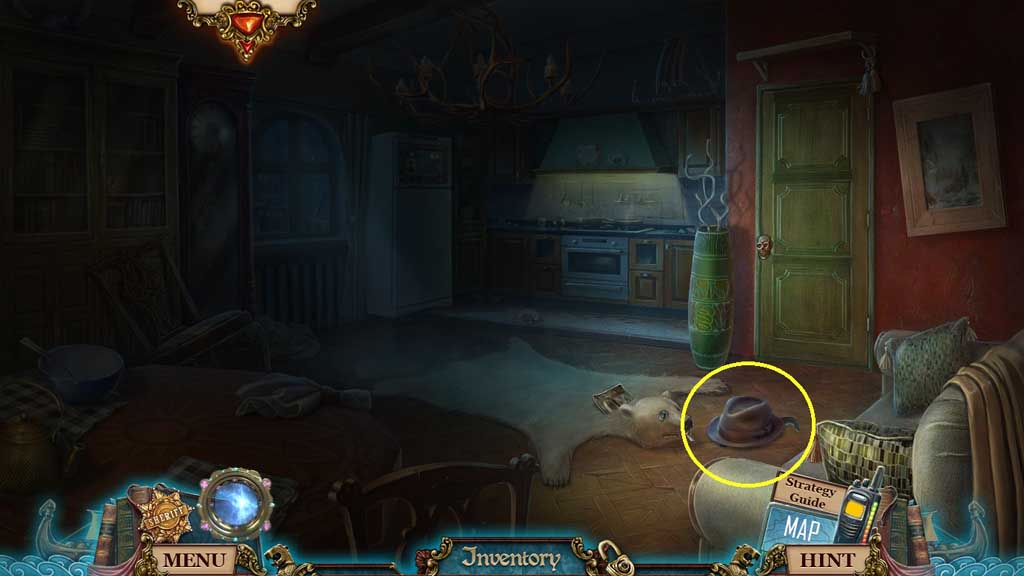
- Click the hat.

- Select the hair dryer to dry the cat.
- Collect the gem and the cat.
- Zoom into the bear rug; attach the button onto the eye and use the needle to secure it.
- Collect the evidence and the lollipop.
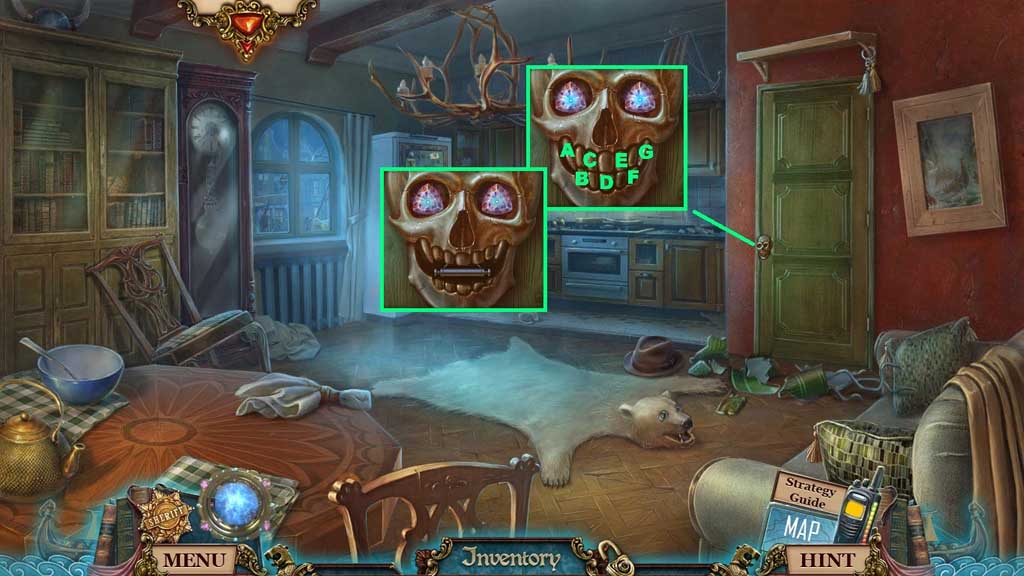
- Insert the gem to trigger a mini game.
- Solve the game by clicking the teeth in the correct order to open the mouth.
- Click the handle 2x’s.
- Move to the right.
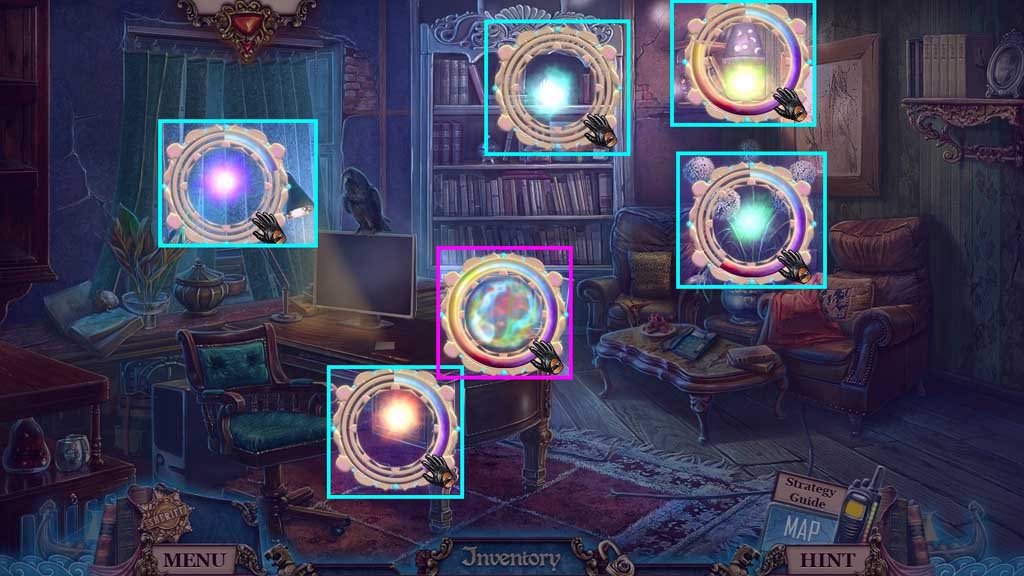
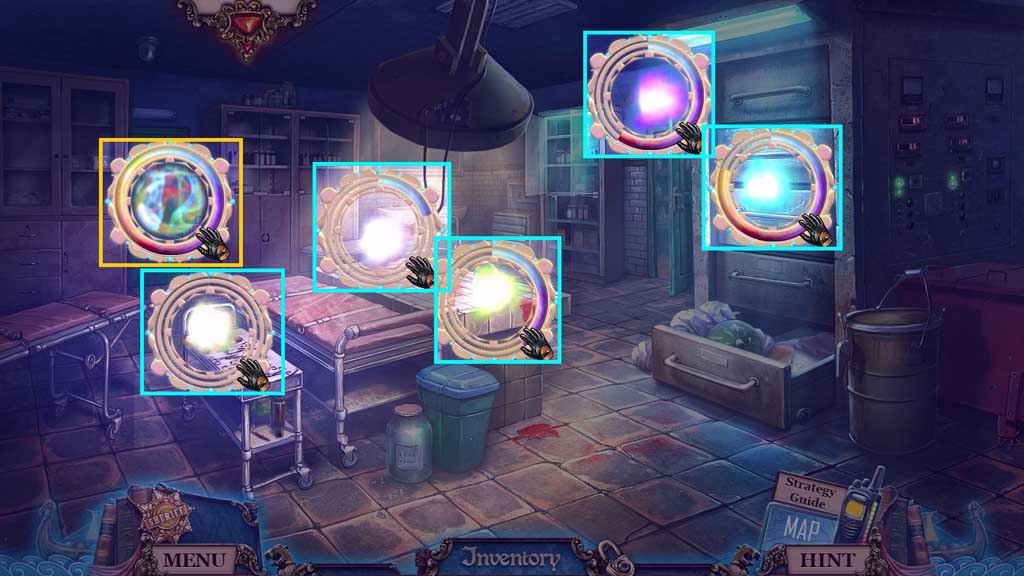
- Select the spirit detector to locate the glowing items.
- Place and click the detector onto the glowing orb.
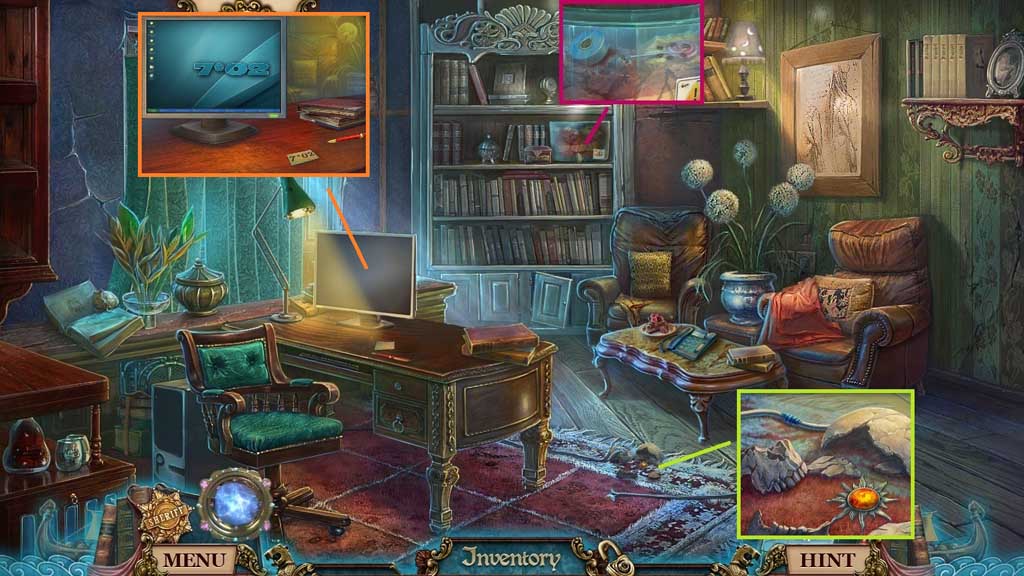
- Select the lollipop to redirect the ants; collect the insulation tape and use it to mend the wire.
- Collect the sun symbol.
- Zoom into the computer and jot down and collect the phone code.
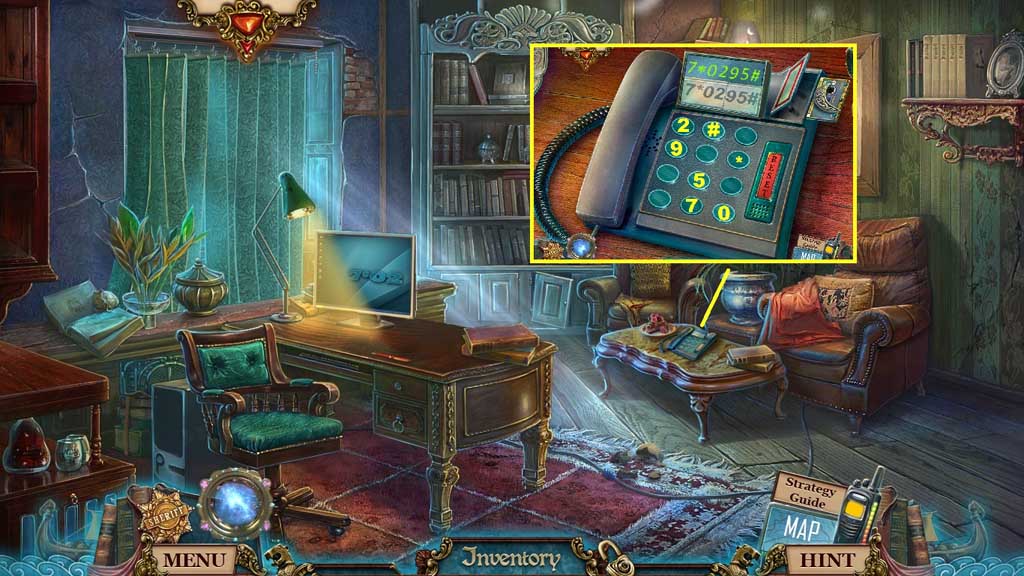
- Place the phone code onto the phone to trigger a mini game.
- Solve the game by entering the code correctly.
- Collect the moon symbol and the evidence.
- Move down once.
- Collect the note.
- Insert the sun and moon symbols to trigger a mini game.
- Solve the game by restoring the magnets by placing the pieces onto the arrows and turning them the correct way and placing them into the correct spots.
- Click the handle.
- Select the hair dryer to melt the ice and collect the film negative.
- Move to the Mortuary Main Office.
- Zoom into the microscope.
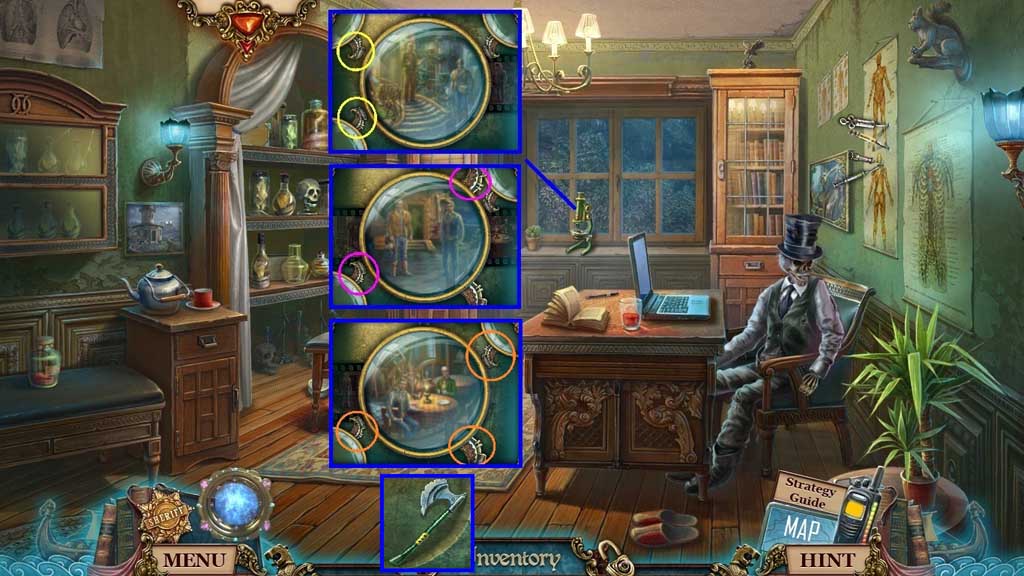
- Insert the film negative and zoom in to trigger a mini game.
- Solve the game by adjusting the lenses correctly for each section of the film until a rune is in focus in every cell.
- To solve for each frame click the lenses indicated.
- Collect the axe.
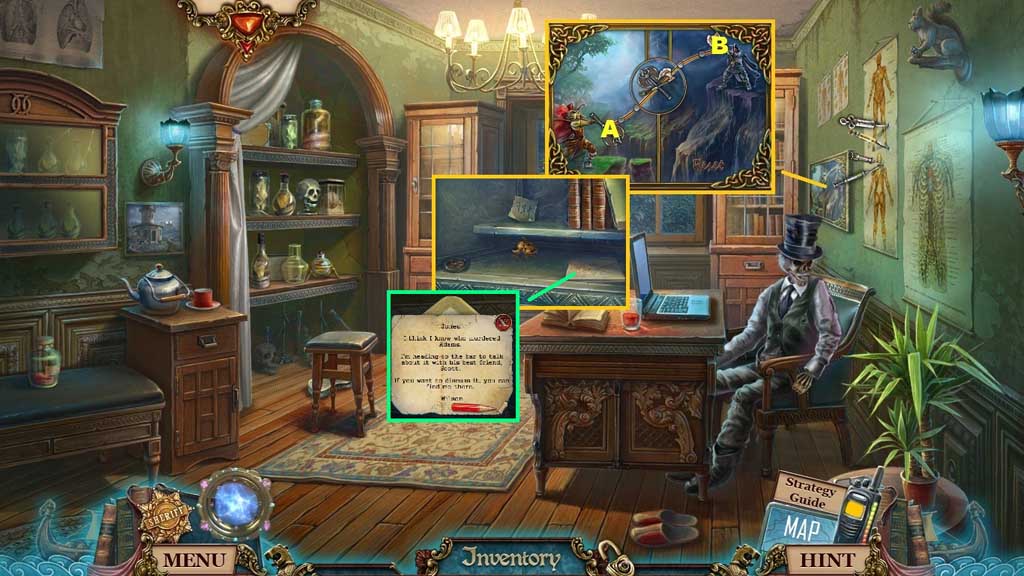
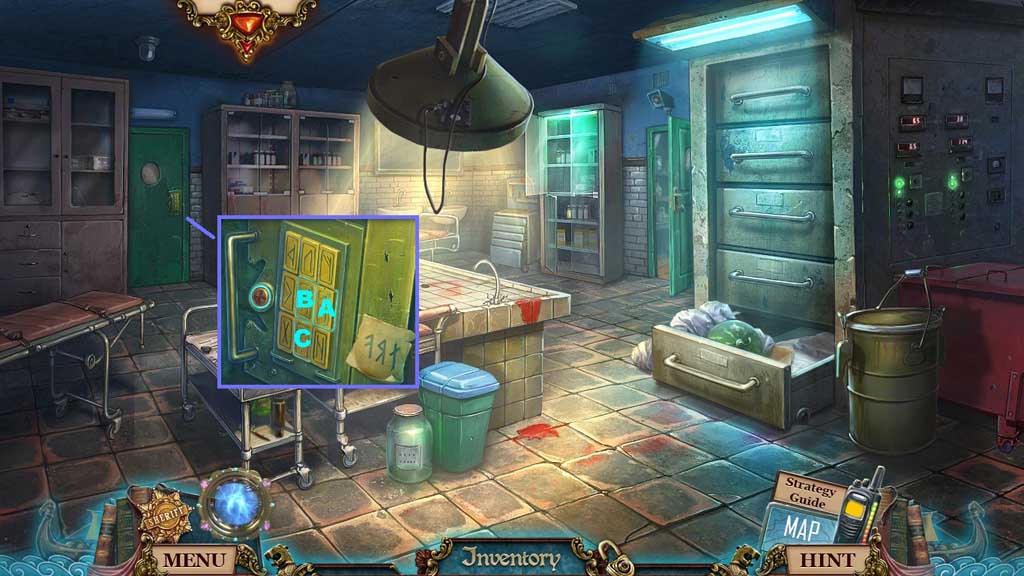
- Insert the 2 axes into the painting to trigger a mini game.
- Solve the game by tossing the axes into the middle.
- Click the axes in the following sequence to solve: A x 3 – B – A - B – A – B – A
- Collect the runic code and the comedy mask.
- Click the envelope; collect 2/3 red pencils and the evidence.
- Move down once.
- Select the spirit detector to locate the glowing items.
- Place and click the detector onto the glowing orb.
- Place the runic code down and click the buttons in the correct sequence.
- Move to the left.