
Ghosts of the Past: Bones of Meadows Town: Chapter Six: Into the Museum
Our Ghosts of the Past: Bones of Meadows Town Walkthrough will assist you as you investigate the strange happenings in the small town of Meadows Town. With the sheriff missing, strange weather wreaking havoc on the town, and a string of murders to deal with, you'll be relieved to know you can count on our reliable instructions, simple puzzle solutions, and custom marked screenshots to see you through this harrowing investigation.
- Speak to Jones.
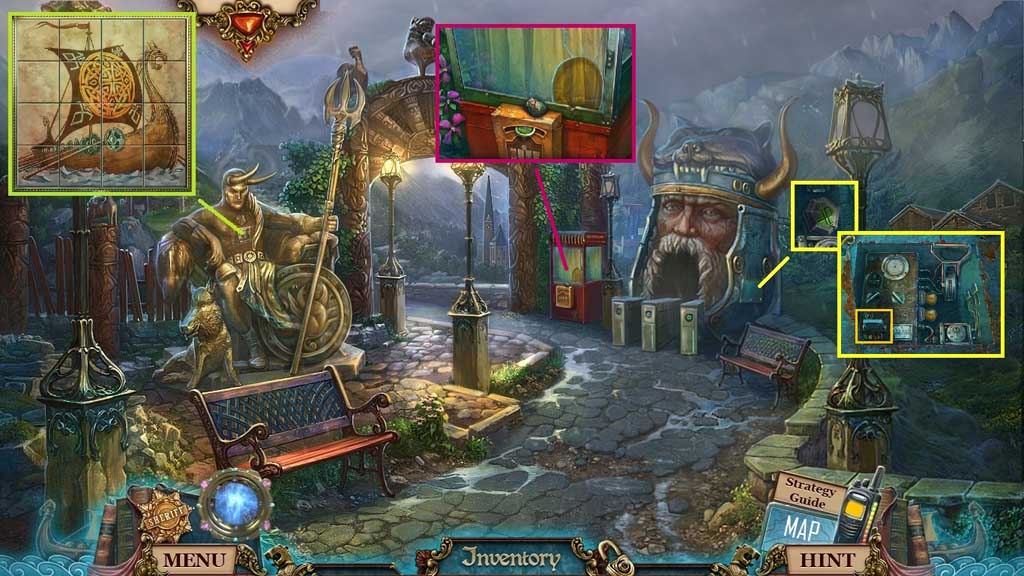
- Place the plates to trigger a mini game.
- Solve the game by restoring the image; collect 2 /3 Viking symbols.
- Select the screwdriver to remove the screws and to collect 3 /3 Viking symbols and insert the electronic chip.
- Collect the button.
- Move to the Basement.
- Click the broken button and replace it using the button; collect the ignition key.
- Move to the School.
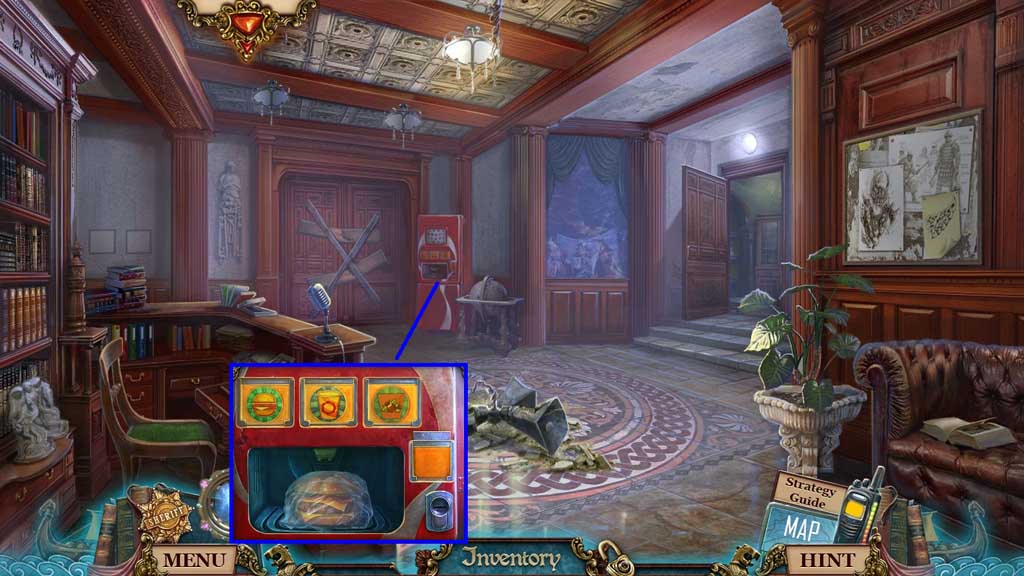
- Click the burger.
- Insert the two dollars and collect the cheeseburger.
- Move to the Museum Entrance.
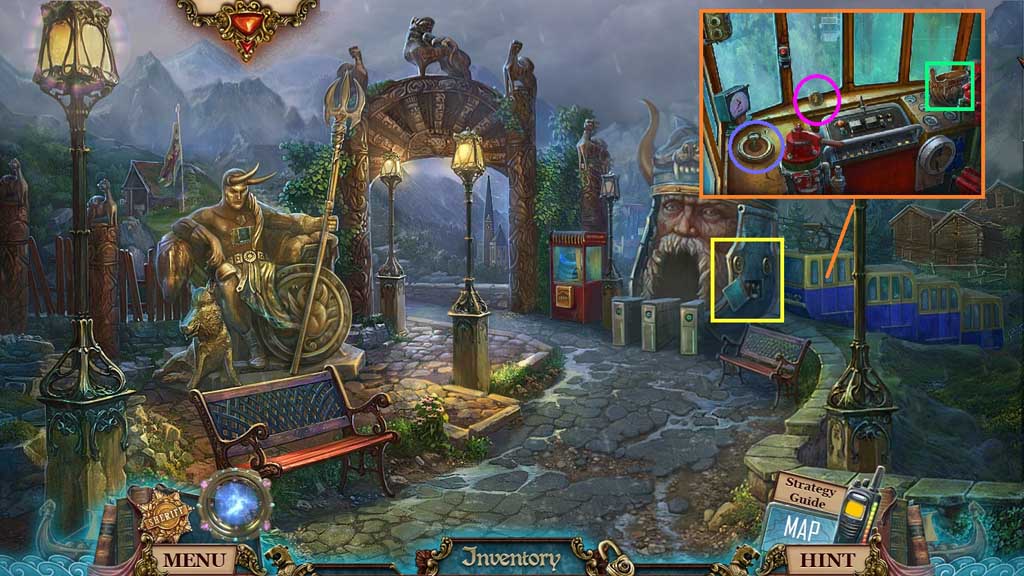
- Insert the ignition key; click the lever.
- Click the helmet; collect the fortune token, the trinket and the old helmet.
- Click the key.
- Move to the right.
- Speak to Jones.
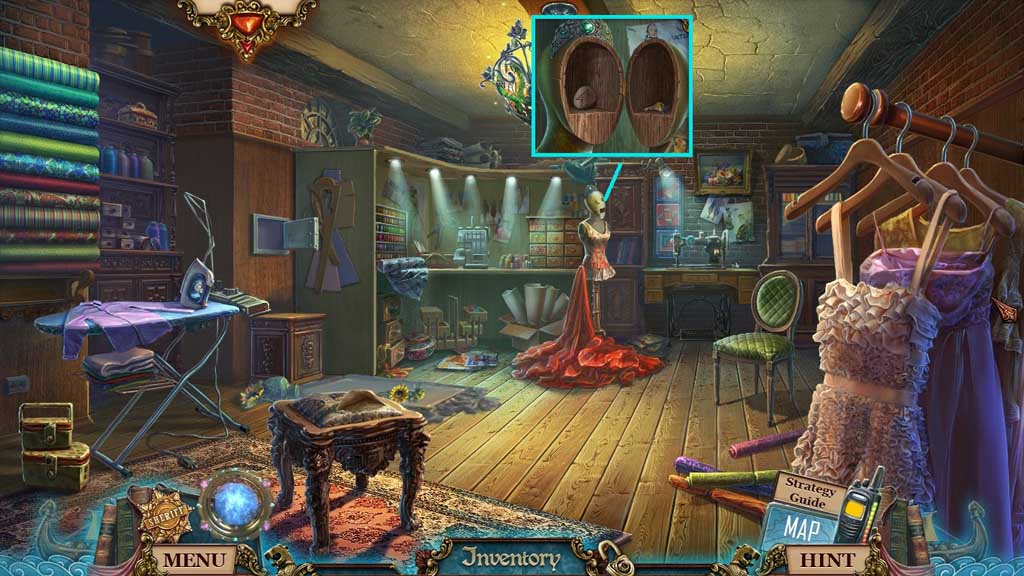
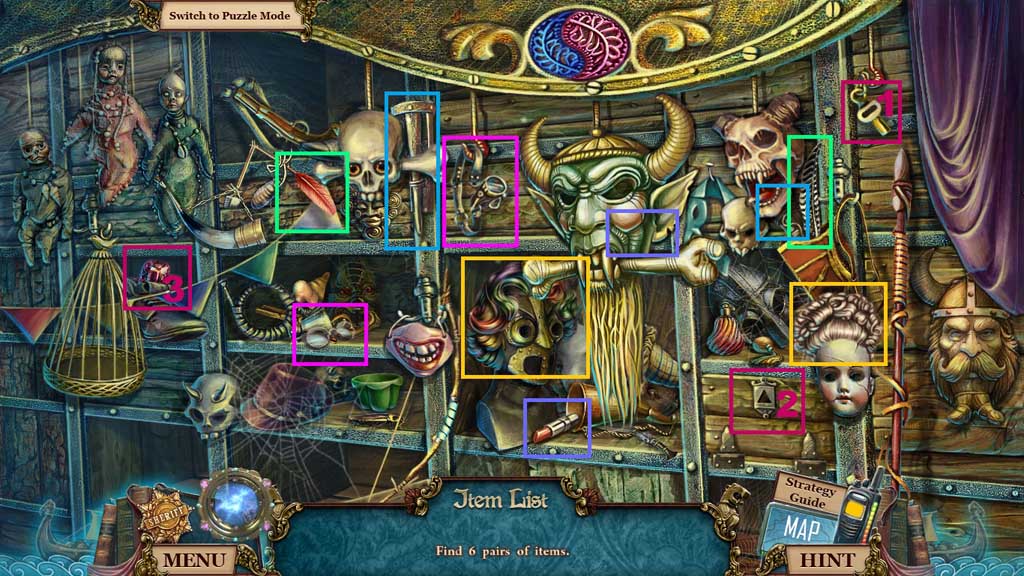
- Click the hidden objects area.
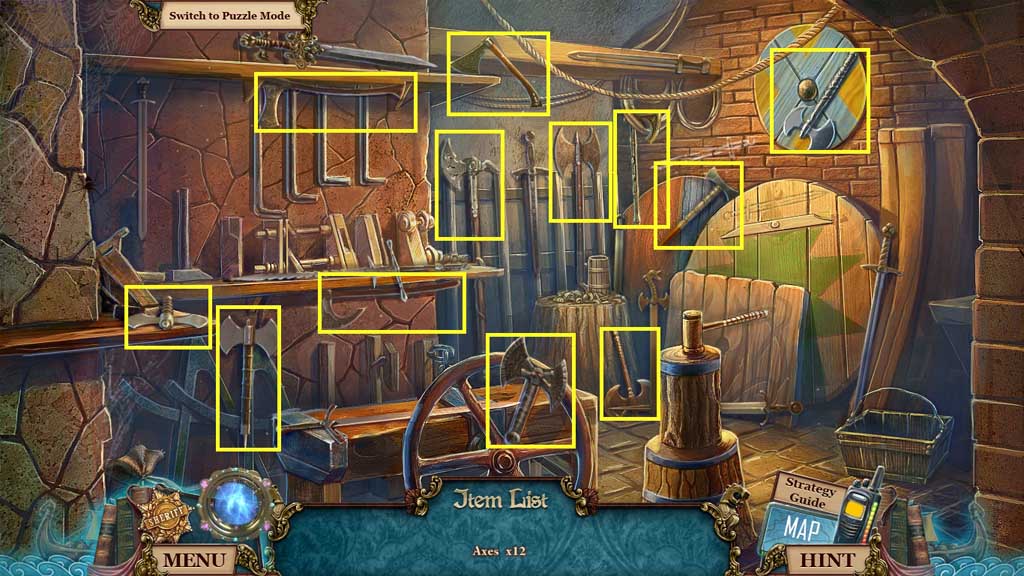
- Find the items.
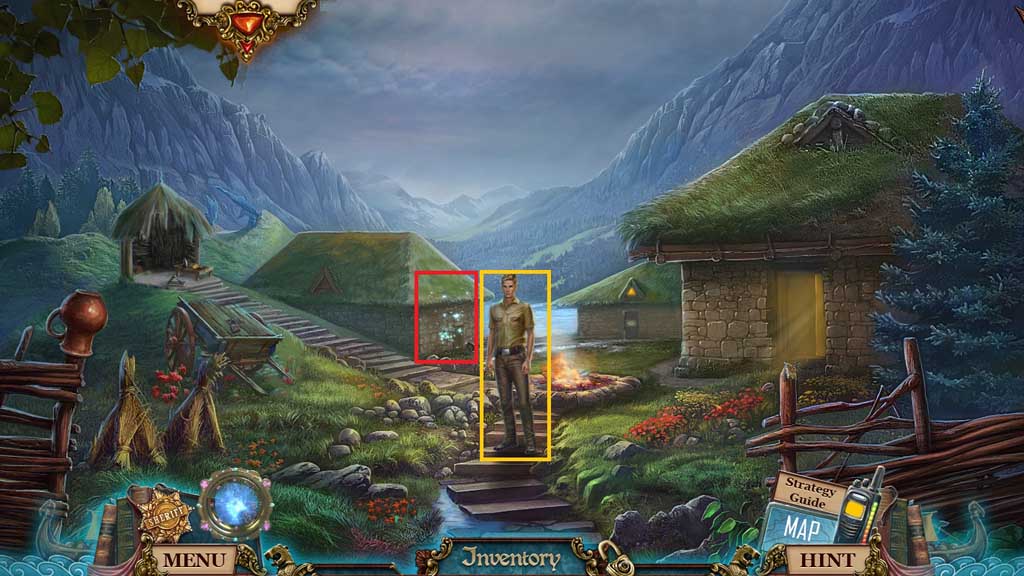
- Collect the heavy axe.
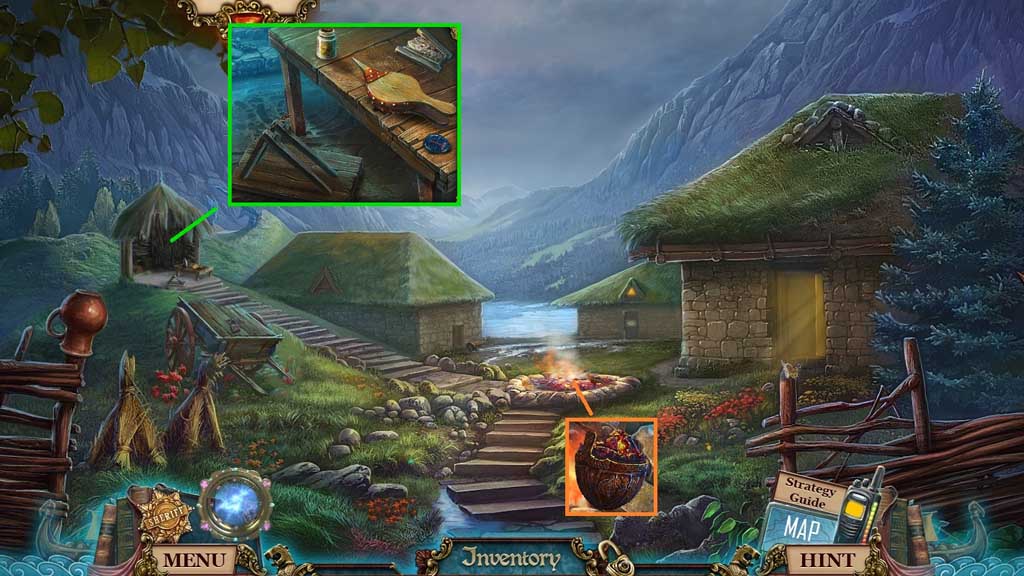
- Select the old helmet to dip into the embers; receive the helmet with embers.
- Collect the arrow, the bellows, the sulfur and the net cartridge.
- Move down once and ahead.
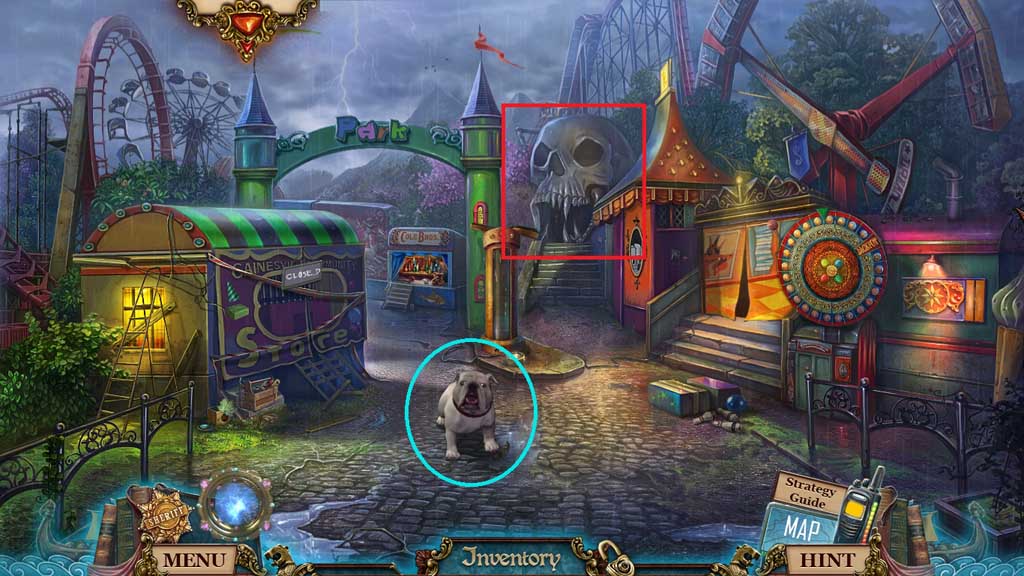
- Give the dog a cheeseburger.
- Collect the deck key.
- Click the hidden objects area.
- Find the items.
- Select the key and insert it into the lock; collect the gem.
- Collect the torch.
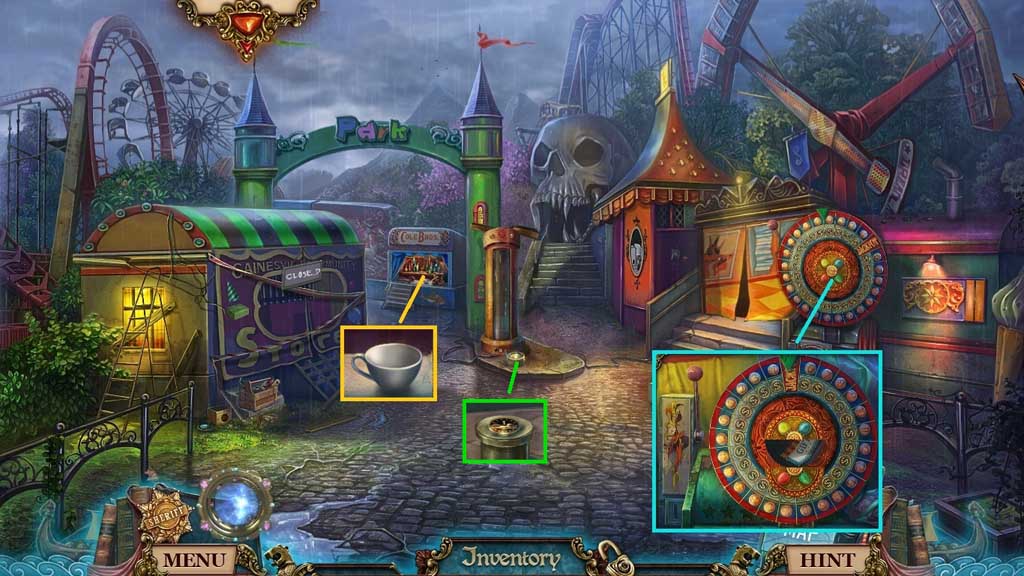
- Insert the fortune token; click the lever 3x’s and collect the gift certificate.
- Collect the one dollar.
- Collect the cup.
- Move down once.
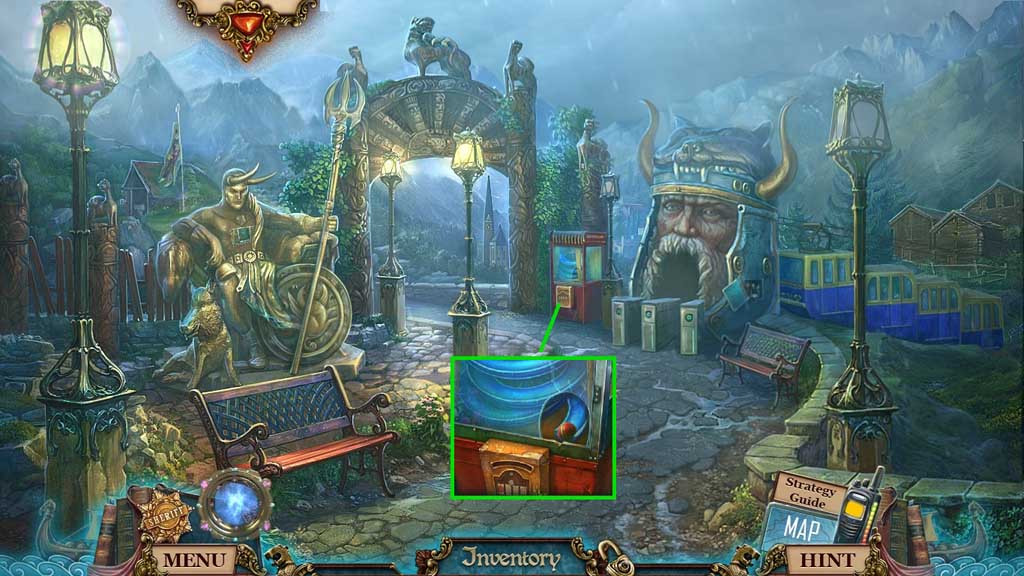
- Click the curtains.
- Insert the gift certificate to collect the golden deer.
- Collect the ball.
- Move ahead.
- Select the ball to place into the slingshot.
- Collect 2 /3 map parts.
- Move to the School.
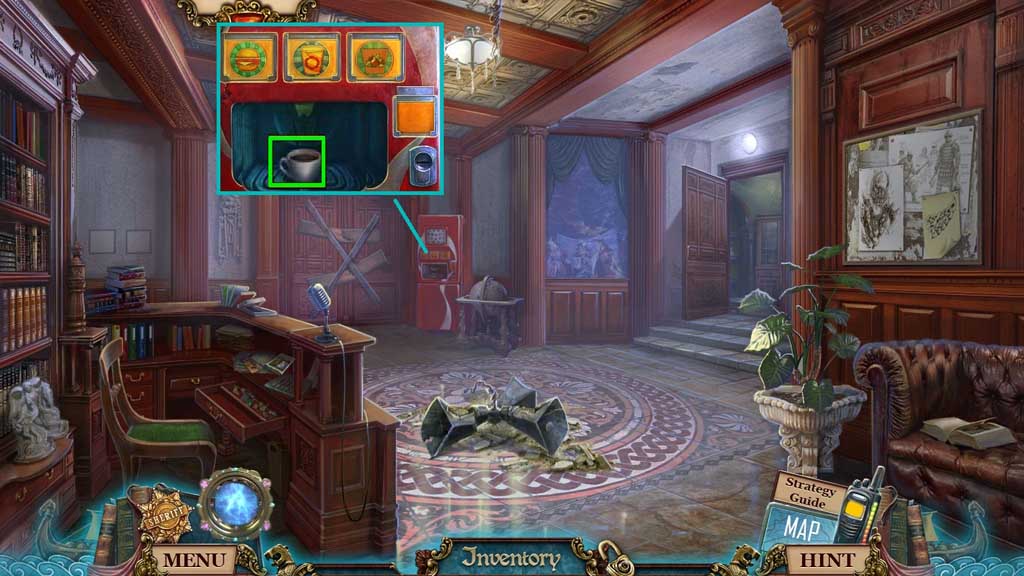
- Select the coffee and insert the cup.
- Insert the one dollar.
- Collect the steaming coffee.
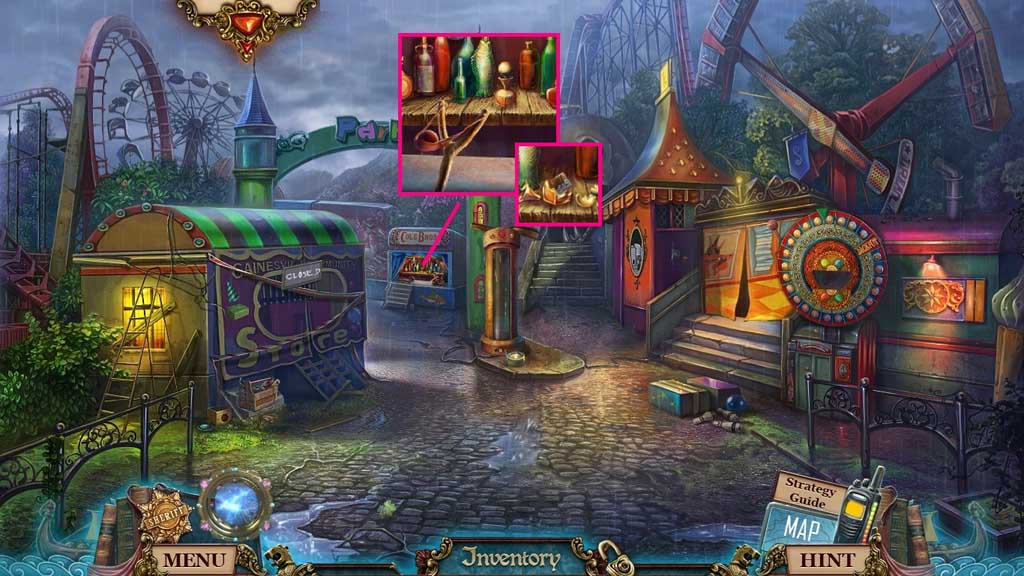
- Move down once and go to the left.

- Insert the trinket; collect the revolver.
- Move to the Hospital Yard.
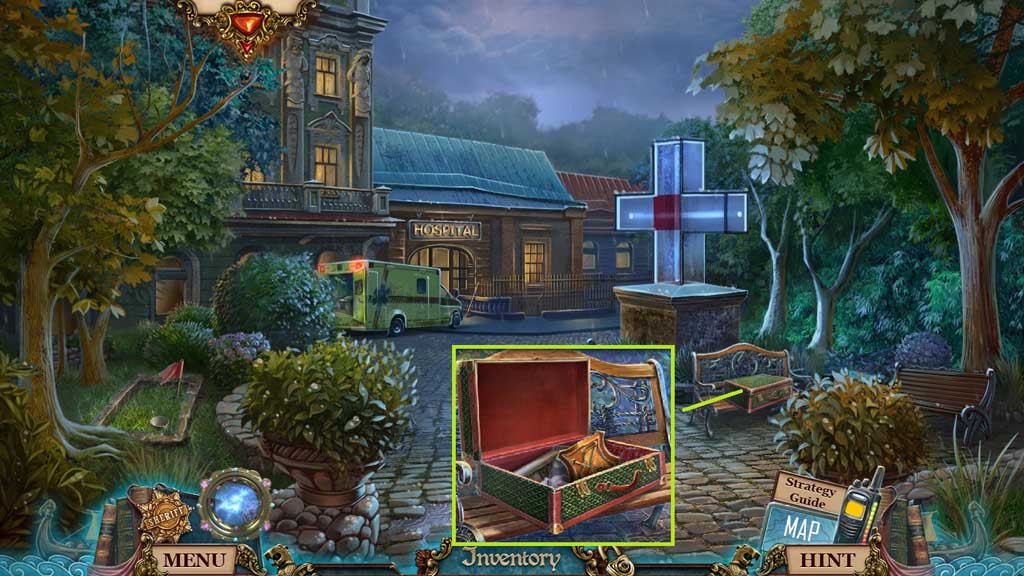
- Attach the latch; click the suitcase open and insert the arrow.
- Collect the bow emblem.
- Move ahead.

- Select the steaming coffee and the napkin to reveal the code.
- Select and use the camera to receive the photo code.
- Move to the Viking Museum.
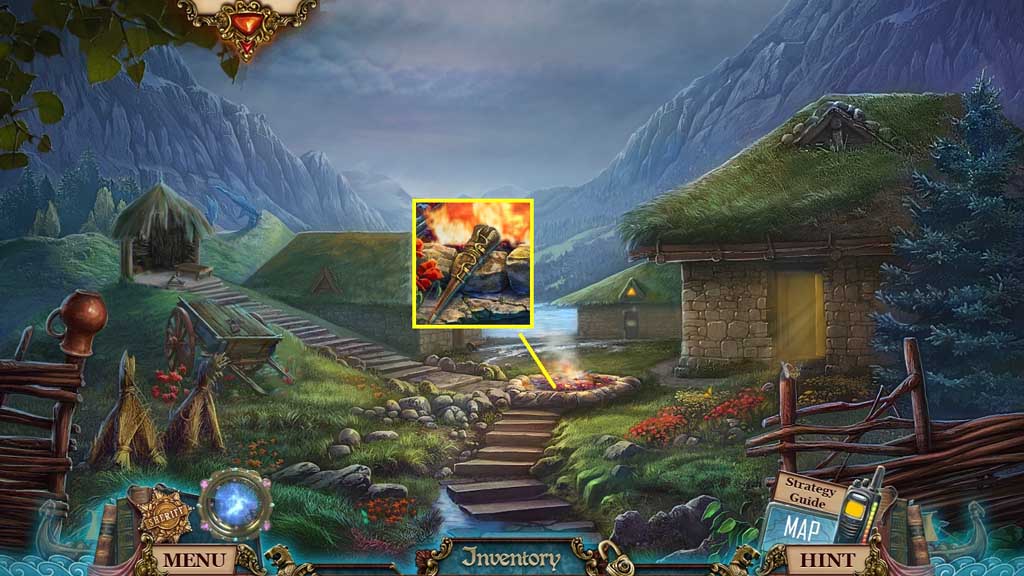
- Ignite the torch; collect the burning torch.
- Move to the right.

- Insert the bow emblem.
- Click the sphere and select the helmet with embers and sulfur
- Collect the gun brush.
- Select the burning torch to receive the grindstone.
- Collect 1 /3 planks.
- Move down once.
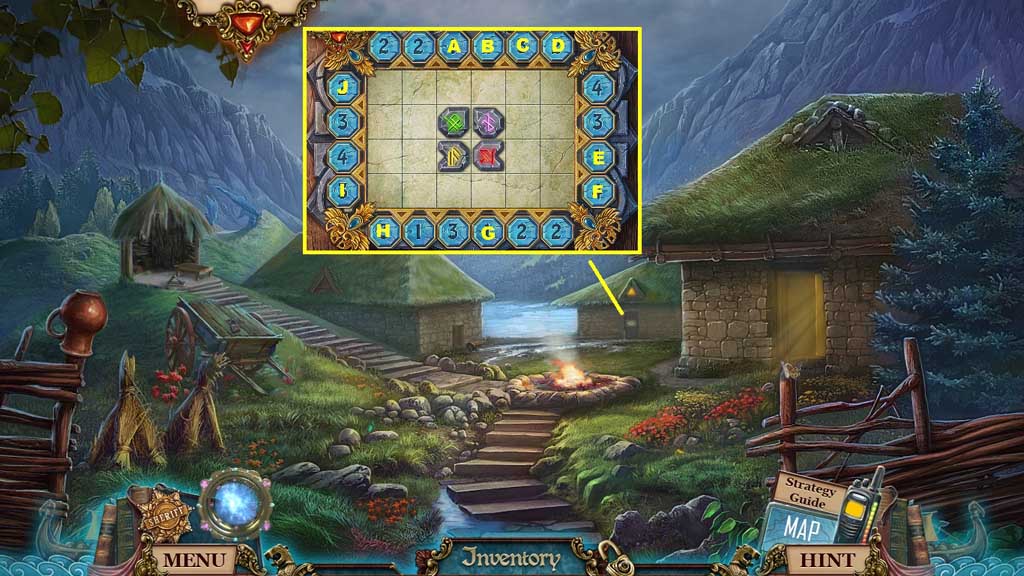
- Insert the Viking symbols to trigger a mini game.
- Solve the game by moving the runes to the correct area.
- Use the following sequence to solve: J –H – J – B – D – E – C – F – H – J – B – A – F – H – J – A – I – G
- Move ahead.

- Attach the net cartridge, the gun and the gun brush to create and collect the loaded net gun.
- Collect 3 /3 map parts.
- Attach the stone head onto the hook.
- Collect 2/3 planks and select the heavy axe to remove the debris.

- Insert the map part to trigger a mini game.
- Solve the game by restoring the image by switching the tiles into the correct arrangement.
- Move ahead.