
Dark Parables: The Little Mermaid and the Purple Tide: Chapter Five: Althea
Our Dark Parables: The Little Mermaid and the Purple Tide Walkthrough will be an incredible asset as you begin your investigation along the shores of Crete where a strange purple tide has appeared and a devastating Tsunami has exposed a mythical underwater city. When you're at a loss for your next step, you'll be relieved to know you can always turn to our step-by-step game instructions, custom marked screenshots, and our simple puzzle solutions featured in our Dark Parables Walkthrough.
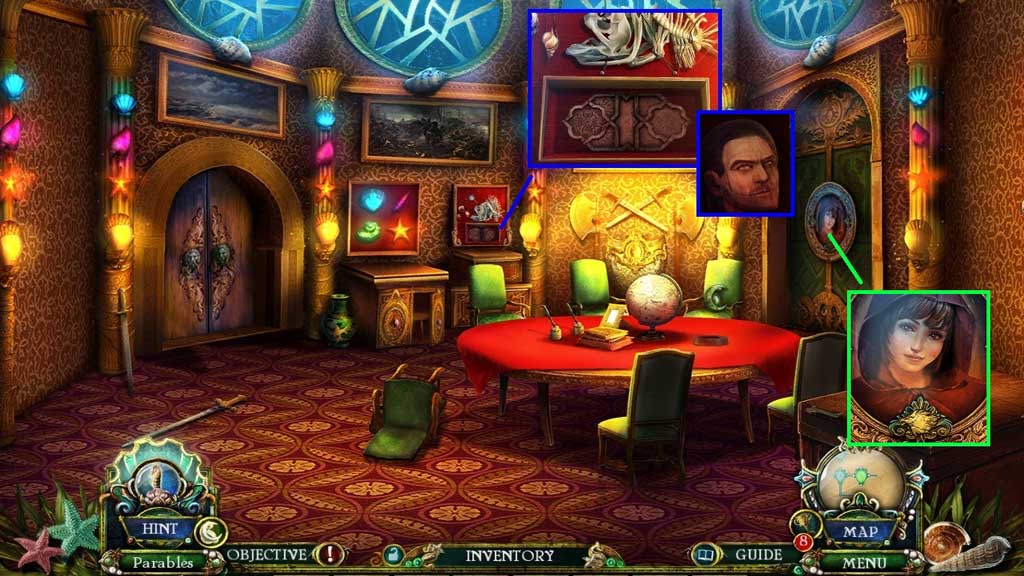
- Collect the bronze comet and the carnelian jellyfish.
- Place down the magic ink and place the paintbrush into it; collect the antidote recipe.
- Read the note.
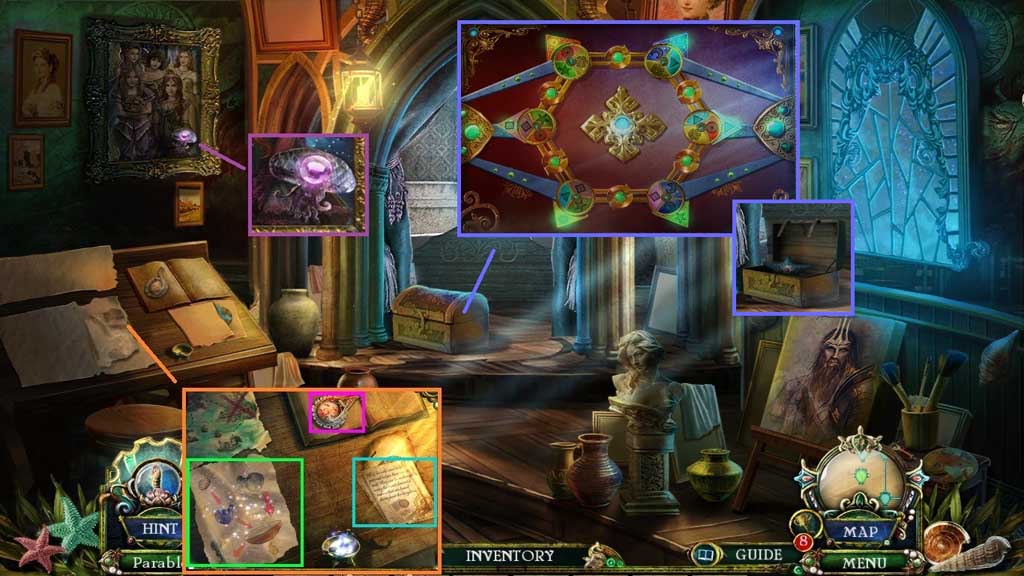
- Click the chest to trigger a mini game.
- Solve the game by adjusting the discs to match the adjacent discs.
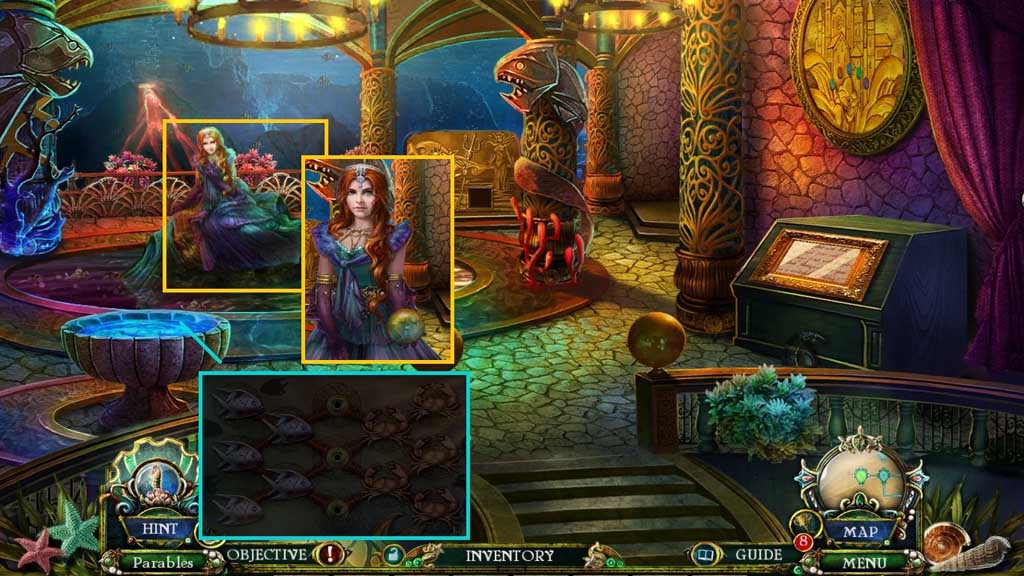
- Collect the starfish emblem.
- Move down 2x’s.
- Insert the crab and starfish emblems.
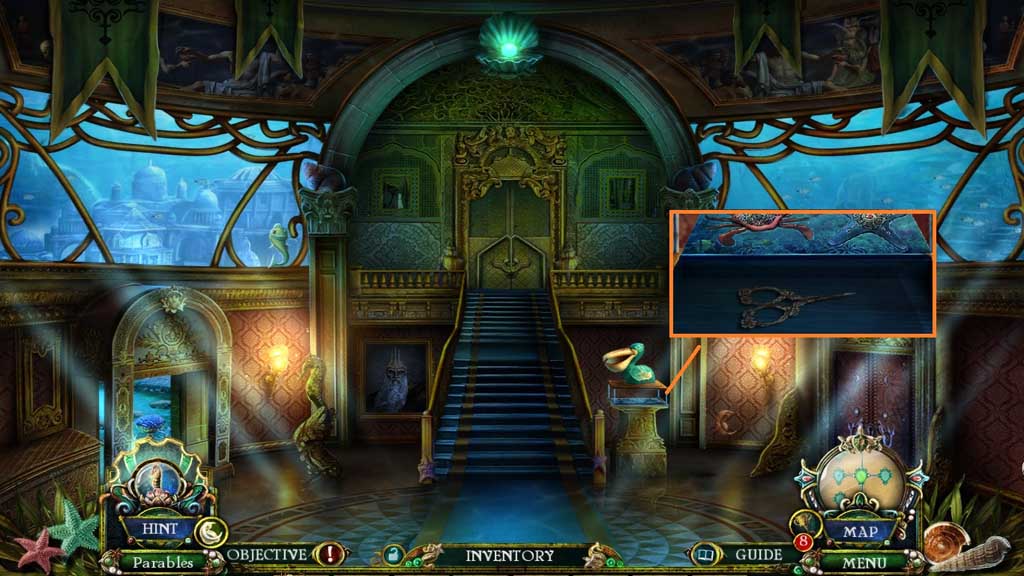
- Collect the antique scissors.
- Move to the Herbal Pharmacy.
- Insert the quartz, citrine and carnelian jellyfish; collect the elixir and the unicorn horn.
- Move to Princess Naida’s Room.
- Attach the unicorn horn; collect the wooden doll left arm.
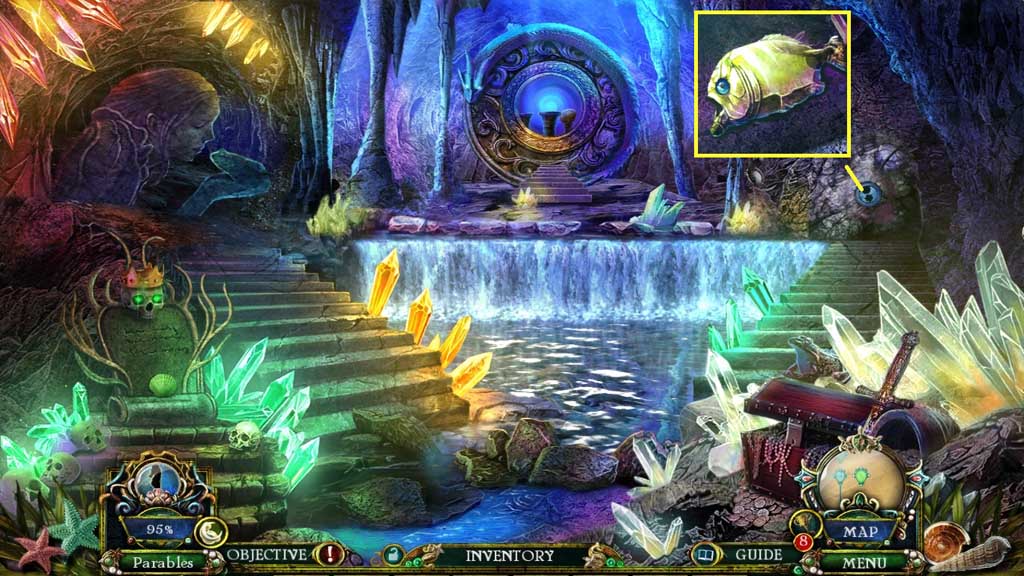
- Move to the Crystal Cave and click the hidden objects area.
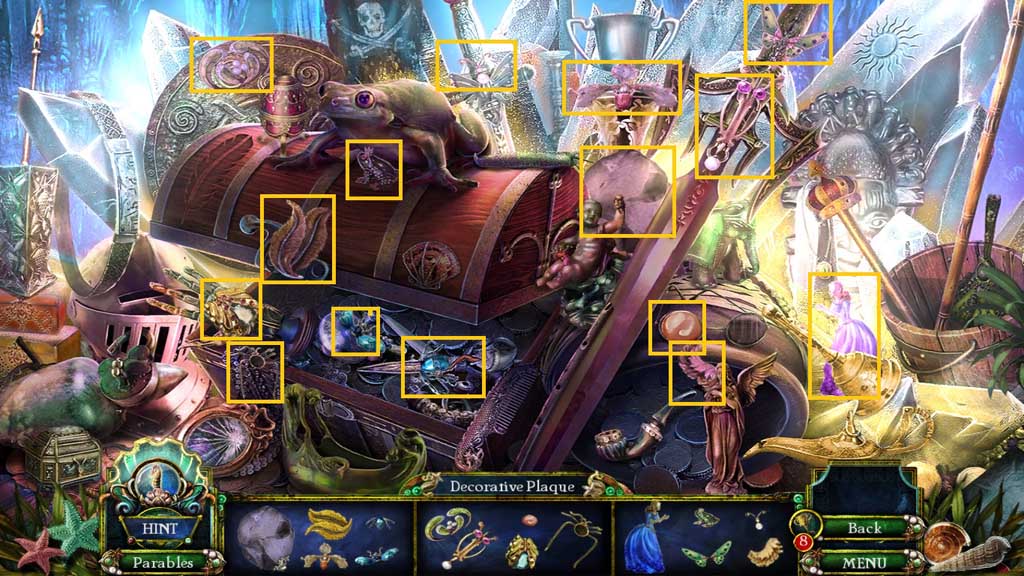
- Find the items.
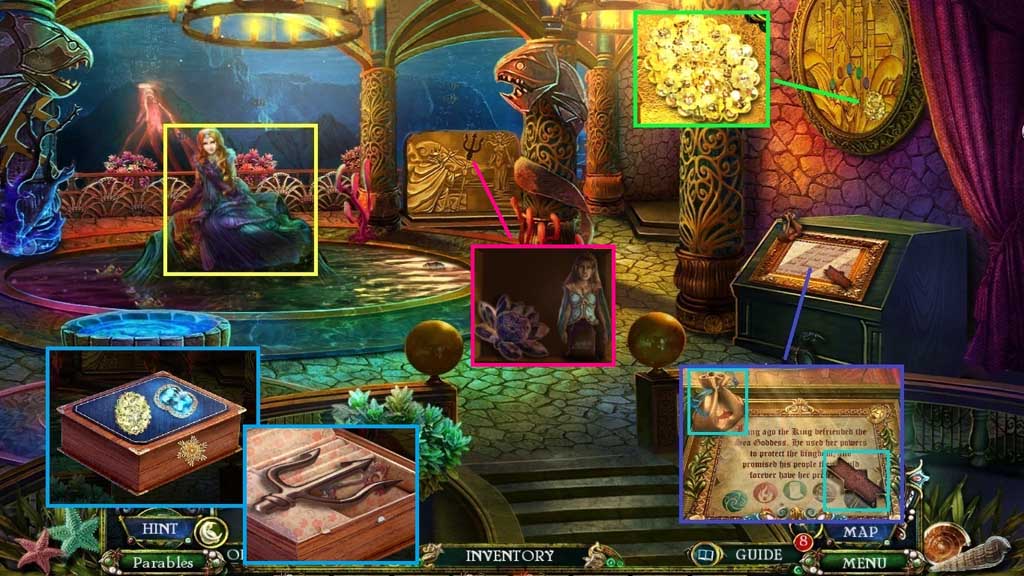
- Collect the decorative plaque.
- Insert the ivy and rose tokens.
- Collect the bass coin.
- Move to Princess Naida’s Room.
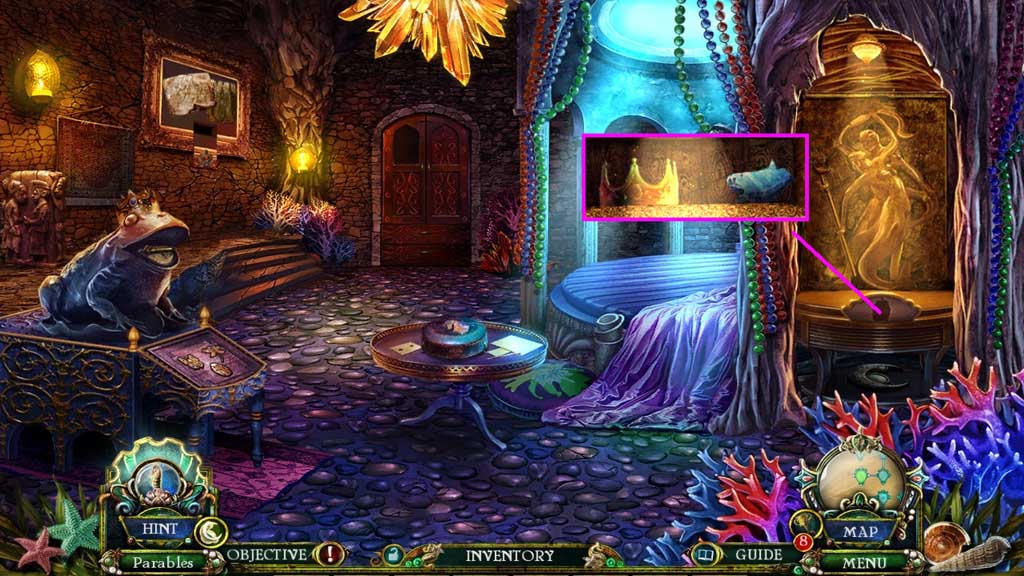
- Place the decorative plaque; collect the fish crown and the shark coin.
- Move to Princess Althea’s Room.
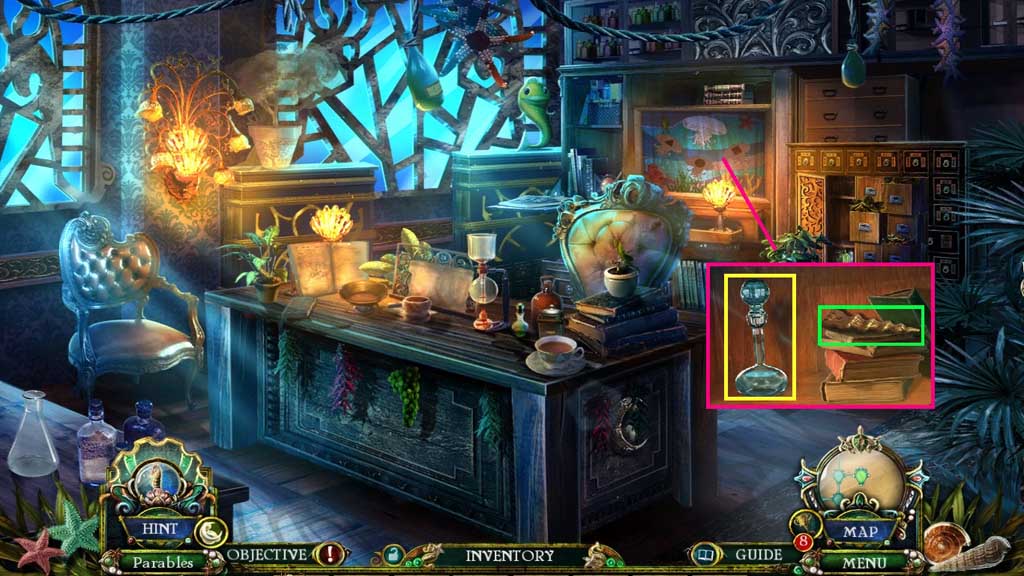
- Select the antique scissors to collect the sampan bottle and the glowing pearl.
- Move to the Herbal Pharmacy.
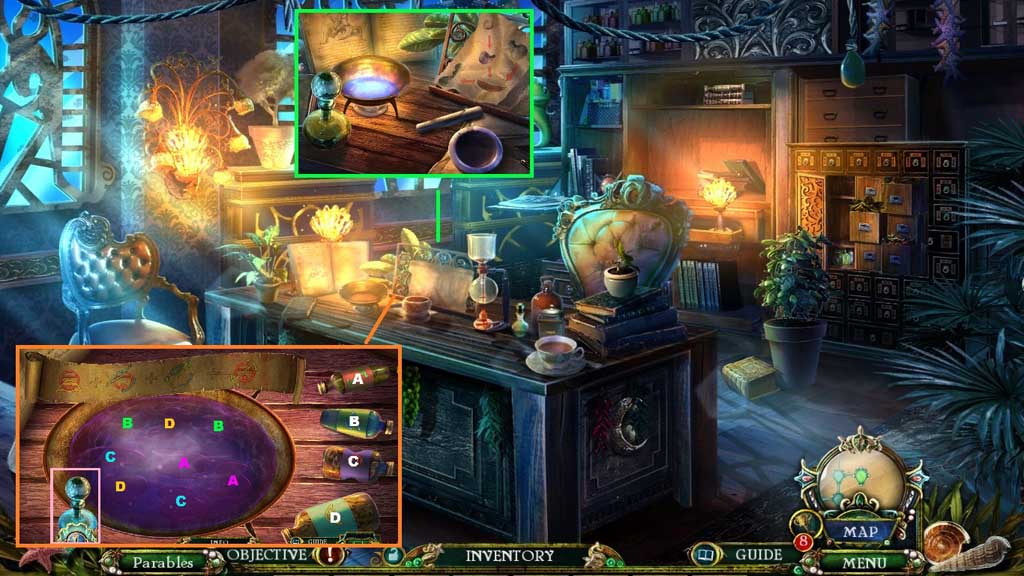
- Place the antidote recipe on the stand.
- Place the glowing pearl and crush it using the pestle 2x’s.
- Pour the elixir and click the bowl to trigger a mini game.
- Solve the game by clicking the bottles in the sequence to create the symbols above.
- Use the following sequence to solve:
- 1: C – D – B – C – A – B – A – C
- 2: Click the bubbles to uncover the matches.
- Collect the antidote.
- Move to the Balcony.
- Select the antidote to use on Pinocchio.
- Speak to Pinocchio; collect the wooden orb and the wardrobe key.
- Move to Princess Naida’s Room.
- Insert the wardrobe key to trigger a hidden objects area.
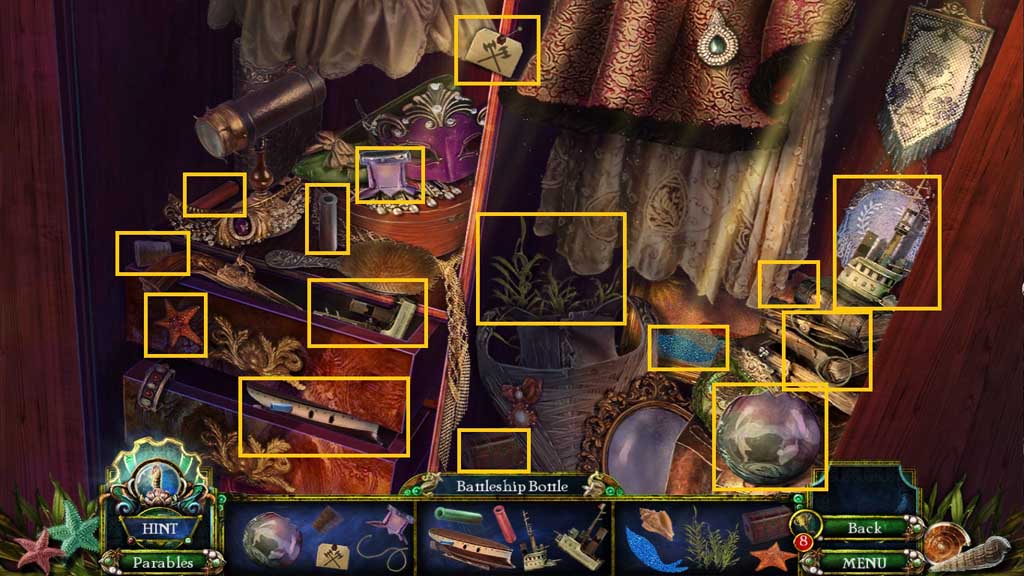
- Find the items.
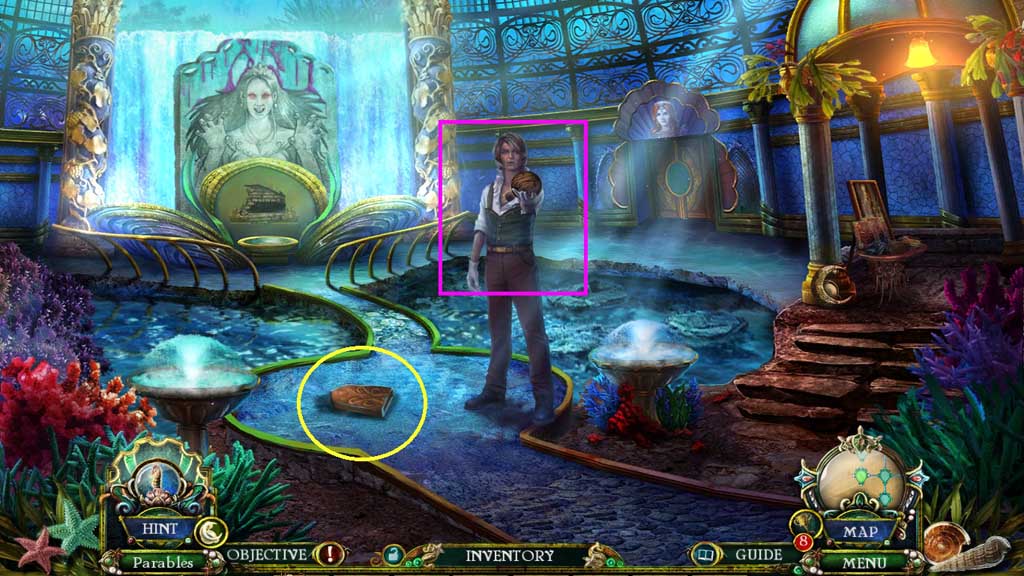
- Collect the battleship bottle.
- Move to the Underground Tunnel.
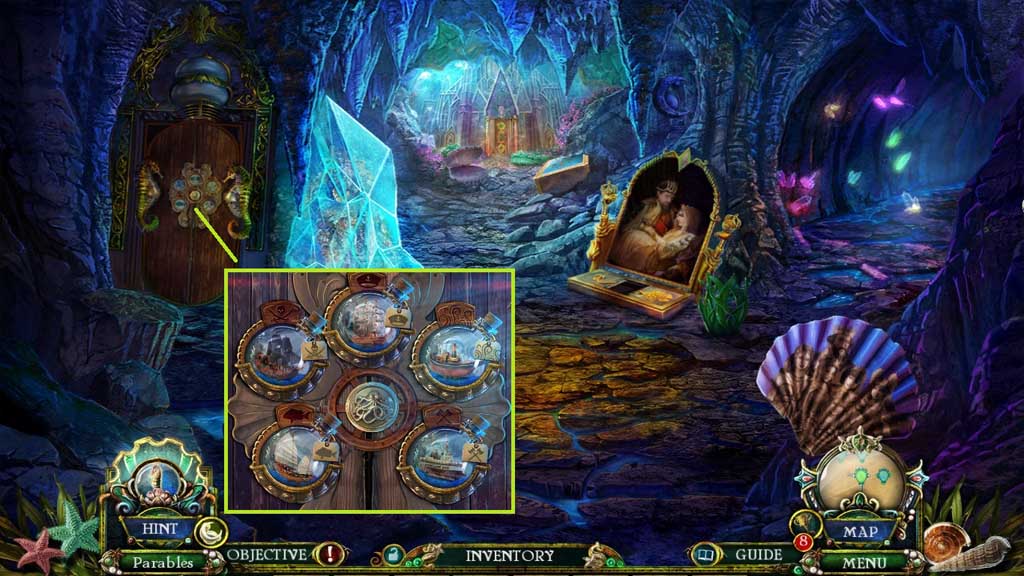
- Place the Captain’s ship, pirate ship, and steamship, sampan and battleship bottles.
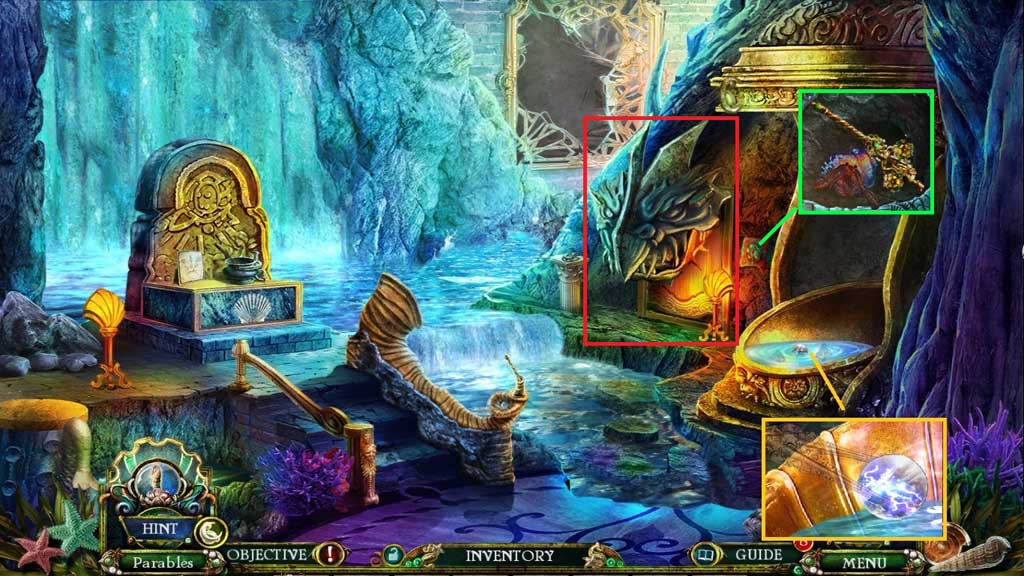
- Move into the Forgotten Cave.
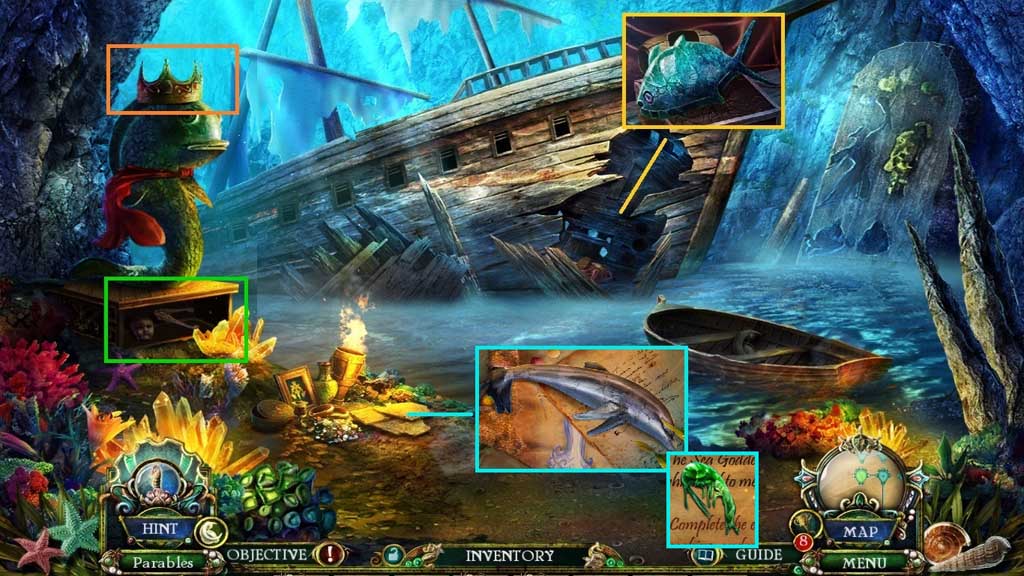
- Collect the mackerel coin.
- Place the fish crown; collect the wooden doll head and the tongs.
- Click the 2 papers; collect the dolphin.
- Click the paper and collect the shrimp coin.
- Move to the Palace Entrance.
- Insert the bass, shark, mackerel and shrimp coins.
- Collect the wooden doll right arm.
- Move to the Forgotten Cave.
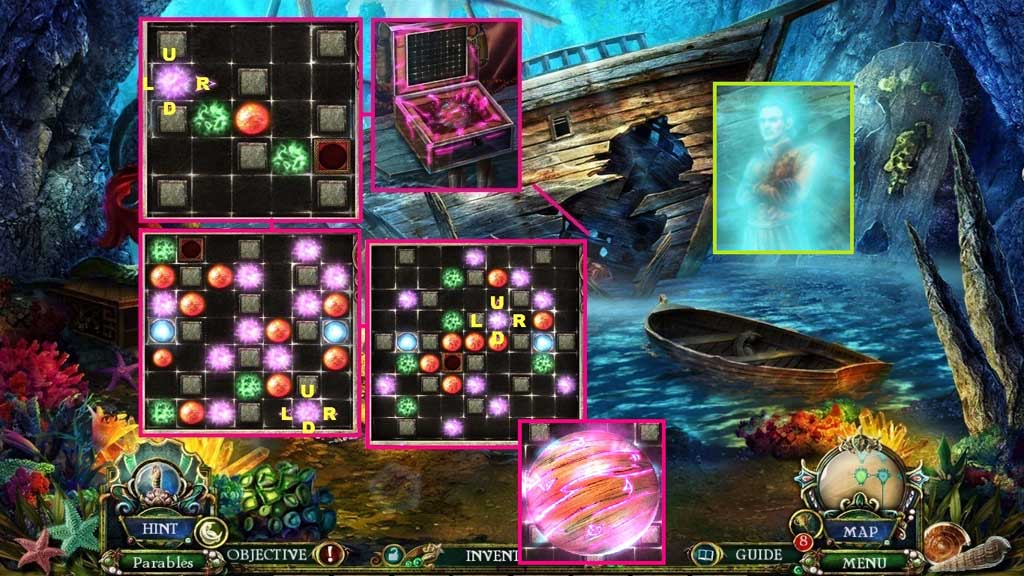
- Attach the wooden doll right and left arms, head and wooden orb to trigger a mini game.
- Solve the game by collecting the glowing spheres on the way to the marked box.
- Use the following solution to solve:
- A: R –D – R x 2 – D – R
- B: L – U – L x 2 – D – U x 3 – R x 2 – U – R x 2 – U – D x 2 – U x 3 – R
- C: R x 2 – U x 2 – L x 2 – U – L x 2 – D x 5
- Collect the charged wooden orb.
- Speak to the ghost.
- Move to the Balcony.
- Give Pinocchio the charged wooden orb.
- Speak to Pinocchio.
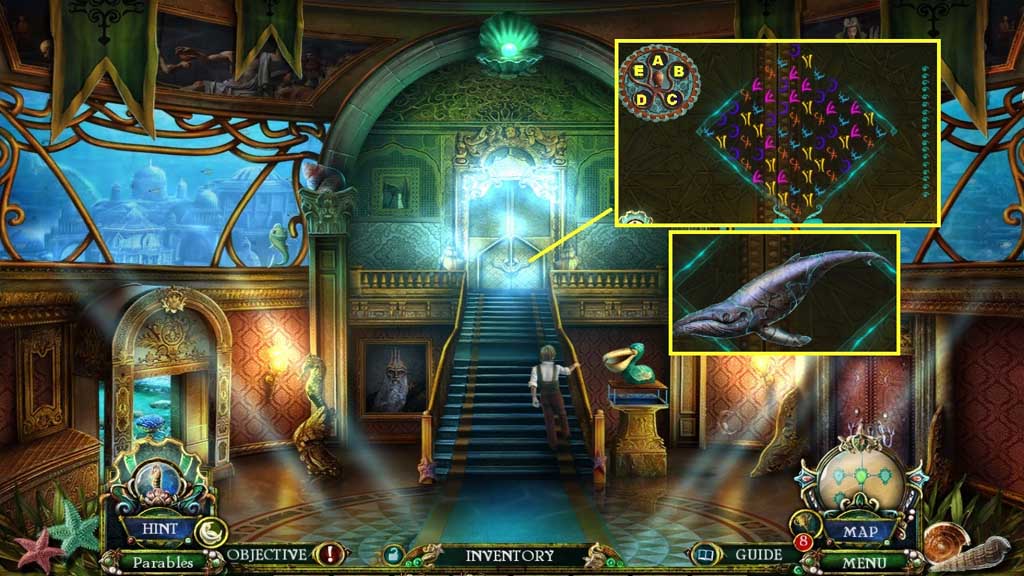
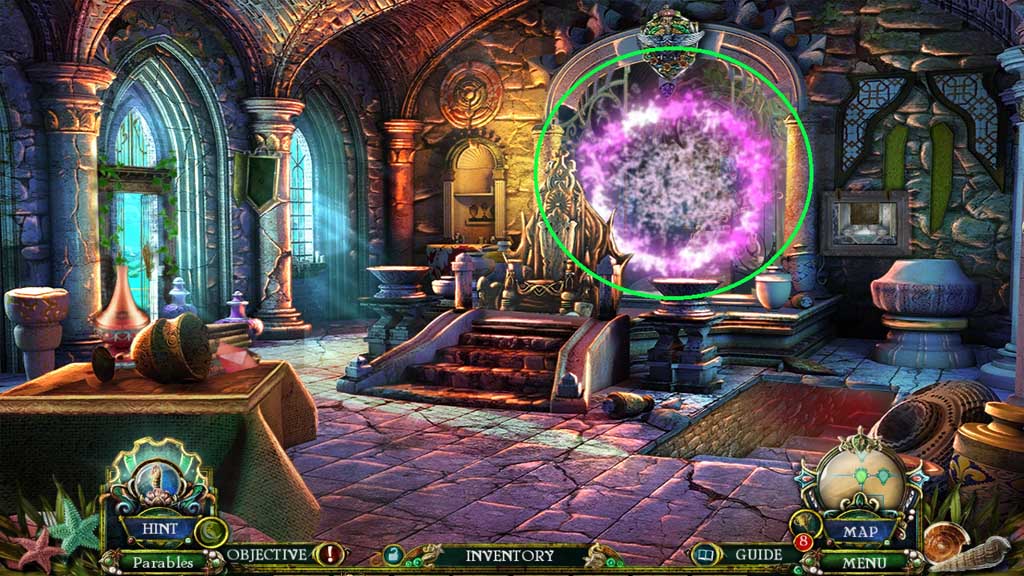
- Zoom into the door to trigger a mini game.
- Solve the game by clicking the symbols so that they are all the same in the end.
- Use the following sequence to solve:
- 1: E – B – E – A – C – B – D – A – E – C – D – B – E –A – C
- 2: D – B – C – E –B – A – C – E –B – A –D – C – E
- 3: E – A – C – D – B – A – C – D – E – B
- Collect the whale.
- Move to the Throne Room.
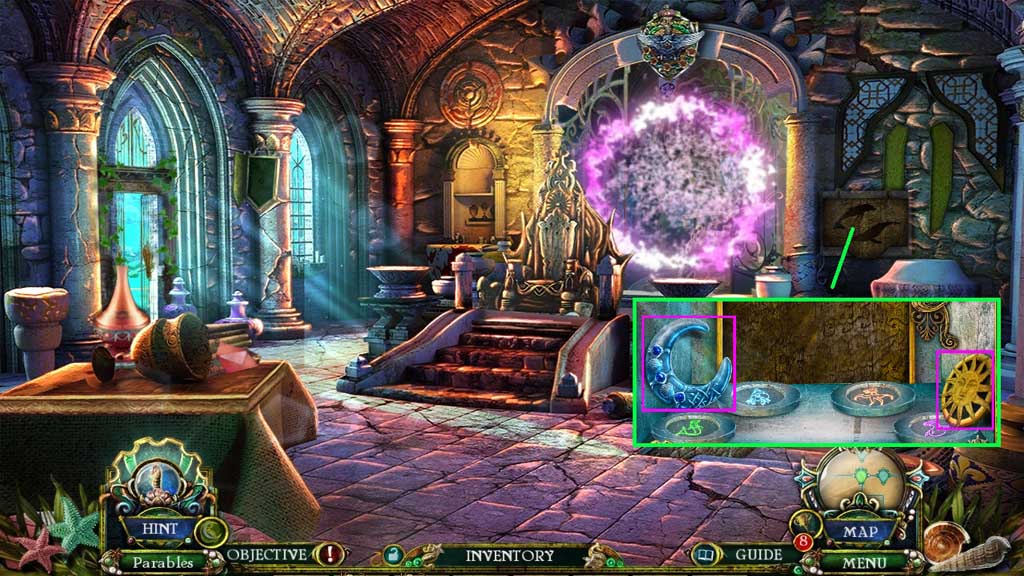
- Place the dolphin and the whale.
- Collect the day medallion and the silver crescent.
- Move to the Greenhouse.
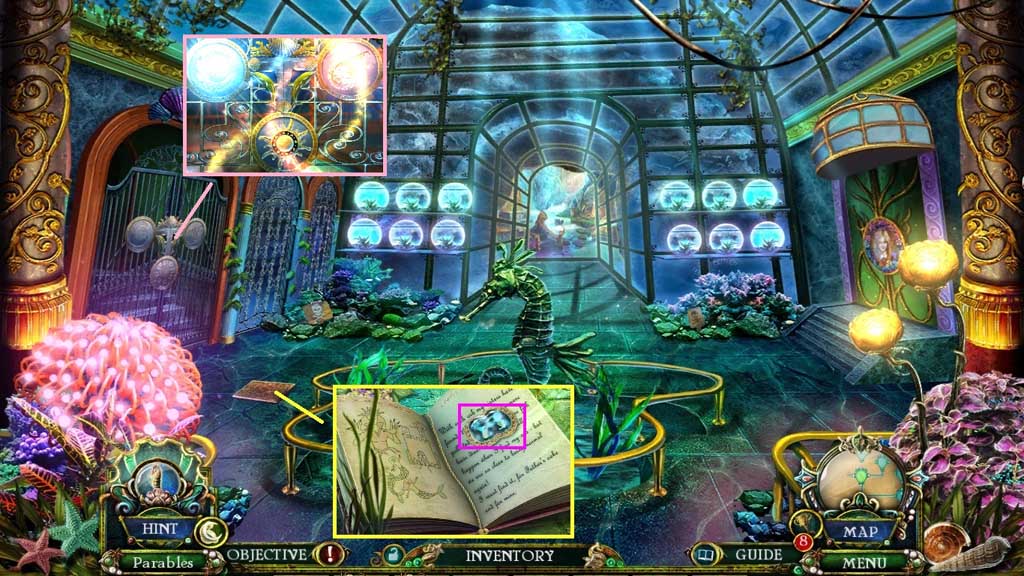
- Click the book; collect the blue crystal.
- Insert the silver crescent, the golden sun and the bronze comet.
- Move into the Viewing Room.
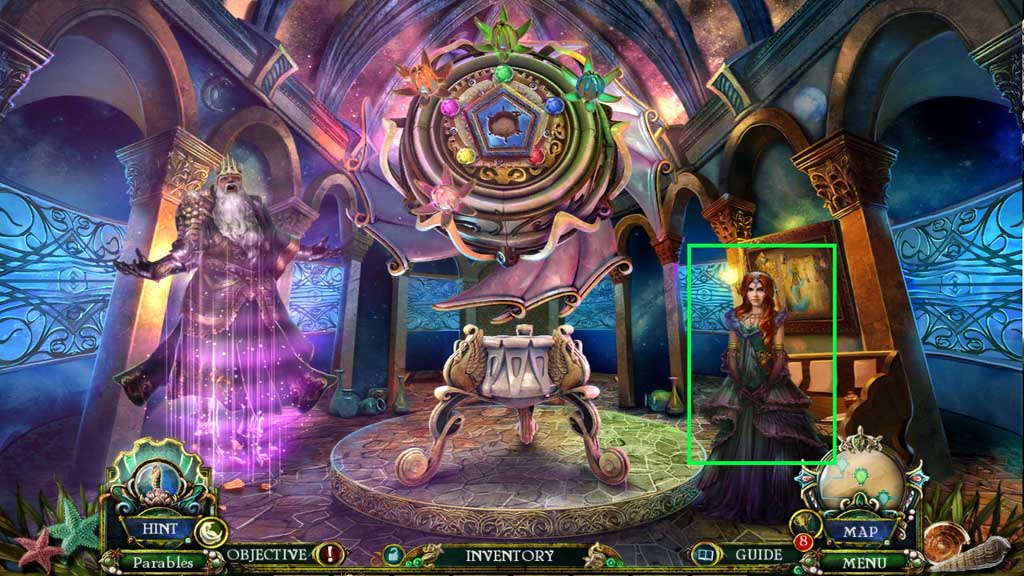
- Speak to the princess.
- Collect the metal tile and fish food.
- Collect the yellow crystal.
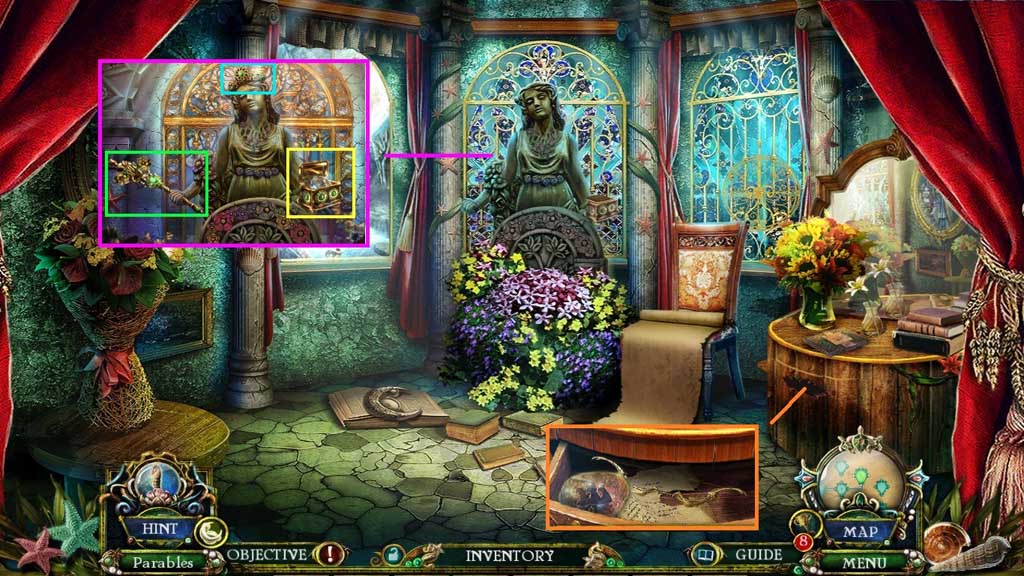
- Insert the blue and yellow crystals into the wooden box; collect the trident and the coral key.
- Place the trident; collect the snow insignia and the goddess doll.
- Move to the Waterfall.
- Pour the fish food into the water; select the tongs to collect the storm insignia.
- Insert the coral key and click it once; collect the floral baton and the hermit crab figurine to trigger a hidden objects area.
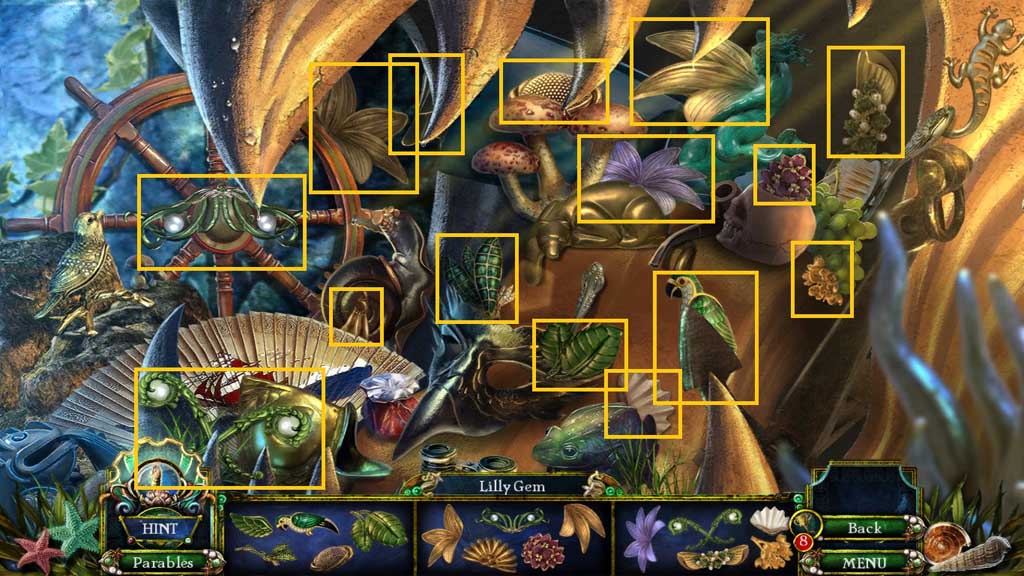
- Find the items.
- Collect the lily gem.
- Move to Princess Daphne’s Room.
- Place the floral crown and floral baton.
- Collect the thunder insignia.
- Insert the lily gem; collect the tsunami insignia and the golden bow.
- Move to the Viewing Room.
- Insert the snow, storm, thunder and tsunami insignias to trigger a mini game.
- Solve the game by moving the pieces to the matching spaces.
- Speak to the princess; collect the staff globe.
- Move to the Throne Room.
- Place the staff globe into the barrier.
- Speak to the princess; collect the fire pendent.
- Move to the Strategy Room and click the hidden objects area.
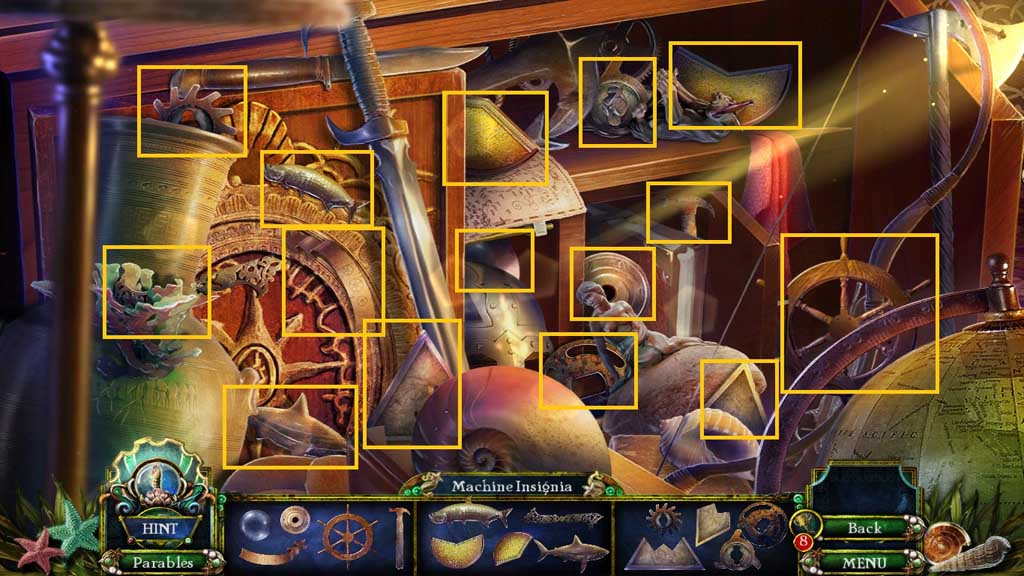
- Find the items.
- Collect the machine insignia.
- Insert the metal tile and click it once.
- Collect the wooden doll head.
- Insert the fire pendent.
- Move into Princess Theresa’s Room.