
Dark Parables: The Little Mermaid and the Purple Tide: Chapter Four: Access the Strategy Room
Our Dark Parables: The Little Mermaid and the Purple Tide Walkthrough will be an incredible asset as you begin your investigation along the shores of Crete where a strange purple tide has appeared and a devastating Tsunami has exposed a mythical underwater city. When you're at a loss for your next step, you'll be relieved to know you can always turn to our step-by-step game instructions, custom marked screenshots, and our simple puzzle solutions featured in our Dark Parables Walkthrough.
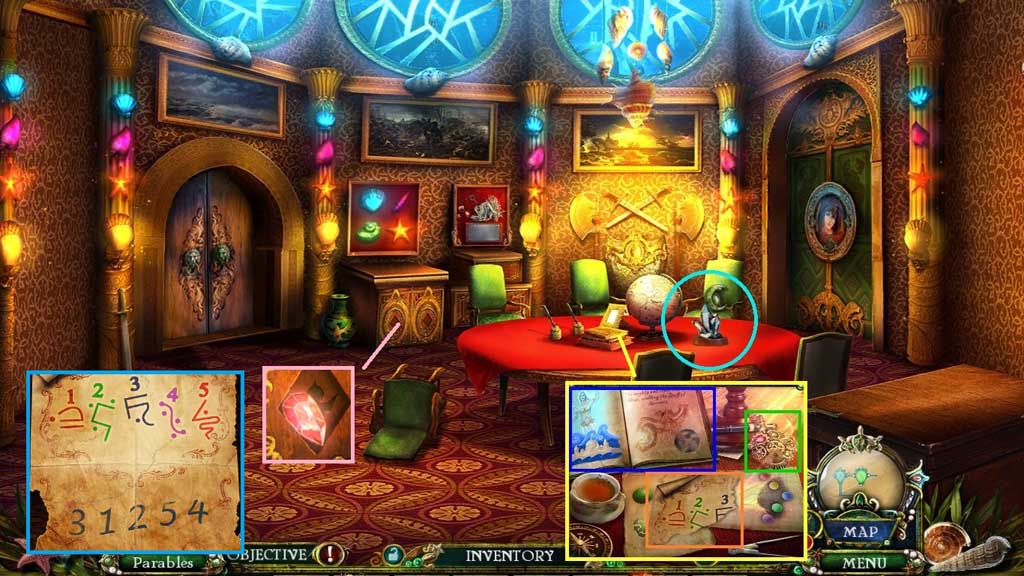
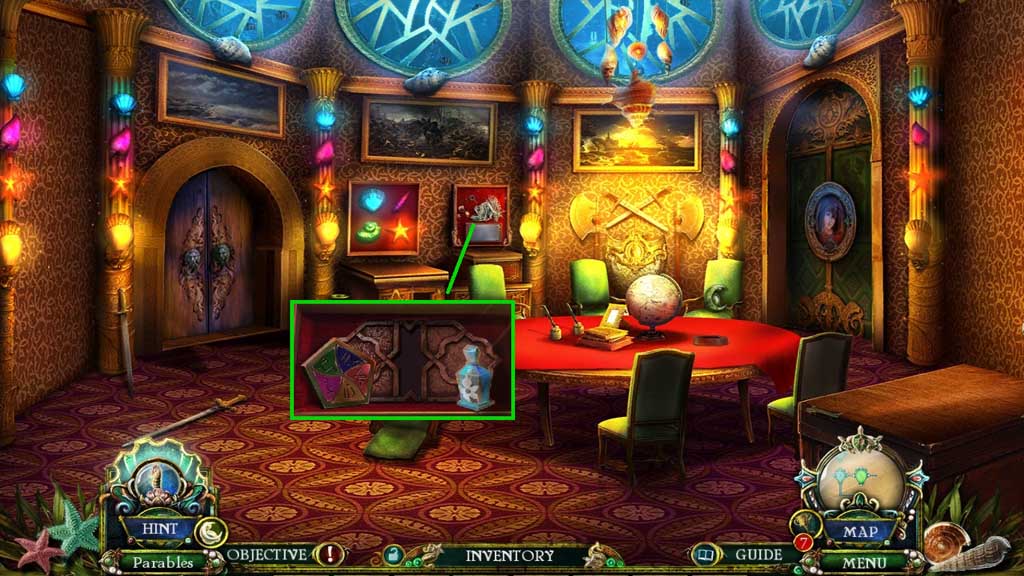
- Collect the blueprint piece and the machine key.
- Examine the book.
- Collect the mural piece and the left eye gem.
- Attach the 3 blueprint pieces onto the blueprint piece.
- Collect the machine blueprint.
- Move down once.
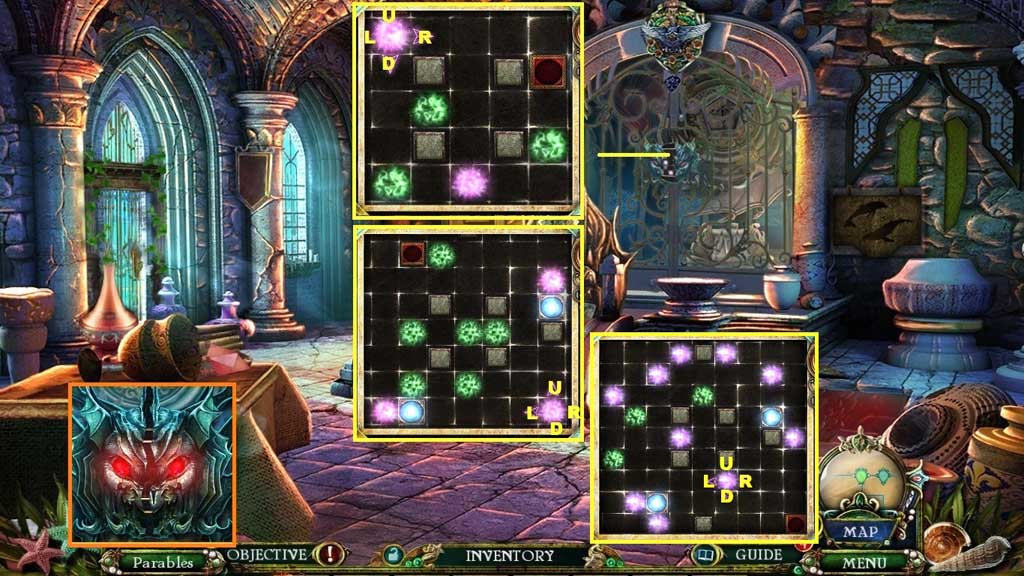
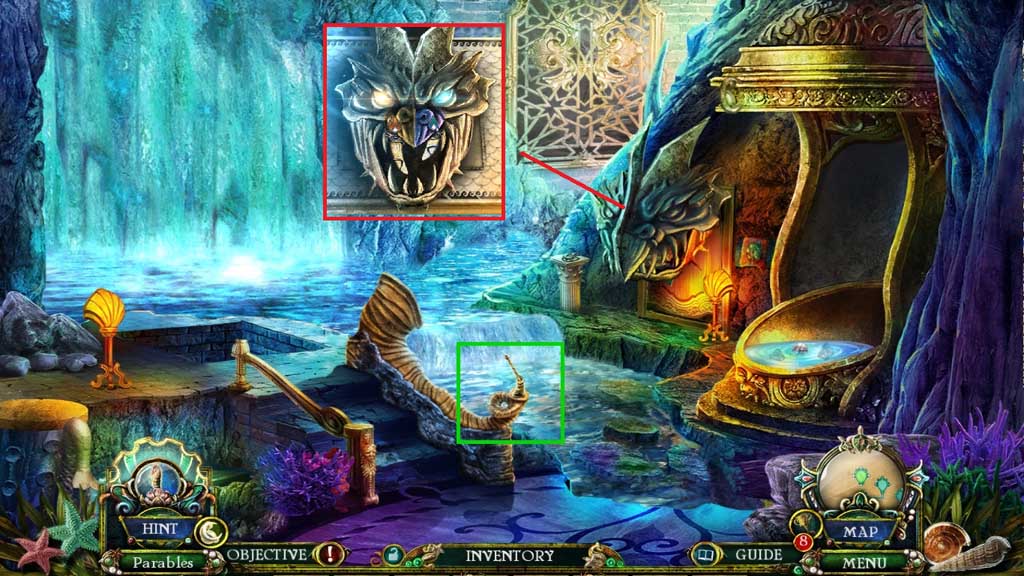
- Insert the right and left eye gems into the gargoyle head; place it into the gate to trigger a mini game.
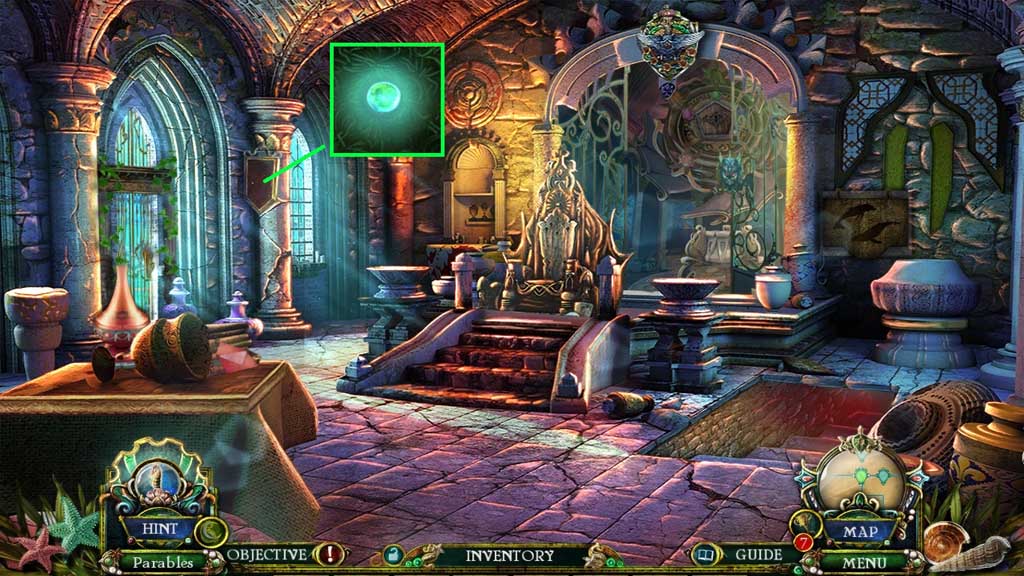
- Solve the game by collecting the glowing spheres on the way to the marked space.
- Use the following sequence to solve:
- A: D x 2 – R – L – D x 2 – R x 4 – U x 3
- B: L x 3 – U – L x 3 – D – R – U – L – D x 2 – L x 4 – U x 3
- C: L – U x 2 – L x 3 – U – L – U – R x 2 – U – R – U – D – R – D – R – U x 2 – R x 2 – D x 3 – D – L – U – R – R – D x 5
- Move ahead into the Mural Room.
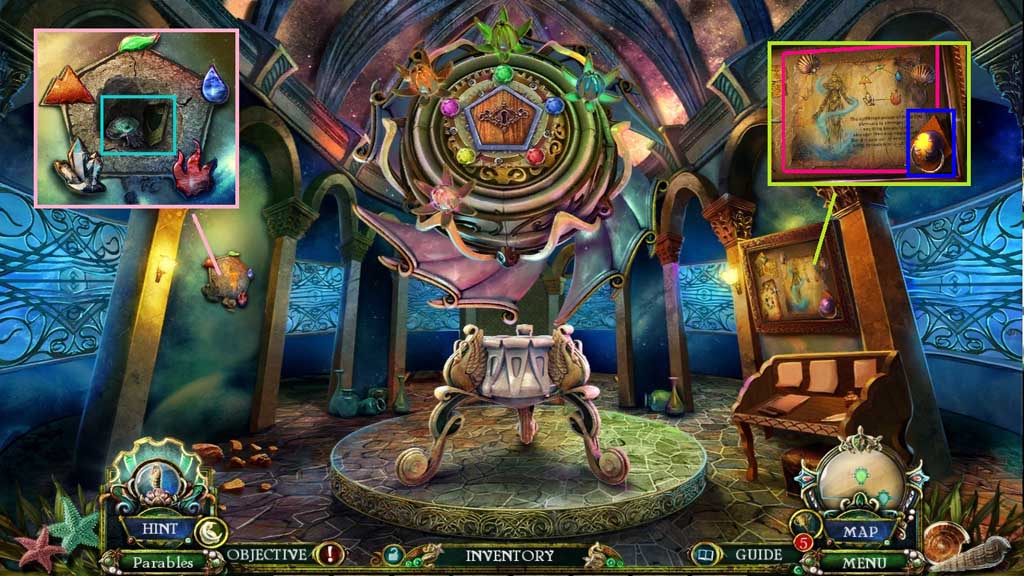
- Attach the mural piece.
- Collect the quartz jellyfish and the castle crest.
- Collect the amethyst handle.
- Examine the note.
- Move to the Strategy Room.
- Attach the Jasper and amethyst handles to trigger a hidden objects area.
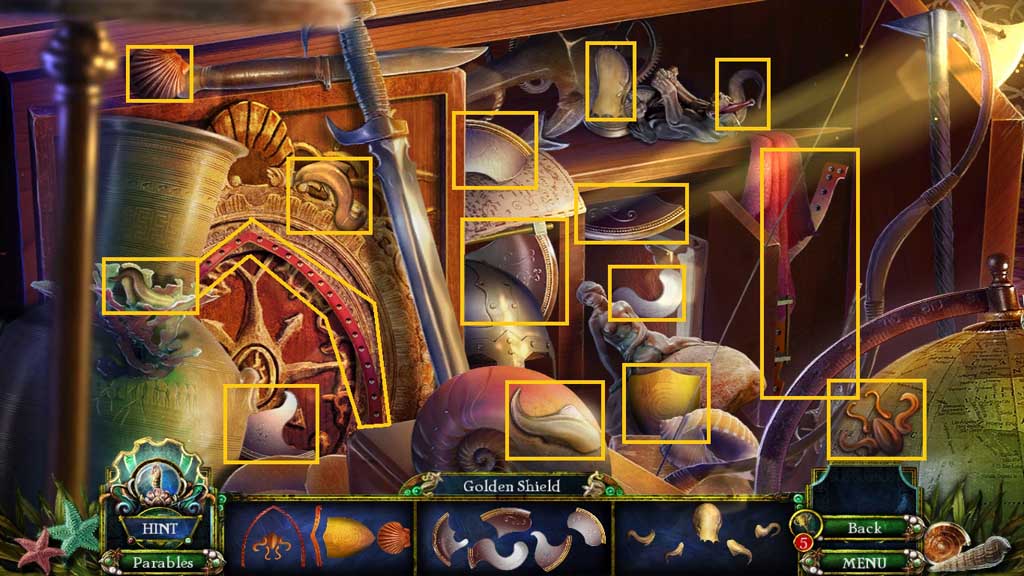
- Find the items.
- Collect the golden shield.
- Move down once.
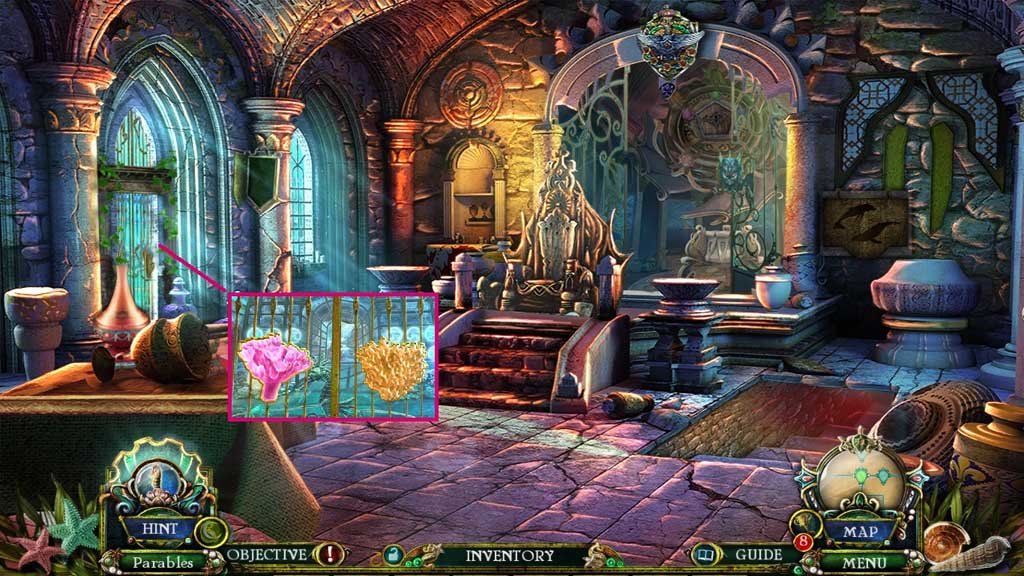
- Place the castle crest and the golden shield.
- Collect the luminescent orb.
- Move to the Strategy Room.
- Place the luminescent orb.
- Collect the mysterious controller and the small empty vial.
- Move to the Machine Room.
- Insert the machine key.
- Place down the machine blueprint and the mysterious controller to trigger a mini game.
- Solve the game by clicking the segments in ABC order.
- Click the middle to trigger another mini game.
- Solve the game by arranging the balls correctly.
- Click the middle; collect the coral fossil.
- Examine the controller; collect the king doll.
- Move down once.
- Insert the sea anemone and coral fossils.
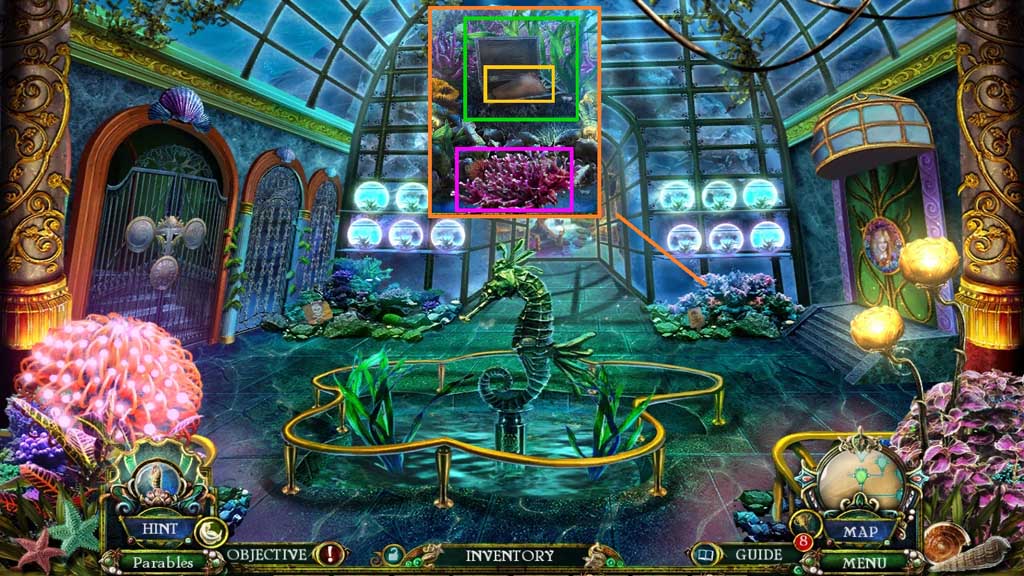
- Move into the Greenhouse.
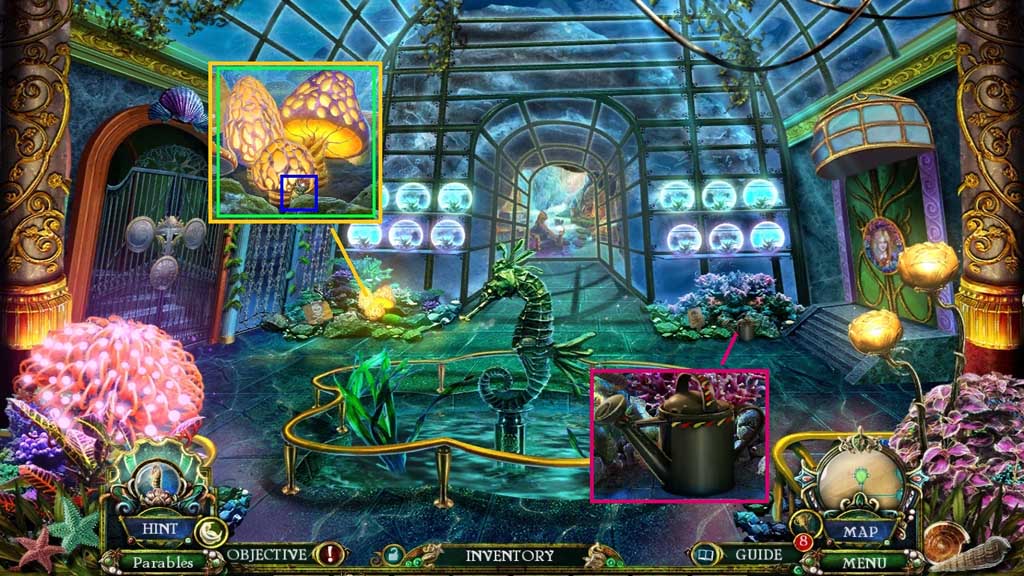
- Collect the eel’s long tooth and the toadstool.
- Collect the can of water.
- Move ahead.
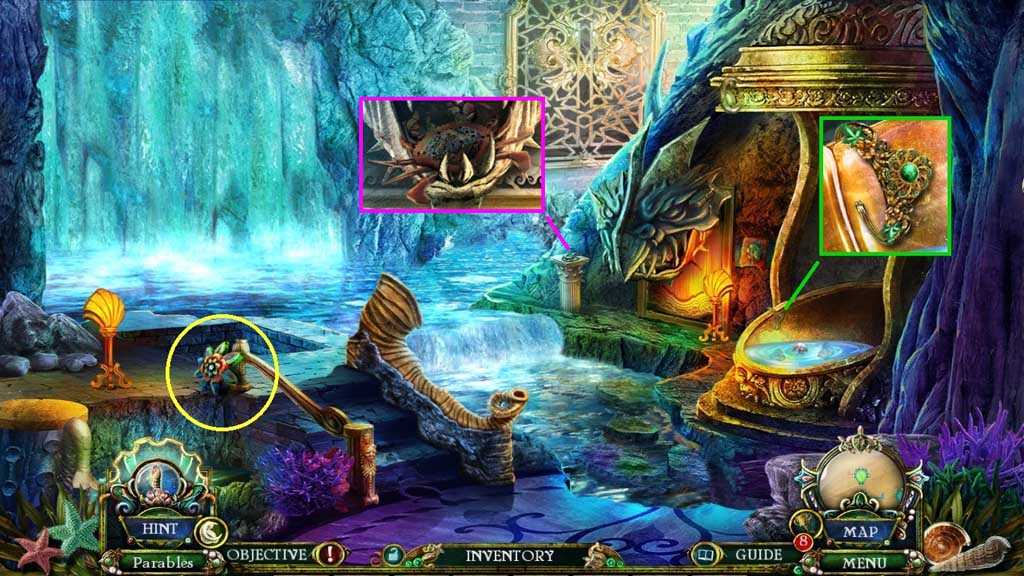
- Collect the floral crown, the crab emblem and the earth pendant.
- Move down once.
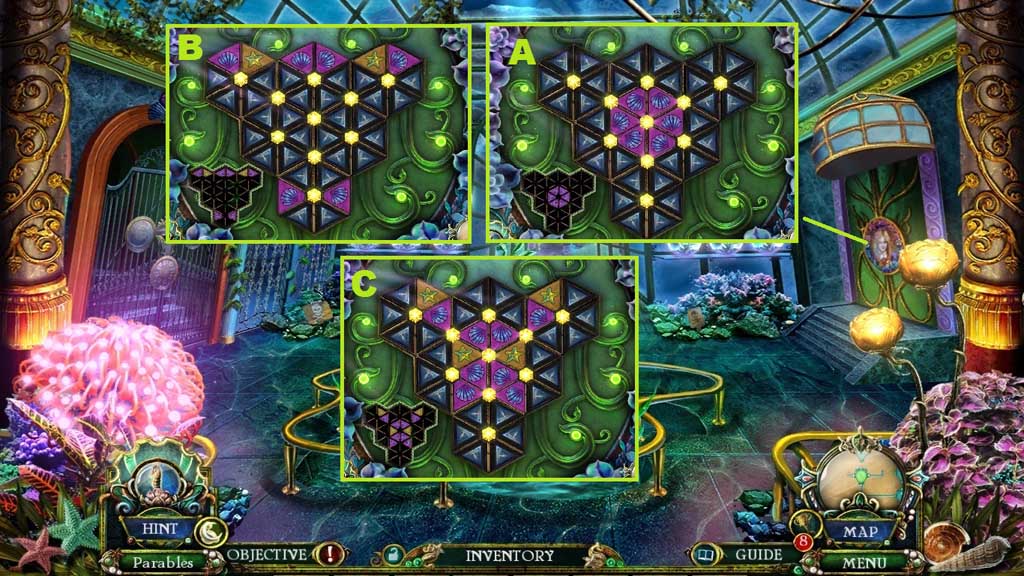
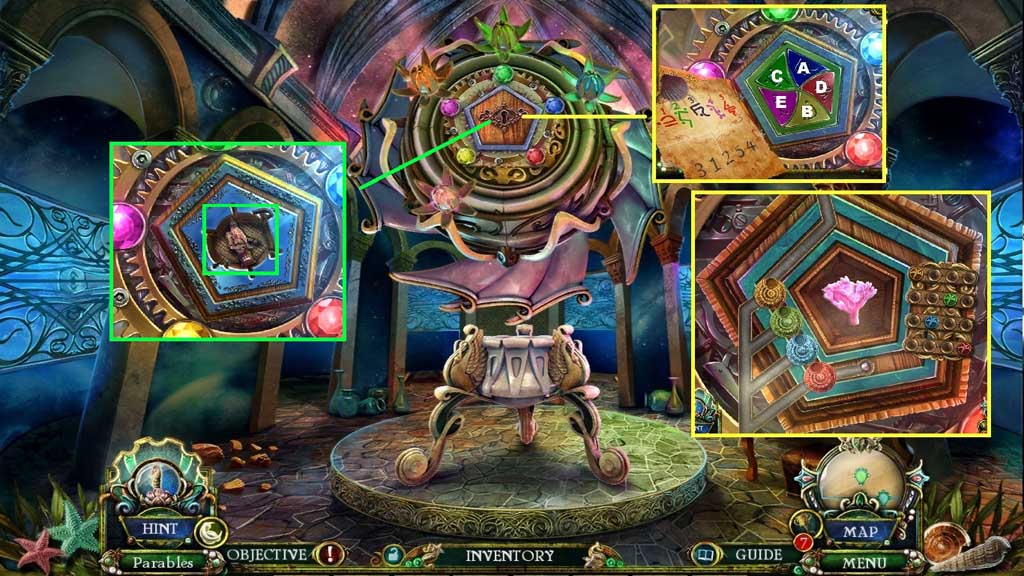
- Place the earth pendant and click the center to trigger a mini game.
- Solve the game by aligning the hexagons to match the diagram.
- Move into Princess Daphne’s Room.
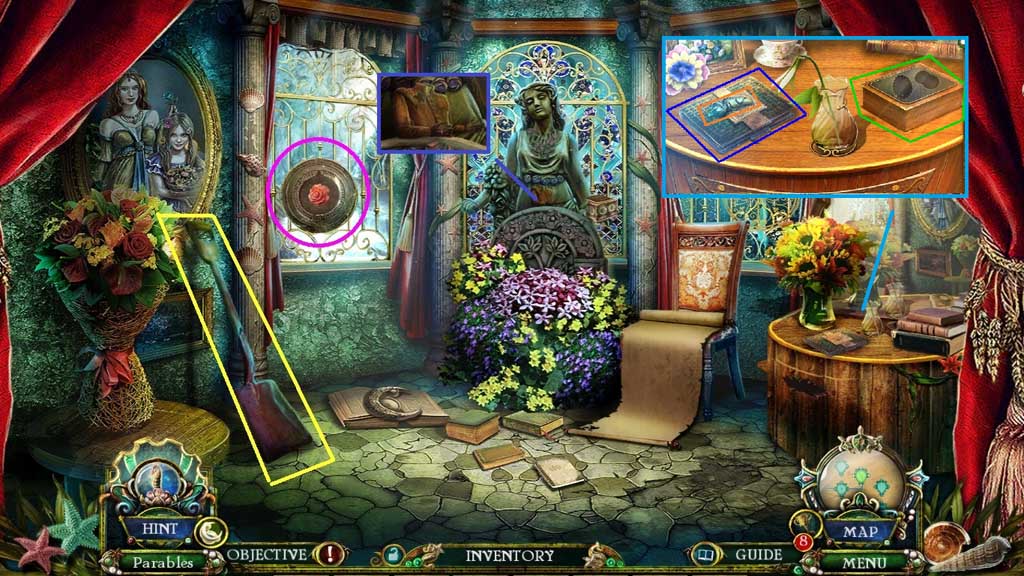
- Collect the garden shovel.
- Collect the rose token and the wooden doll body.
- Collect the eel’s short tooth and the wooden box.
- Click the book.
- Move down once.
- Select the garden shovel 3x’s to uncover and collect the purple coral.
- Click the box; collect the golden sun and the horn mouthpiece.
- Move ahead.
- Place the horn mouthpiece.
- Insert the long and short eel teeth to trigger a hidden objects area.
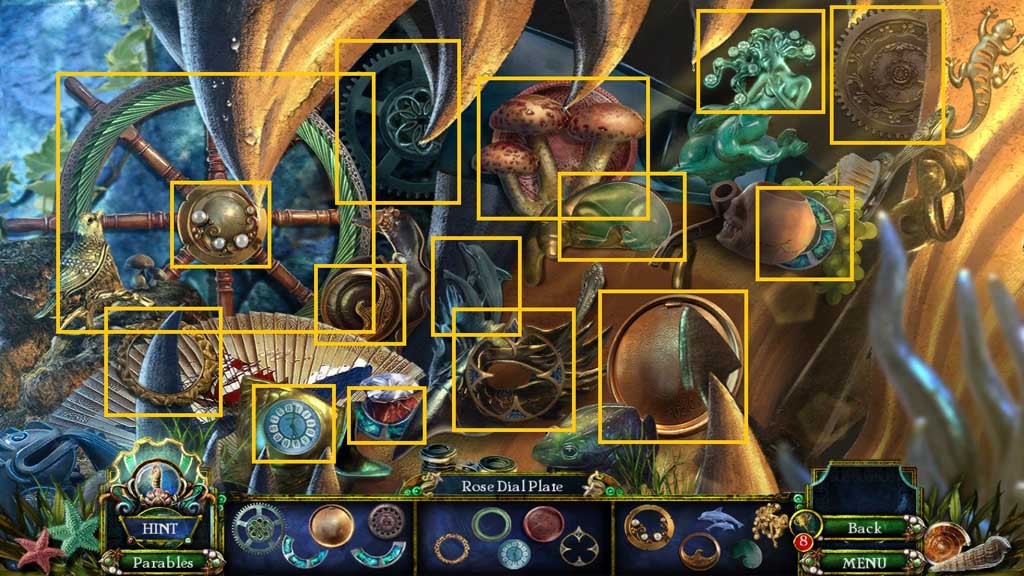
- Find the items.
- Collect the dial plate.
- Move to Princess Daphne’s Room.
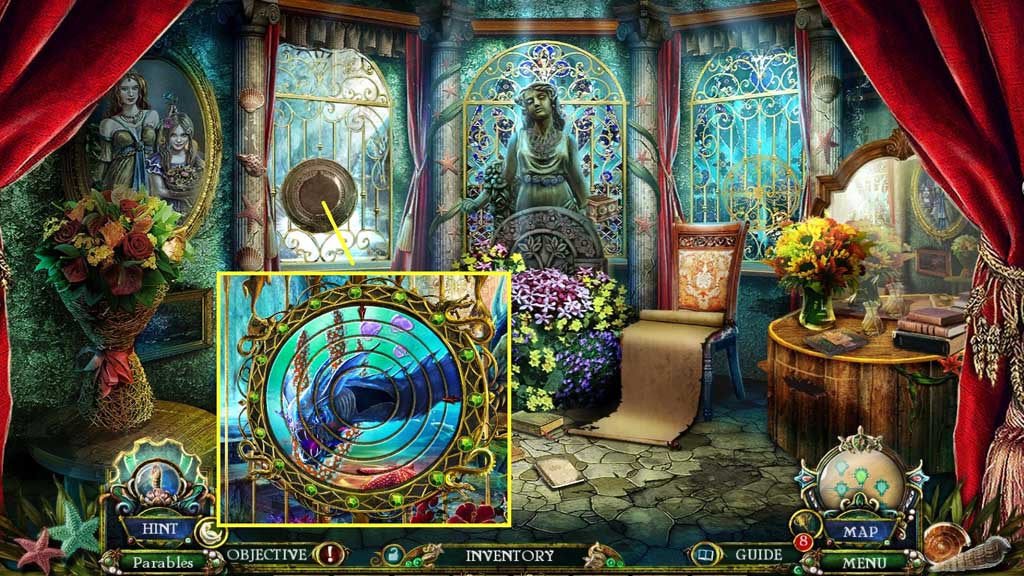
- Place the rose dial plate to trigger a mini game.
- Solve the game by adjusting the discs to complete the image.
- Move to the Waterfall.
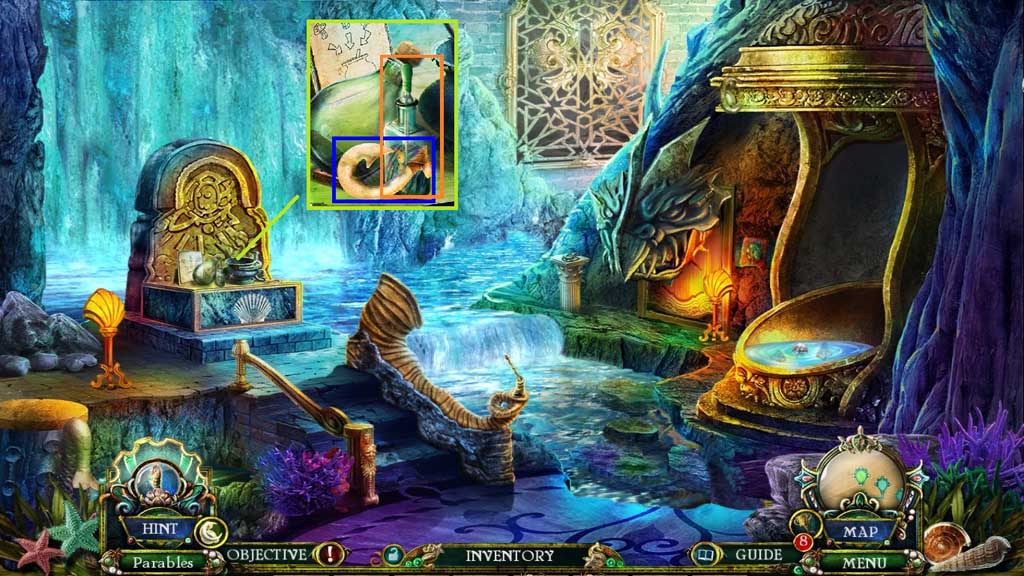
- Collect the metal hook and the plant revival solution.
- Move to Princess Daphne’s Room.

- Place down the plant revival solution and pour the can of water into the vase.
- Place down the small empty vial; collect the small full vial.
- Move to the Waterfall.
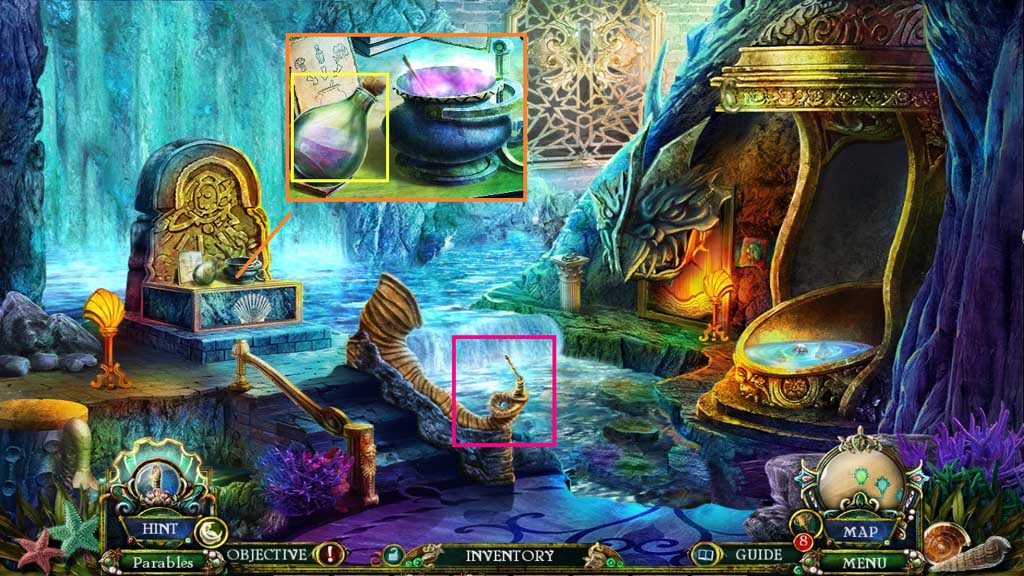
- Place the toadstool, the purple coral and the small full vial into the cauldron.
- Collect the eel poison.
- Click the horn and use the eel poison.

- Speak to Pinocchio.
- Click the hidden objects area.

- Find the items.
- Collect the pharmacy key.
- Move down once.
- Insert the pharmacy key and click it once.
- Enter the doorway.
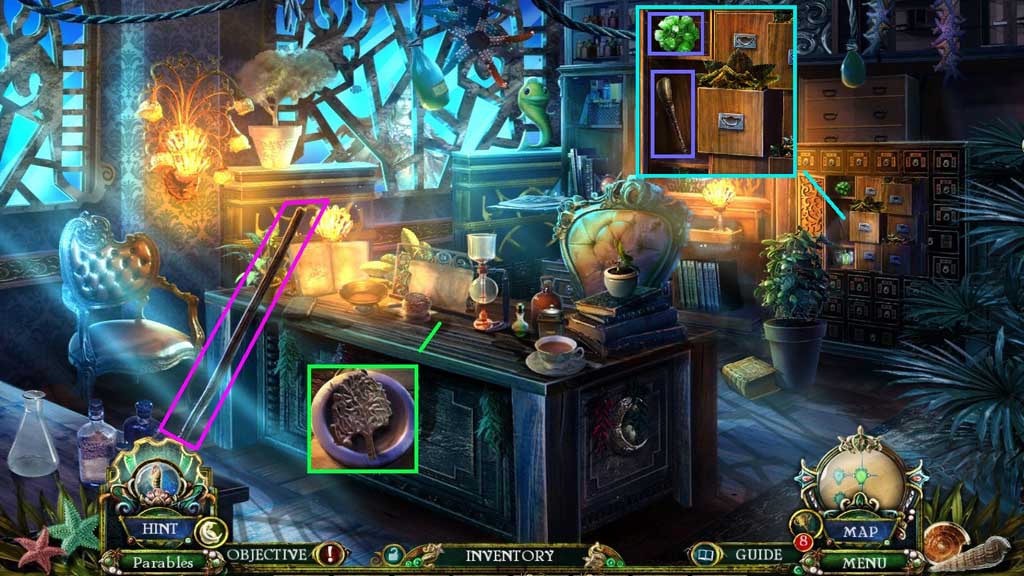
- Collect the tree ornament and the wooden shaft.
- Collect the ivy token and the paintbrush.
- Create and collect the long hook by combining the metal hook and rope onto the wooden shaft.
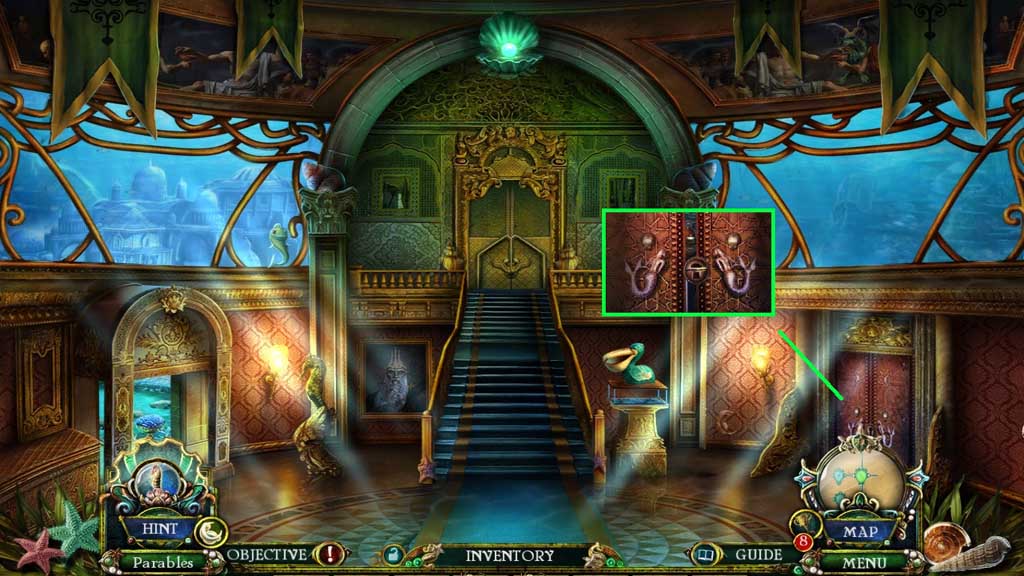
- Move to the Hallway.
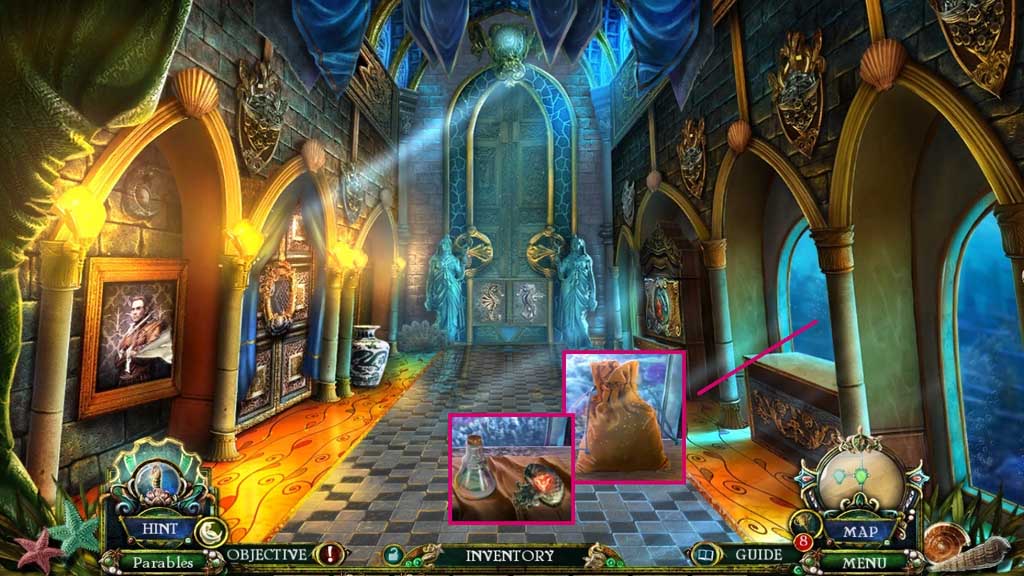
- Select the long hook to collect the pouch.
- Click the pouch; collect the magic ink and the citrine jellyfish.
- Move to the Balcony.
- Place the tree ornament.
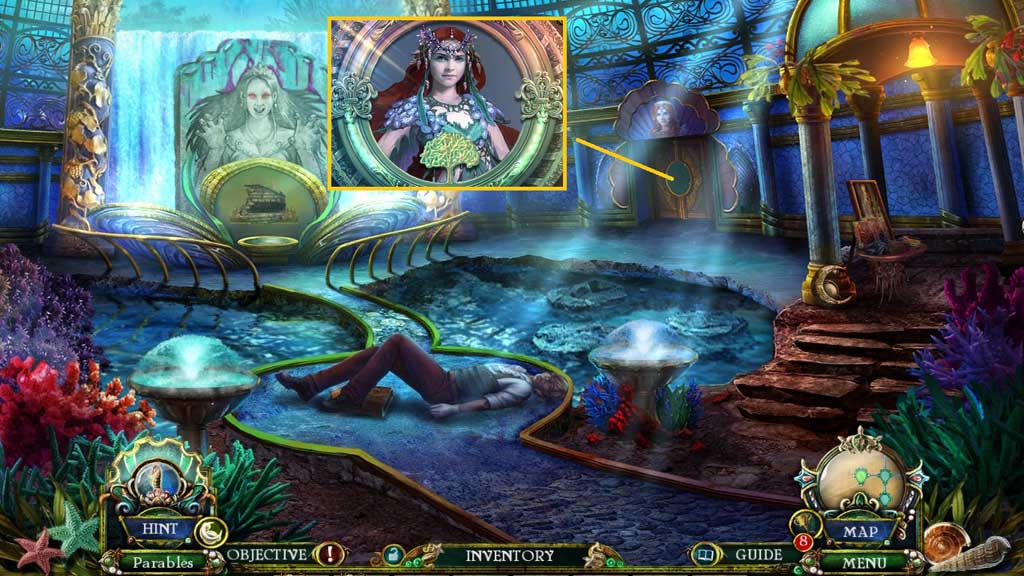
- Move to Princess Althea’s Room.