
Dark Parables: The Little Mermaid and the Purple Tide: Chapter Two: Inside the Royal Tomb
Our Dark Parables: The Little Mermaid and the Purple Tide Walkthrough will be an incredible asset as you begin your investigation along the shores of Crete where a strange purple tide has appeared and a devastating Tsunami has exposed a mythical underwater city. When you're at a loss for your next step, you'll be relieved to know you can always turn to our step-by-step game instructions, custom marked screenshots, and our simple puzzle solutions featured in our Dark Parables Walkthrough.
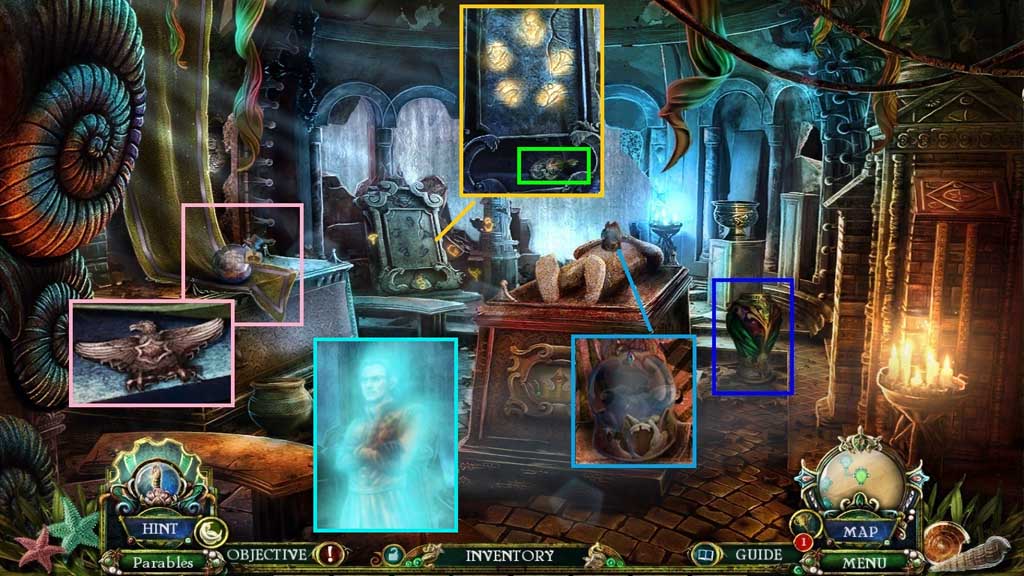
- Collect the captain ship bottle.
- Click the cloth; collect the palace emblem piece.
- Collect the twigged vase and the sea soul globe.
- Click the 5 symbols; collect the key part.
- Speak to the ghost.
- Move down 2x’s to the Temple Hall.
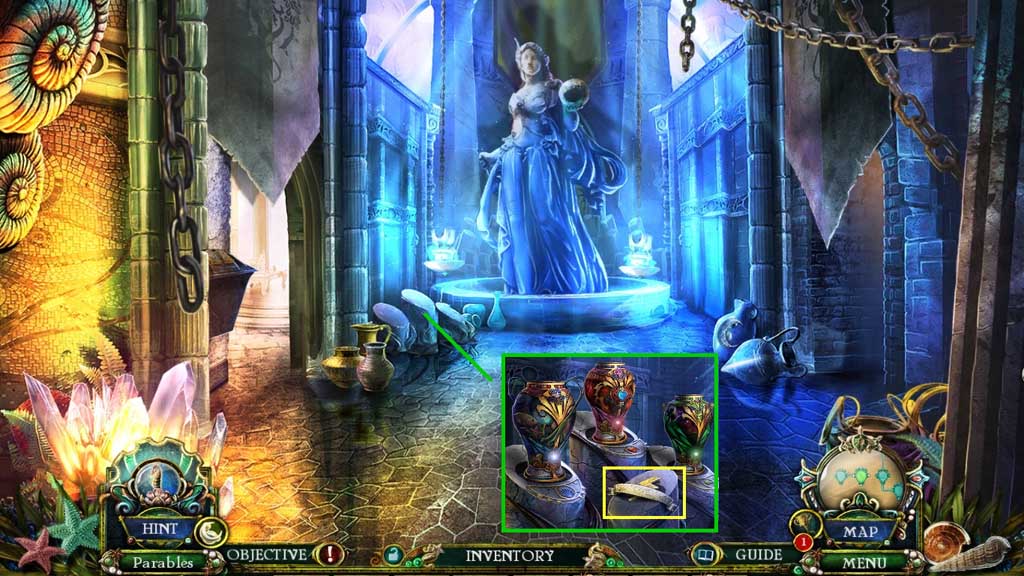
- Place the aquatic, molten and twigged vases.
- Collect the mural banner and the thunderbolt emblem.
- Move to the Library.
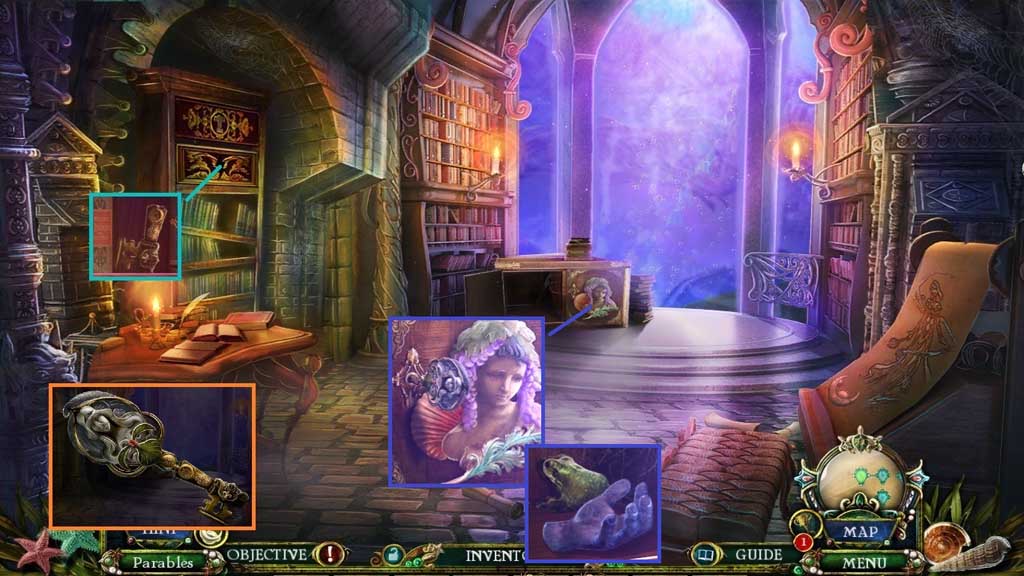
- Insert the thunderbolt emblem; collect the key part.
- Attach the 2 key parts; collect the maiden key and insert it into the lock then click it.
- Collect the marble left hand and the frog figurine.
- Move to the Royal Tomb.
- Attach the marble statue head, marble right and left hands.
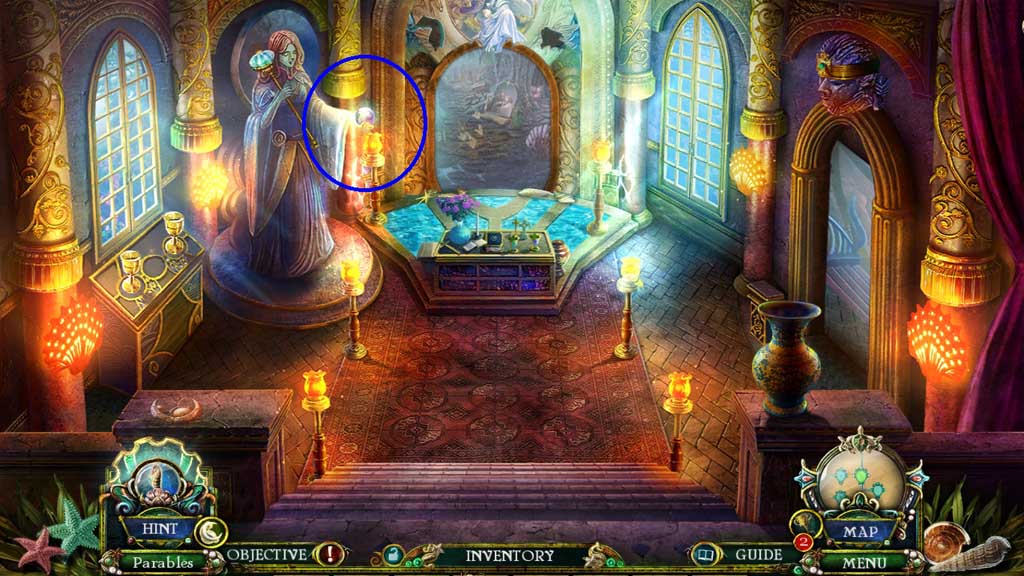
- Collect the king’s scepter.
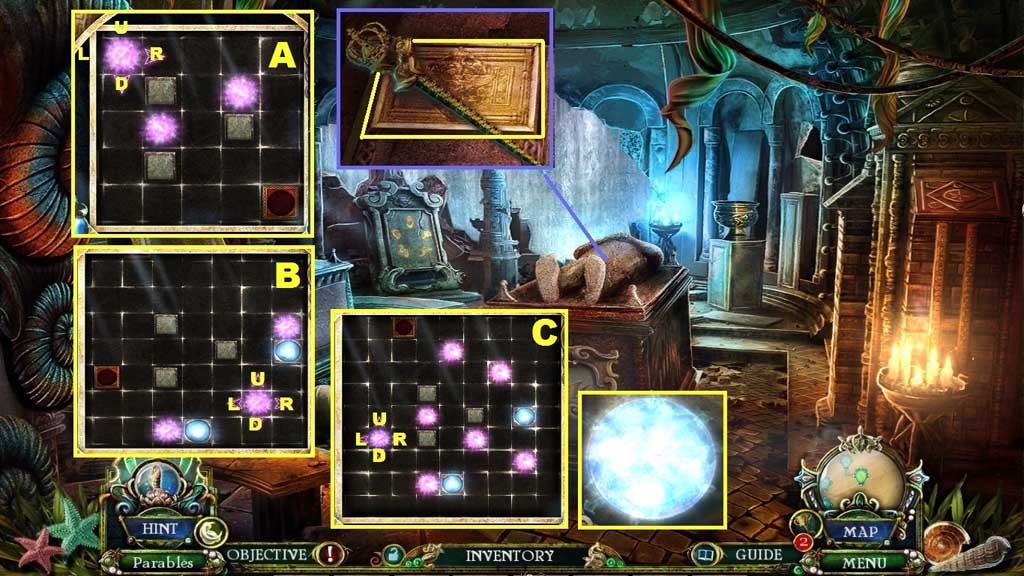
- Click the cover and zoom into the mini game.
- Solve the game by collecting glowing spheres while moving to the marked box.
- Use the following sequence to solve:
- A: D x 2 – R x 2 – U – R x 2 – D x 3
- B: U x 3 – R – D – L x 3 – U x 2
- C: R – U – R x 2 – D – R – D – R x 2 – U x 2 – L – R – U x 2 – L x 3 – U x 2 – L x 2
- Collect the cloudy orb.
- Move down once.
- Place the cloudy orb into the statue’s hand.
- Move ahead.
- Collect the shell mirror.
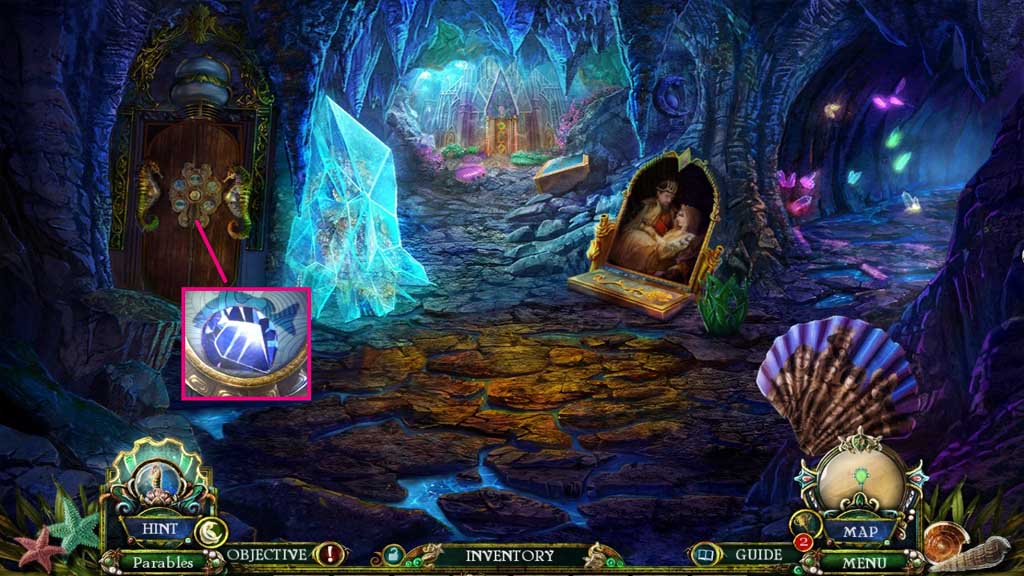
- Move to the right to the Crystal Cave.

- Collect the conch mirror and the crystal pendant.
- Click the hidden objects area.
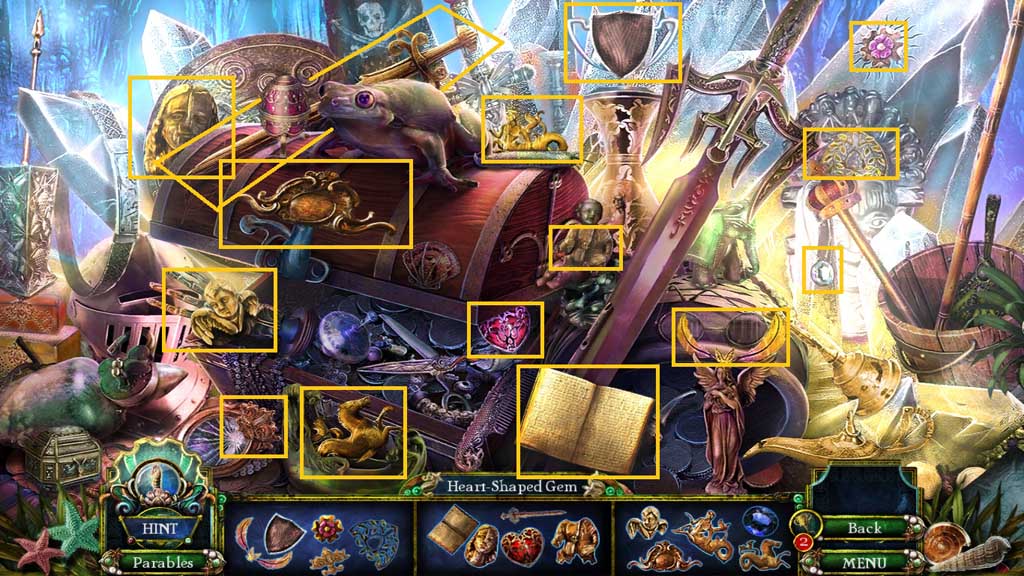
- Find the items.
- Collect the heart shaped gem.
- Move down once and attempt to move ahead.
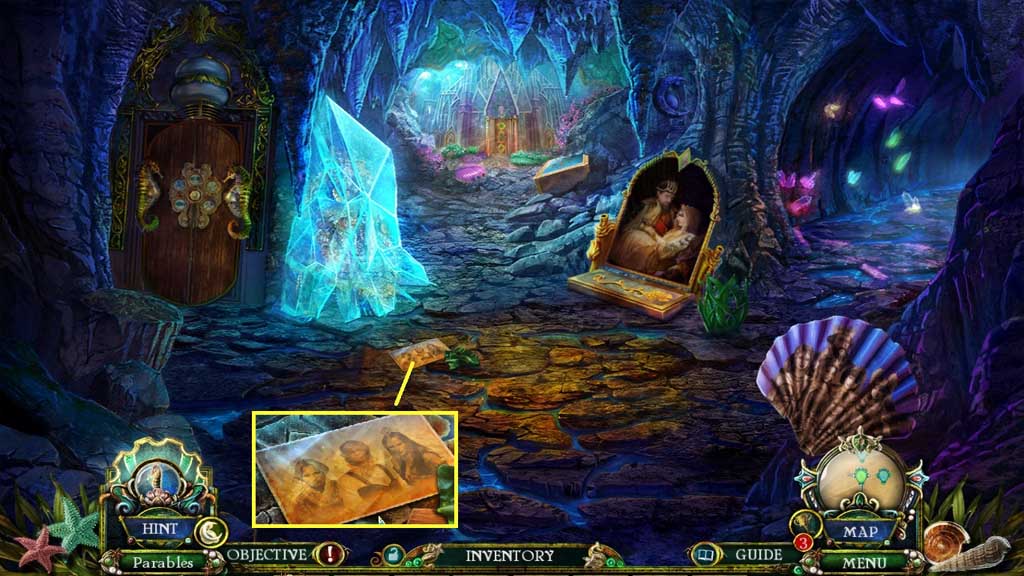
- Examine the photo.
- Move ahead.
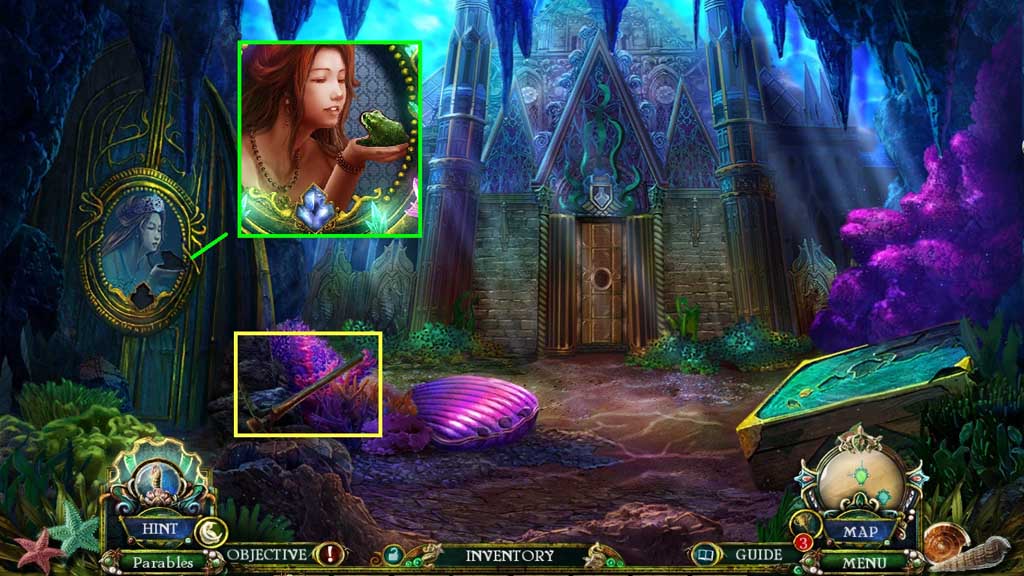
- Collect the pickaxe.
- Place the frog figurine and the crystal pendant.
- Move into Princess Naida’s Room.
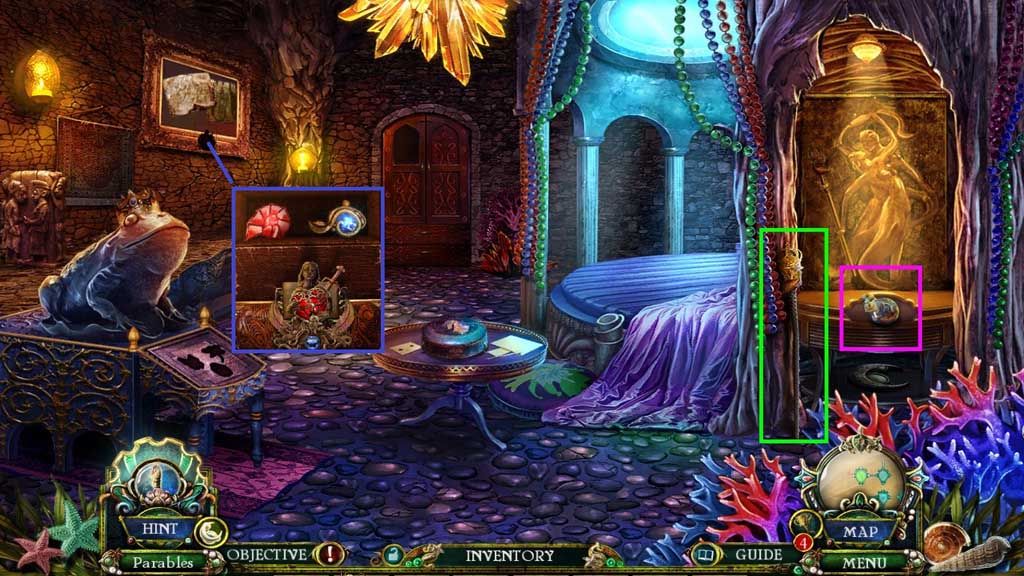
- Collect the pirate ship bottle and the Queen’s scepter.
- Insert the heart shaped gem; collect the nautilus mirror and the sapphire stone.
- Move down once.
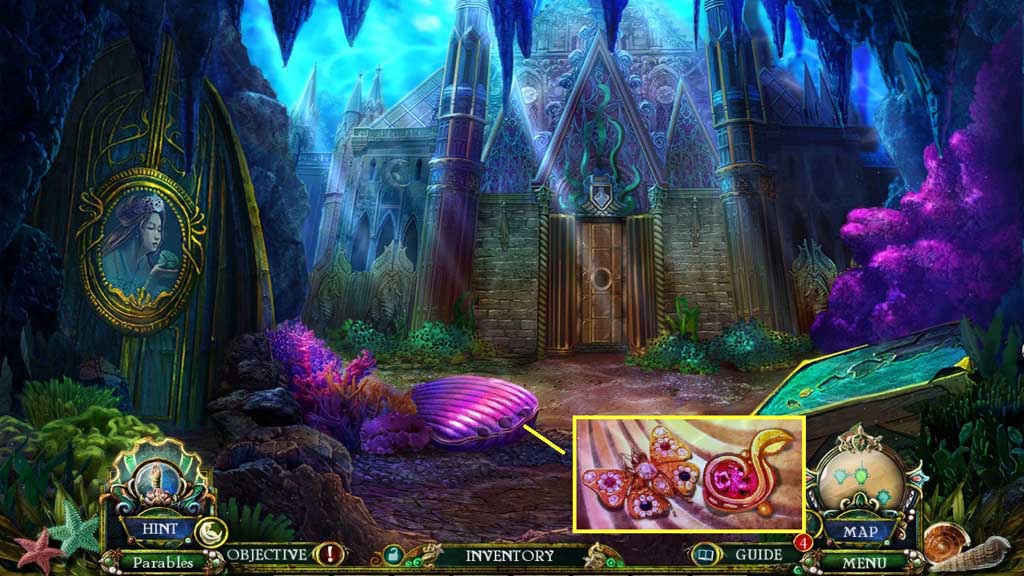
- Place the conch, shell and nautilus mirrors.
- Collect the butterfly token and the ruby stone.
- Move to the Underground Tunnel.
- Place the King and Queen scepters.
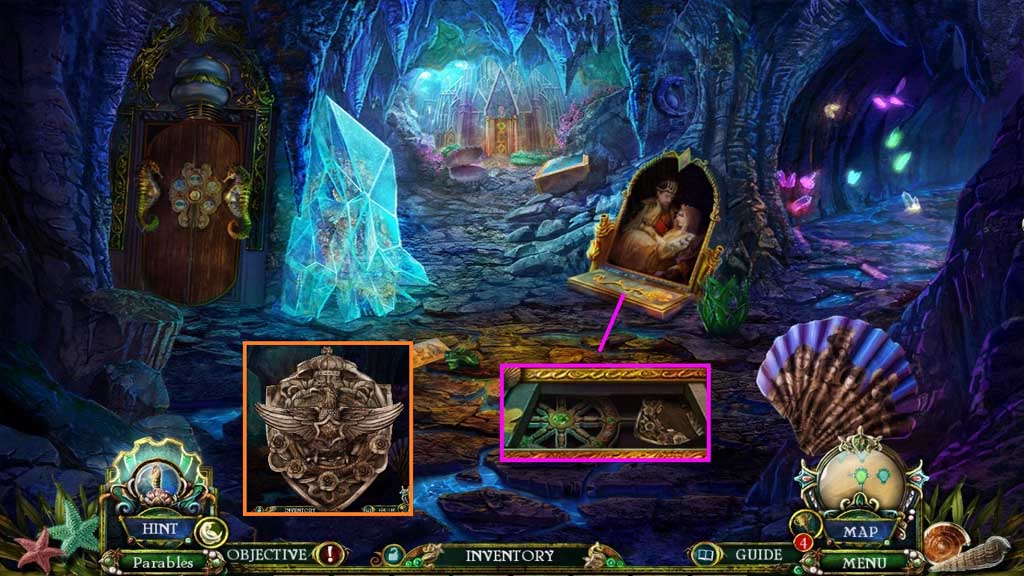
- Collect the broken palace emblems and the toy ship wheel.
- Attach the palace emblem piece and the broken palace emblem piece to create and collect the palace emblem.
- Move to the Crystal Cave.
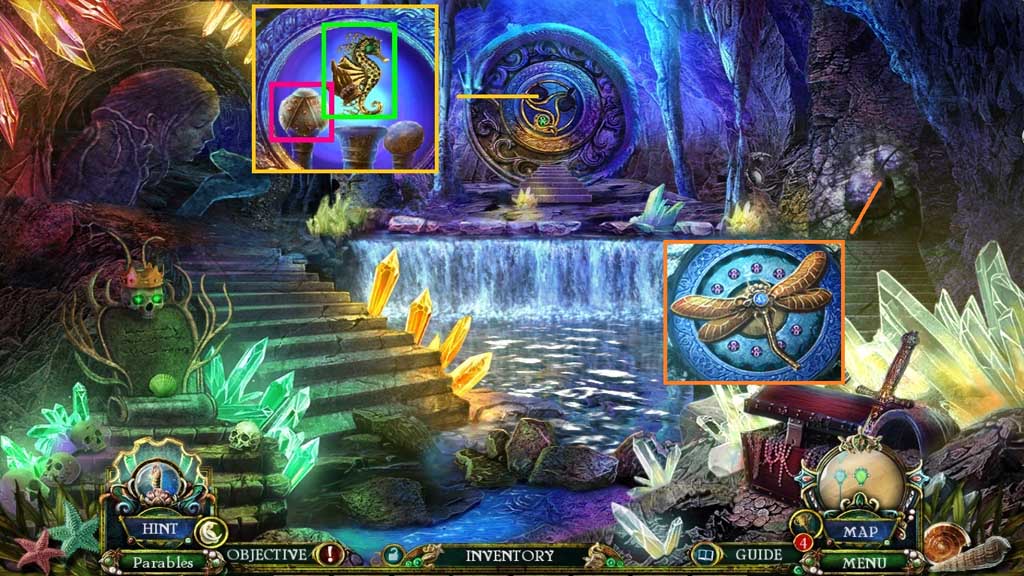
- Insert the ruby and sapphire stones; collect the bronze sea horse and the ladybug token.
- Select the pickaxe to collect the dragonfly token.
- Move to Princess Naida’s Room.
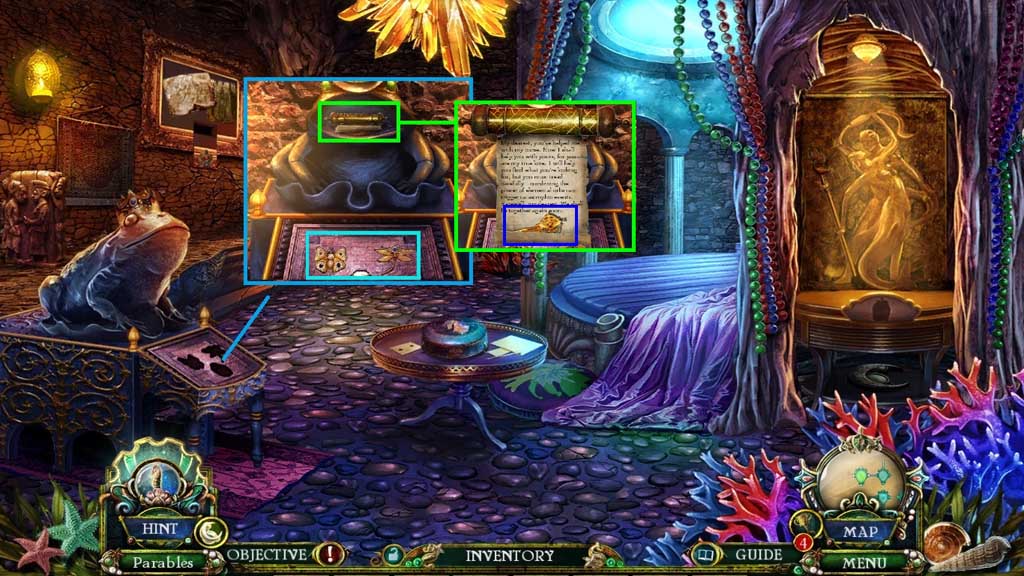
- Insert the butterfly, ladybug and dragonfly tokens.
- Click the scroll; collect the palace key.
- Move down once.

- Insert the palace emblem.
- Insert the palace key and click it once to trigger a mini game.
- Solve the game by placing the pieces into the correct areas.
- Move ahead.