
Spirit of Revenge: Cursed Castle: Chapter One: The Gardens
Our Spirit of Revenge: Cursed Castle Walkthrough will guide you through the grounds of the Flatsbury manor as you discover keys to the mysterious family’s history. Use our comprehensive instructions, detailed screenshots and simple puzzle solutions to help you unravel the mystery behind the disappearance of the Flatsbury family.
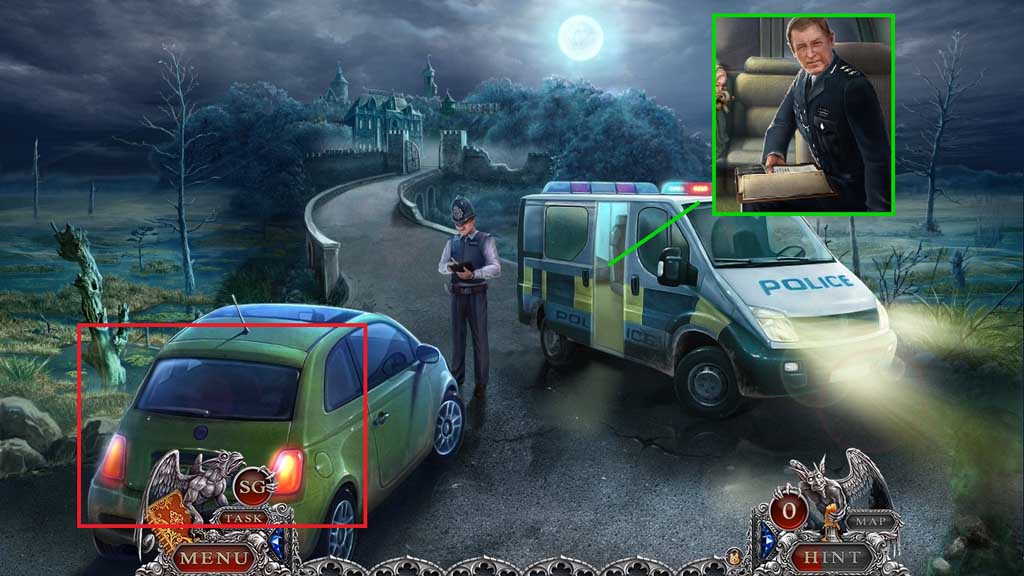
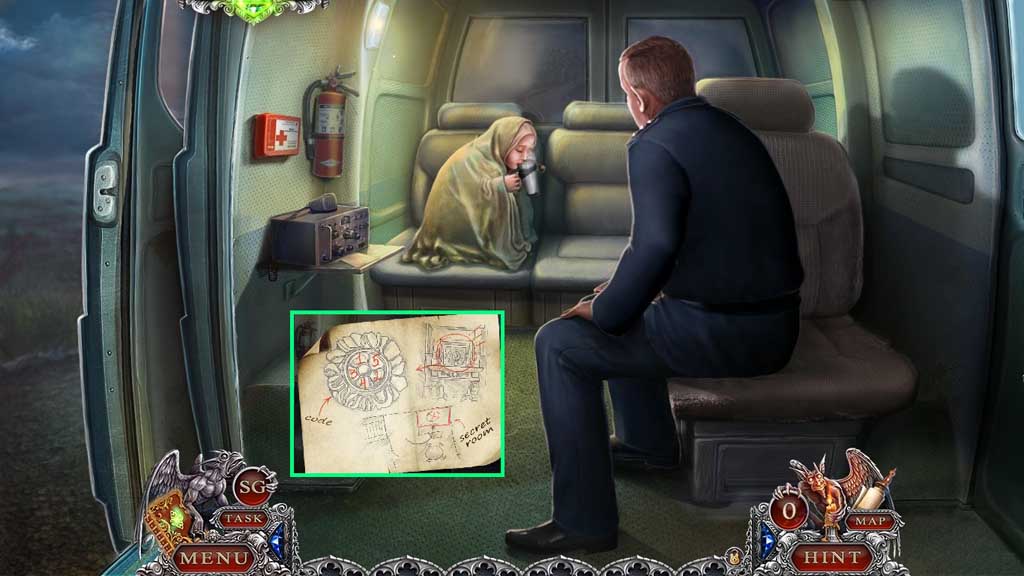
- Zoom into the police van.
- Collect the map and the case report.
- Exit the van and click the trunk to trigger a hidden objects area.
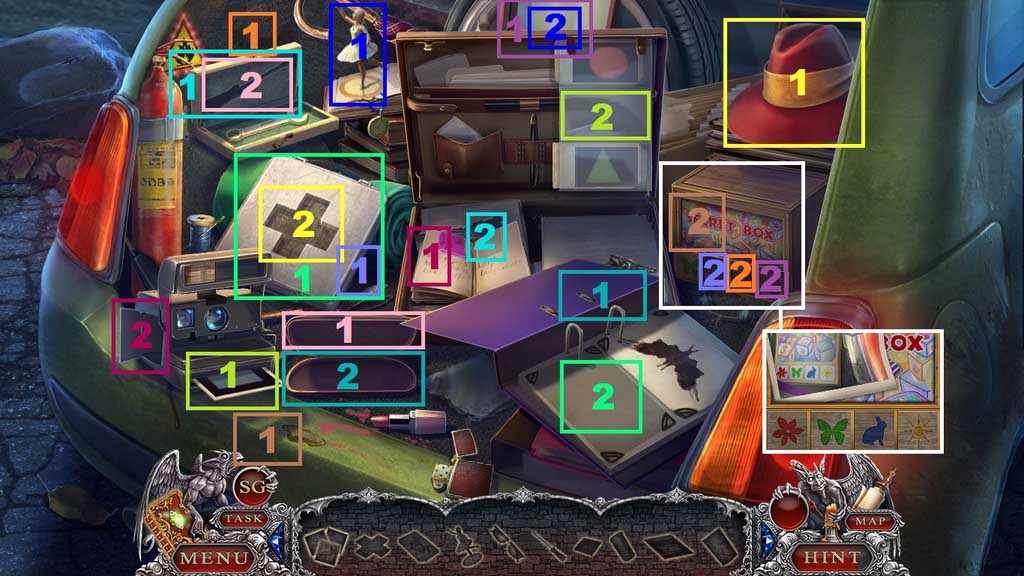
- Find the items.
- Click the hat; collect the cross.
- Insert the cross into the box; collect the ink blot and the flower square.
- Place the ink blot into the binder; collect the glasses behind the binder cover.
- Insert the glasses into the case; collect the screwdriver.
- Place the screwdriver into the tool box; collect the sun square and the post it note on the tool box.
- Place the post it note into the book; collect the battery.
- Insert the battery into the camera; collect the photos.
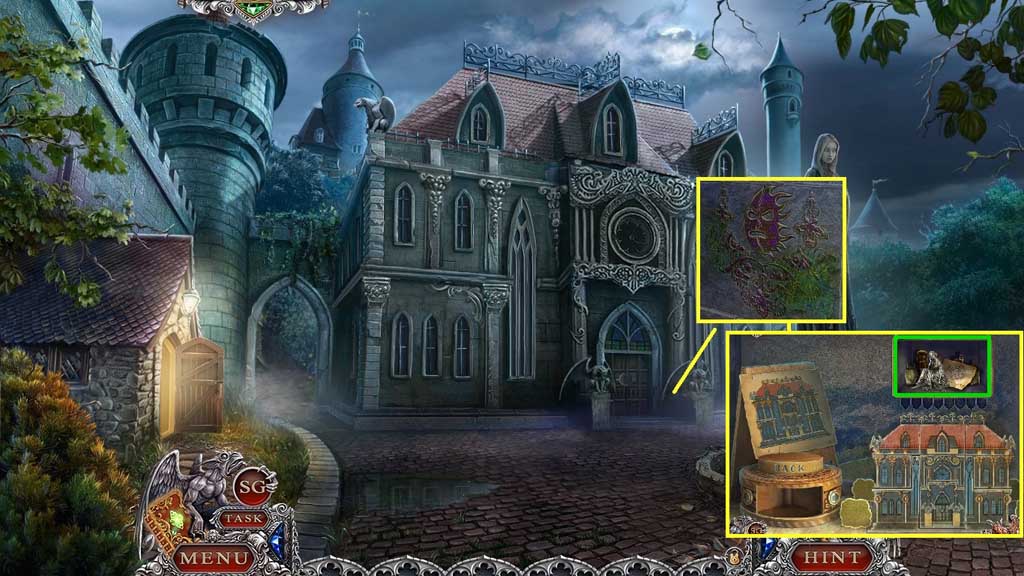
- Place the 1st photo into the photo holder and the 2nd onto the secret box.
- Select the ballerina and place her onto the music box behind the briefcase; collect the bunny square.
- Select the 3 squares and insert them into the secret box and arrange them according to the photo.
- Collect the cocoa powder.
- Move into the police van.
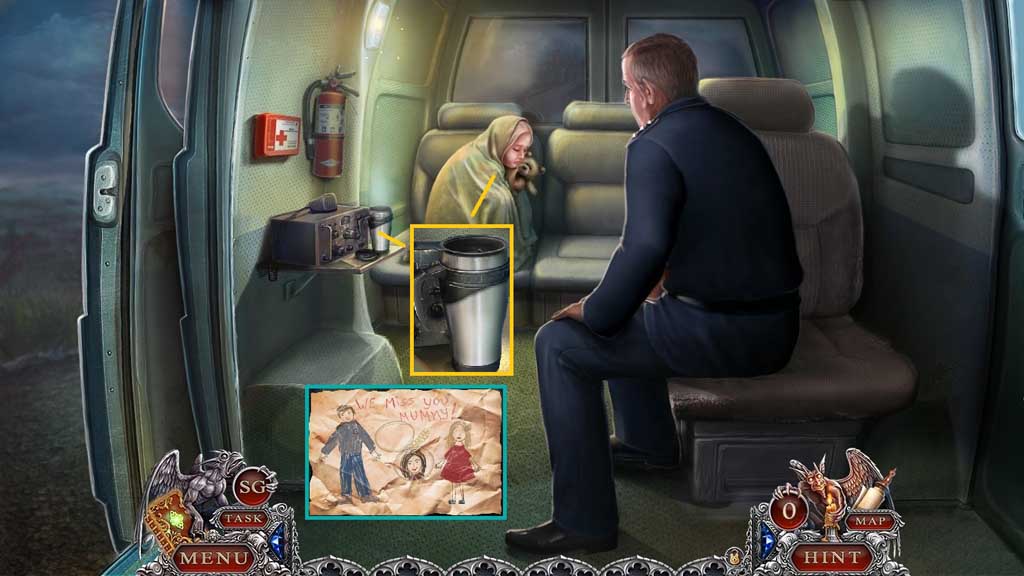
- Pour the cocoa powder into the mug and click the lid.
- Collect the mug of coca and give it to the child.
- Collect 1 /5 of Jessie’s drawings.
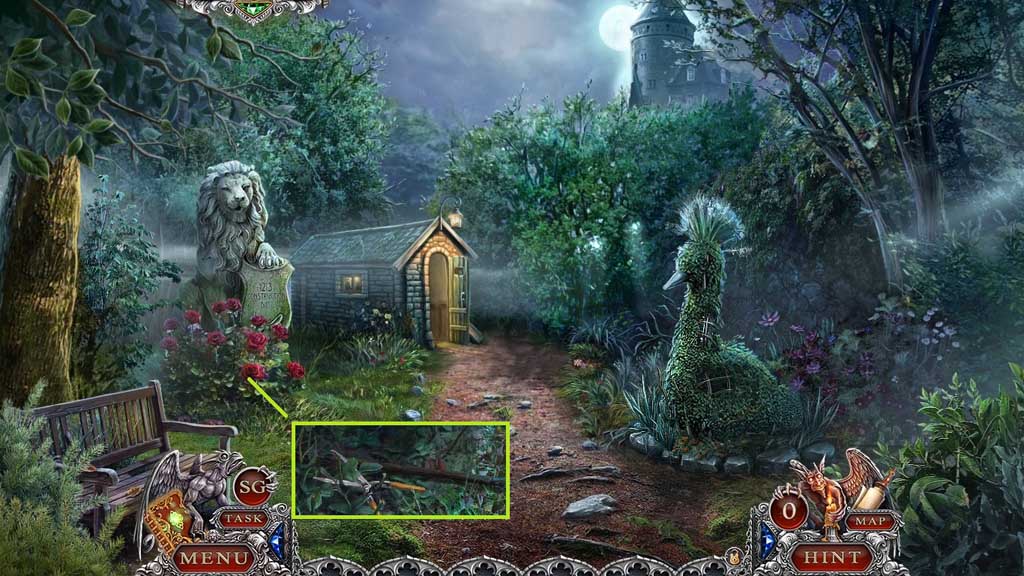
- Move down once.
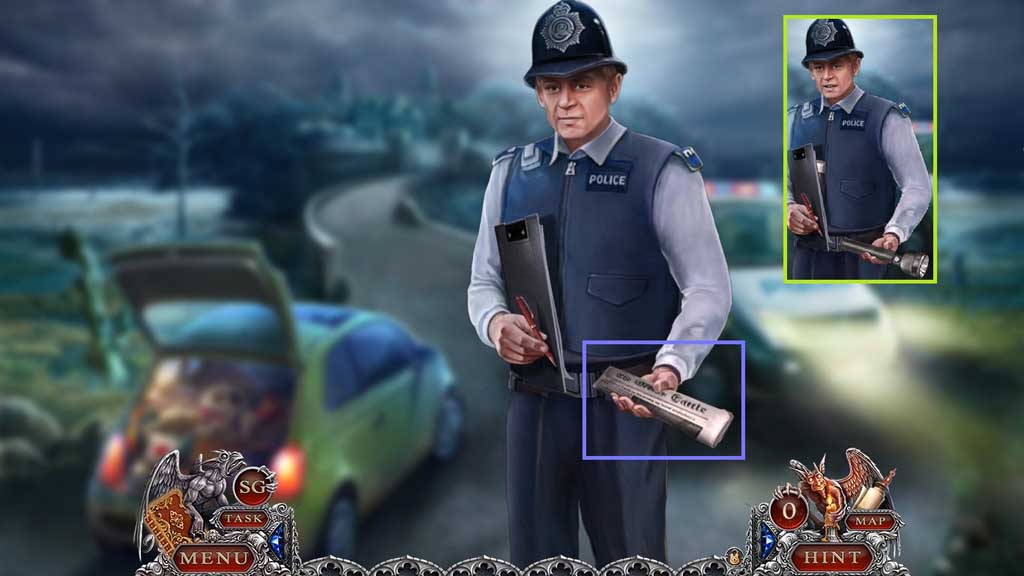
- Click the newspaper 2x’s; receive the flashlight.
- Move ahead.
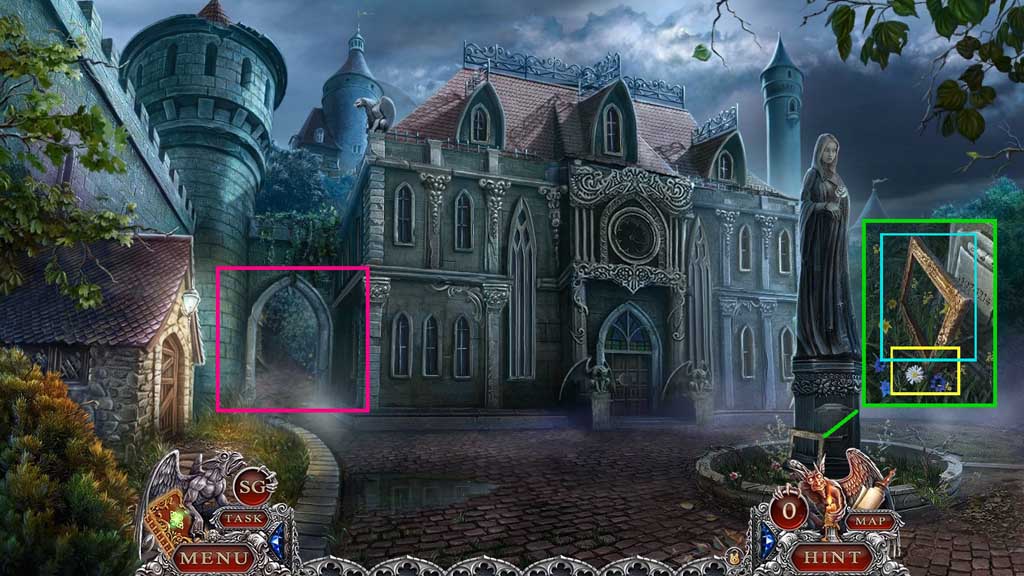
- Collect the frame and the storeroom key.
- Enter the archway.
- Click the leaves; collect 1 /2 colored tiles.
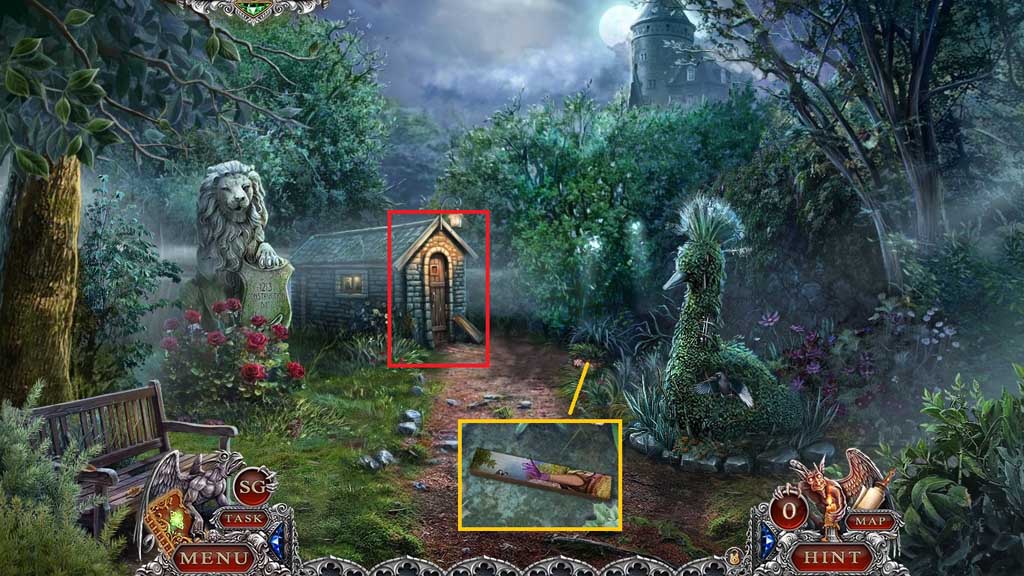
- Insert the storeroom key to trigger a hidden objects area.
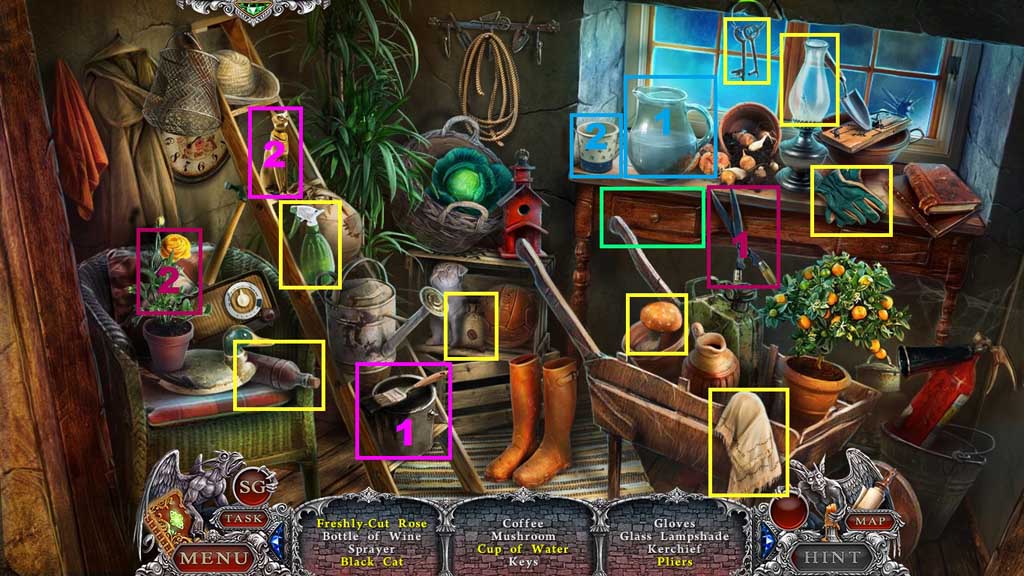
- Find the items.
- Select the garden shears to cut the rose; collect the freshly cut rose.
- Select the paint brush and use it to paint the cat; collect the black cat.
- Select the jug of water and pour it into the cup; collect the cup of water.
- Click the drawer open; collect the pliers.
- Collect the pliers.
- Select the pliers to cut and collect the wire and the stone flower.
- Move down once.
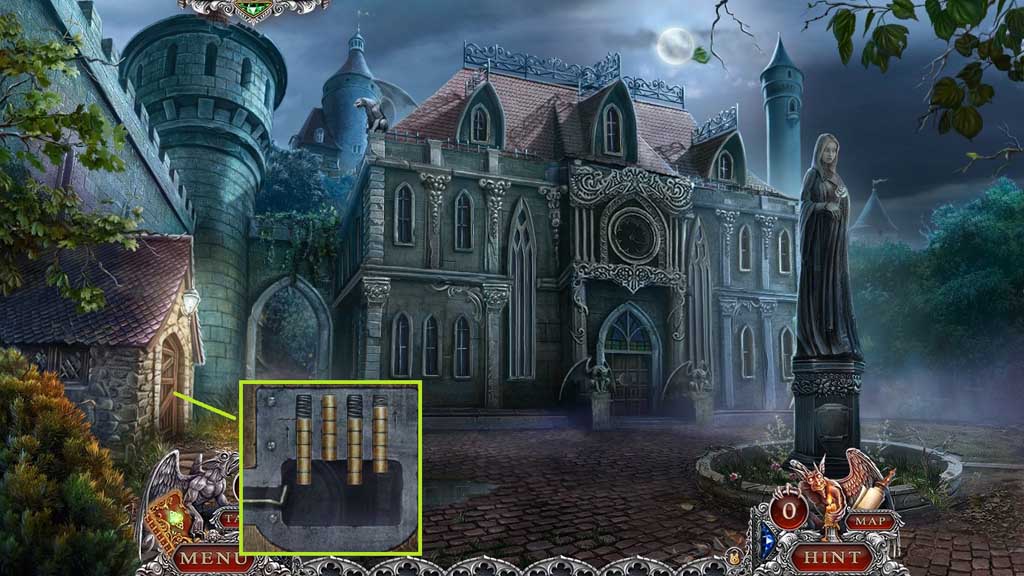
- Zoom into the key hole and use the wire to trigger a mini game.
- Solve the game by using the wire to position the tumblers correctly.
- Enter the doorway.
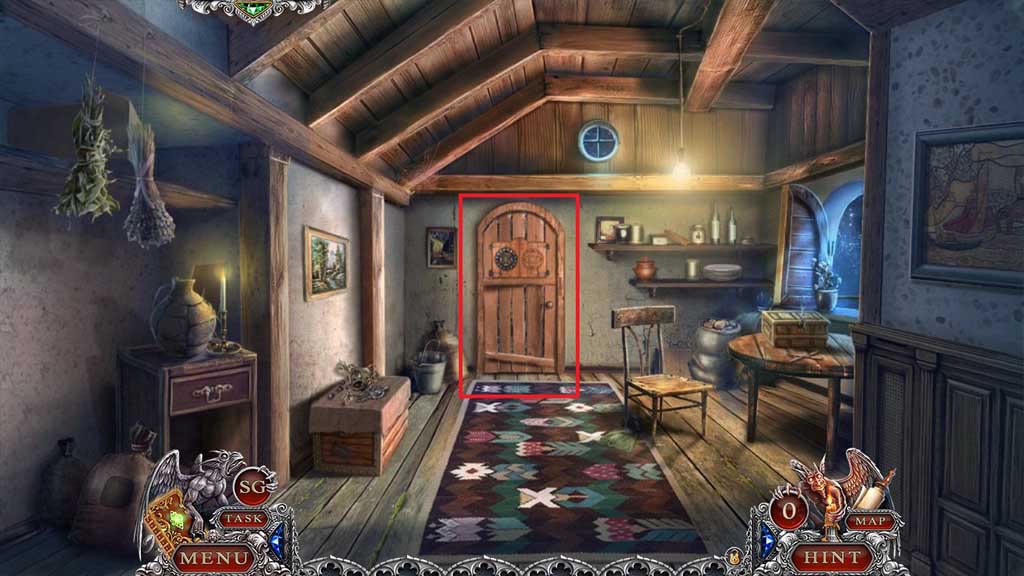
- Insert the stone flower to trigger a hidden objects area.
- Place the items correctly.
- Select the glove to remove the dead rose from the vase and replace it using the freshly cut rose.
- Select the bottle of wine and pour it into the wine glass.
- Select the mushroom and hang it alongside the others.
- Select the sprayer to use on the dirty tray and then wipe it using the kerchief.
- Select the coffee beans and place them into the grinder.
- Select the cat and place it onto the base.
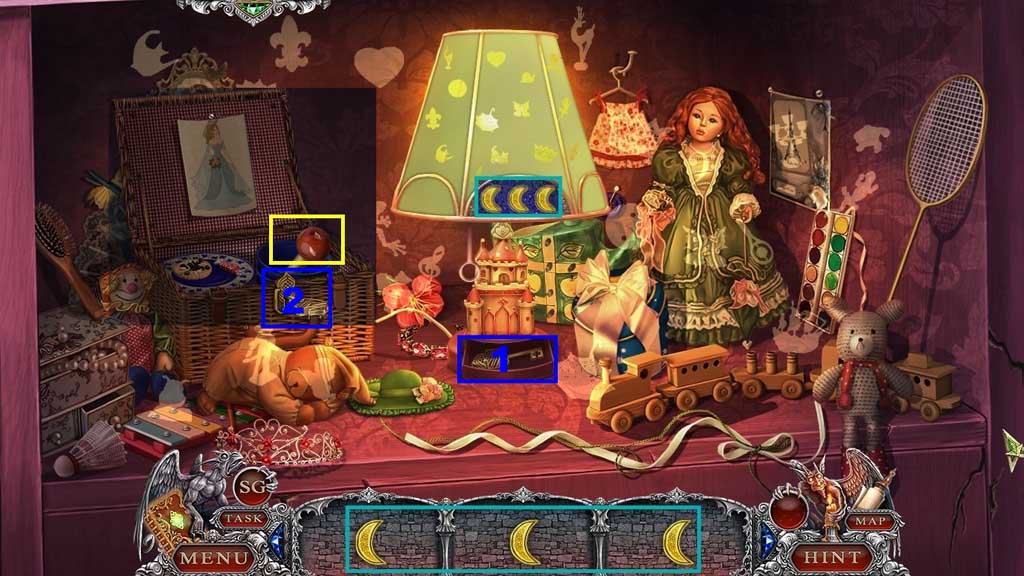
- Select the glass lampshade and place it onto the oil lamp base.
- Place the key along with the others.
- Place the cup onto the saucer.
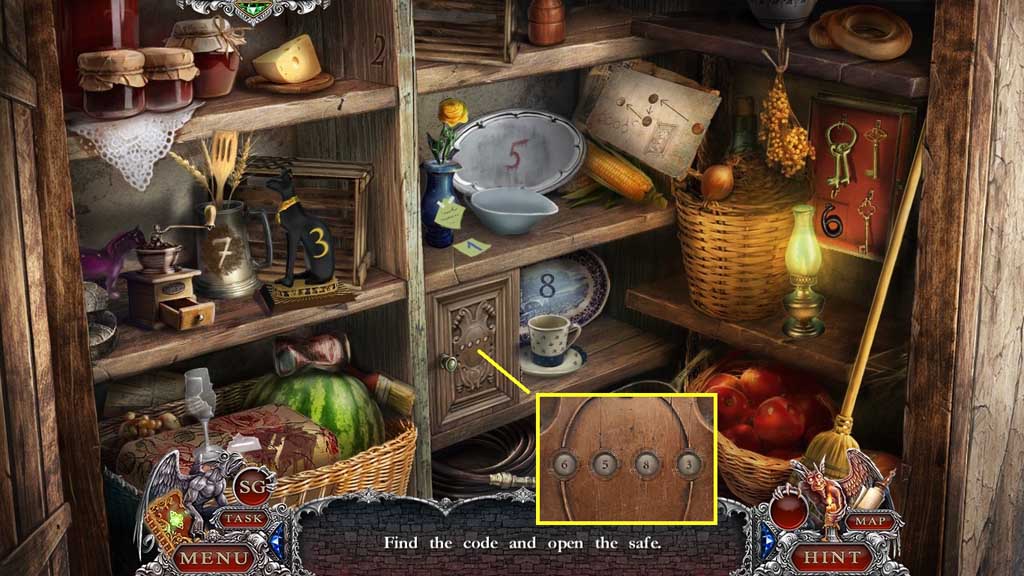
- Use the numbers revealed to uncover the code to open the cabinet safe.
- 6 – 5 – 8 – 3.
- Collect the sun token.
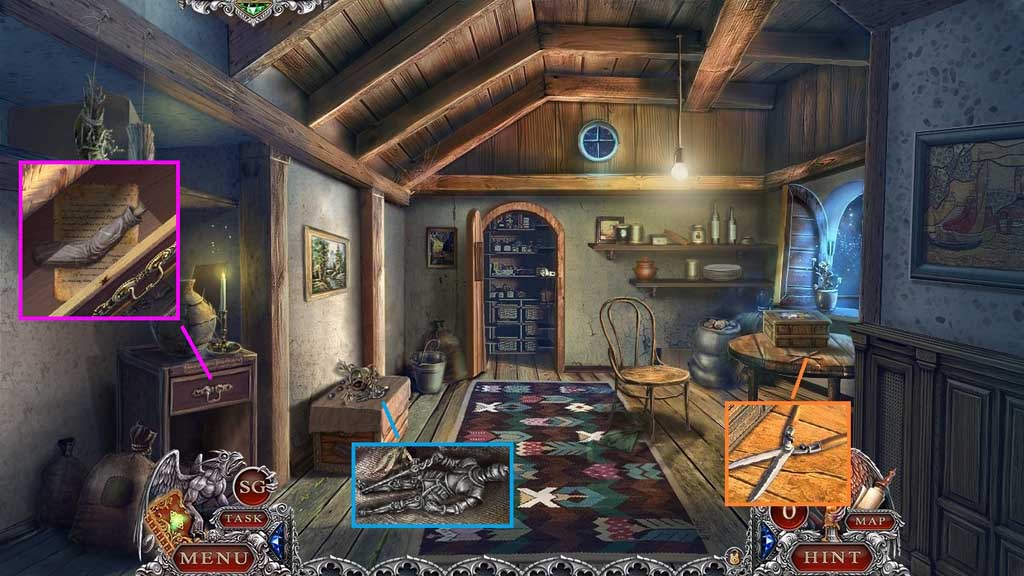
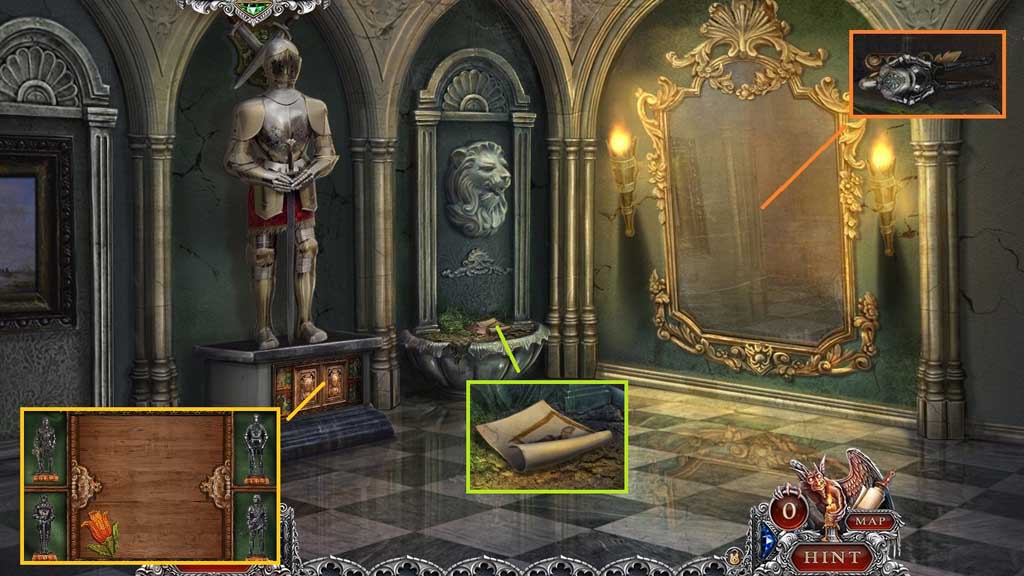
- Collect the garden shears and the knight.
- Click the drawer open and click the papers aside.
- Collect the puppet’s arm and the journal page.
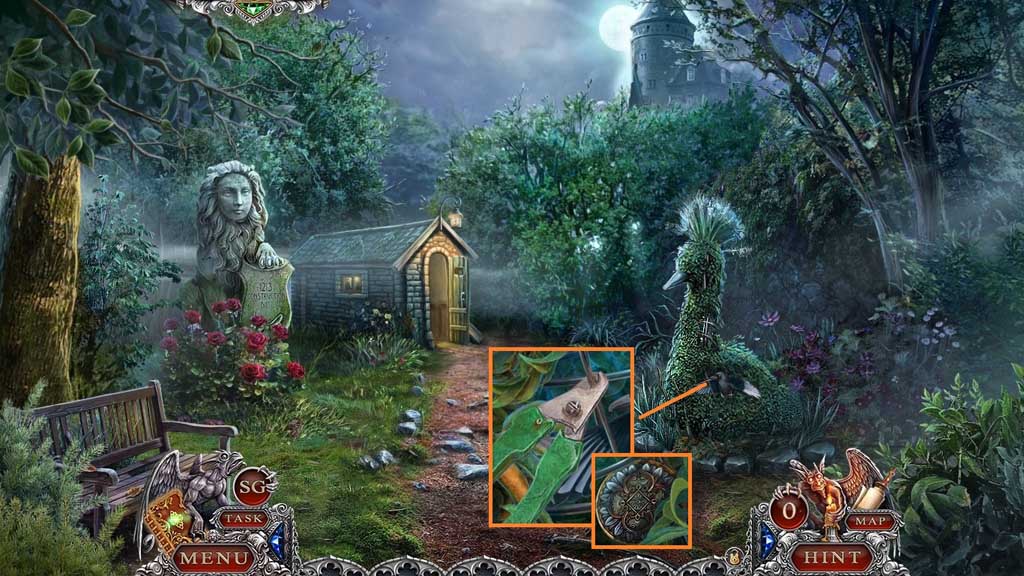
- Move to the Garden.
- Select the garden shears to collect the hooked pole.
- Move down once.
- Move toward the door; insert the sun token.
- Click the easel to trigger a mini game.
- Solve the game by recreating the castle shown.
- Collect the tin figurine and the journal page.
- Chapter-1-15-Flashlight-Game
- Zoom into the door and select the flashlight to trigger a mini game.
- Solve the game by aligning the symbols correctly as shown in the code above the lock.
- Use the following sequence to solve: A. Clockwise 2x’s – B. Counterclockwise 2x’s- C. Counterclockwise 5x’s – D. Counterclockwise 4x’s – E. Counterclockwise 2x’s
- Enter the doorway.
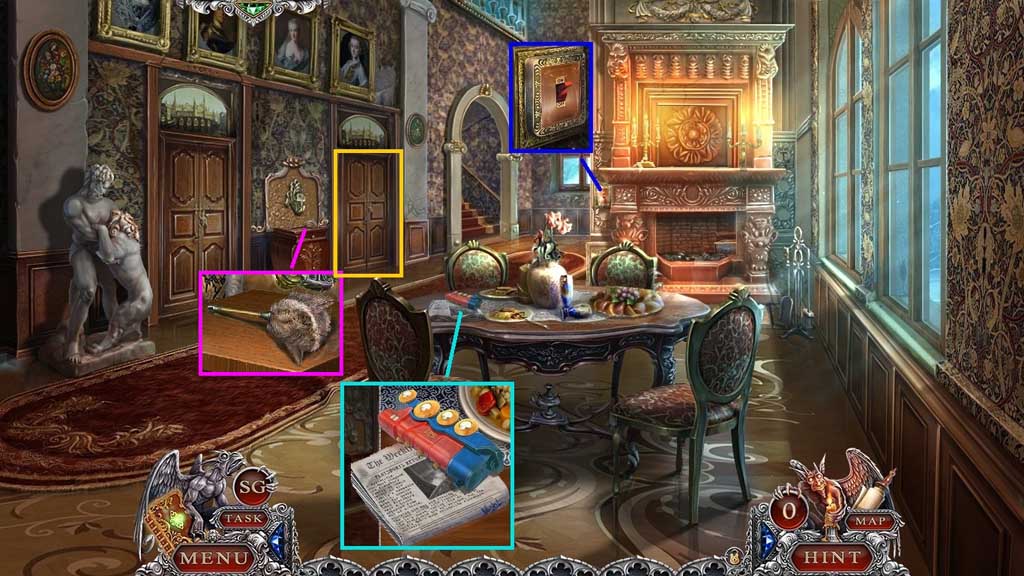
- Click the switch.
- Collect the locomotive, examine the newspaper and collect the feather duster.
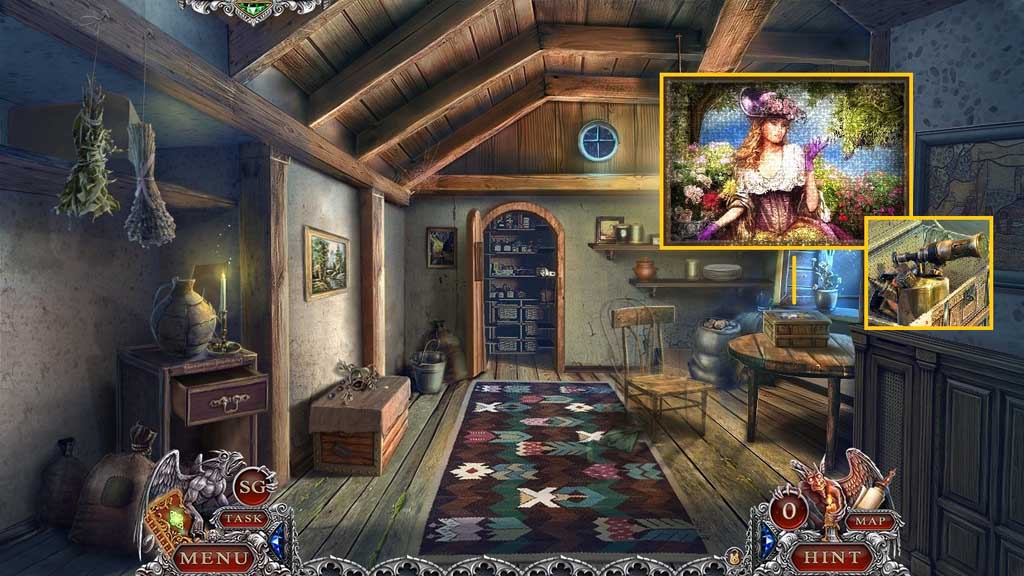
- Enter the doorway and click the hidden objects area.
- Assemble the lamp and turn it on.
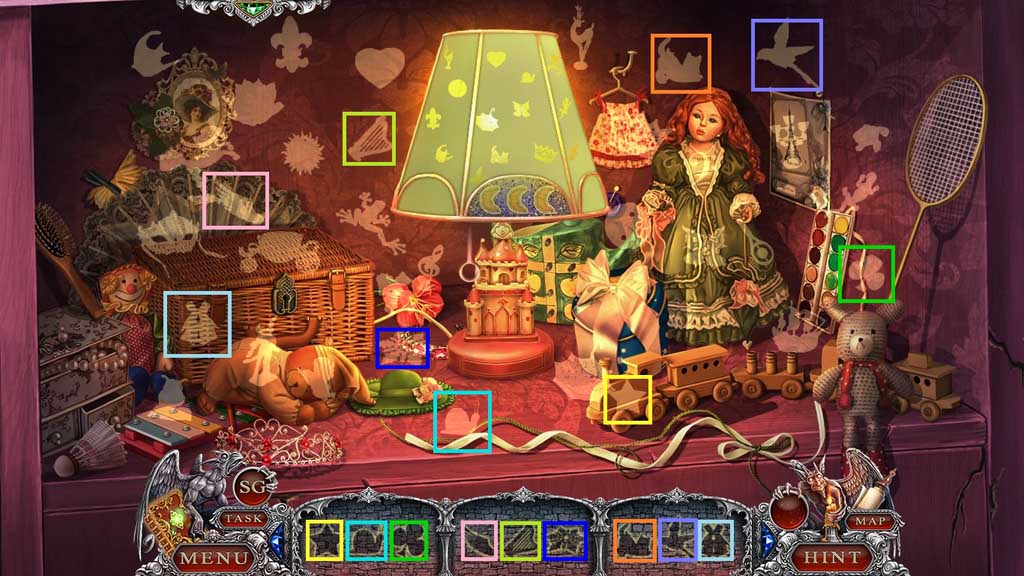
- Find the items.
- Select the key to open the chest.
- Collect the lever.

- Read the book.
- Place down the locomotive and attach and click the lever.
- Collect 2 /2 colored tiles.
- Click the hidden objects area.
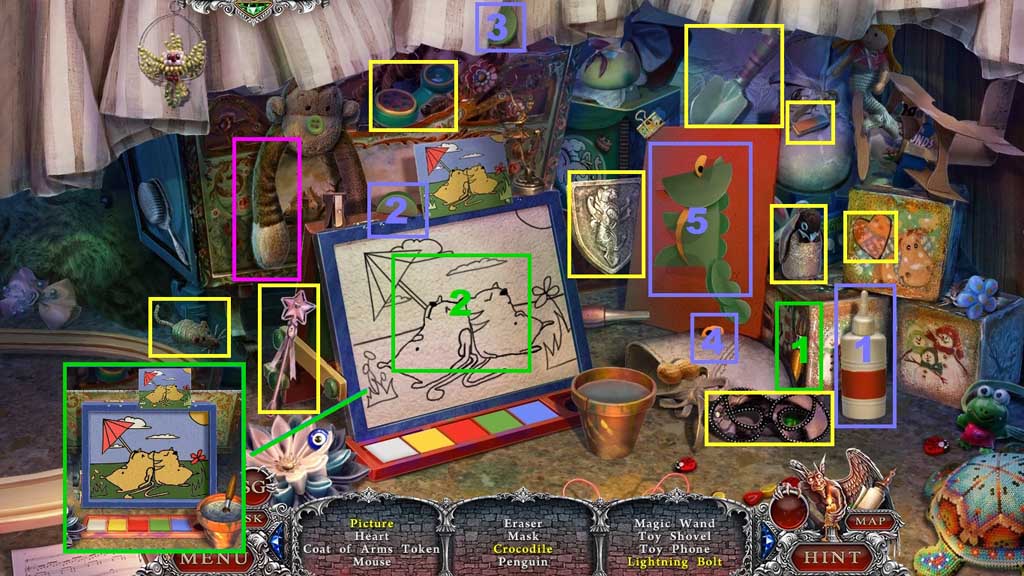
- Find the items.
- Select the glue and use it on the crocodile picture; select and attach the missing pieces; collect the crocodile.
- Select the paintbrush and dip it into the watercolors to complete the image as shown; collect the picture.
- Click the monkey’s arm; collect the lightning bolt.
- Collect the coat of arms token.
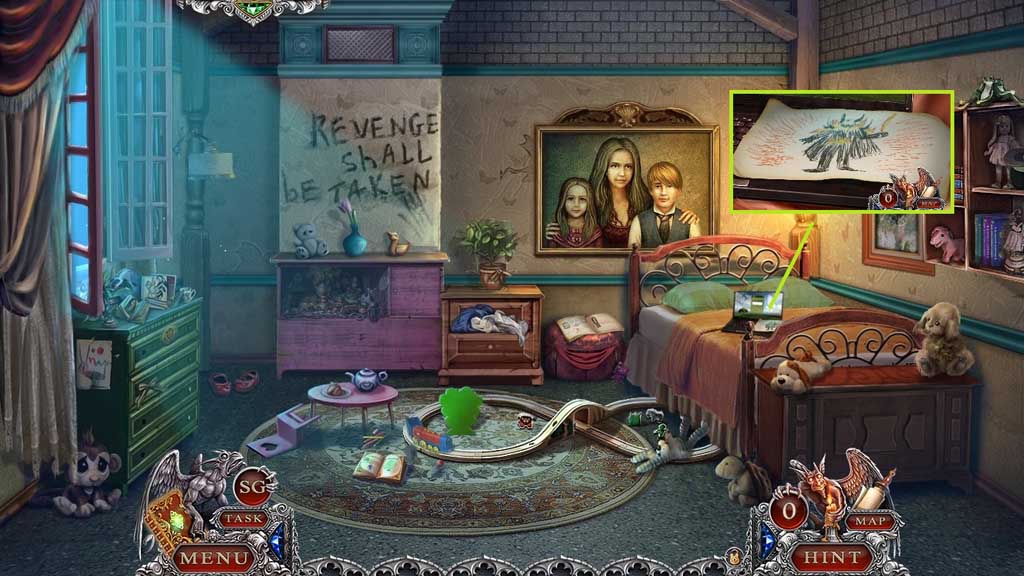
- Zoom into the laptop.
- Collect 2 /5 of Jessie’s drawings.
- Move to the Gardener’s House.
- Insert the colored tile to trigger a mini game.
- Solve the game by aligning the tiles correctly to complete the image.
- Collect the blowtorch.
- Move to the Living Room and go upstairs.
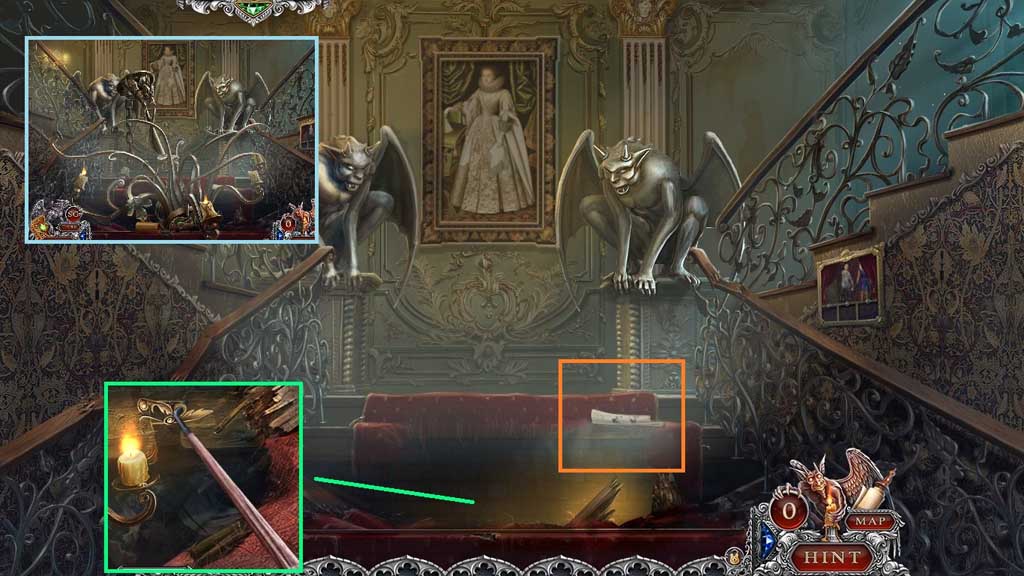
- Click the fallen chandelier.
- Select the hooked pole to retrieve 1 /2 frame pieces.
- Collect 3/ 5 of Jessie’s drawings.
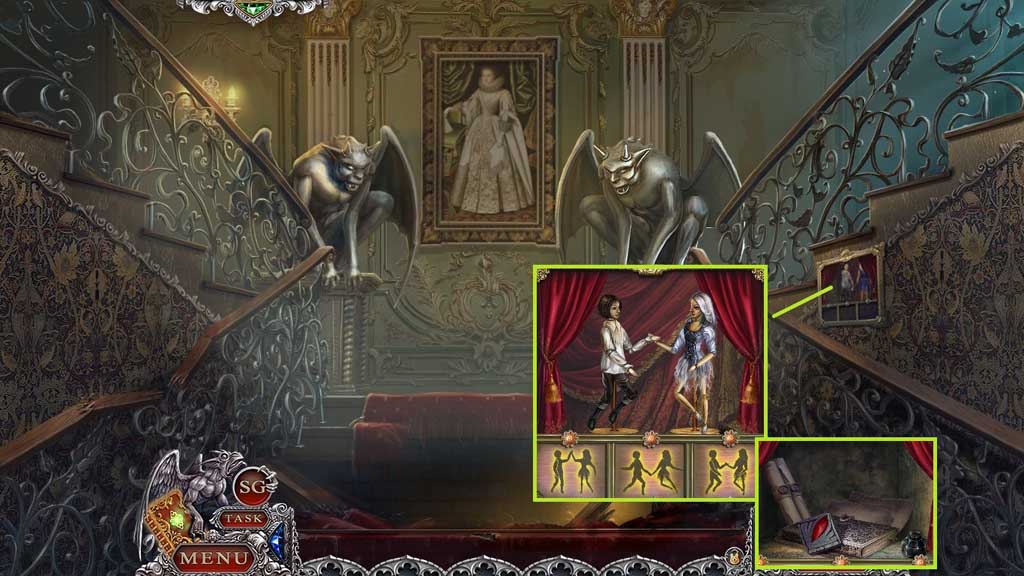
- Attach the puppet arm to trigger a mini game.
- Solve the game by recreating the puppet positions 3 times.
- Collect the gargoyle’s ruby and the journal entry.
- Move to the Castle Entrance.
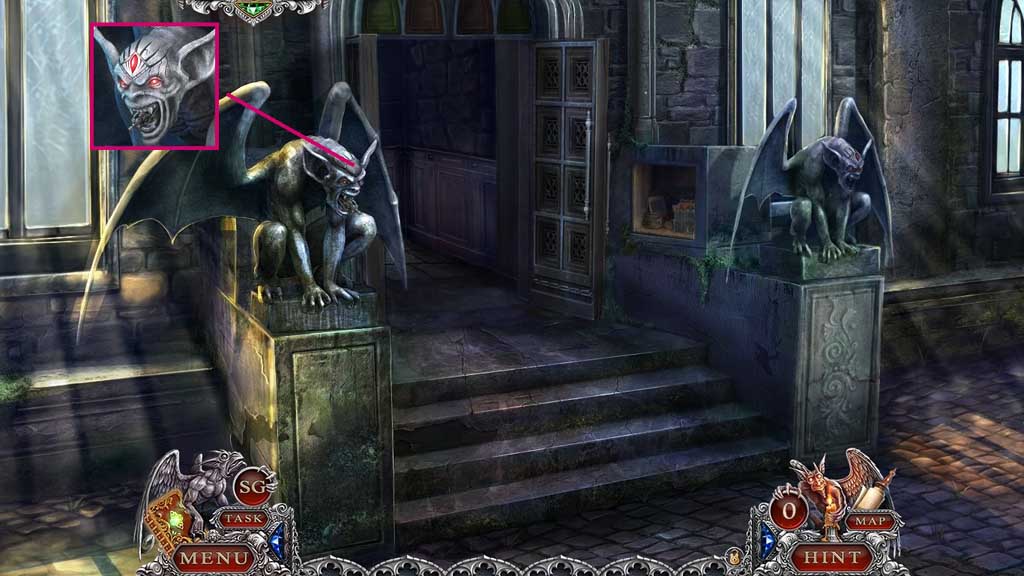
- Insert the gargoyle’s ruby; collect 2 /4 knights.
- Move to Jessie’s Room.
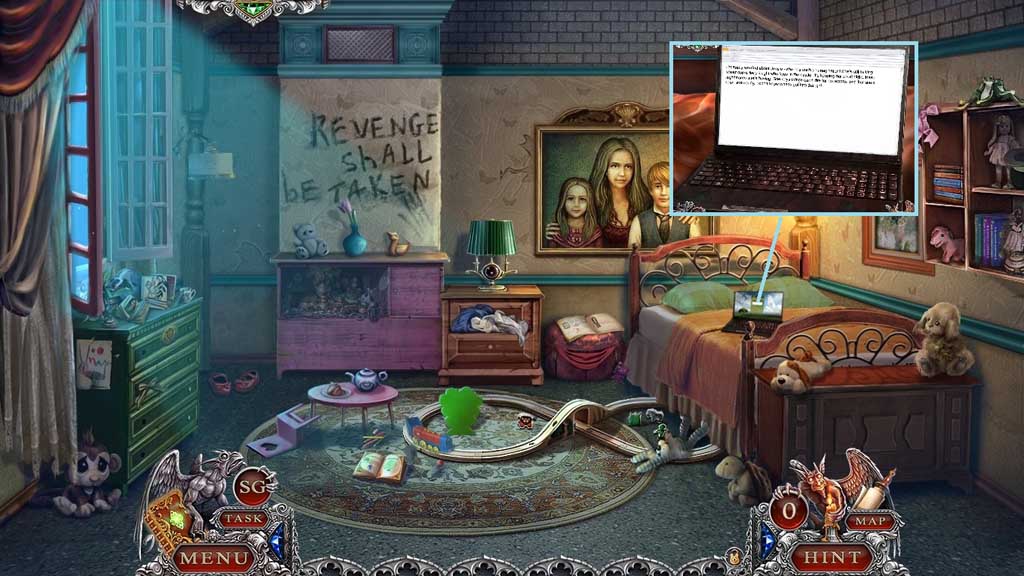
- Click the laptop.
- Enter the password 1 – 1 – 6 – 0 – 9 enter.
- Click the screen.
- Move to the Living Room.
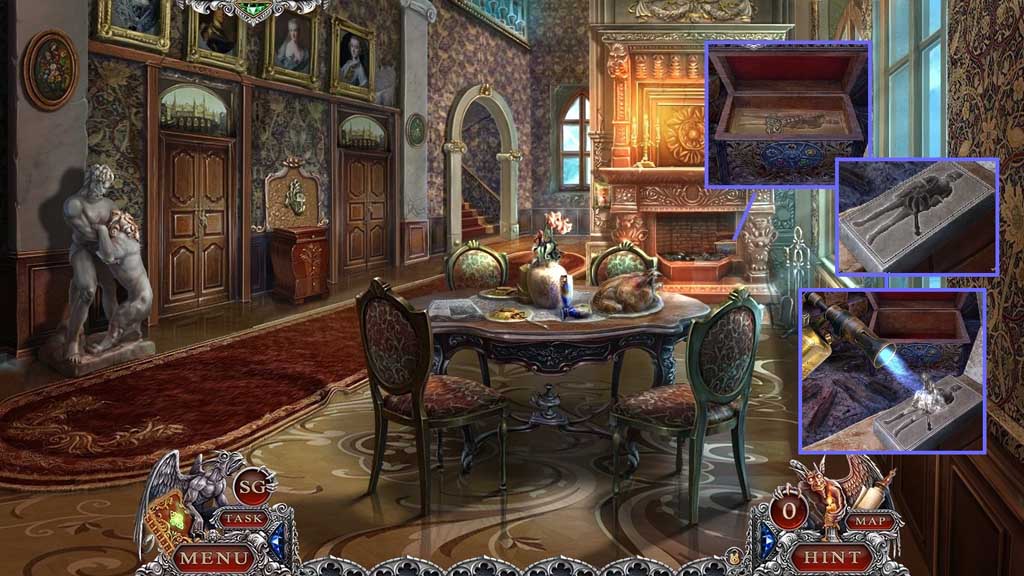
- Click the box to trigger a mini game.
- Solve the game by clicking the gemstones in the correct sequence.
- Use the following sequence to solve the game: pink – yellow – blue- red- green
- Collect the cabinet key; click the mold.
- Select the tin figurine and the blow torch to create and collect 3/ 4 knights.
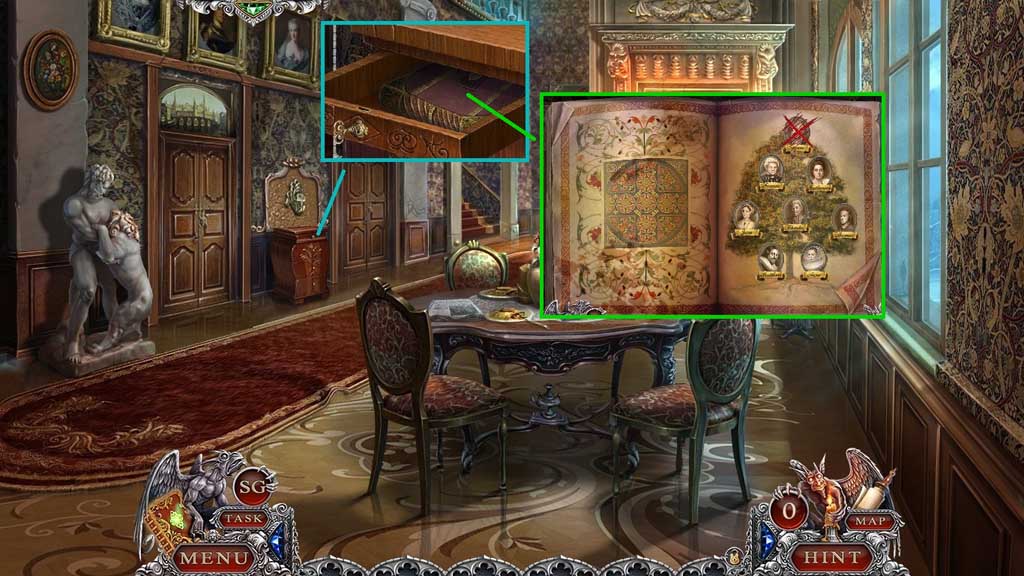
- Insert the cabinet key and click the book to trigger a mini game.
- Solve the game by arranging the family tree correctly.
- Use the following solution to solve the game: Top Row: Agnes – Second Row: Francis and Catherine – Third Row: Jane, Charles and Thomas – Bottom Row: Matthew and Anne.
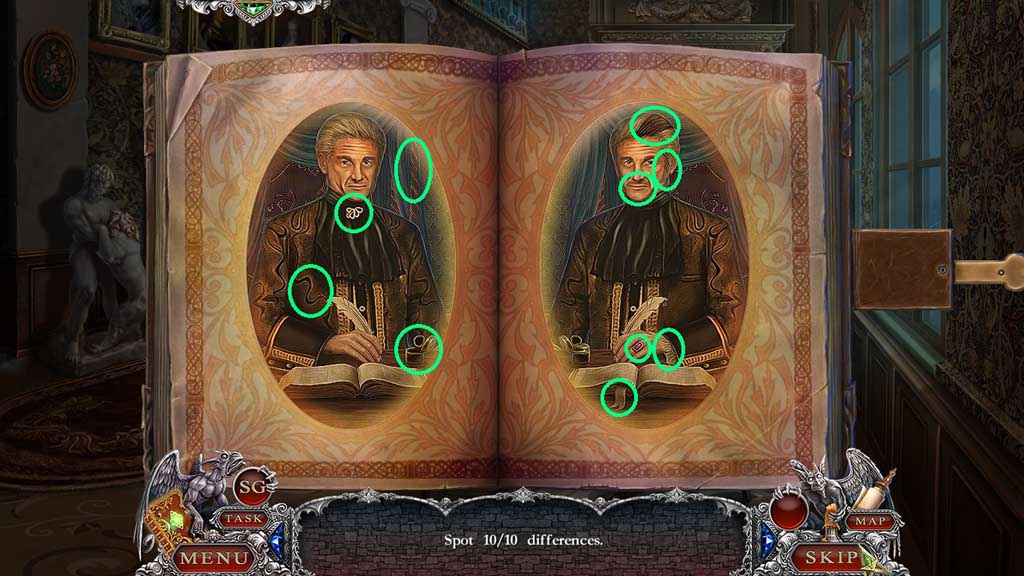
- Click the page to trigger a mini game.
- Solve the game by spotting the differences in the images.

- Click the page again to trigger a mini game.
- Solve the game by assembling the image correctly.
- Click the page.
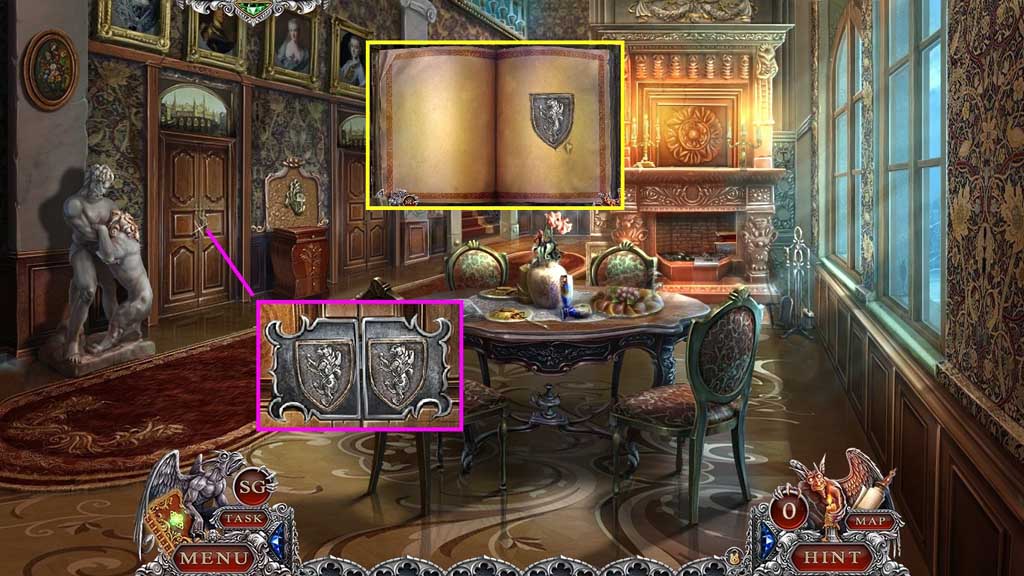
- Collect 2 /2 coat of arms.
- Insert the coat of arms token and enter the doorway.
- Collect Jessie’s drawing.
- Select the feather duster to dust the mirror; collect 4 /4 knights and 2 /2 frame pieces.
- Click the base and insert the knights; collect the flower key.
- Move to Jessie’s Room.
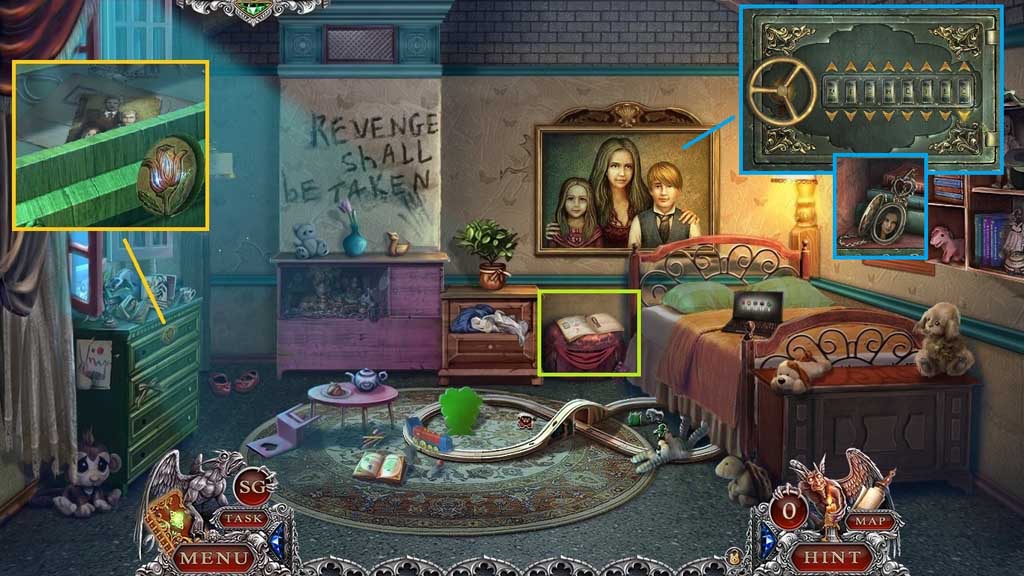
- Insert the flower key and click
- Click the picture; collect 5 /5 of Jessie’s drawings.
- Insert Jessie’s drawing and click the pages.
- Insert the frame pieces and click the safe to trigger a mini game.
- Solve the game by inputting the password correctly.
- Use the following solution: M – I – C – H – E – L – L – E
- Collect mother’s locket.
- Move to the police van.
- Give Jessie mother’s locket.
- Collect the journal page.
- Move to the Living Room.