
Secrets of the Dark: Mystery of the Ancestral Estate: Chapter Five: The Central Part
Rely on our Secrets of the Dark: Mystery of the Ancestral Estate Walkthrough to shed some light on your investigation as you explore a vast ancient mansion in search of family secrets that might explain the unusual disturbances of late. Use our custom screenshots, detailed instructions, and comprehensive puzzle solutions to help make your way through the darkness.
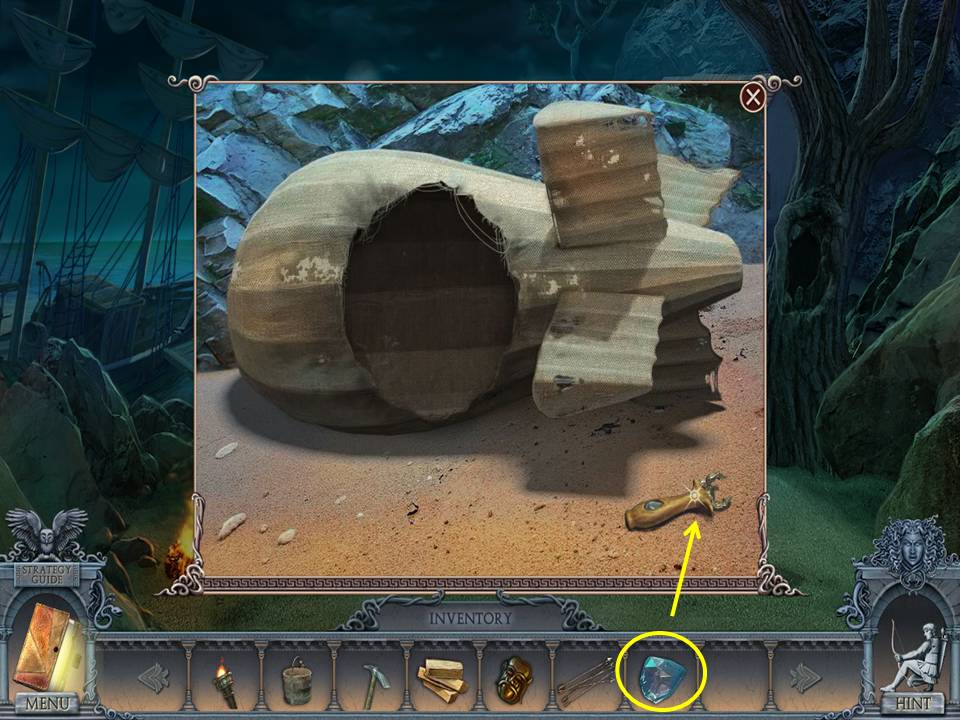
- Zoom into the blimp.
- Put the CRYSTAL in the holder of the glass cutter.
- Take the GLASS CUTTER.
- Go to Sofia’s art room.
- Cut the glass at right with the GLASS CUTTER.
- Take the GLASS BIRD.
- Click down twice.
- Ride the raft.
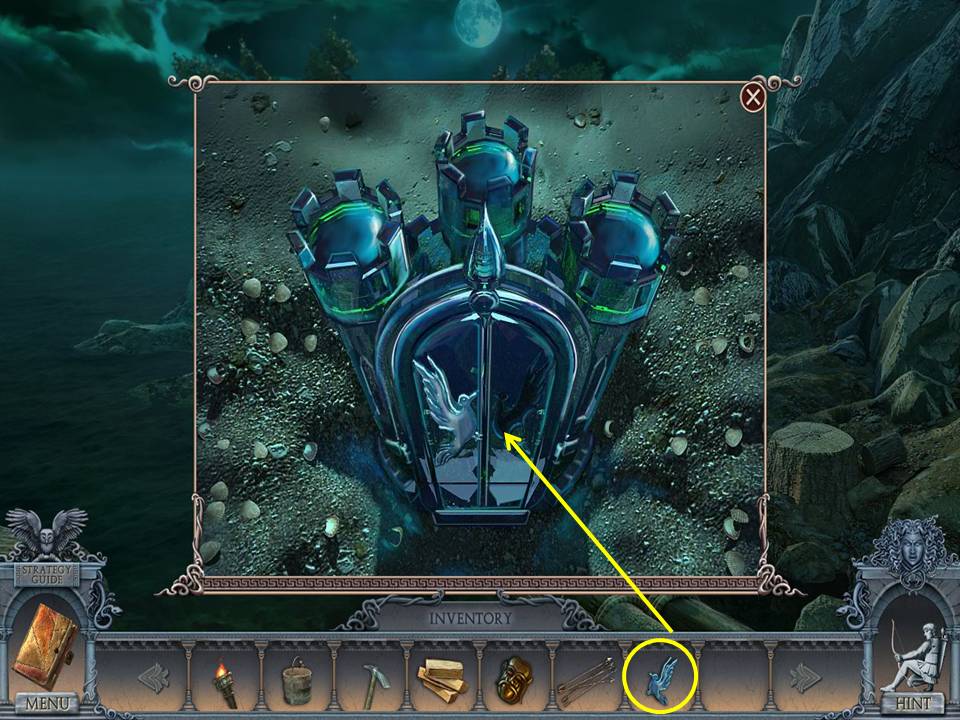
- Zoom into the glass castle.
- Put the GLASS BIRD on the door.
- Take the PORTRAIT PART.
- Click down three times.
- Go right.
- Zoom into the tree stump.
- Put the PORTRAIT PART on the empty space to initiate a puzzle.
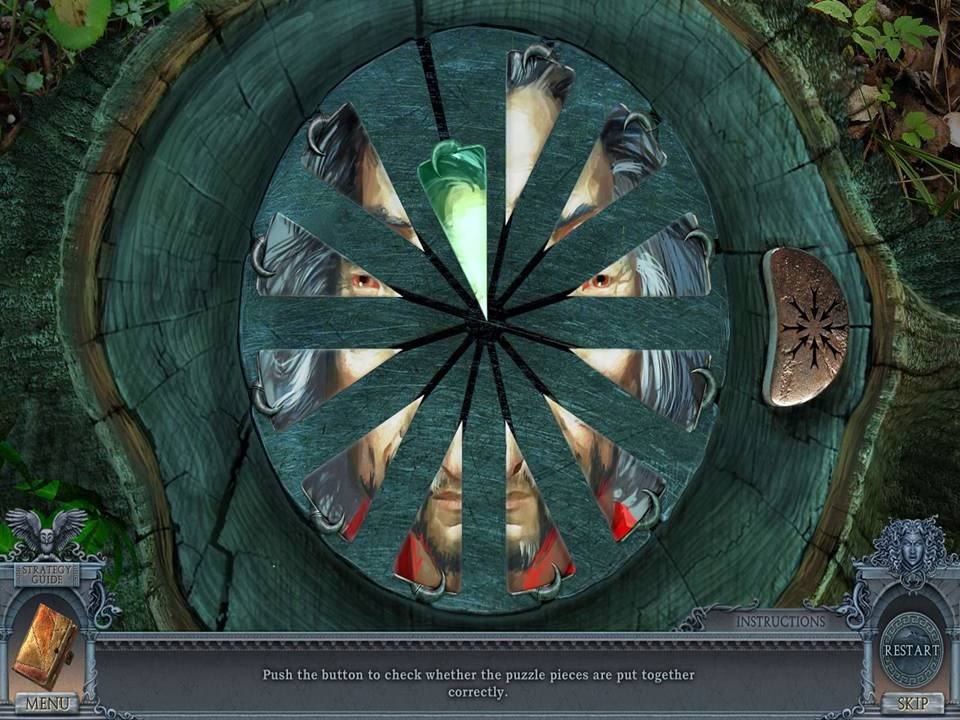
- The object of the puzzle is to swap pieces until you have completed a portrait.
- See screenshot for solution.
- When finished click the button on the right.
- Take the CAMERA KEY and CLAPPER.
- Go to the deck of the ship.
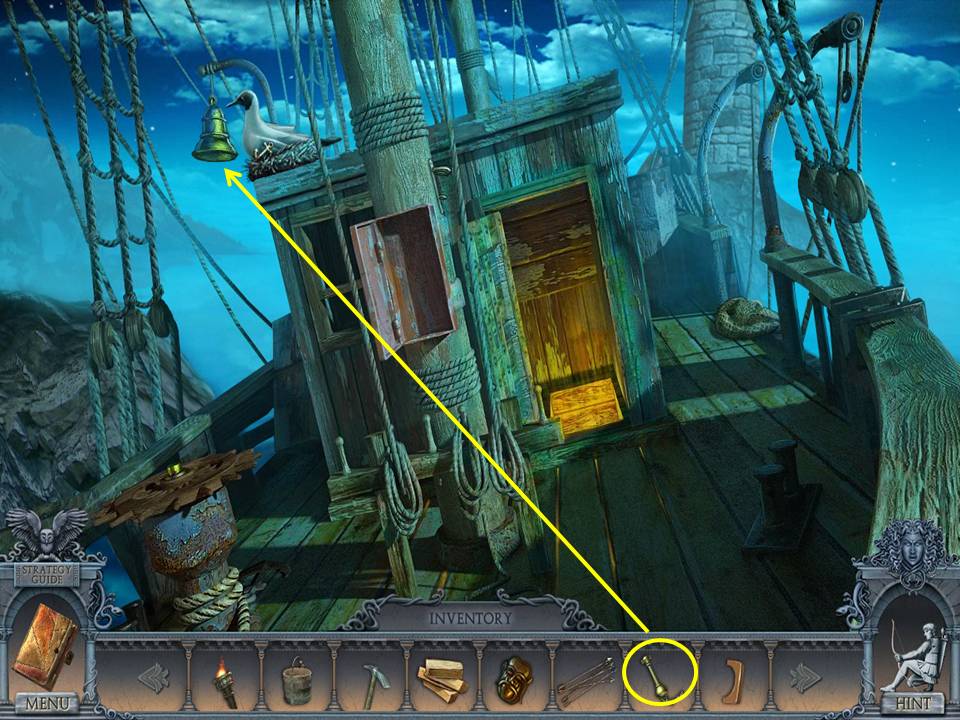
- Put the CLAPPER on the bell.
- Click to ring the bell.
- Take the MASTER KEY.
- Descend into the hold.
- Unlock the bag with the MASTER KEY.
- Take the ring.
- Return to the library.
- Change the lighting.
- Go left to the elevator.
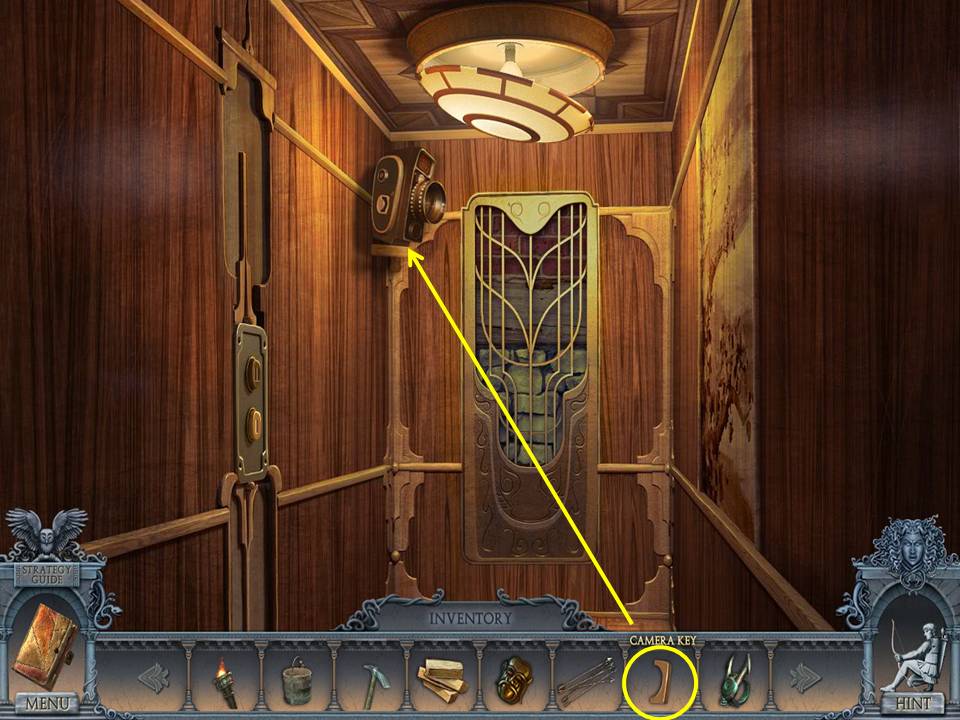
- Zoom into the camera.
- Use the CAMERA KEY.
- Take the TAPE.
- Click the down button.
- Put TAPE on the projector.
- Remember the code.
- Click down and ride up in the elevator.
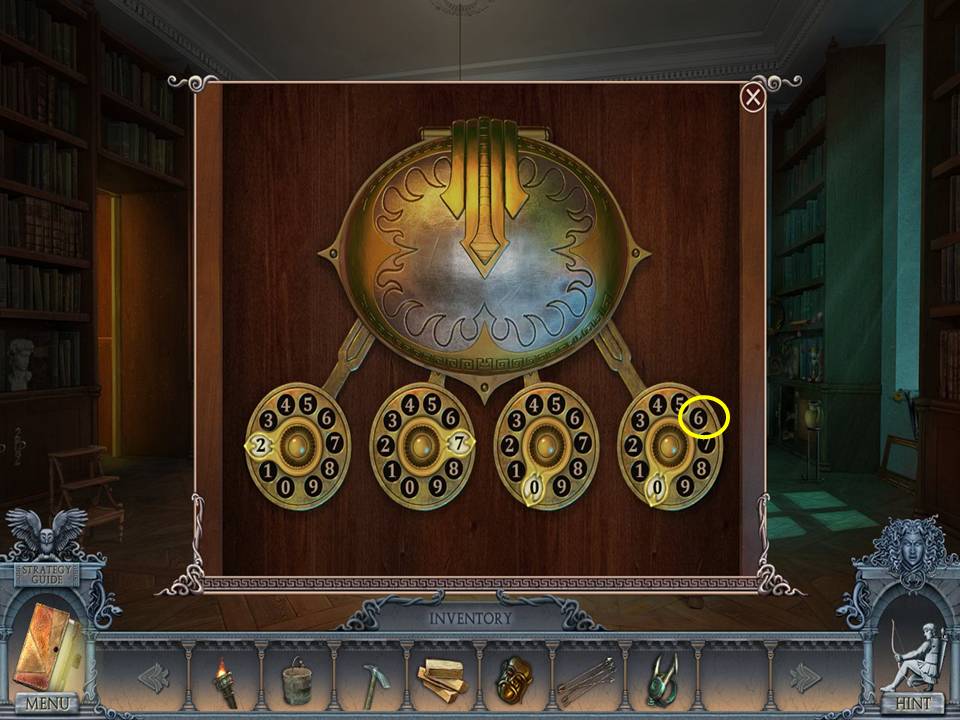
- Zoom into the desk.
- Use the code (2706) on the disks.
- Insert the ARROWS into the arbalest.
- Take the MAGIC ARBALEST and HEXAGON.
- Return to the elevator and ride down.
- Zoom into the device on the right corner of the desk.
- Zoom into the front panel.
- Put the HEXAGON in the center to initiate a puzzle.
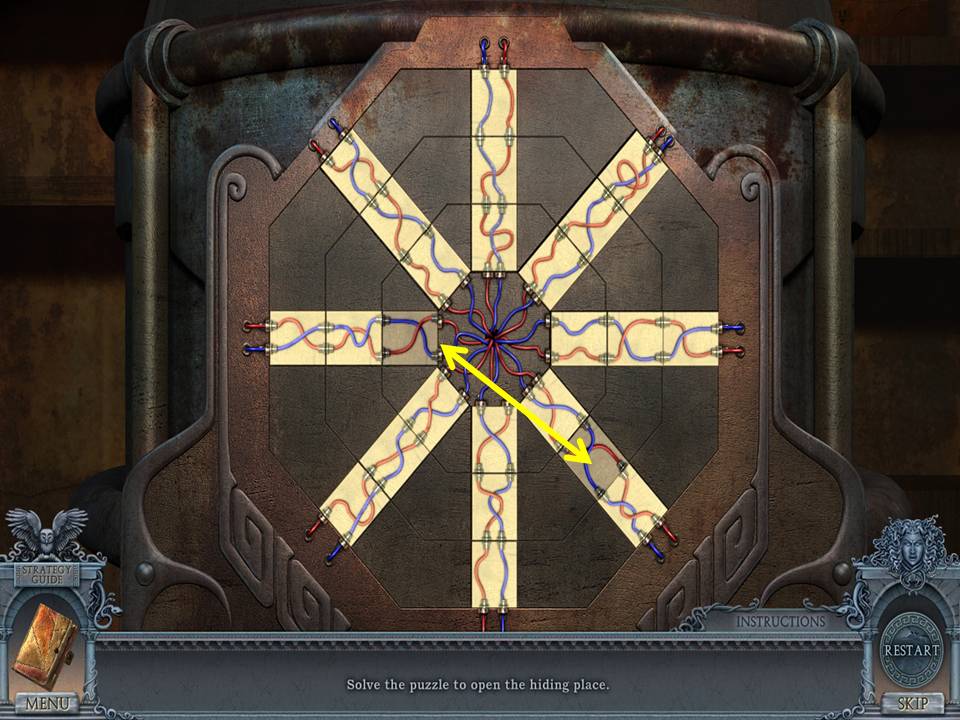
- The object of the puzzle is to move the wires so they all light.
- See screenshot for final move.
- Take the HOLDER.
- Return to the topiary garden and go right.
- Use the MAGIC ARBALEST on the ritual site doorway.
- Zoom into the woman.
- Take the CASKET KEY and TESLA KEY.
- Return to the mansion.
- Head upstairs and go right.
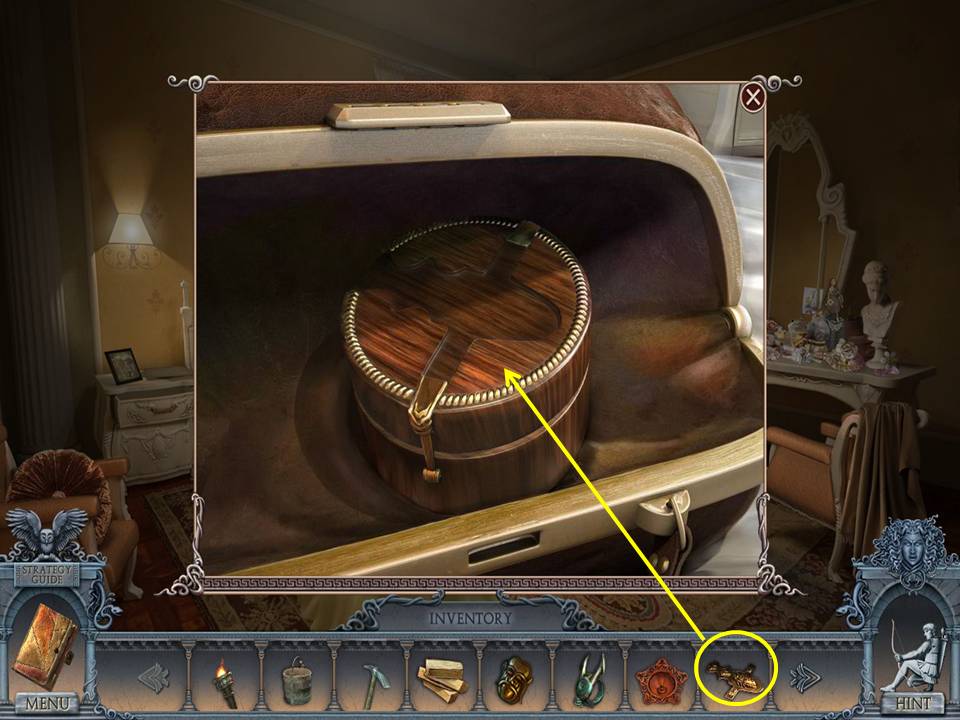
- Open the box contained in the bag on the bed with the CASKET KEY.
- Take the SLIDE.
- Click down.
- Go left.
- Zoom into the shelf.
- Insert the SLIDE into the device.
- Remove the SLIDE.
- Zoom into the telescope.
- Insert the SLIDE into the holder.
- Take the CRYPTEX CODE.
- Zoom into the shelves.
- Dial the CRYPTEX CODE to get a code.
- Click the dials under the code to match the code (lumen).
- Take the scroll and second RING.
- Return to the ritual site.
- Zoom into the door and put the two RINGS in the slots.
- Click the rings.
- Enter the machine room.
- Zoom into the bottom shelf to play an HOA.
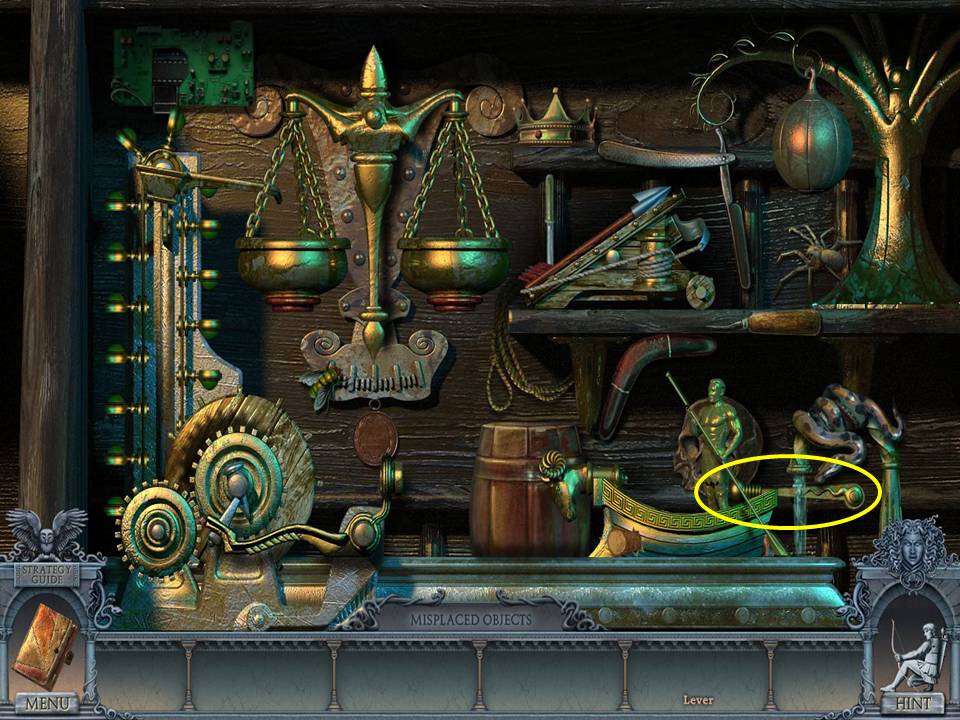
- Return the items to where they belong in the scene.
- See screenshot for placements and final move.
- Receive a SAFE KEY.
- Click down.
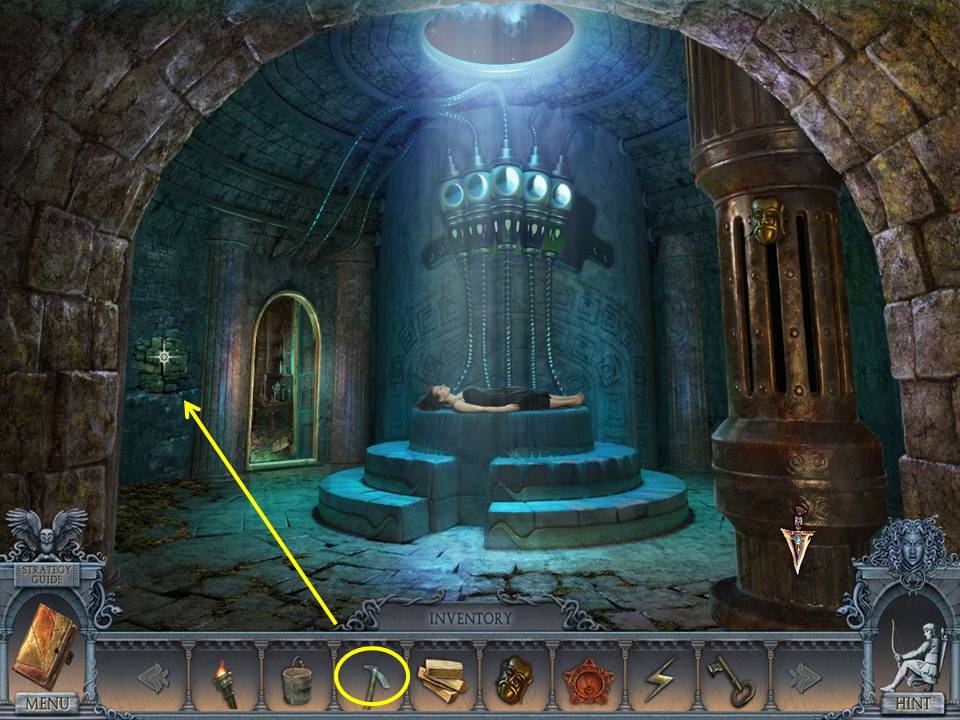
- Zoom into the wall.
- PICKAXE the bricks.
- Unlock the safe with the SAFE KEY.
- Take the BLOCK and second TESLA KEY.
- Go left.
- Zoom into the device on the right wall.
- Insert the two TESLA KEYS in the slots.
- Take the KEY. Note the code.
- Click down twice.
- Put the BLOCK on the well hook.
- Take the MOSAIC PIECE.
- Return to Sofia’s house.
- Zoom into the bed footboard.
- Insert the MOSAIC PIECE to play a game.
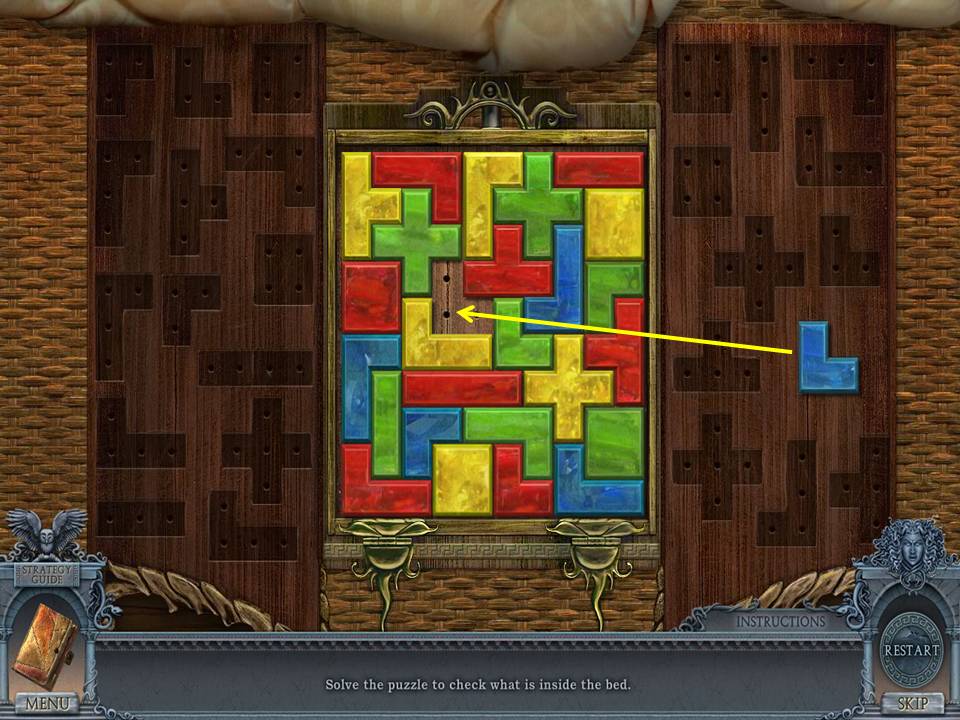
- The object of the game is to move the pieces so that no two of the same color are touching.
- See screenshot for final move.
- Take the second METAL HEAD.
- Click down.
- Return to the ship’s hold.
- Zoom into the chest.
- Unlock it with the key.
- Take the third METAL HEAD.
- Return to the ritual hall.
- Place the three METAL HEADS on the column.
- Placement reflects the clue in the journal.
- Moving left to right, click the second head twice and the farthest right head four times.
- Take the KEY. Go left.
- Unlock the device with the KEY.
- Zoom into the device to initiate a puzzle.
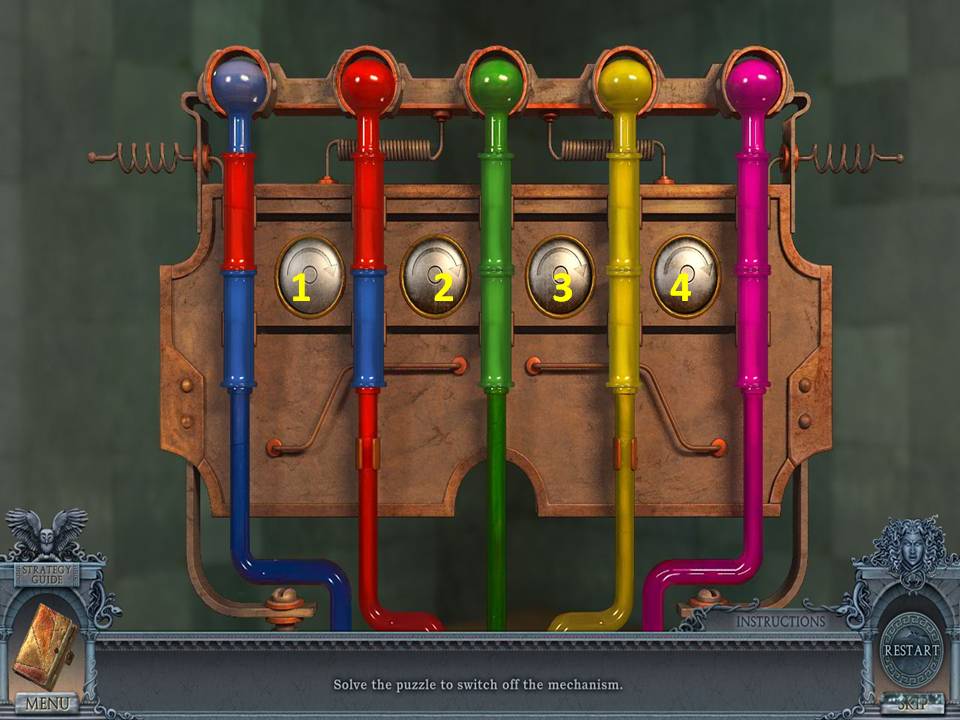
- The object of the puzzle is to move the tubes so that all of the same color are connected.
- Assuming the buttons between the tubes are numbered one to four from left to right, click in this order: 2, 2, 3, 4, 1, 2, 3, 4, 3, 1, 1, 2, 2, 2, 3, 2, 2, 1, 2, 1, 1, 1.
- Zoom into the shelves to play an HOA.
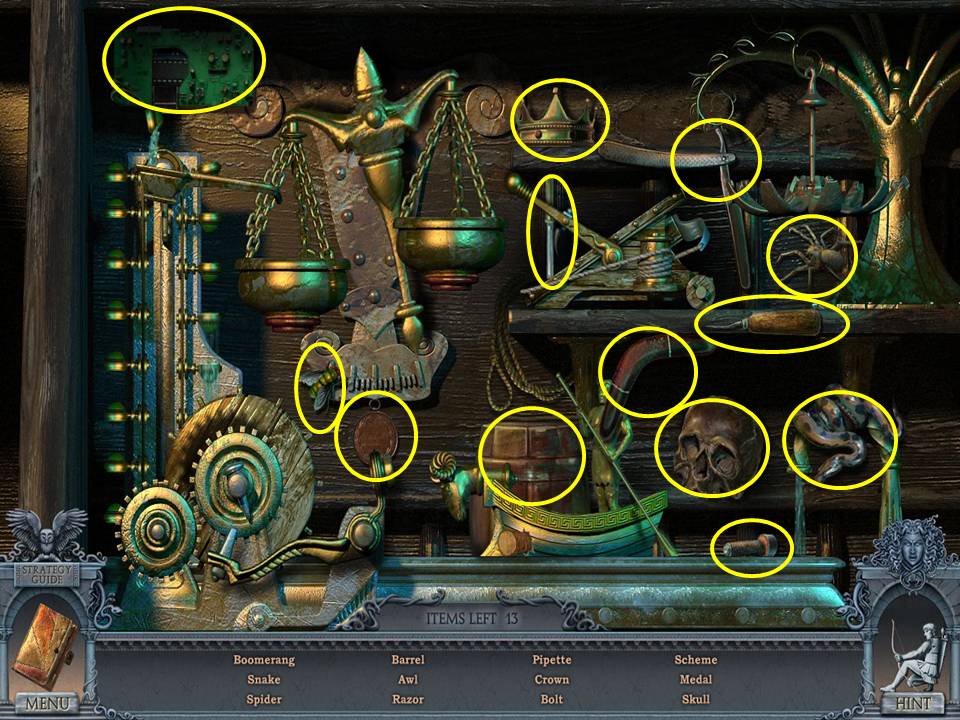
- Find the items listed.
- Receive a LASSO.
- Click down two times.
- LASSO the items in the water.
- Take the SPADE.
- Return to the ship’s hold.
- Zoom into the chest.
- Put the BUCKET next to it.
- SPADE the sand.
- Take the SAND.
- Return to Sofia’s art room.
- Zoom into the furnace.
- Put the FIREWOOD in and light it with the LIT TORCH.
- Pour the SAND in the funnel.
- Take the EMPTY BULB.
- Ride the cable car to Kleito’s house.
- Scale the ladder.
- Go left.
- Zoom into the device.
- Put the HOLDER and EMPTY BULB in the center to initiate a puzzle.


- The object of the puzzle is to charge each field with power.
- See screenshot for solution.
- Take the BULB.
- Return to the crypt.
- Insert the bulb in the center to finish your triumph over the dark forces.
- Congratulations! You've completed Secrets of the Dark: Mystery of the Ancestral Estate!