
Secrets of the Dark: Mystery of the Ancestral Estate: Chapter Three: House of Kleitos
Rely on our Secrets of the Dark: Mystery of the Ancestral Estate Walkthrough to shed some light on your investigation as you explore a vast ancient mansion in search of family secrets that might explain the unusual disturbances of late. Use our custom screenshots, detailed instructions, and comprehensive puzzle solutions to help make your way through the darkness.
- Zoom into the control panel.
- Put the TRANSISTOR and RESISTOR on it.
- Insert the SECRET KEY into the keyhole.
- Click the panel to close.
- Click the lever.
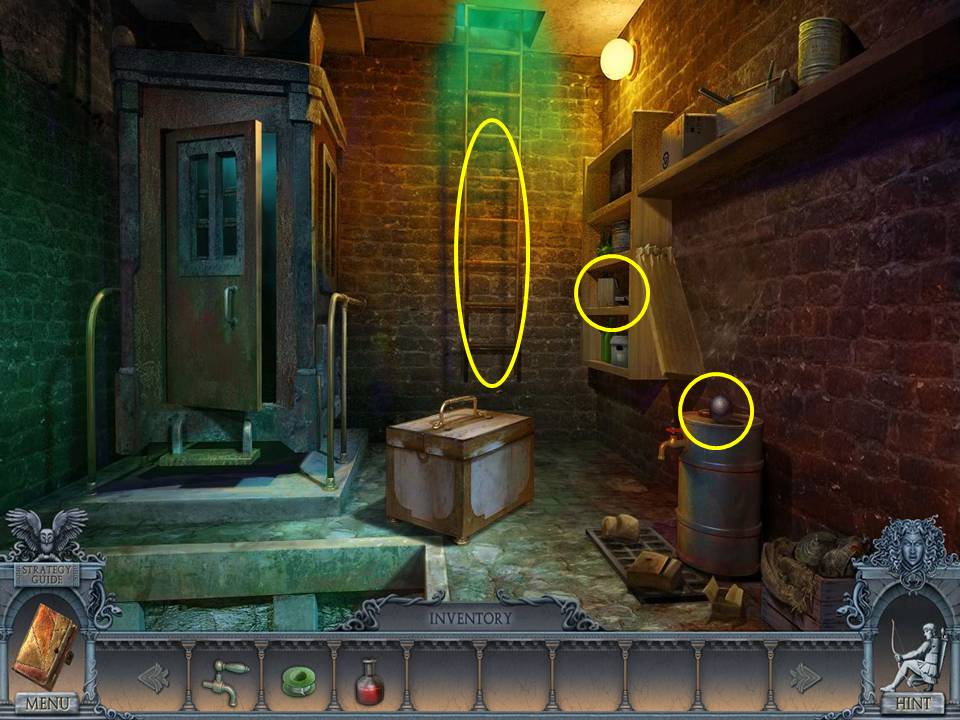
- Zoom into the shelf.
- Take the HAND.
- Take the CANNONBALL.
- Try to scale the ladder.
- Move forward on the left into the cable car.
- Click the lever.
- Zoom into the Trojan horse to play a HOA.
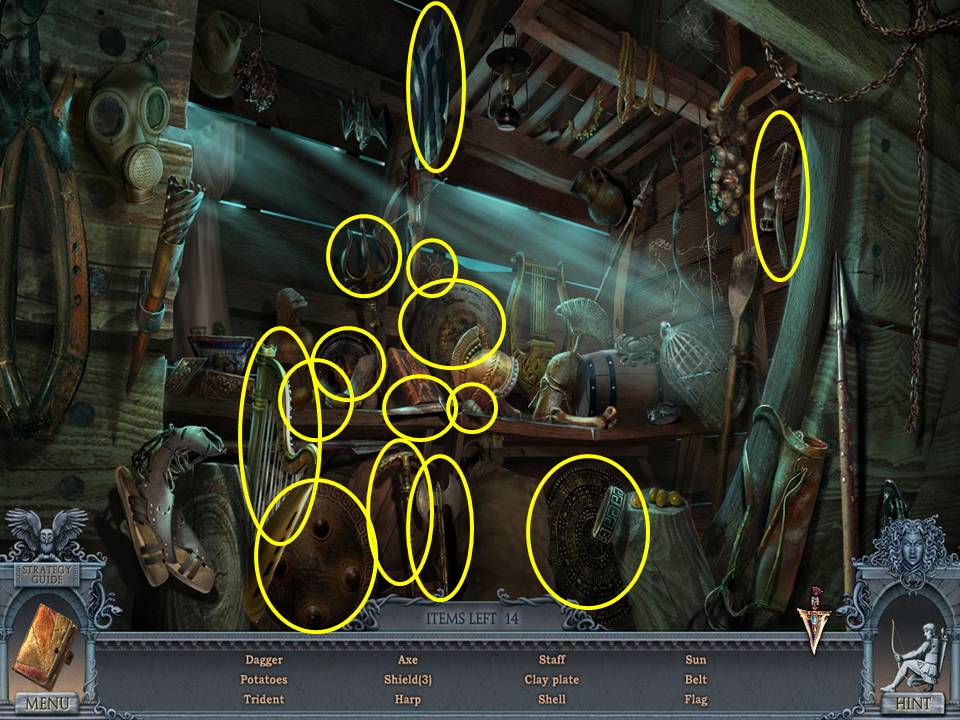
- Find the items listed.
- Receive the GAS MASK.
- Enter the cable car and click to push the lever forward.
- Use the GAS MASK on the ladder.
- Scale the ladder.
- Zoom into the roots.
- Take the WINCH HANDLE.
- Click down.
- Re-enter the cable car.
- Click the lever.
- Go to the second floor of the tavern building on the right.
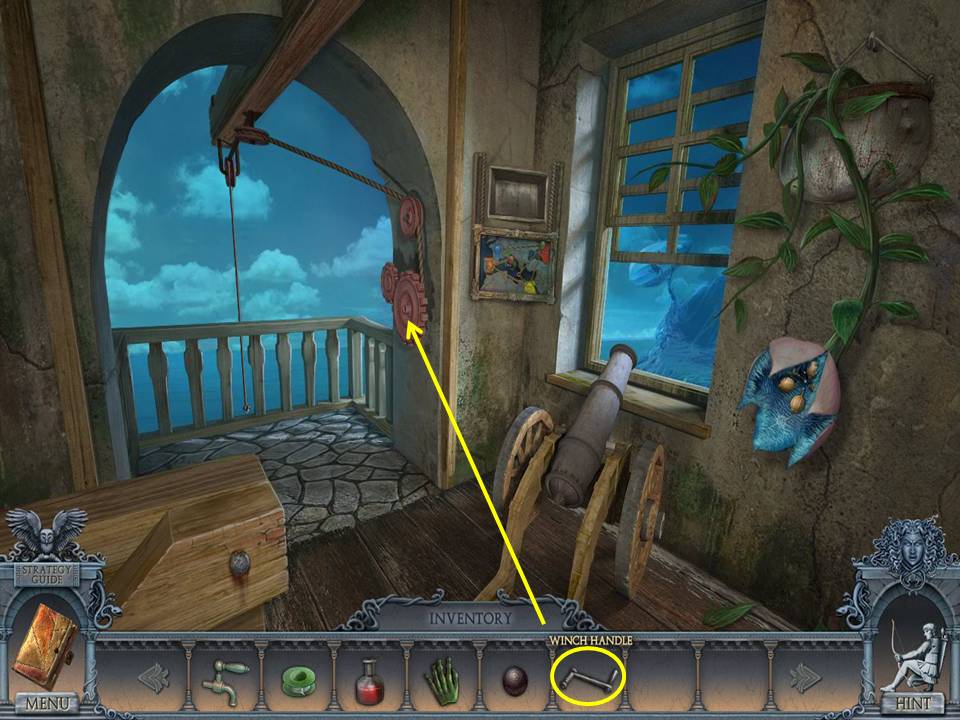
- Put the WINCH HANDLE on the gears.
- Click the handle twice.
- Take the GUN POWDER and CLAMP.
- Go back to the cable car.
- Click the lever and scale the ladder.
- Zoom into the roots.
- CLAMP the pipe.
- Zoom into the opened door.
- Take the BOARDS.
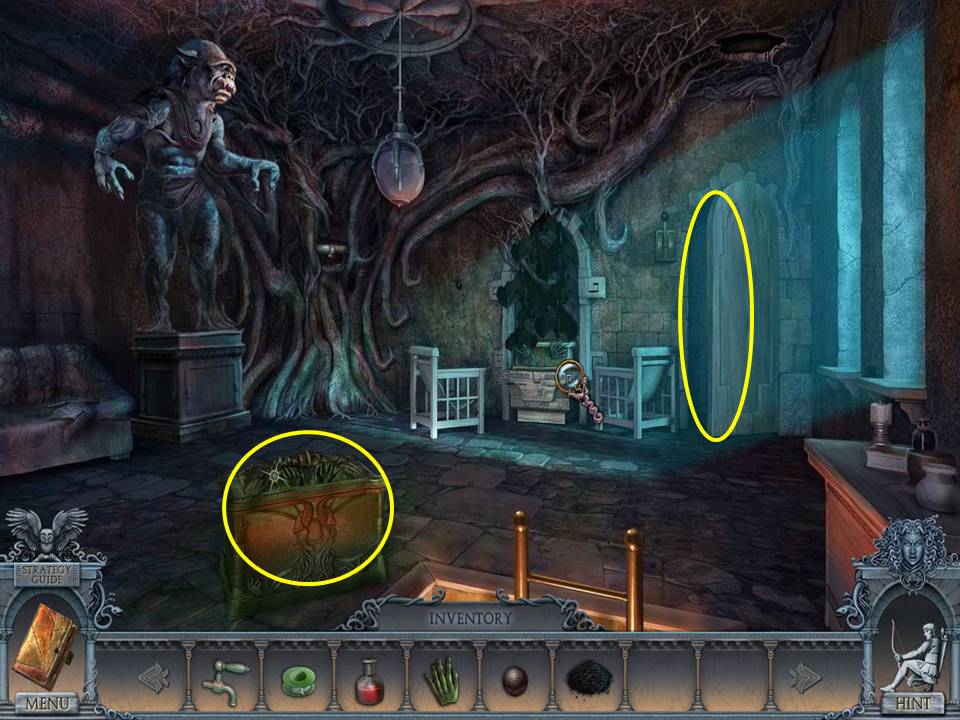
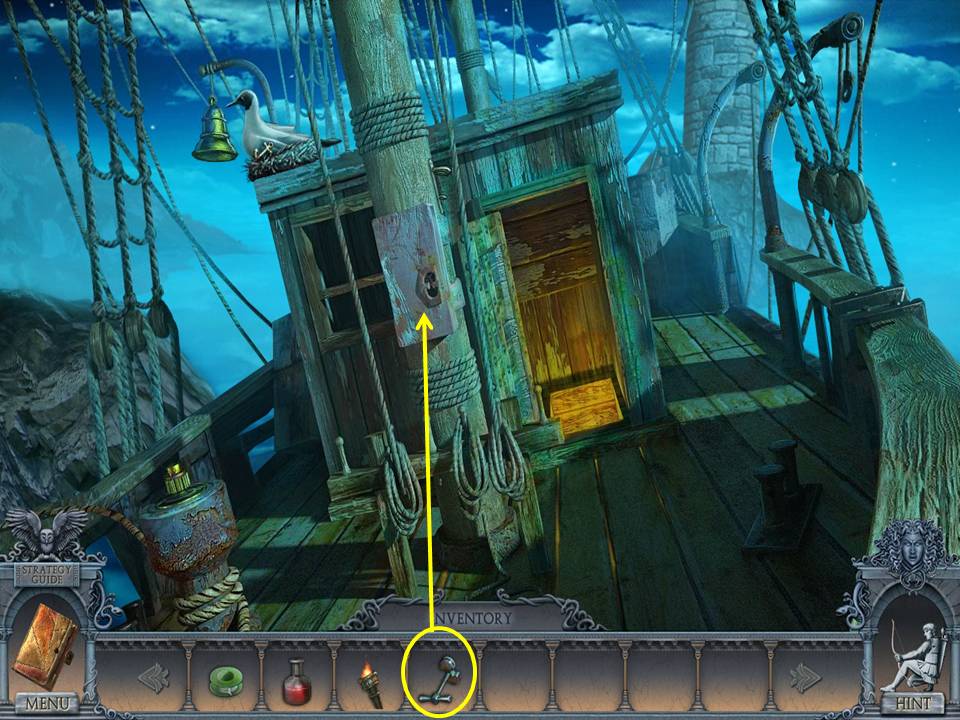
- Zoom into PANDORA’S BOX and place the HAND on the left handprint.
- Take the UNLIT TORCH.
- Return using the cable car and go right over the bridge.
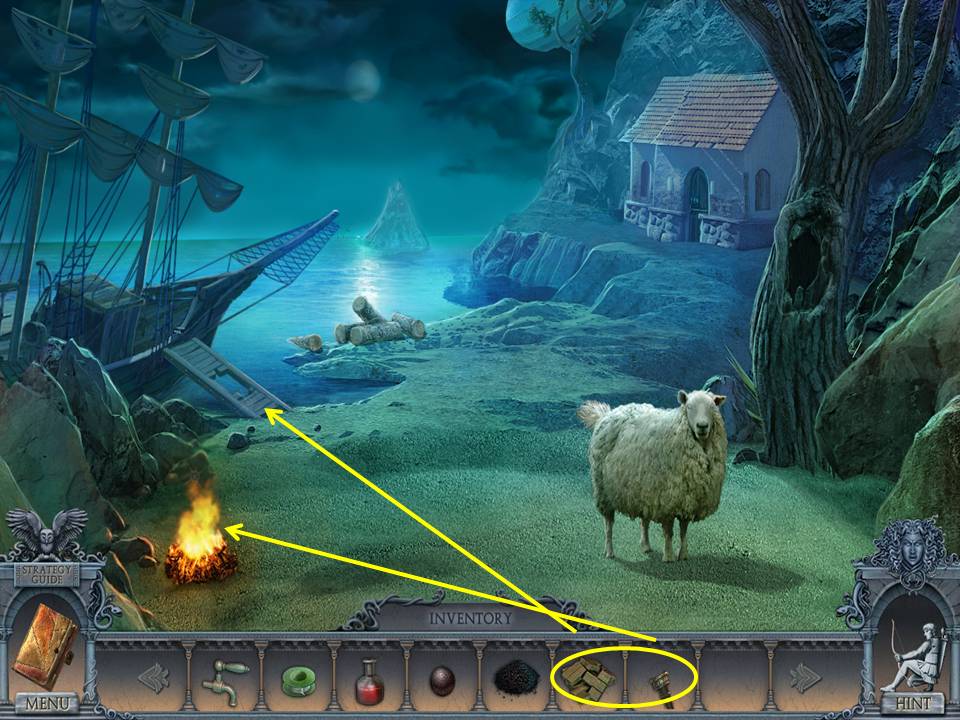
- Light the UNLIT TORCH in the fire to get the LIT TORCH.
- Zoom into the ship’s ramp.
- Place the BOARDS on it to initiate a puzzle.
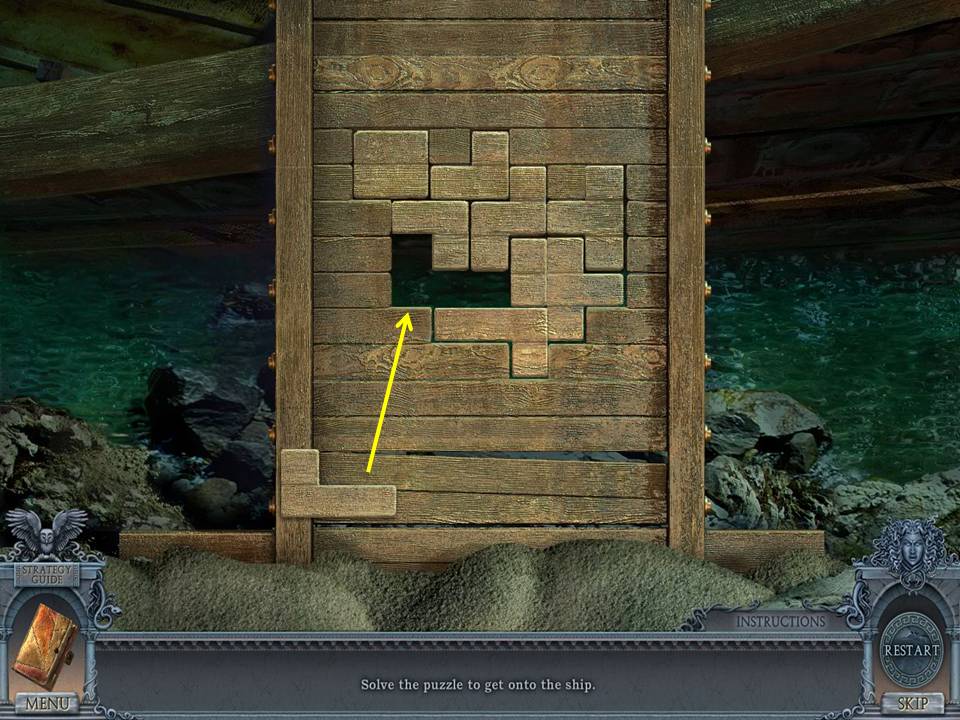
- The object of the puzzle is to arrange the boards to fill the space.
- See screenshot for final move.
- Go up the ramp to the ship.
- Take the JUG.
- Click down twice.
- Enter the tavern.
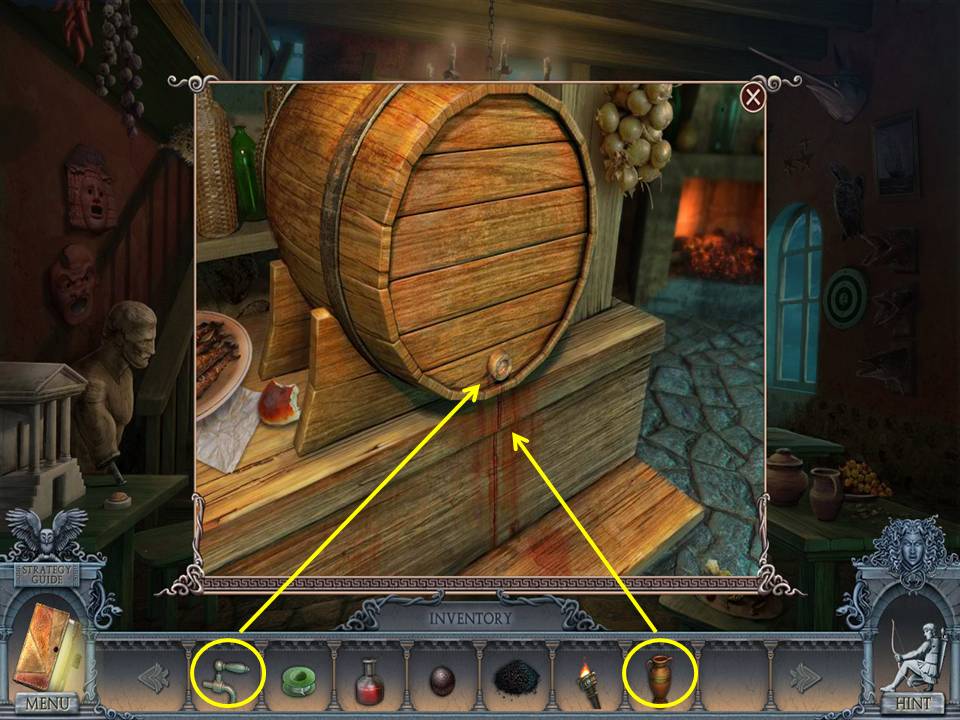
- Zoom into the barrel and place the TAP on it.
- Slide the JUG under the tap.
- Click the tap to fill the jug.
- Take the RUM.
- Go upstairs.
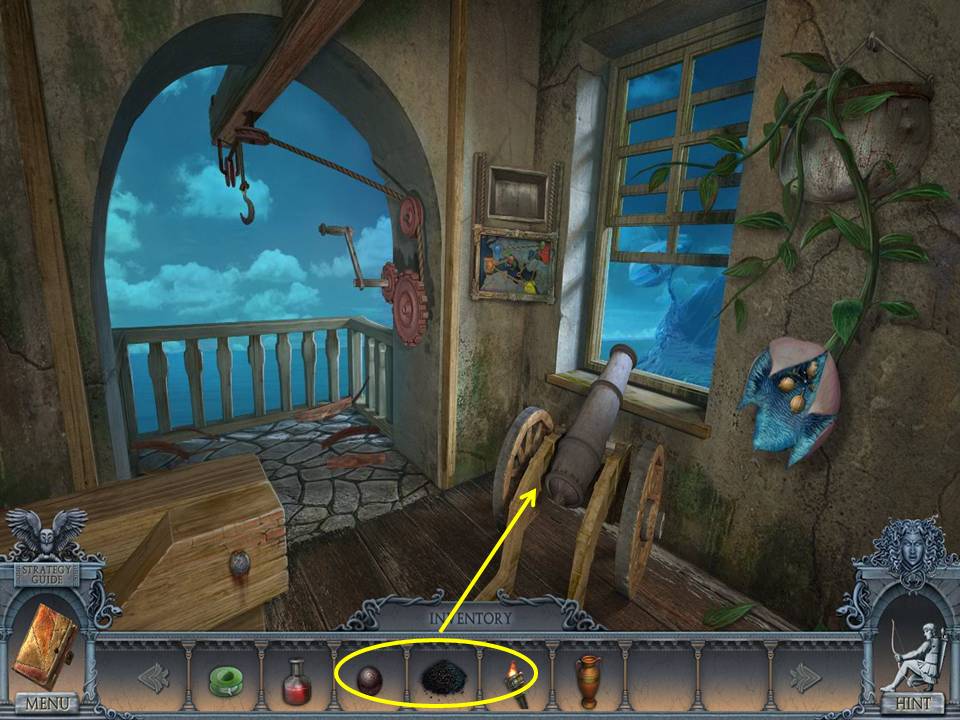
- Place the GUN POWDER, CANNON BALL and LIT TORCH on the cannon.
- Click down twice.
- Cross the bridge.
- Zoom into the blimp.
- Take the ARM and CORD.
- Click down and enter the building.
- Place the ARM on the wrestler.
- Take the LOCK PIECE.
- Go to the cable car.
- Click the lever.
- Scale the ladder.
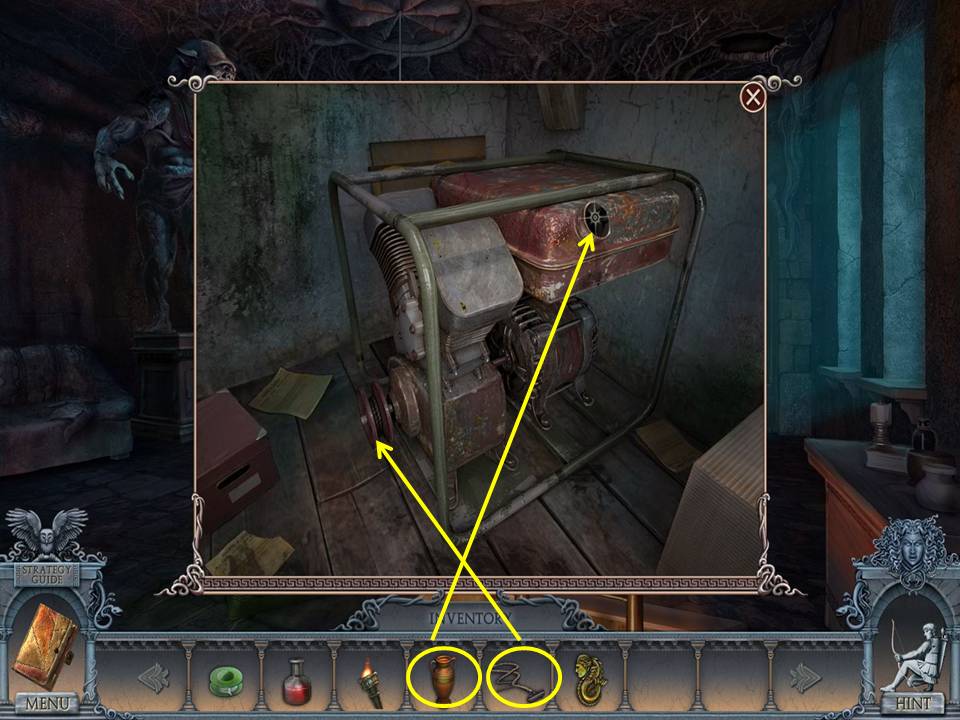
- Zoom into the generator room.
- Put the CORD on the wheel and the RUM in the tank. Click the CORD.
- Change the lighting in the room.
- Zoom into the shelves to play a HOA.
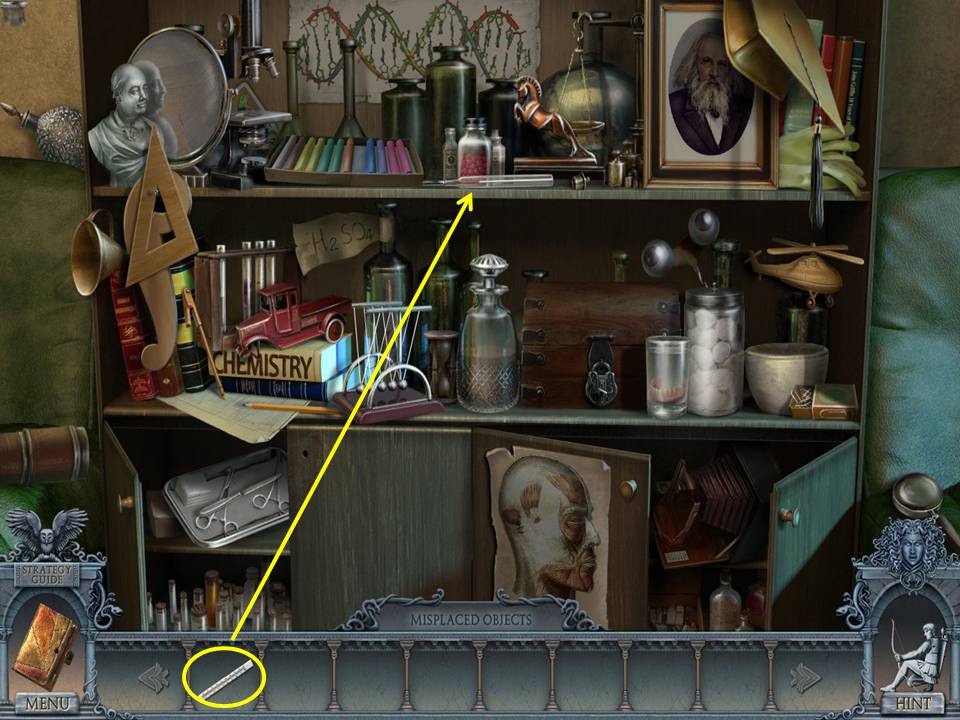
- In this HOA, you place the items in their appropriate spots in the scene.
- See screenshot for placements and final move.
- When finished, receive the second LOCK PIECE.
- Change the lighting in the room.
- Click the alcove to shoo the bats.
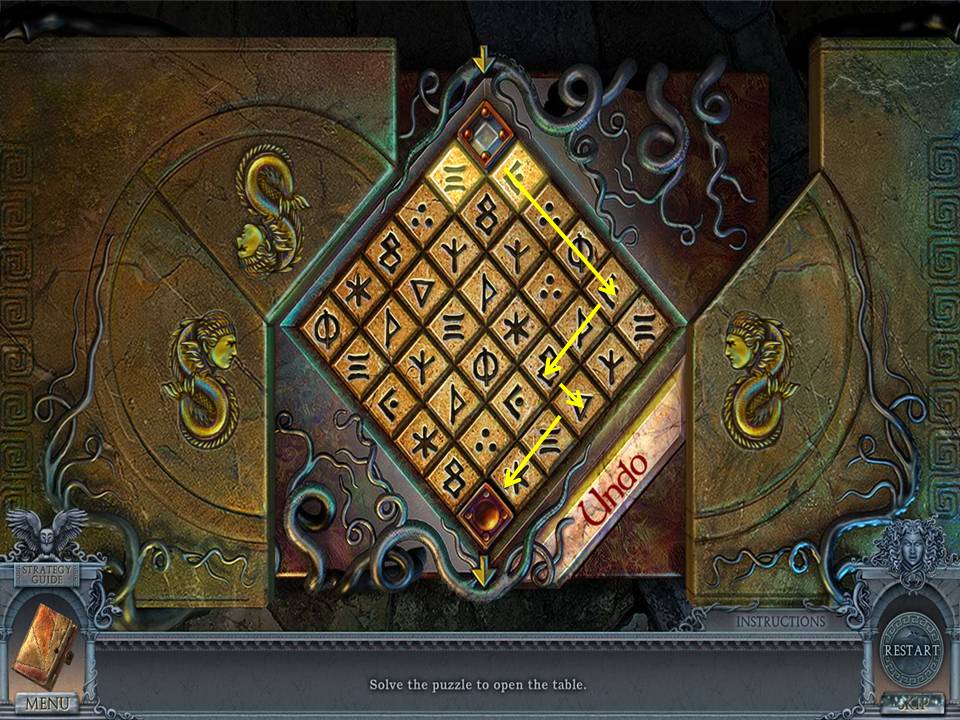
- Zoom into the table and place the two LOCK PIECES on the lid to initiate a puzzle.
- The object of the puzzle is to guide the square to the bottom slot.
- See screenshot for solution.
- When finished, take the COLUMN PART.
- Change the lighting in the room.
- Place the COLUMN PART on the column.
- Ascend the staircase.
- Take the MUG and DARTS.
- Click down twice.
- Ride the cable car.
- Enter the tavern.
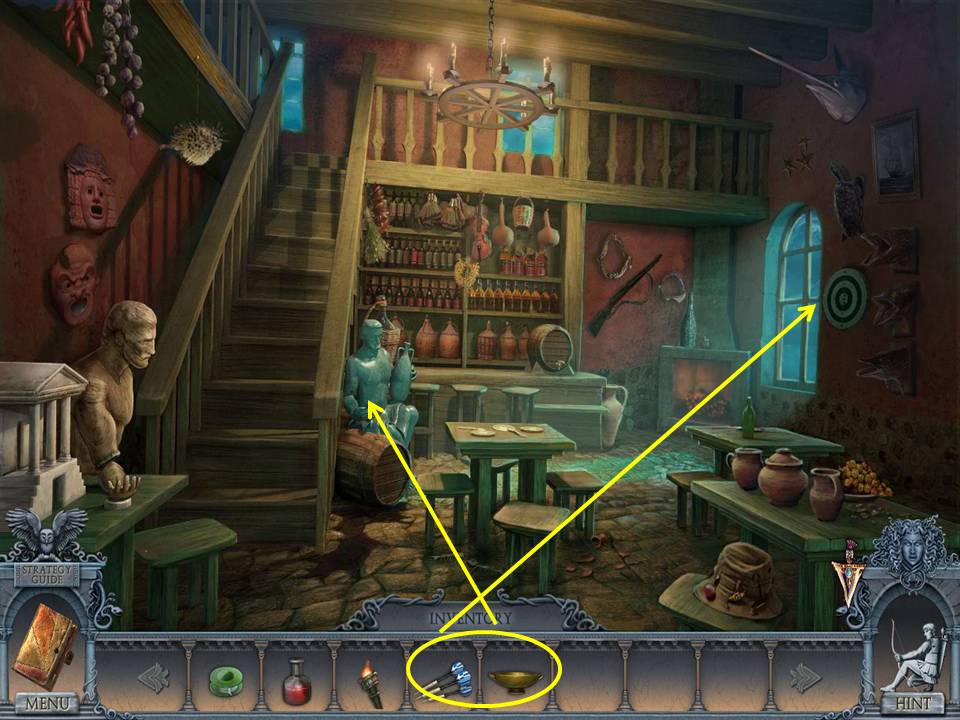
- Zoom into the statue.
- Put the MUG in its hand.
- Take the WEIGHT.
- Zoom into the dartboard.
- Throw the DARTS at it.
- Take the HAND.
- Click down.
- Ride the cable car.
- Scale the ladder.
- Change the lighting in the room.
- Zoom into Pandora’s Box.
- Put the hand in the appropriate space.
- Change the lighting in the room.
- Take the SCIENTIST.
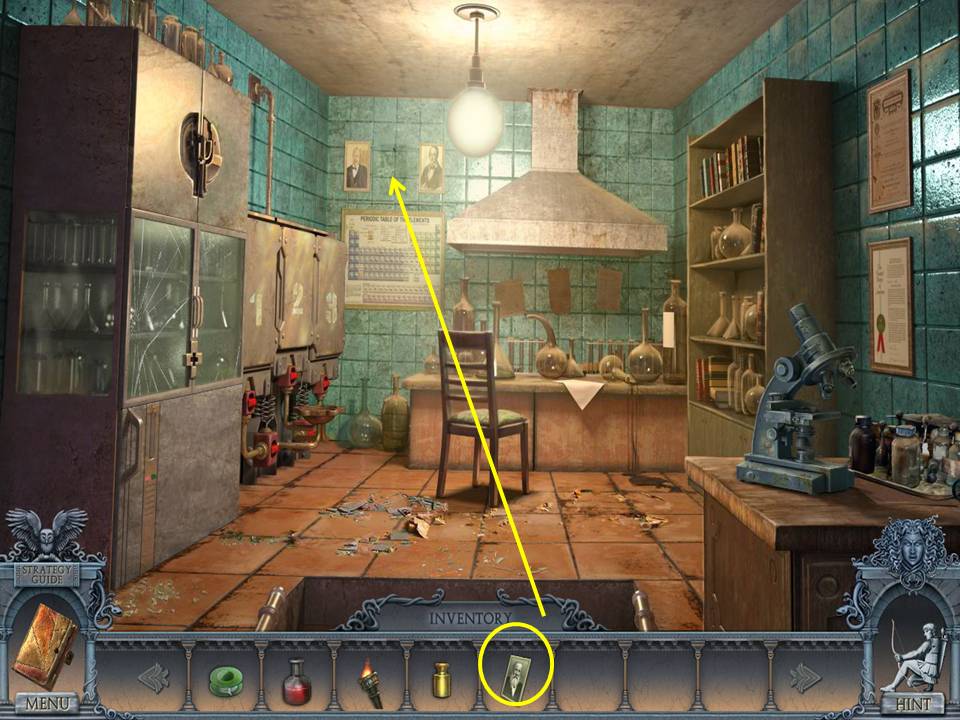
- Go upstairs to the lab.
- Place the SCIENTIST on the wall.
- Take the MAGIC BALL.
- Click down.
- Put the MAGIC BALL on the statue.
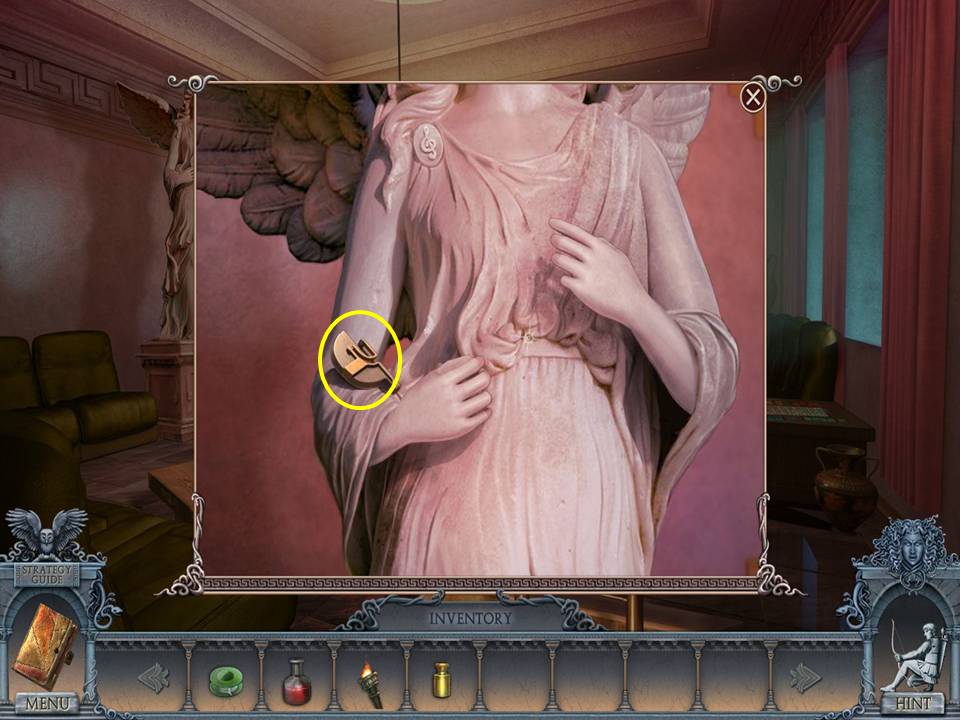
- Zoom into the angel statue.
- Take the BAS RELIEF.
- Go to the library.
- Go left into the elevator.
- Click the down button.
- Zoom into the cabinet.
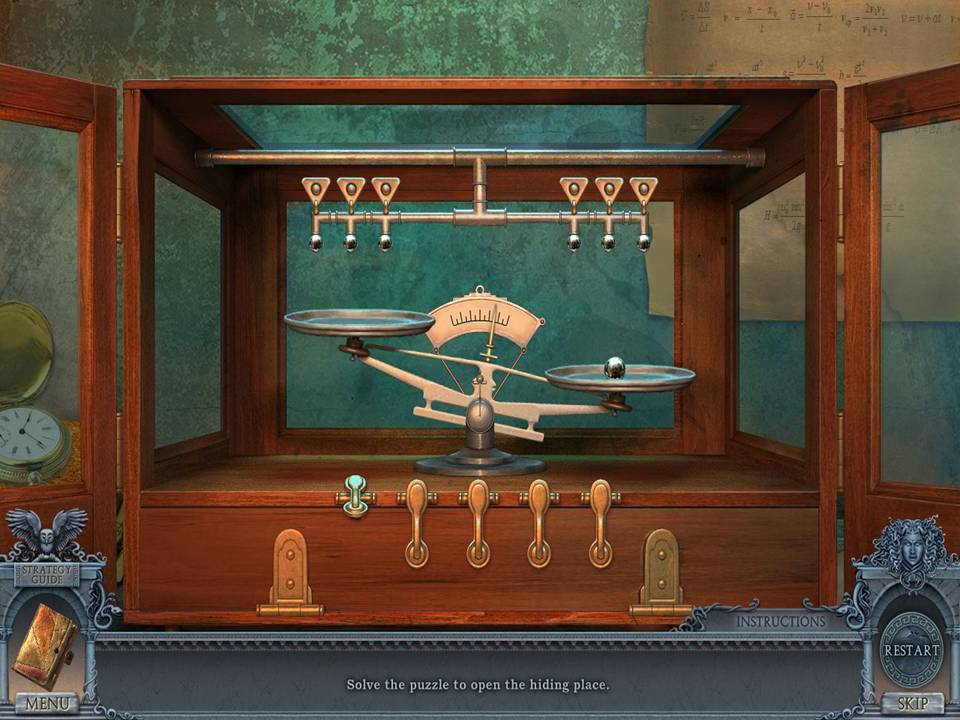
- Place the WEIGHT in the lock to initiate a puzzle.
- The object of the puzzle is to balance the scales five times.
- Do this by choosing tabs and dropping the balls on the scales to balance them.
- Click and hold the tab to increase the size of the ball.
- When finished, take the SEED.
- Click down and ride the elevator back up.
- Change the lighting in the room.
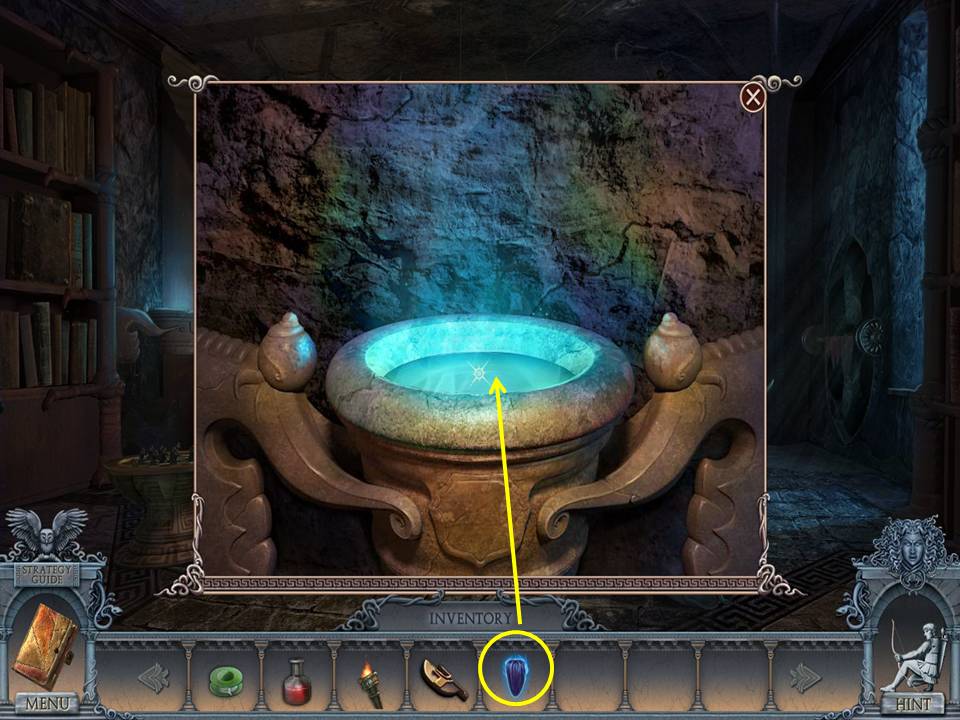
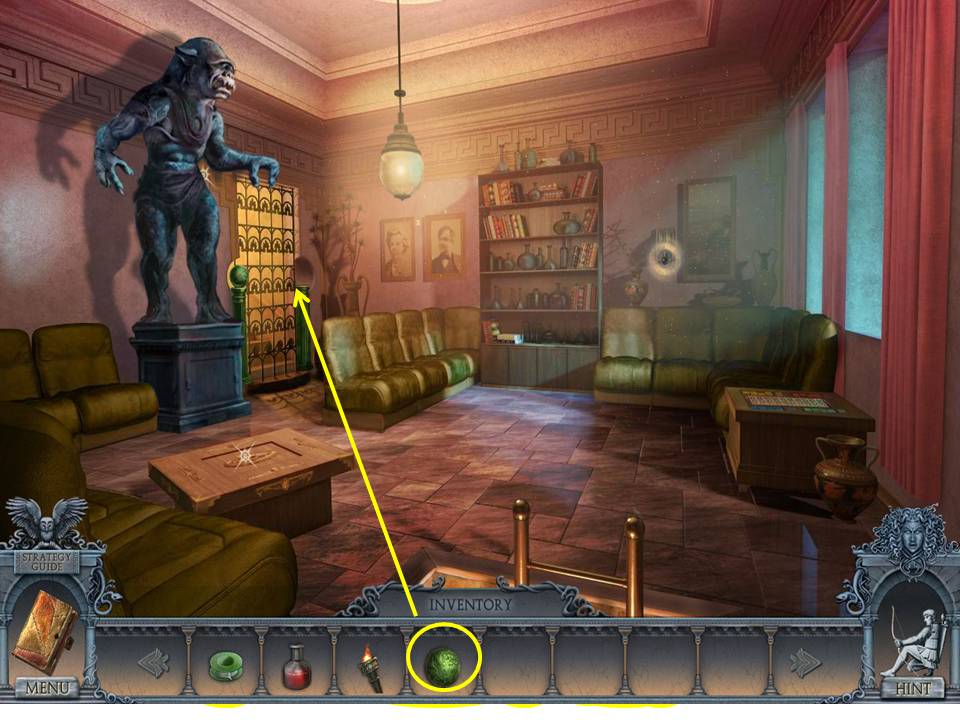
- Zoom into the magic pot.
- Plant the SEED in it.
- Take the FIRE FLOWER.
- Return to the cable car.
- Click the lever to push it forward.
- Scale the ladder.
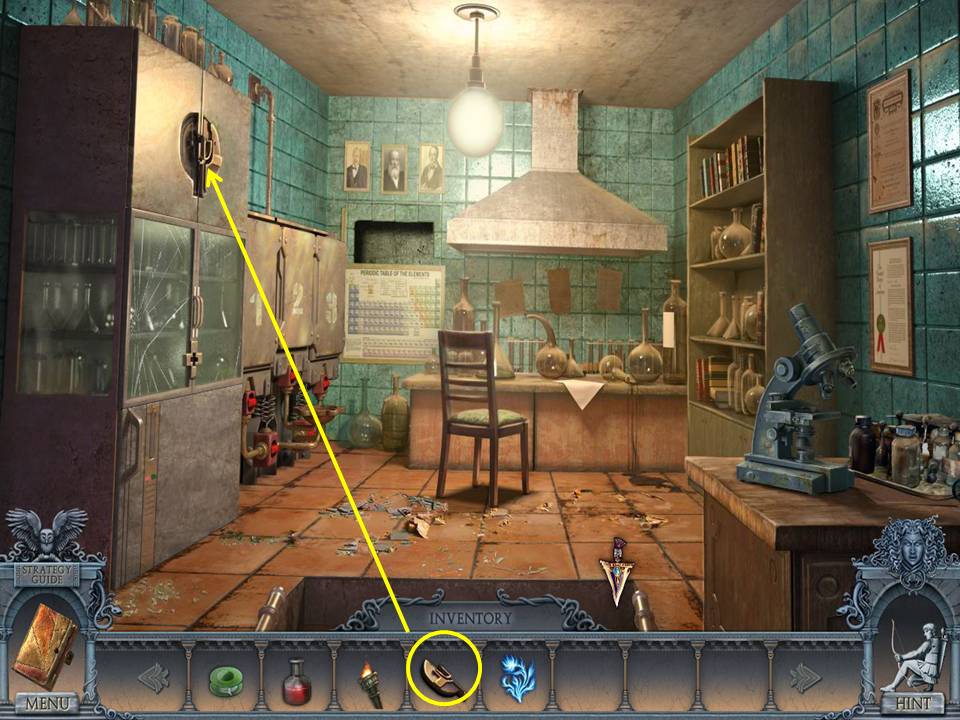
- Go left to the lab.
- Put the BAS RELIEF on the cabinet.
- Take the KEY.
- Go back and ride the cable car.
- Head right over the bridge.
- Enter the ship.
- Use the FIRE FLOWER on the Harpy.
- Unlock the cabinet with the KEY.
- Take the TREBLE CLEF.
- Descend into the hold through the door the Harpy blocked.
- Put the TREBLE CLEF on the case.
- Take the EYEPIECE.
- Zoom into the chest.
- Take the ROPE.
- Click down twice.
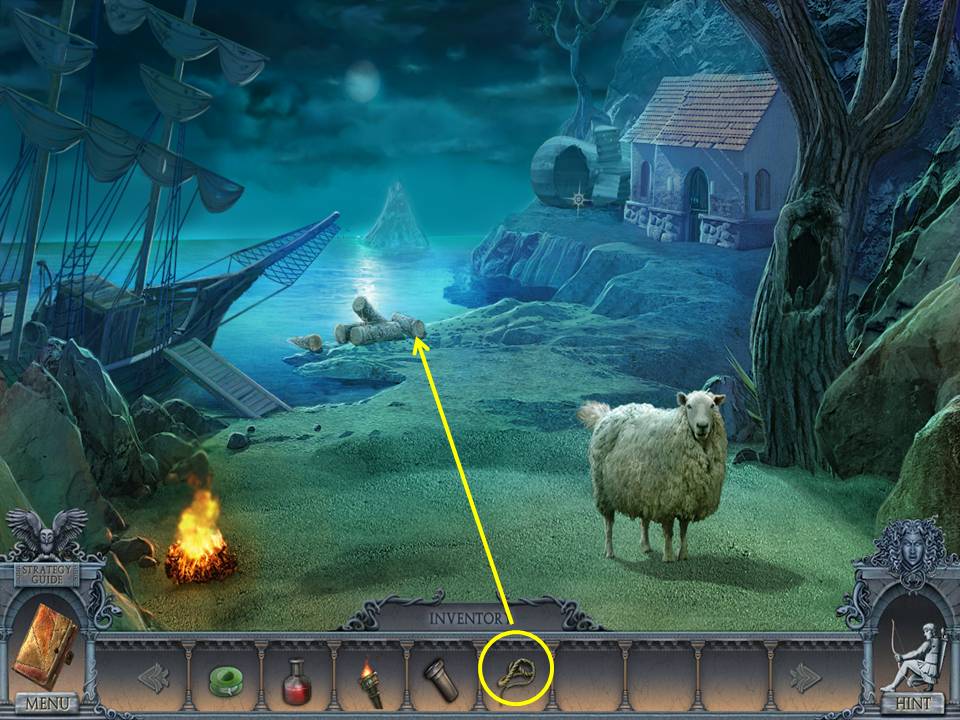
- ROPE the logs to make a raft.
- Move ahead on the raft.
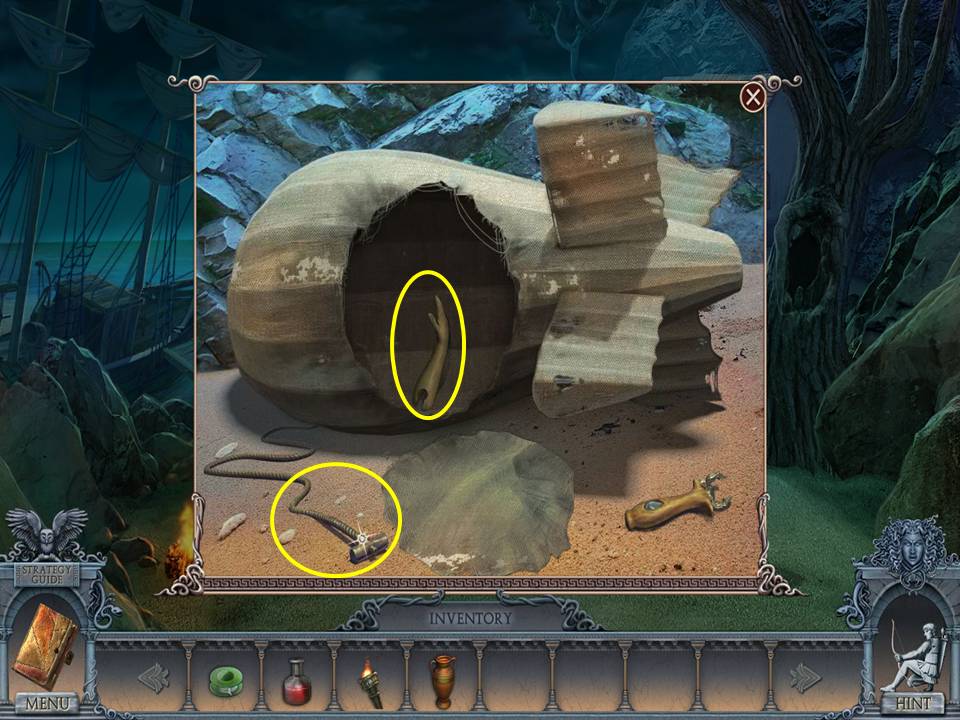
- Take the TONGS and HOSE.
- Go back to the ship’s hold.
- Put the HOSE on the pump.
- Click the handle.
- Take the PUZZLE PIECE.
- Return to the cable car.
- Click the lever.
- Scale the ladder.
- Zoom into the shelves to play a HOA.
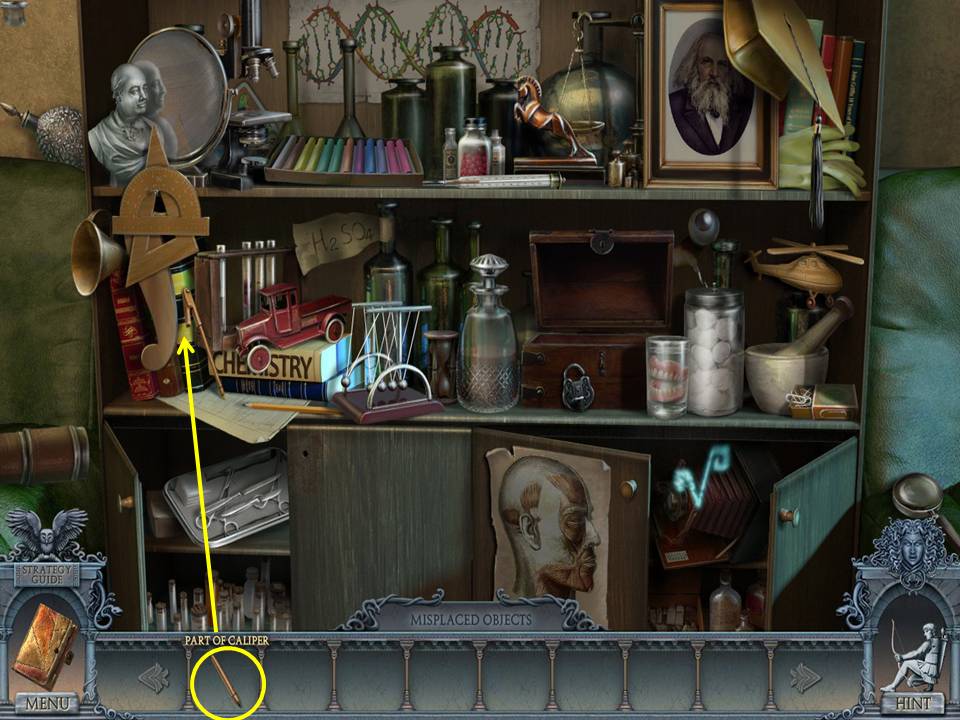
- Return the items to the places in the scene where they belong.
- See screenshot for placement and final move.
- Receive a CARD.
- Go left to the lab.
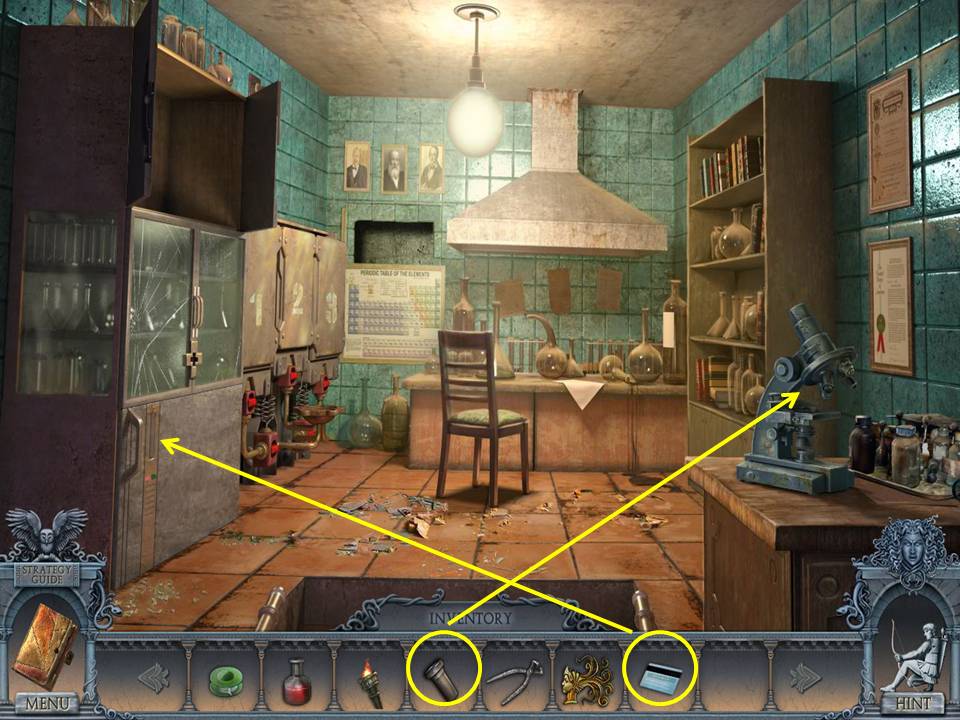
- Use the CARD on the cabinet.
- Take the LIQUID. Insert the EYEPIECE in the microscope.
- Zoom in.
- Click the center of the seed to obtain the pieces to create the seed.
- Take the SEED.
- Click down.
- Change the lighting in the room.
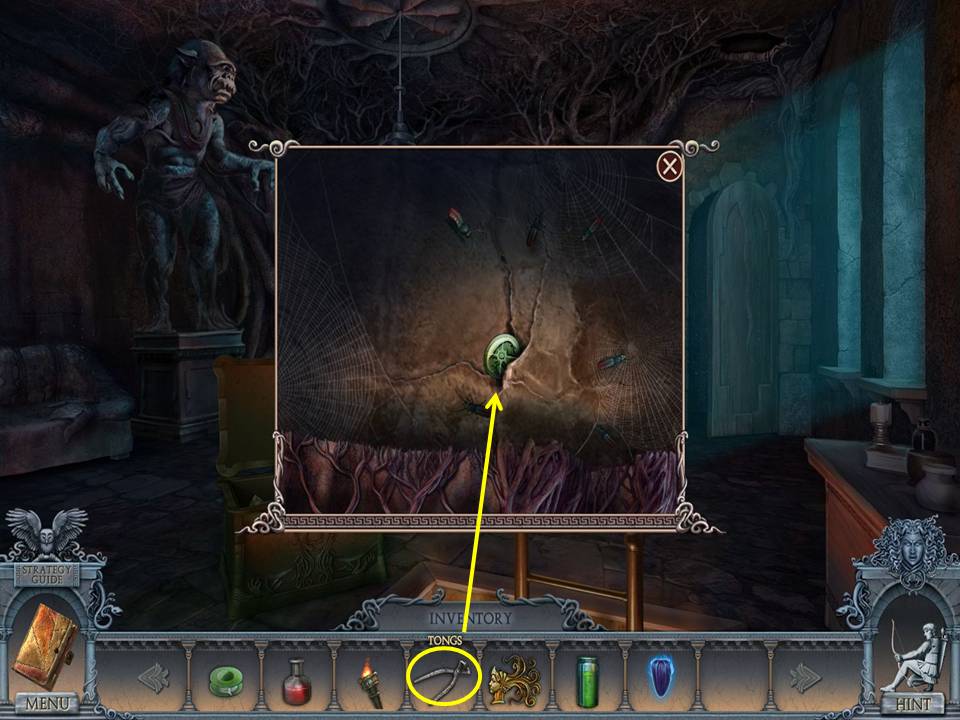
- Zoom into the hole in the ceiling.
- Pluck the MAP PART with the TONGS.
- Return to the ship’s hold.
- Zoom into the map.
- Put the MAP PART in place to initiate a puzzle.
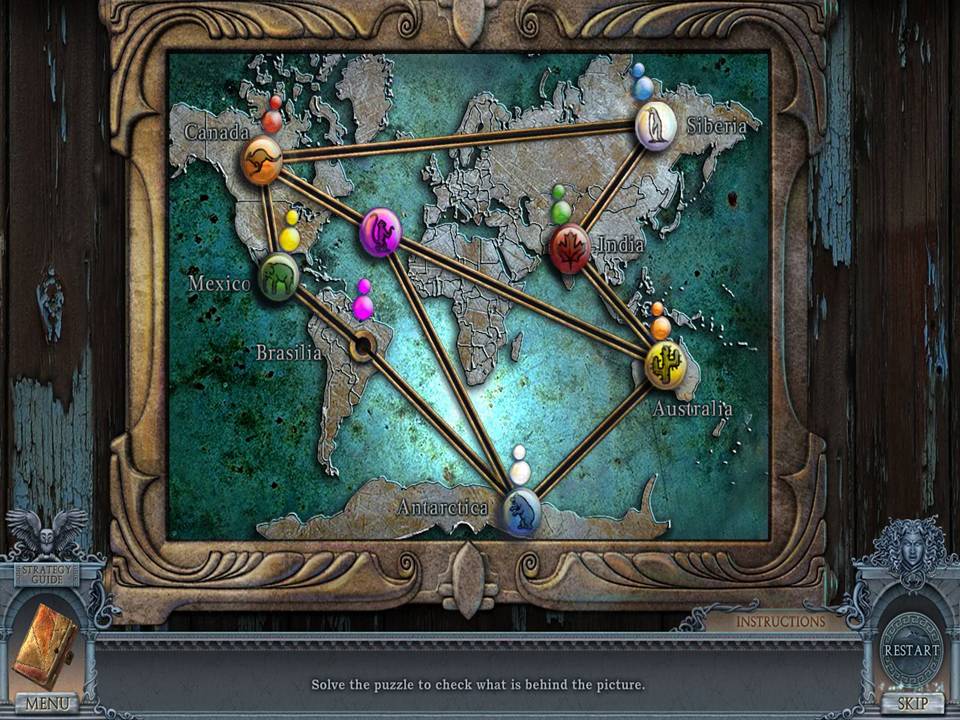
- The object of the puzzle is to move the chips to their matching locations.
- Click locations in this order: Antarctica, Atlantic Ocean, Australia, Antarctica, Atlantic Ocean, Canada, Mexico, Brasilia, Antarctica, Australia, India, Siberia, Canada, Mexico, Brasilia, Antarctica, Atlantic Ocean, Australia, India, Siberia, Canada, Atlantic Ocean, Antarctica, Australia, Atlantic Ocean.
- When finished, take the (musical) NOTE.

- Place the NOTE on the case.
- Take the HARP. Ride the cable car to the House of Kleitos.
- Scale the ladder.
- Change the lighting in the room.
- Zoom into the angel statue.
- Give her the HARP.
- Take the BULB.
- Return to the crypt.
- Zoom into the lamp.
- Insert the bulb in the lamp.
- Click anywhere on the screen to receive a second LIQUID.
- Click down and go to the library.