
League of Light: Wicked Harvest: Chapter Five: The Ritual
Our League of Light: Wicked Harvest Walkthrough will watch your back as you explore the town of Blake's Mountain where the children of the town have gone missing and a fabled Red Moon is on the rise. Trust our detailed game instructions, our custom marked screenshots, and easy-to-understand puzzle solutions to see you safely through this new investigation for the League of Light!
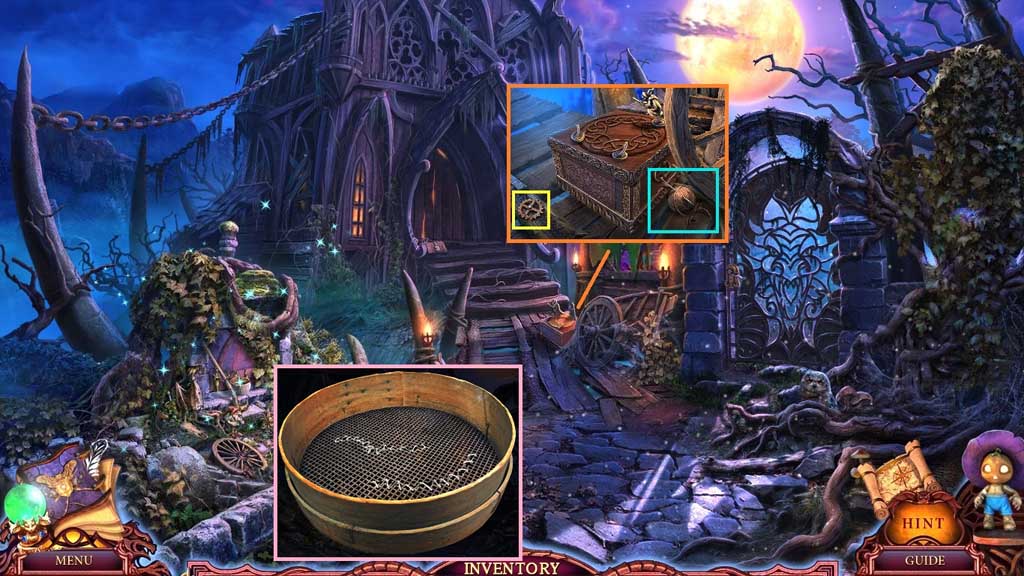
- Collect 1 /3 rusty gears.
- Select the feather duster to remove the cobwebs; collect the needle and thread.
- Click the broken sieve and use the needle and thread to repair it; collect the sieve.
- Move down once.

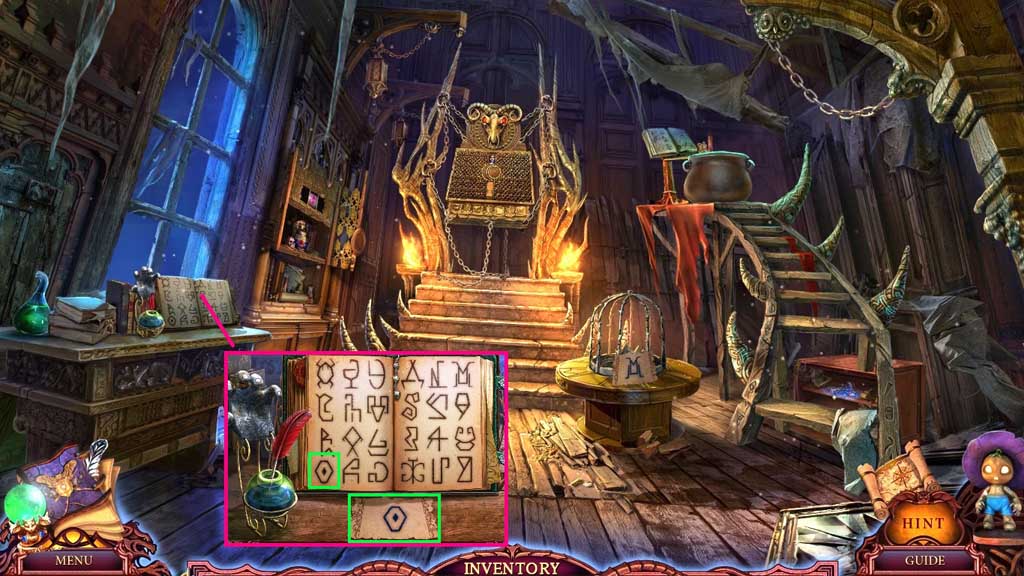
- Sift the dirt using the sieve; collect the ancient rune.
- Select the little scarecrow to collect the miner box.
- Move to the Covert.
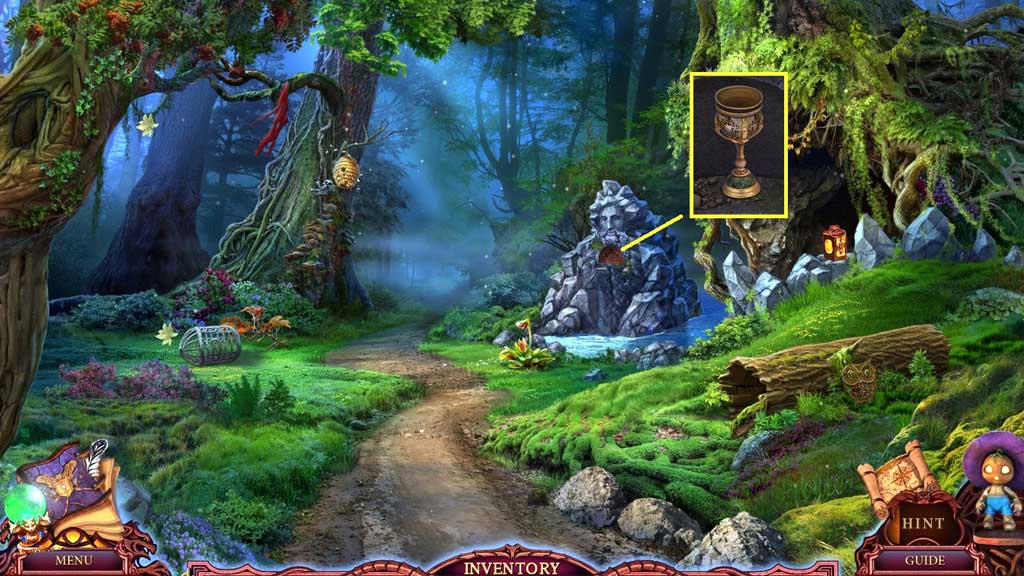
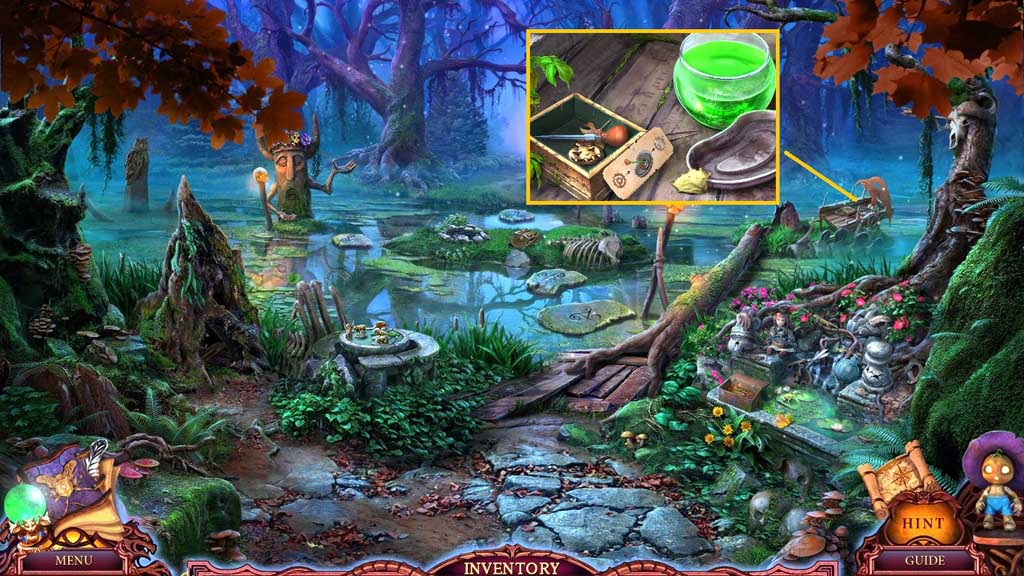
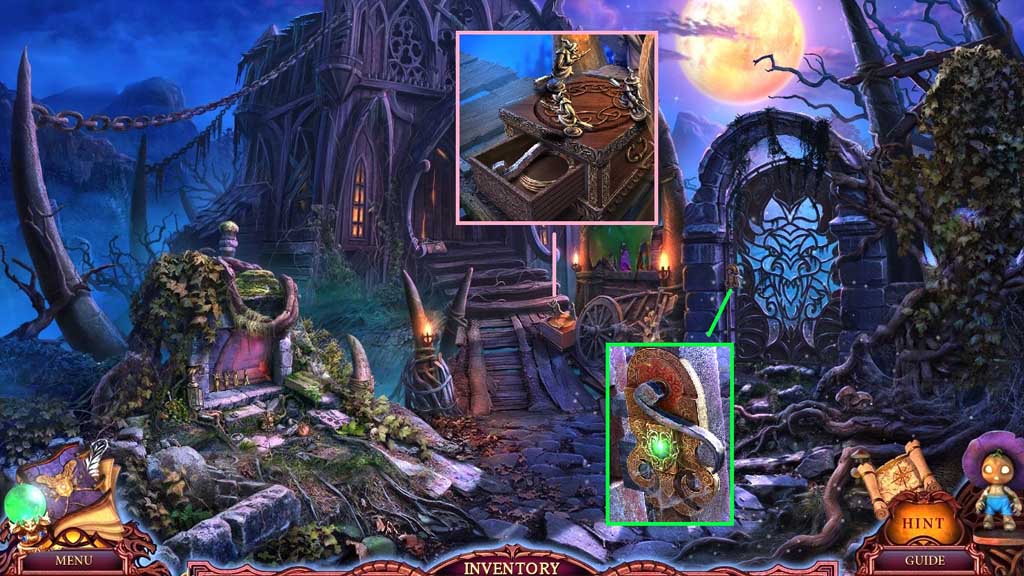
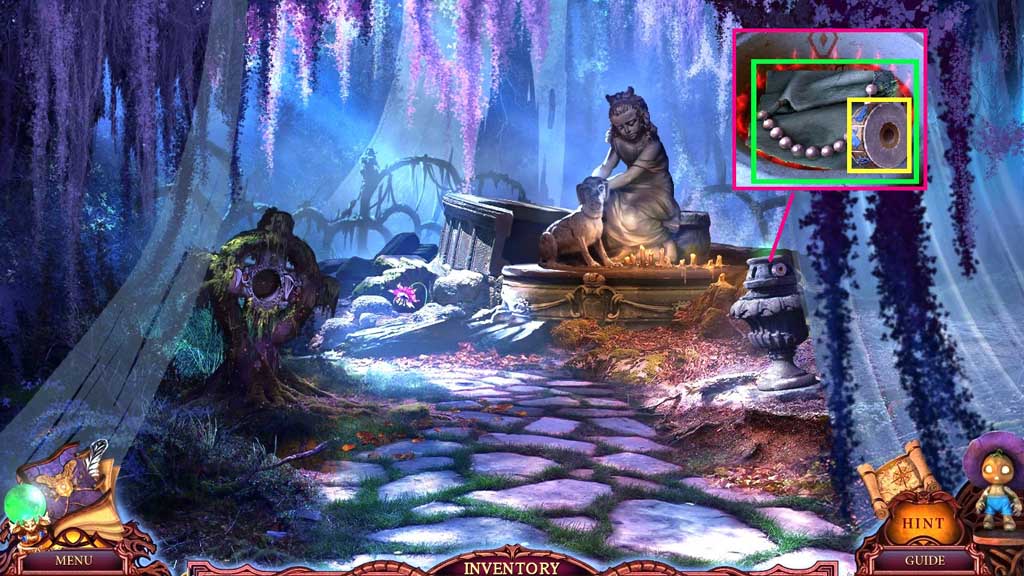
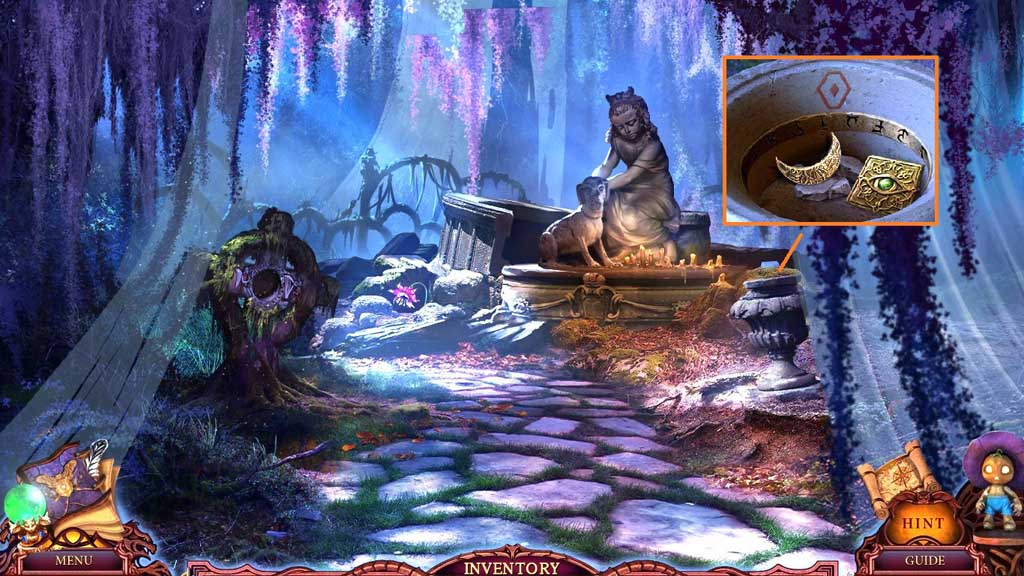
- Insert the ancient rune; collect the cup.
- Move to the House on the Hill.
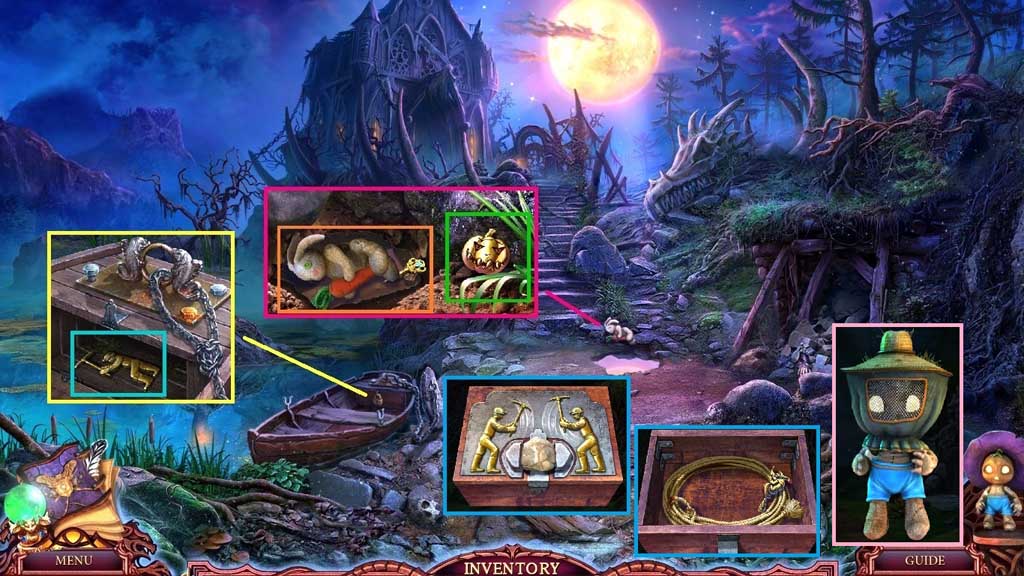
- Click the grass; collect 1 /2 pumpkins.
- Click the bunny and select the cup to remove the water; collect the bunny and key.
- Click the boat 2x’s and insert the key to collect the gold miner.
- Click the gold miner box and insert the gold miner.
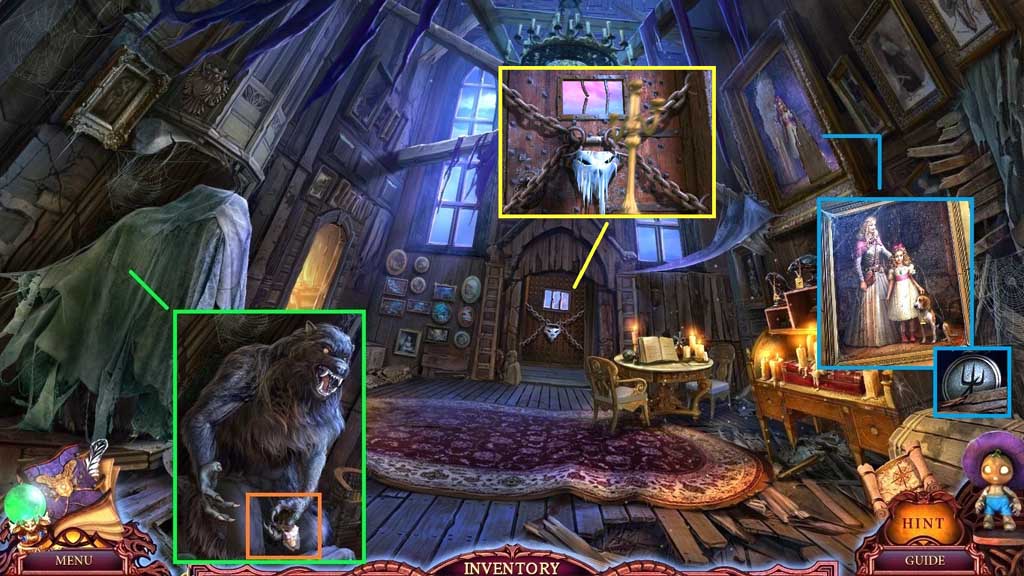
- Collect the beekeeper’s hat, the witch figure and the lasso.
- Click the beekeeper’s hat and place it onto the little scarecrow.
- Move to the Covert.
- Select the little scarecrow to collect the poison emblem.
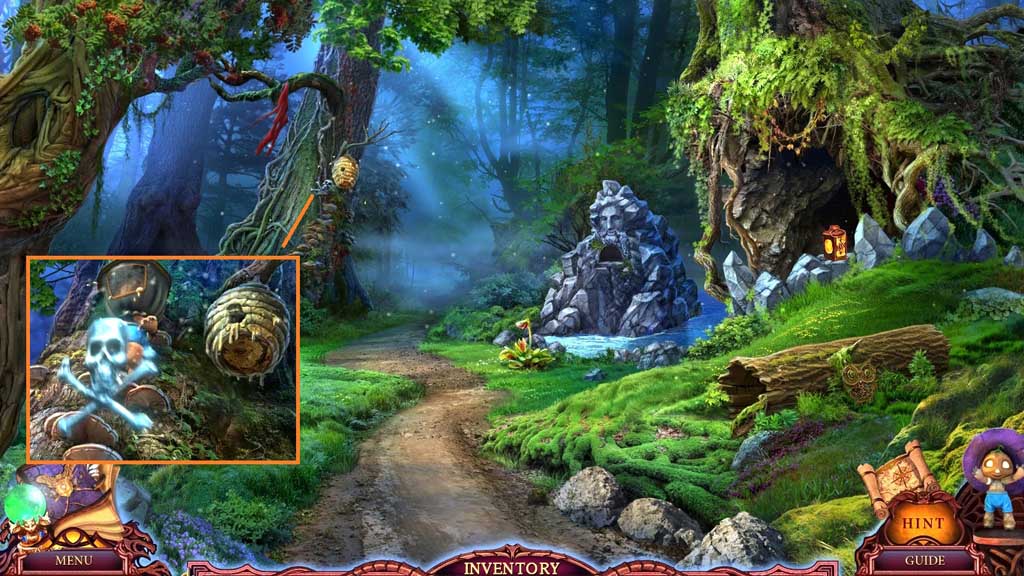
- Move to the Swamp.
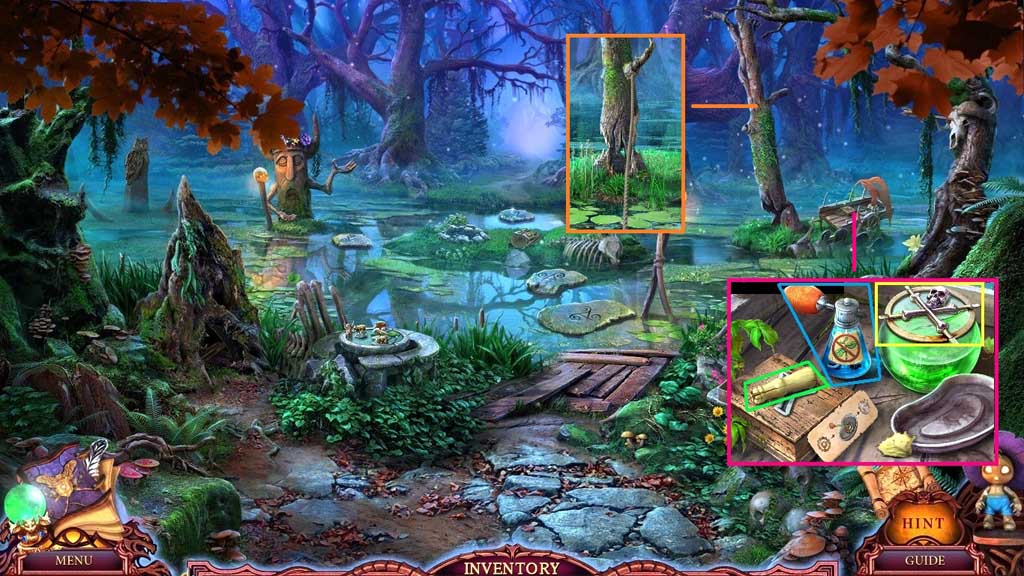
- Toss the lasso onto the branch to pull down the tree.
- Collect the handle and the herbicide.
- Insert the poison emblem; click it.
- Move to the Witch’s Hut.
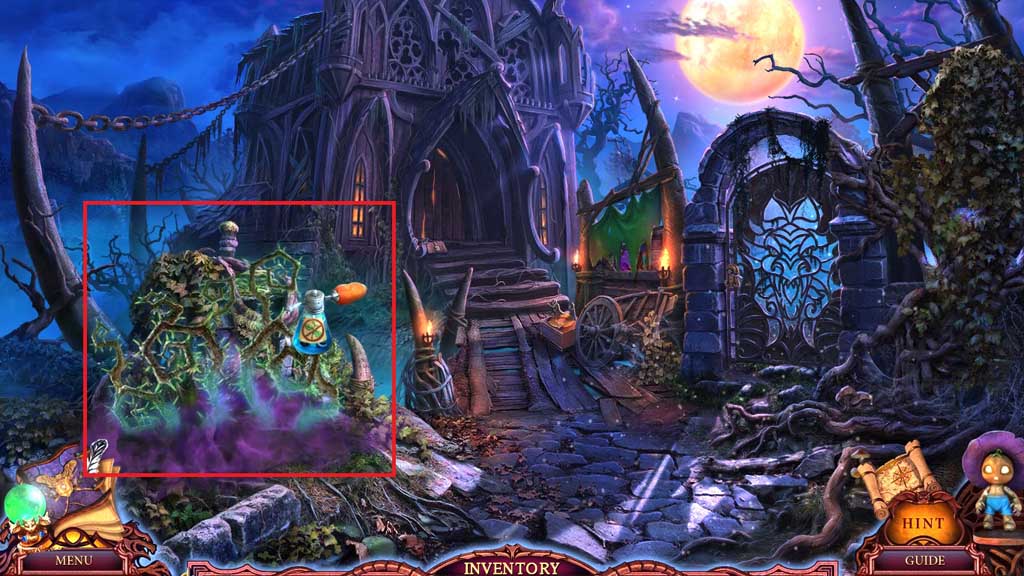
- Click the sparkles and spray the herbicide to reveal the hidden objects area.
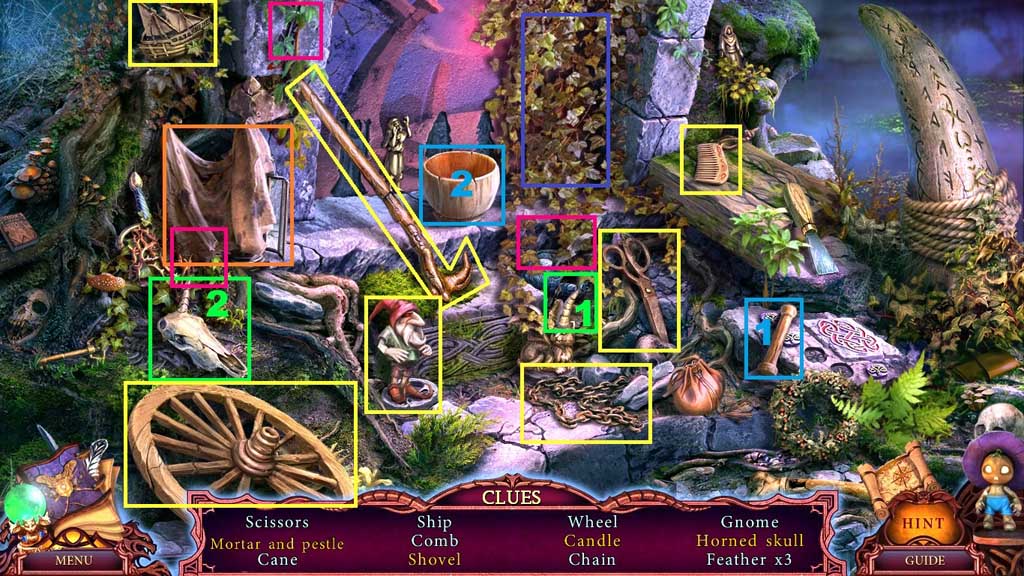
- Find the items.
- Select the pestle and place it into the mortar; collect the mortar and pestle.
- Click the shrubbery; collect the shovel.
- Click the cloth; collect the candle.
- Select the horn and place it onto the skull; collect the horned skull.
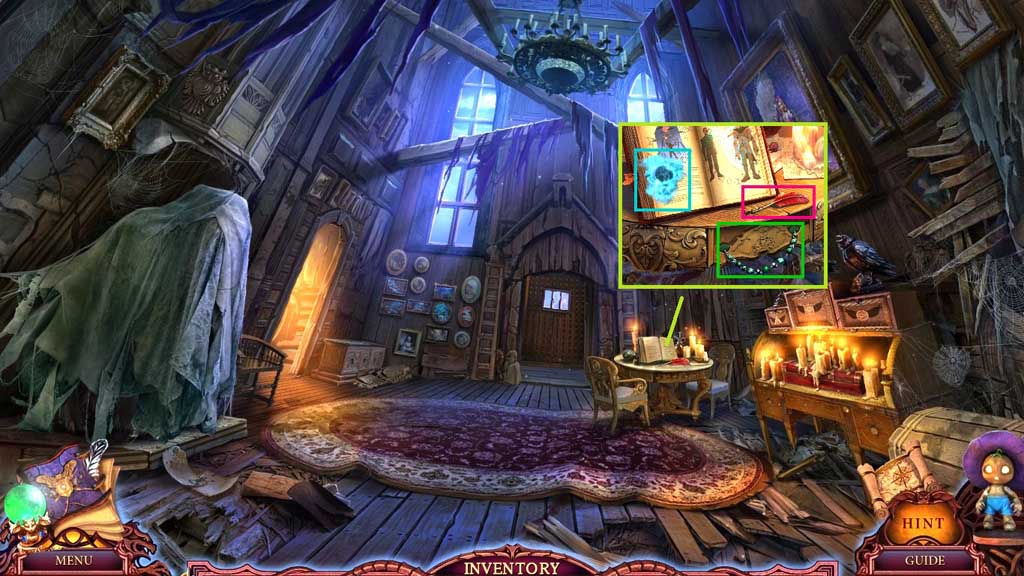
- Collect the scissors.
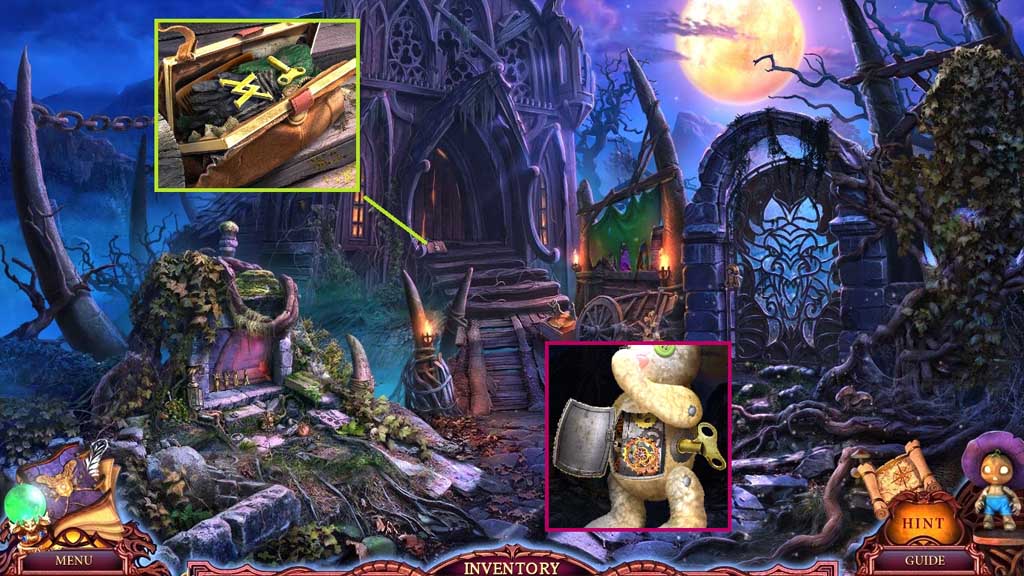
- Click the door and zoom into the case.
- Click the key to and select the scissors to open the case.
- Click the case and collect the alchemical symbol and toy key.
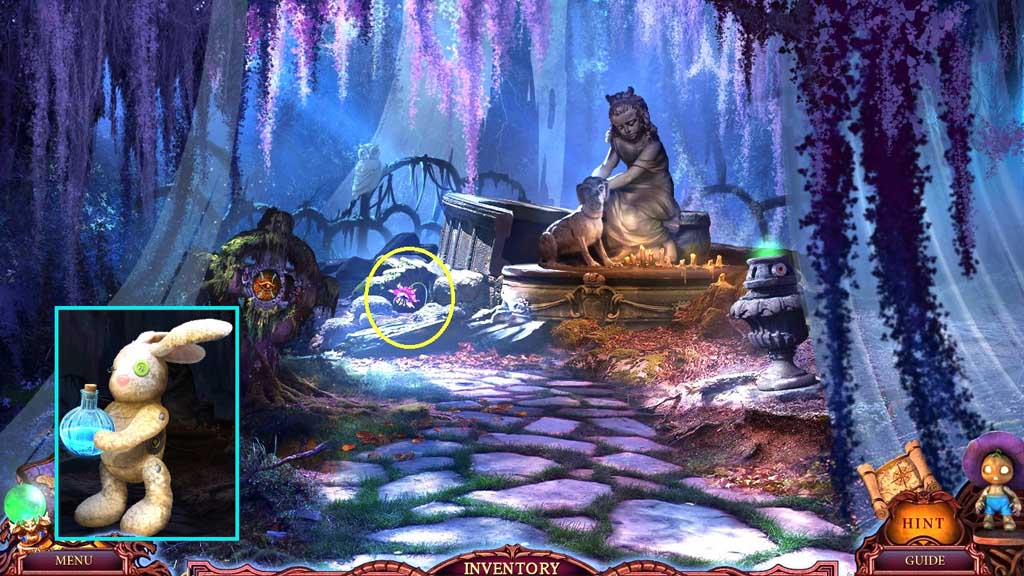
- Click the bunny, and then click the carrot and the bunny’s stomach.
- Insert the toy key.
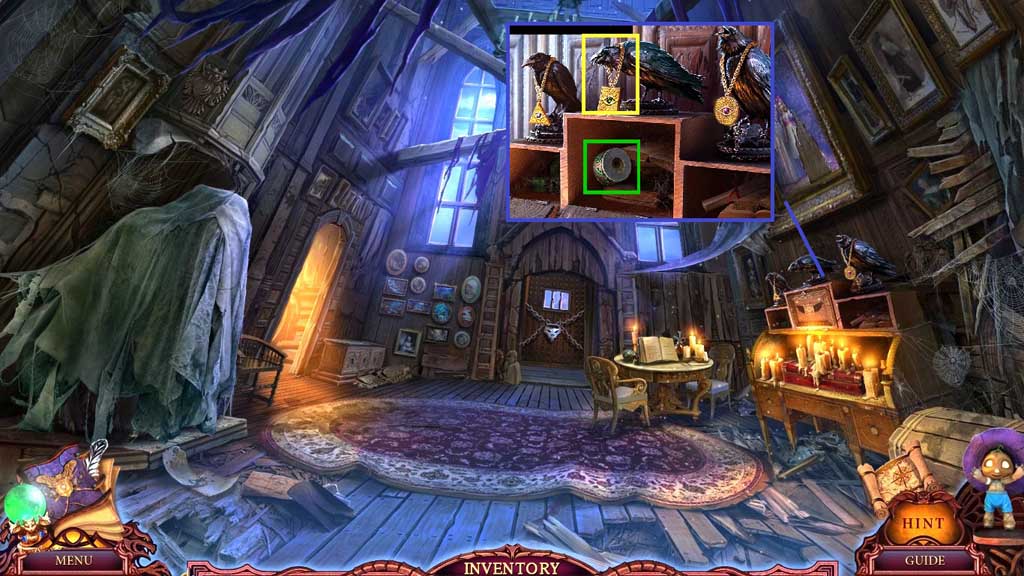
- Click the gears and collect 2 /3 rusty gears.
- Move to the Swamp.
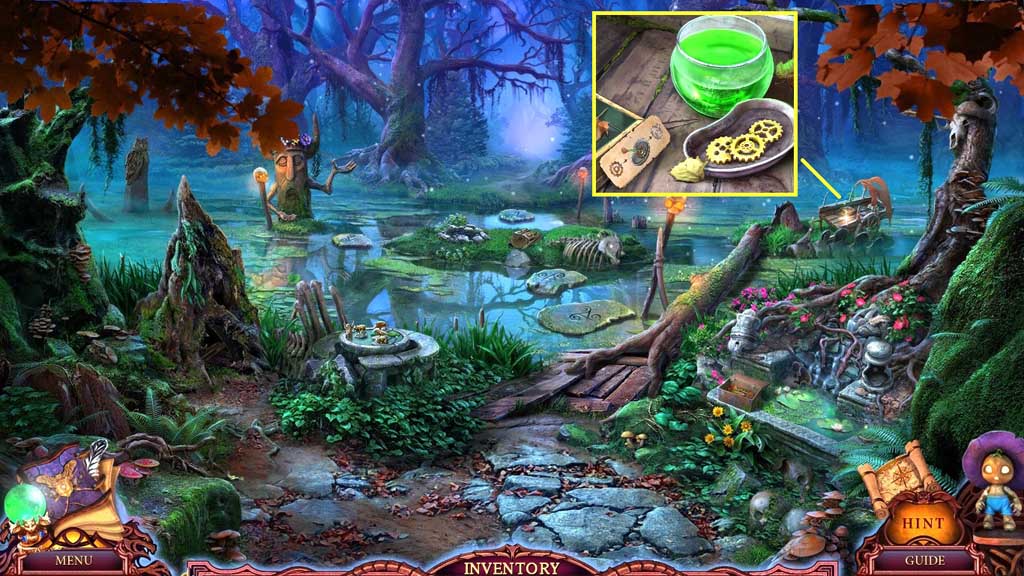
- Insert the alchemical symbol and click the box; collect the empty pipette and 2 /2 pumpkins.
- Select the empty pipette to dip into the acid; collect the pipette with acid.
- Move to the House on the Hill.
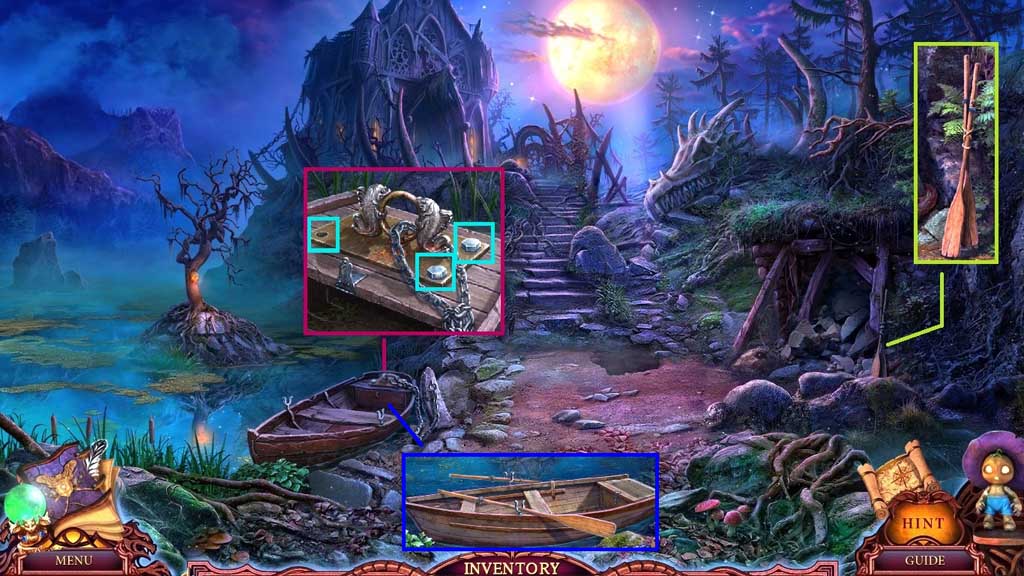
- Select the scissors to slice the rope and click it once; collect the oars.
- Zoom into the boat; use the wrench to remove the bolts.
- Click the chain and place the oars.
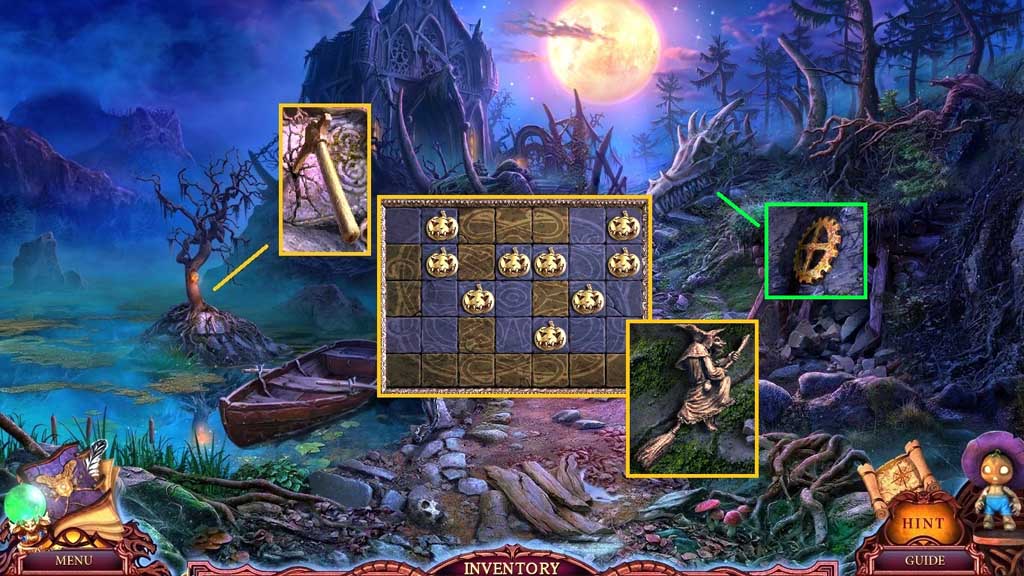
- Collect the pick and place the pumpkins to trigger a mini game.
- Solve the game by playing checkers with the jack-o’-lanterns so that only one is left on the board.
- Collect the witch figurine.
- Select the pick to smash the rock; collect 3 /3 rusty gears.
- Move down once and click the hidden objects area.

- Find the items.
- Select the clippers to cut the vines; collect the angel.
- Select the red hood and place it onto the doll; collect the red riding hood.
- Select the hammer to smash the cement; collect the scroll.
- Collect the bottle.
- Place the rusty gears into the dish and use the pipette of acid on it.
- Collect the gears.
- Move to the Witch’s Hut.
- Place the witch figurine; collect the handle and the wire.
- Attach the handle.
- Move into the Cemetery.
- Place the bottle beneath the flower; collect the bottle of sleeping potion.
- Click the bunny and insert the gears and click the key.
- Place the bottle of sleeping potion into his paws; collect the rabbit with sleeping potion.
- Move down once.

- Place the rabbit with sleeping potion on the doorway.
- Move to the Hall.
- Click the glowing orb and click the handle.
- Collect the feather.
- Move into the Ritual Room.
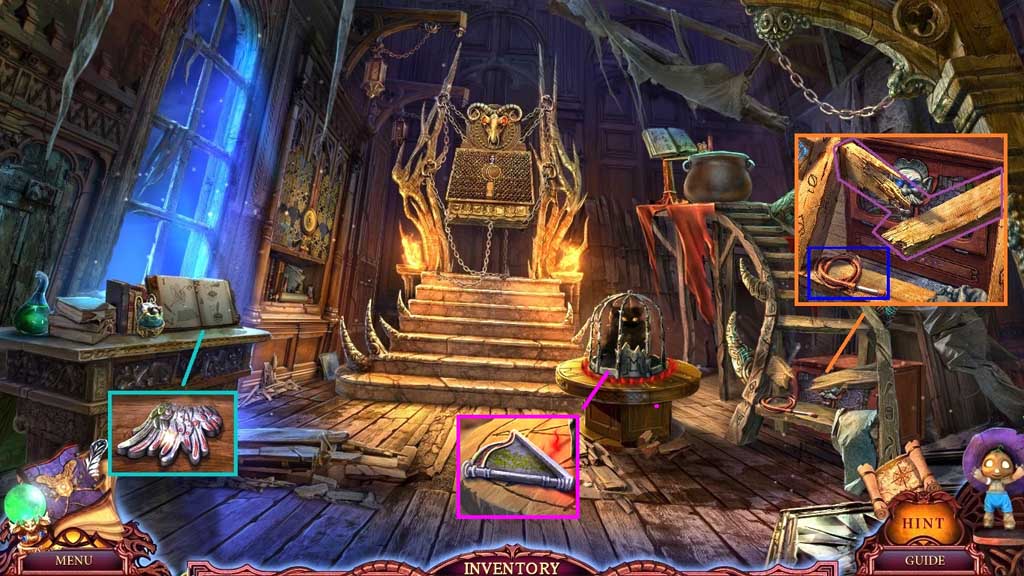
- Collect the wing, the board and the whip.
- Speak to the creature; collect the harp.
- Move to the House on the Hill.

- Place the board and collect the door knocker.
- Move to the Cemetery.
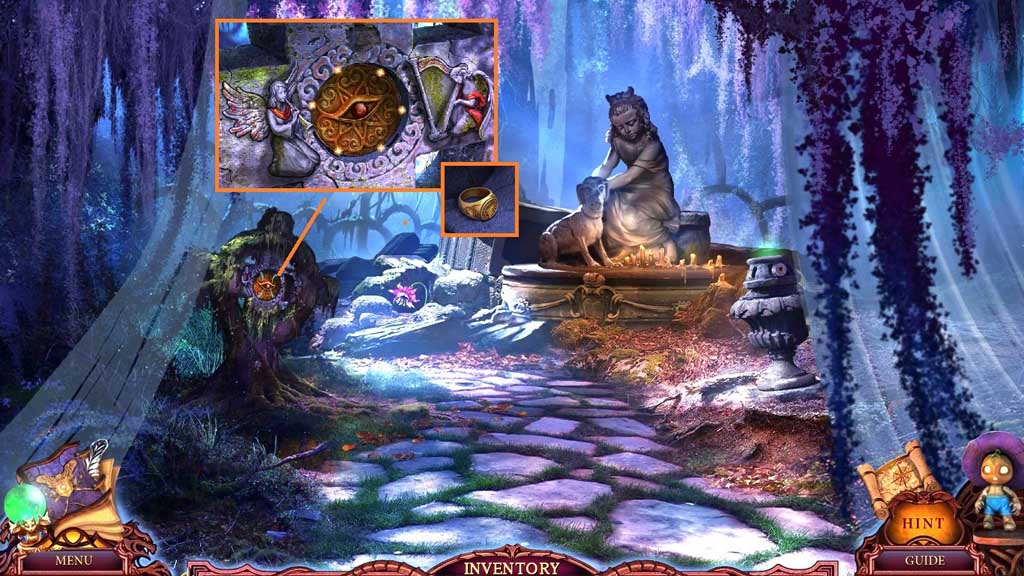
- Insert the wing and the harp; collect the root amulet and ring.
- Move to the Hall.

- Place the root amulet; collect the parchment.
- Move to the Ritual Room.
- Place and click the door knocker.
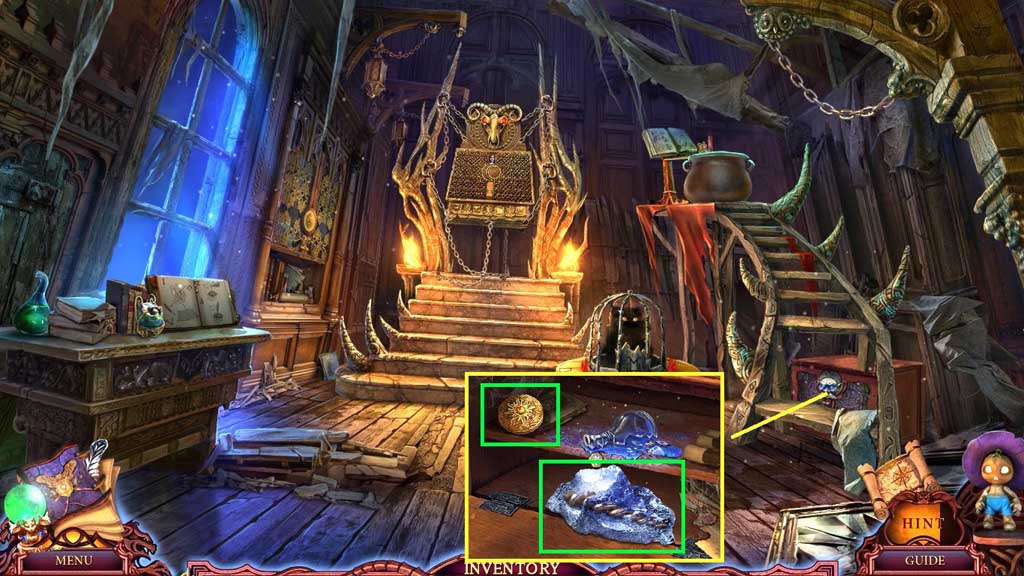
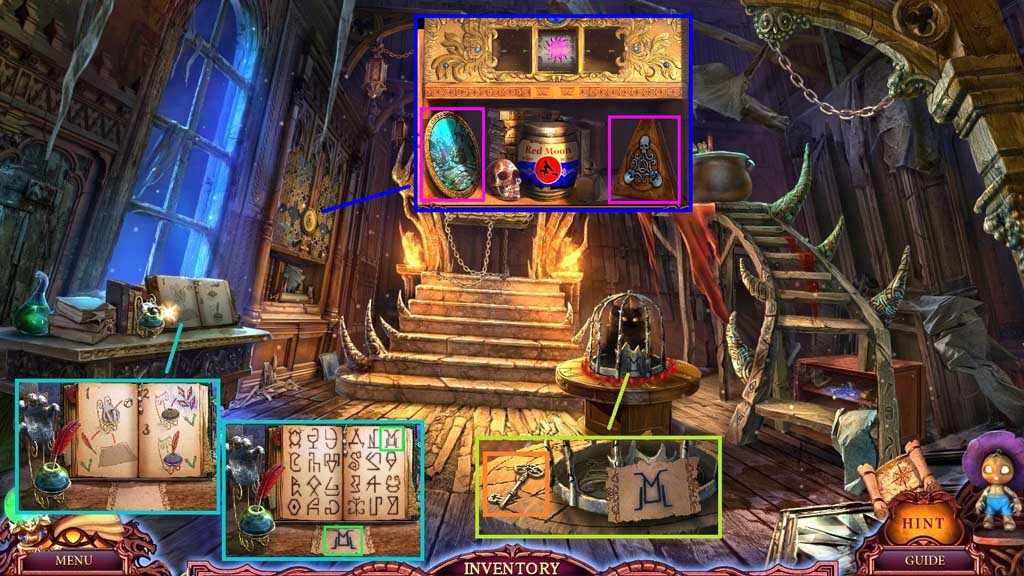
- Click the horn; collect the horn in ice and gold sun.
- Move to the House on the Hill.
- Place the horn in ice.
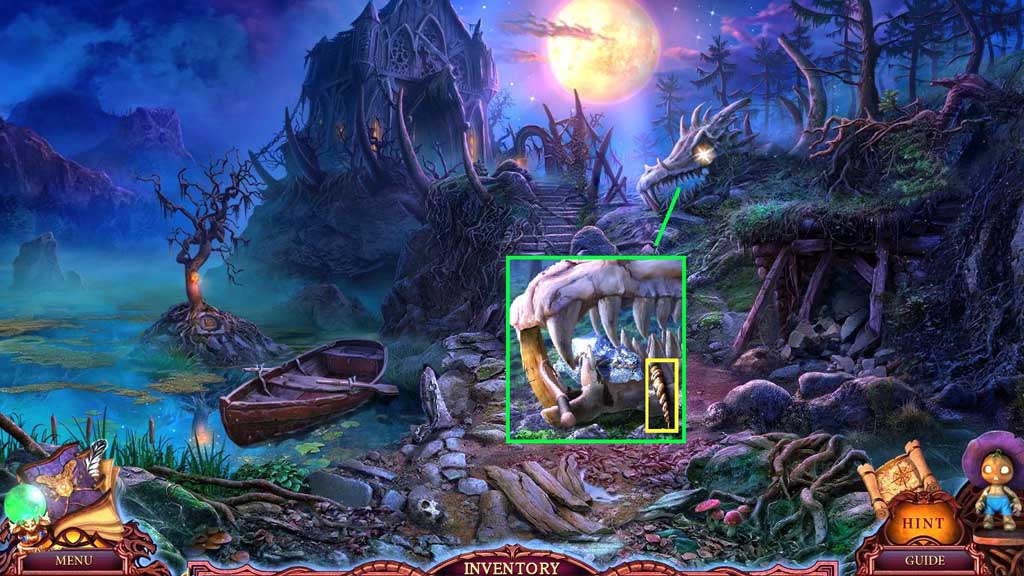
- Select the whip to snap the board; collect the horn.
- Move to the Ritual Room.
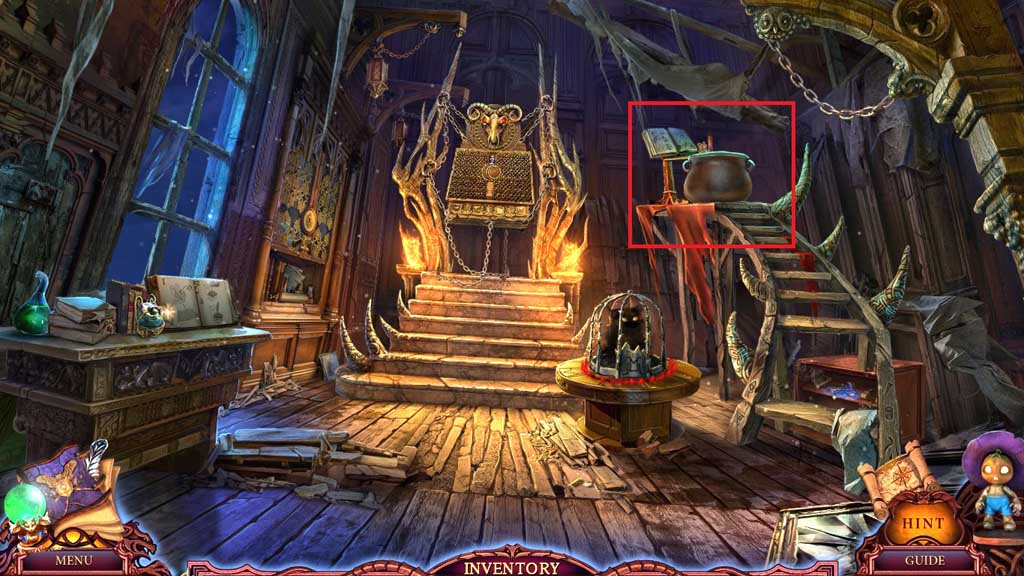
- Attach the horn into the cauldron and click the hidden objects area.
- Chapter-5-27A-H-O-3
- Find the items.
- Collect the magic crystal.
- Attach the ring and parchment and the feather.
- Place the magic crystals and the feather into the well.
- Click the symbol to collect the magic symbol and place it onto the cage; collect the key.
- Select the key to open the cabinet; collect the altar of control.
- Click the cloth; collect the picture.
- Move down once.
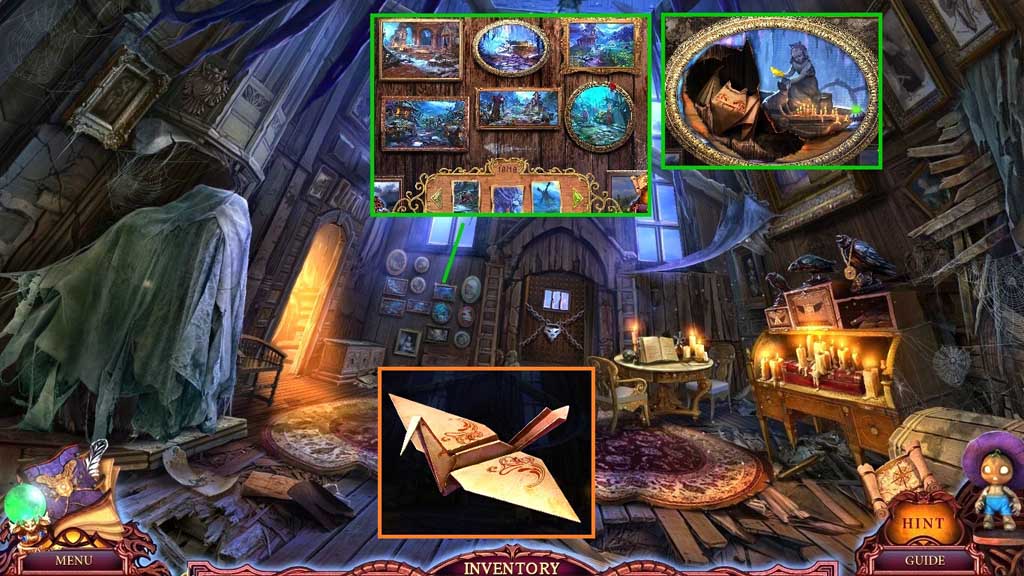
- Place the picture to trigger a mini game.
- Solve the game by moving the fragments into the correct positions.
- Collect the origami.
- Click the origami 8x’s and collect the paper crane.
- Move to the Cemetery.
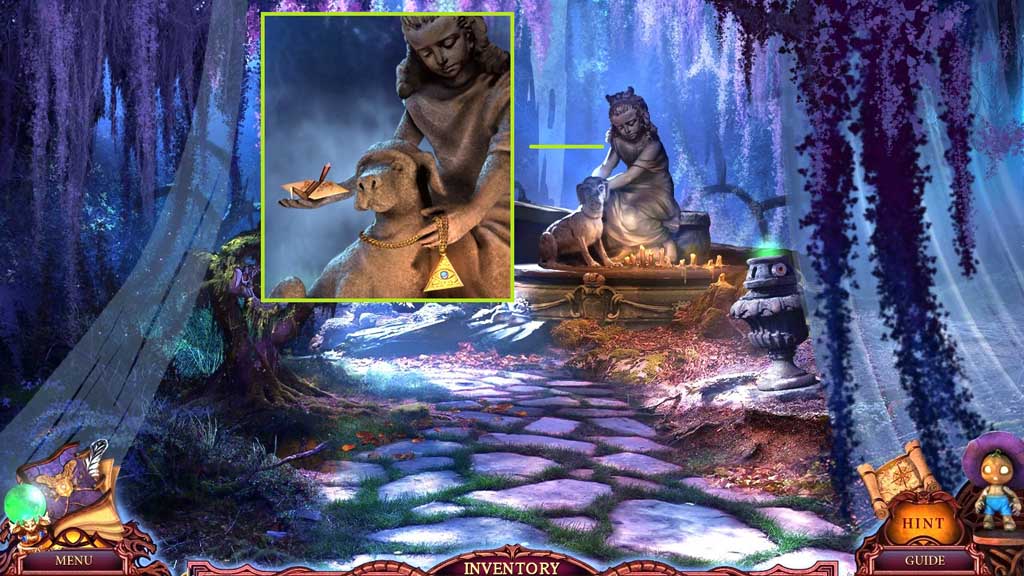
- Place the paper crane; collect the triangle amulet.
- Move to the Hall.
- Place the triangle amulet; collect the urn lock.
- Move to the Cemetery.
- Collect 1 /2 rollers.
- Attach the urn lock; collect the necklace handle.
- Move to the Hall.

- Attach the necklace handle and click it.
- Collect the picture part and the parchment.
- Move to the Ritual Room.
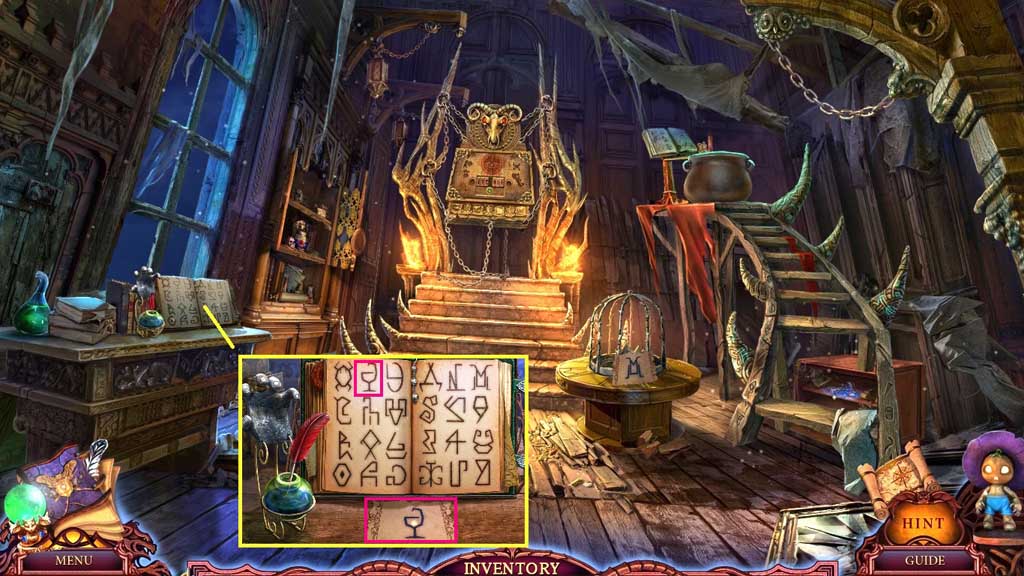
- Place the parchment and click the symbol.
- Collect the magic symbol.
- Move to the Cemetery.
- Place the magic symbol; collect the gold moon and the root amulet.
- Move to the Hall.
- Place the root amulet; collect 2 /2 rollers.
- Move to the Ritual Room.
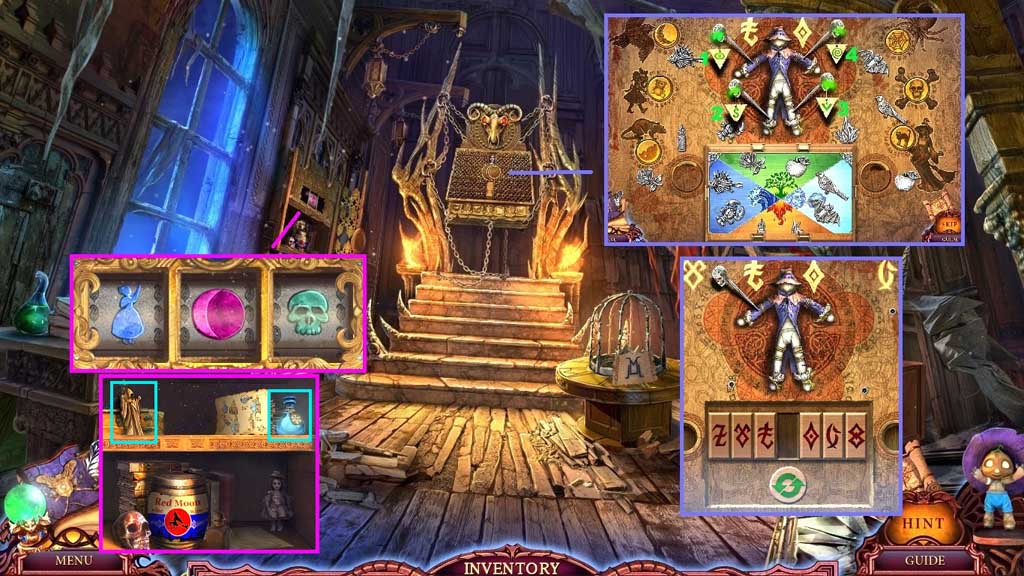
- Insert the gold moon and the gold sun to trigger a mini game.
- Solve the game by clicking the triangles in the correct sequence. Then place the coins in the correct drawing slots. Then move the metal symbols to the correct elements. Then arrange the runes in the correct order.
- Collect the scarecrow doll.
- Insert the rollers and adjust them correctly.
- Collect the figure and the frozen potion.
- Move to the Witch’s Hut and click the hidden objects area.
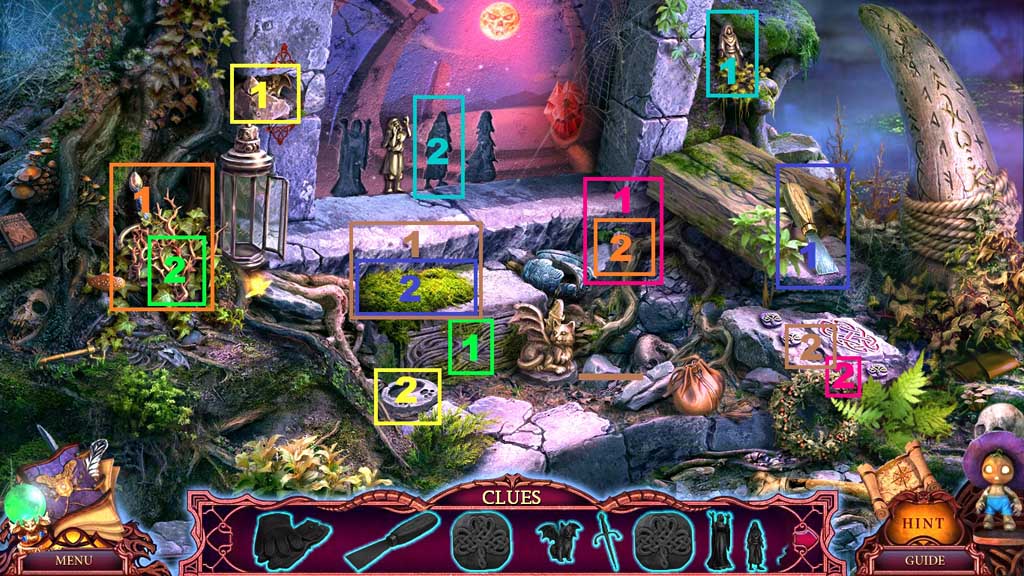
- Find the items.
- Click the rock to collect the gargoyle and place it onto the pedestal; collect the gloves.
- Use the gloves to remove the thorns; collect the dagger.
- Use the dagger to collect the runic stone.
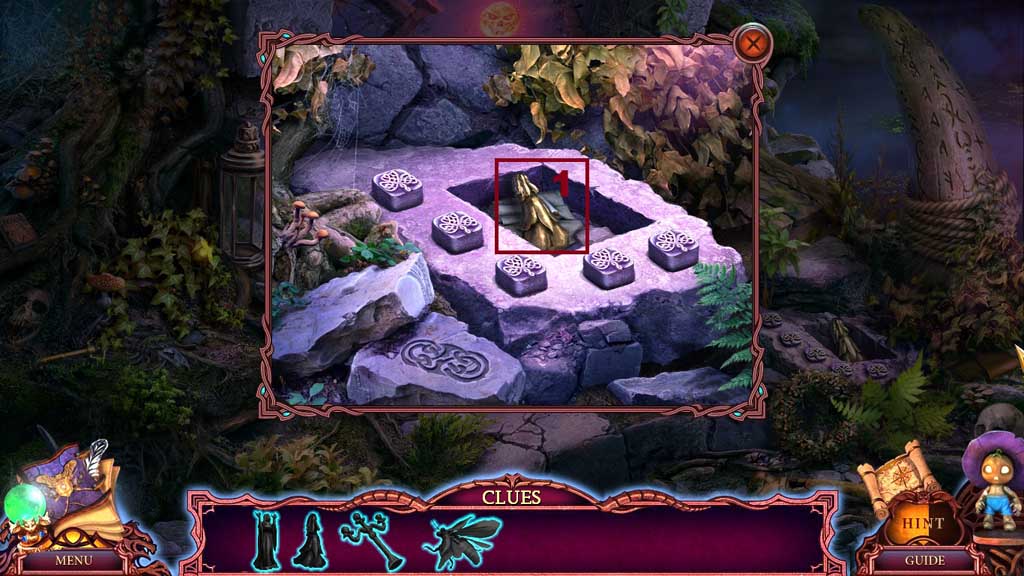
- Place the runic stone into the slab.
- Collect the figurine and place it into the groove.
- Select the spatula to remove the moss; collect the runic stone.
- Place the runic stone into the slab to trigger a mini game.
- Solve the game by clicking the stones in the correct order; collect the figurine and insert it into the fresco.
- Select the firefly and place it into the lantern; collect the figurine and place it into the fresco.
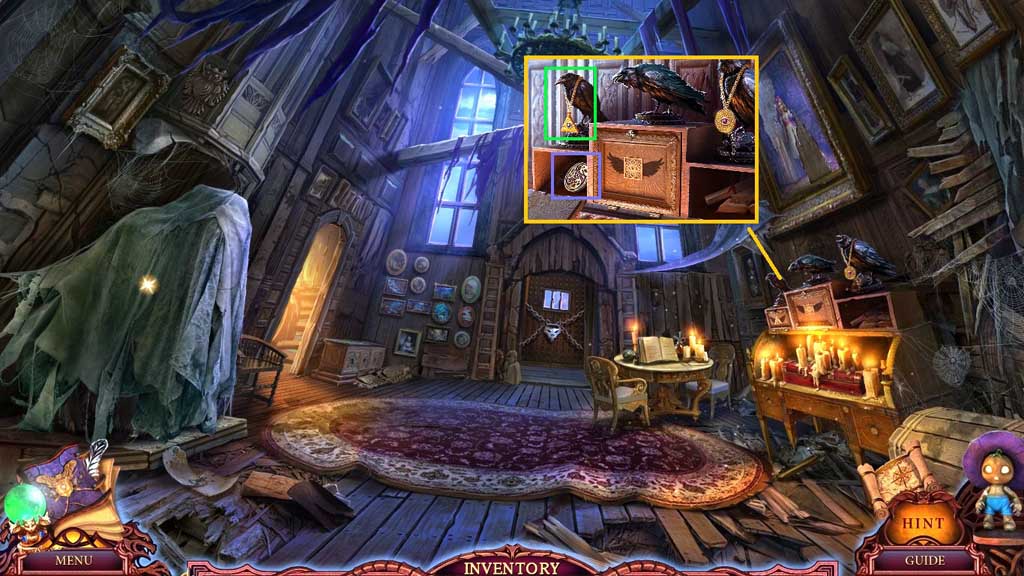
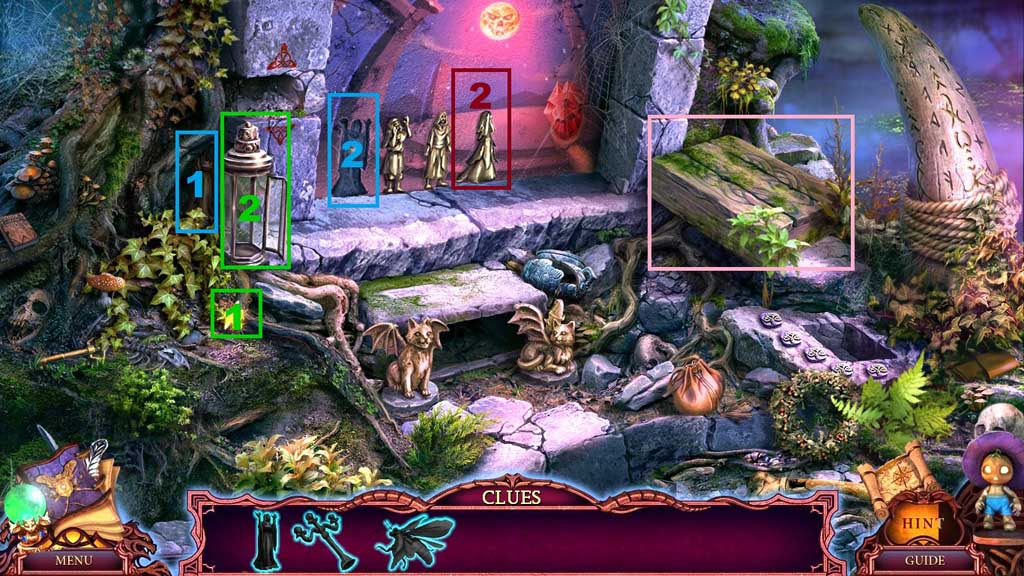
- Click the rock.
- Collect the chandelier.

- Click the cloth and place the figure.
- Collect the altar rune.
- Click the handle and replace it with the handle and use the wire to secure it.
- Collect the awl.
- Move to the Hall.
- Click the cloth; collect the picture part and place it into the painting and click it once.
- Collect the altar rune.
- Click the doorway and use the frozen potion and the chandelier to break the chains.
- Click the door and move into the Red Hill.

- Click the stones; collect the parchment.
- Move to the Ritual Room.
- Place the parchment and click the symbol.
- Collect the magic symbol.
- Move to the Red Hill.

- Insert the magic symbol.
- Select the awl to collect the idol eye and insert it into the statue.
- Collect the altar rune.
- Click the altar of control 2x’s and place the scarecrow doll and the altar runes into it.
- Collect the altar control.
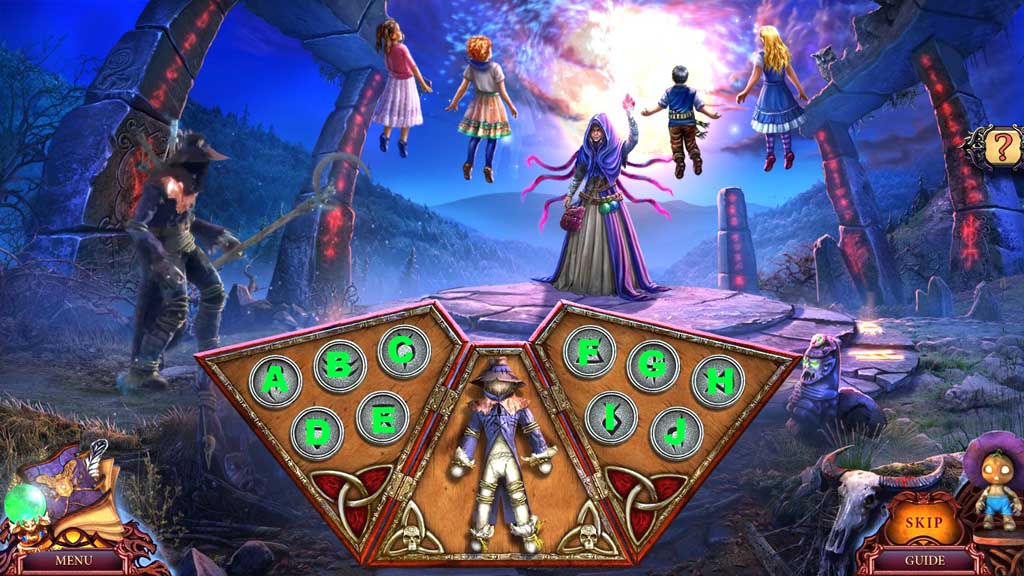
- Select the altar of control with the scarecrow to trigger a mini game.
- Solve the game by clicking the runes in the sequence shown.
- Use the following sequence to solve:
- Part 1: C – E – G –Scarecrow
- Part 2: A – D – B – H –Scarecrow
- Part 3: E – F – B – J – Scarecrow
- Part 4: A – D – I – F – B – Scarecrow
- Part 5: J – F – I – C – A – Scarecrow
- Part 6: A – D – G – C – J - E
- Congratulations! You have successfully completed the main game of League of Light: Wicked Harvest C. E.