
League of Light: Wicked Harvest: Chapter Four: Spirit of the Forest
Our League of Light: Wicked Harvest Walkthrough will watch your back as you explore the town of Blake's Mountain where the children of the town have gone missing and a fabled Red Moon is on the rise. Trust our detailed game instructions, our custom marked screenshots, and easy-to-understand puzzle solutions to see you safely through this new investigation for the League of Light!
- Collect 1 /2 paper codes.
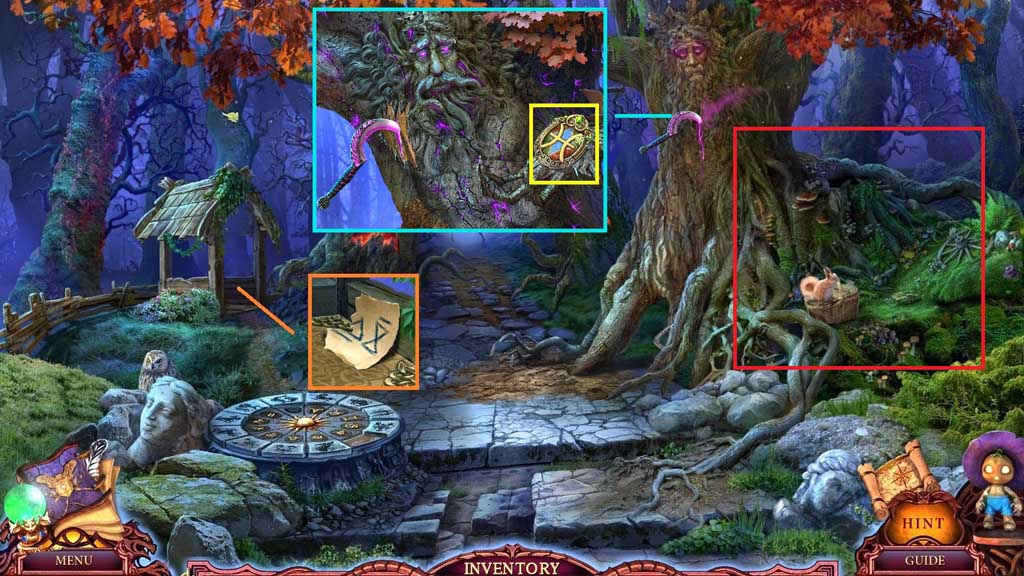
- Click the amulet.
- Click the hidden objects area.
- Find the items.
- Collect the amulet.
- Move down once.
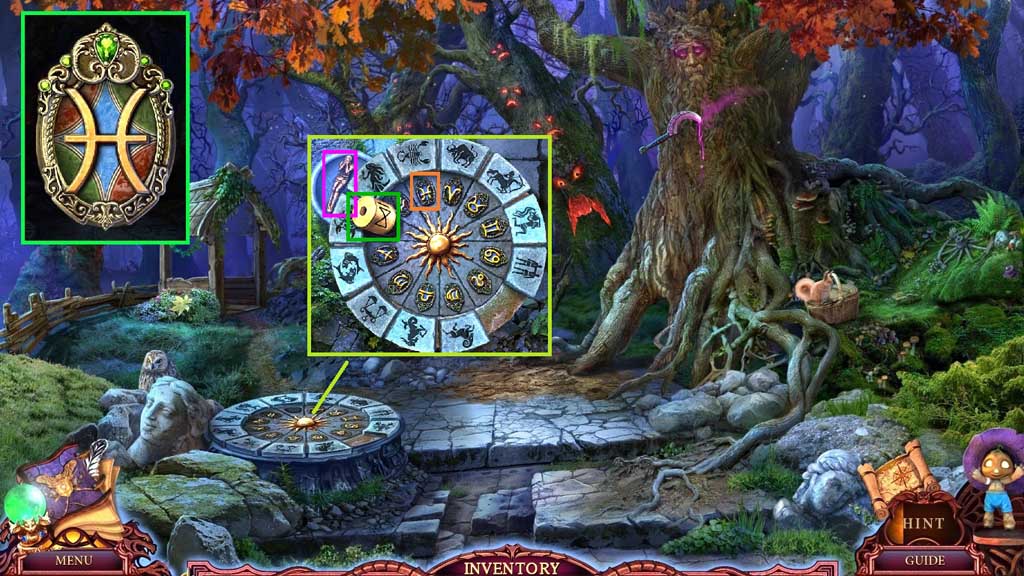
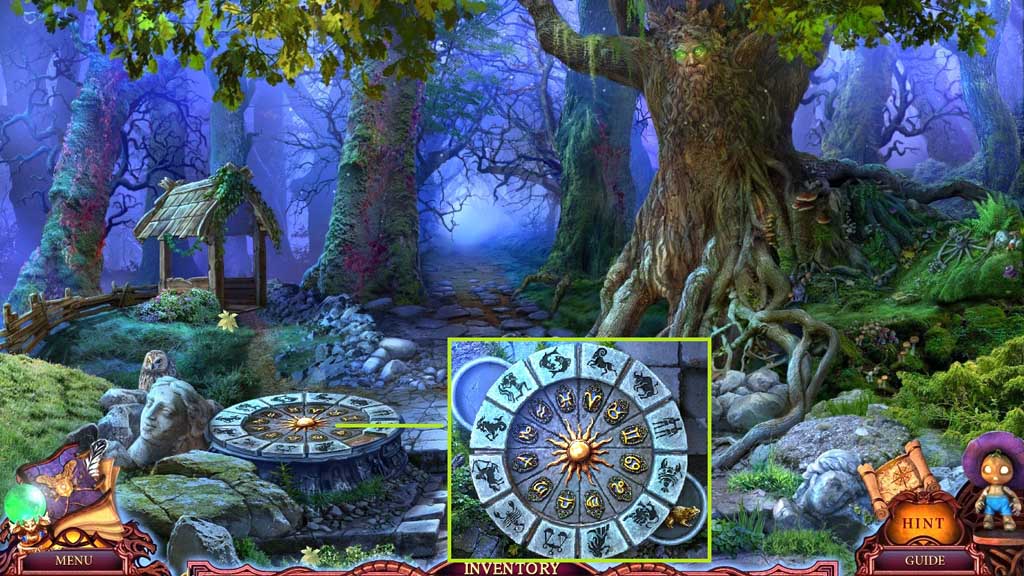
- Click the amulet and assemble the parts; collect the zodiac amulet.
- Collect 2 / 2 rolls.
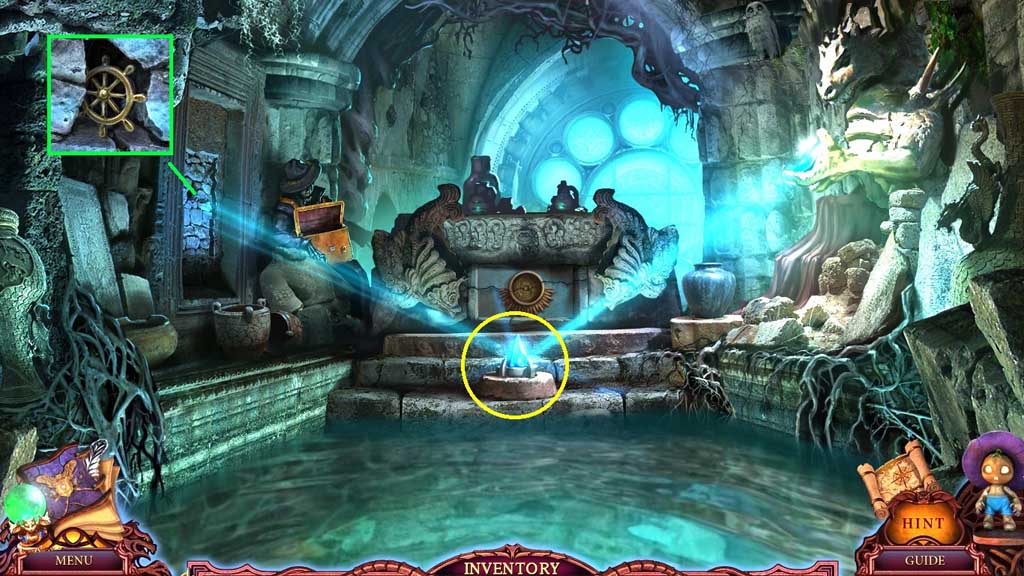
- Insert the zodiac amulet; collect the handle.
- Move down once.
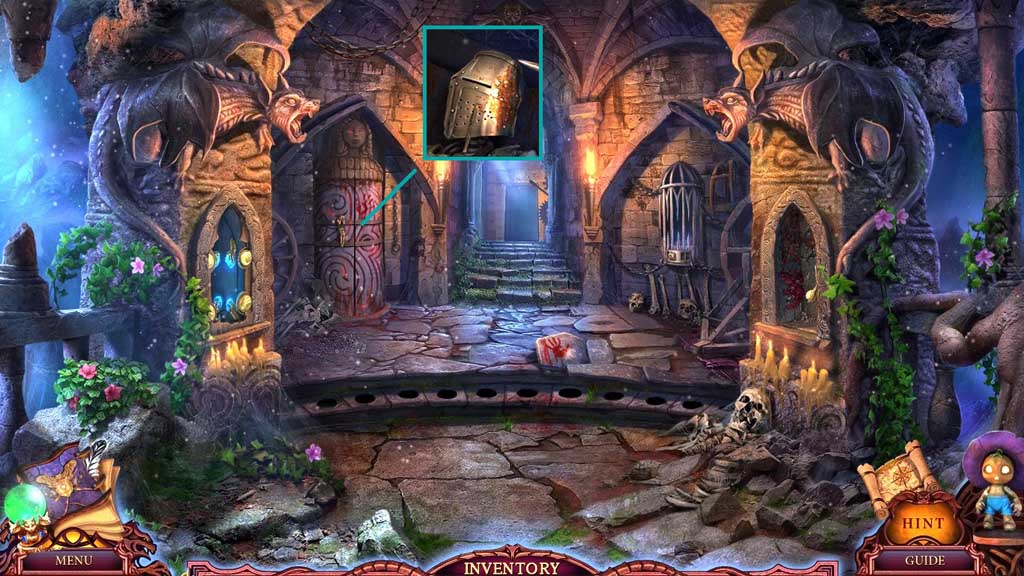
- Attach the handle; click the helmet.
- Move down once.
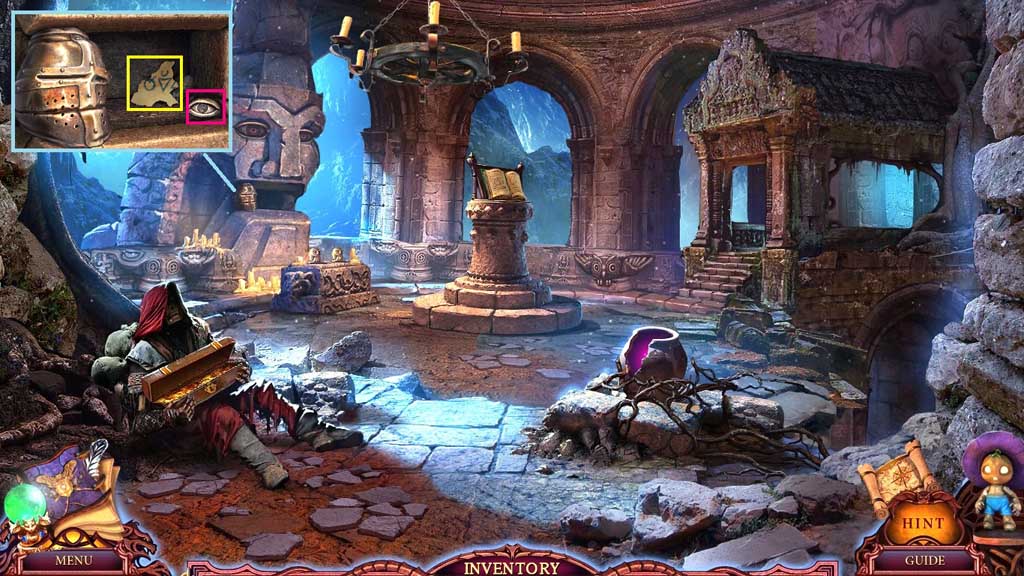
- Place the helmet.
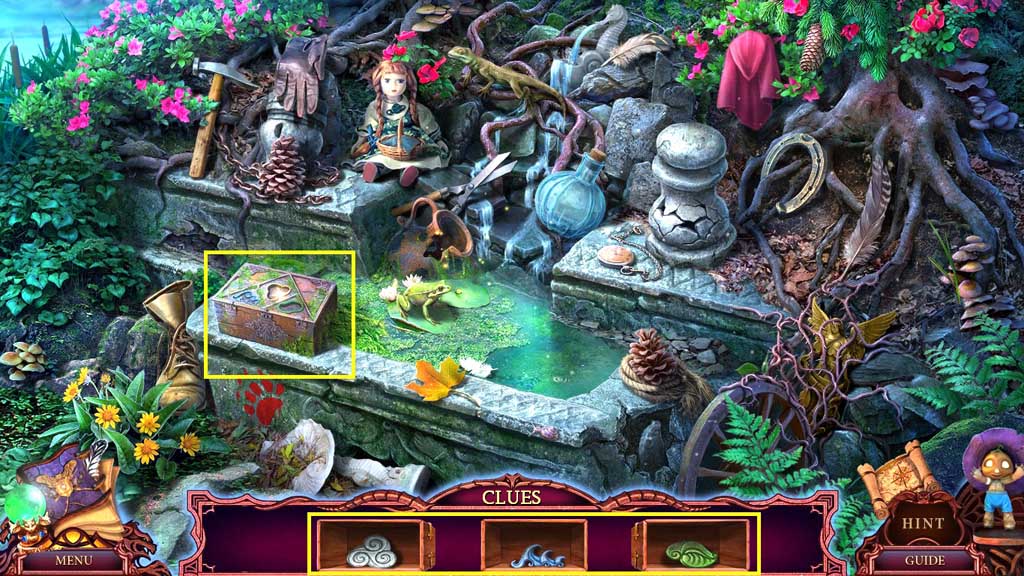
- Collect 2 /2 paper codes and the stone eye.
- Move to the Trap Room.
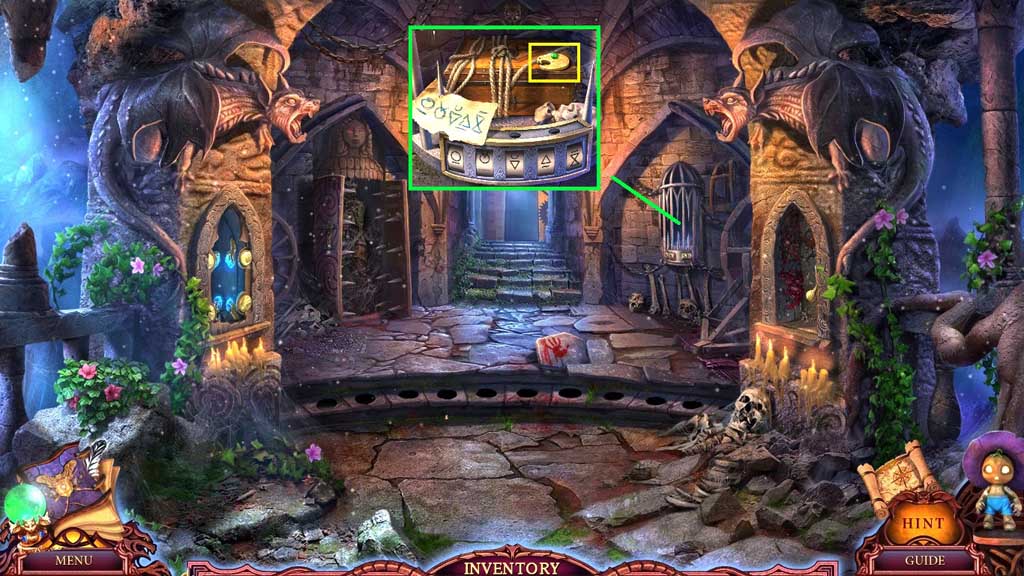
- Place the paper codes and insert the rolls.
- Adjust the code correctly; collect the snake head.
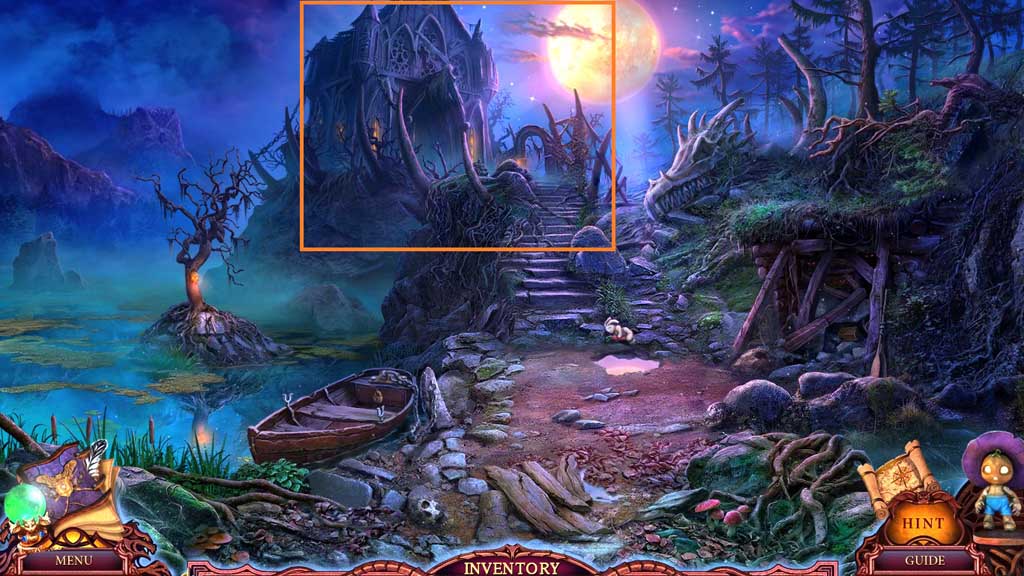
- Move to the Spirit of the Forest.
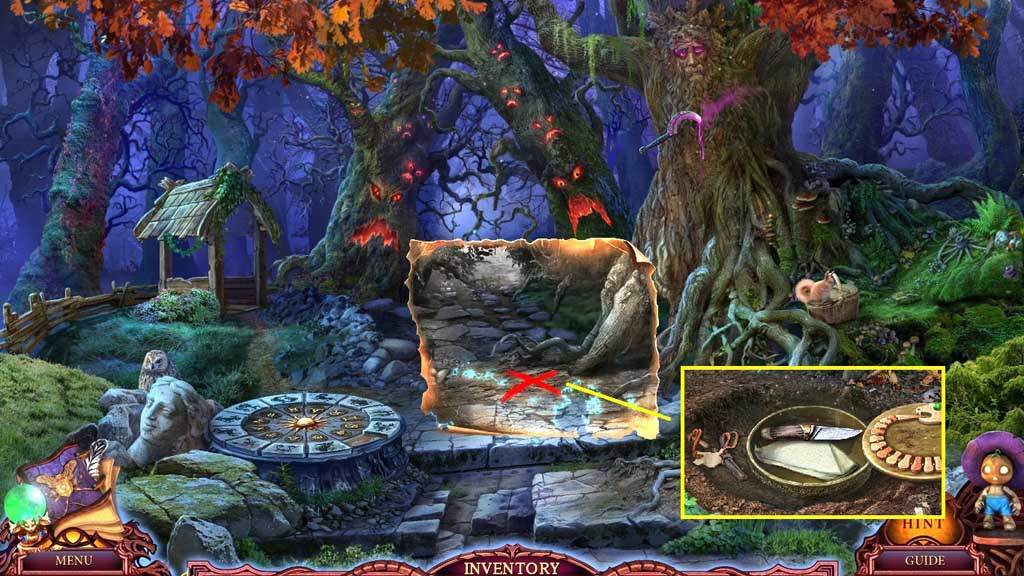
- Place the map piece onto the scene.
- Select the shovel to uncover the slingshot.
- Insert the snake head; collect the knife and cloth.
- Move down once.

- Select the knife to collect the red moss.
- Select the knife to slice the ropes; click the chest and collect the gauntlet.
- Move to the Spirit of the Forest.
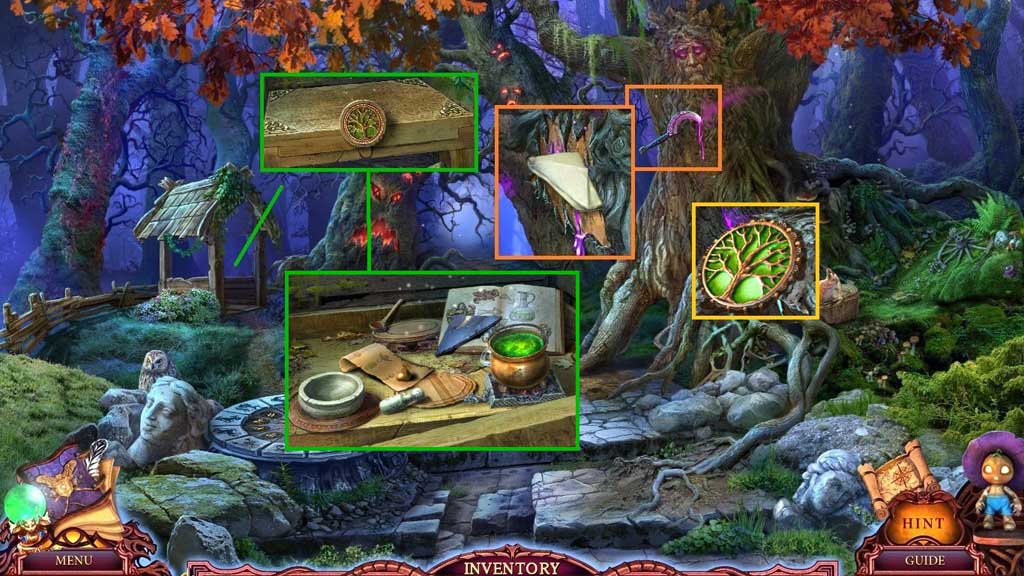
- Select the gauntlet to collect the sickle.
- Select the cloth to wipe the tree wound.
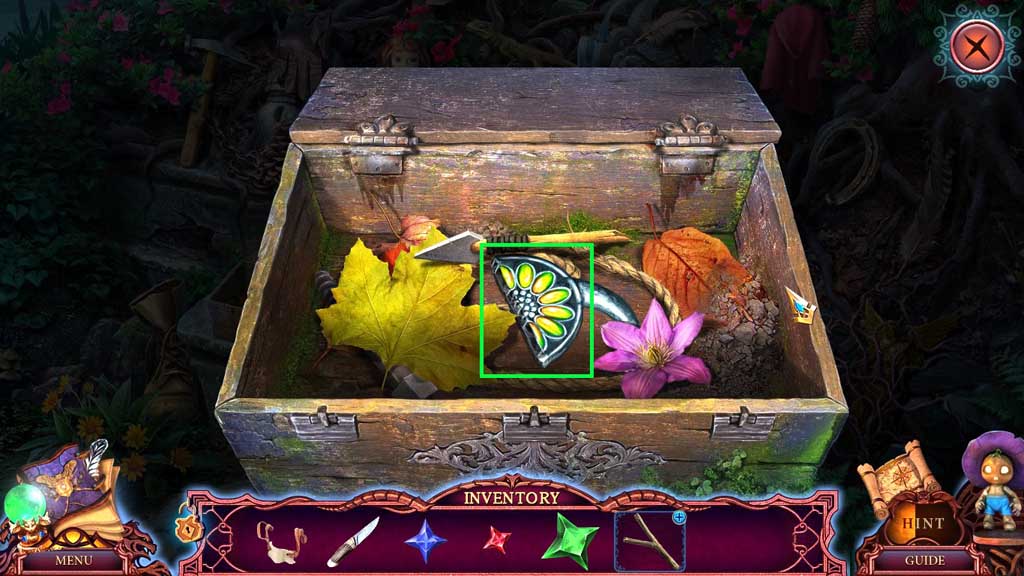
- Collect the tree symbol; insert the symbol into the table and click it once.
- Collect the plate, the list and the acorn.
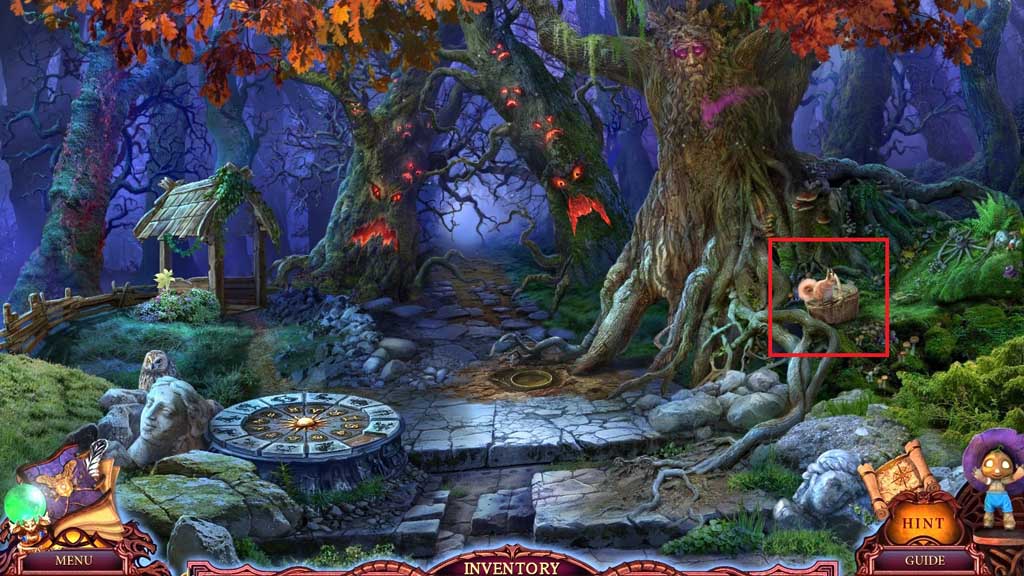
- Give the acorn to the squirrel.
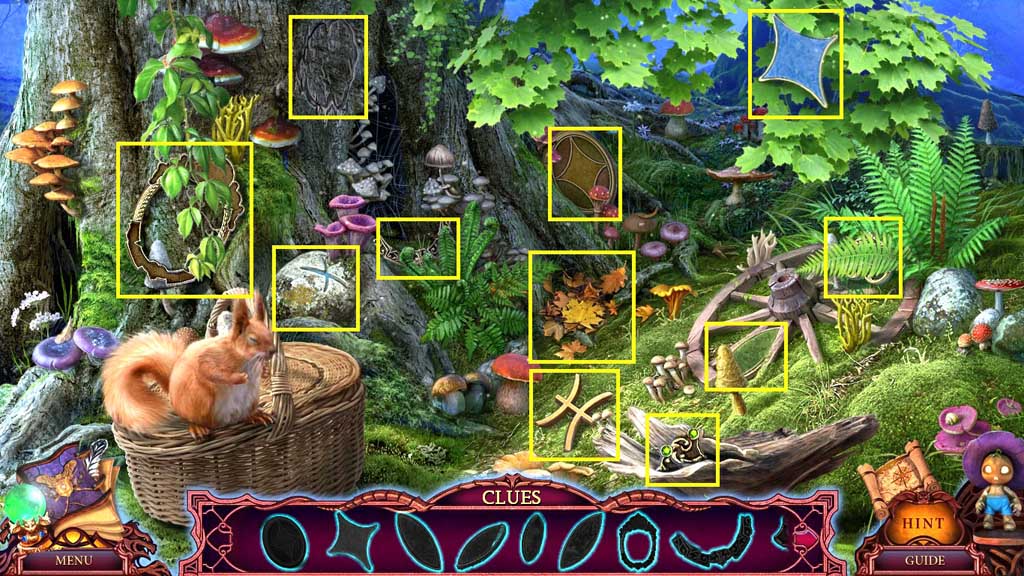
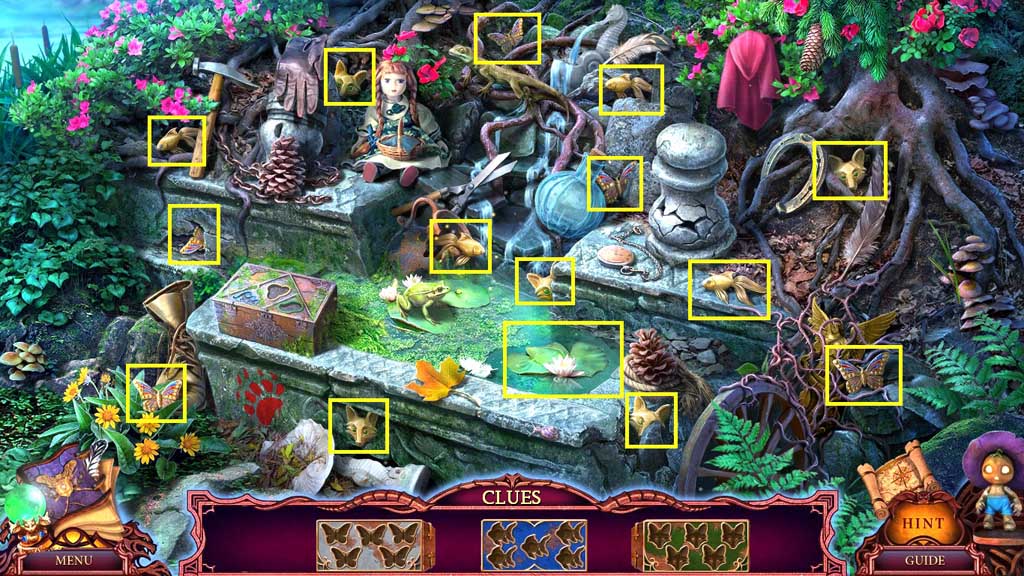
- Click the hidden objects area.
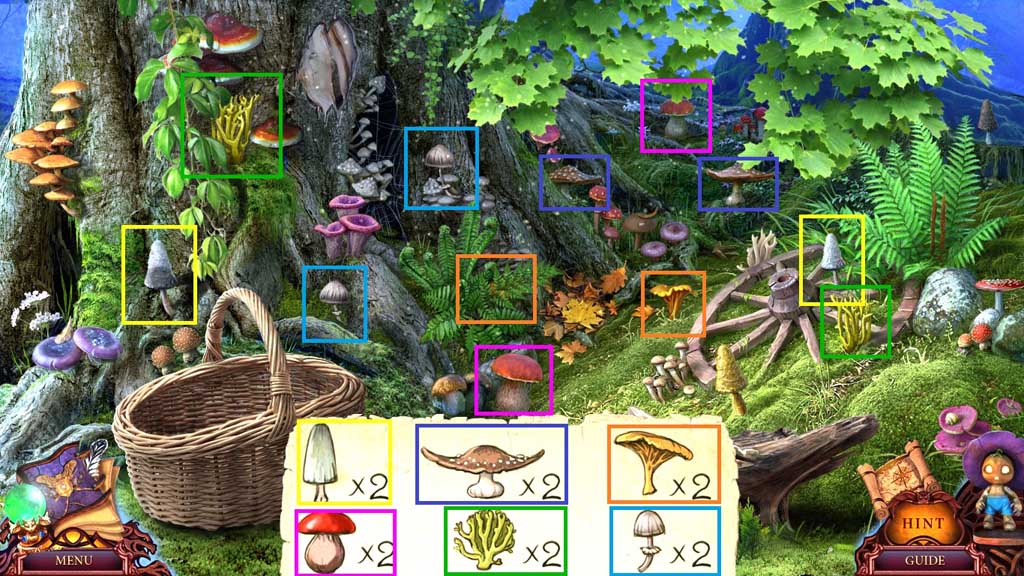
- Find the mushrooms.
- Collect the basket of mushrooms.
- Move down once.
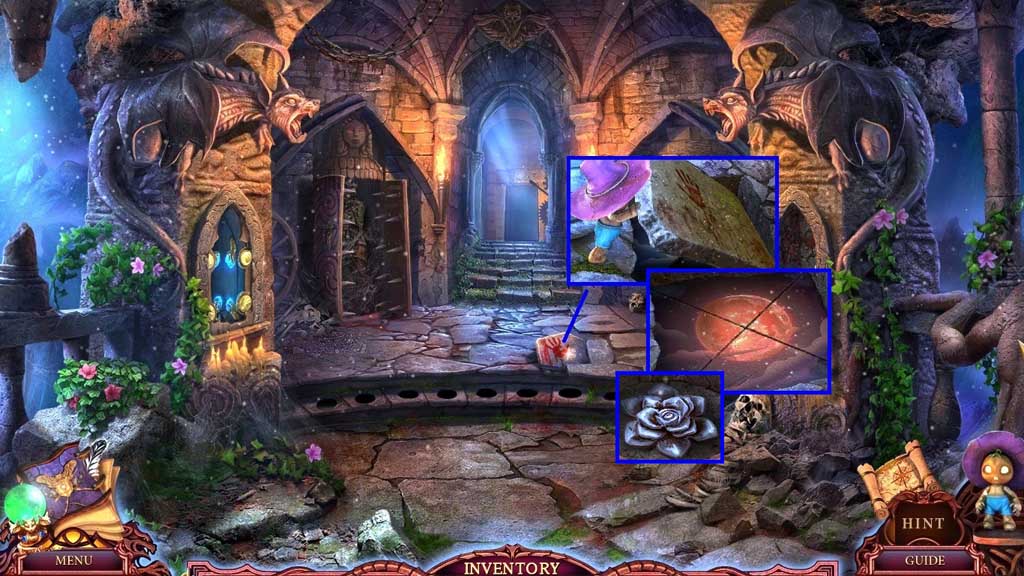
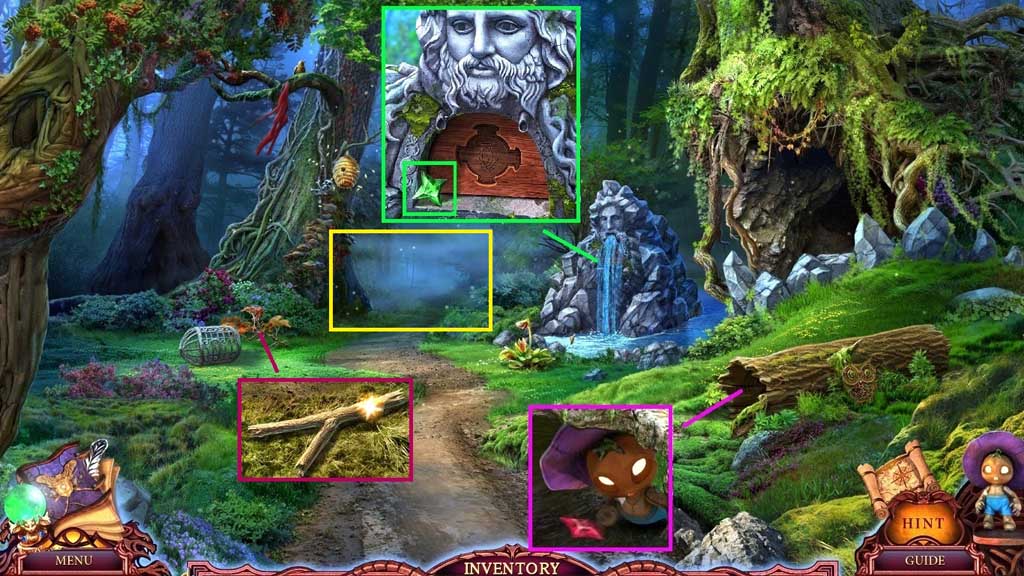
- Select the little scarecrow to remove the stone slab; click it once.
- Insert the plate and arrange them to display correctly.
- Collect the symbol of rose.
- Move down once and click the hidden objects area.
- Find the items.
- Collect the blue crystal.
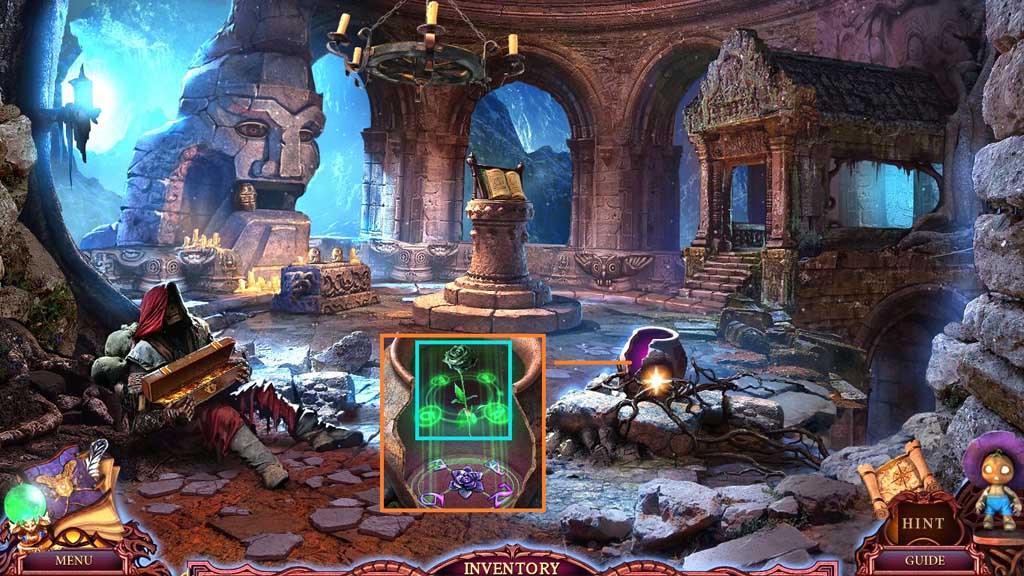
- Insert the symbol of rose; collect the black rose.
- Move to the Spirit of the Forest.
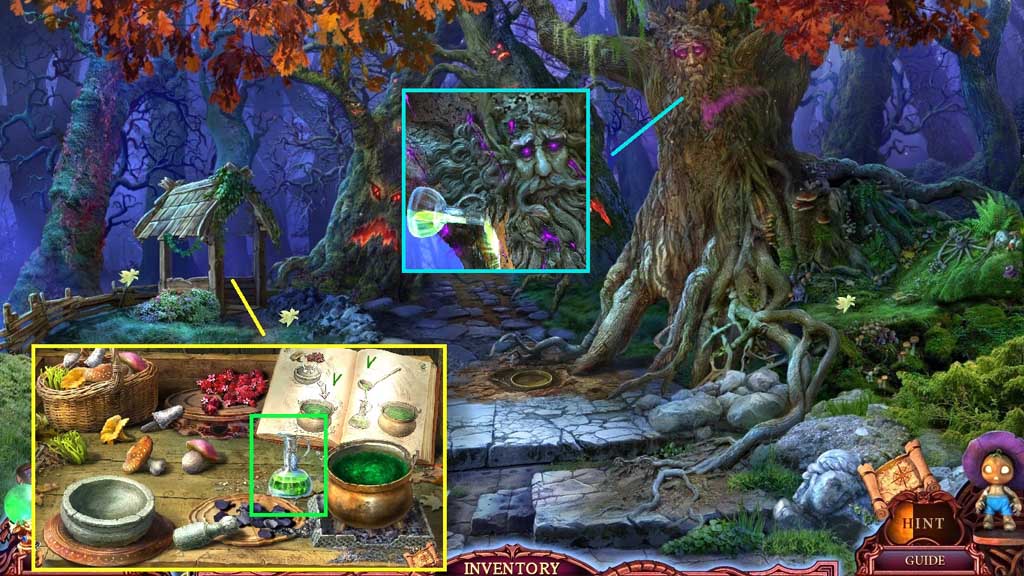
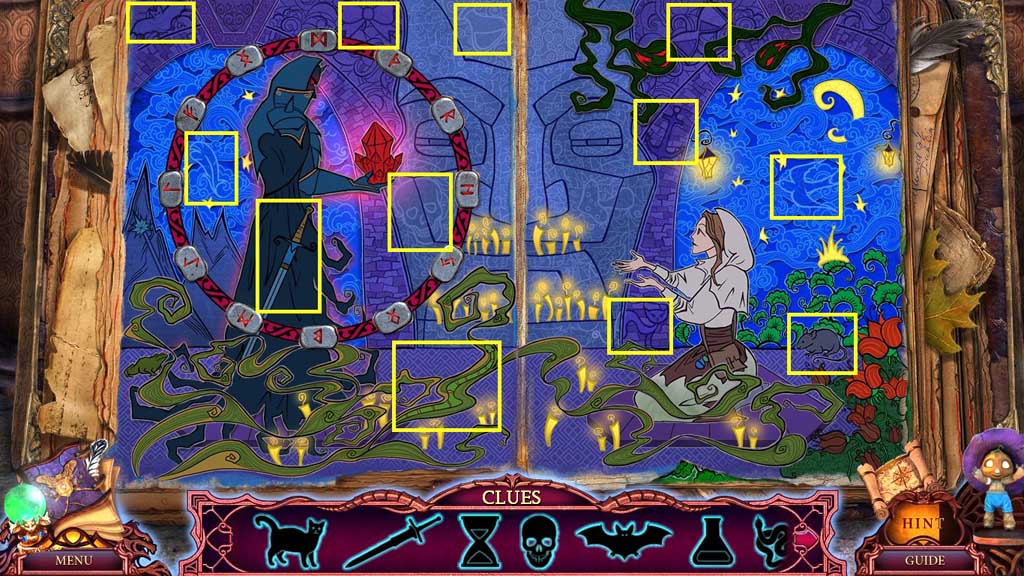
- Place down the basket of mushrooms, the red moss and the black rose to trigger a mini game.
- Solve the game by following the recipe.
- Collect the elixir of life and use it on the tree.
- Move into the Covert.
- Select the little scarecrow to collect the red crystal.
- Insert the stone eye; collect the green crystal.
- Click the branches; collect the slingshot.
- Move into the Swamp and click the hidden objects area.
- Find the items.
- Place the items into the box.
- Click the items aside.
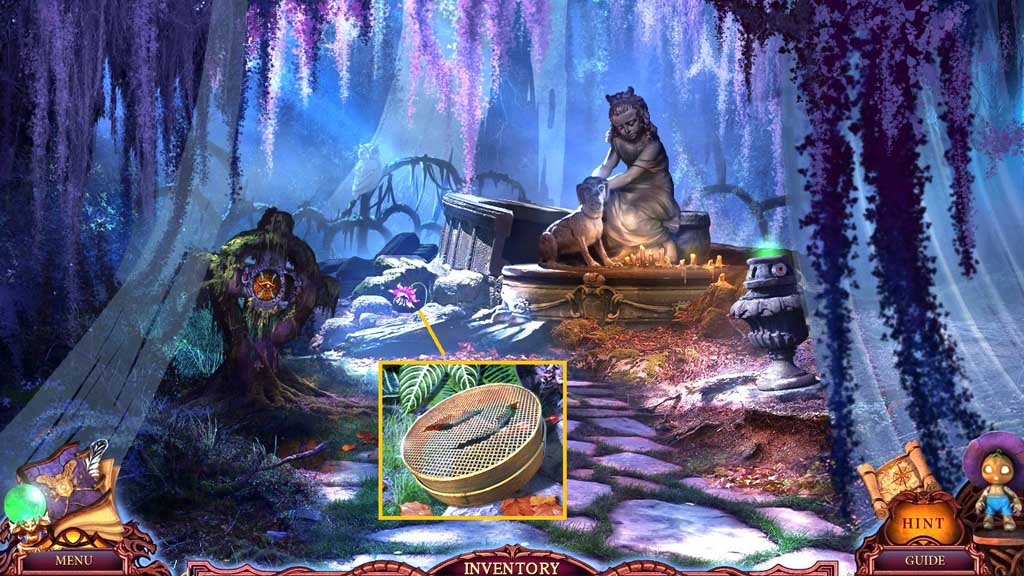
- Collect the flower part.
- Collect the paintbrush and the hook.
- Collect the lion plate.
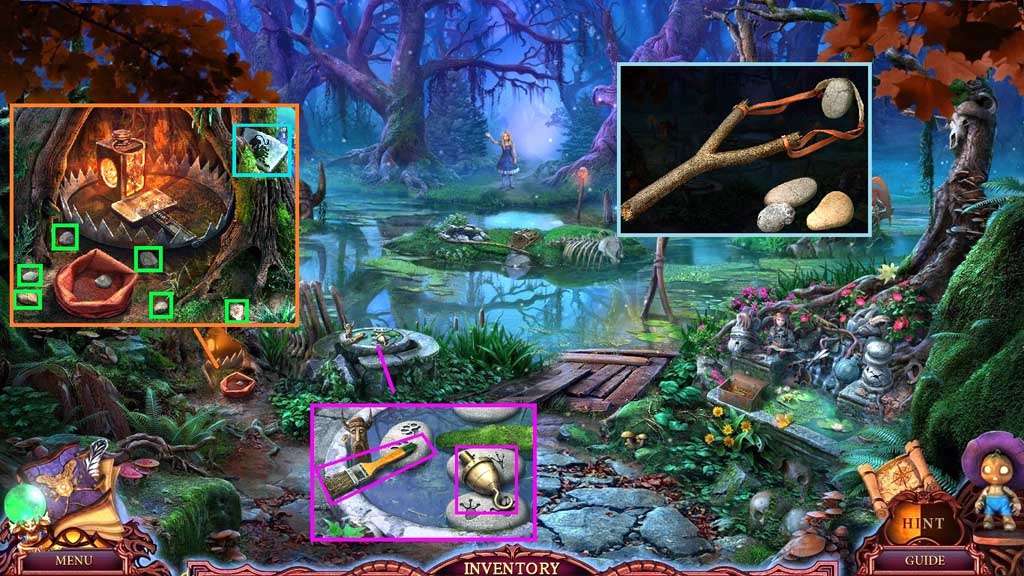
- Insert the stones into the bag; collect the bag of stones.
- Click the slingshot frame and attach the slingshot, add the bag of stones; collect the slingshot.
- Move down once.
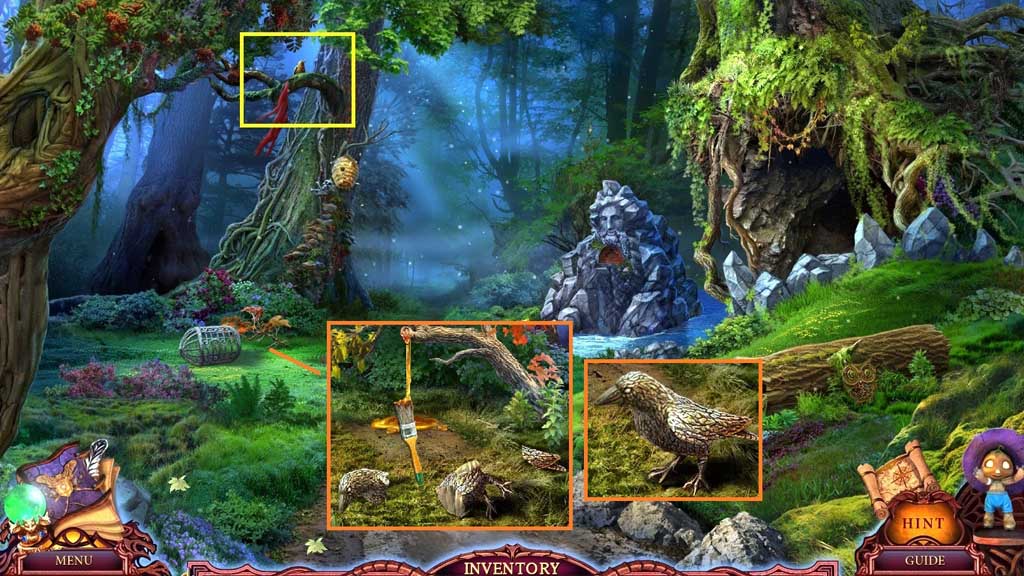
- Shoot the slingshot toward the bird.
- Place the paintbrush into the glue; collect the paintbrush with glue.
- Click the bird body and select the paintbrush with glue to repair it and collect the full bird.
- Move down once.
- Insert the lion plate to trigger a mini game.
- Solve the game by arranging the zodiac signs correctly.
- Collect the toad.
- Move to the Swamp.

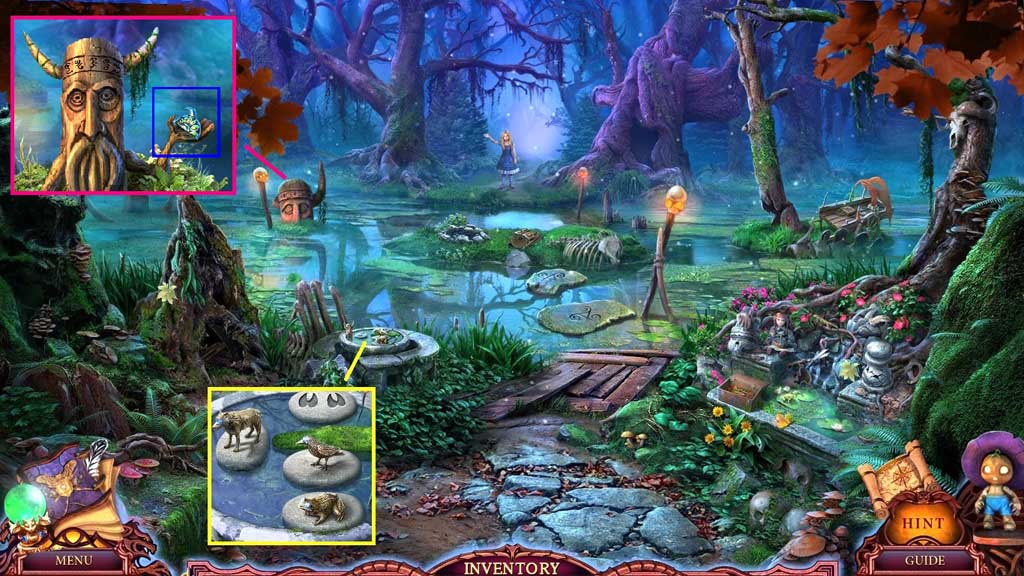
- Place the toad and the bird.
- Collect the stick.
- Click the bag and collect the fish food.
- Insert the stick into the trap; collect the lamp.
- Move down once.

- Select the lamp to illuminate the darkness; collect the horn.
- Pour in the fish food; collect the globe and click it once.
- Insert the red – green and blue crystals.
- Collect the wolf and 1 /2 lizards.
- Move to the Swamp.
- Place the wolf.
- Attach the horn; collect the flower part.
- Move down once.
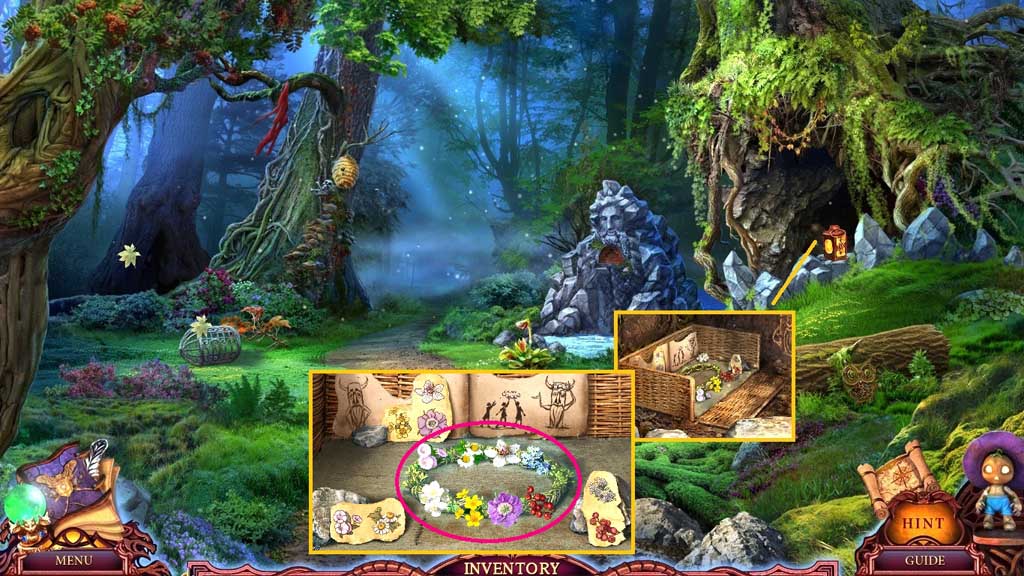
- Insert the flower parts and click it once to trigger a mini game.
- Solve the game by creating the crown of flowers as shown in the diagram.
- Collect the crown of flowers.
- Move to the Swamp.
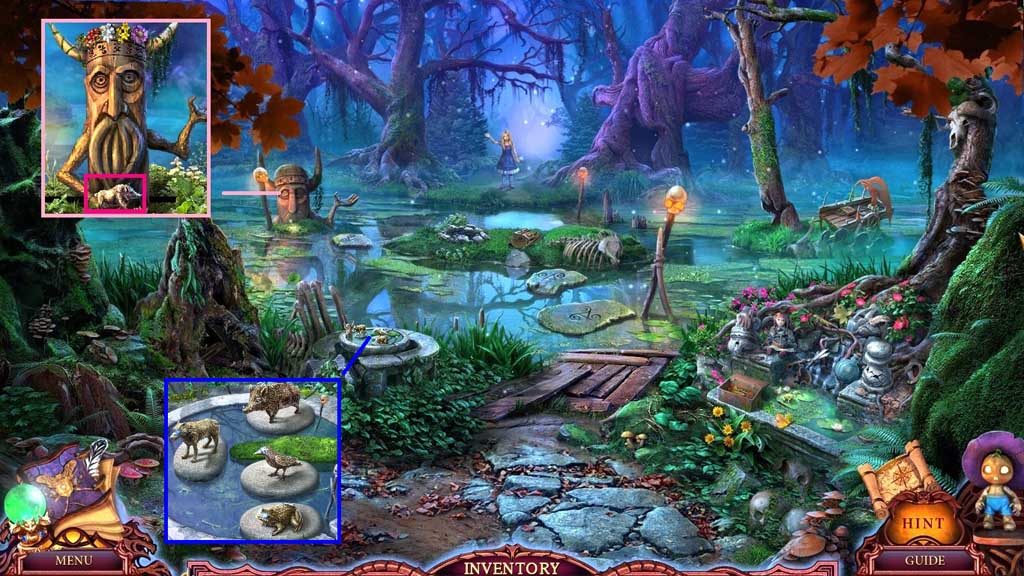
- Place the crown of flowers; collect the boar.
- Place the boar.
- Move ahead.
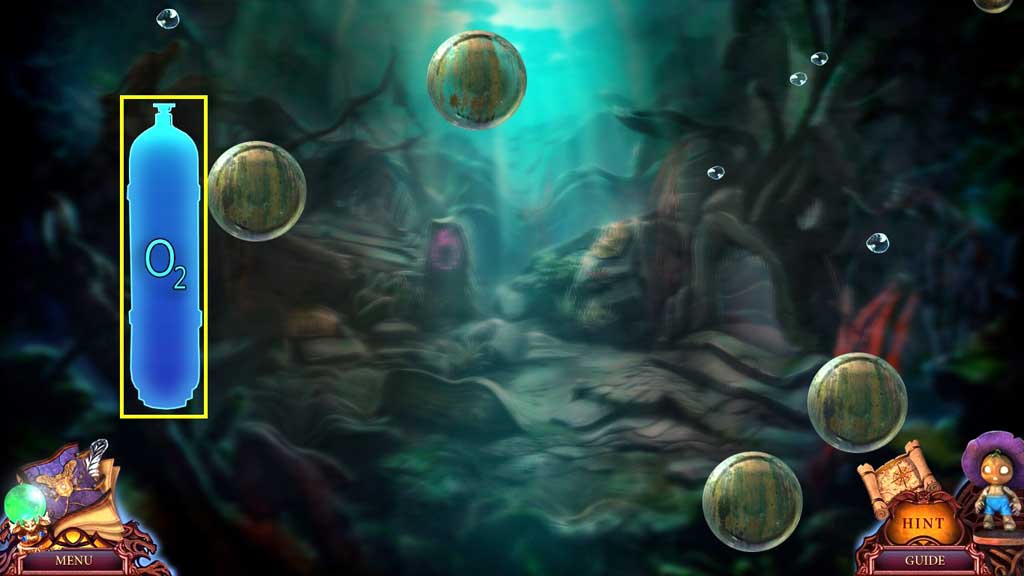
- Click the scene to trigger a mini game.
- Solve the game collecting the oxygen bubbles to fill the tank.
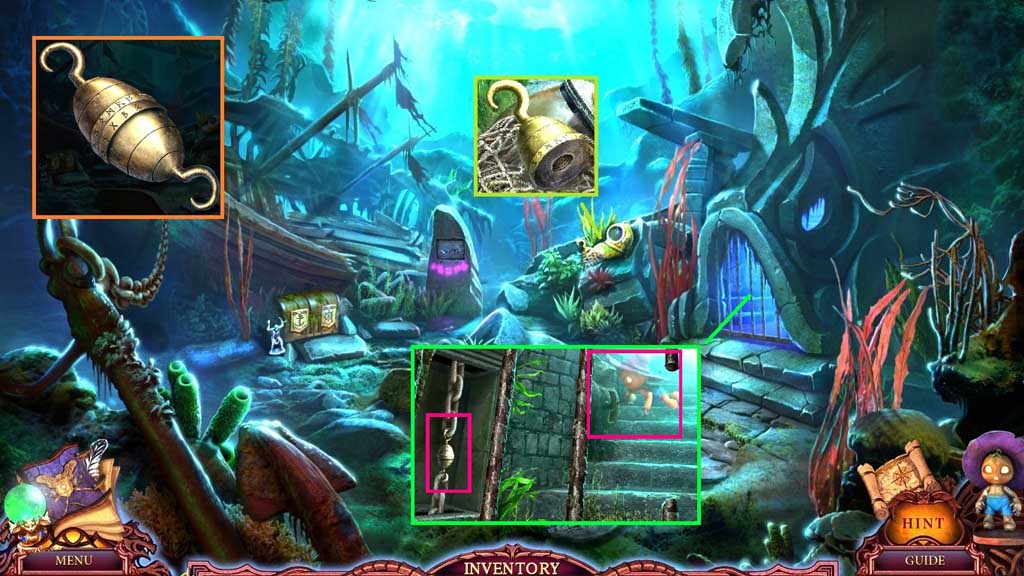
- Select the knife to slice the net; collect the hook part.
- Click the hook and attach the hook part; collect the connector.
- Attach the connector and select the little scarecrow to click the lever.
- Move into the Swamp Cave.
- Collect the anchor.
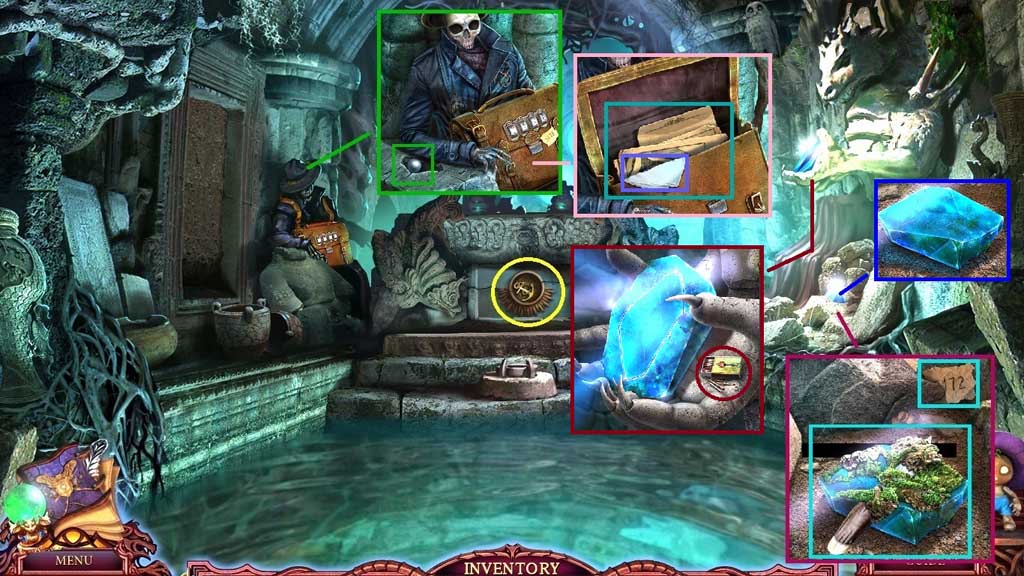
- Collect the code and select the knife to remove the moss.
- Click the hat; collect 1 /3 pearls.
- Enter the code as shown; zoom into the 3 documents and collect the scarf.
- Select the scarf to clean and collect the mirror stone.
- Collect the matches and place the mirror stone.
- Move down once.
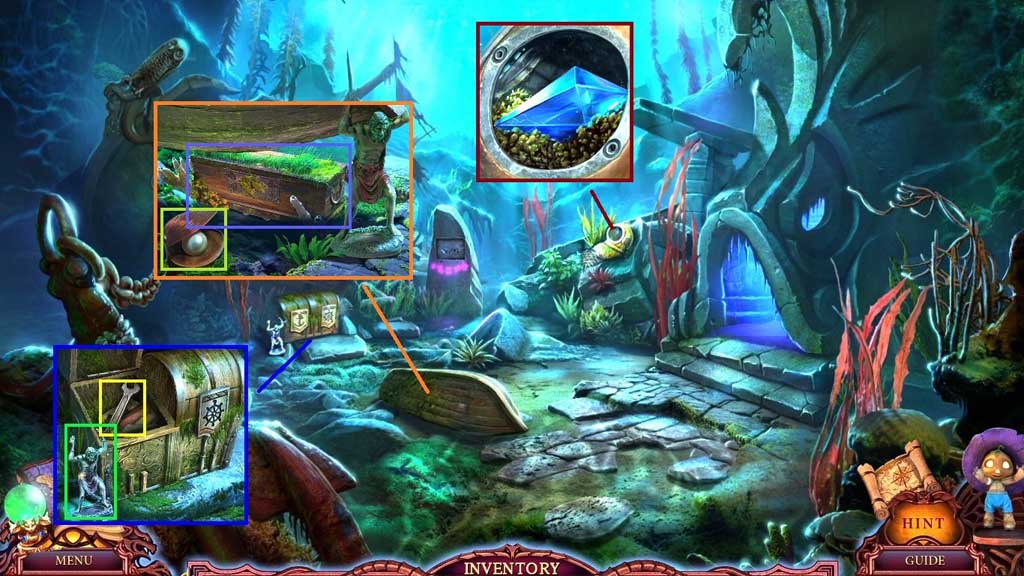
- Collect the atlas.
- Insert the anchor; collect the wrench.
- Click the oyster; collect 2 /3 pearls.
- Place the atlas; collect the chest.
- Select the wrench to remove the bolts; collect the crystal.
- Move to the Swamp Cave.
- Insert the crystal; click it 2x’s.
- Collect the wheel.
- Move down once.
- Insert the wheel; collect the pin.
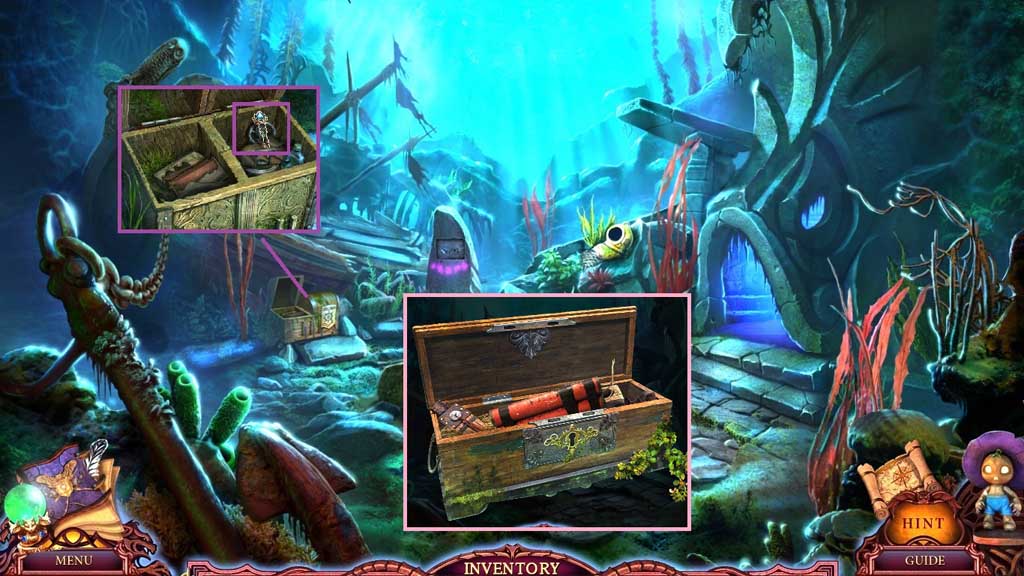
- Click the chest 4x’s and select the pin to unlock it; click it once again.
- Collect the dynamite.
- Move to the Swamp Cave.

- Insert the dynamite and use the matches to ignite it.
- Collect the crocodile medallion and insert it to trigger a hidden objects area.

- Find the items.
- Collect 3 /3 pearls.
- Move down once.
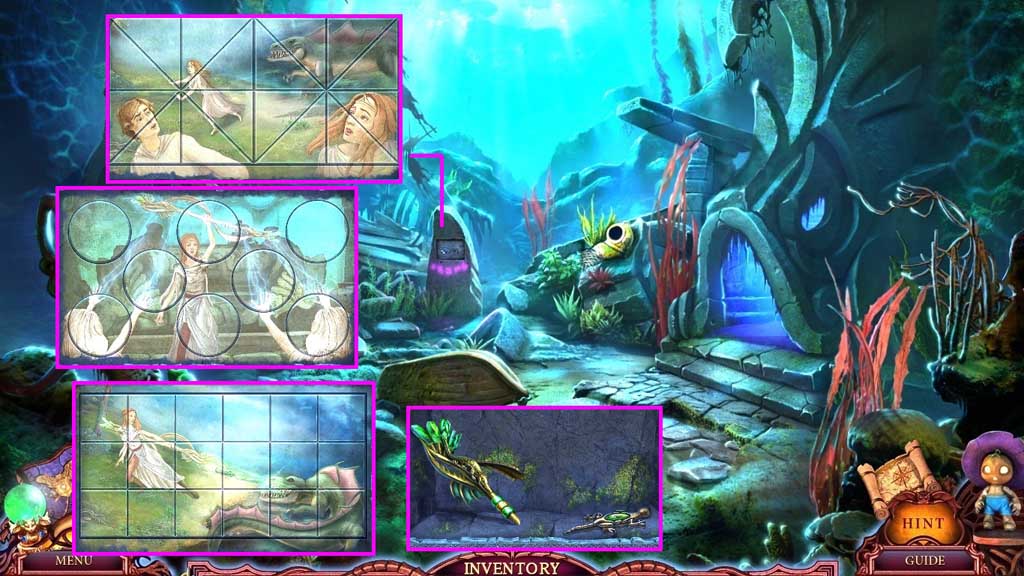
- Insert the pearls to trigger a mini game.
- Solve the game by arranging the pieces to complete the images.
- Collect the magic staff and 2 /2 lizards.
- Move to the Swamp Cave.

- Insert the lizards; collect the magic staff and click it once.
- Attach the magic staff and collect it.
- Move down once.
- Select the magic staff to use on the scene.
- Exit the Swamp Bottom.
- Move to the House on the Hill.
- Move to the Witch’s Hut.
- Move into the Cemetery.
- Collect the broken sieve and the feather duster.
- Move down once.