
Hidden Expedition: Dawn of Prosperity: Chapter 5 The Glades
Our Hidden Expedition: Dawn of Prosperity Walkthrough is brimming with informative tips and mini game and hidden object solutions to help you uncover the truth behind the mysterious earthquakes in this Montana mountainside and the abandoned weather station, which is now mysteriously active. What does this dubious corporation and the frustrated genius have to do with all of this? Look no further to find out. Our helpful information and screen captures will make this case another successful mission completed for the H.E.L.P. team.

- Collect the 3 planks.
- Insert the planks.
- Click the arrow up and insert the remaining planks.
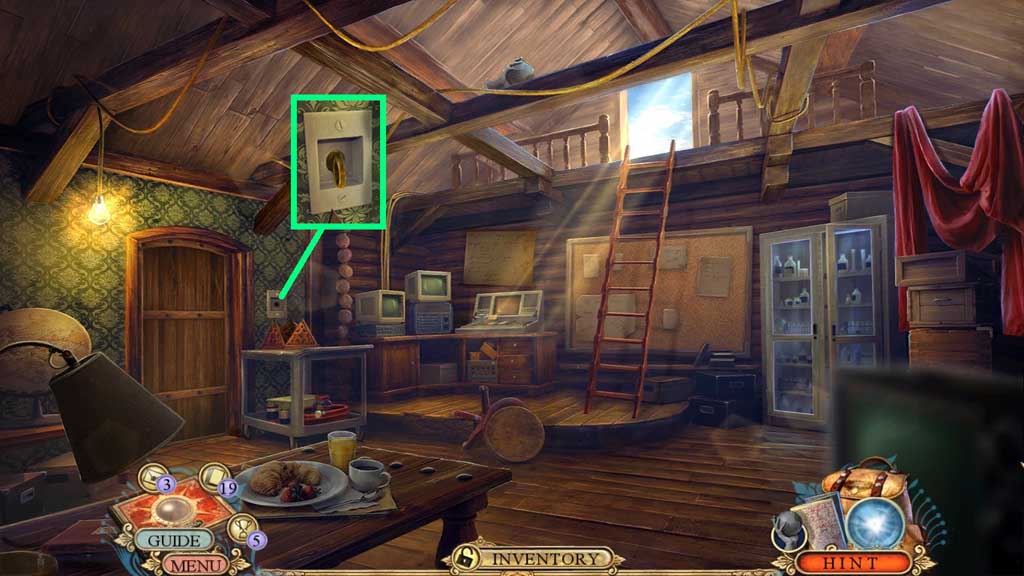
- Click the jacket 3x’s; collect the lock pick and the circuit diagram.
- Move to the Scrap Yard.
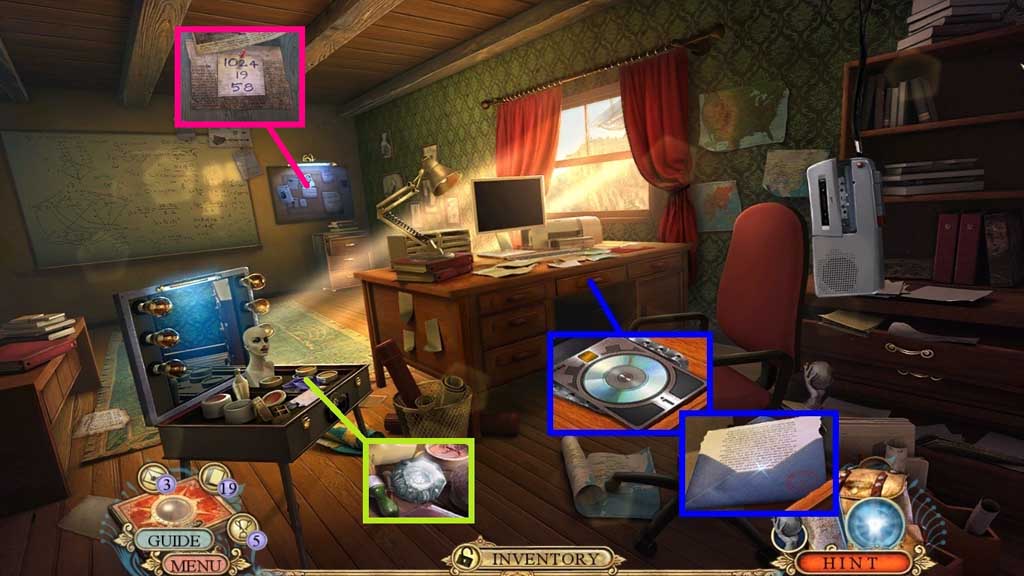
- Click the panel; collect 16 /20 fact cards.
- Select the lock pick to trigger a mini game.
- Solve the game by aligning the lock pick correctly.
- Move to the Supply Shack.
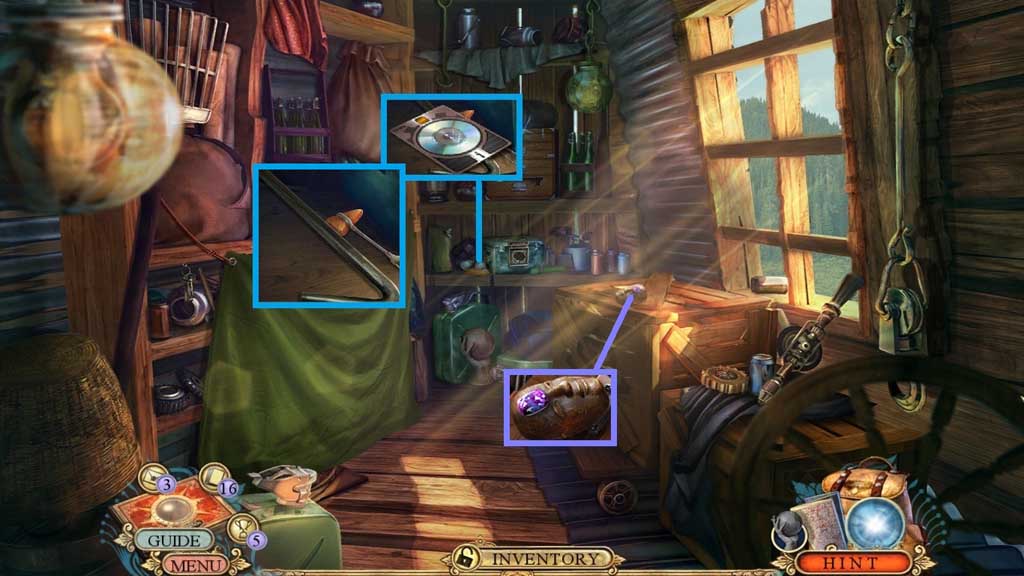
- Click the binoculars and gloves; collect 17 /20 fact cards.
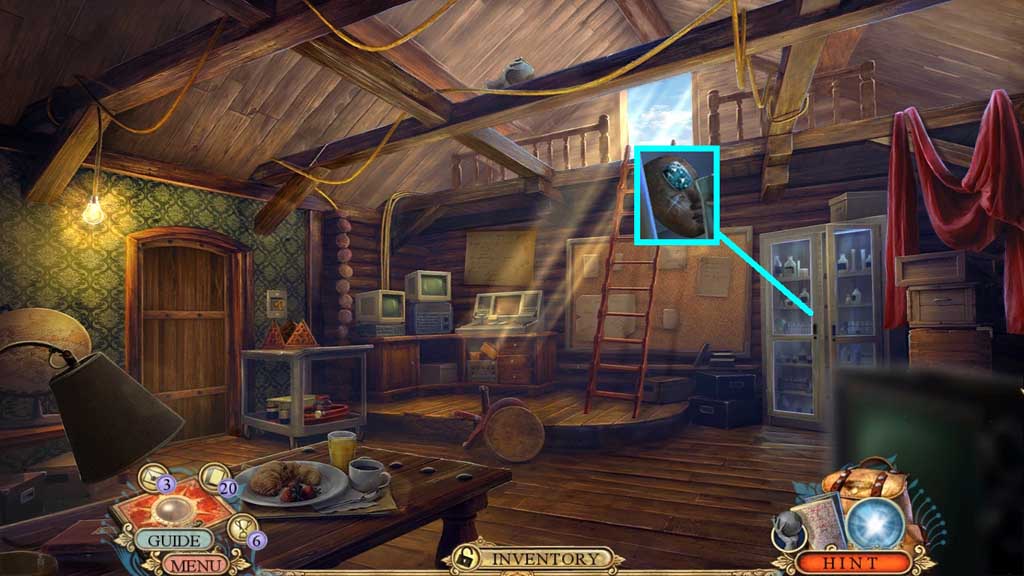
- Collect the metal bar and 1/ 3 masks.
- Move down once.
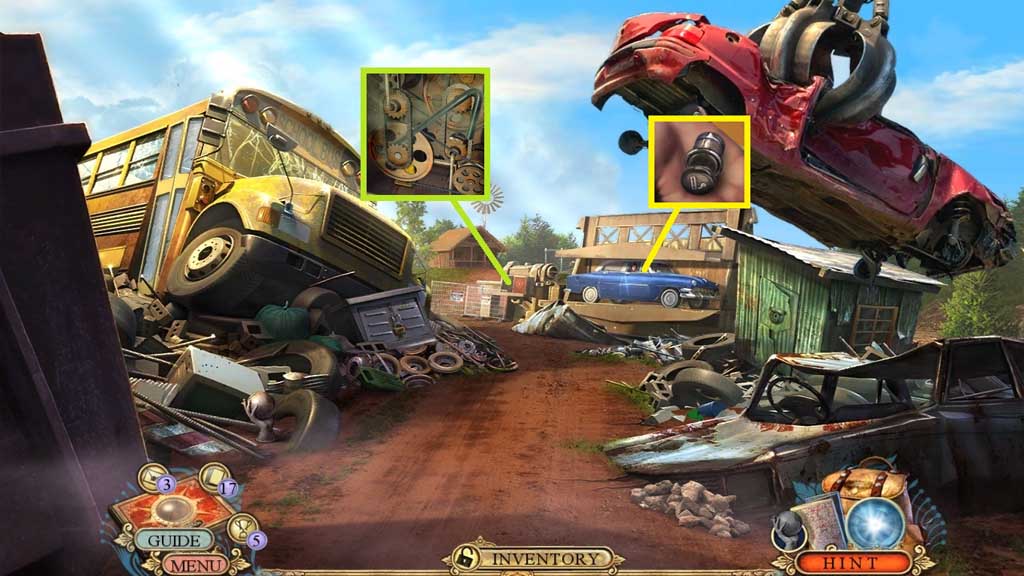
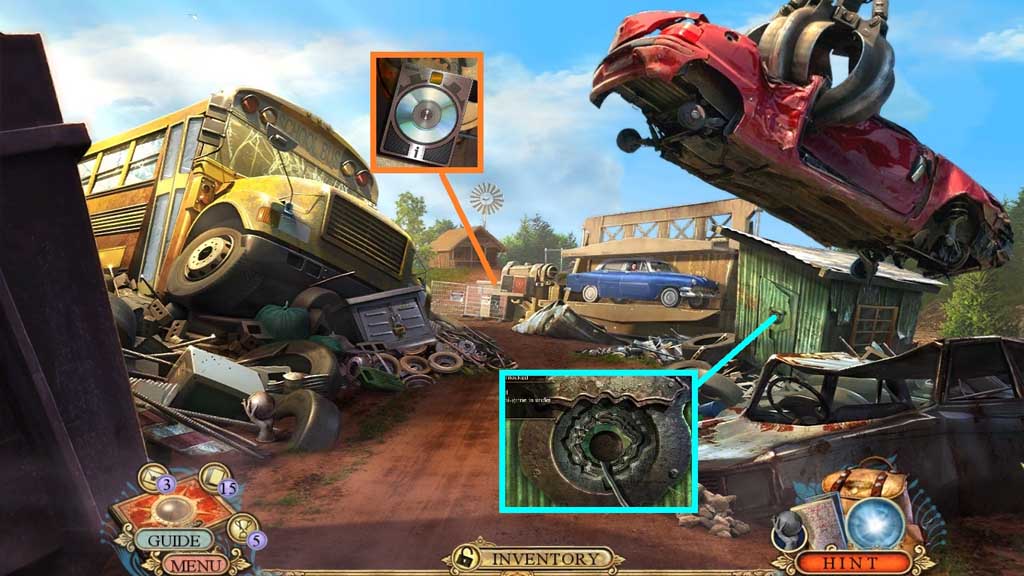
- Select the metal bar to halt the mechanism.
- Collect the car lighter.
- Move to the Supply Shack.
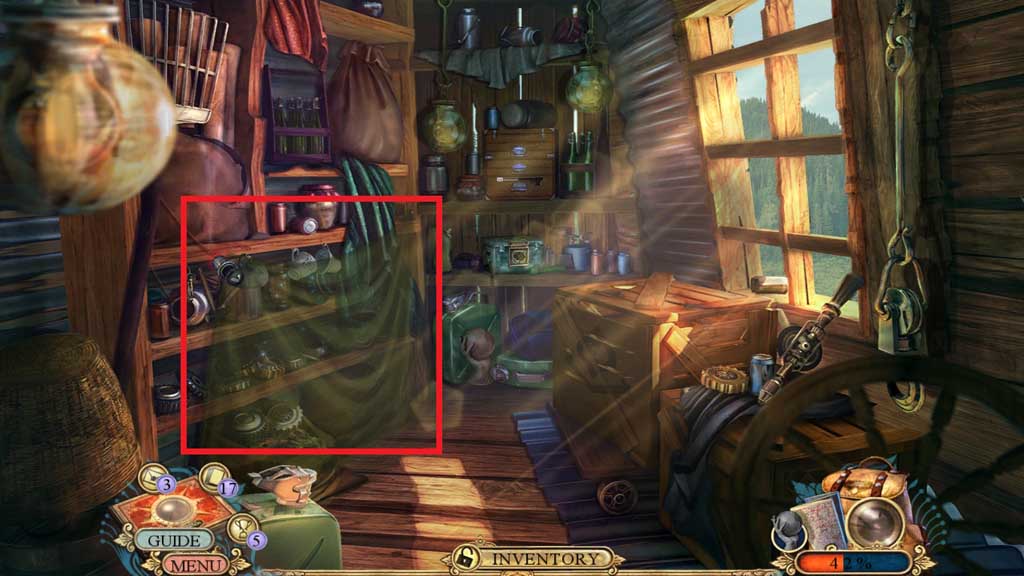
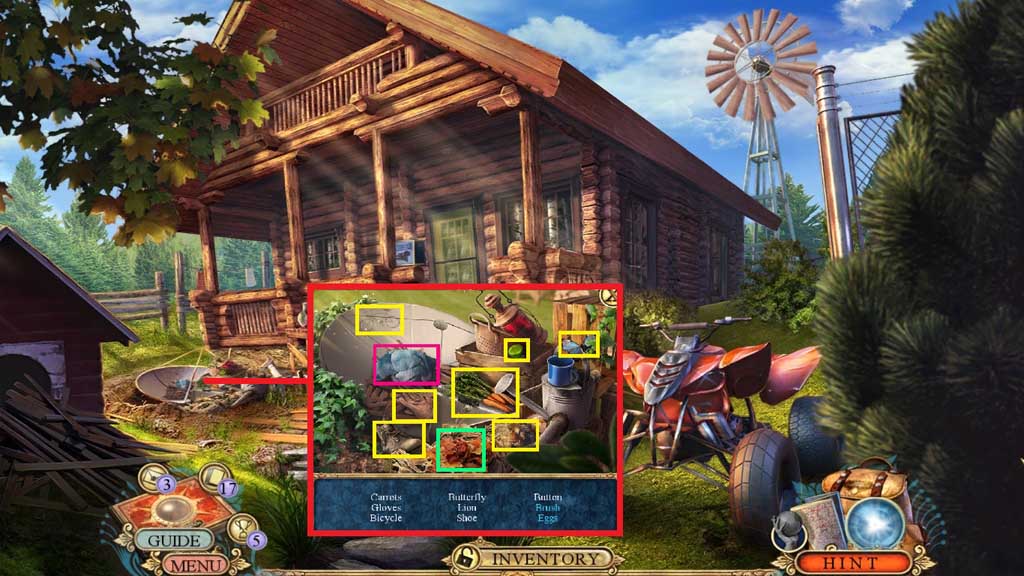
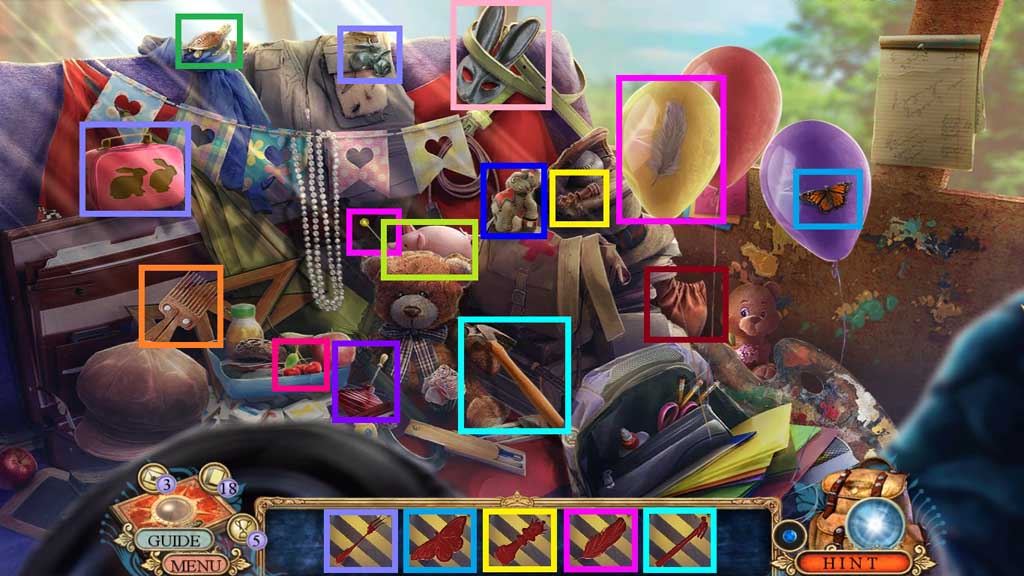
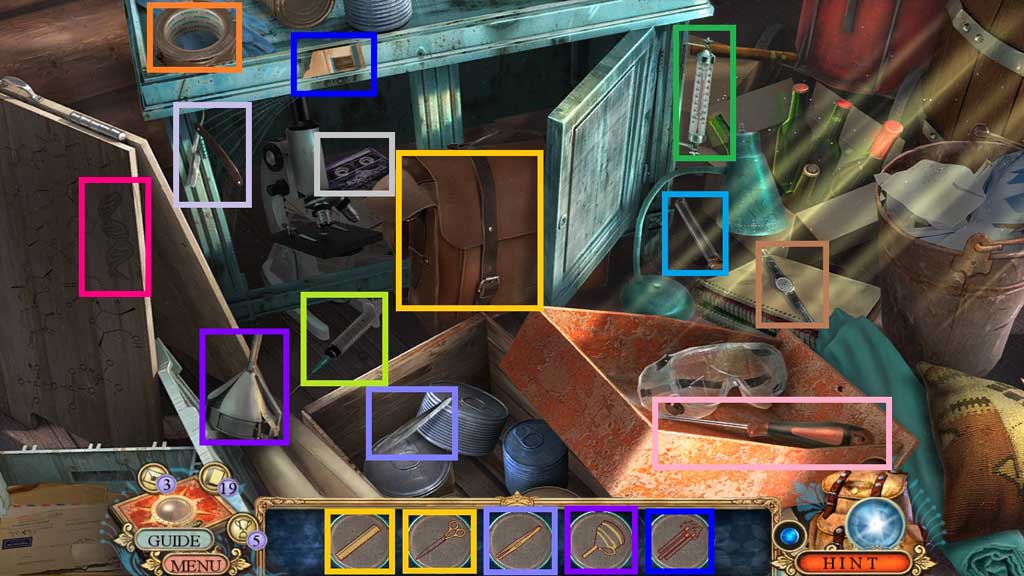
- Select the car lighter to trigger a hidden objects area.
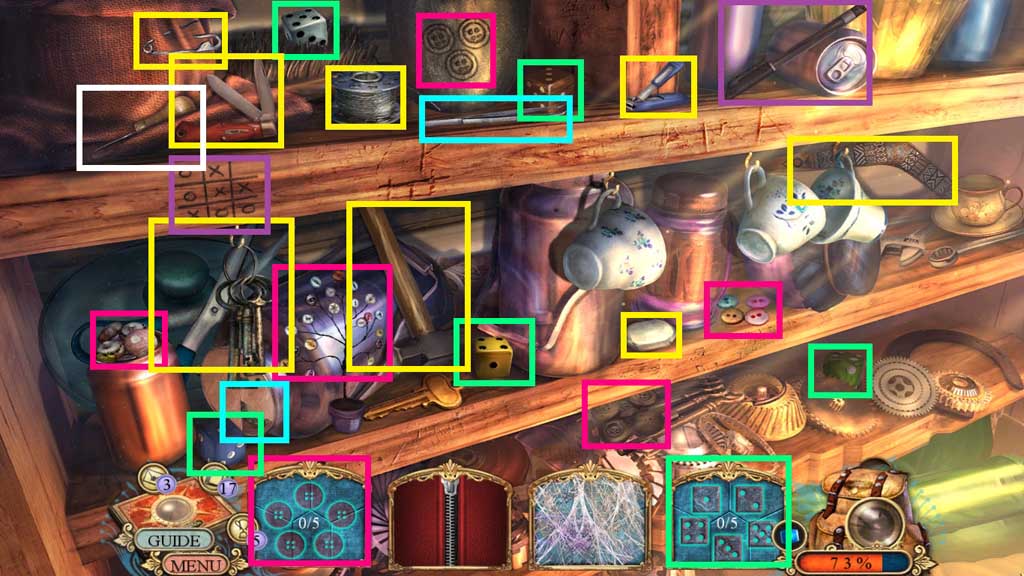
- Find the items.
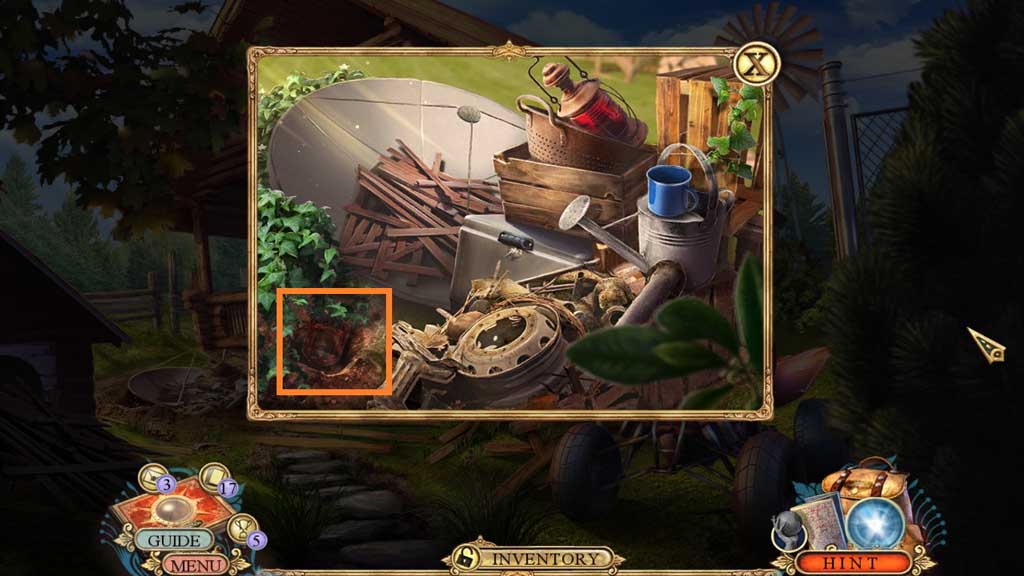
- Collect the awl.
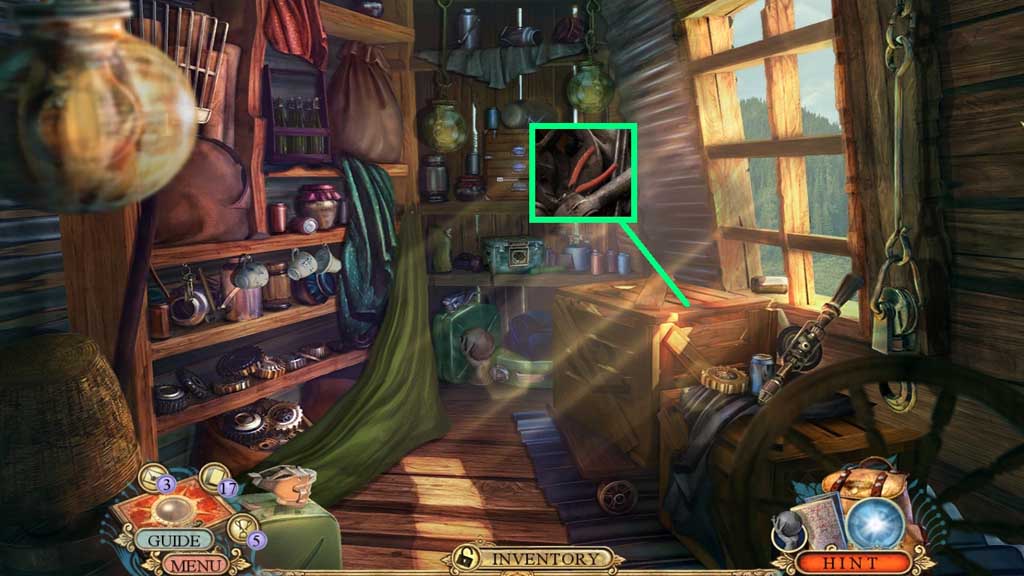
- Select the awl to collect the wire cutters.
- Move down once.
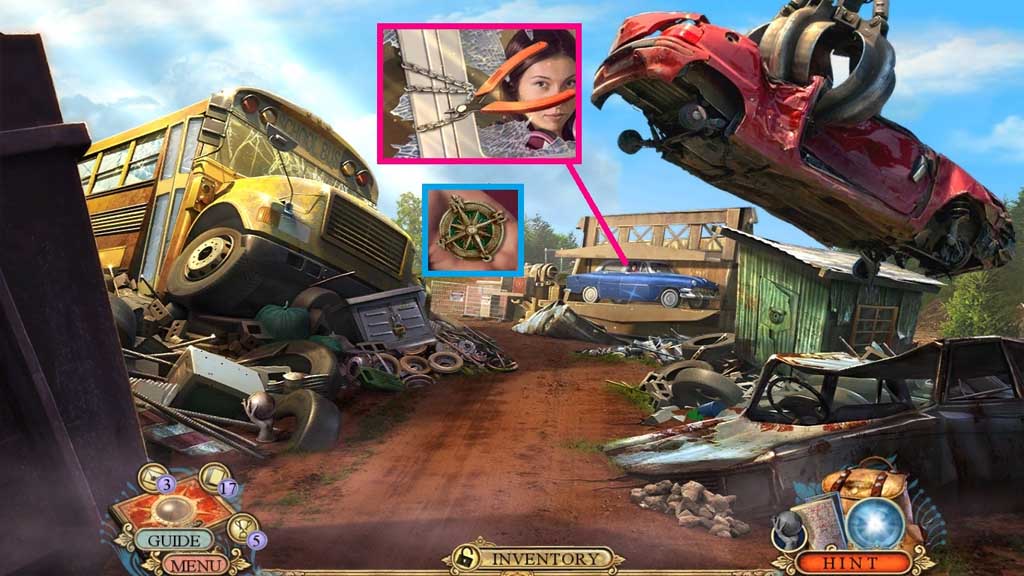
- Select the wire cutters to free Clara.
- Collect the compass pendant.
- Move to the Supply Shack.
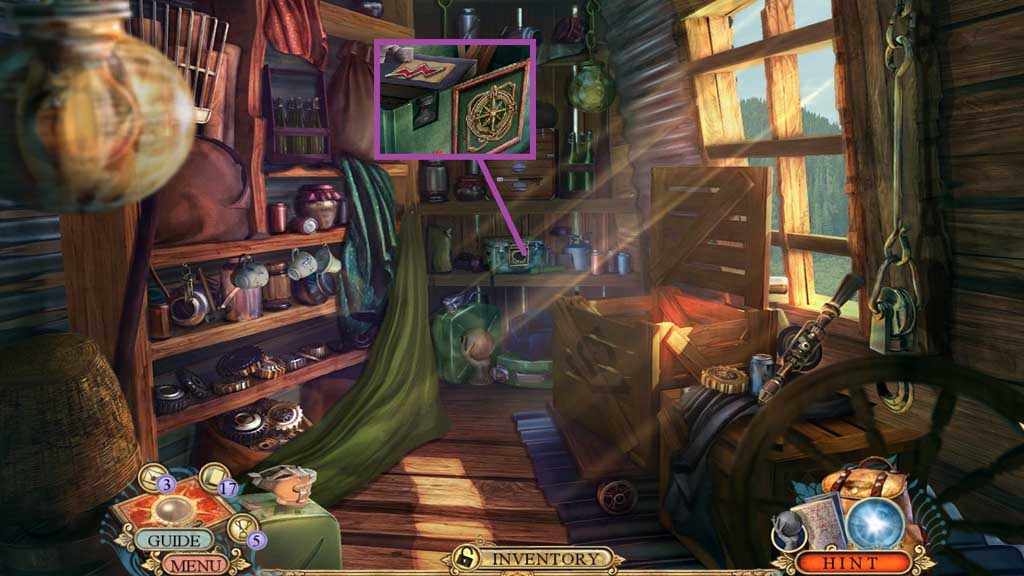
- Insert the compass token and collect the lightning token.
- Move down once.

- Insert the lightning token.
- Place the circuit diagram to trigger a mini game.
- Solve the game by aligning the cables correctly based on the diagram equations.
- Move ahead and click the hidden objects area.
- Find the items.
- Collect the button.
- Select the shovel to collect the emblem base.
- Click the screen door.
- Move down once.
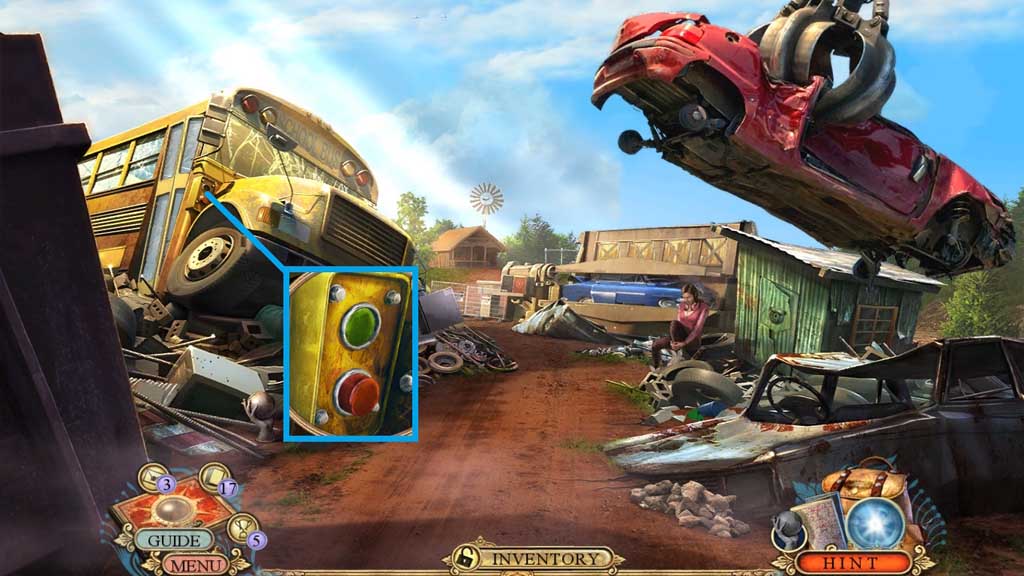
- Attach and click the button.
- Move into the School Bus.
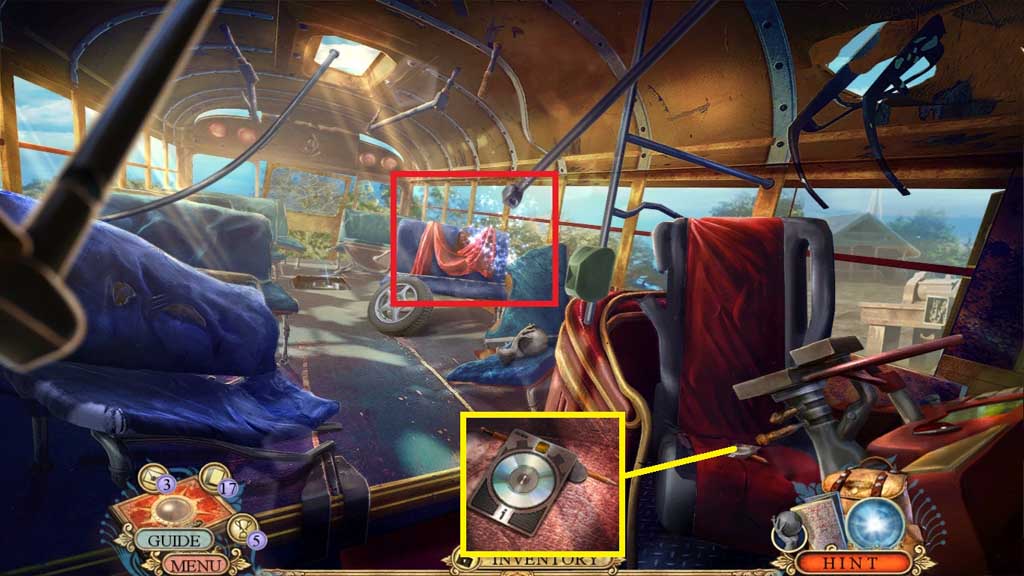
- Collect 18 /20 fact cards.
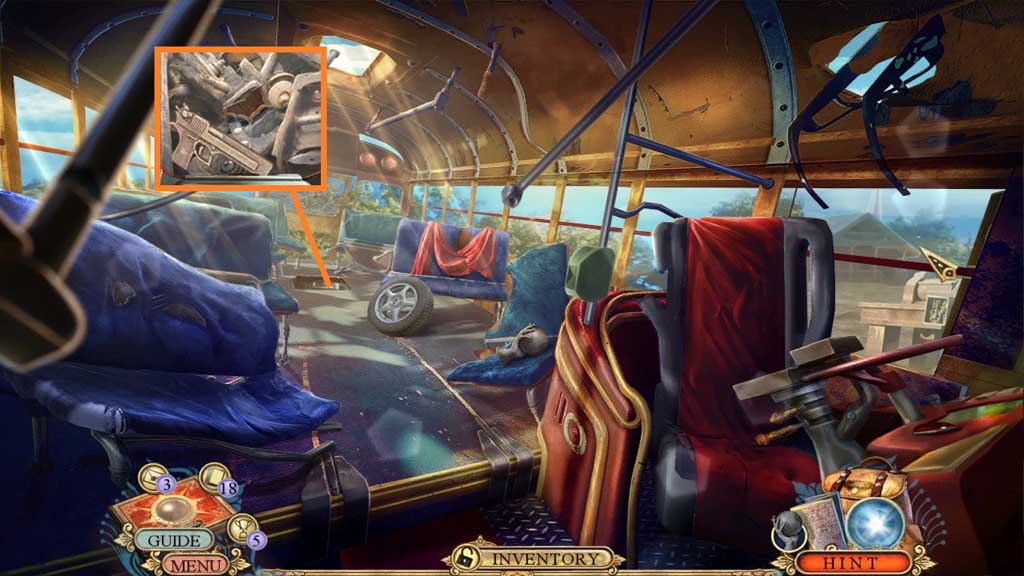
- Collect the gun hammer and the pencil.
- Click the hidden objects area.
- Find the items.
- Collect the puzzle pieces sack.
- Collect the emblem part.
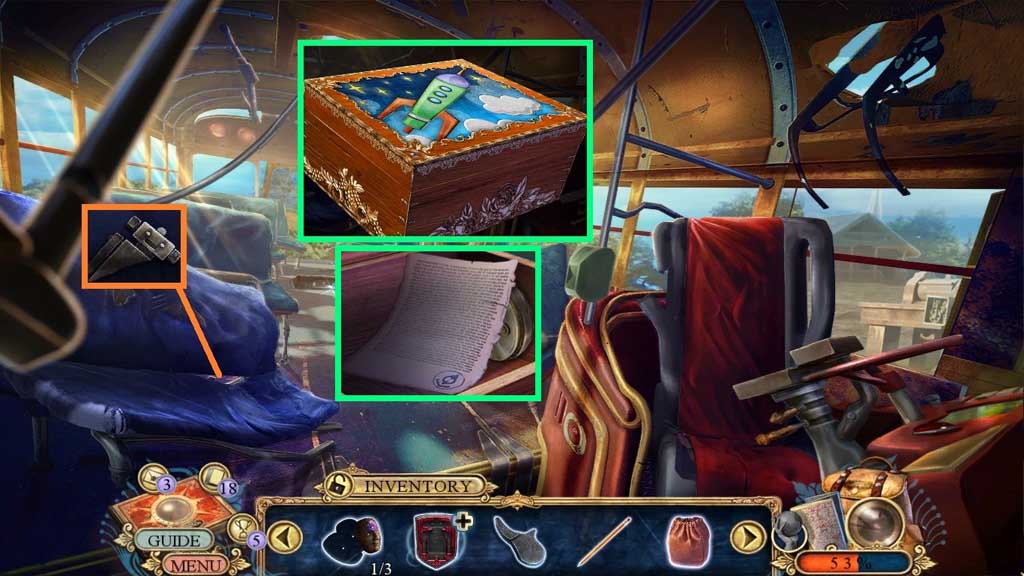
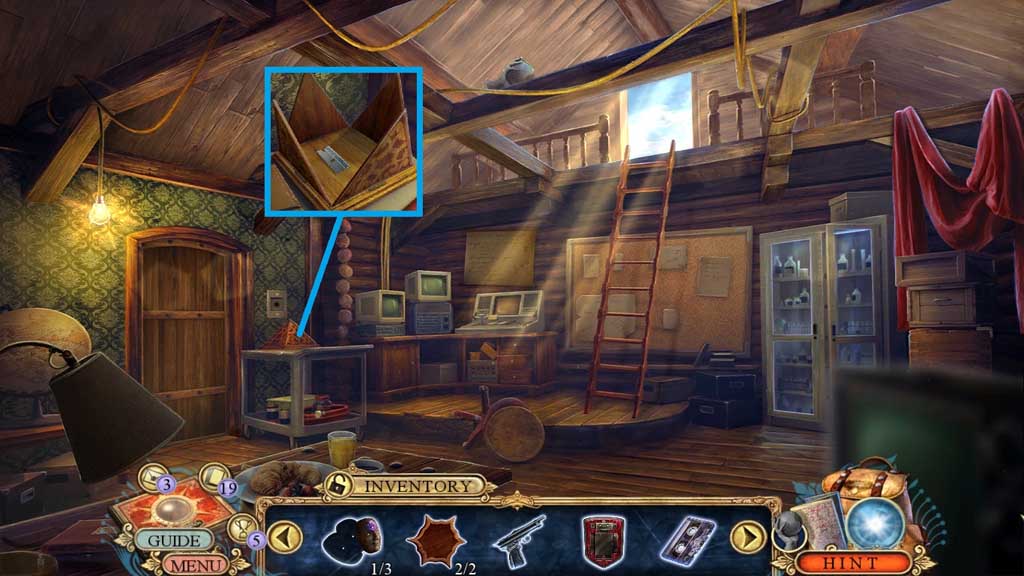
- Pour the puzzle pieces sack onto the ornamented box to trigger a mini game.
- Solve the game by assembling the image.
- Read the note and collect the magnet.
- Move to the Front of the House.
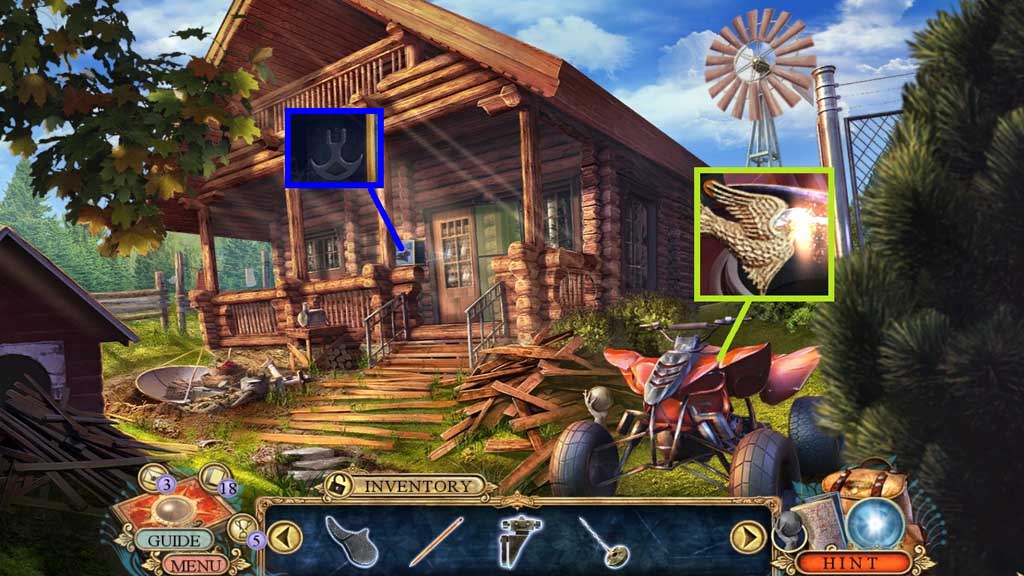
- Select the magnet to collect 2 /2 brass ornaments and place them onto the mailbox.
- Collect the hatch latch.
- Move to the School Bus.
- Attach the hatch latch.
- Collect the gun plaque and 1 / 4 pyramid ornaments.
- Move to the Supply Shack.
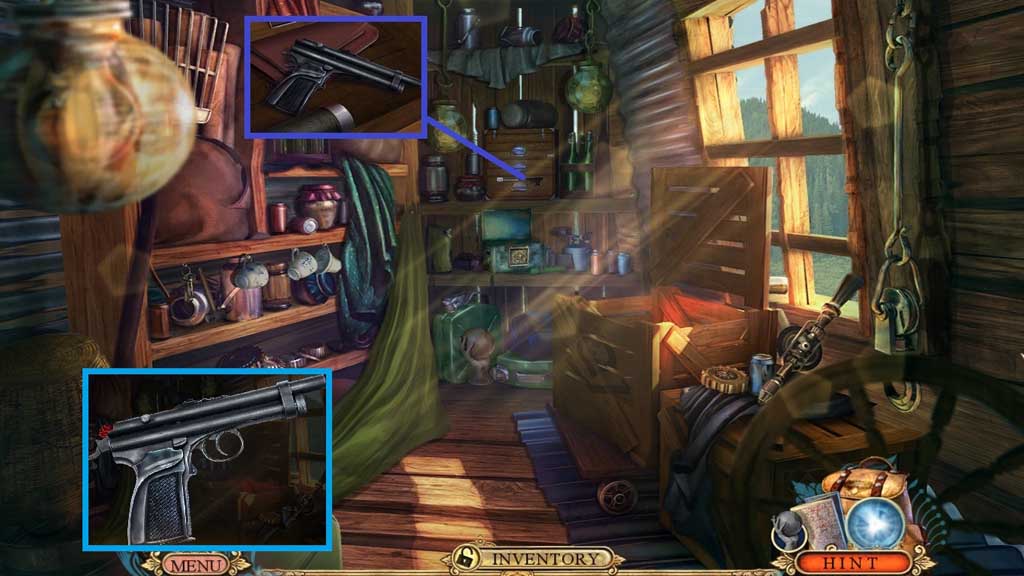
- Insert the gun plaque.
- Collect the broken tranquilizer gun and the bundle of keys.
- Attach the gun hammer and trigger onto the broken tranquilizer.
- Move to the Front of the House.
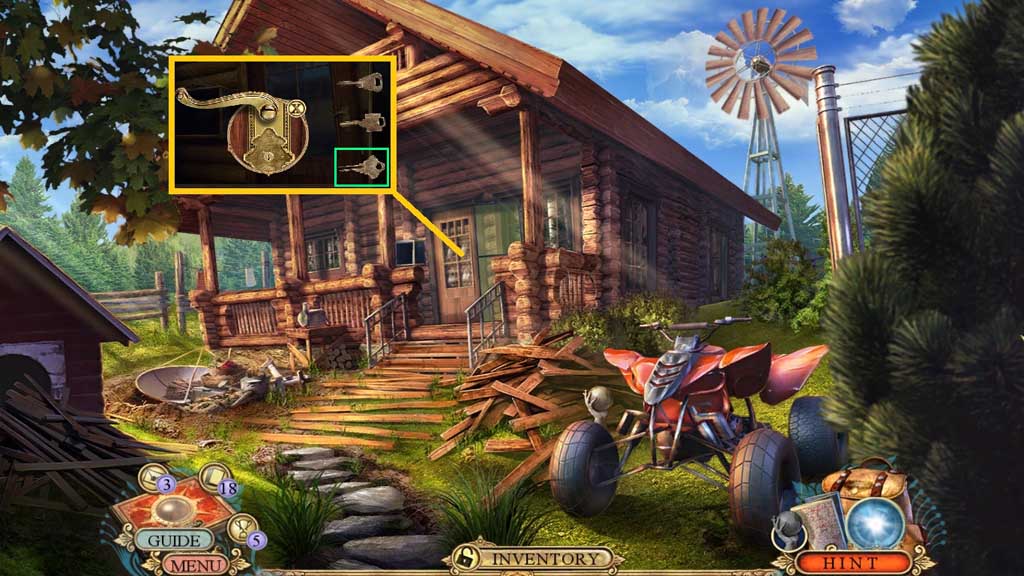
- Insert the bundle of keys and click them.
- Click the 3rd key.
- Move into the Operations Room.
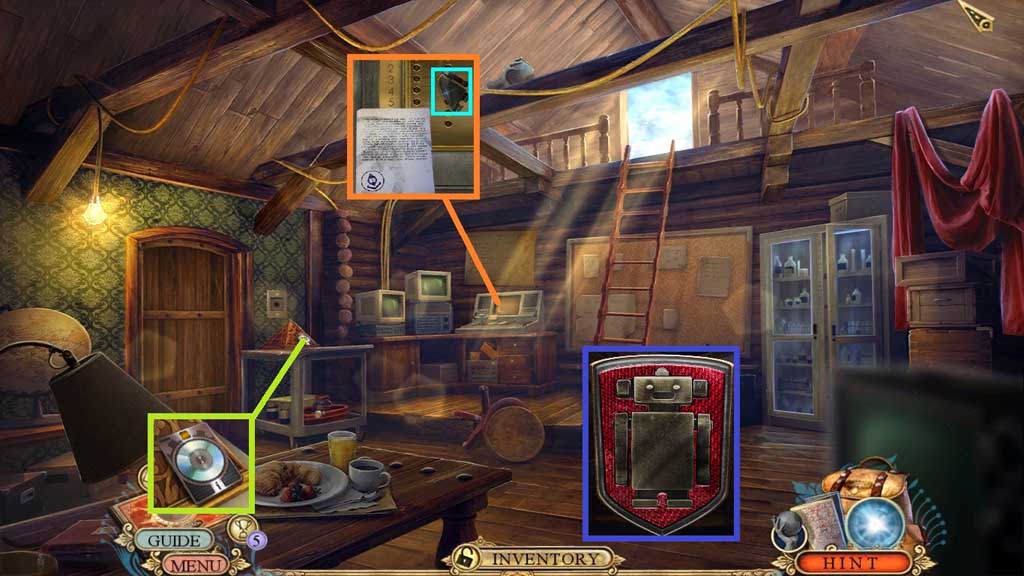
- Zoom into the note; collect the emblem part.
- Attach the emblem parts onto the base; collect the robot emblem.
- Collect 19/20 fact cards.
- Move to the Roof Balcony.
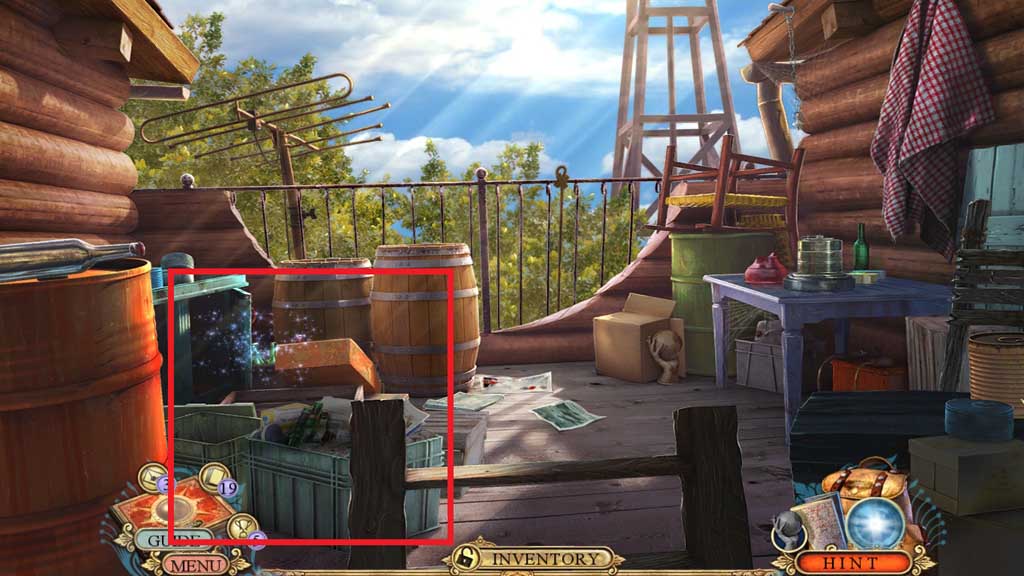
- Click the crate to trigger a hidden objects area.
- Find the items.
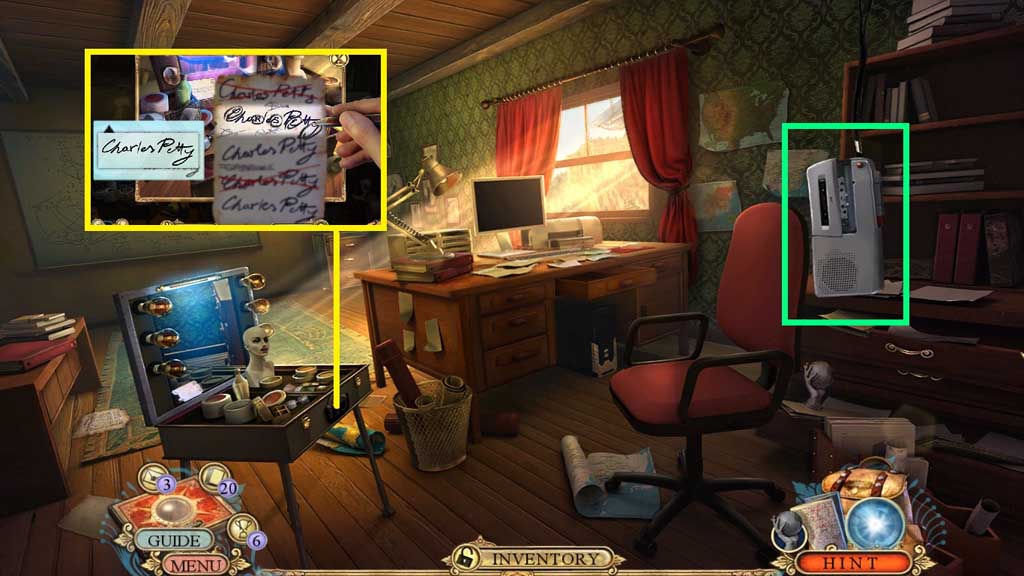
- Collect the ruined cassette.
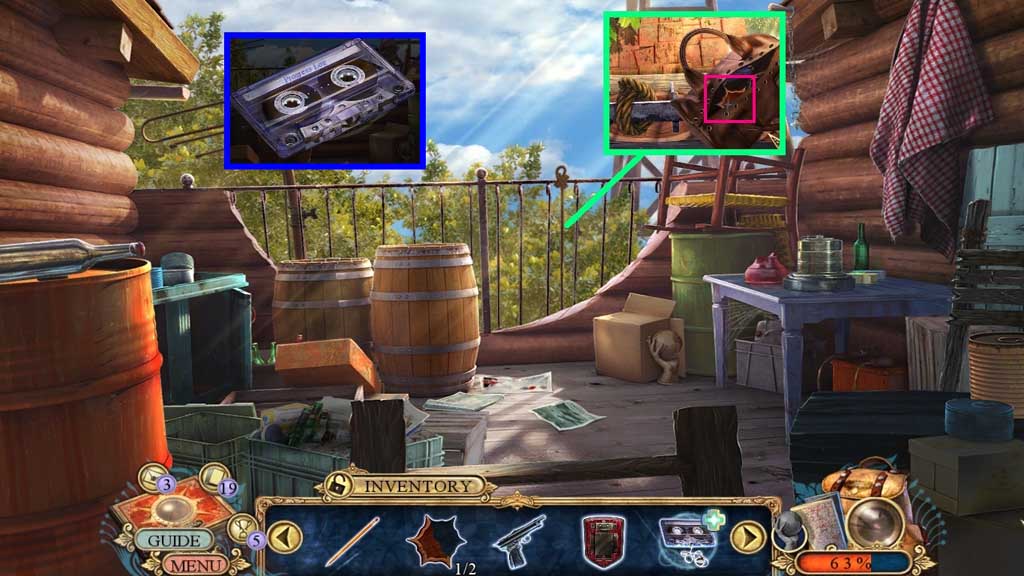
- Click the rope and the bag; collect 2/ 2 pyramid ornaments.
- Select the pencil to repair and collect the cassette.
- Move down once.
- Place the pyramid ornament; collect the razor.
- Move to the Scrapyard and into the School Bus.
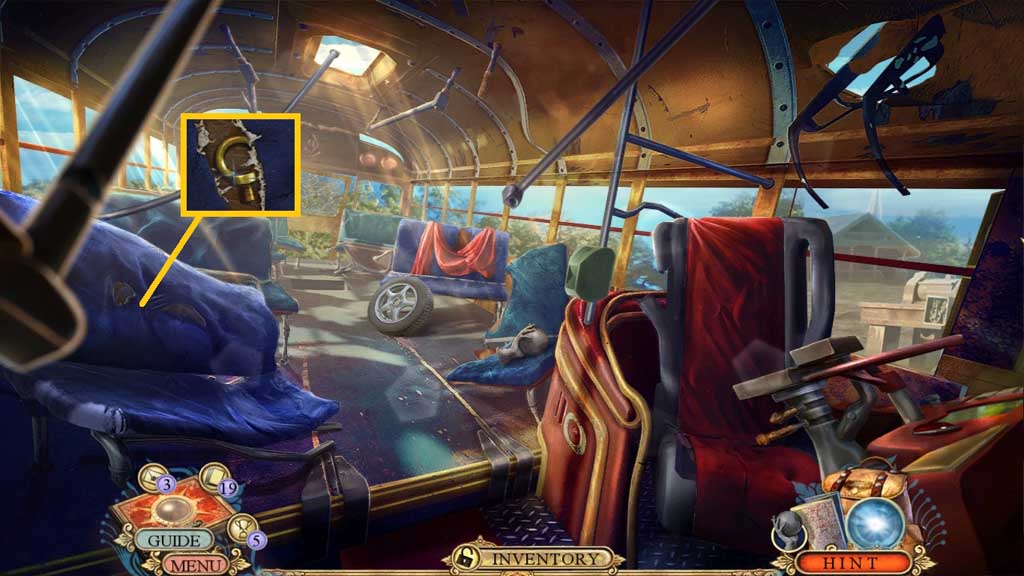
- Select the razor; collect the ring screw.
- Move to the Operations Room.
- Insert the ring screw.
- Move into the Secret Room.
- Click the drawer; collect 20 /20 fact cards.
- Insert the robot emblem; read the note.
- Read the note; click the handkerchief and collect the glass knob.
- Read the note; collect the parameters.
- Move down once.
- Attach the glass knob; collect 2 /3 masks.
- Move to the Roof Balcony.
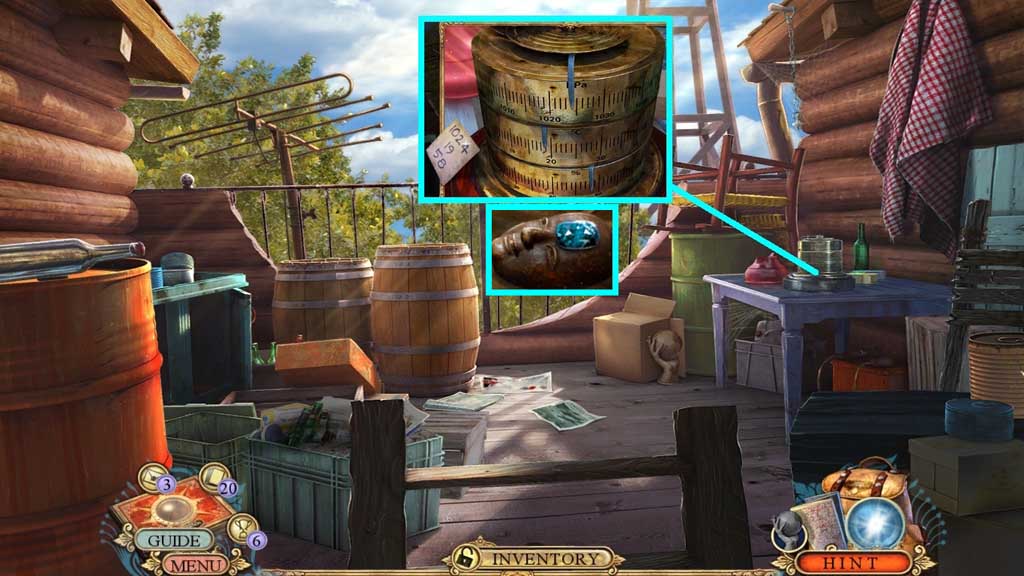
- Place the parameters to trigger a mini game.
- Solve the game by setting the dials as per the diagram.
- Collect 3 /3 masks.
- Move to the Secret Room.
- Place the 3 masks and click the notes to trigger a mini game.
- Solve the game by circling the differences.
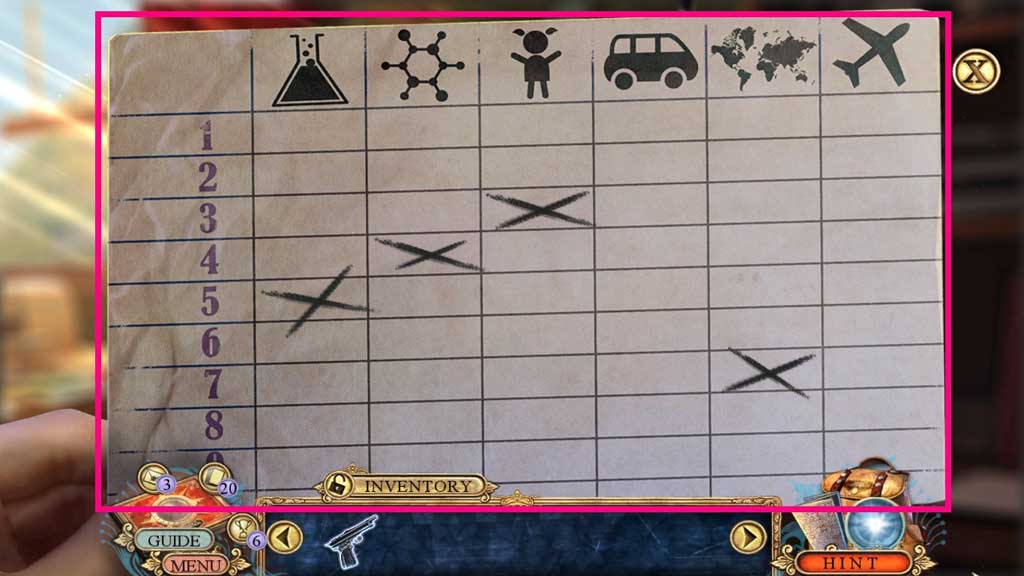
- Collect the blank settings card.
- Insert the cassette and the blank settings card to trigger a mini game.
- Solve the game by selecting the correct field based on the information on the recording.
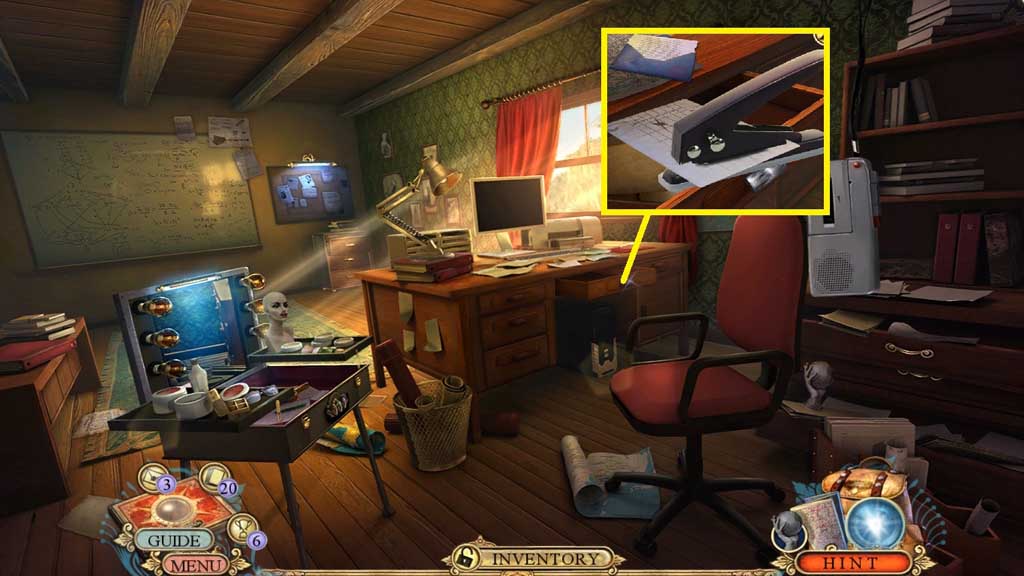
- Collect the punch card and insert it into the hole punch to get a secret code sequence.
- Move down once.
- Use the tranquilizer gun on Duncan.
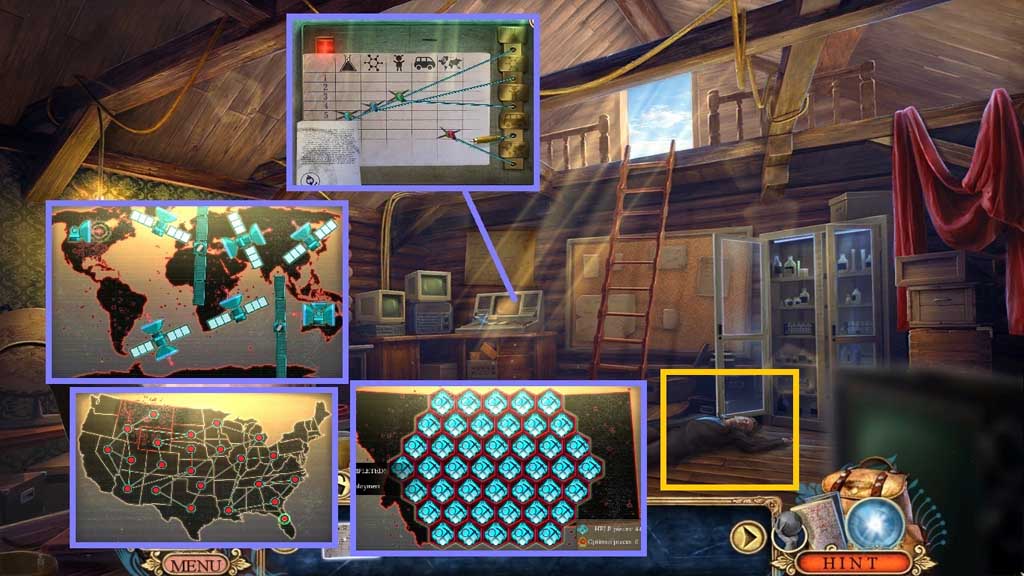
- Place the code sequence to trigger a mini game.
- Solve the game by placing the cables correctly, then align the satellites correctly, then connect the dots without click each one more than once and finally collect your opponents’ tokens to collect the most tokens.
- Congratulations! You have successfully completed the main game of Hidden Expedition: Dawn of Prosperity.