
Dark Realm: Queen of Flames: Chapter One: The Journey Begins
Our Dark Realm: Queen of Flames Walkthrough will be your personal guide you as you make your way to the Queen of Flames to bargain for the lives of your father and the villagers who have been turned into flame banshees by a dark and dangerous power. Trust our detailed game instructions, our custom marked screenshots, and our simple puzzle solutions to see you through to the end of this enthralling hidden object adventure game!
General Information & Tips
Chapter One: The Journey Begins
Chapter Two: Into the Woods
Chapter Three: Venture to the Cliffs
Chapter Four: Tour the Ivory Tower
Chapter Five: Aeterna
Chapter Six: Into the Zeppelin
Chapter Seven: Enter the Temple
Chapter Eight: Castle Bound
Ask for help in the comments below!
Chapter One: The Journey Begins
Chapter Two: Into the Woods
Chapter Three: Venture to the Cliffs
Chapter Four: Tour the Ivory Tower
Chapter Five: Aeterna
Chapter Six: Into the Zeppelin
Chapter Seven: Enter the Temple
Chapter Eight: Castle Bound
Ask for help in the comments below!
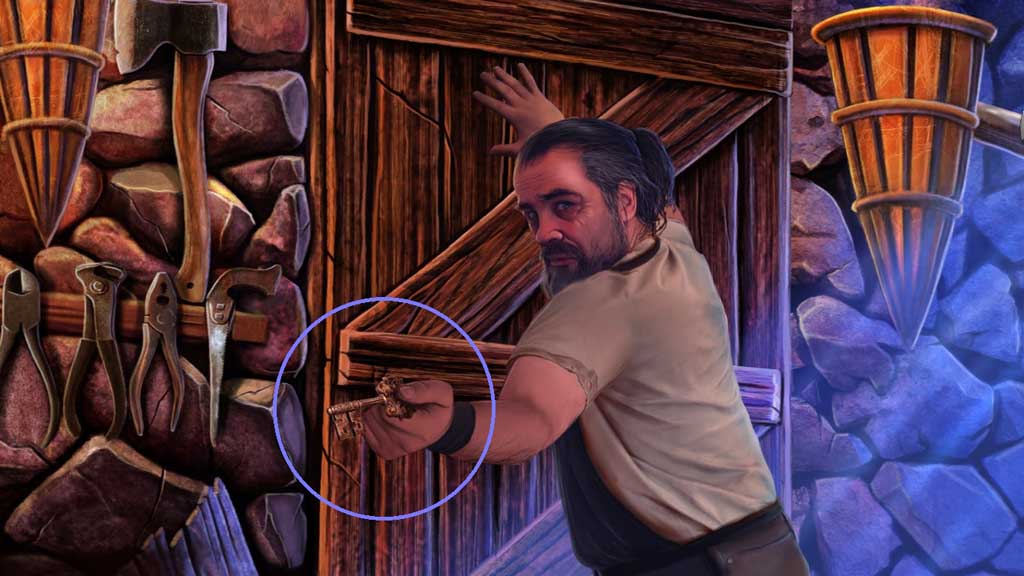
- Speak to the man.
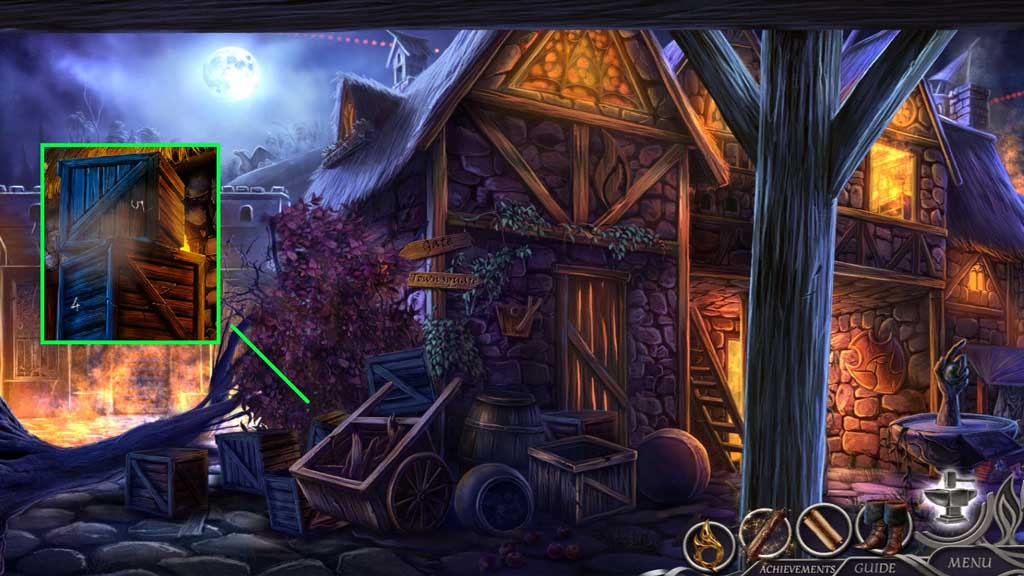
- Collect the chest key.
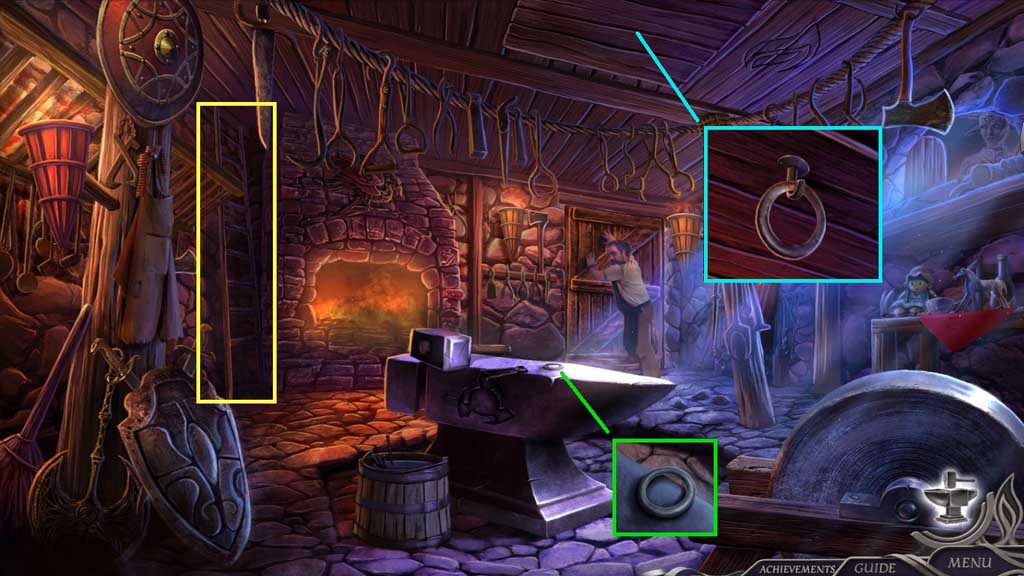
- Collect the trap door handle.
- Slide the ladder over to the trapdoor.
- Attach the trap door handle and click it once.
- Move up the ladder.
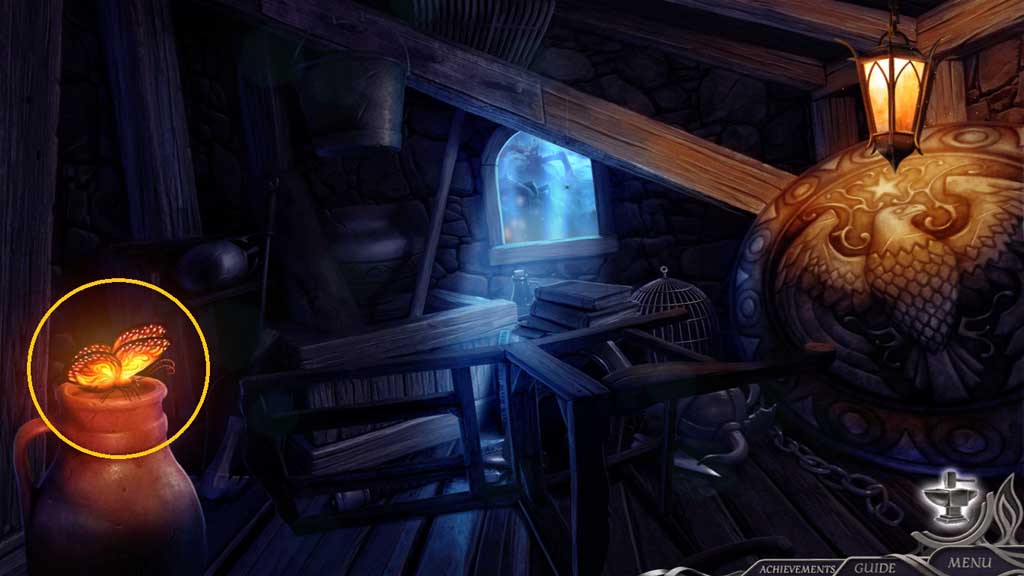
- Click the butterfly.
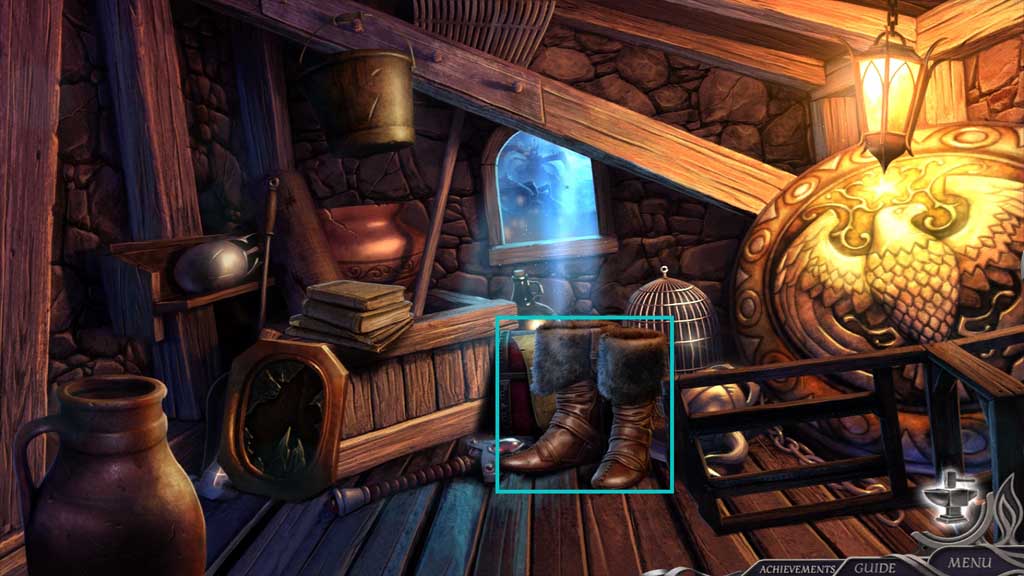
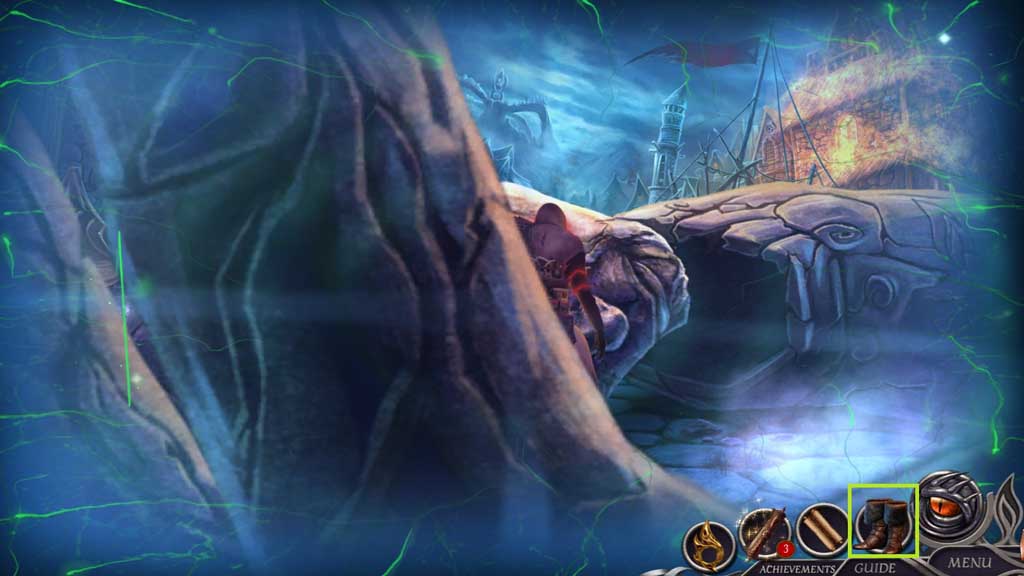
- Click the objects aside; collect the magic boots.
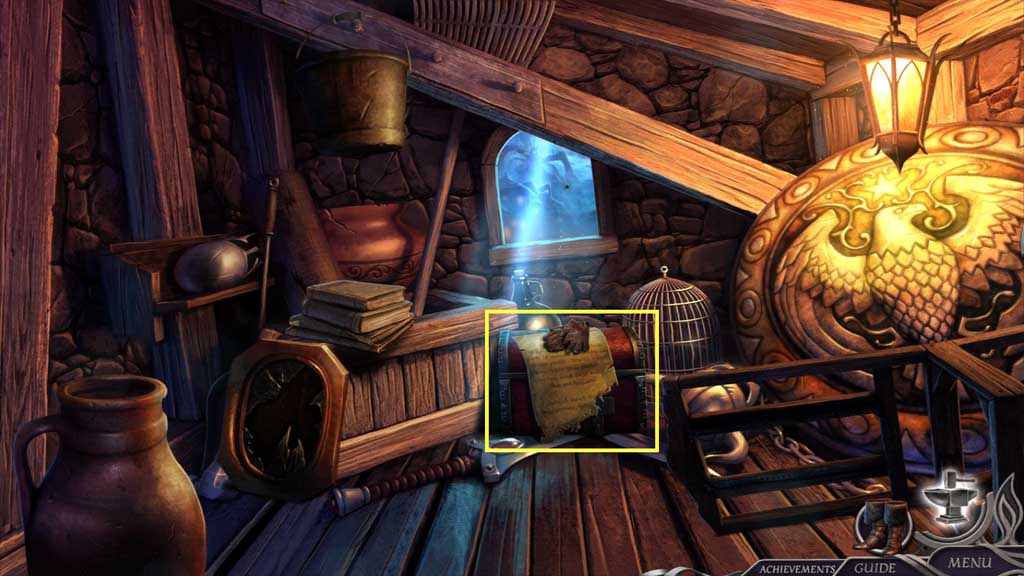
- Collect the torn gloves and the note; collect the locked chest.
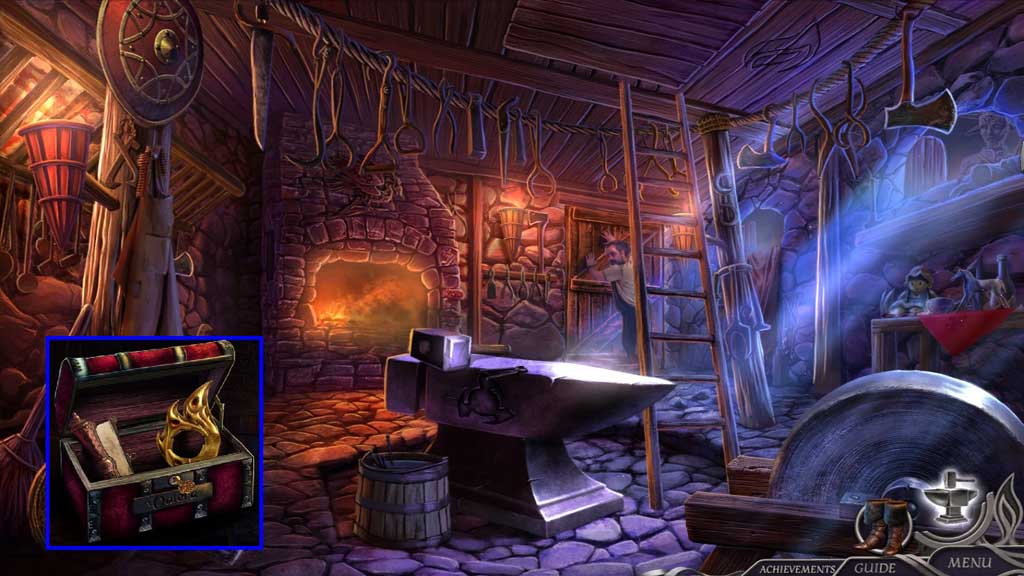
- Zoom into the locked chest and insert the chest key and click it once.
- Collect the medallion half and the journal.
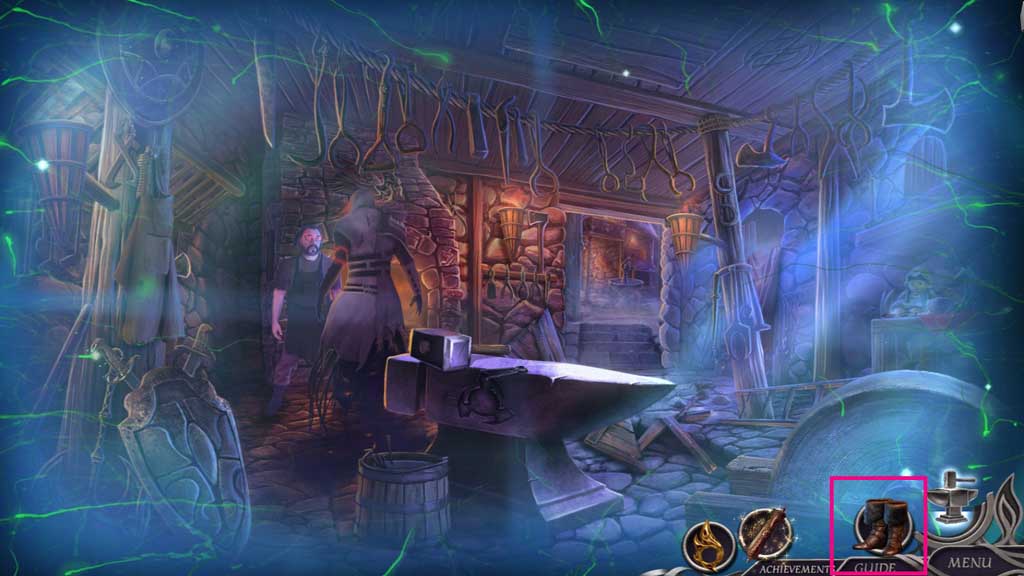
- Select the magic boots to become invisible.
- Move to the left and move ahead and then left.
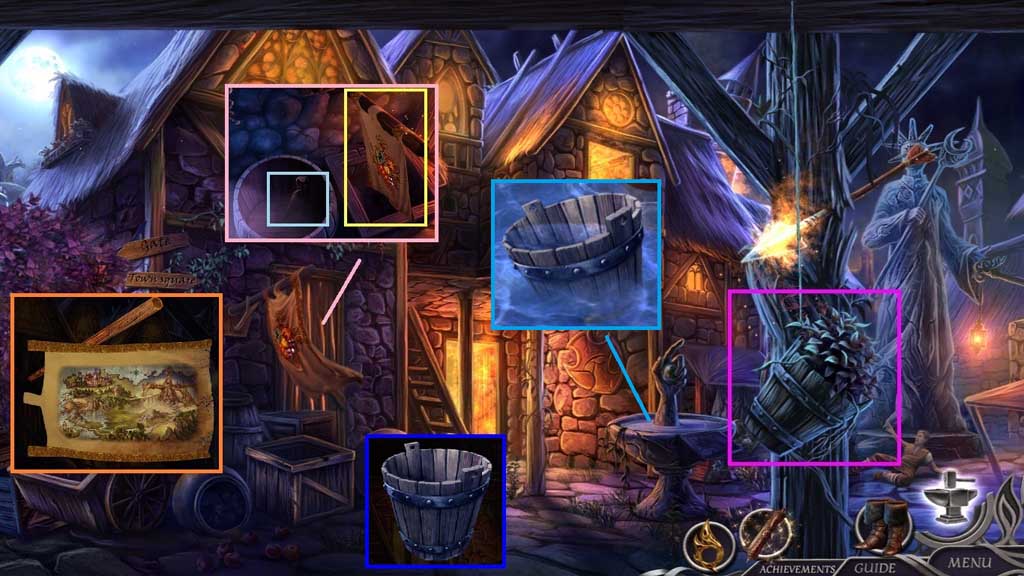
- Collect the flower pot and the sign.
- Collect the royal flag.
- Click the barrel; collect the lever.
- Zoom into the royal flag, click it 2x’s and collect the map and the pole.
- Zoom into the flower pot; click the flowers and collect the bucket.
- Select the bucket and dip it into the fountain; collect the bucket of water.
- Move to the left.
- Stack the buckets in numerical order.
- Move up to the Roof.
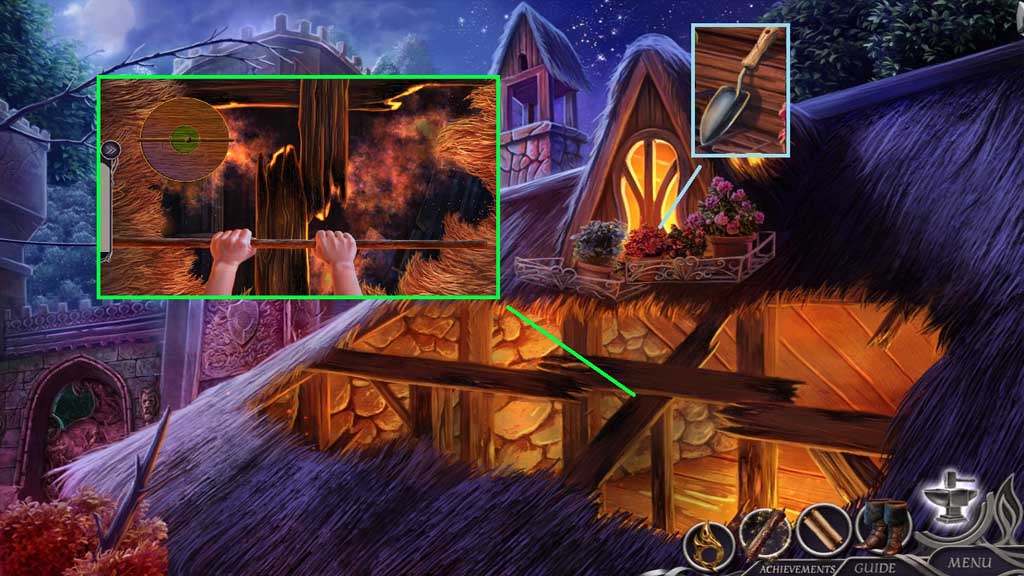
- Select the bucket of water to douse the flames.
- Click the flowers; collect the trowel.
- Zoom into the hole in the roof.
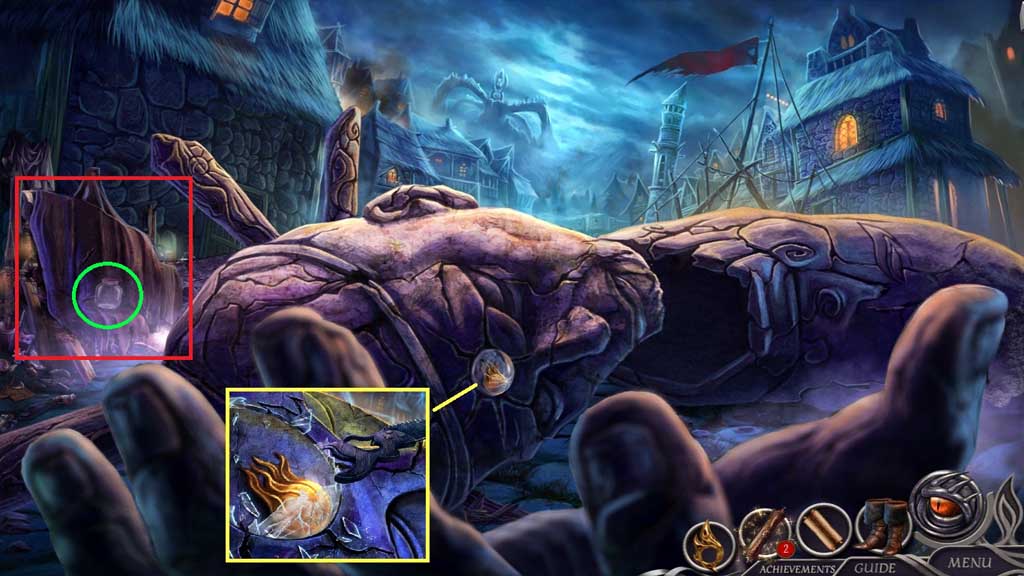
- Select the pole to trigger a mini game.
- Solve the game by stopping the balls while they are in the green circle.
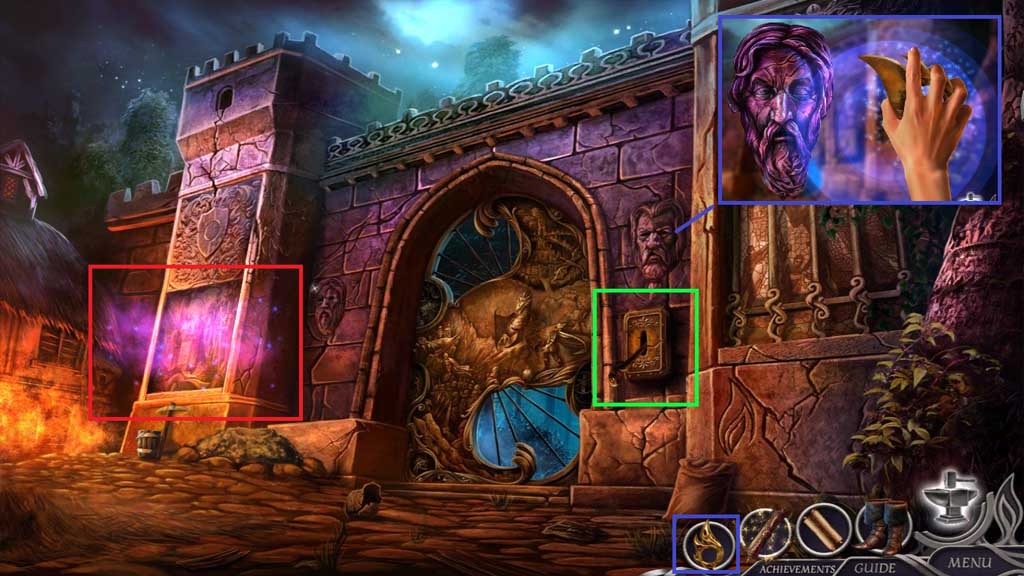
- Insert and click the lever.
- Click the medallion and select the stone whisper to awaken the statue.
- Click the hidden objects area.
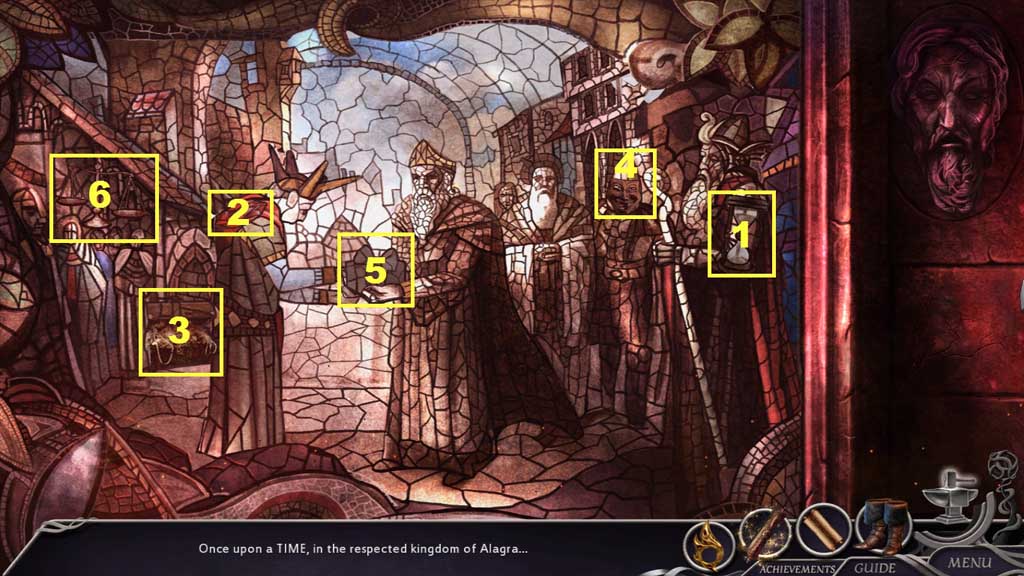
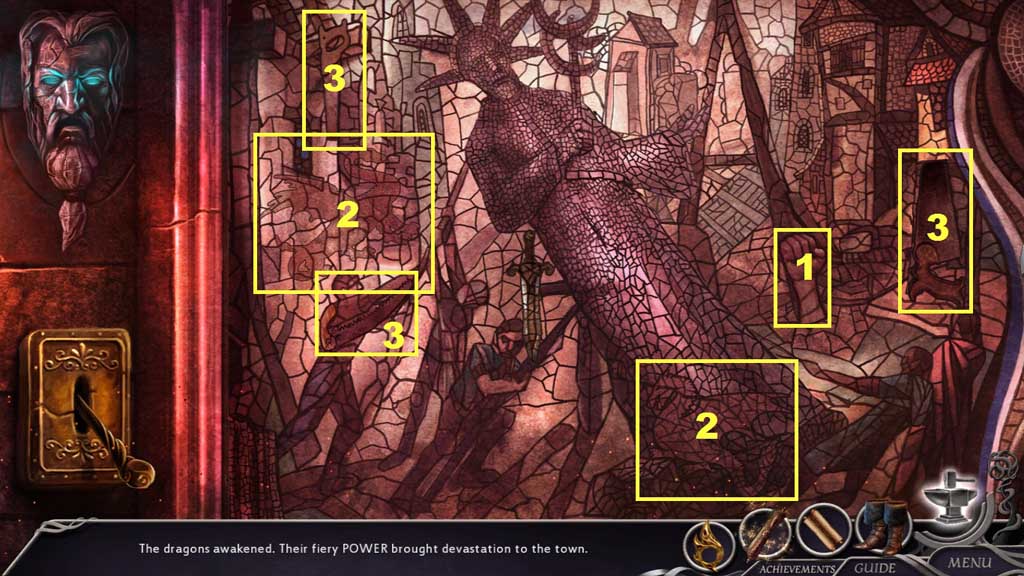
- Find the items based on the clues.
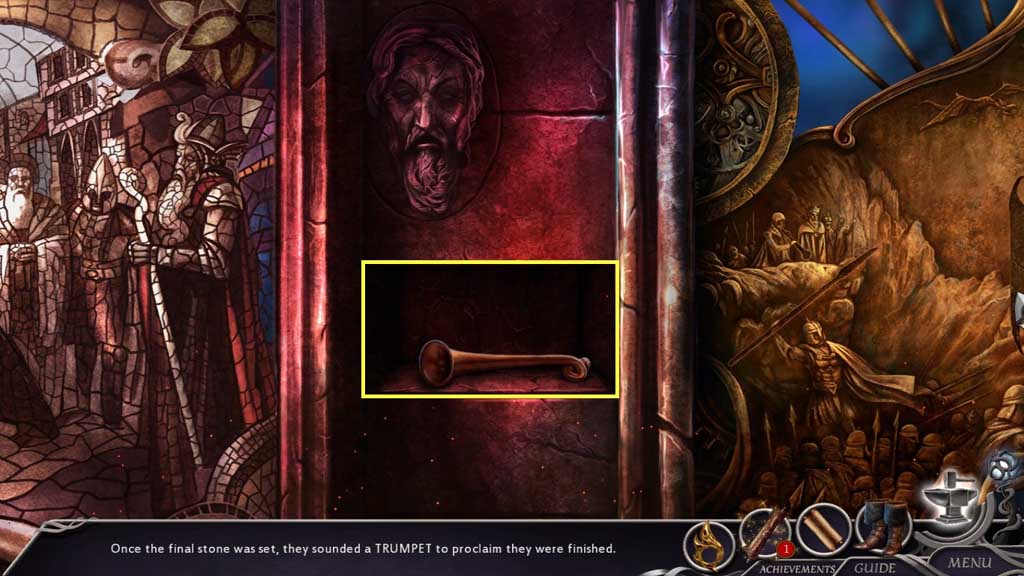
- Collect the miniature trumpet.
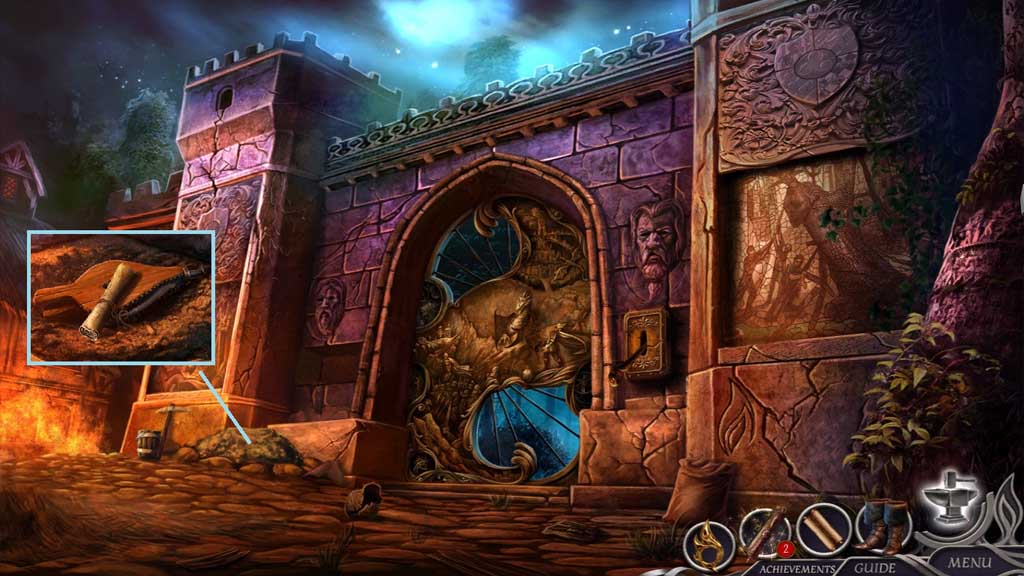
- Select the trowel to uncover and collect the note and bellows.
- Move down 3x’s to the Blacksmith.

- Click the horse; collect the handsaw and anvil seal pieces.
- Collect the tongs.
- Select the anvil seal pieces and place them into the fire; use the bellows to stoke the flames.
- Select the tongs to collect the hot anvil seal pieces and place them onto the anvil.
- Select the tools to create the anvil seal.
- Insert the anvil seal and click the pieces in order.
- Collect the seal and sun symbol.
- Move ahead 2x’s to the Fallen Statue.
- Select the handsaw to collect the miniature fire sphere.
- Collect the jar and click the cloth to reveal a hidden objects area.

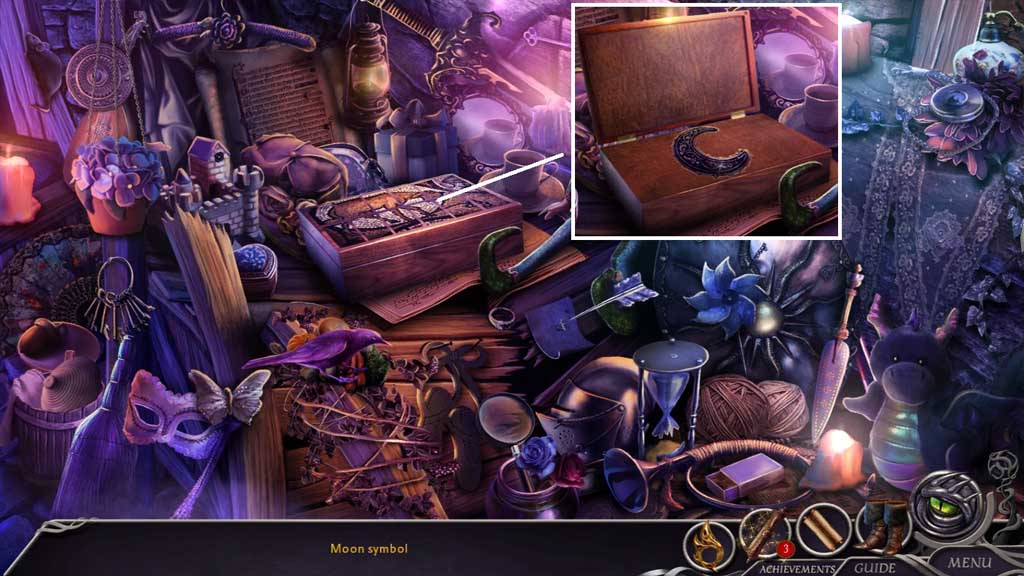
- Find the items.
- Click the lid; collect the acorn.
- Select the hammer to smash the hourglass; collect the broken hourglass.
- Click the buttons; collect the buttons.
- Click the glowing fragments.
- Collect the moon symbol.
- Select the magic boots to become invisible.
- Move to the right.
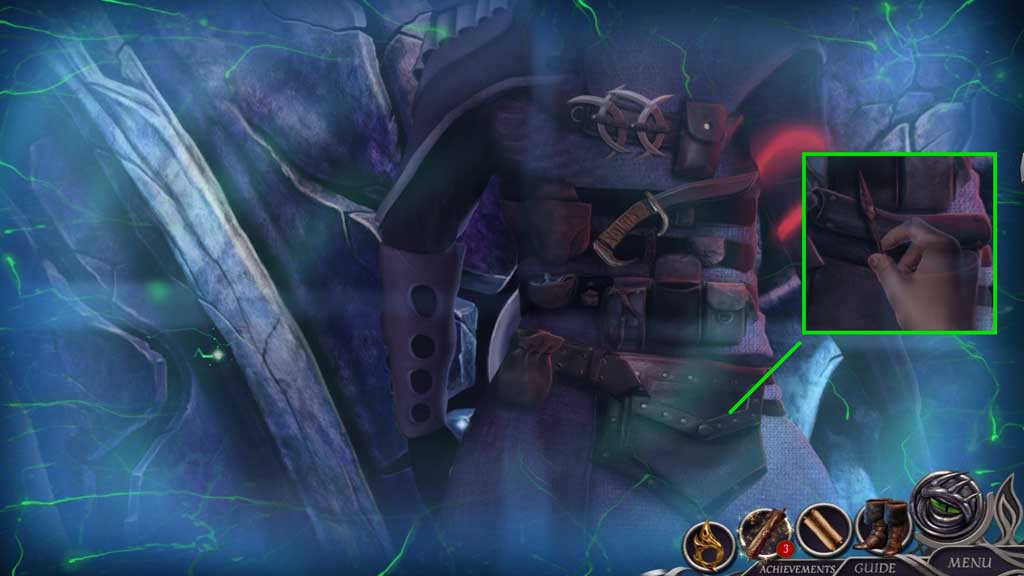
- Zoom into the banshee.
- Click the pouches; collect the miniature spear.
- Move down once.
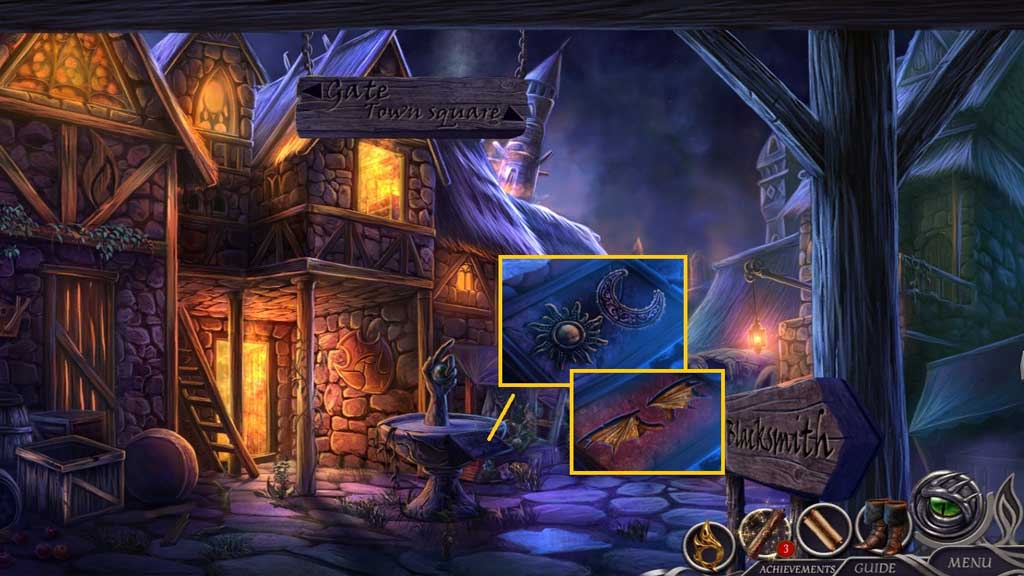
- Insert the sun and moon symbols; click them once.
- Collect the miniature dragon wings.
- Move to the left 2x’s to the Gate.
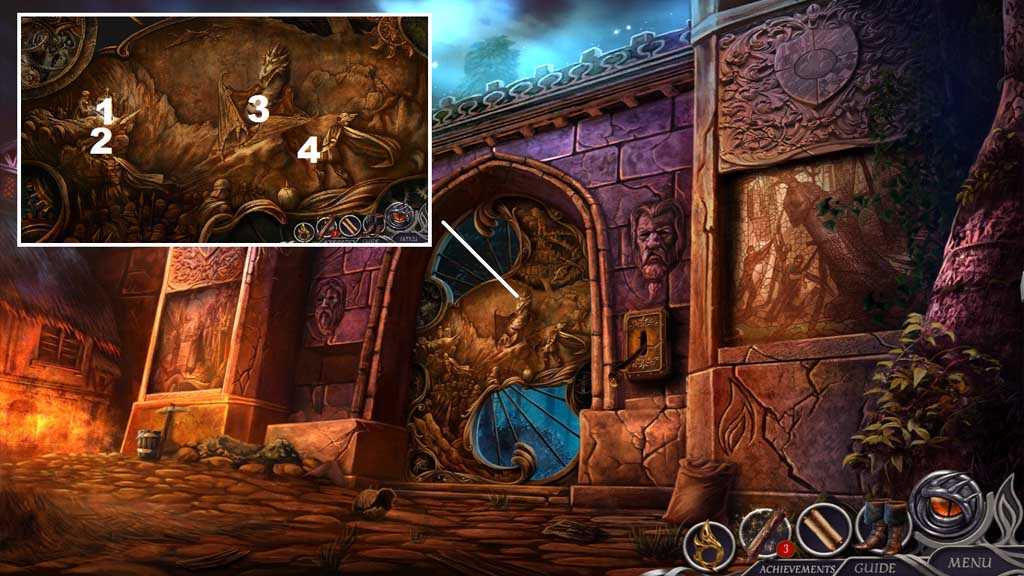
- Insert the miniature trumpet, fire sphere, and spear and dragon wings.
- Click them in order.
- Move ahead.
General Information & Tips
Chapter One: The Journey Begins
Chapter Two: Into the Woods
Chapter Three: Venture to the Cliffs
Chapter Four: Tour the Ivory Tower
Chapter Five: Aeterna
Chapter Six: Into the Zeppelin
Chapter Seven: Enter the Temple
Chapter Eight: Castle Bound
Ask for help in the comments below!
Chapter One: The Journey Begins
Chapter Two: Into the Woods
Chapter Three: Venture to the Cliffs
Chapter Four: Tour the Ivory Tower
Chapter Five: Aeterna
Chapter Six: Into the Zeppelin
Chapter Seven: Enter the Temple
Chapter Eight: Castle Bound
Ask for help in the comments below!