
Dark Realm: Queen of Flames: Chapter Six: Into the Zeppelin
Our Dark Realm: Queen of Flames Walkthrough will be your personal guide you as you make your way to the Queen of Flames to bargain for the lives of your father and the villagers who have been turned into flame banshees by a dark and dangerous power. Trust our detailed game instructions, our custom marked screenshots, and our simple puzzle solutions to see you through to the end of this enthralling hidden object adventure game!
General Information & Tips
Chapter One: The Journey Begins
Chapter Two: Into the Woods
Chapter Three: Venture to the Cliffs
Chapter Four: Tour the Ivory Tower
Chapter Five: Aeterna
Chapter Six: Into the Zeppelin
Chapter Seven: Enter the Temple
Chapter Eight: Castle Bound
Ask for help in the comments below!
Chapter One: The Journey Begins
Chapter Two: Into the Woods
Chapter Three: Venture to the Cliffs
Chapter Four: Tour the Ivory Tower
Chapter Five: Aeterna
Chapter Six: Into the Zeppelin
Chapter Seven: Enter the Temple
Chapter Eight: Castle Bound
Ask for help in the comments below!
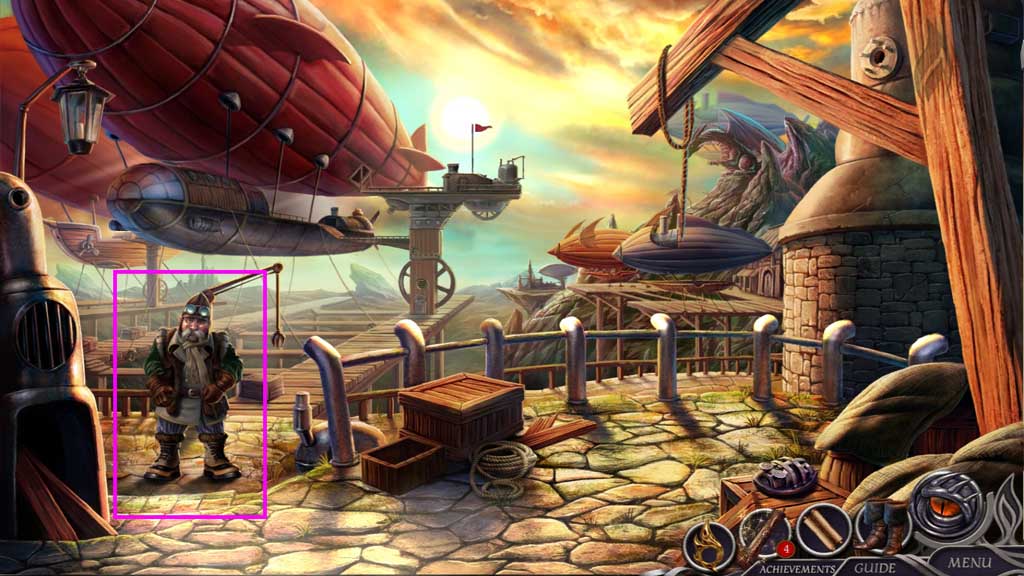
- Speak to the man.
- Give the man the jewelry.
- Click the knobs.
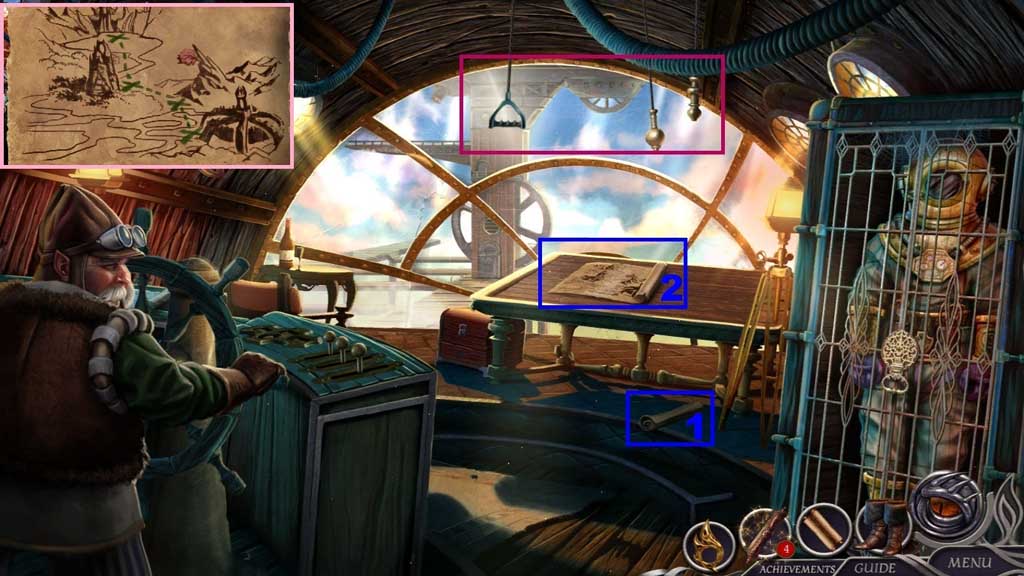
- Click the map and read it.
- Click the locations.
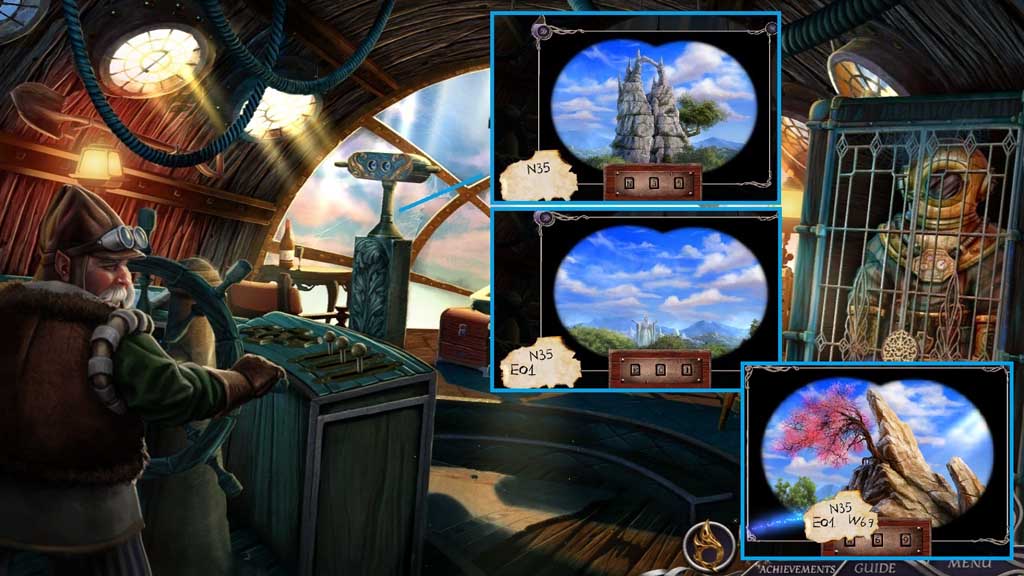
- Zoom into the telescope to trigger a mini game.
- Solve the game by clicking and dragging the lens to the coordinates.
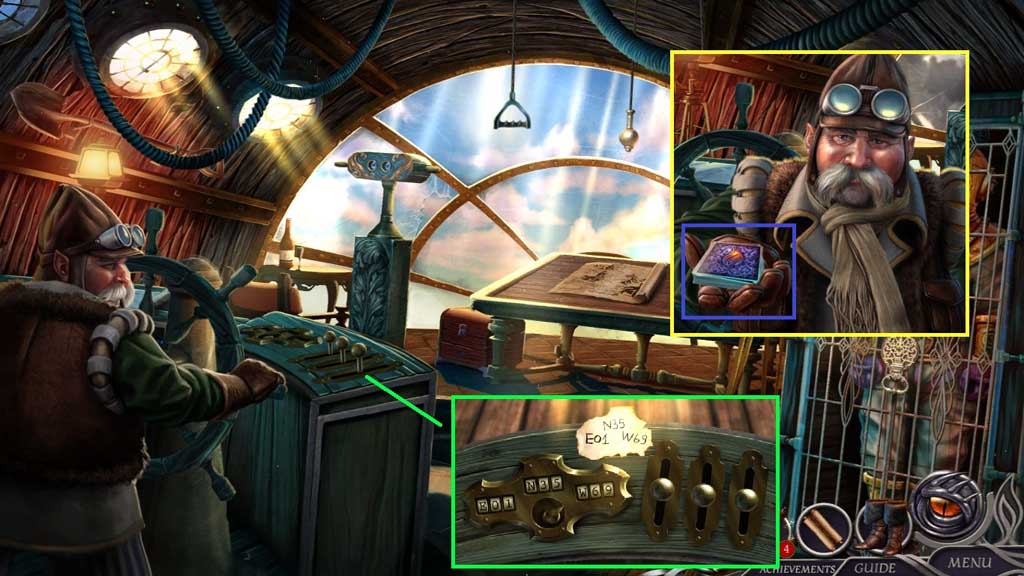
- Zoom into the levers to trigger a mini game.
- Solve the game by clicking the levers to enter the coordinates.
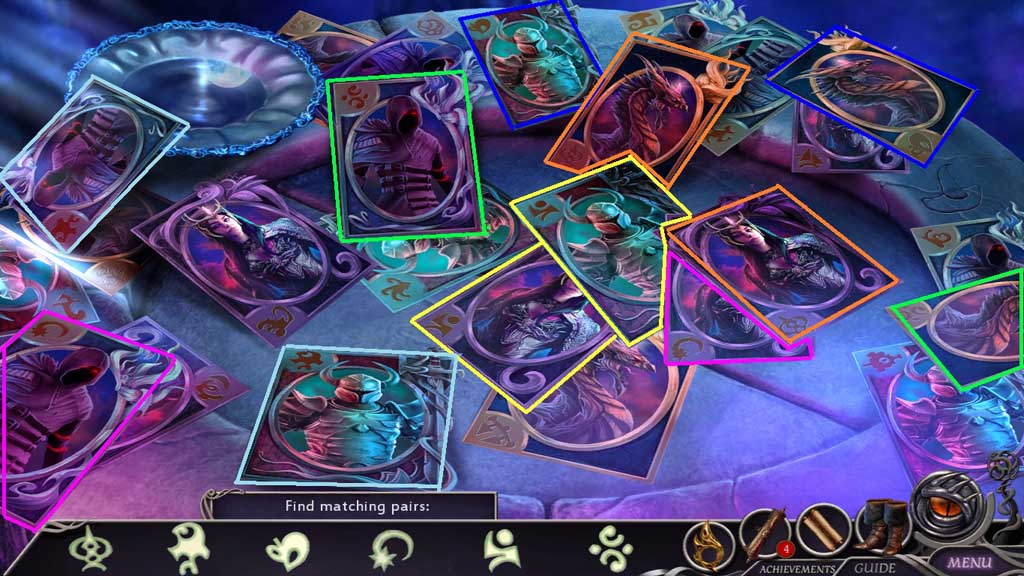
- Collect the cards.
- Click the wreckage aside; collect the shovel and use it to hoist the debris.
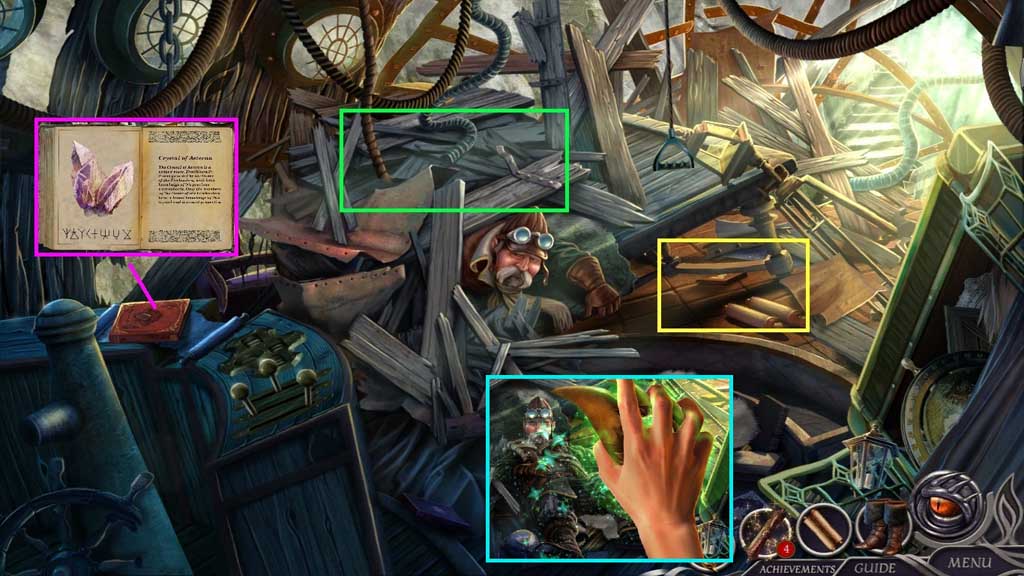
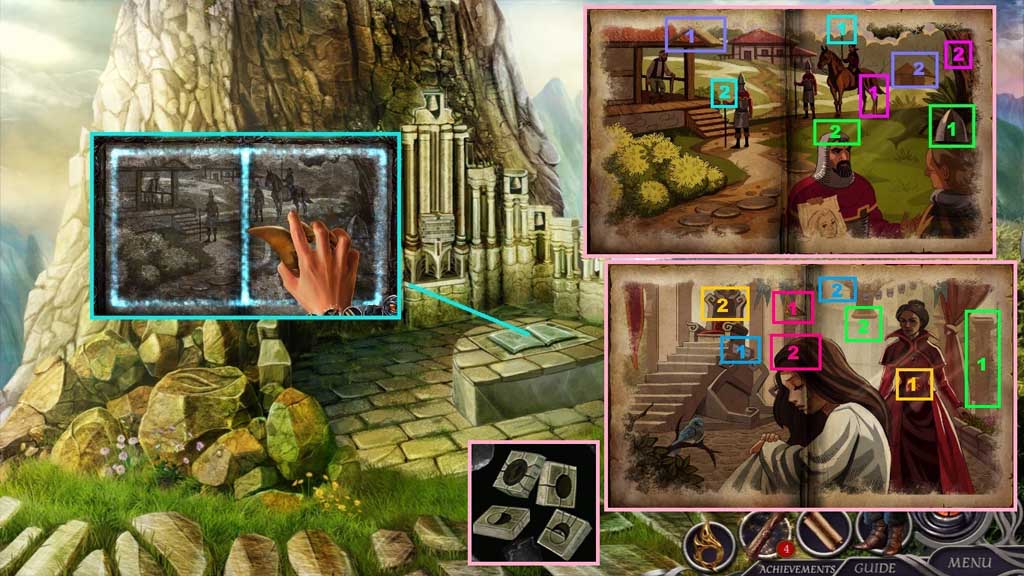
- Collect the book and click through the pages.
- Select the medallion and click the spark of life to revitalize the pilot.
- Move down once.

- Click the symbols in ABC order.

- Collect the pilot notes and click them open.
- Collect the key and map.
- Collect the paper.
- Move into the Broken Zeppelin and click the hidden objects area.
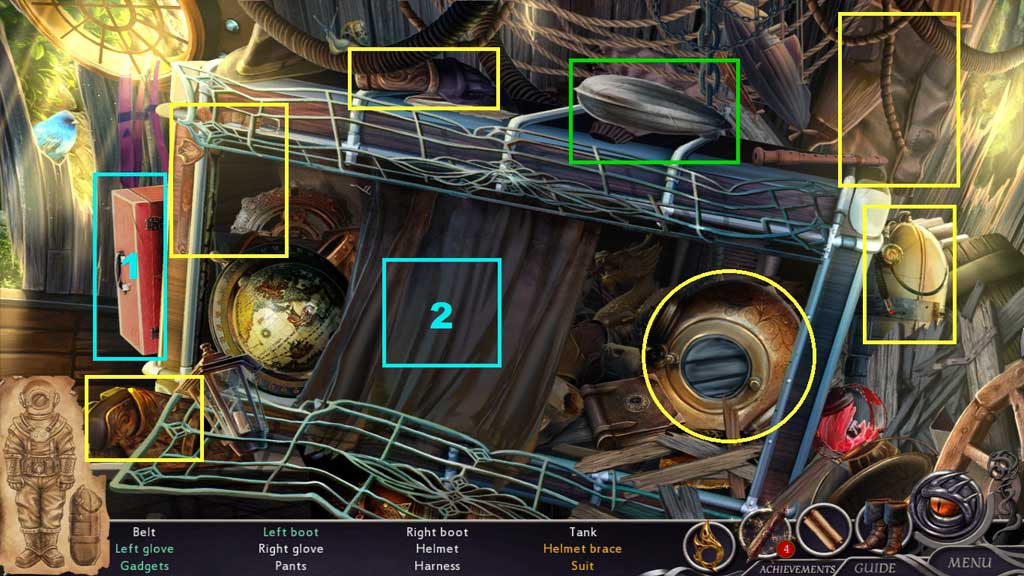
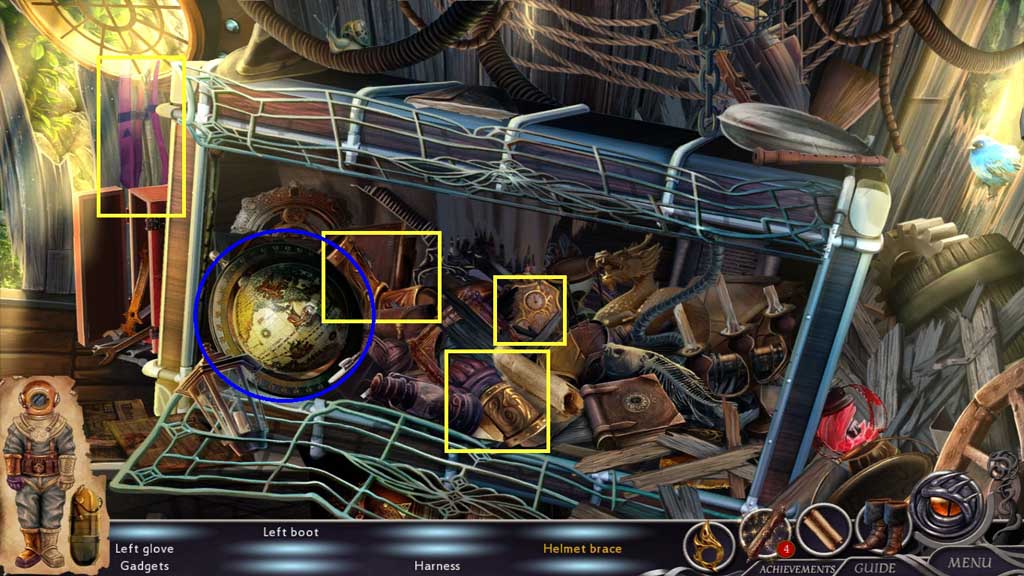
- Find the items.
- Click the zeppelin; collect the suit.
- Click the toolbox and collect the nippers; use them to clip the cloth and reveal more items.
- Click the globe; collect the helmet brace.
- Collect the diving suit.
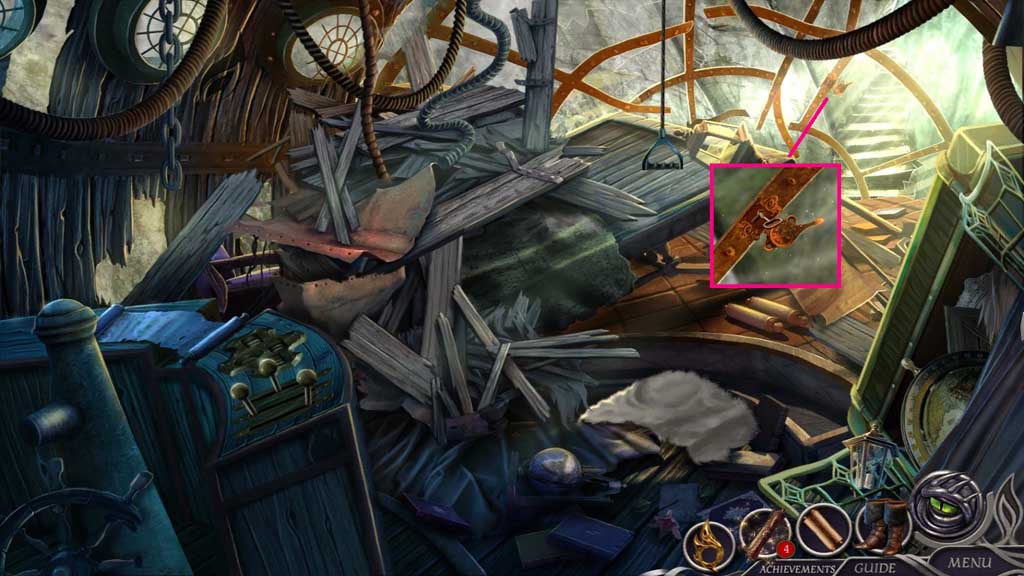
- Insert the key.
- Move ahead.
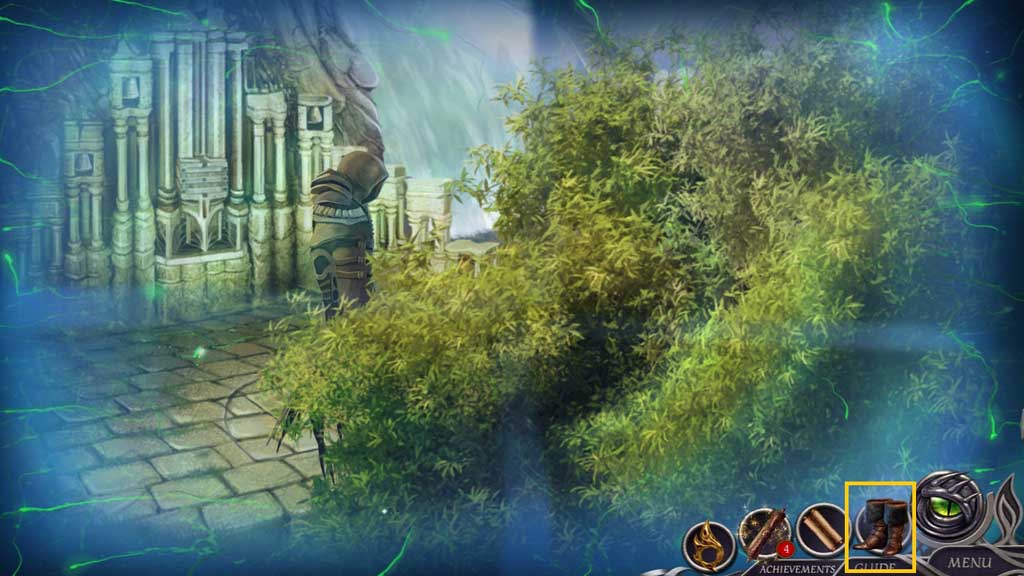
- Select the magic boots to become invisible.
- Move to the left.

- Zoom into the shrine to trigger a mini game.
- Solve the game by clicking the bells in the correct sequence.
- Use the following solution to solve: (BDA) (ECAD) (ADBEC)
- Collect the plaque.
- Select the medallion and click the stone whisper to use on the book and trigger a mini game.
- Solve the game by placing the items correctly in the scene.
- Collect the stone tokens.
- Move down 3x’s.
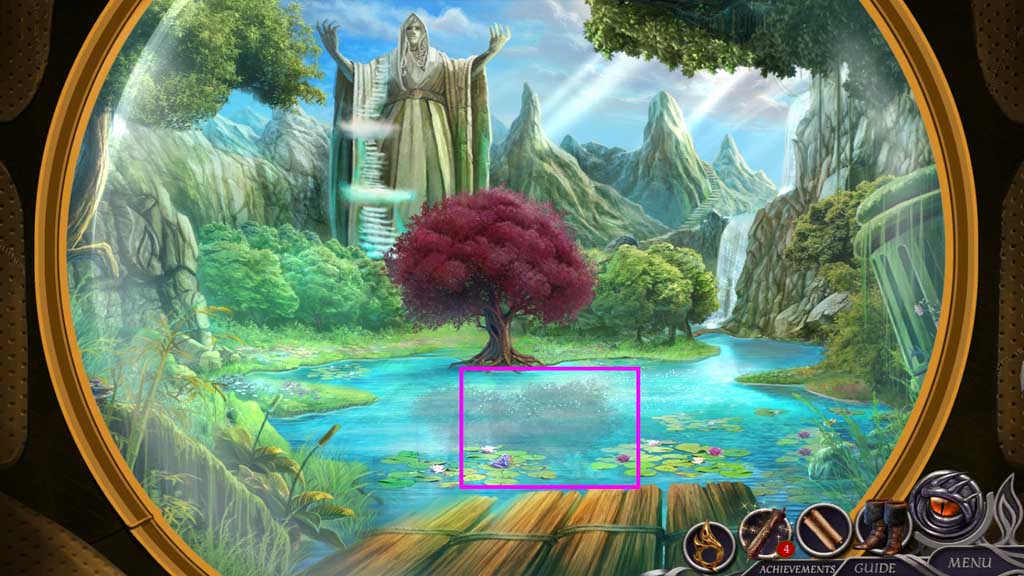
- Select the diving suit to move underwater.
- Select the medallion and click the stone whisper to revitalize the ship mast.
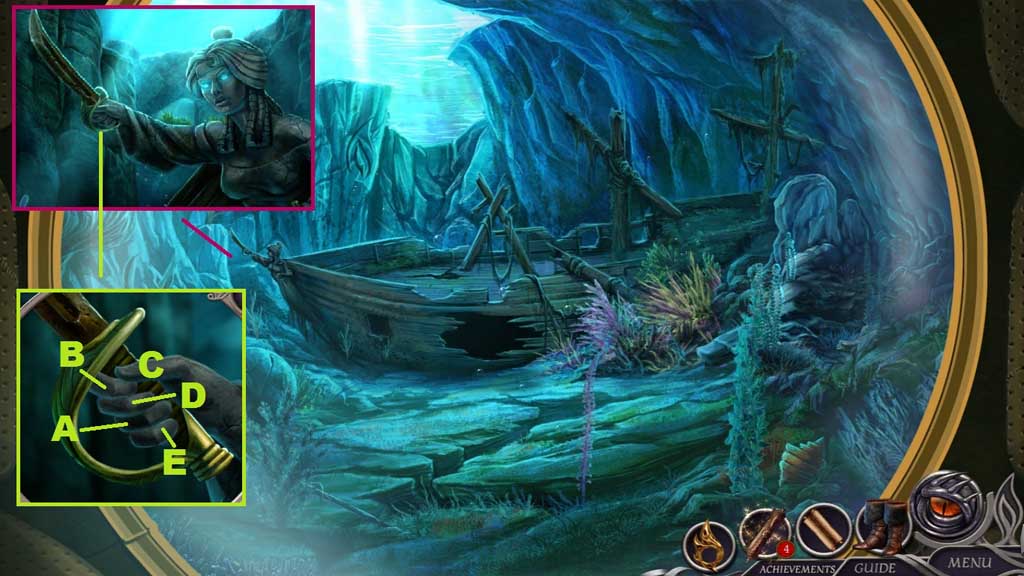
- Zoom into the sword to trigger a mini game.
- Solve the game by clicking the fingers in the correct order.
- Collect the cutlass.
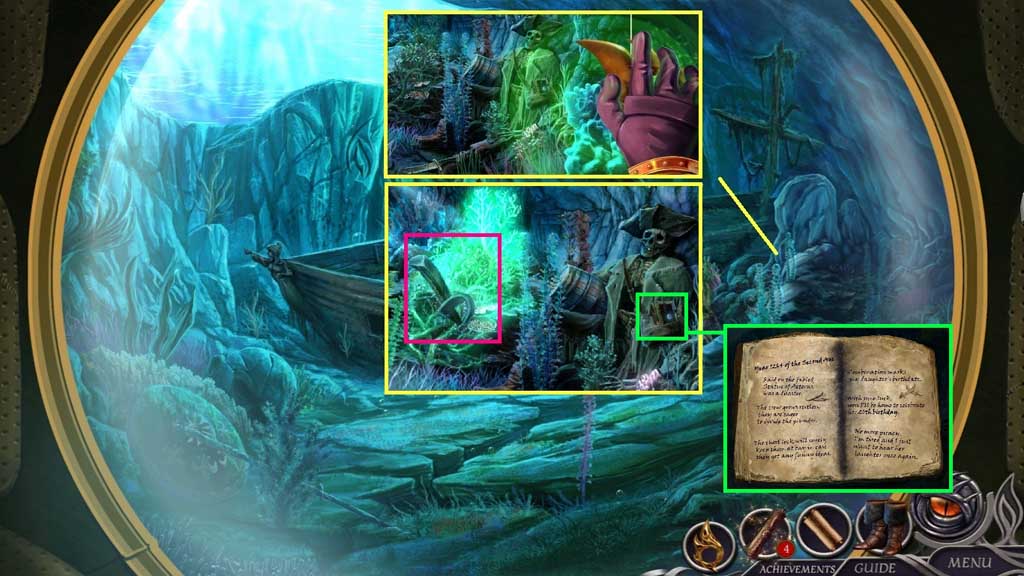
- Select the medallion and click the spark of life to revitalize the coral.
- Select the cutlass to collect the glowing coral.
- Collect the captain’s journal and click it 5x’s.
- Collect the page.
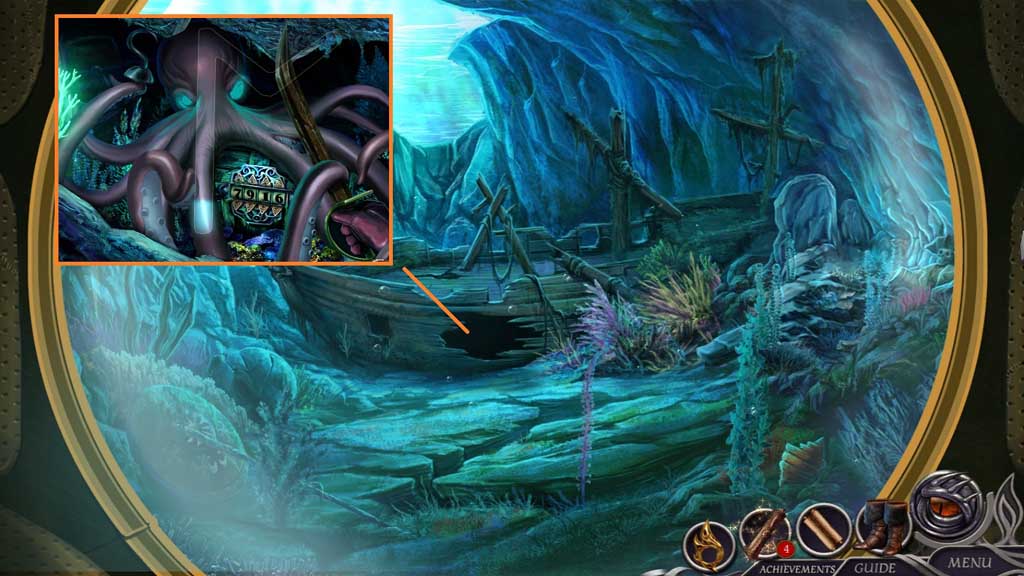
- Place the glowing coral into the dark hole.
- Zoom into the chest.
- Select the cutlass to trigger a mini game.
- Solve the game by swiping the symbol to combat the octopus.
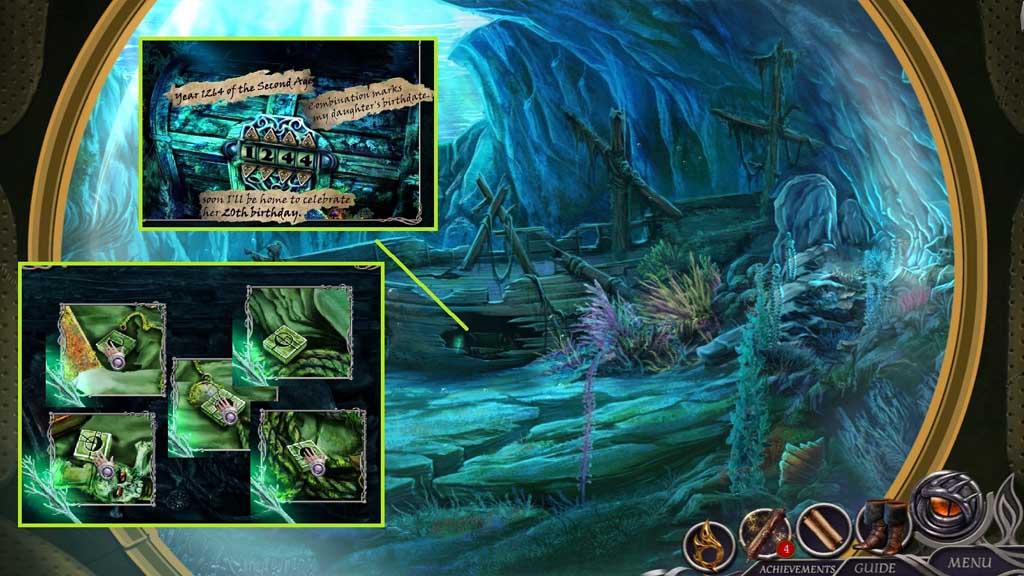
- Zoom into the chest to trigger a mini game.
- Solve the game by using the clues to find the correct combination to open the chest.
- Insert the glowing coral to trigger a mini game.
- Solve the game by locating the stone tokens.
- Move up; go to the right and move ahead 2x’s to the Shrine of the Order.
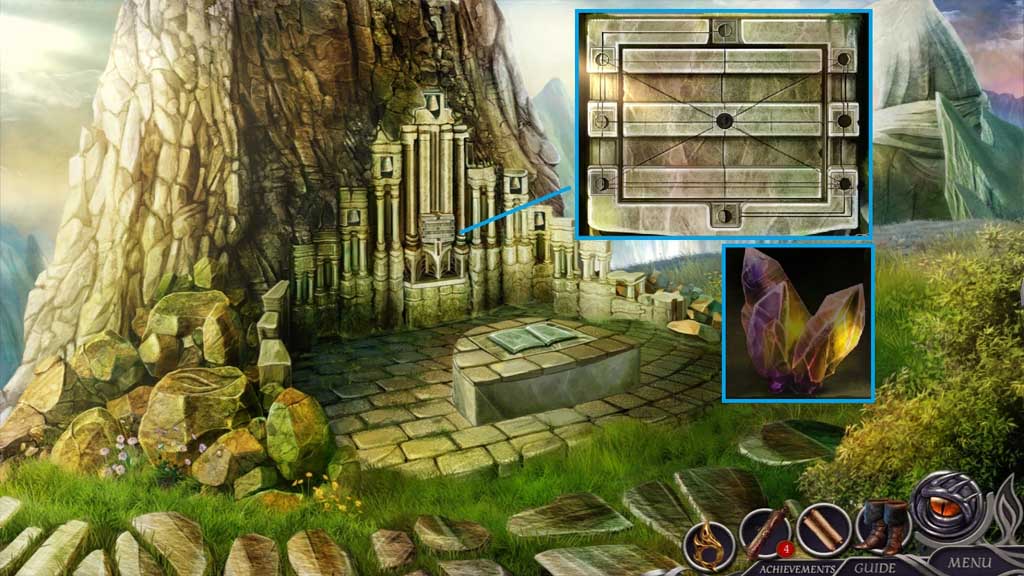
- Insert the stone tokens to trigger a mini game.
- Solve the game by aligning the tokens correctly.
- Collect the crystal.
- Move down 3x’s and up 2x’s to the Top of Aeterna and click the hidden objects area.
- Find the matching items.
- Collect the marble flower.
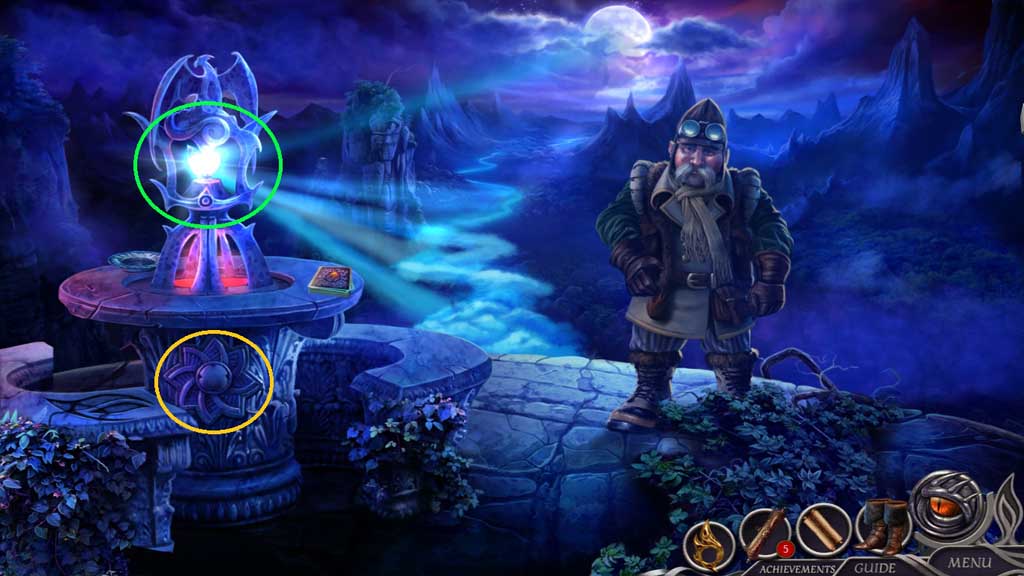
- Insert the marble flower.
- Place the crystal.
- Move ahead to the Temple.
General Information & Tips
Chapter One: The Journey Begins
Chapter Two: Into the Woods
Chapter Three: Venture to the Cliffs
Chapter Four: Tour the Ivory Tower
Chapter Five: Aeterna
Chapter Six: Into the Zeppelin
Chapter Seven: Enter the Temple
Chapter Eight: Castle Bound
Ask for help in the comments below!
Chapter One: The Journey Begins
Chapter Two: Into the Woods
Chapter Three: Venture to the Cliffs
Chapter Four: Tour the Ivory Tower
Chapter Five: Aeterna
Chapter Six: Into the Zeppelin
Chapter Seven: Enter the Temple
Chapter Eight: Castle Bound
Ask for help in the comments below!