
Dark Realm: Queen of Flames: Chapter Four: Tour the Ivory Tower
Our Dark Realm: Queen of Flames Walkthrough will be your personal guide you as you make your way to the Queen of Flames to bargain for the lives of your father and the villagers who have been turned into flame banshees by a dark and dangerous power. Trust our detailed game instructions, our custom marked screenshots, and our simple puzzle solutions to see you through to the end of this enthralling hidden object adventure game!
General Information & Tips
Chapter One: The Journey Begins
Chapter Two: Into the Woods
Chapter Three: Venture to the Cliffs
Chapter Four: Tour the Ivory Tower
Chapter Five: Aeterna
Chapter Six: Into the Zeppelin
Chapter Seven: Enter the Temple
Chapter Eight: Castle Bound
Ask for help in the comments below!
Chapter One: The Journey Begins
Chapter Two: Into the Woods
Chapter Three: Venture to the Cliffs
Chapter Four: Tour the Ivory Tower
Chapter Five: Aeterna
Chapter Six: Into the Zeppelin
Chapter Seven: Enter the Temple
Chapter Eight: Castle Bound
Ask for help in the comments below!
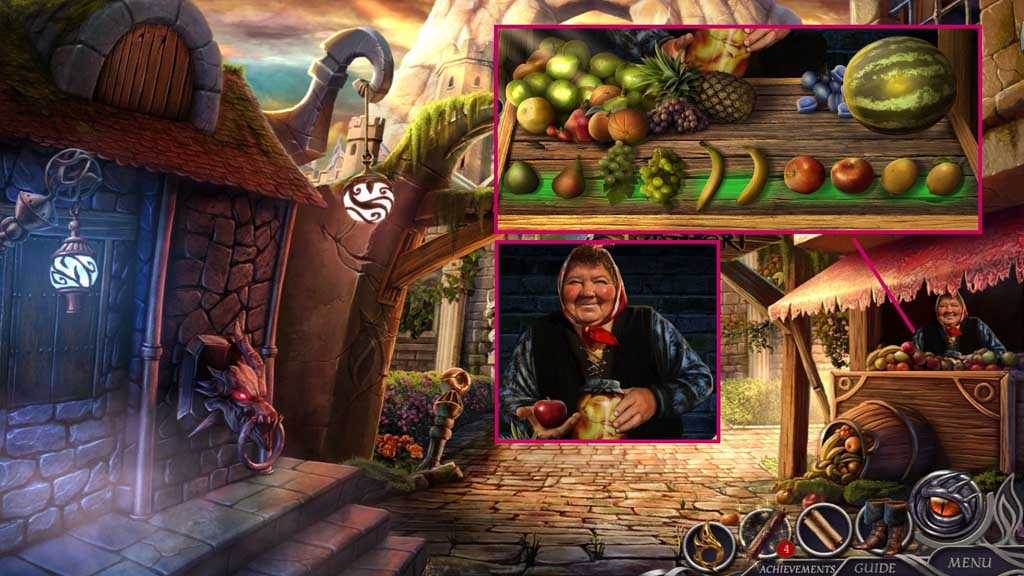
- Zoom into the fruit stand to trigger a mini game.
- Solve the game by arranging the fruit with their matches.
- Collect the apple.
- Move to the right.
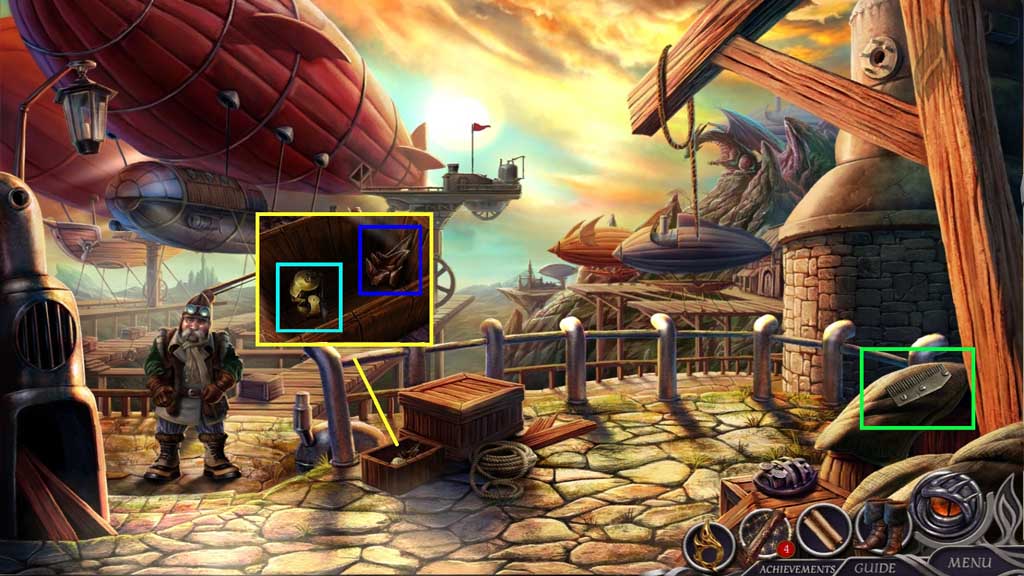
- Collect the comb.
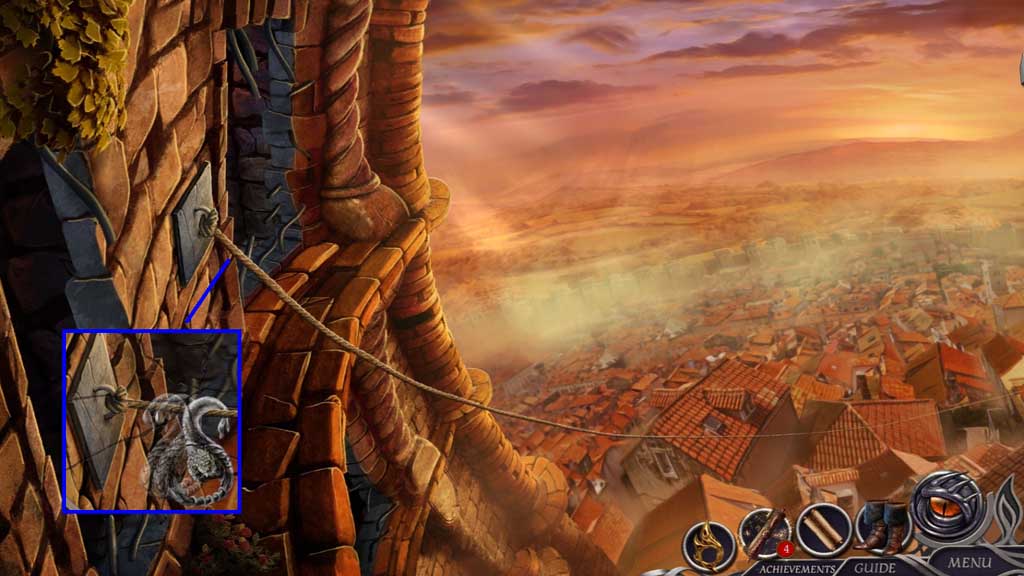
- Collect the bell and the dragon horn.
- Move down once.

- Attach the dragon horn.
- Select the medallion and select the stone whisper to use on the statue.
- Select the vine to collect the music box.
- Scroll upward; toss the apple to distract the guards.
- Click the music box and insert the comb and bell.
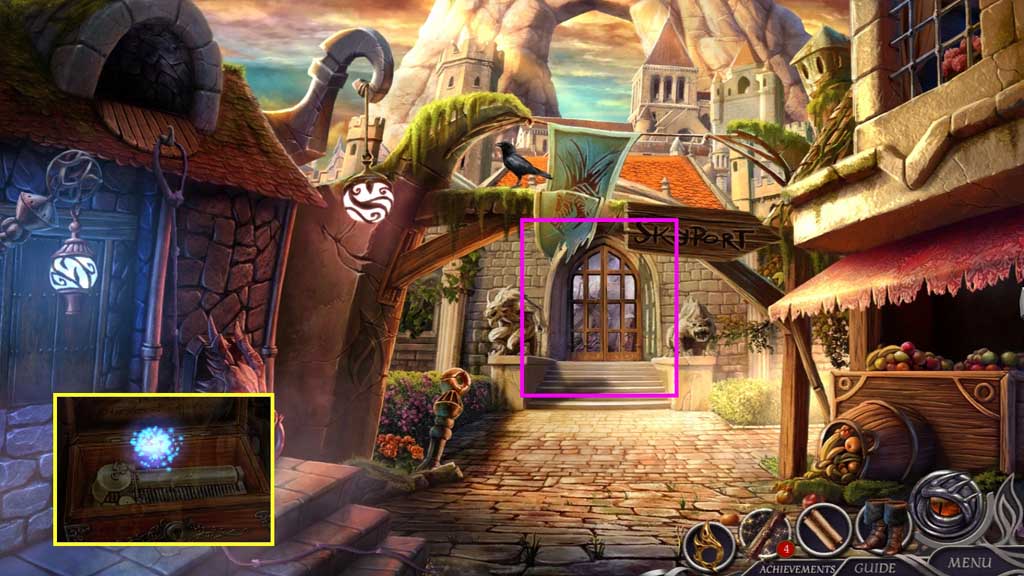
- Click the door.
- Move ahead.
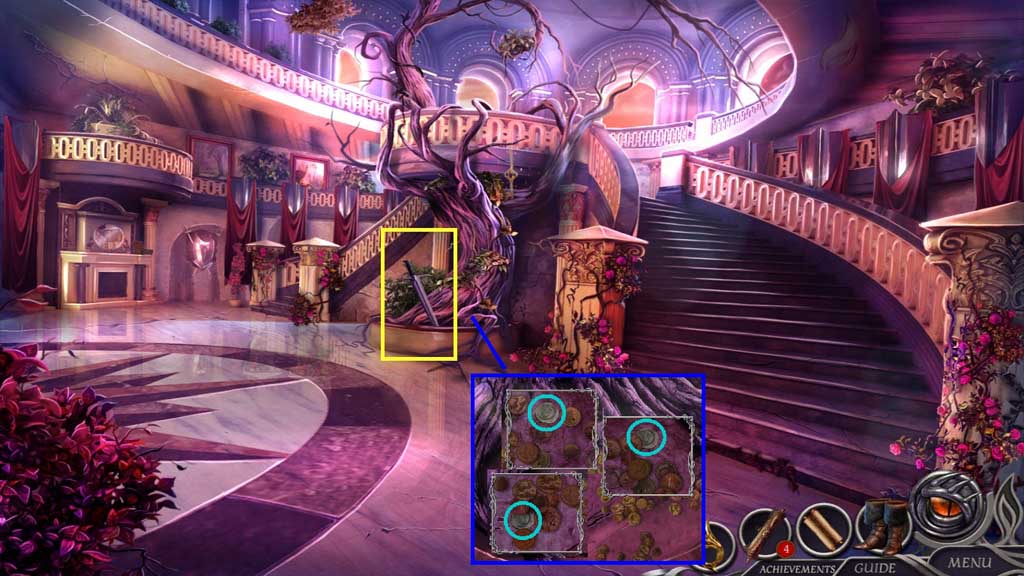
- Collect the sword.
- Collect 2 /4, 3 /4 and 4 /4 silver coins.
- Move down once.
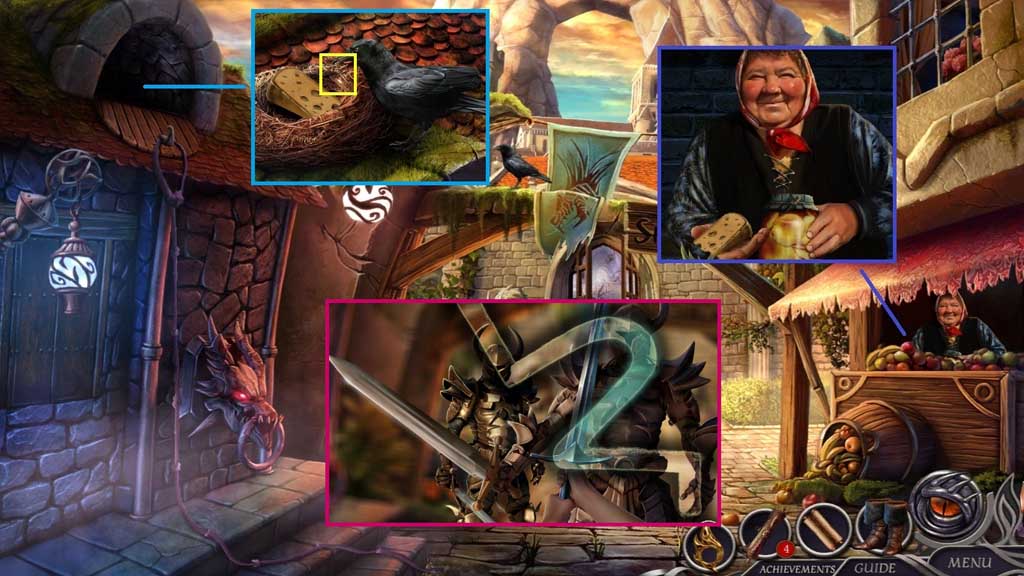
- Speak to the woman and give her the 4 silver coins.
- Collect the cheese and place it into the nest; collect the music box key.
- Select the sword to trigger a mini game.
- Solve the game by swiping the highlighted path to block the attacks.

- Select the medallion and click the stone whisper to use on the
- Move ahead.

- Select the sword to collect 2 /2 music box keys.
- Place the music box down and insert the 2 music box keys into both music boxes to trigger a mini game.
- Solve the game by repeating the melody.
- Use the following sequence to solve: (DBH) (AFCG) (CGDEF).
- Zoom into the stone book.
- Click the medallion then the stone whisper to trigger a mini game.
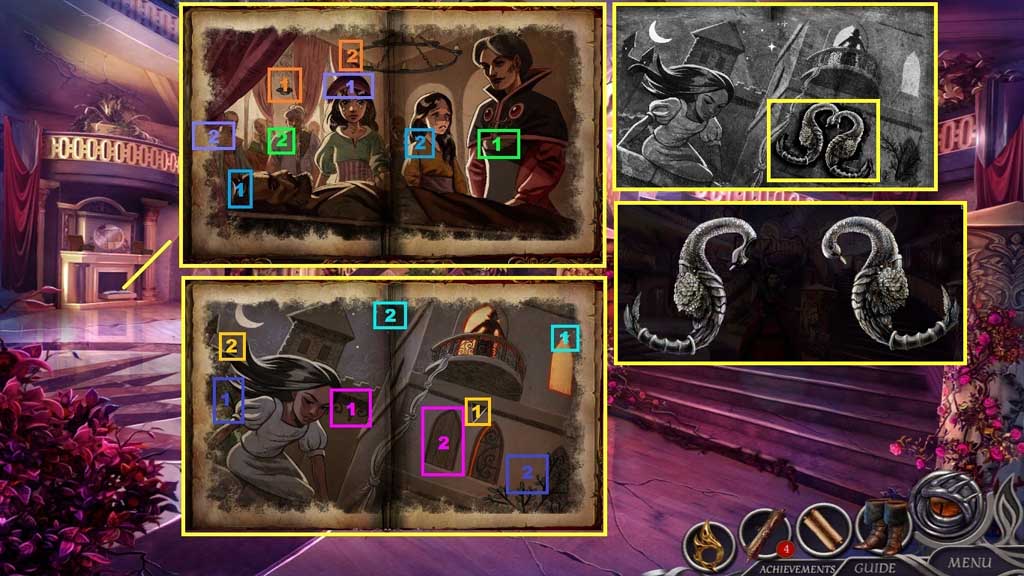
- Solve the game by placing the items correctly in the scenes.
- Collect the swan handle and click it 2x’s.
- Collect the left and right swan handles.
- Move ahead.
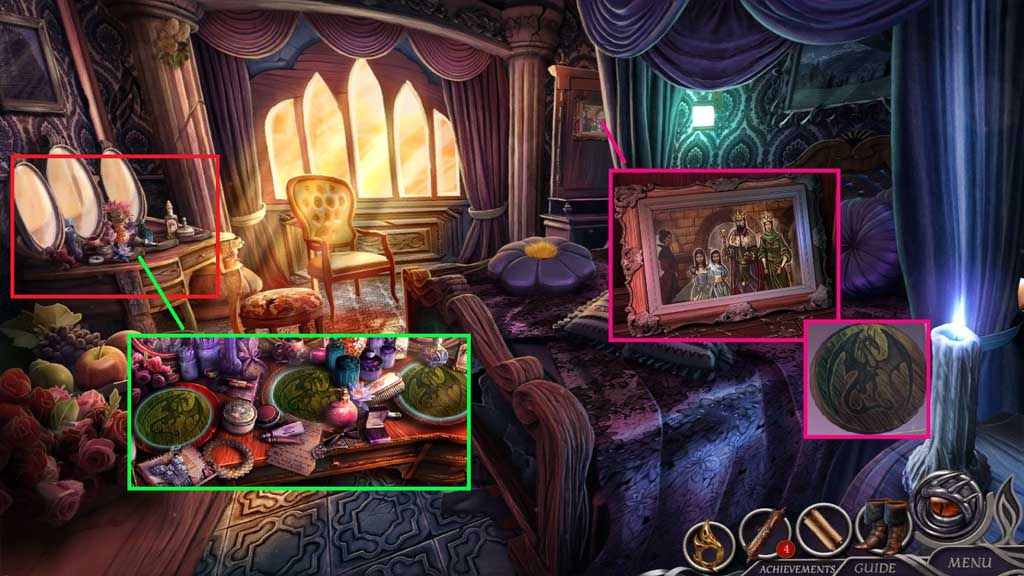
- Click the painting.
- Click the glass shards and the painting; collect the dragon flame.
- Click the makeup aside; insert the dragon flame.
- Click the dragons to trigger a hidden objects area.
- Select the items and place them correctly.
- Collect the elder orb.
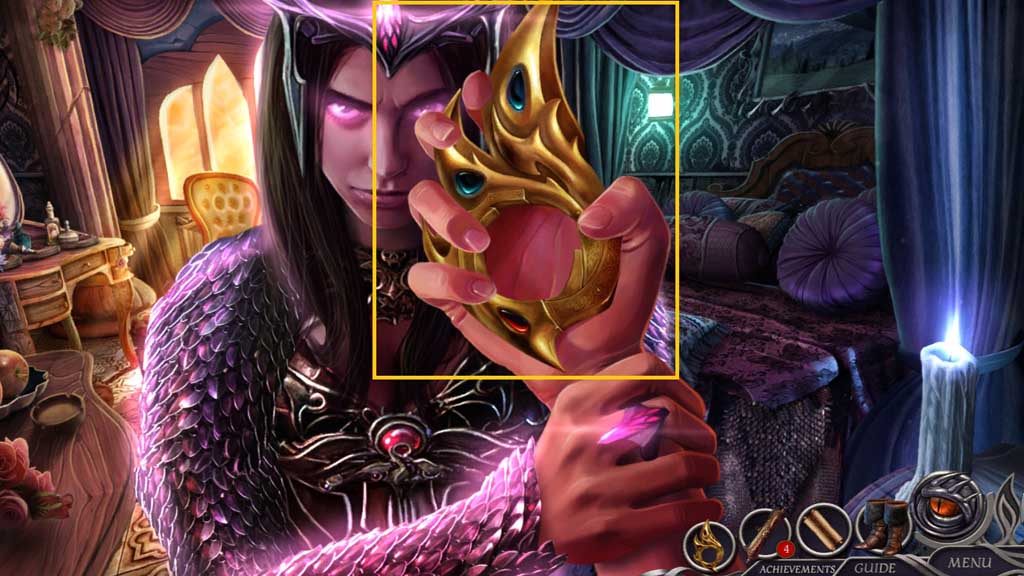
- Collect the medallion.
- Move ahead.
- Attach the left and right swan handles onto the rope line.
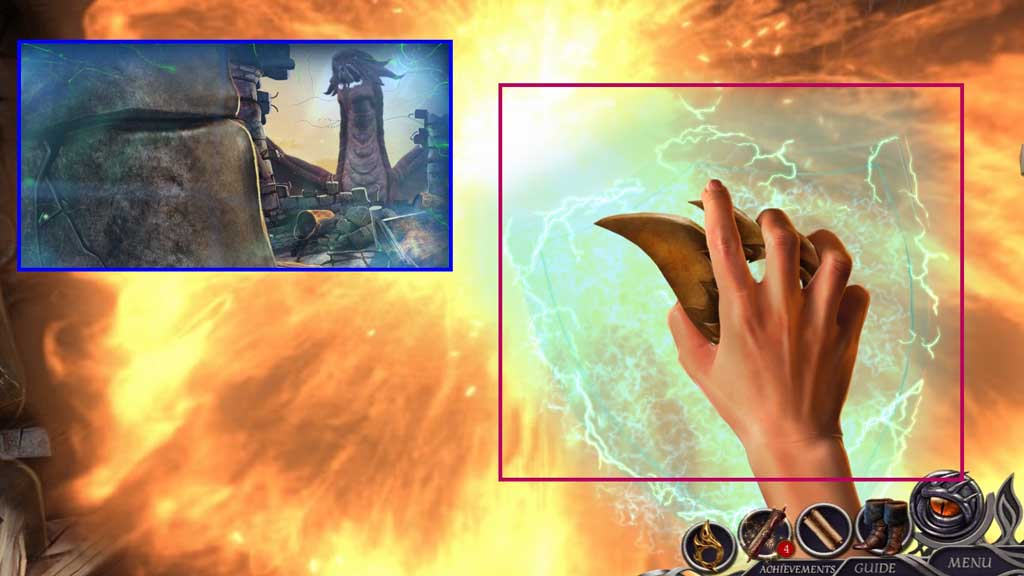
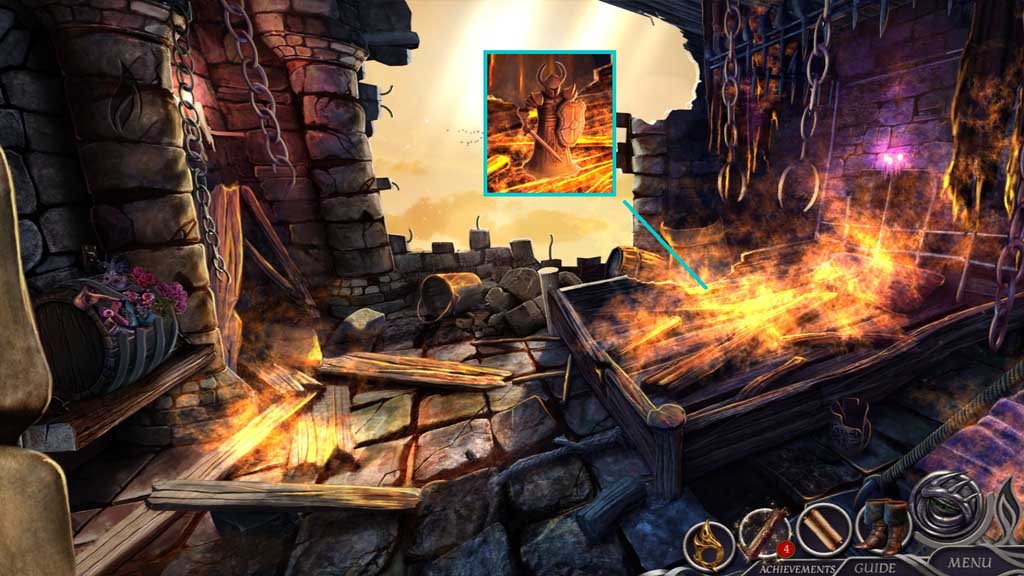
- Select the flame shield to combat the dragon.
- Select the magic boots to become invisible.
- Move to the right.
- Collect the scroll.
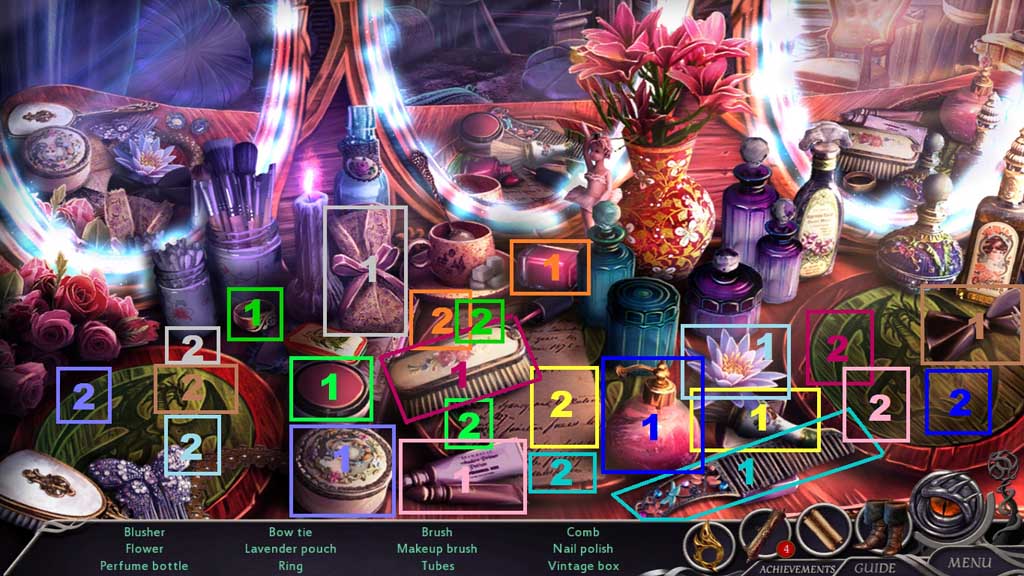
- Click the hidden objects area.
- Find the items.
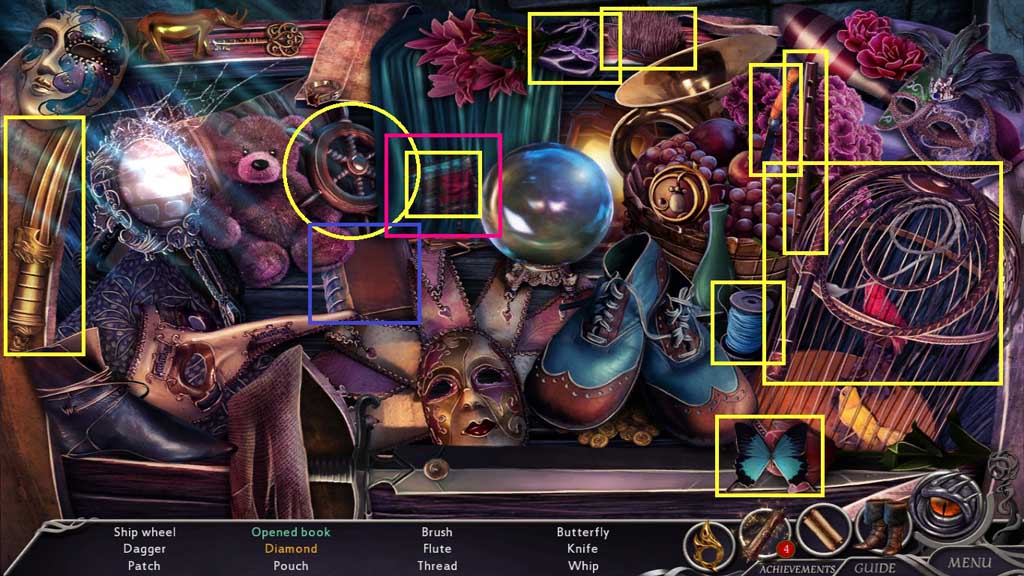
- Click the book; collect the opened book.
- Collect the diamond beneath the patch.
- Collect the figurine body.
- Place the figurine body into the flames; collect the melted figurine body.
- Move down once.
- Select the magic boots to become invisible.
- Collect the oil and the figurine pedestal.
- Place the melted figurine body onto the figurine pedestal to create the completed figurine.
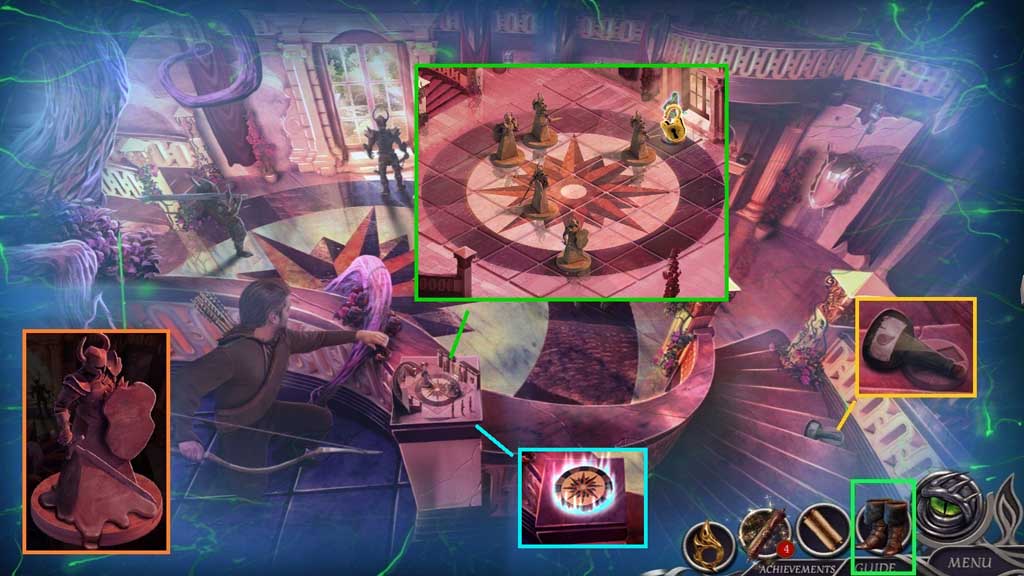
- Place the completed figurine onto the board to trigger a mini game.
- Solve the game by avoiding the guards, collecting the key and using it to open the door and exit.
- Use the following solution to solve: right – up – up – up – down – left – right – up – left – left – up – up – up – right
- Click the tile.
- Move downstairs.
- Place the elder orb and click it once.
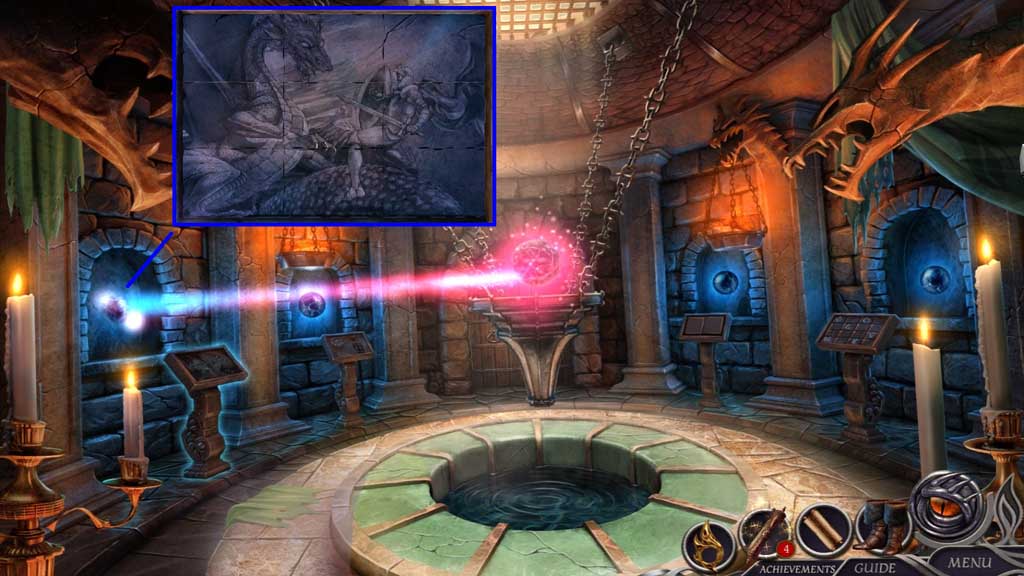
- Zoom into the wall to trigger a mini game.
- Solve the game by switching the stones to complete the image.
- Click the orb.
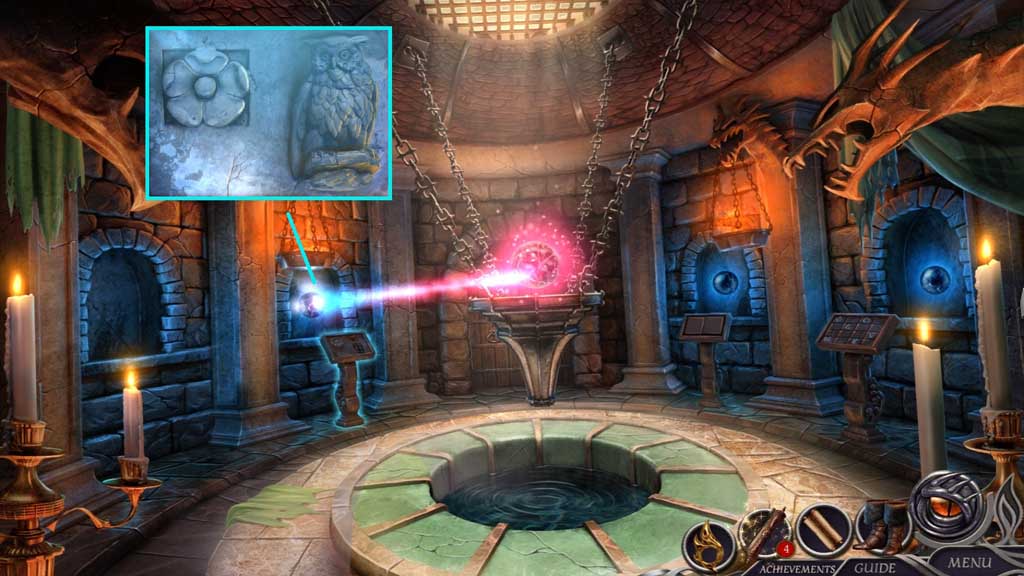
- Click the flower; collect the clue.
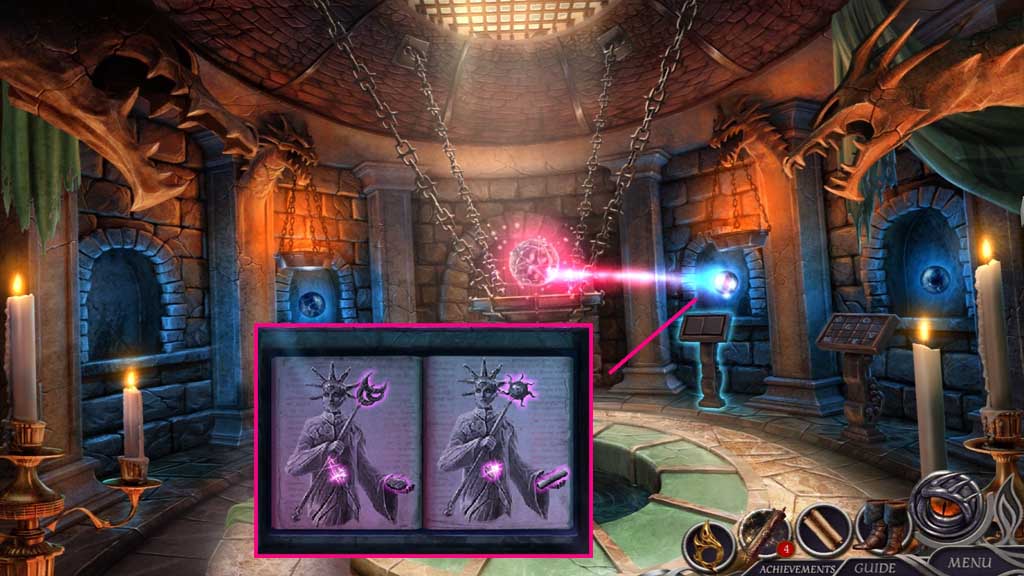
- Click the orb and zoom into the wall to trigger a mini game.
- Solve the game by spotting the differences.
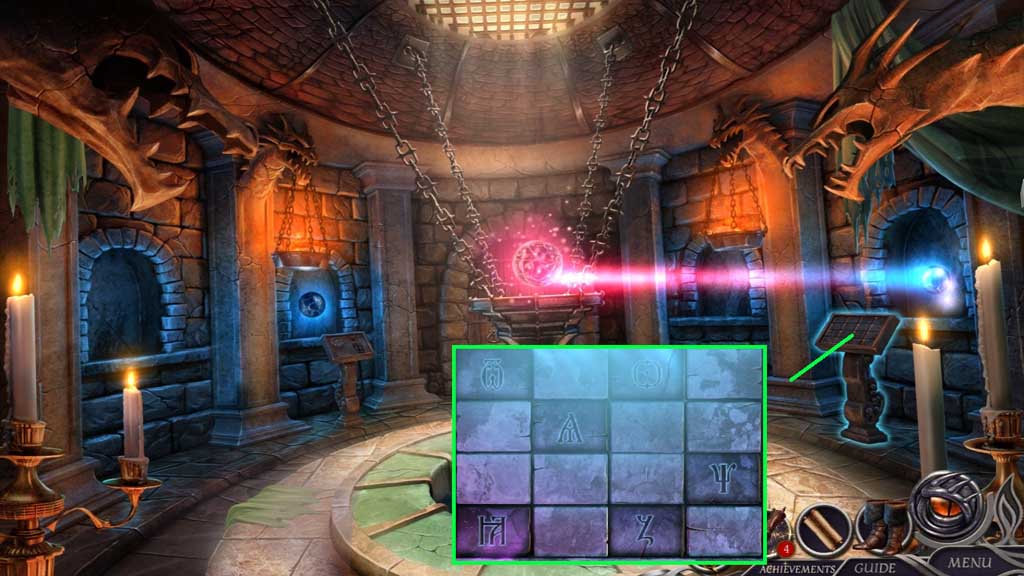
- Click the orb and zoom into the wall to trigger a mini game.
- Solve the game by clicking the correct panels to unlock the shrine.
- Move down once.
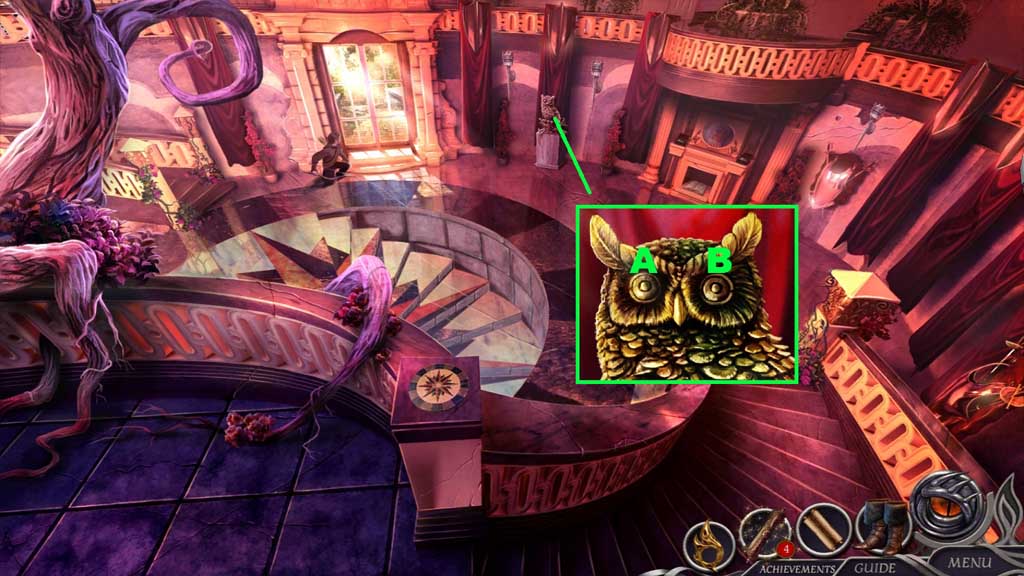
- Click the eyes in the correct order.
- Use the following sequence: A – B – A x 2 – B
- Move downstairs and move ahead.
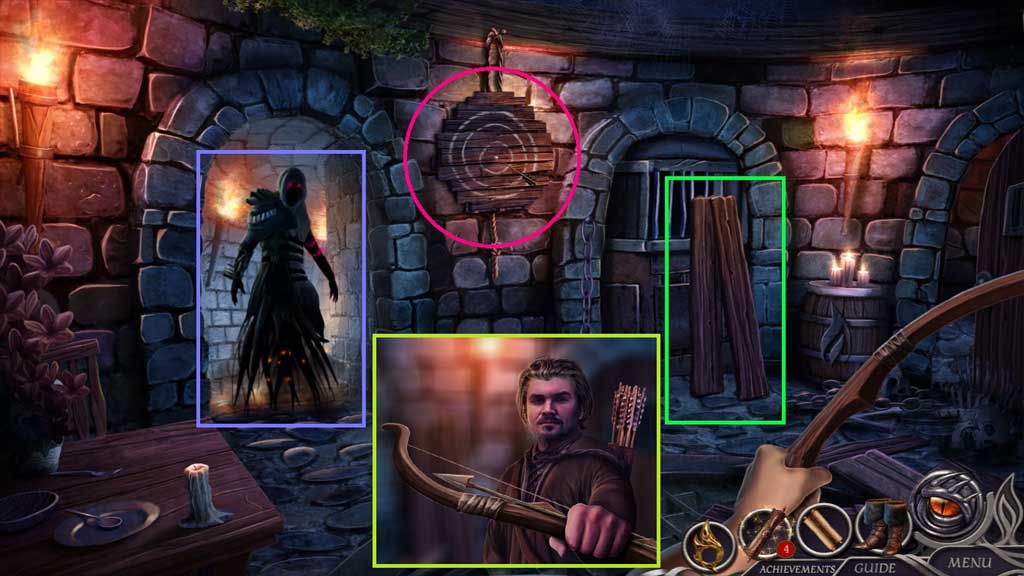
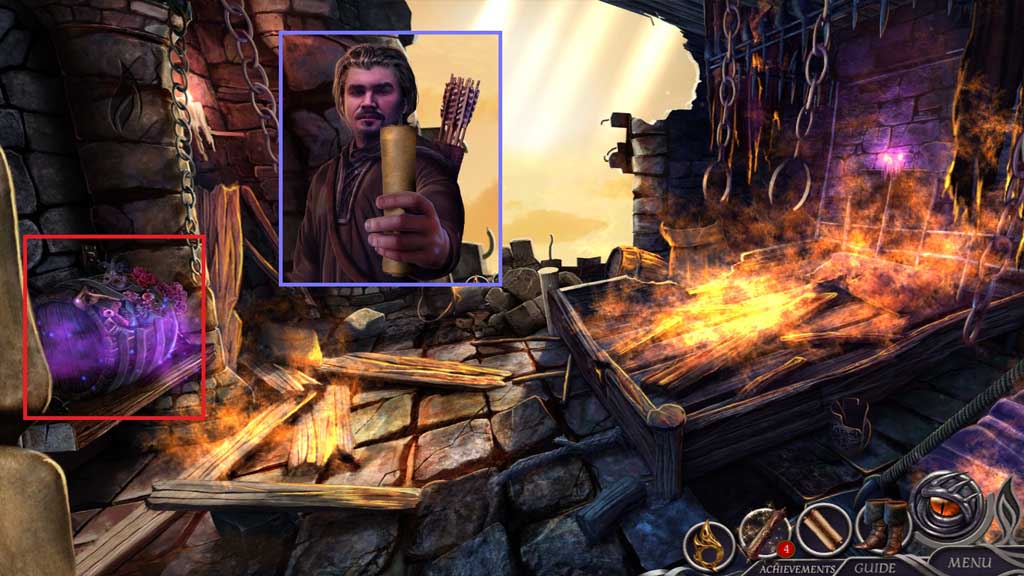
- Collect the bow and shoot the target.
- Shoot the banshee.
- Collect 1 /4 and 2 /4 planks.
- Move ahead.
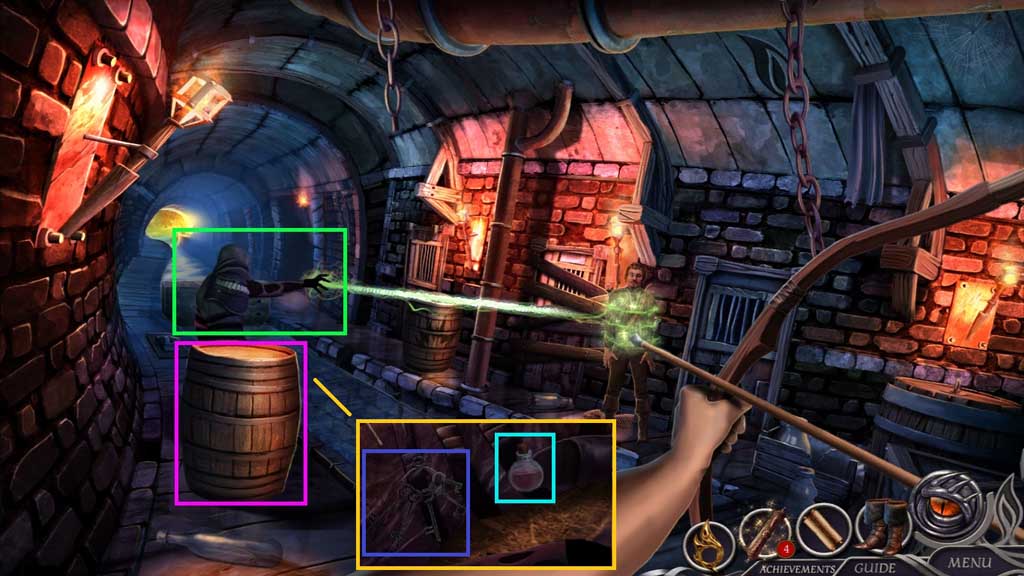
- Shoot the banshee; collect the bow.
- Click the barrel; collect the dungeon keys and granny’s potion.
- Move down once.
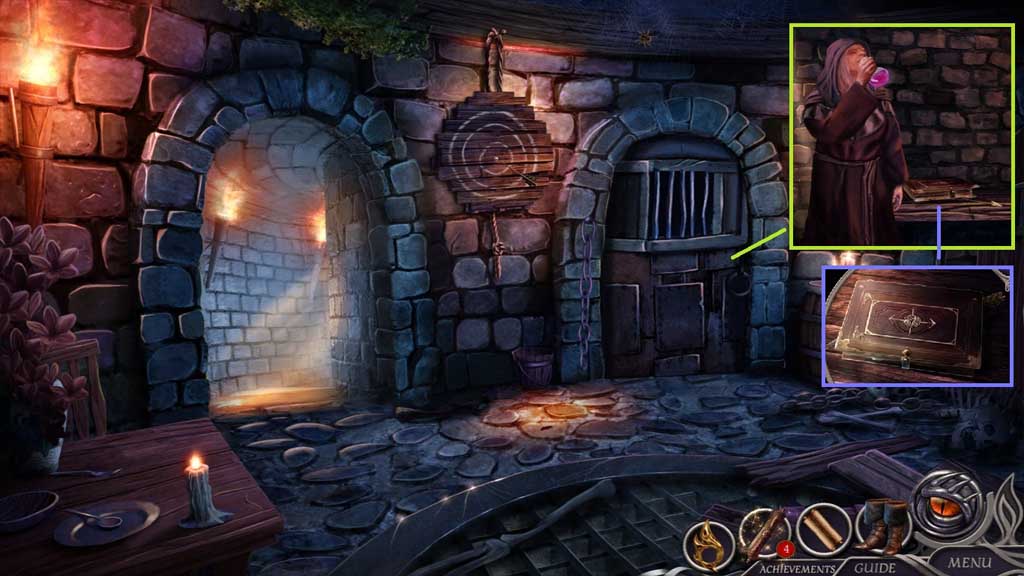
- Insert the dungeon keys.
- Give the granny’s potion to Myrina.
- Collect the Book of Elven Language and the arrow.
- Move down once and move ahead to the Sewers.
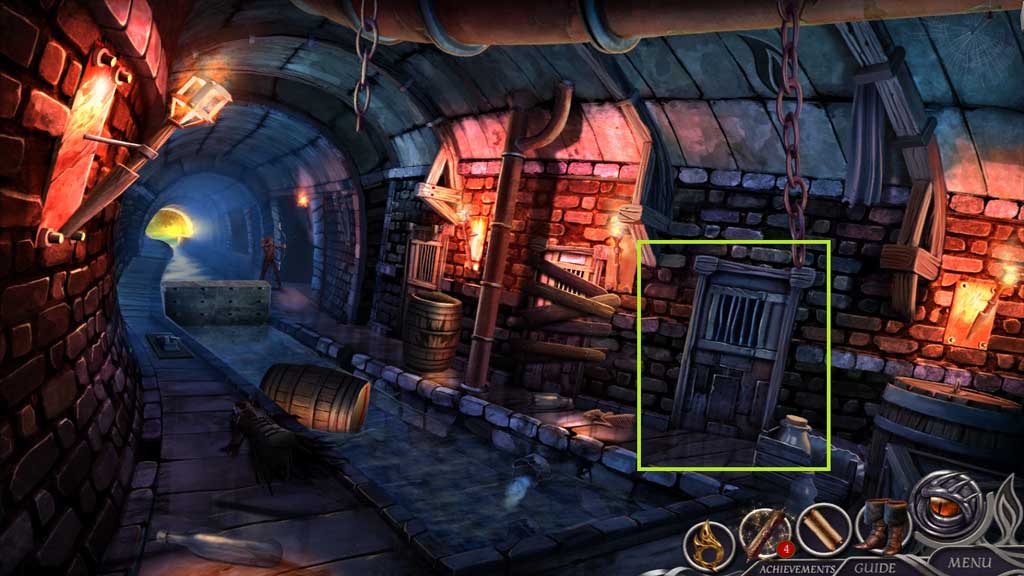
- Insert the dungeon keys.
- Move ahead.
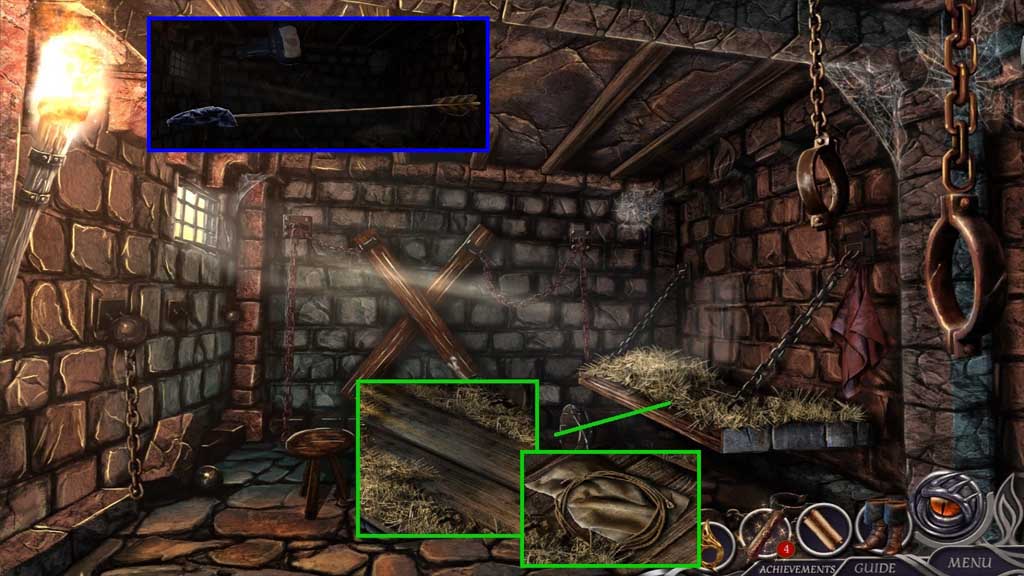
- Collect planks 3/ 4 and 4 /4.
- Collect the rope and rag.
- Select the rag and the oil to use on the arrow to create the oiled arrow.
- Move down once.
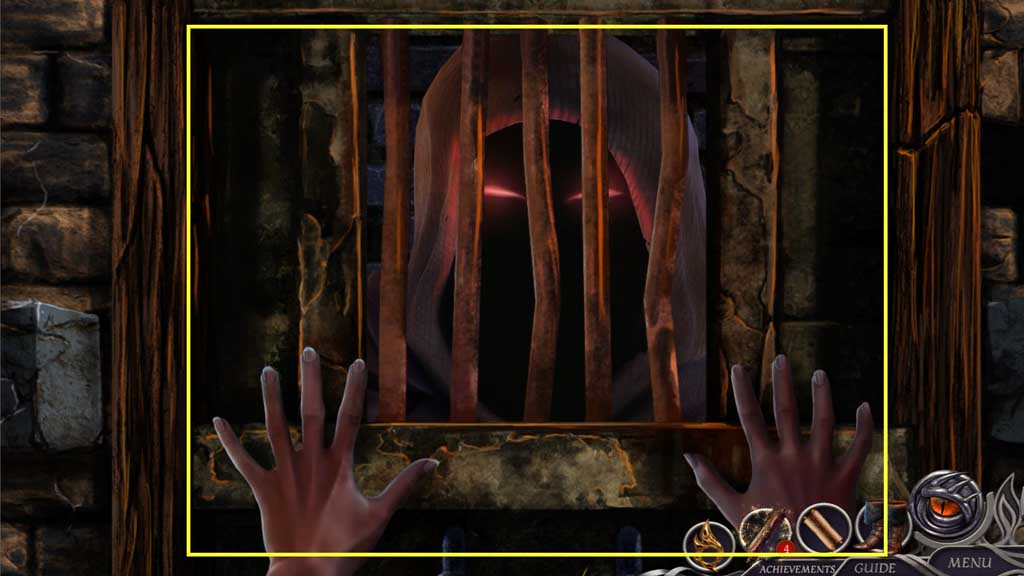
- Click the door 5x’s.
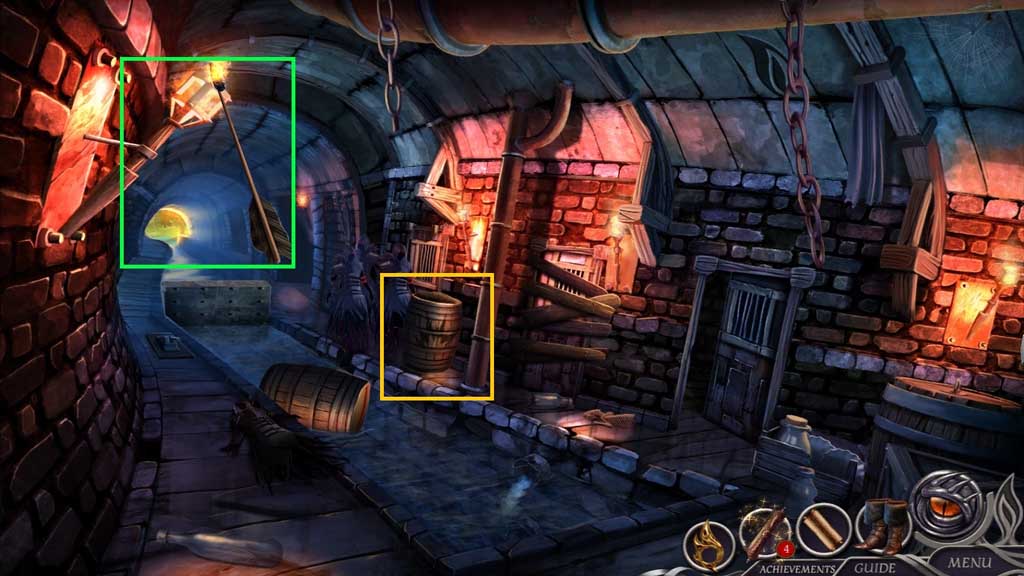
- Dip the oiled arrow into the flames; collect the flaming arrow and place it on the bow.
- Shoot the barrel.
- Collect the bow.
- Insert the dungeon keys.
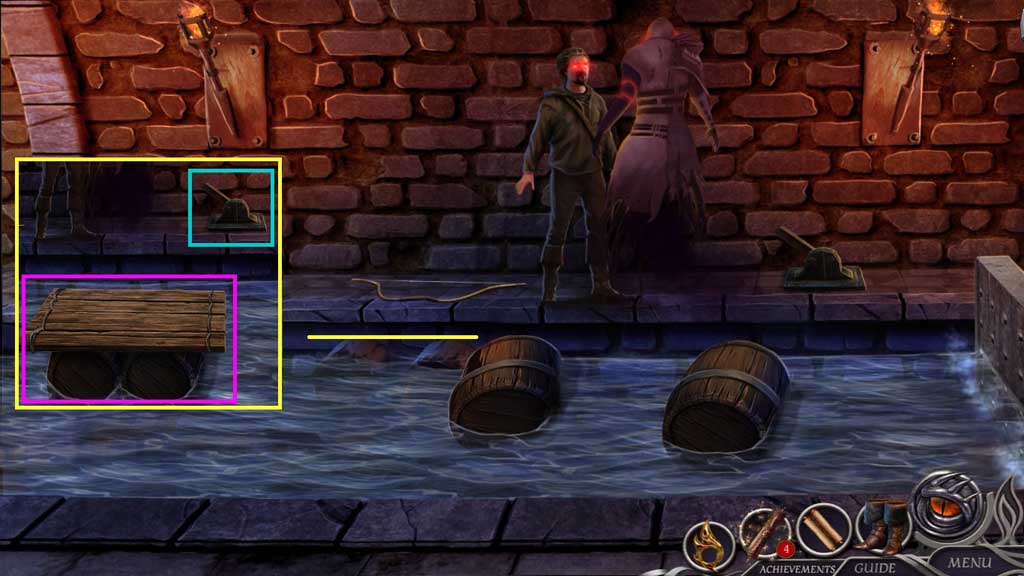
- Click the barrels.
- Place the planks and the rope.
- Click the lever.
General Information & Tips
Chapter One: The Journey Begins
Chapter Two: Into the Woods
Chapter Three: Venture to the Cliffs
Chapter Four: Tour the Ivory Tower
Chapter Five: Aeterna
Chapter Six: Into the Zeppelin
Chapter Seven: Enter the Temple
Chapter Eight: Castle Bound
Ask for help in the comments below!
Chapter One: The Journey Begins
Chapter Two: Into the Woods
Chapter Three: Venture to the Cliffs
Chapter Four: Tour the Ivory Tower
Chapter Five: Aeterna
Chapter Six: Into the Zeppelin
Chapter Seven: Enter the Temple
Chapter Eight: Castle Bound
Ask for help in the comments below!