
Chimeras: Tune Of Revenge: Chapter Six: The Cemetery
Allow our Chimeras: Tune of Revenge Walkthrough to be your companion as you struggle to find the truth behind the vengeful organ grinder. You were originally sent to the town of Greysand to investigate a death that occurred thirteen years ago, but when a street fair is disrupted by murder your investigation becomes a lot more dangerous. It soon becomes apparent that the perpetrator of these murders, the organ grinder, is in some way linked to the man who died so many years ago. Our endless tips, step-by-step instructions, and custom screenshots will be your guide as you race to discover the truth of the past all while dodging a plethora of magical, and deadly, creatures. Do you have what it takes to get to the bottom of things?
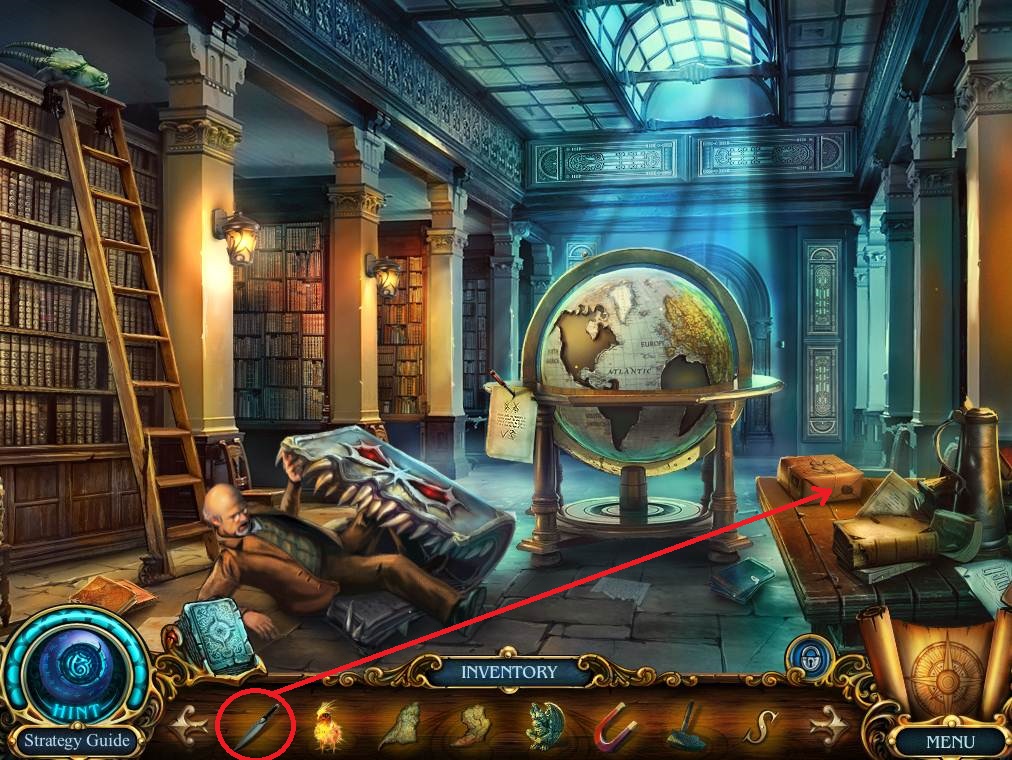
- Click on the table and use the UTILITY KNIFE on the package to get NOTH AMERICA and the DRAGON STATUETTE.
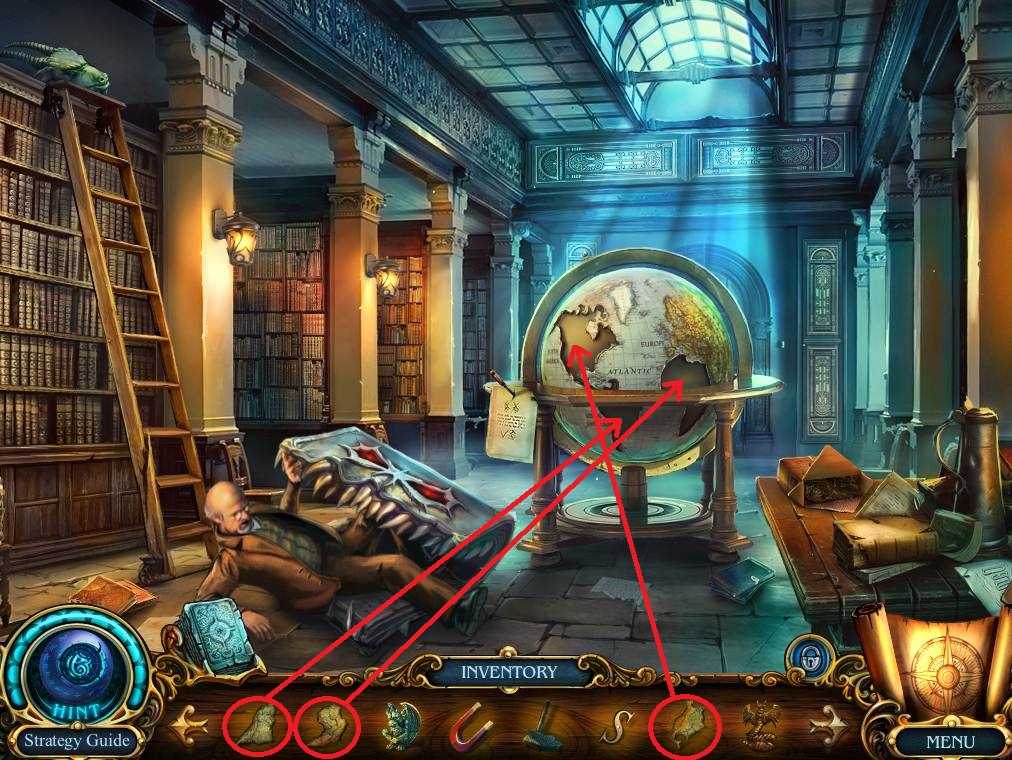
- Put NORTH AMERICA, SOUTH AMERICA, and AFRICA on the globe.
- Click on the globe to activate a hidden object area.
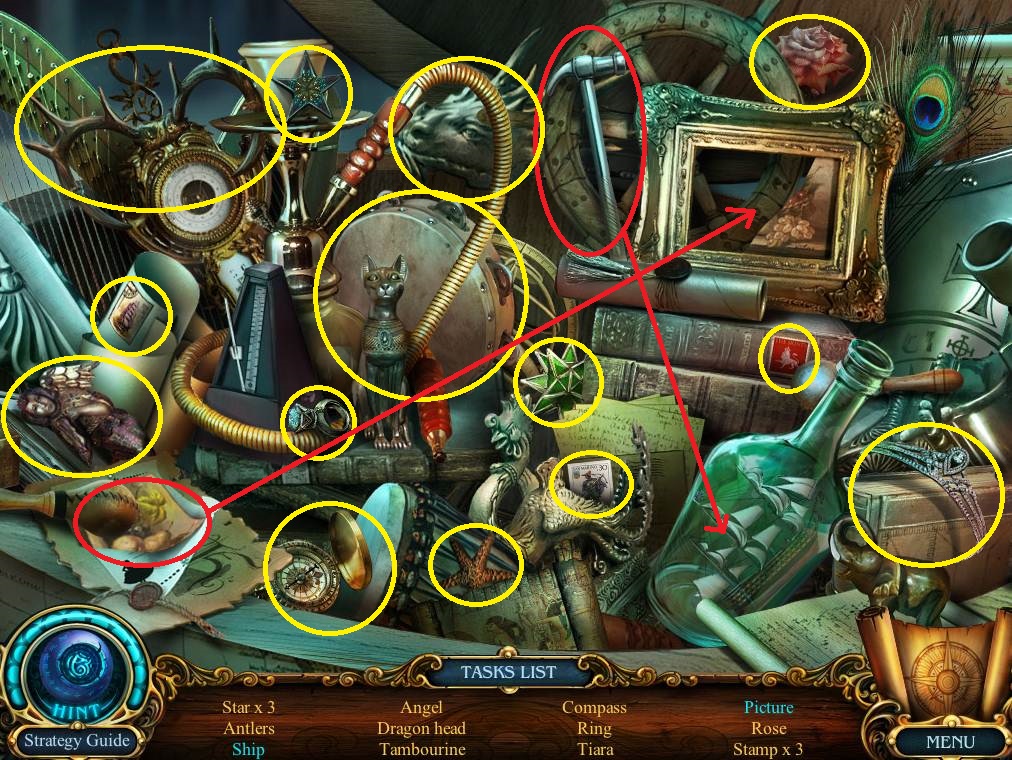
- Use the hammer on the bottle to get the ship.
- Put the picture in the frame to get the picture.
- Collect the remaining items listed to get the CHIMERA’S LEFT HEAD.
- Go to the mansion hall.
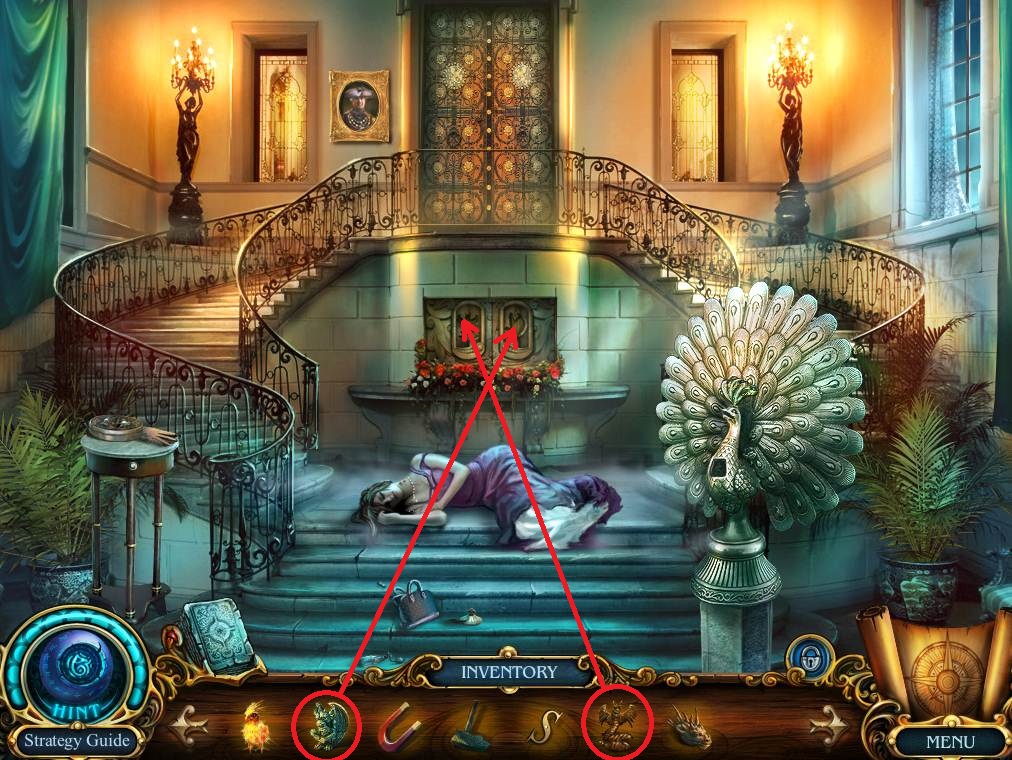
- Put the GARGOYLE and the DRAGON STATUE on the bas-relief to trigger a puzzle.
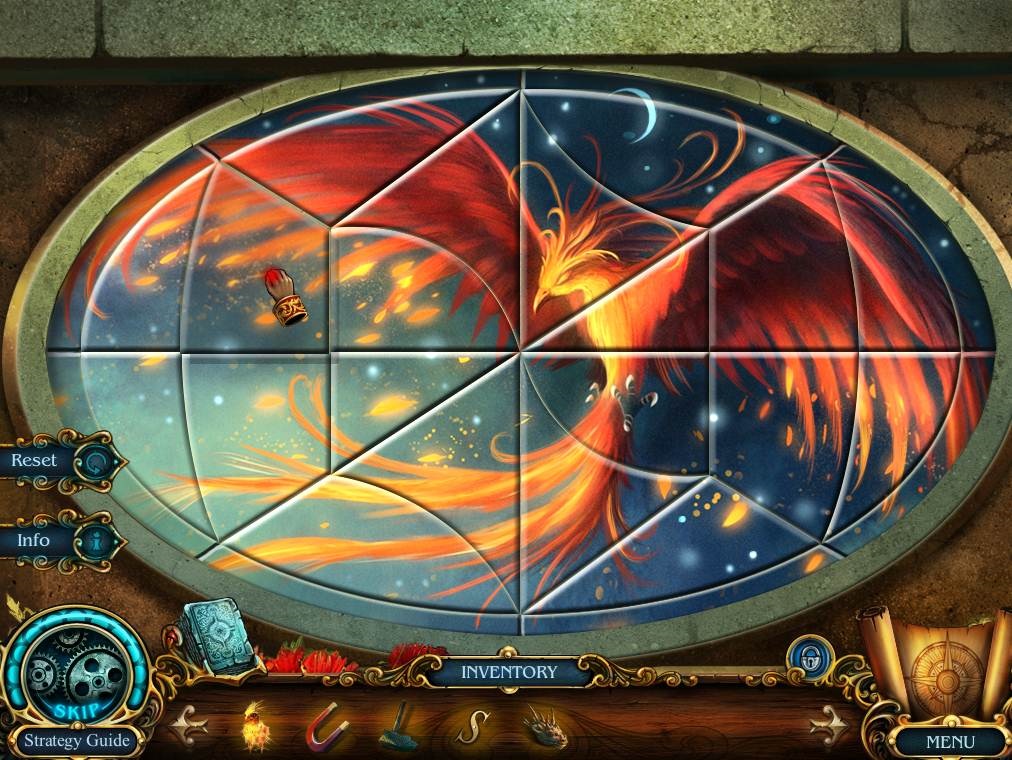
- Assemble the pieces according to the screenshot.
- Take the ROPE.
- Go to the archive.
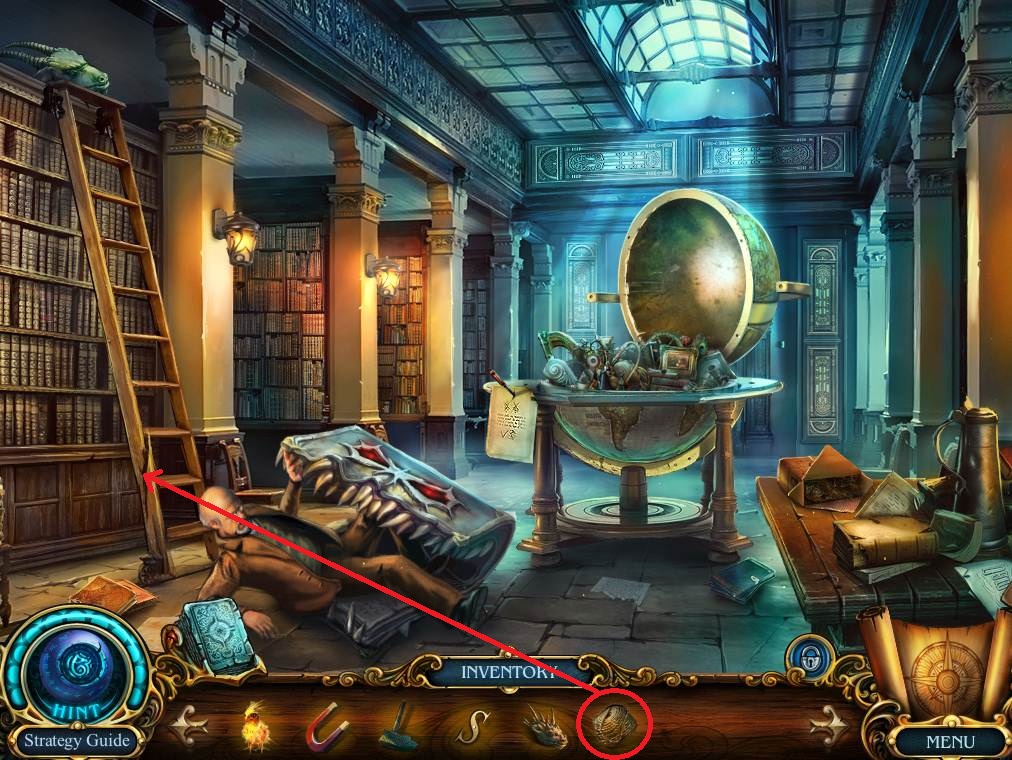
- Use the ROPE on the broken ladder.
- Click on the top of the ladder to get the CHIMERA’S RIGHT HEAD.
- Go back twice to get to the fountain.

- Put the CHIMERA’S LEFT HEAD and the CHIMERA’S RIGHT HEAD on the chimera statue to get the GLOWING BOOK.
- Return to the archives
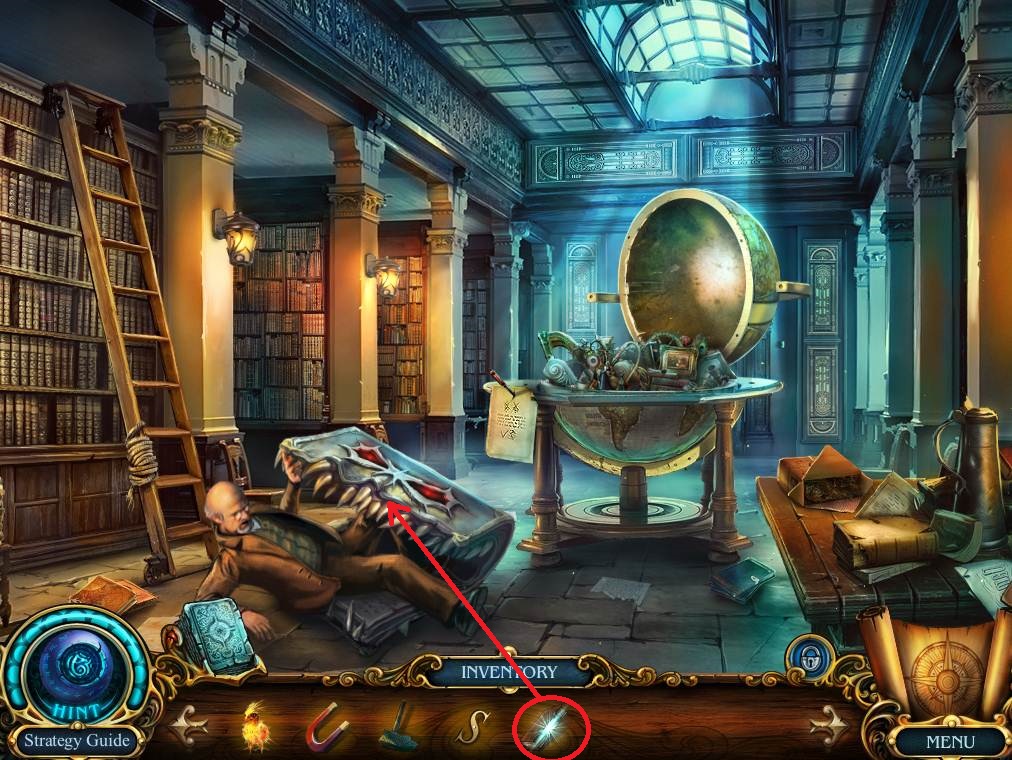
- Use the GLOWING BOOK on the evil book.
- Speak to the archivist.
- Take the cursed card and the VALVE from the archivist.
- Go to the mansion.
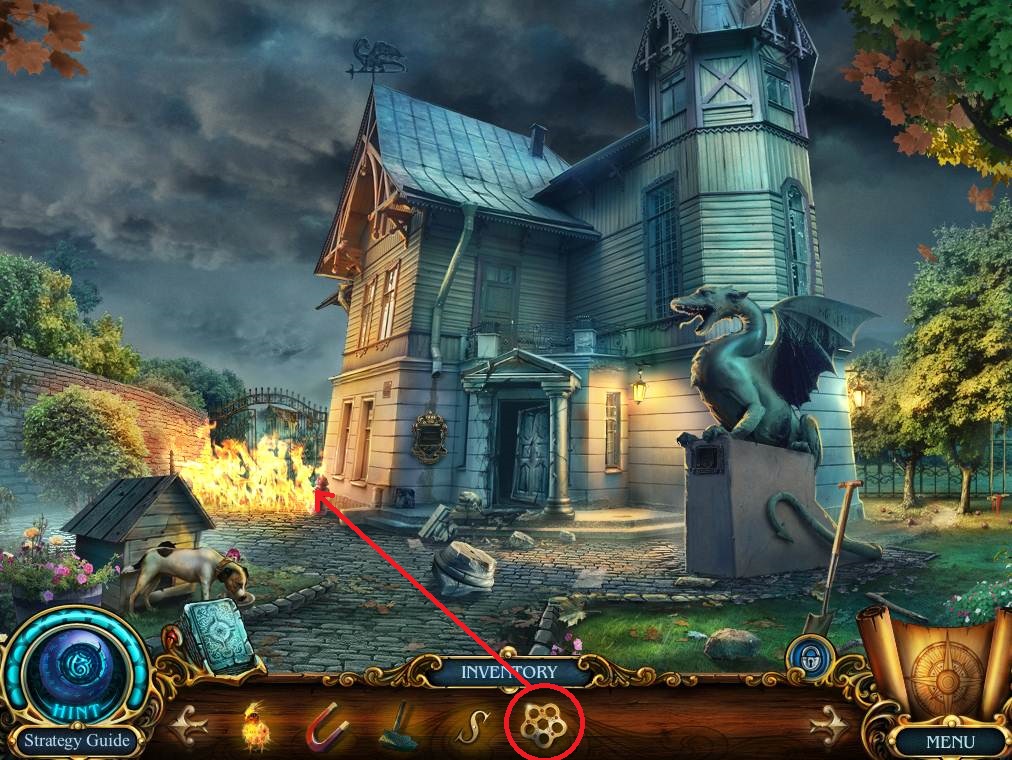
- Click on the fire and use the VALVE on the fire hydrant.
- Go through the newly opened path to get to the lake.
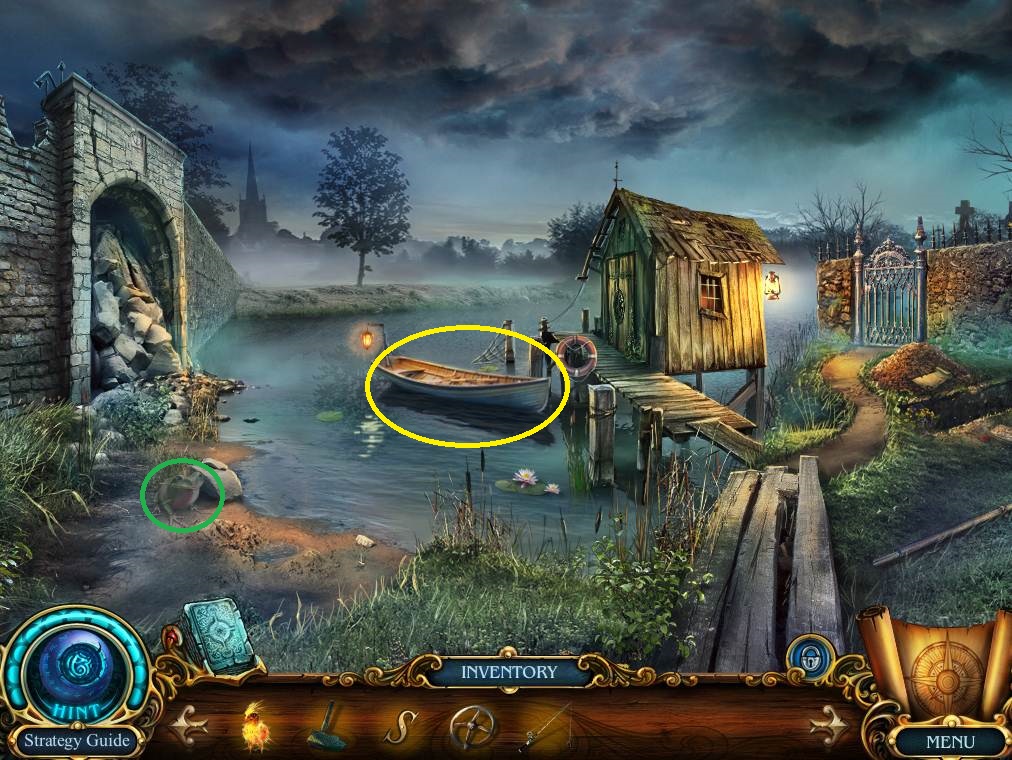
- If you’re collecting the lost pets you can find the Princess Frog by the rock on the left side of the lake.
- Click on the boat to find the third CANNON WHEEL PART and the VALVE WHEEL.
- Put the MAGNET on the fishing pole.
- Take the FISHING ROD.
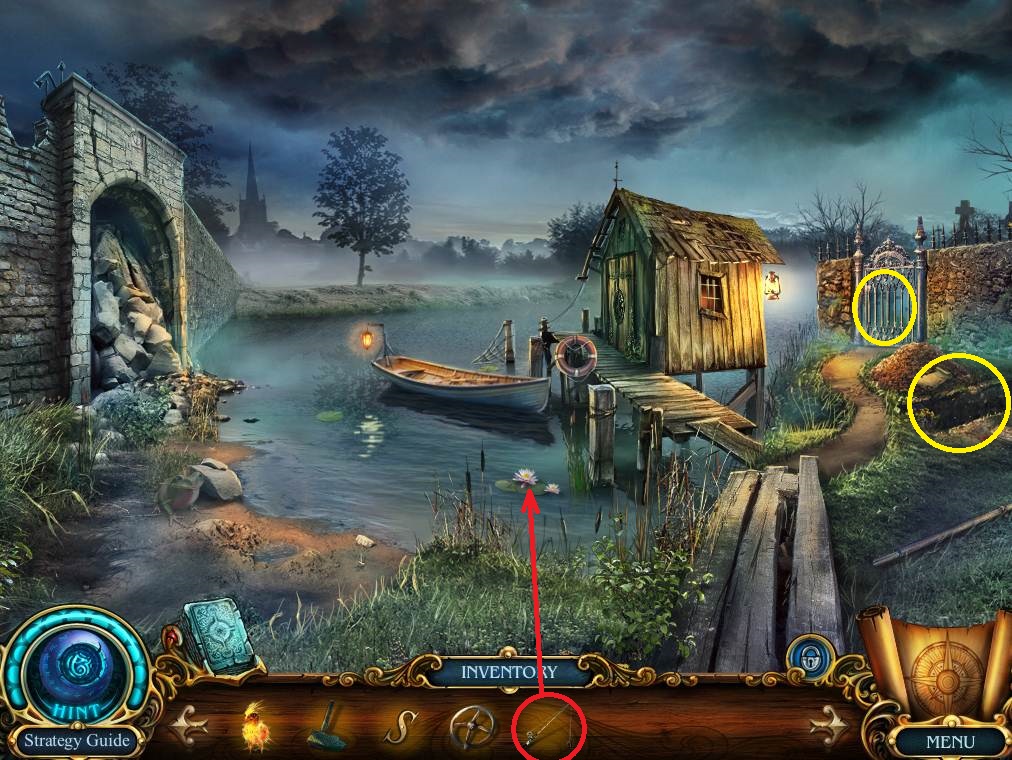
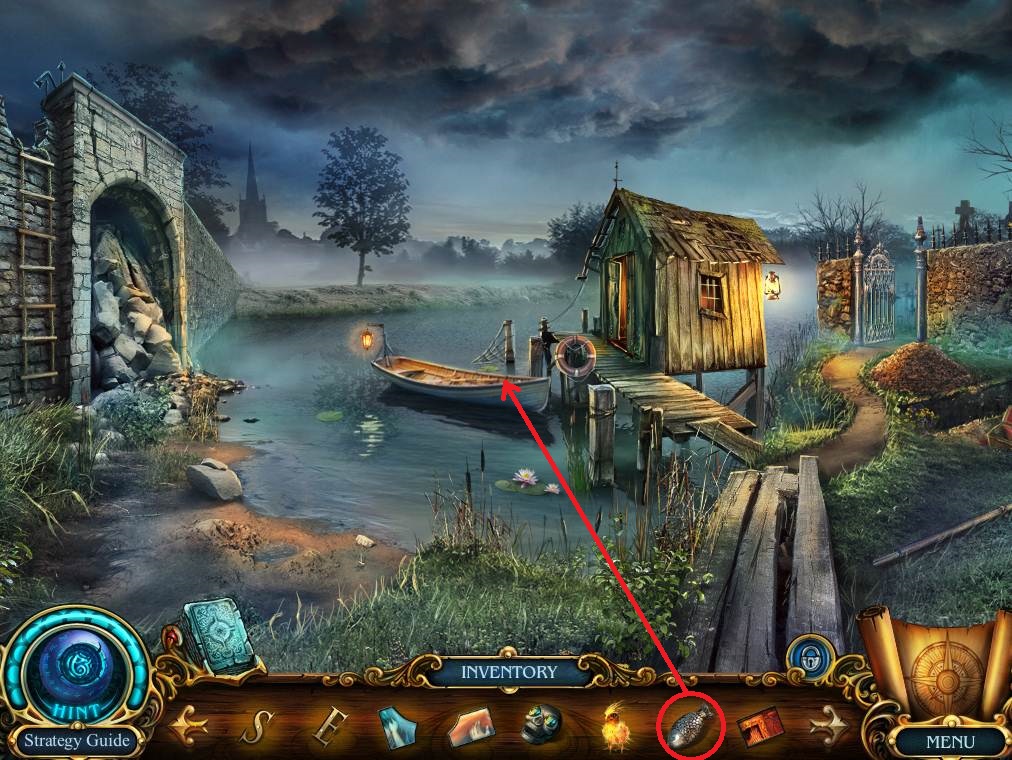
- Click on the lily pad and use the FISHING ROD in the water to get the SHARK.
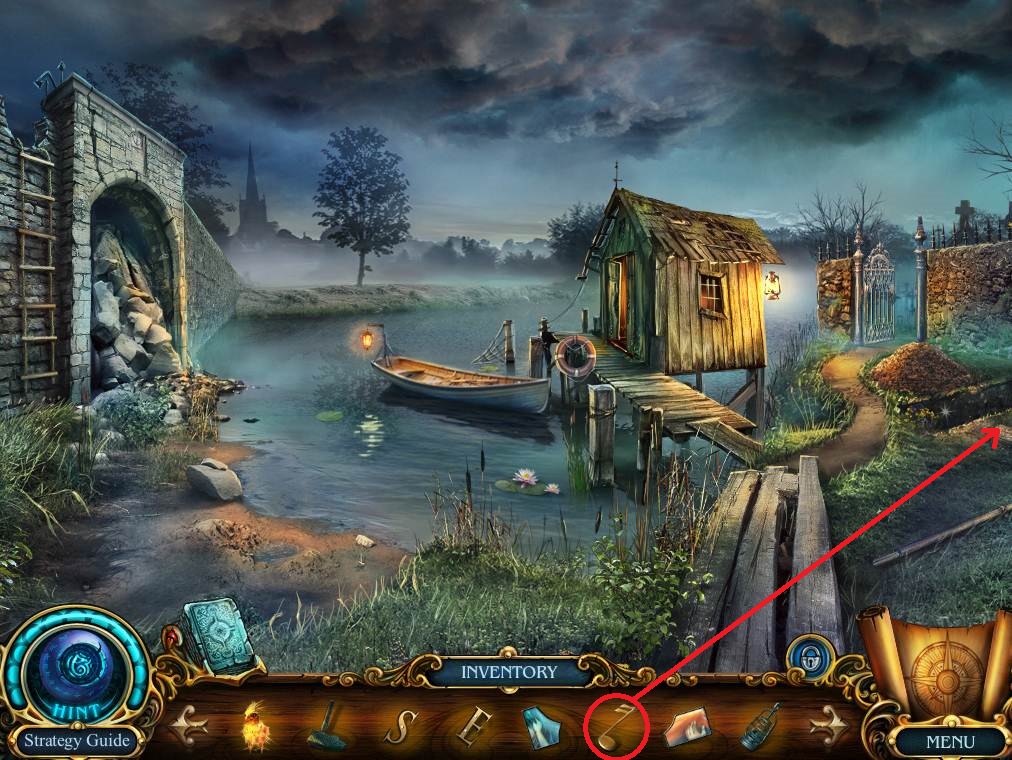
- Click on the gate to get the SHIP.
- Click on the grave, then read the note and take the LETTER E.
- Go back to the mansion hall.

- Click on the table and use the SHIP on the trinket box to get the OCTOPUS.
- Go back to the lake.
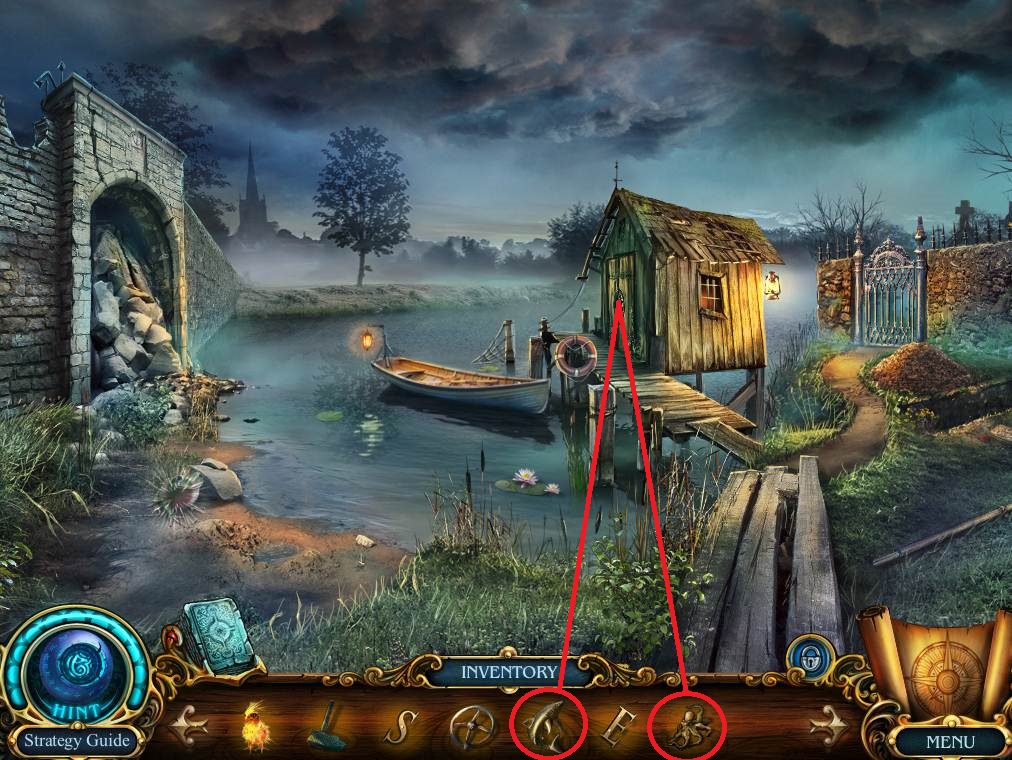
- Put the OCTOPUS and the SHARK on the shed lock, then click on the lock to open the shed and activate a hidden object area.
- Chapter-6-14-Shed-HOA
- Use the knife on the shell to get the pearl.
- Put the fin on the shark to get the shark.
- Collect the remaining items to get the ROPE LADDER.
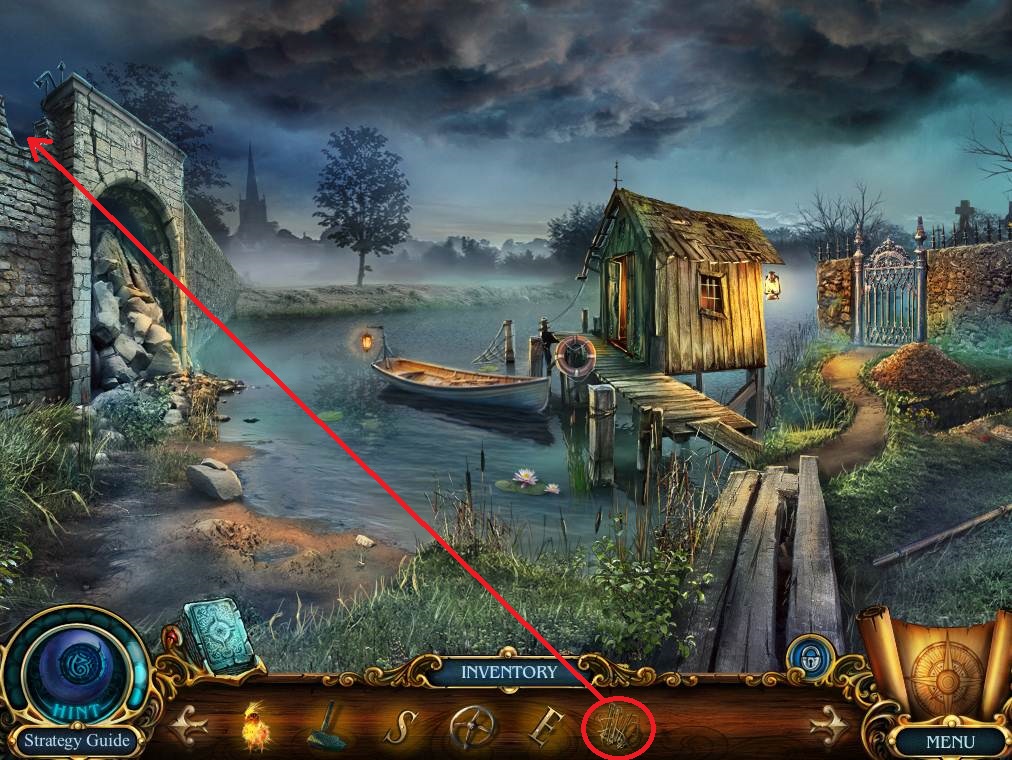
- Use the ROPE LADDER on the wall.
- Use the ROPE LADDER to get over the wall and access the ruined street.
- If you’re collecting the lost pets the Scholar’s Owl can be found on the wall above the safe.
- Click on the collapsed facade to find the WOODEN MALLET.
- Use the VALVE WHEEL on the safe and turn it.
- Take the SPADE and the STAINED-GLASS PART.
- Go to the park.
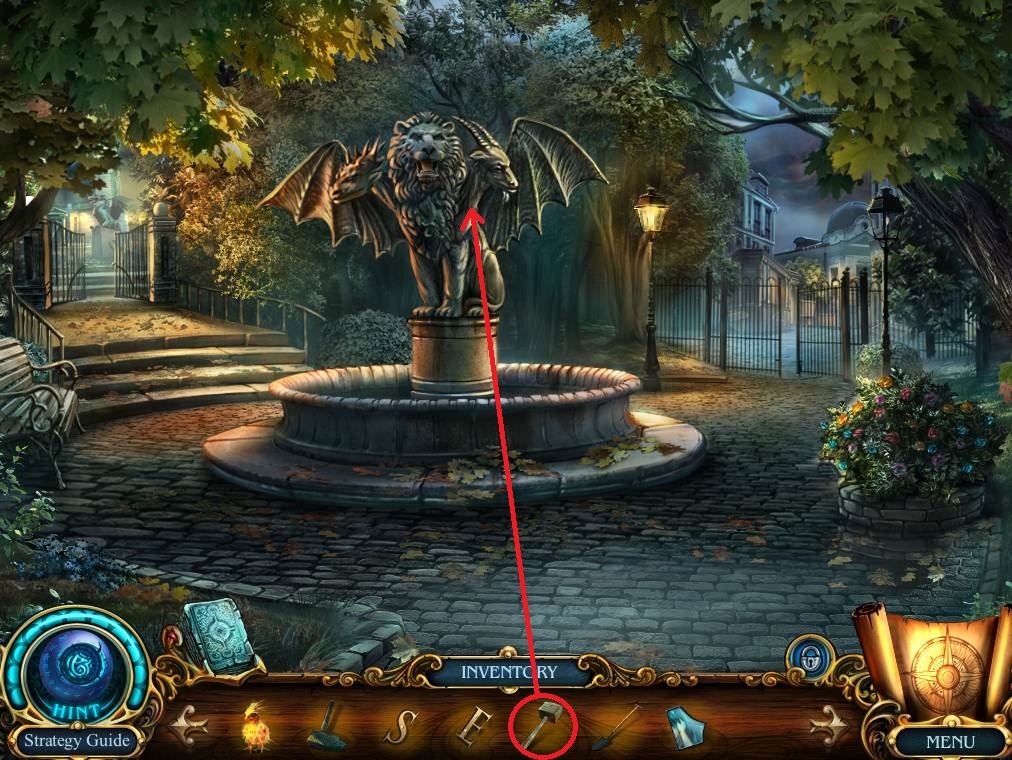
- Use the WOODEN MALLET on the statue to get the WEDGE.
- Return to the ruined street.
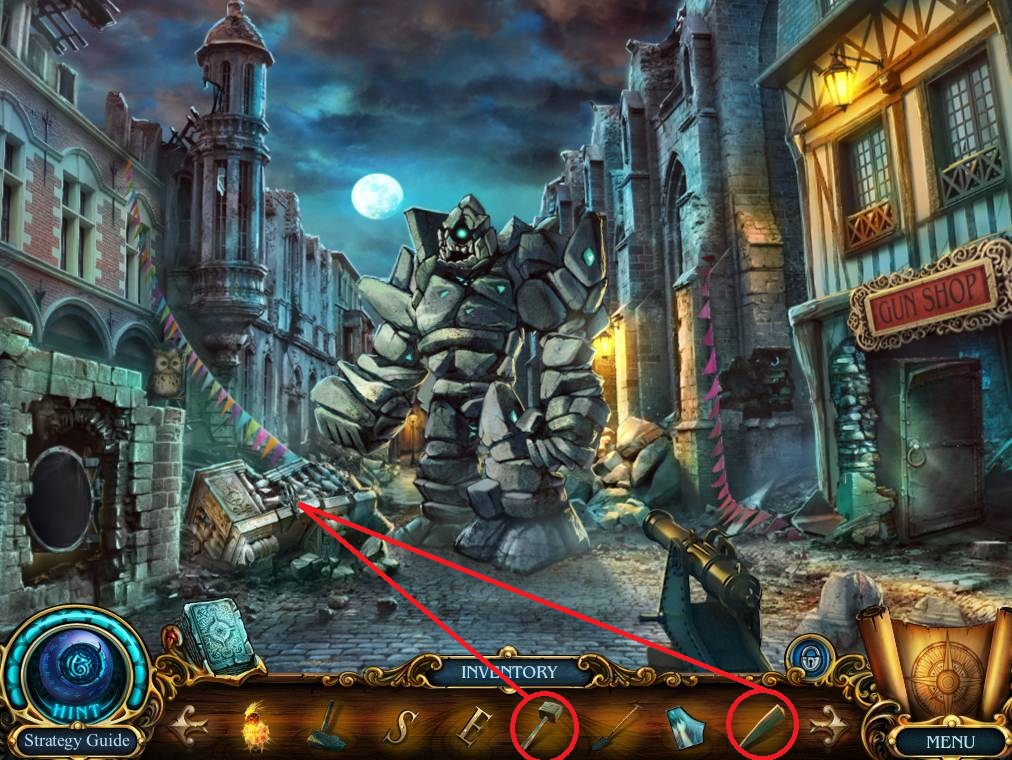
- Use the WEDGE and the WOODEN MALLET on the collapsed façade to get the GATE HANDLE.
- Go back once.
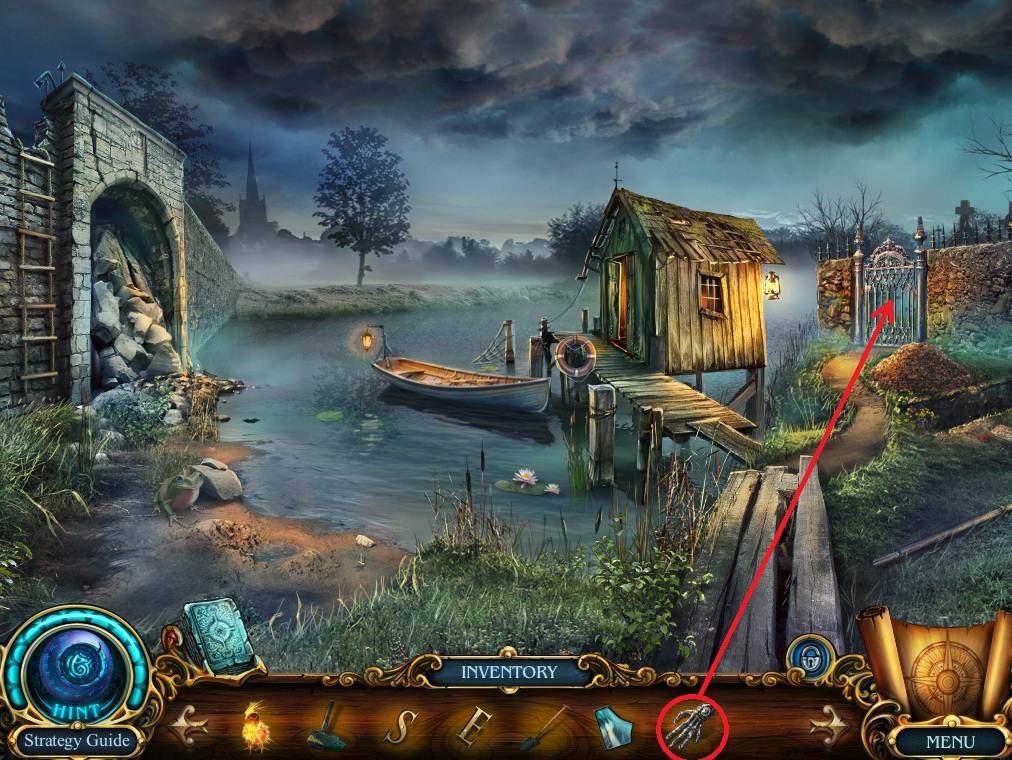
- Use the GATE HANDLE on the gate and then open it.
- Go through to the cemetery.

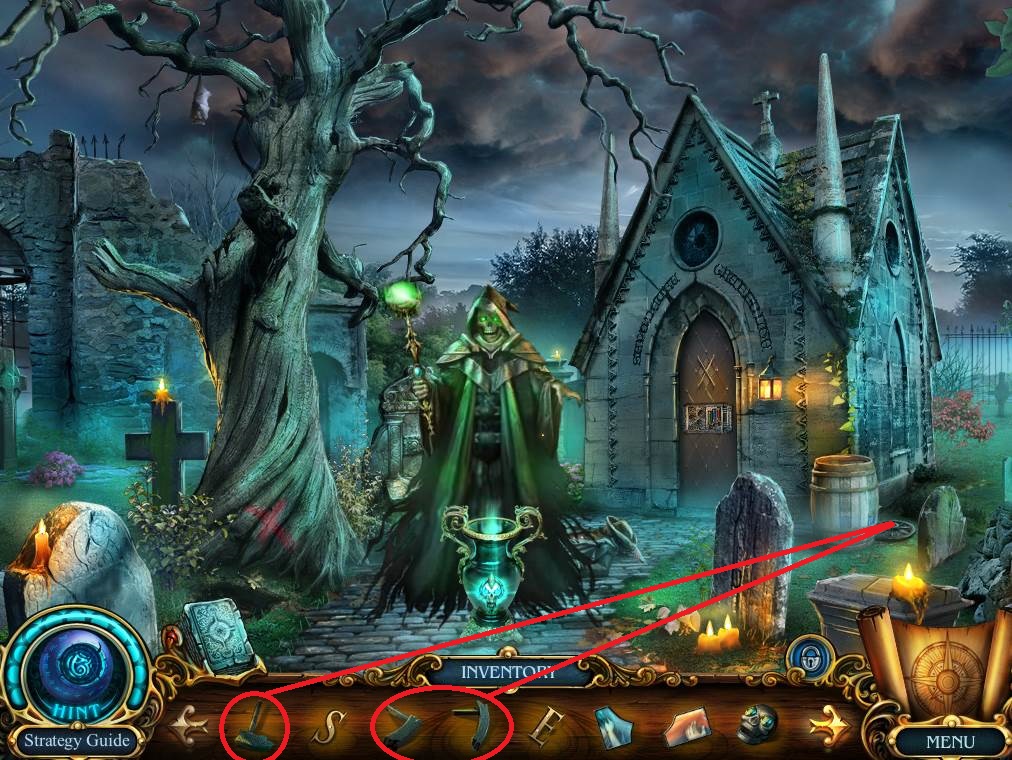
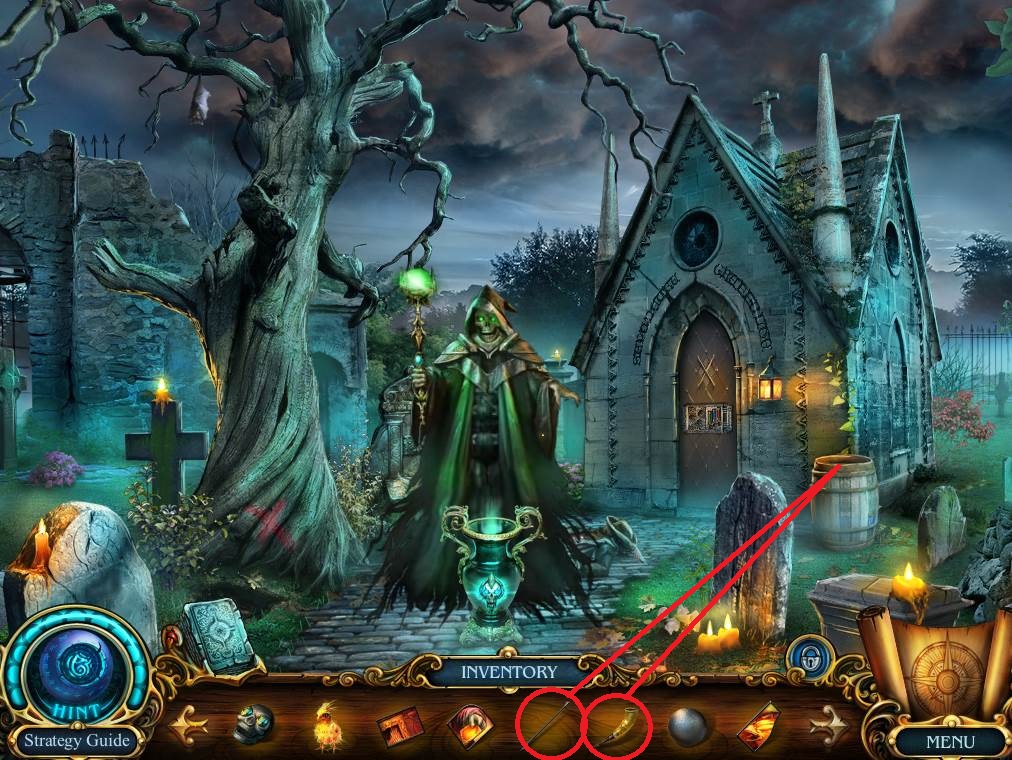
- Click on the tree trunk and use the SPADE on the freshly turned dirt three times.
- Take the LANTERN, the second STAINED-GLASS PART, and the MUSIC NOTE.
- Go back once.
- Click on the grave and use the MUSIC NOTE on the box.
- Open the box and take the BLUE SKULL.
- Take a left to the ruined street.
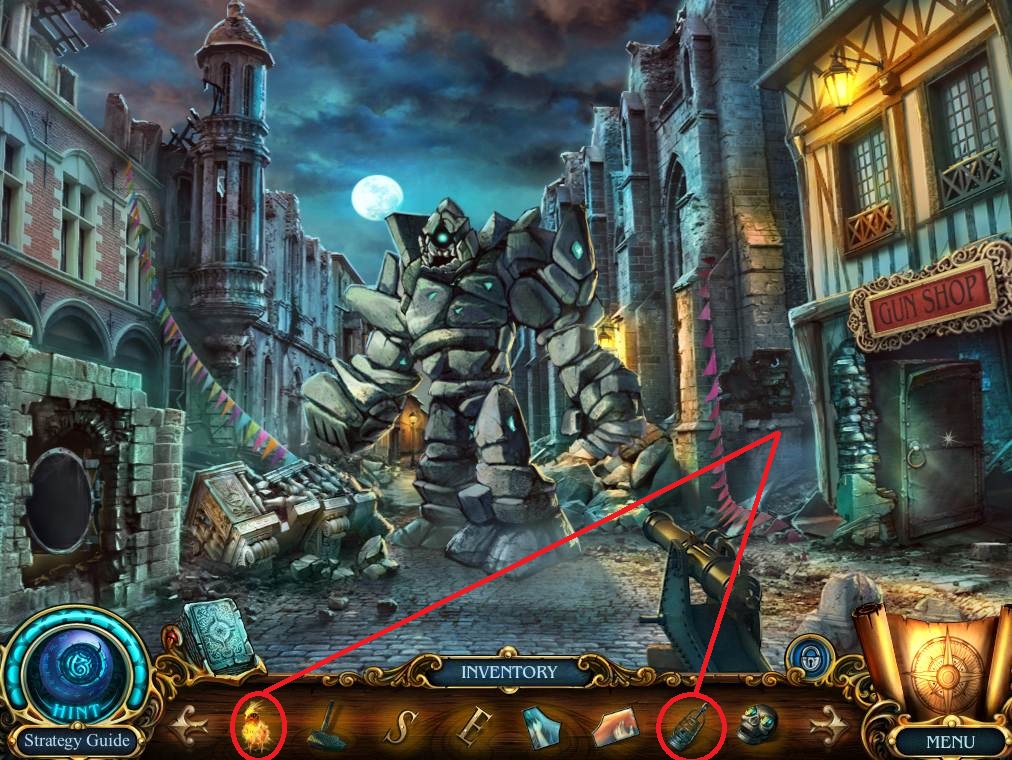
- Use the LANTERN on the hole; light the LANTERN using TERRANCE.
- Take the GOLDEN FISH and the third STAINED-GLASS PART.
- Go back once.
- Click on the boat and use the GOLDEN FISH on the box to get the YIN-YANG and the fourth STAINED-GLASS.
- Return to the cemetery.
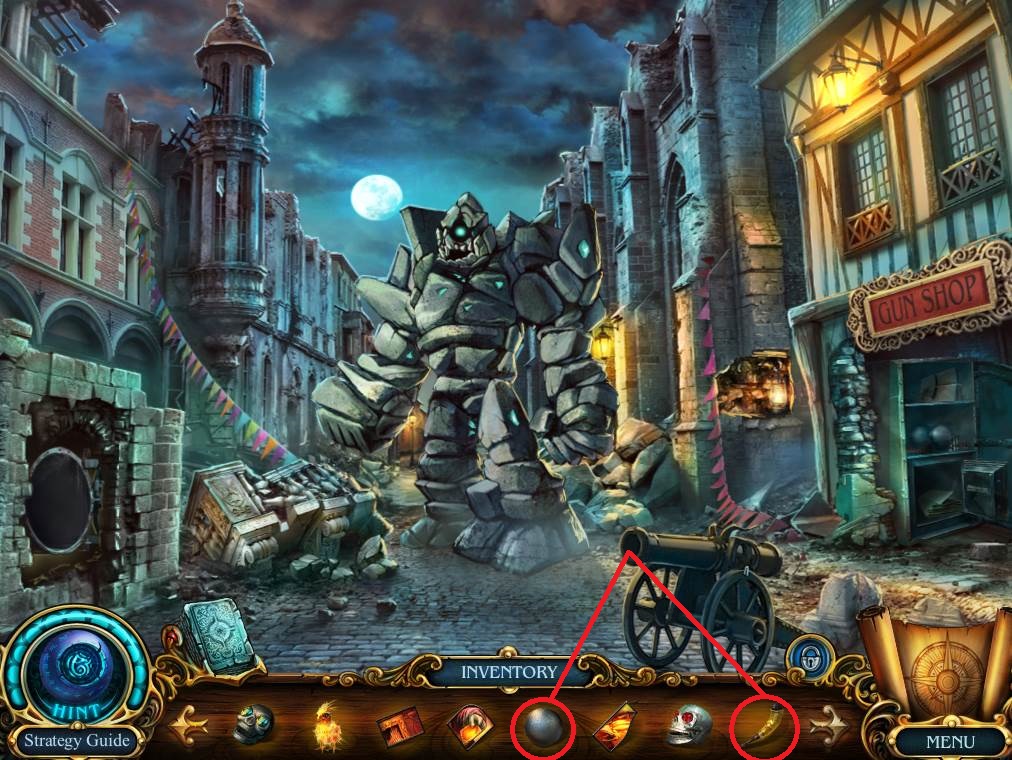
- Click on the barrel and use the three CANNON WHEEL PARTS on the wheel to get the CANNON WHEEL.
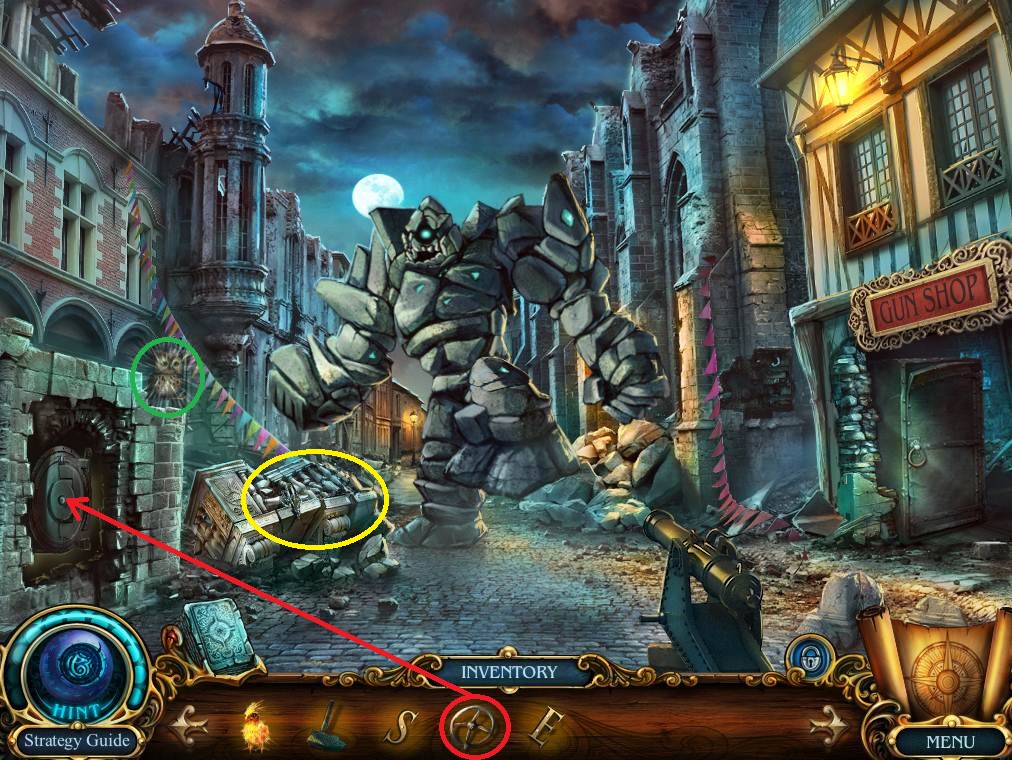
- Go to the ruined street.
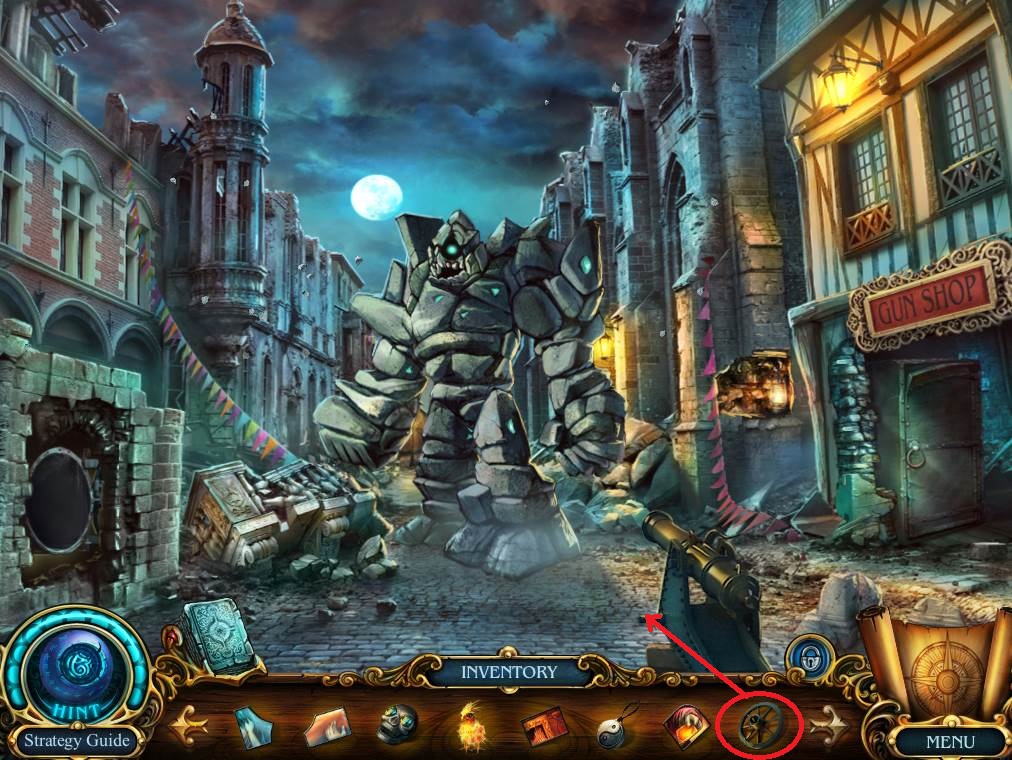
- Use the CANNON WHEEL on the cannon and then turn the cannon twice to get the CROWBAR.

- Use the CROWBAR on the gun shop door.
- Take the ENPTY HORN and the CANNON BALL.
- Put the YIN-YANG on the safe to get the fifth STAINED-GLASS PART.
- Return to the cemetery.
- Use the CROWBAR on the barrel to get the RED SKULL.
- Use the EMPTY HORN on the opened barrel to get a HORN WITH GUNPOWDER.
- Go to the ruined street.
- Use the HORN WITH GUNPOWDER and the CANNONBALL on the cannon.
- Turn it twice and then use TERRANCE to light it.