
Chimeras: Tune Of Revenge: Chapter One: Welcome to Graysand
Allow our Chimeras: Tune of Revenge Walkthrough to be your companion as you struggle to find the truth behind the vengeful organ grinder. You were originally sent to the town of Greysand to investigate a death that occurred thirteen years ago, but when a street fair is disrupted by murder your investigation becomes a lot more dangerous. It soon becomes apparent that the perpetrator of these murders, the organ grinder, is in some way linked to the man who died so many years ago. Our endless tips, step-by-step instructions, and custom screenshots will be your guide as you race to discover the truth of the past all while dodging a plethora of magical, and deadly, creatures. Do you have what it takes to get to the bottom of things?
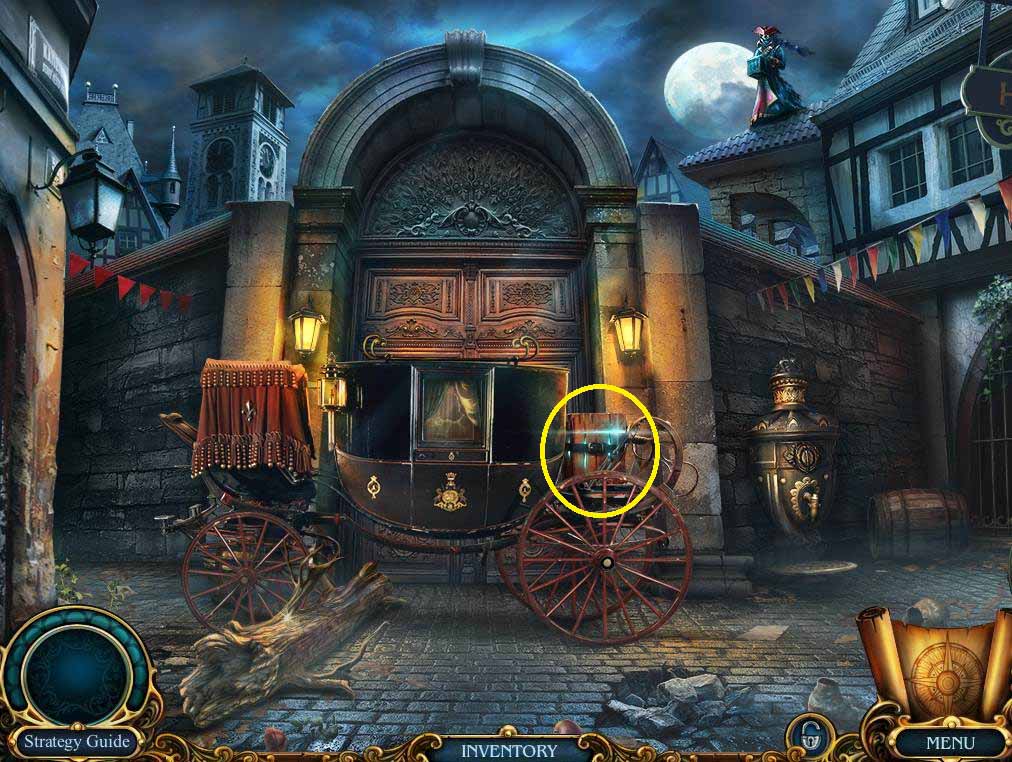
- Click on the trunk and take the amulet (which becomes your hint button) and the HANDLE.
- Put the HANDLE on the carriage door.
- Put the handle on the axe.
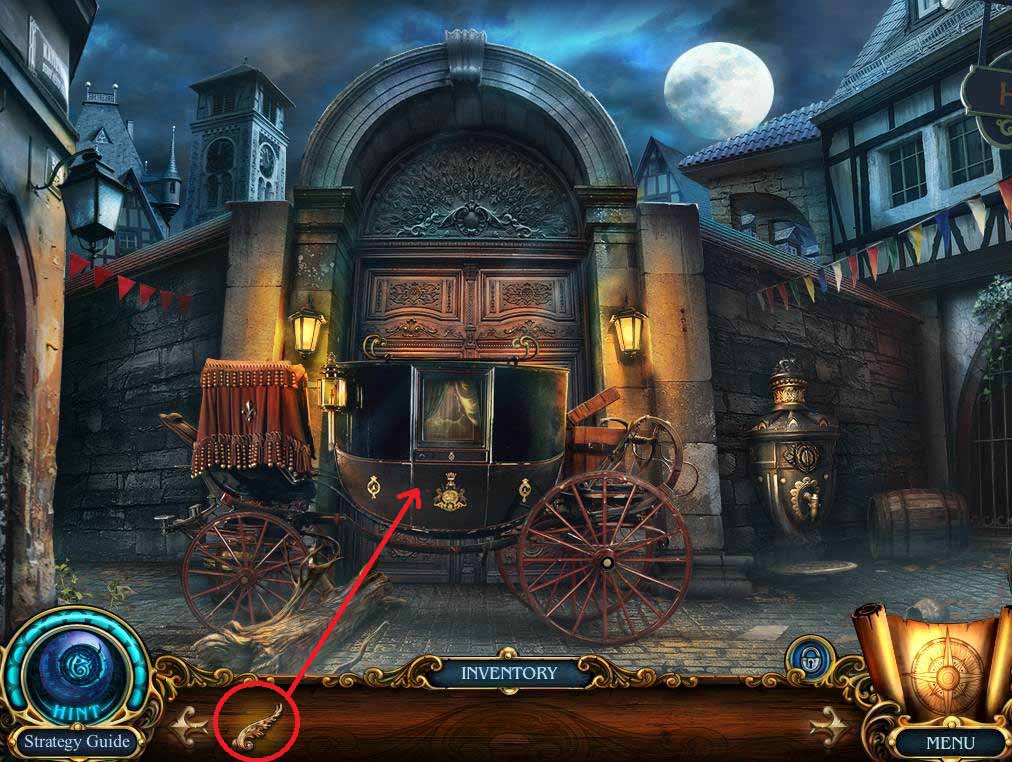
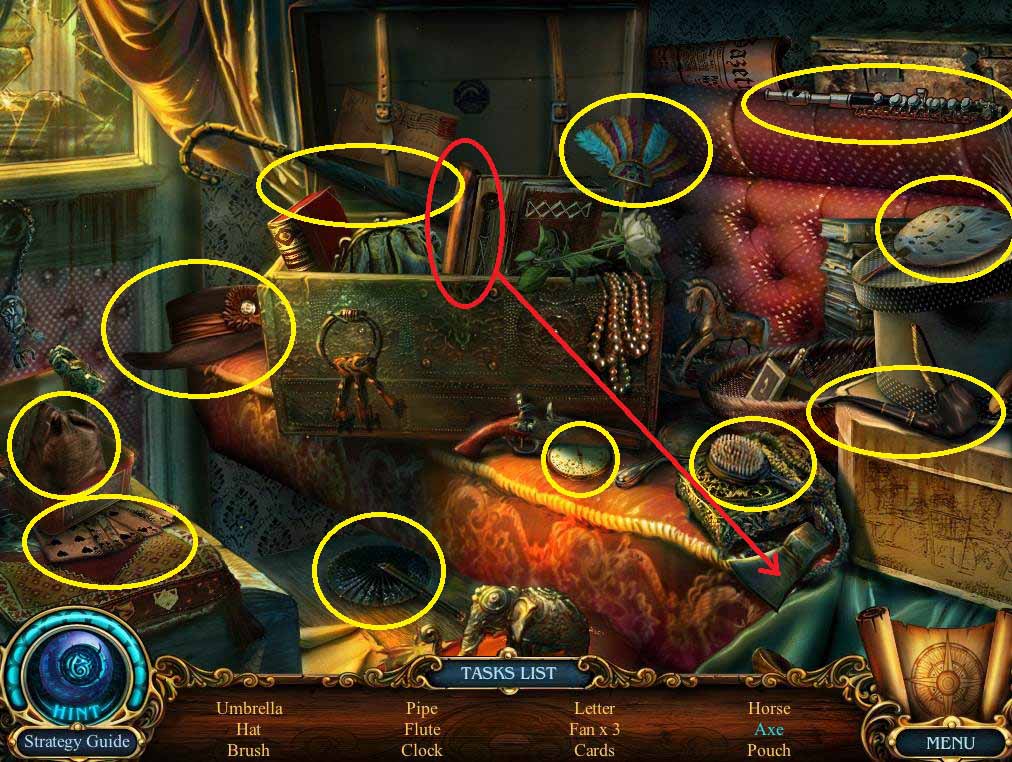
- Collect the remaining items to receive the AXE.
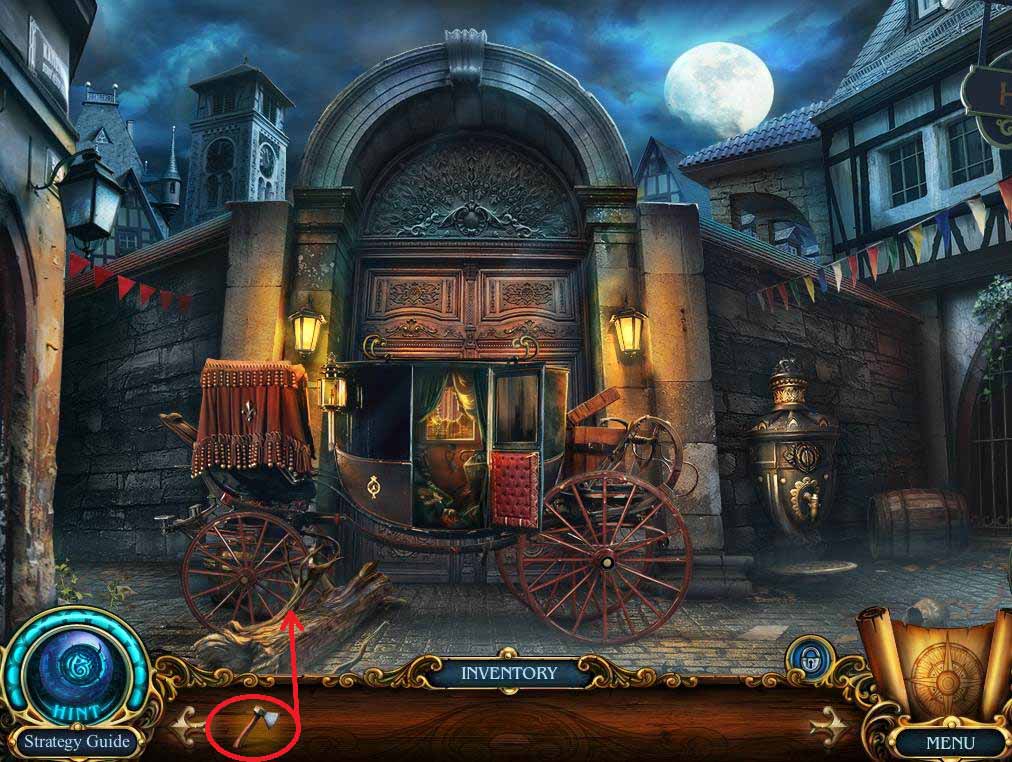
- Use the AXE on the branch to free the carriage.
- Click on the carriage to move it out of the way.
- Open the gates.
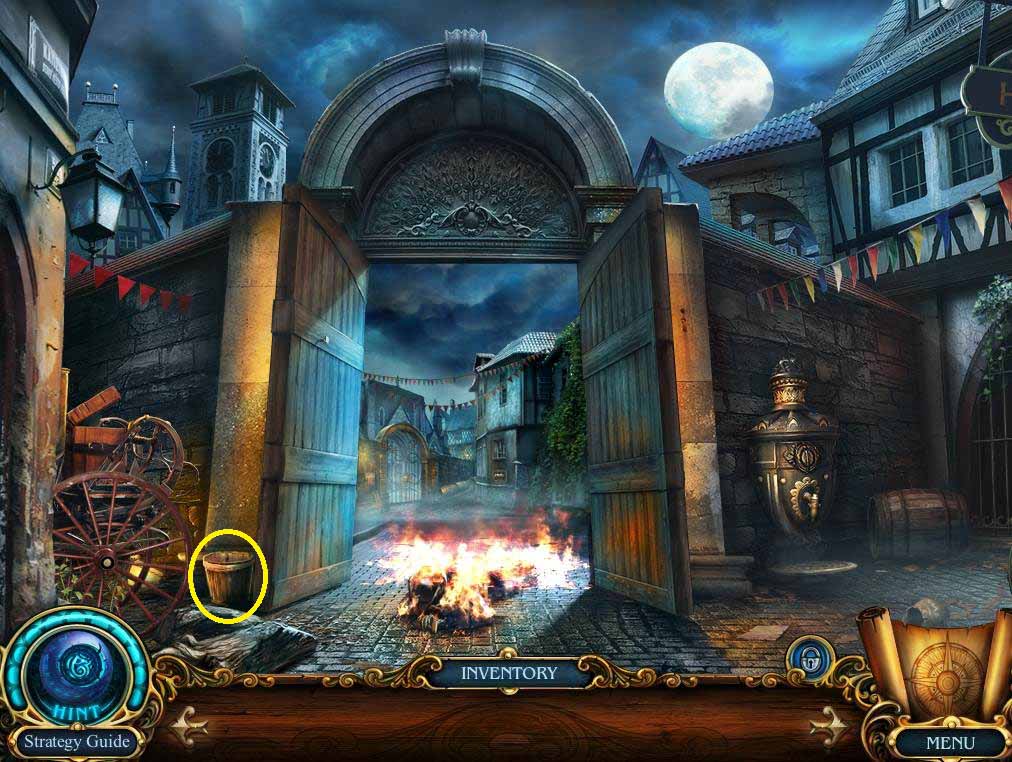
- Examine the bucket.
- Take the BUCKET and the PIECE OF PAPER.
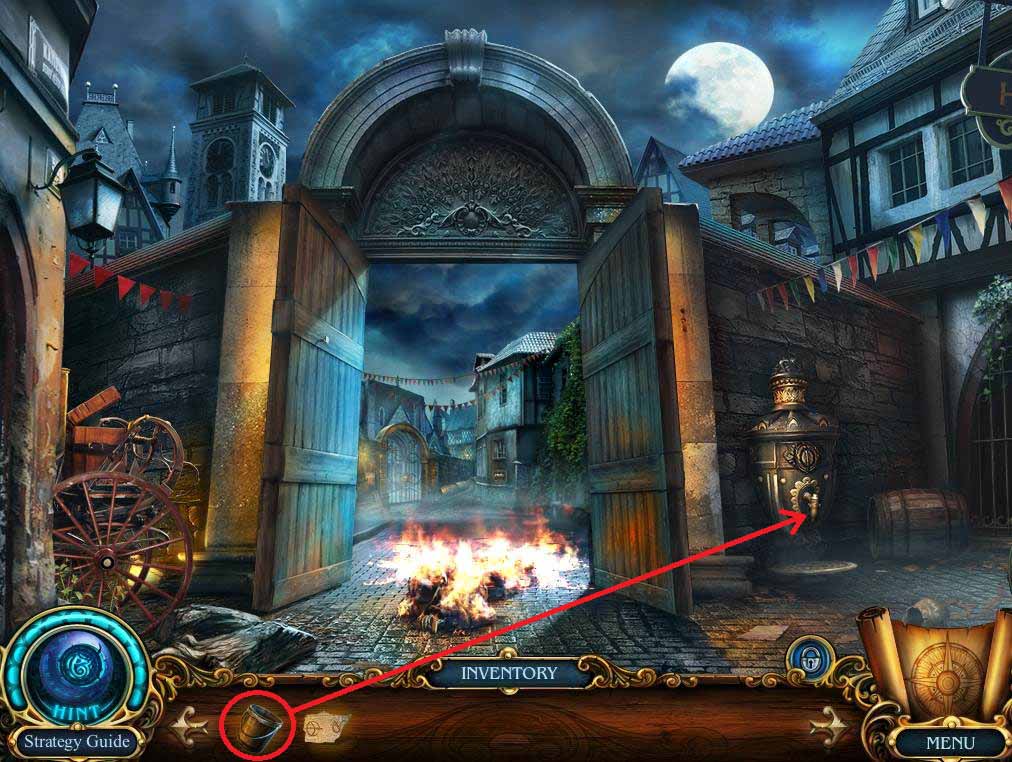
- Use the BUCKET on the vat to get the BUCKET OF WATER.
- Use the BUCKET OF WATER on the burning man.
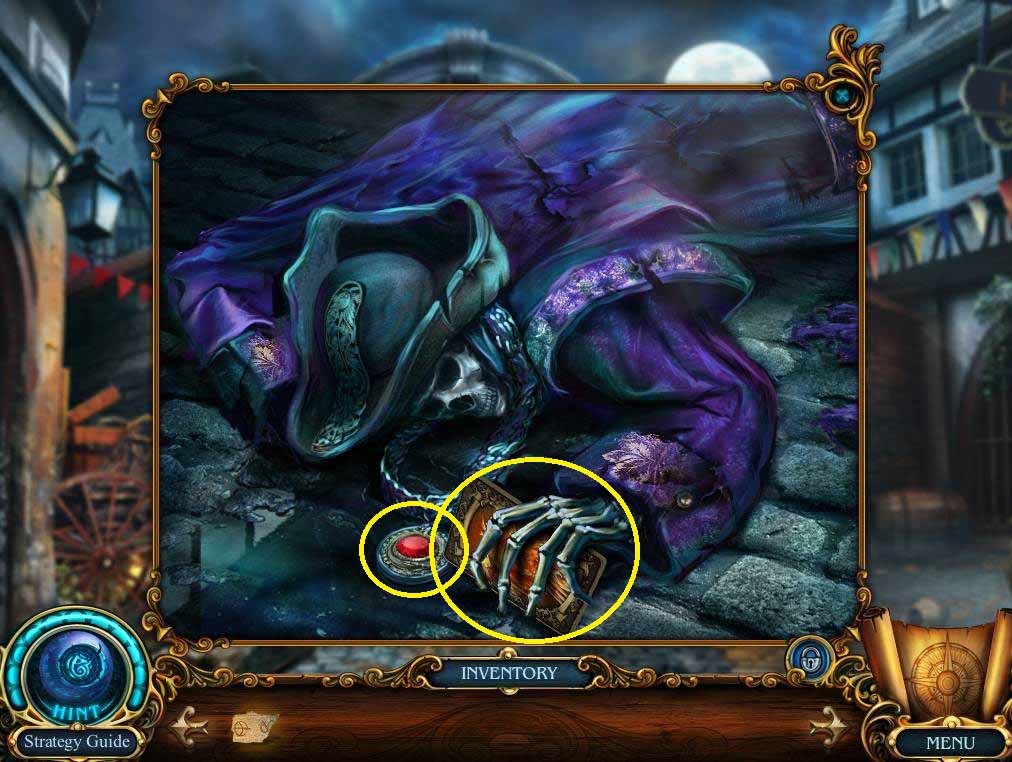
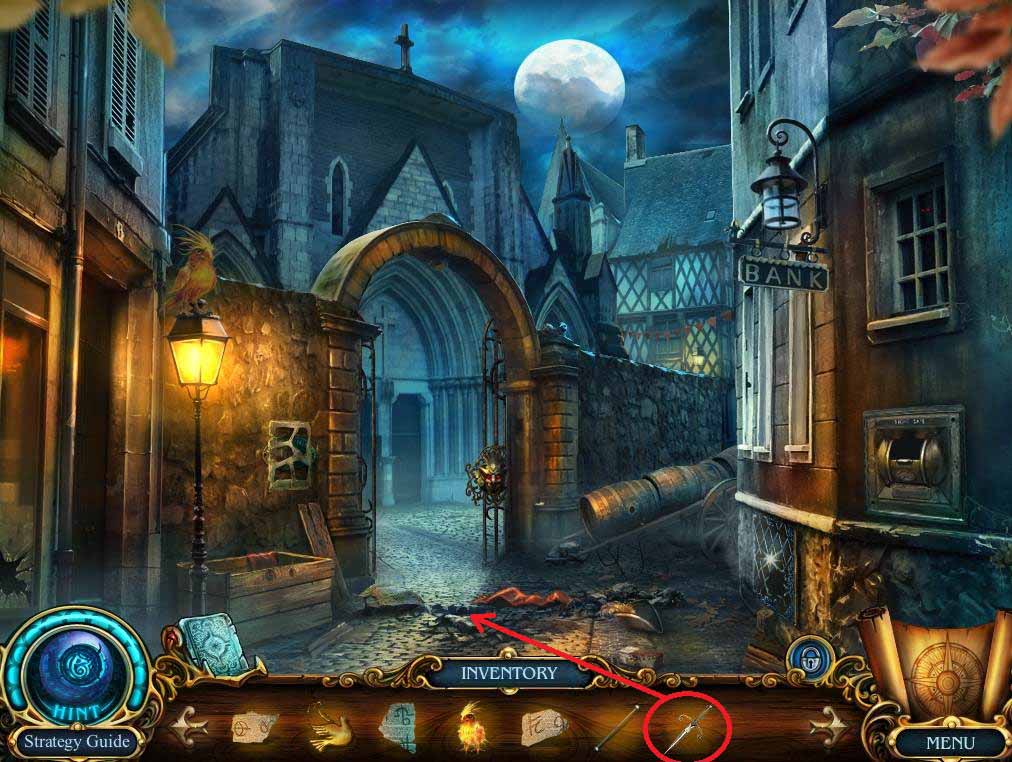
- Examine the man and take the first RUBY and the cursed card
- Move forward to the narrow street.
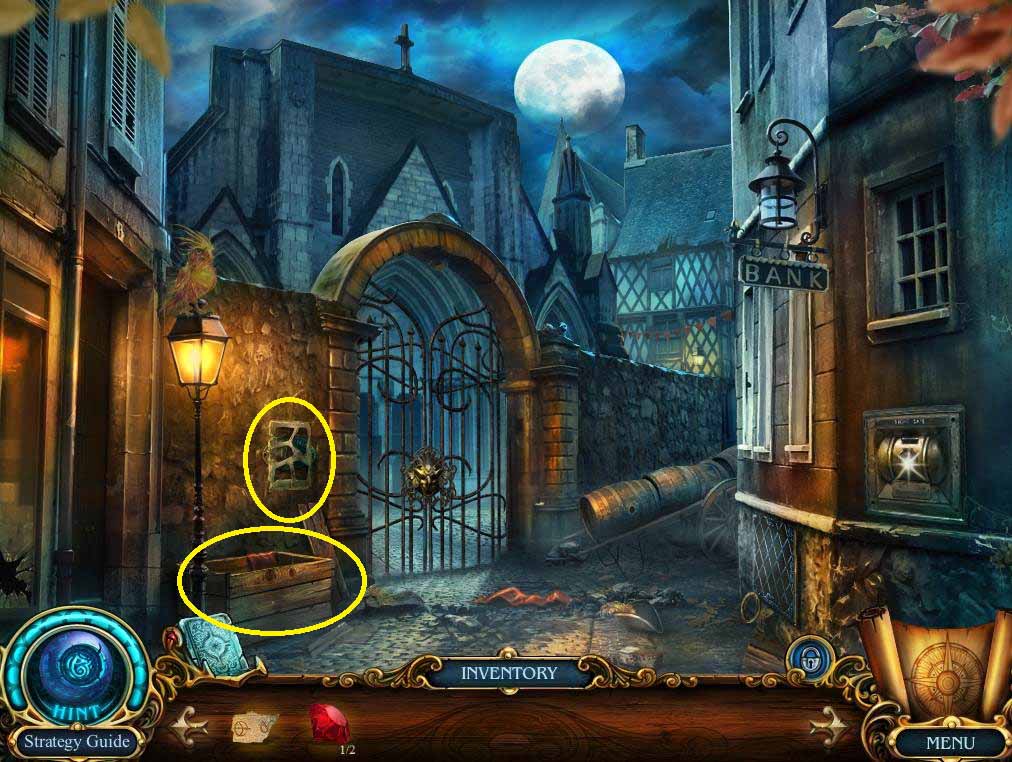
- Click on the wall to find the DOVE MEDALLION.
- Examine the crate to find the second PIECE OF PAPER and the NIPPERS.
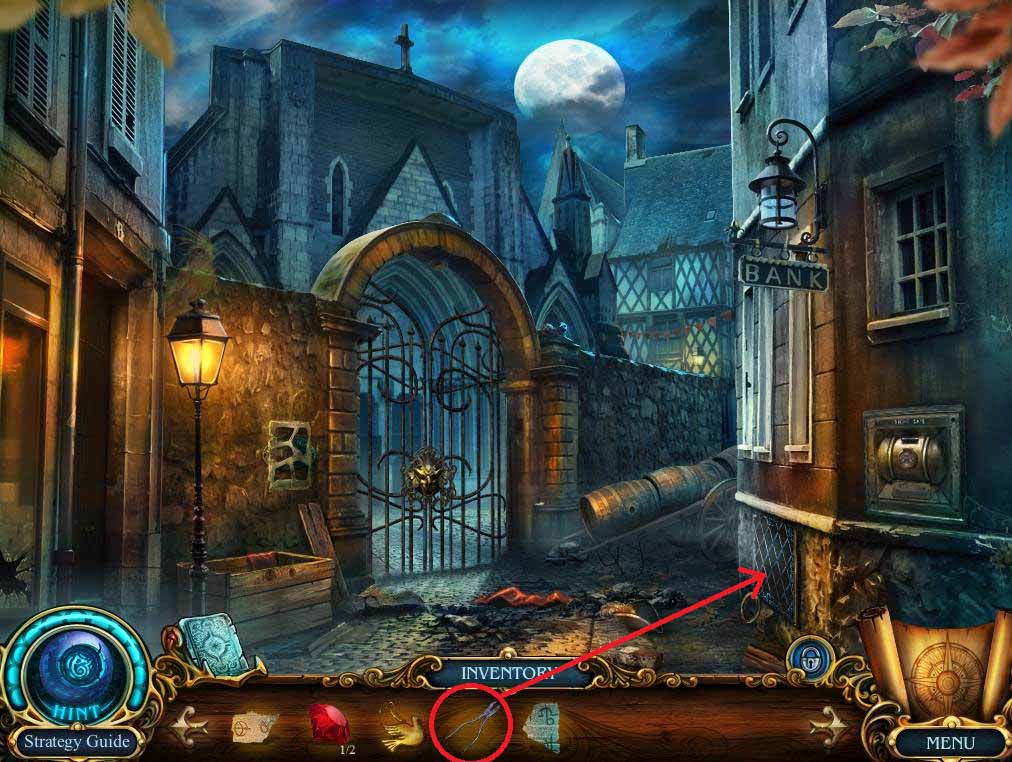
- Use the NIPPERS on the grate and take the second RUBY and the BIG BRONZE RING.
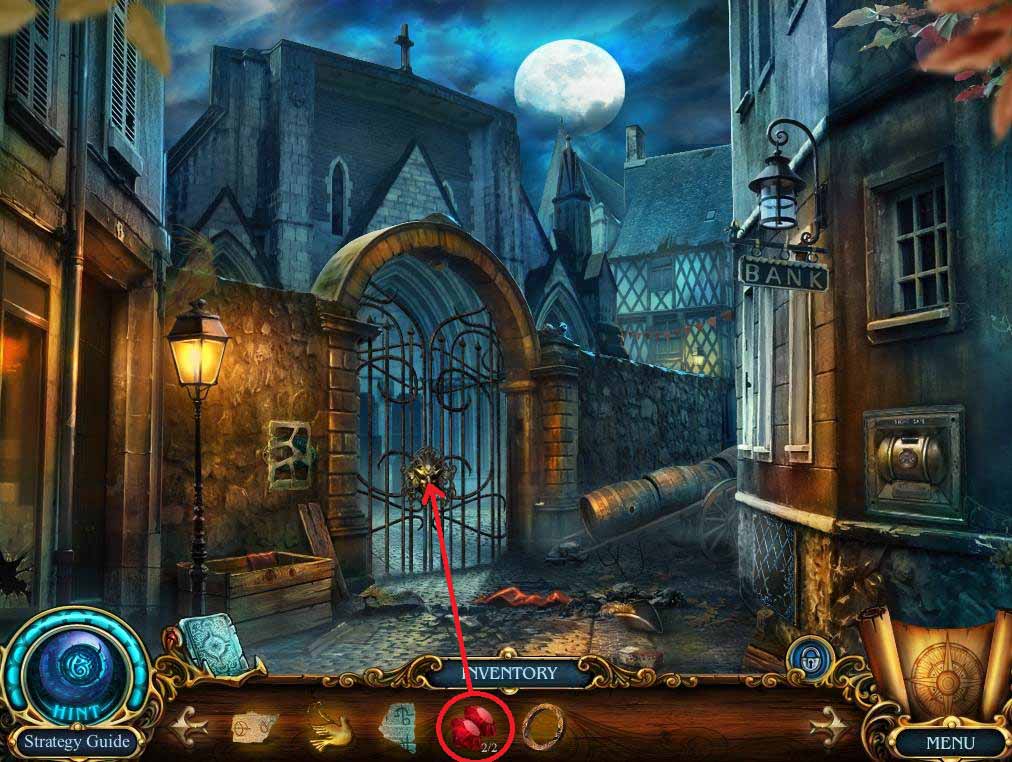
- Click on the gate and put the two RUBIES in the eye sockets to unlock it.
- Go through the gates.

- Click on the alcove and click on the egg twice to receive TERRANCE. TERRANCE can be used to light things or to retrieve things so you don’t get burned,.
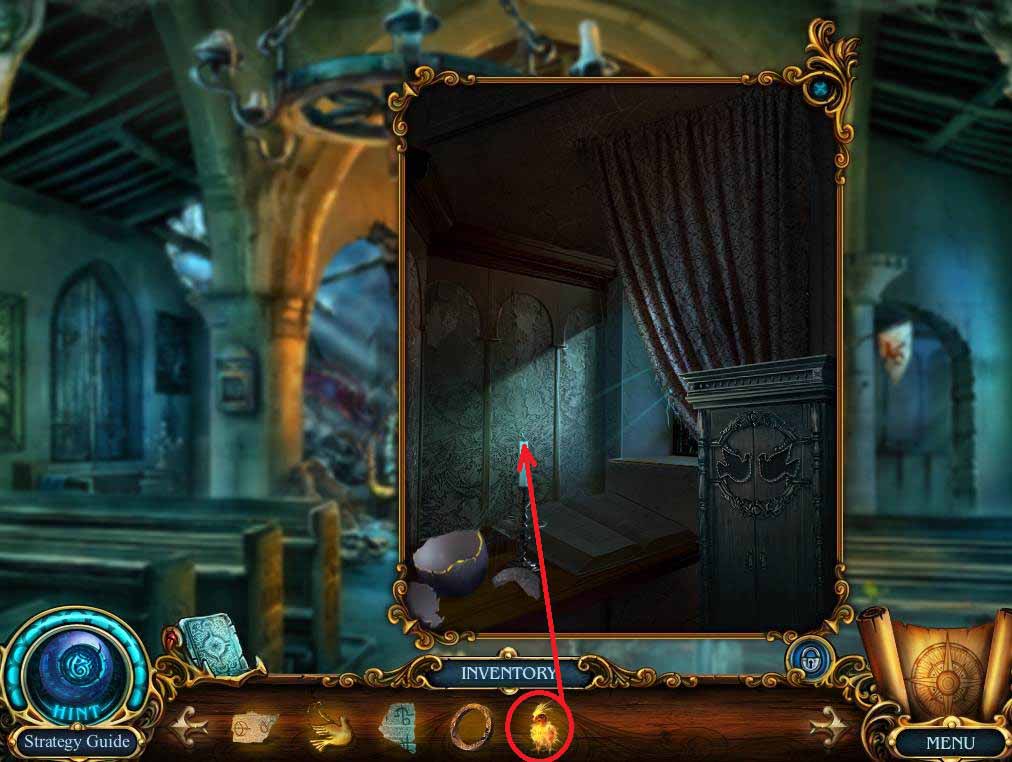
- Use TERRANCE to like the candle.
- Take the PRAYER BOOK.
- Use the PRAYER BOOK on the pulpit to find the third PIECE OF PAPER, the SMALL BRONZE RING, and the HOIST HANDLE.
- Go back once to return to the narrow street.
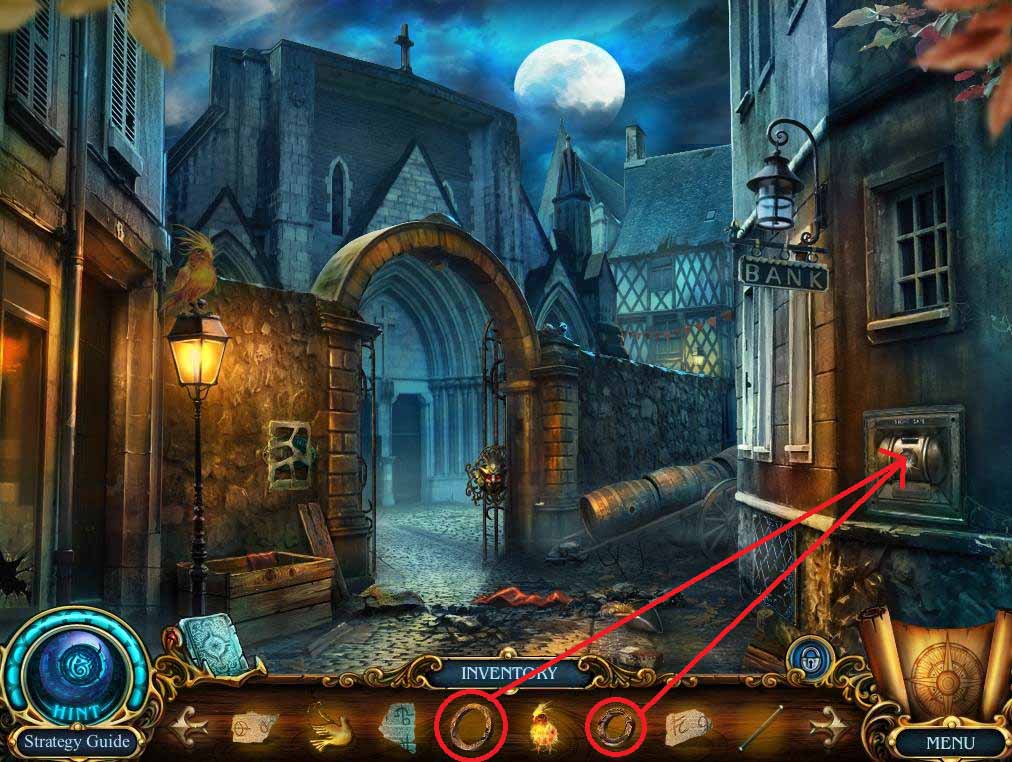
- Click on the safe and put the BIG BRONZE RING and the SMALL BRONZE RING on it to activate a puzzle.
- Rotate the rings so they match the screenshot above.
- Take the DAGGER.
- Use the DAGGER on the crack to find the SILVER KEY.
- Go forward once.
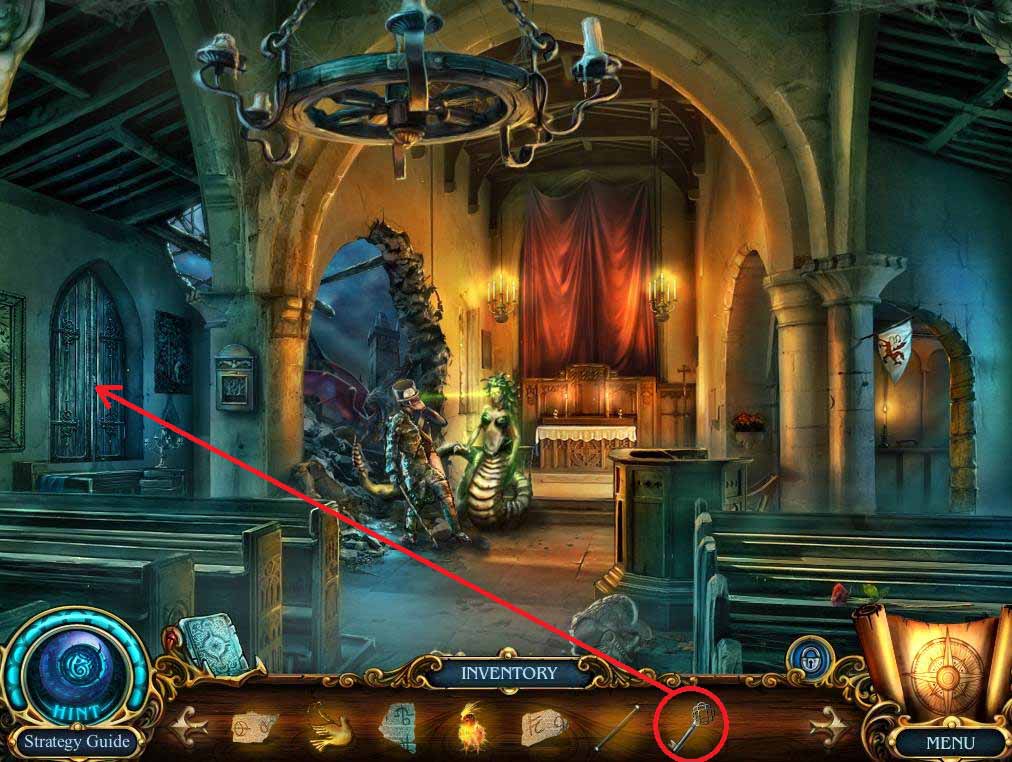
- Use the SILVER KEY on the shutters.
- Click on the stained glass to activate a hidden object area.
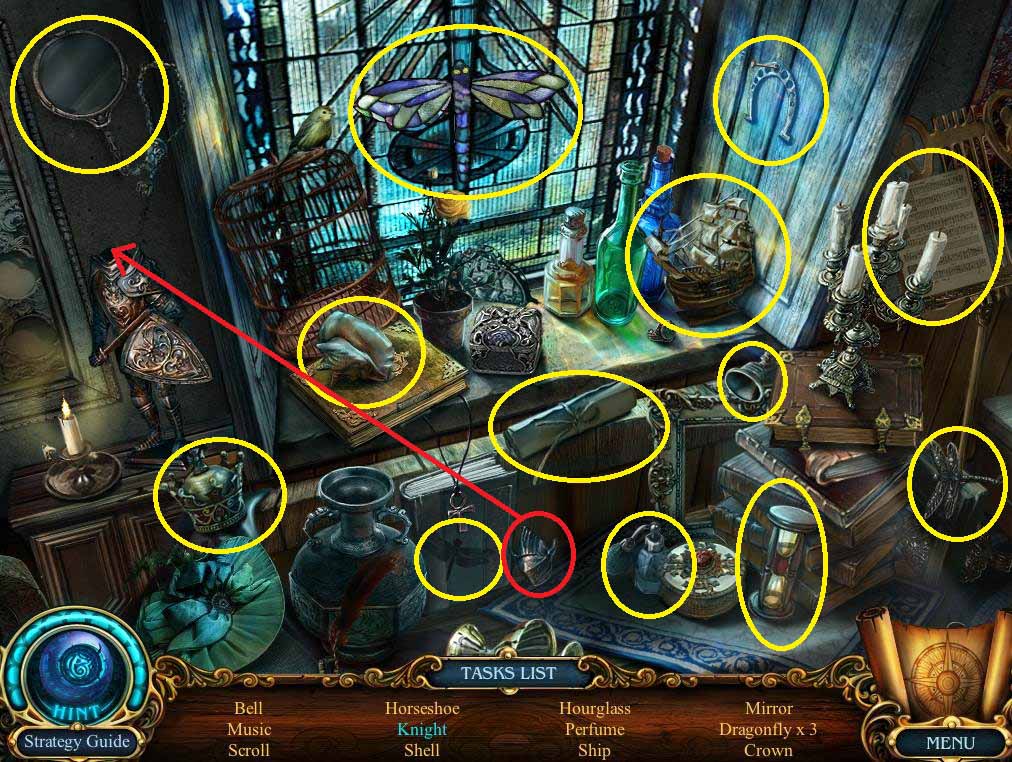
- Put the helmet on the armor to get the knight.
- Collect the rest of the items listed to earn the MIRROR.
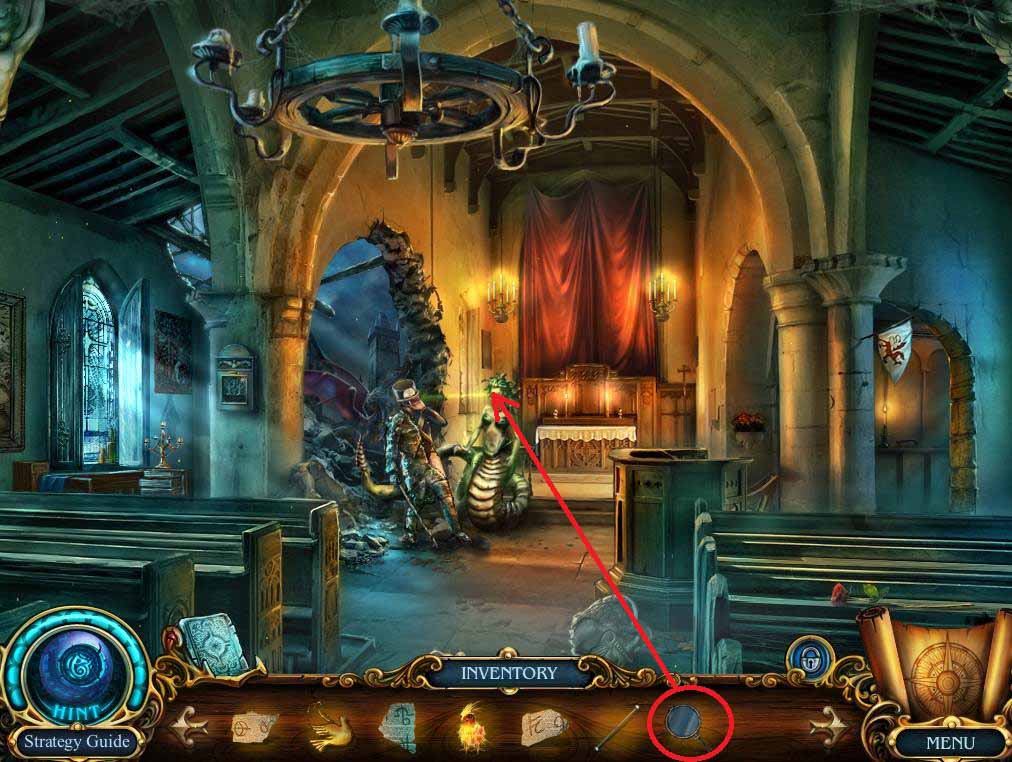
- Use the MIRROR on the gorgon to defeat her.
- Talk to the gendarme to get the BOMB and a cursed card.
- Go through the hole in the wall.
- Click on the banker.
- Use TERRANCE to get the BLUNT SWORD from the circle of fire.
- Take the cursed card from the banker’s cold, dead, skeleton hand.
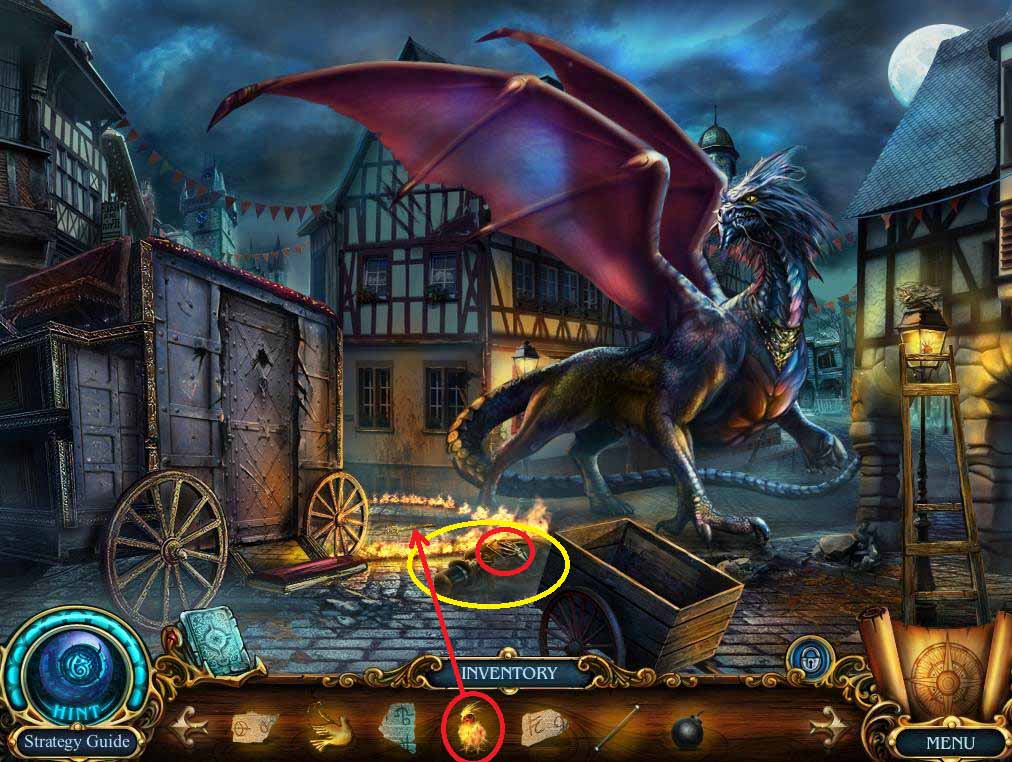
- Talk to the dragon.
- Click on the lantern to get the fourth PIECE OF PAPER.
- Examine the cart to find the fifth PIECE OF PAPER and the NAILS.
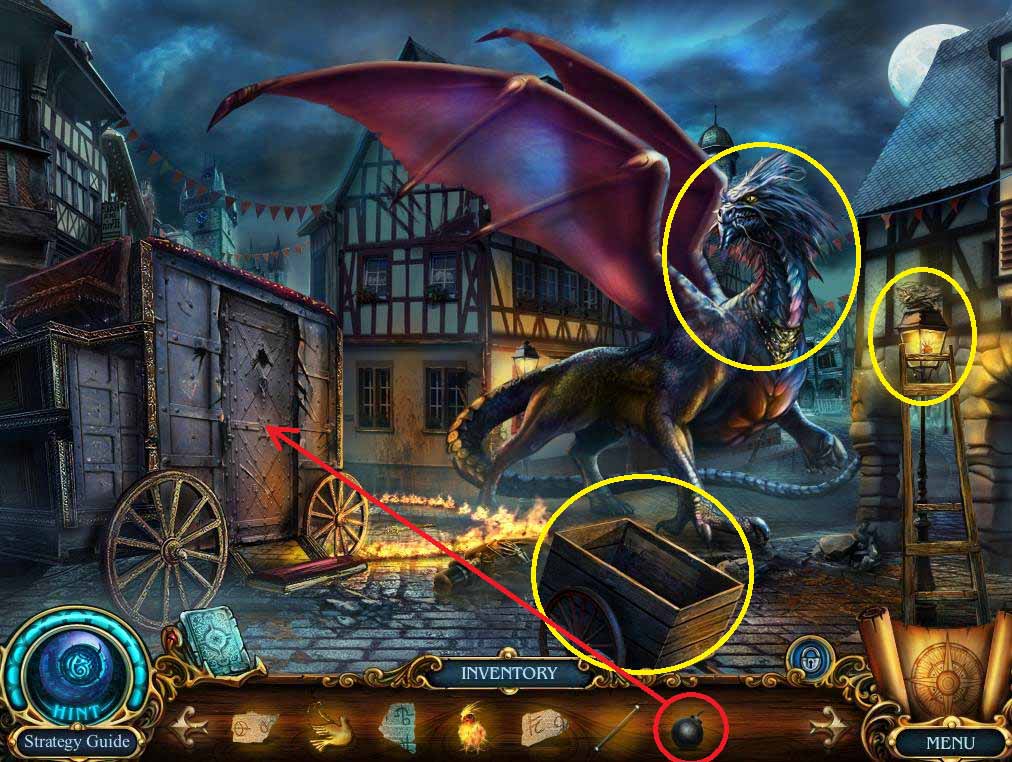
- Use the BOMB on the carriage door.
- Return to the narrow street by going back twice.
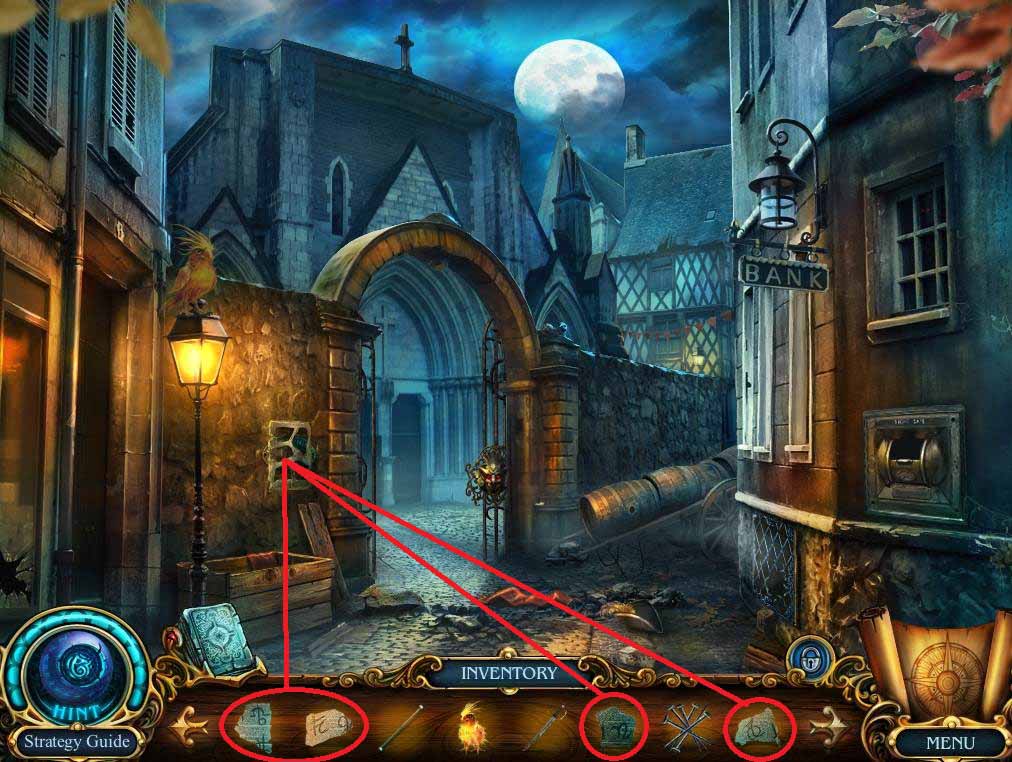
- Use the five PIECES OF PAPER on the poster (one of mine is off screen in the inventory, but you should have all five by now).
- Take the POSTER WITH A CODE.
- Go forward twice to get back to the city square.
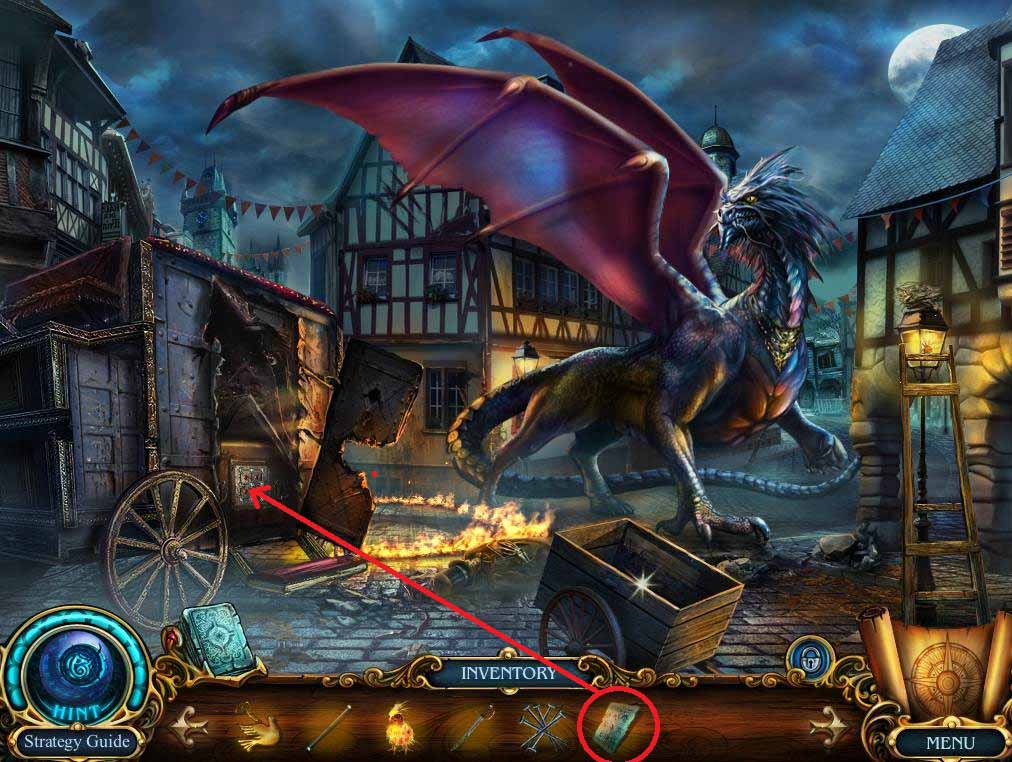
- Use the POSTER WITH A CODE on the carriage to trigger a puzzle.
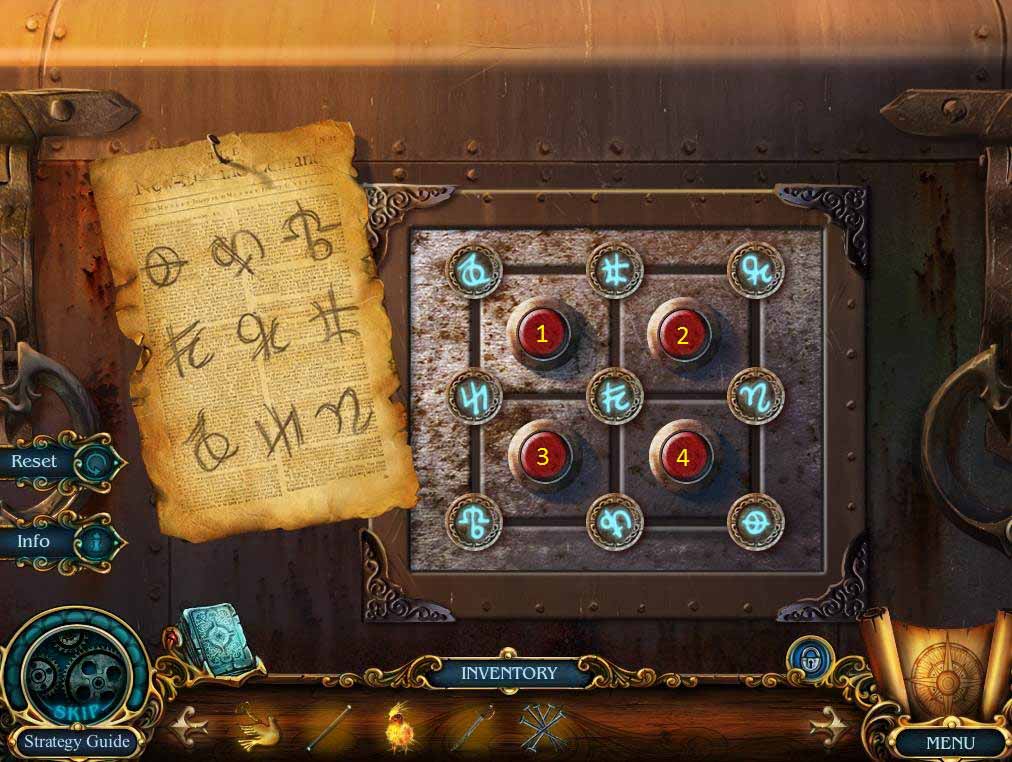
- Solve the puzzle using the following code and the above screenshot: 4, 3, 3, 2, 1, 3, 3, 2, 2, 2, 3, 3, 2, and 2.
- Take the TREASURE.
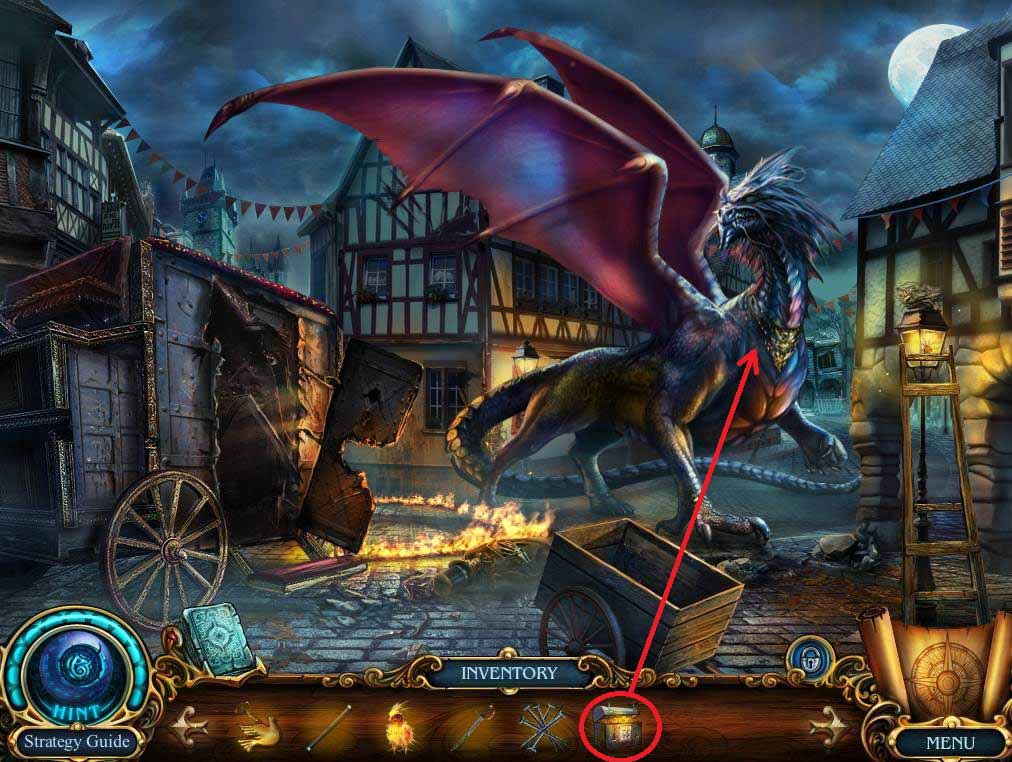
- Give the TREASURE to the DRAGON.
- Go up the path to find the Monster House.