
Riddles of Fate: Into Oblivion: Chapter Nine: Pride
Our Riddles of Fate: Into Oblivion Walkthrough will protect you from the seven deadly sins as you attempt to save the cursed city of Riddlestone from their destructive forces. Use our detailed instructions, our custom marked screenshots, and our simple puzzle solutions to help free the royal family from the dark hold the sins have on them and restore their hearts before it's too late!
General Information & Tips
Chapter One: Riddlestone
Chapter Two: Greed
Chapter Three: Princess Anna
Chapter Four: The King
Chapter Five: Hall of Statues
Chapter Six: Sloth & Gluttony
Chapter Seven: Prince Colin
Chapter Eight: Envy & Lust
Chapter Nine: Pride
Chapter Ten: Wrath
Ask for help in the comments below!
Chapter One: Riddlestone
Chapter Two: Greed
Chapter Three: Princess Anna
Chapter Four: The King
Chapter Five: Hall of Statues
Chapter Six: Sloth & Gluttony
Chapter Seven: Prince Colin
Chapter Eight: Envy & Lust
Chapter Nine: Pride
Chapter Ten: Wrath
Ask for help in the comments below!
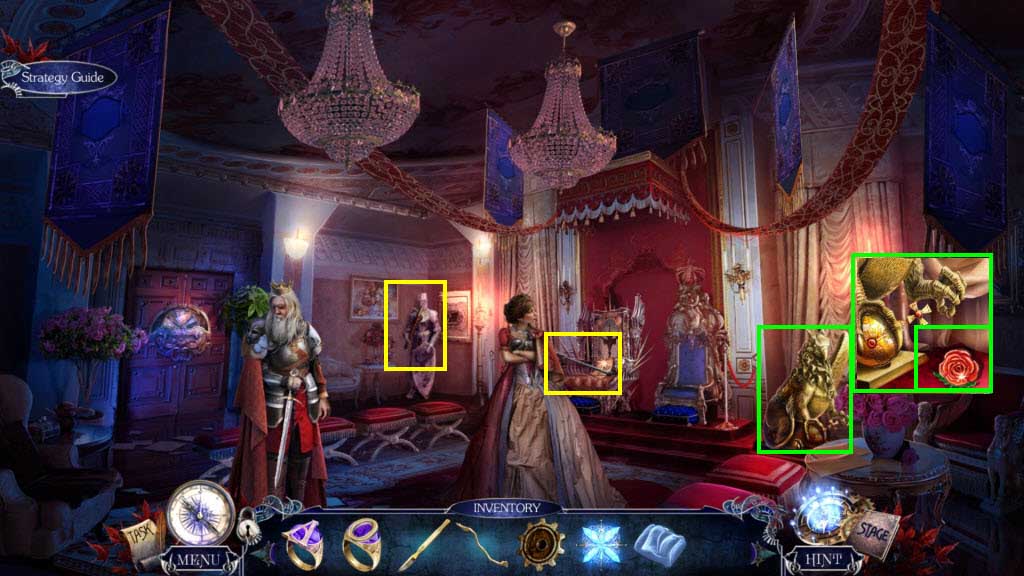
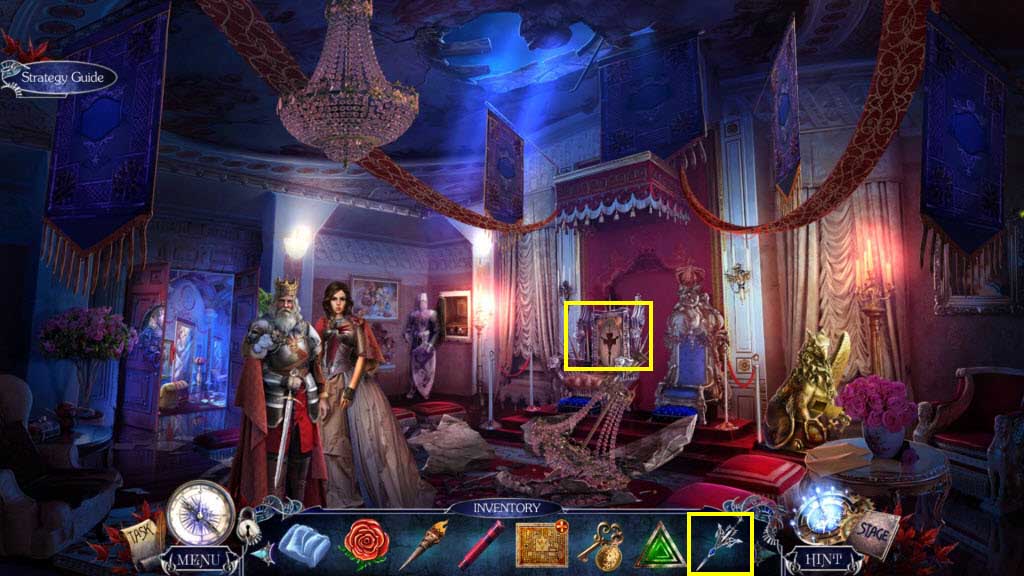
- Zoom in on the griffin.
- Take the Necklace.
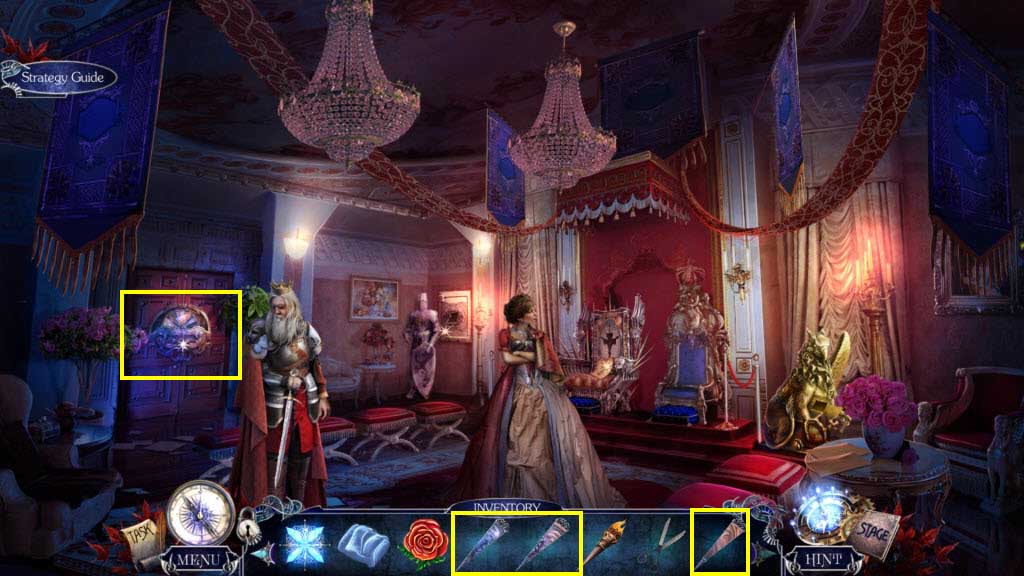
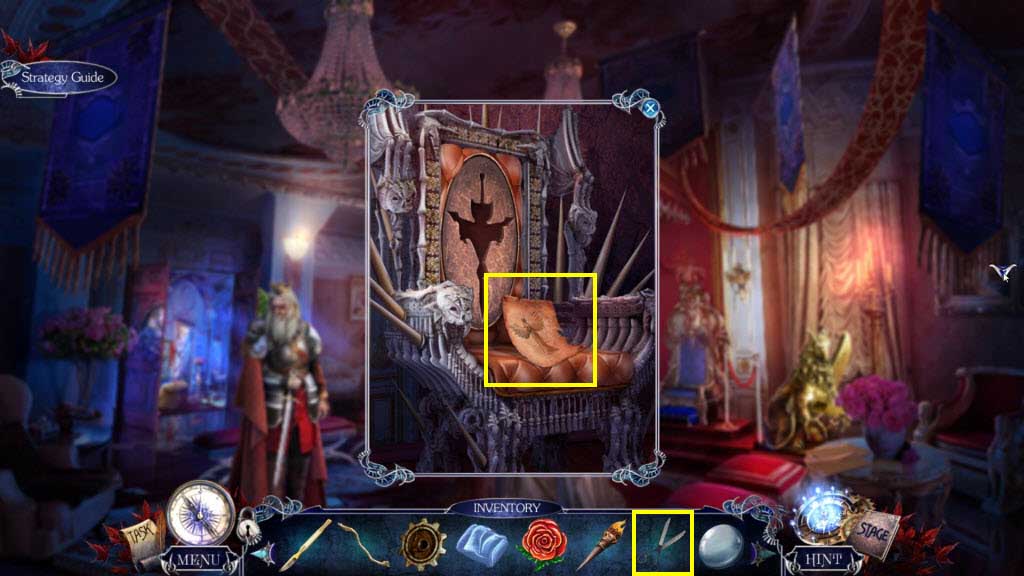
- Zoom in on the throne.
- Take the Scepter.
- Zoom in on the knight.
- Take the Poleaxe.
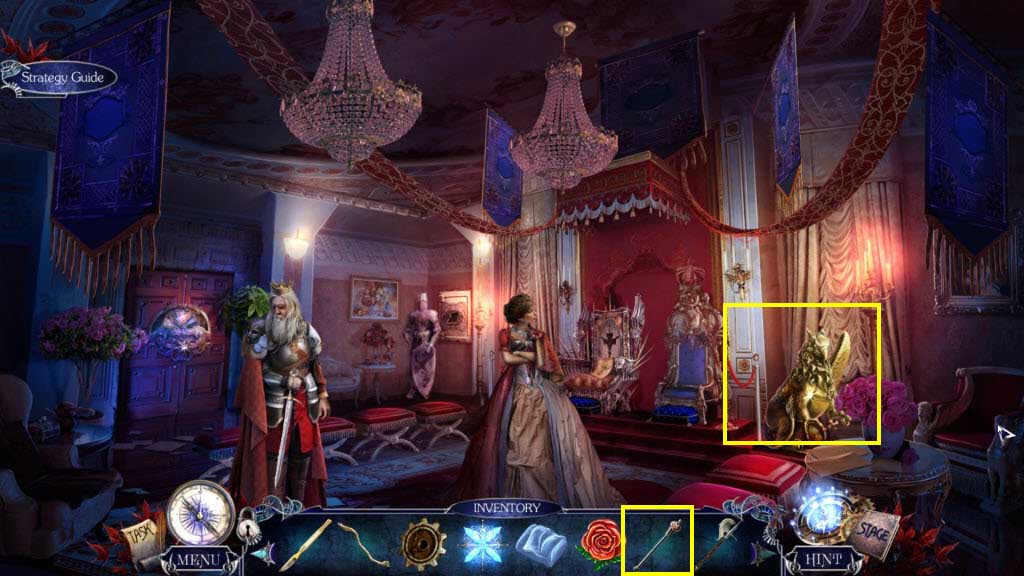
- Zoom in on the griffin.
- Use the Scepter on the griffin.
- Take the Collection Medal.
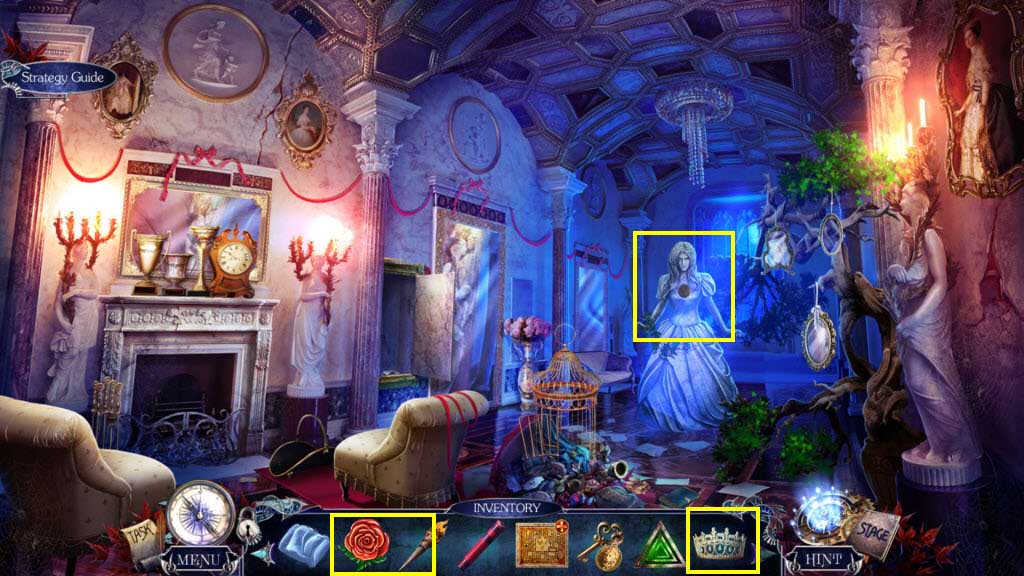
- Go to the Prince's Room.
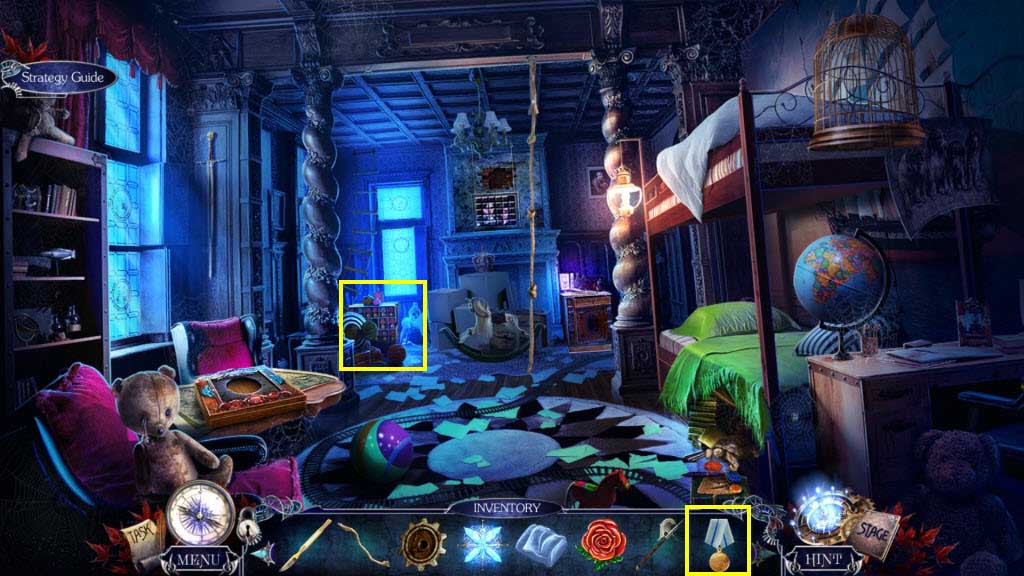
- Zoom in on the medals in the back.
- Use the Collection Medal on the medals.
- Take the Pride Door Part and the Crown.
- Go to the King's Bedroom.
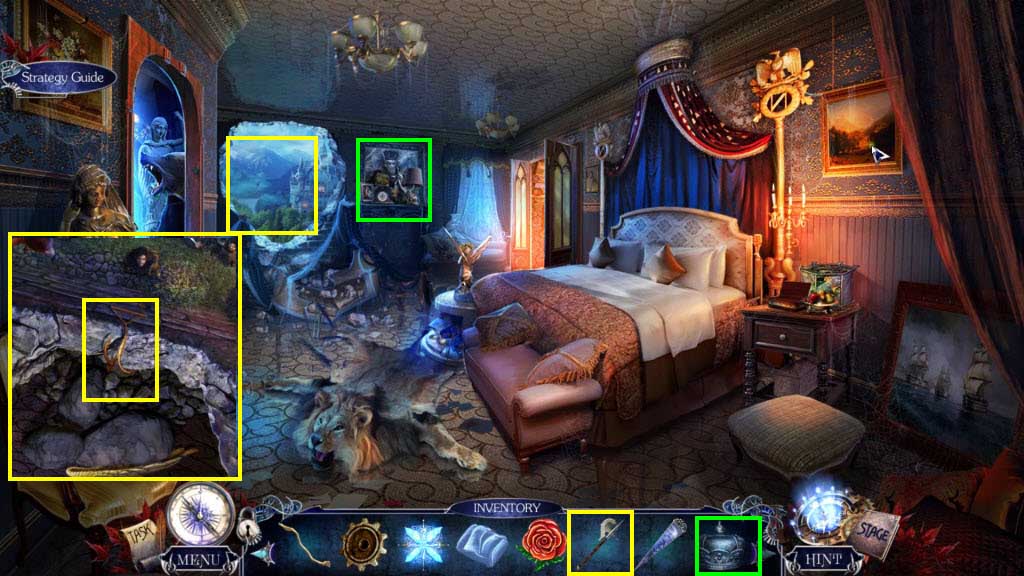
- Zoom in on the opening.
- Use the Poleaxe on the rope.
- Take the Torch.
- Zoom in on the wall.
- Use the Crown on the engraving.
- Take the Pride Door Part.
- Go forward one screen.

- Zoom in under the bed.
- Use the Torch on the candles.
- Take the Scissors and the Wheel.
- Go forward one screen.
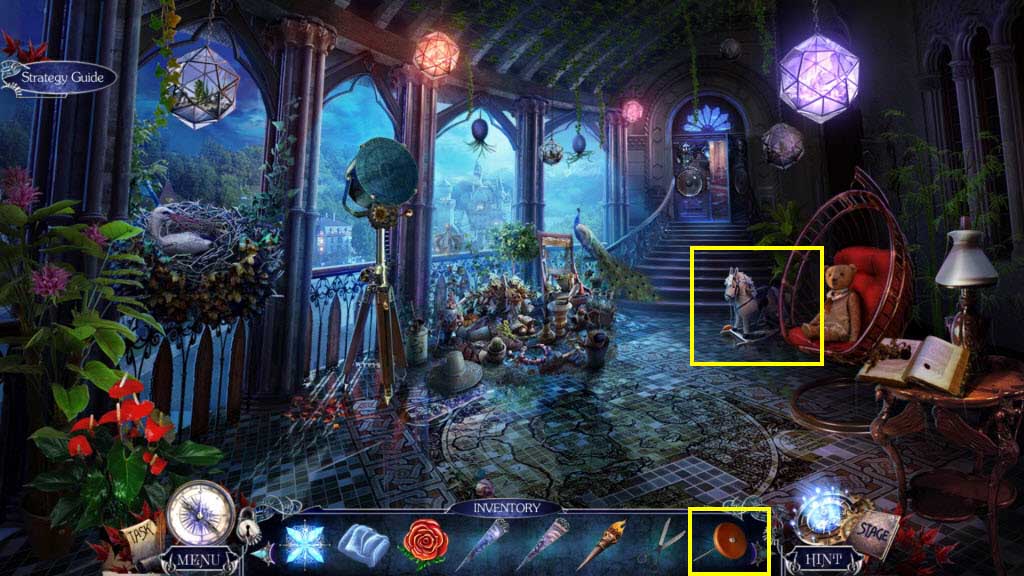
- Zoom in on the horse.
- Use the Wheel on the Horse.
- Take the Pride Door Part.
- Go forward one screen.
- Zoom in on the door.
- Use the three Pride Door Parts on the door.
- Play the mini-game.
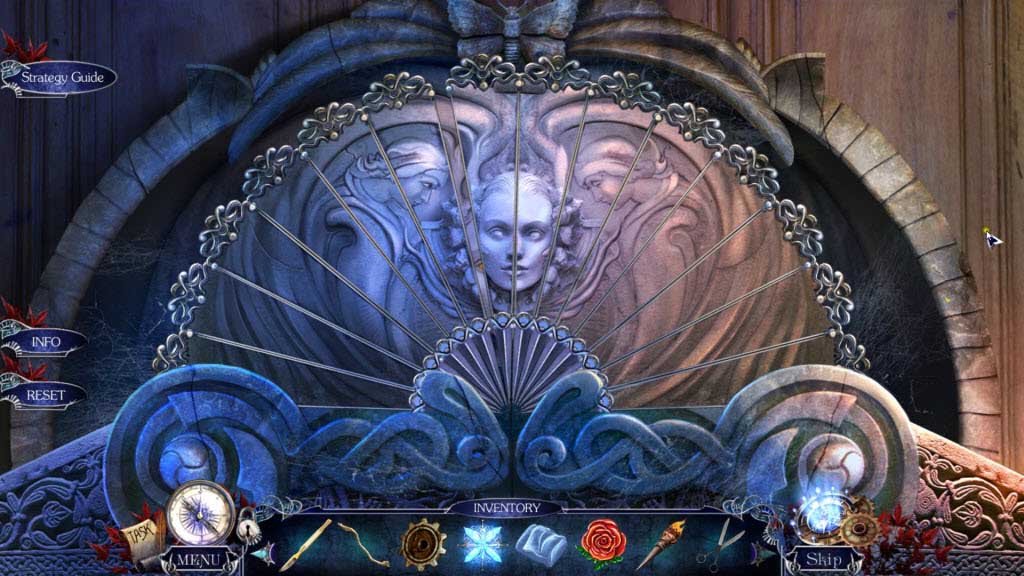
- Swap the tiles to form the image on the door.
- Move forward.
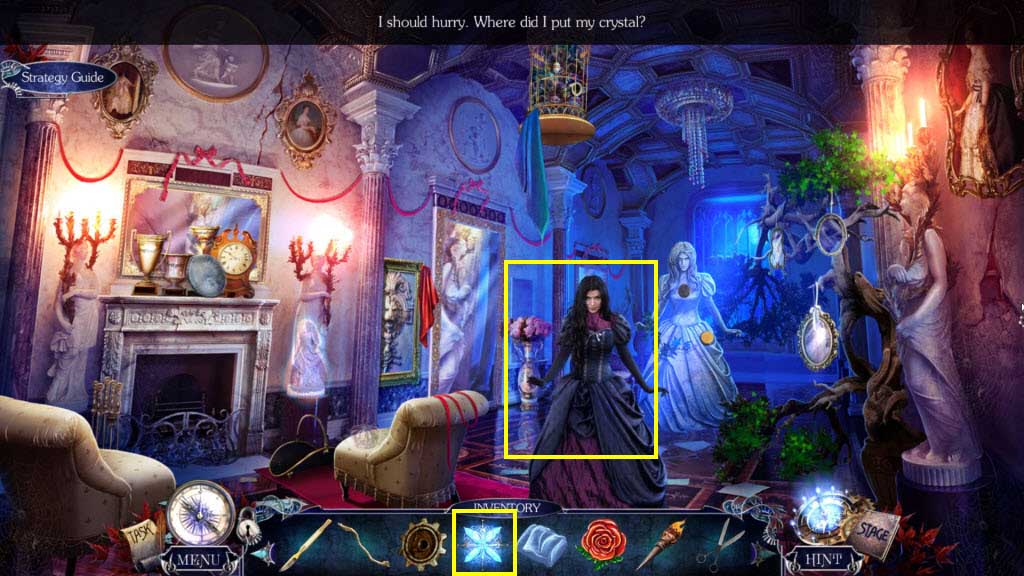
- Use the Banishing Crystal on Pride.
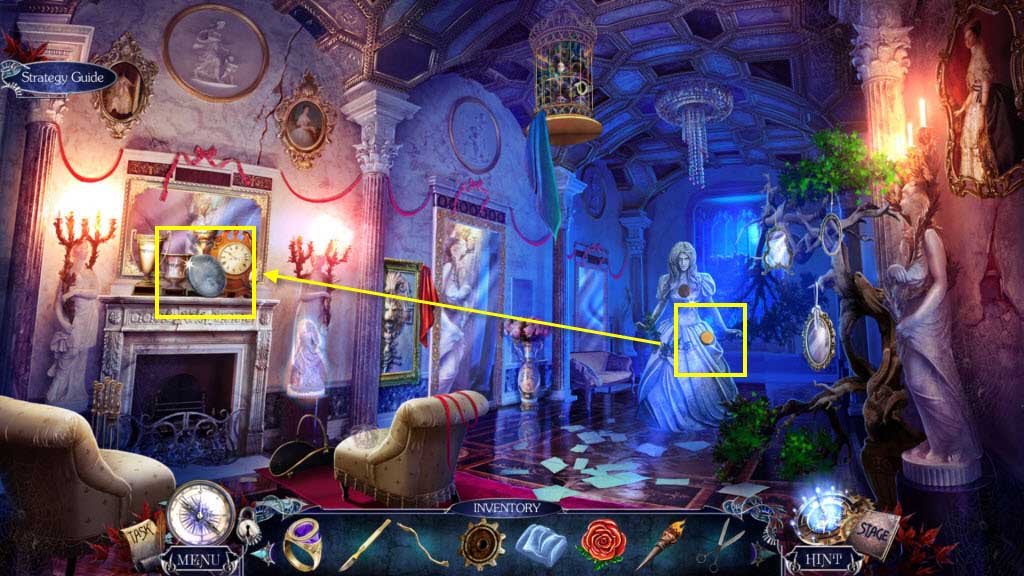
- Zoom in on the statue.
- Take the Polish.
- Zoom in on the mantel.
- Use the Polish on the Lens.
- Take the Projector Lens.
- Go back one screen.
- Zoom in on the throne room.
- Use the Scissors on the paper.
- Take the Angel Cutout.
- Go back one screen.
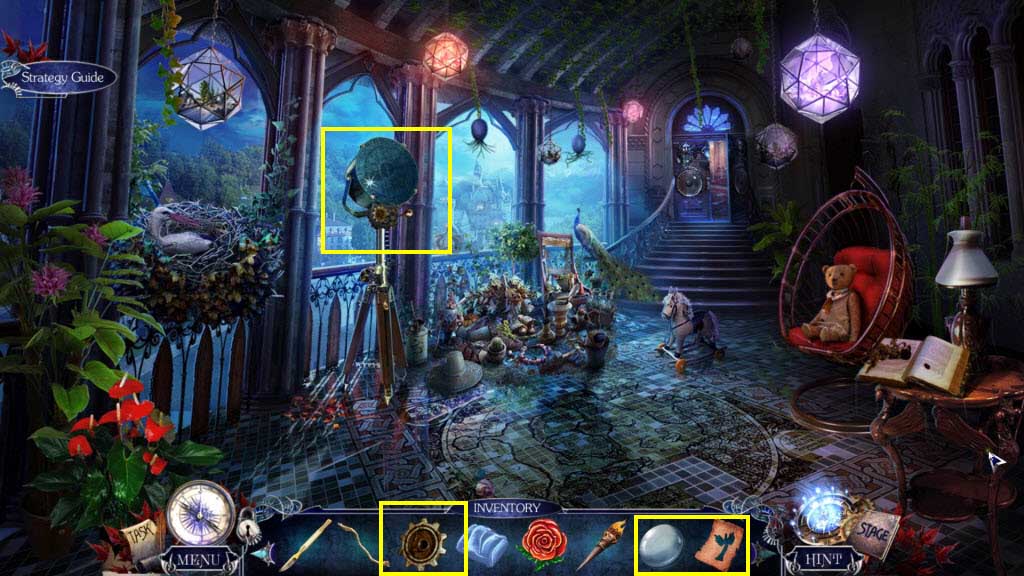
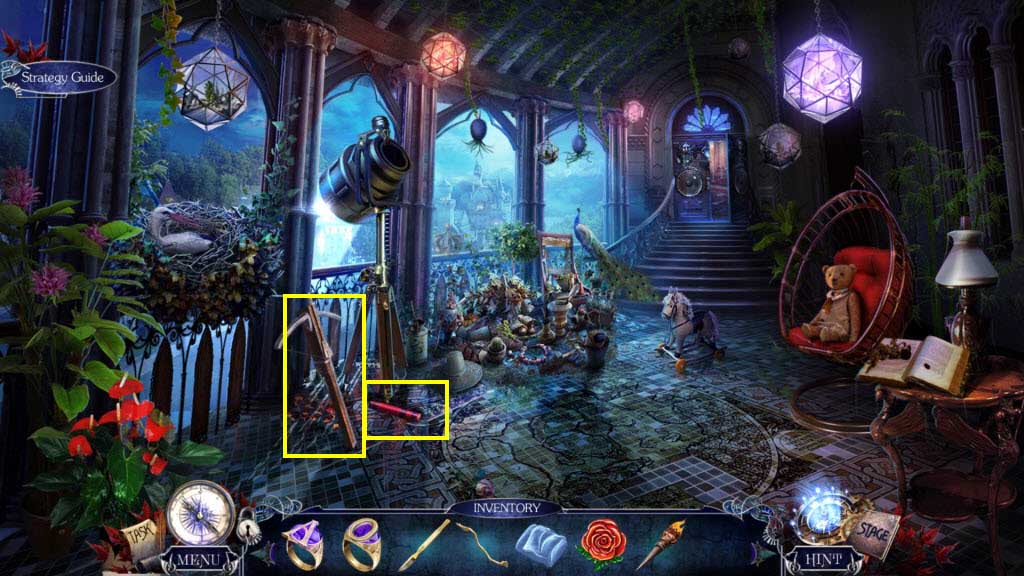
- Zoom in on the projector.
- Use the Gear on the Projector.
- Click to open the projector.
- Click to remove the broken glass.
- Use the Lens on the projector.
- Use the Angel Cutout on the projector.
- Click on the projector.
- Take the Crossbow.
- Take the Dynamite.
- Go to the Room of Distorting Mirrors.

- Use the Crossbow on the cage.
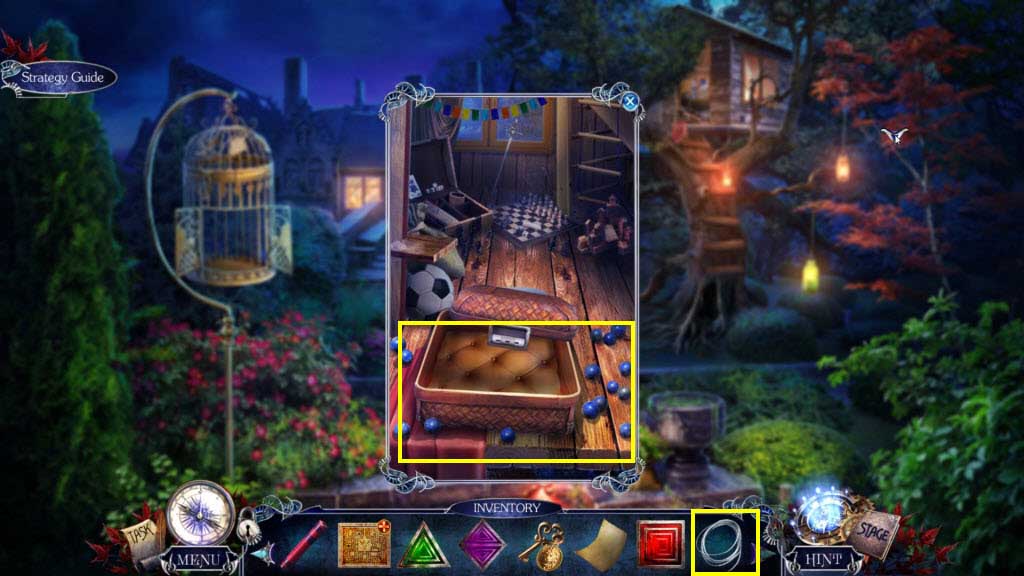
- Click on the sparkles to play the HOG.
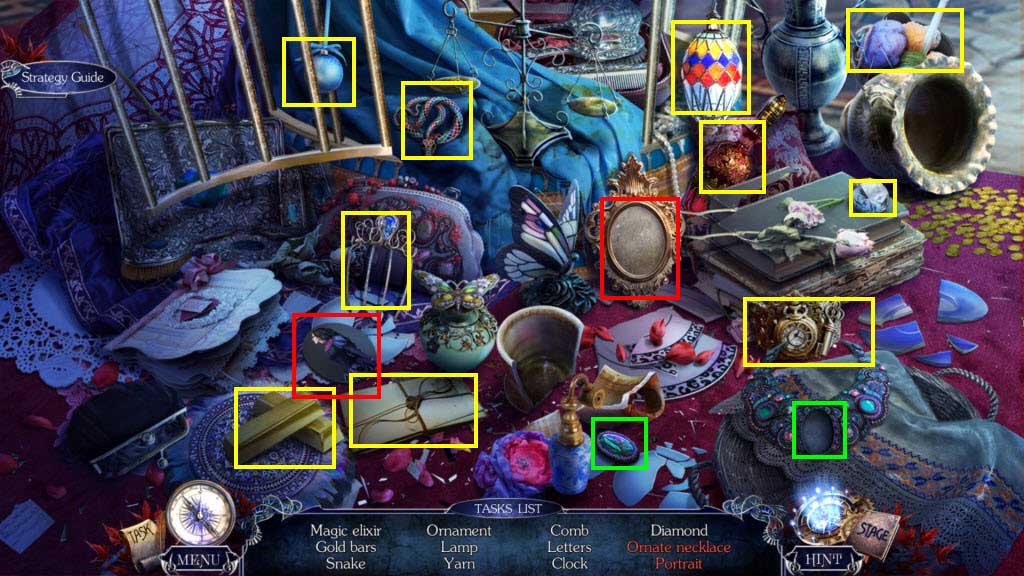
- Find all the items on the list.
- You will receive the Pride Cure.
- Go back one screen.
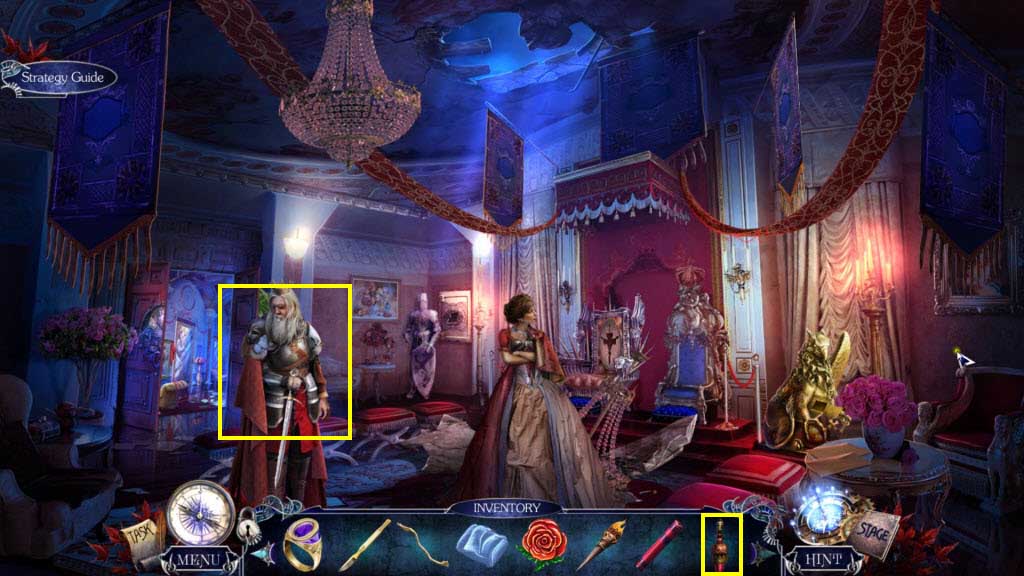
- Use the Pride Cure on the king.
- You will receive the Archival Seal.
- Zoom in on the safe.
- Use the Archival Seal on the slot.
- Take the Special Key and the Maze Schematic.
- Go forward one screen.
- Zoom in on the lion's head.
- Use the Special Key on the lock.
- Take the Code Symbol and the Royal engraving.
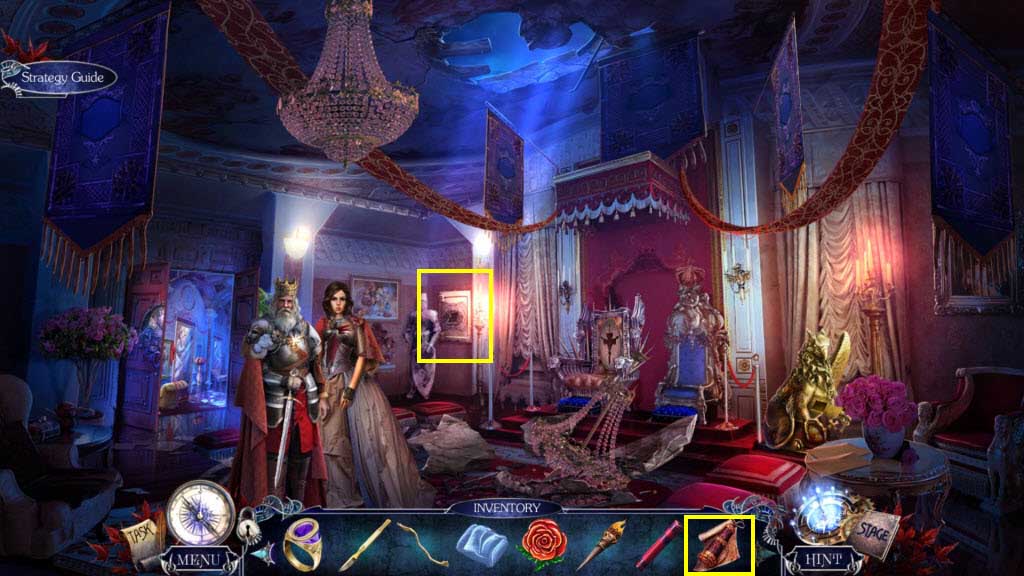
- Go back one screen.
- Zoom in on the throne.
- Use the Royal Engraving on the slot.
- Take the Diadem.
- Go forward one screen.
- Zoom in on the statue.
- Use the Diadem on the statue.
- Use the Necklace on the statue.
- Take the Code Symbol and the Pickaxe.
- Go to the King's bedroom.
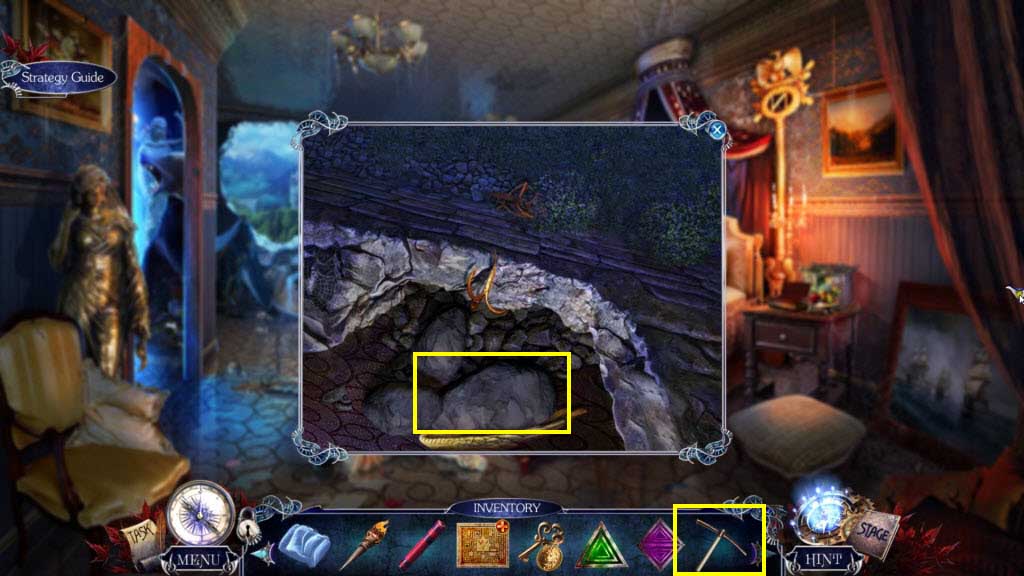
- Zoom in on the opening.
- Use the Pickaxe on the rocks.
- Take the Griffin Wing.
- Go back to the throne room.

- Zoom in on the griffin.
- Use the Griffin Wing on the griffin.
- Take the Lion's Fang.
- Go to the Hall of Statues.
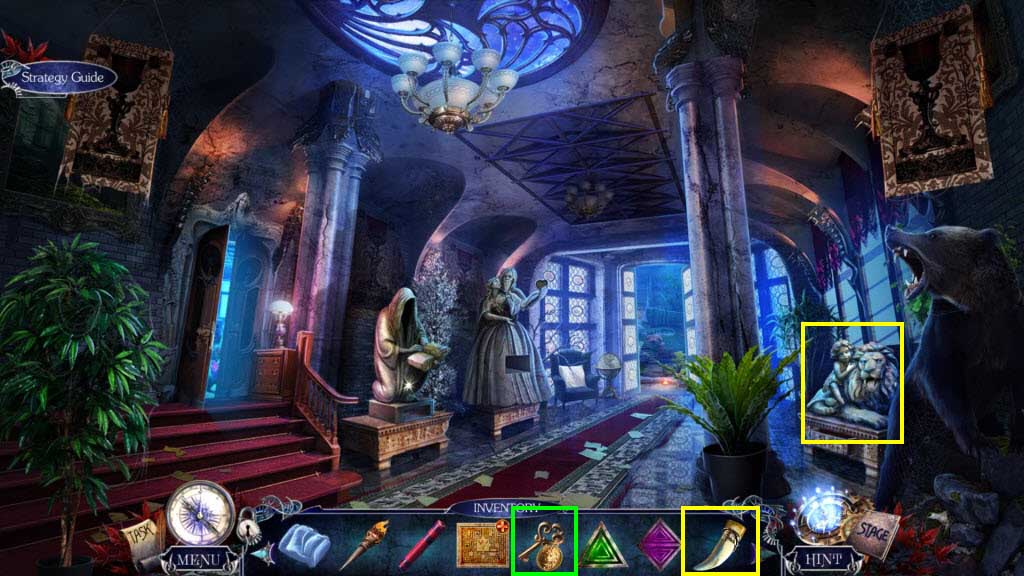
- Zoom in on the lion.
- Use the Lion's Fang on the lion.
- Use the Special Key on the box.
- Take the Parchment, Code Symbol, and the Sea Line.
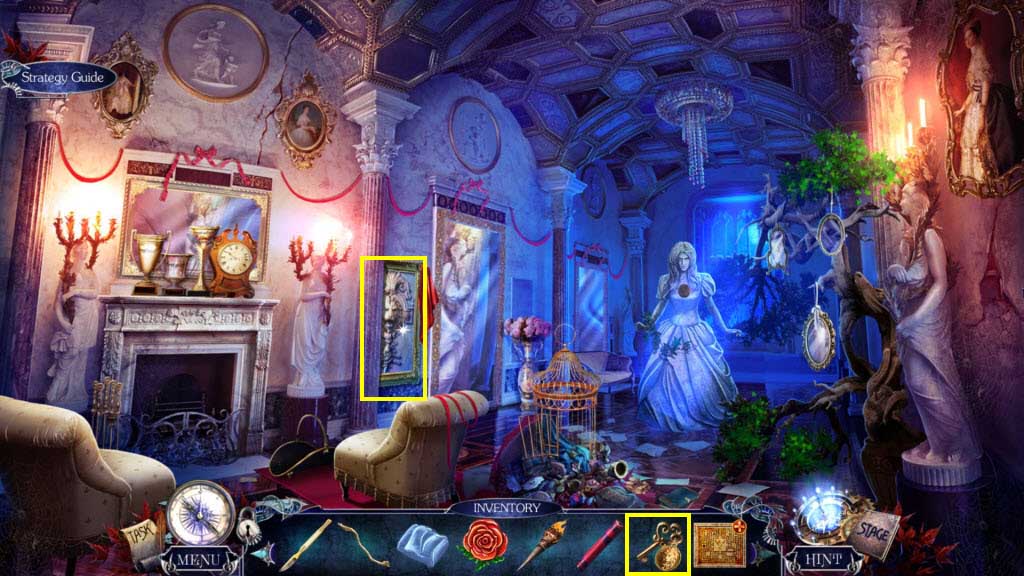
- Go forward one screen.
- Zoom in on the Tree House.
- Use the Sea Line on the beads.
- Take the Beads.
- Go back one screen.
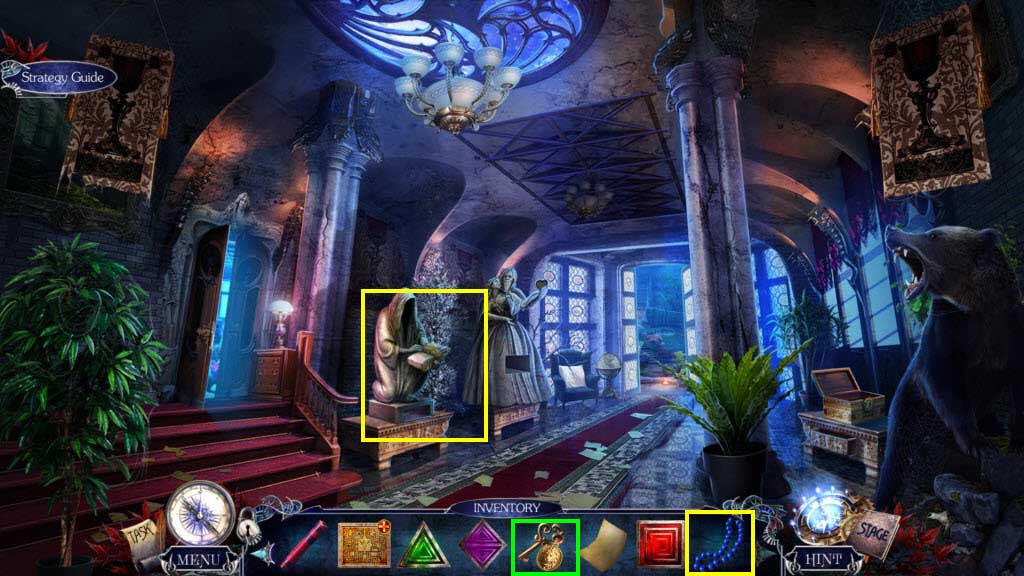
- Zoom in on the statue of the Monk.
- Use the Beads on the statue.
- Take the Pencil.
- Use the Special Key on the box.
- Take the Code Symbol.
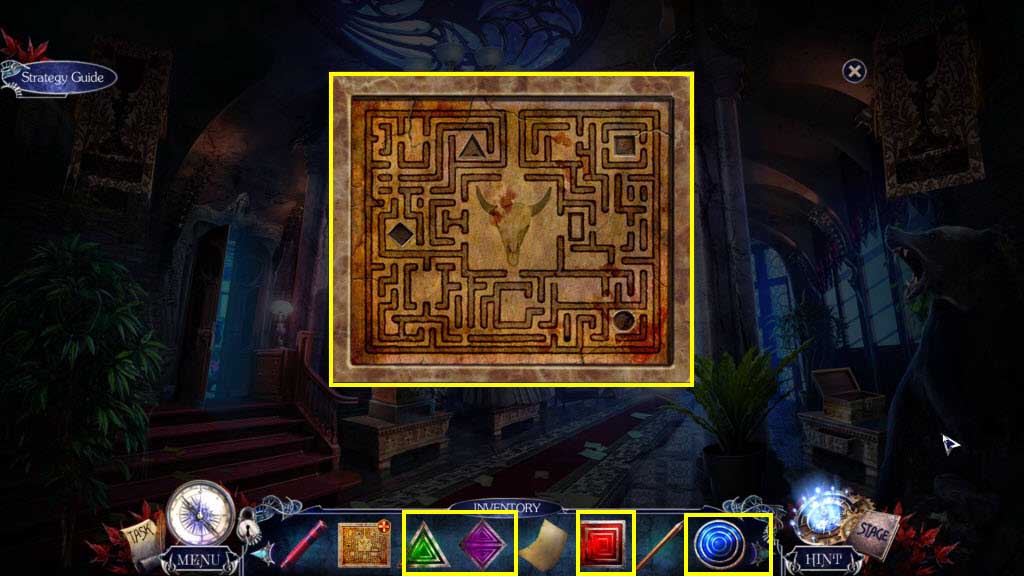
- Zoom in on the Maze Schematic in your inventory.
- Use the 4 Code Symbols on the Schematic.
- Take the Maze Map.
- Go to the Catacombs.
General Information & Tips
Chapter One: Riddlestone
Chapter Two: Greed
Chapter Three: Princess Anna
Chapter Four: The King
Chapter Five: Hall of Statues
Chapter Six: Sloth & Gluttony
Chapter Seven: Prince Colin
Chapter Eight: Envy & Lust
Chapter Nine: Pride
Chapter Ten: Wrath
Ask for help in the comments below!
Chapter One: Riddlestone
Chapter Two: Greed
Chapter Three: Princess Anna
Chapter Four: The King
Chapter Five: Hall of Statues
Chapter Six: Sloth & Gluttony
Chapter Seven: Prince Colin
Chapter Eight: Envy & Lust
Chapter Nine: Pride
Chapter Ten: Wrath
Ask for help in the comments below!