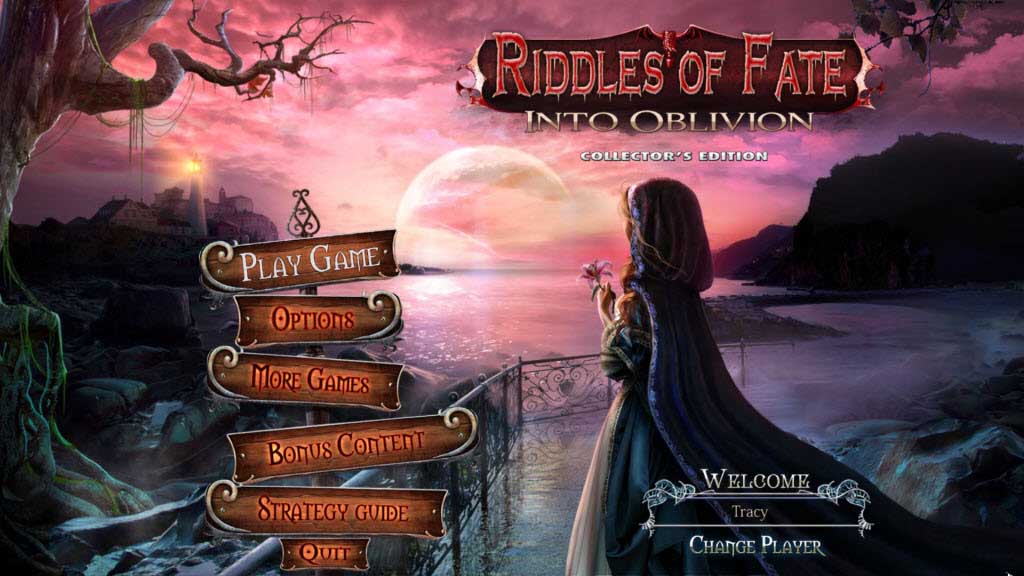
Riddles of Fate: Into Oblivion
Our Riddles of Fate: Into Oblivion Walkthrough will protect you from the seven deadly sins as you attempt to save the cursed city of Riddlestone from their destructive forces. Use our detailed instructions, our custom marked screenshots, and our simple puzzle solutions to help free the royal family from the dark hold the sins have on them and restore their hearts before it's too late!
Chapter One: Riddlestone
Chapter Two: Greed
Chapter Three: Princess Anna
Chapter Four: The King
Chapter Five: Hall of Statues
Chapter Six: Sloth & Gluttony
Chapter Seven: Prince Colin
Chapter Eight: Envy & Lust
Chapter Nine: Pride
Chapter Ten: Wrath
Ask for help in the comments below!
Welcome to our Riddles of Fate: Into Oblivion Walkthrough where you'll find everything you'll need to know to battle the seven deadly sins and save the kingdom of Riddlestone from their destructive powers. Rely on our detailed step-by-step instructions, our custom marked screenshots, and our simple puzzle solutions to save the royal family and banish the sins for good.
We hope you enjoy our Riddles of Fate: Into Oblivion Walkthrough.

Opening Story:
In Riddles of Fate: Into Oblivion, you answer the desperate plea of Queen Olivia, where the Kingdom of Riddlestone has been beset by the seven deadly sins. Now you must help her free her family members from the grasp of Pride, Gluttony, Sloth, Lust, Envy, Greed, and Wrath. Battle these insidious forces and free the city of Riddlestone before it's too late in this amazing hidden object adventure game!
General Tips for Riddles of Fate: Into Oblivion
Difficulty Settings - There are three difficulty settings for you to choose from: Casual, Advanced, and Hardcore.
Magnifying Glass Icon - When your cursor turns into a magnifying glass, this indicates that you are able to zoom in on an area and get a closer look.
Hand Cursor - When your cursor turns into a hand, this indicates that you can take the item and add it tor your inventory or interact with the object
Inventory - Your inventory can be found at the bottom of the screen. Click the padlock to lock the inventory in place. Click on an item to use it. Items in your inventory with a plus sign can be investigated more closely.
Hints - Hints can be found in the lower right hand corner. Click on this button if you're stuck and need some assistance. Remember this will take time to charge depending on what difficulty setting you are playing on.
Navigation Arrow - When your cursor turns into an arrow you can move to the next screen.
Tasks - Your task list is located in the bottom left hand corner of your screen and stores the list of current tasks.
Sparkle Areas - Areas that sparkle indicate a hidden object scene. Click on the area to start it. Find all the items on the list in order to add an important item to your inventory. Items in red require an extra step to find it.
Mini-Games - During mini-games, if you are having trouble or maybe you just don't feel like solving it, you can click on the skip button.
Map - Your map is located in the bottom left part of your screen. Click on an area to fast travel to that location.
Gears - Gears indicate an area where you can use an item from your inventory.
And that's the basics for playing Riddles of Fate: Into Oblivion! Good luck! And we hope you enjoy our Riddles of Fate: Into Oblivion Walkthrough! Good luck!
Chapter One: Riddlestone
Chapter Two: Greed
Chapter Three: Princess Anna
Chapter Four: The King
Chapter Five: Hall of Statues
Chapter Six: Sloth & Gluttony
Chapter Seven: Prince Colin
Chapter Eight: Envy & Lust
Chapter Nine: Pride
Chapter Ten: Wrath
Ask for help in the comments below!
