
Riddles of Fate: Into Oblivion: Chapter Two: Greed
Our Riddles of Fate: Into Oblivion Walkthrough will protect you from the seven deadly sins as you attempt to save the cursed city of Riddlestone from their destructive forces. Use our detailed instructions, our custom marked screenshots, and our simple puzzle solutions to help free the royal family from the dark hold the sins have on them and restore their hearts before it's too late!
General Information & Tips
Chapter One: Riddlestone
Chapter Two: Greed
Chapter Three: Princess Anna
Chapter Four: The King
Chapter Five: Hall of Statues
Chapter Six: Sloth & Gluttony
Chapter Seven: Prince Colin
Chapter Eight: Envy & Lust
Chapter Nine: Pride
Chapter Ten: Wrath
Ask for help in the comments below!
Chapter One: Riddlestone
Chapter Two: Greed
Chapter Three: Princess Anna
Chapter Four: The King
Chapter Five: Hall of Statues
Chapter Six: Sloth & Gluttony
Chapter Seven: Prince Colin
Chapter Eight: Envy & Lust
Chapter Nine: Pride
Chapter Ten: Wrath
Ask for help in the comments below!
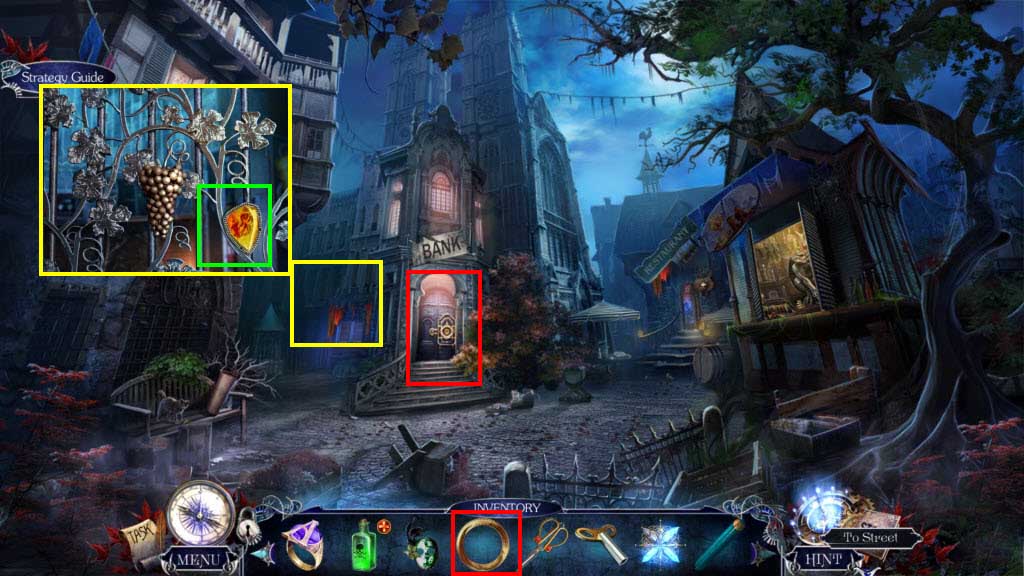
- Click to zoom in on the Bank Window.
- Use the Pencil on the shutters.
- Take the Bank Note.
- Click to zoom in on the Bank Door.
- Use the Bank Note and the two Lock Parts on the door.
- Play the mini-game.
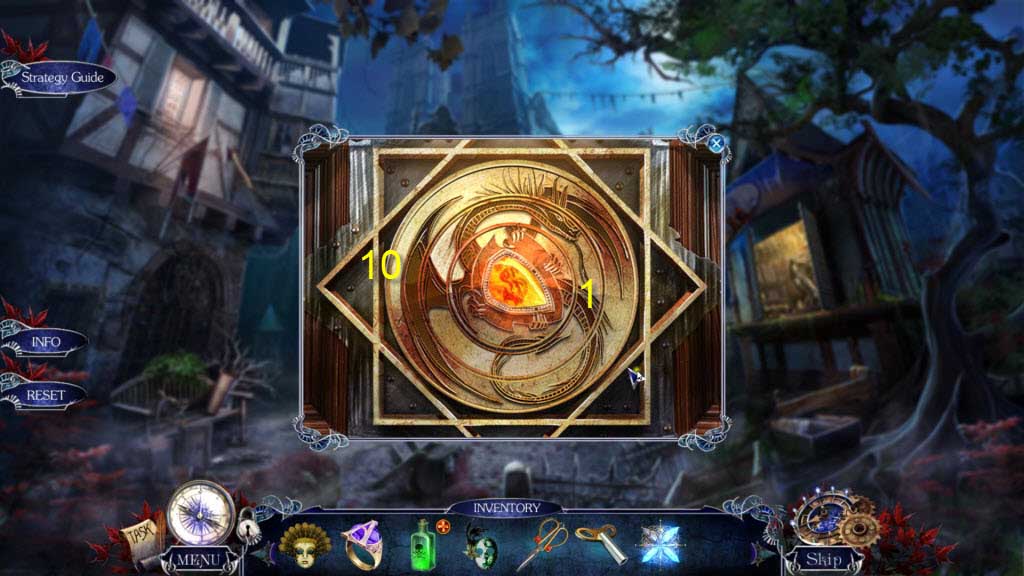
- You need to rotate the rings of the lock to form the picture.
- Click the outer ring 10 times and the next ring in 1 time.
- Enter the bank.
- Click on the princess.
- Click to zoom in on the counter.
- Take the Valve.
- Go back to the street.
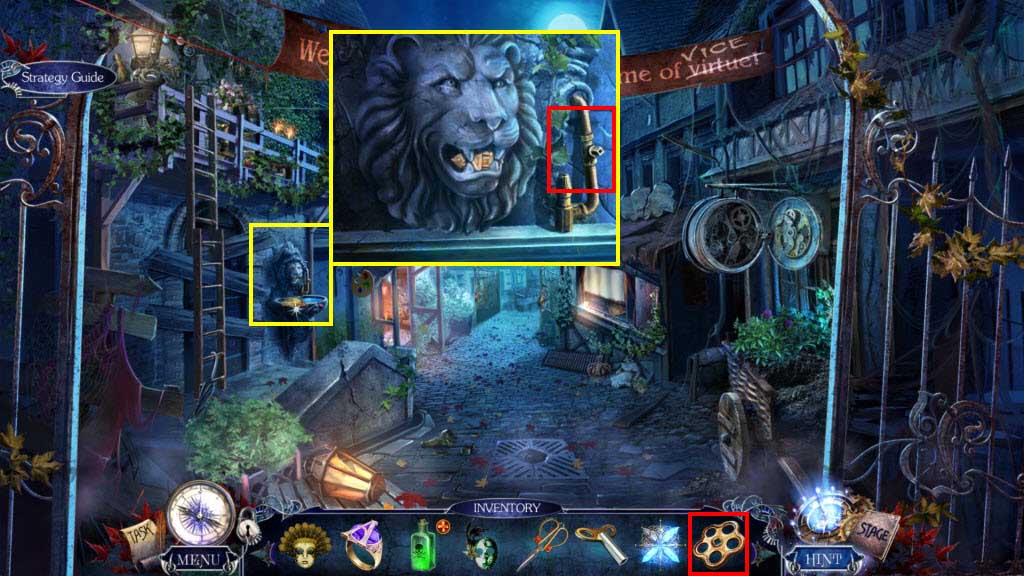
- Click to zoom in on the fountain.
- Use the Valve on the fountain.
- Take the Bank Token.
- Return to the bank.
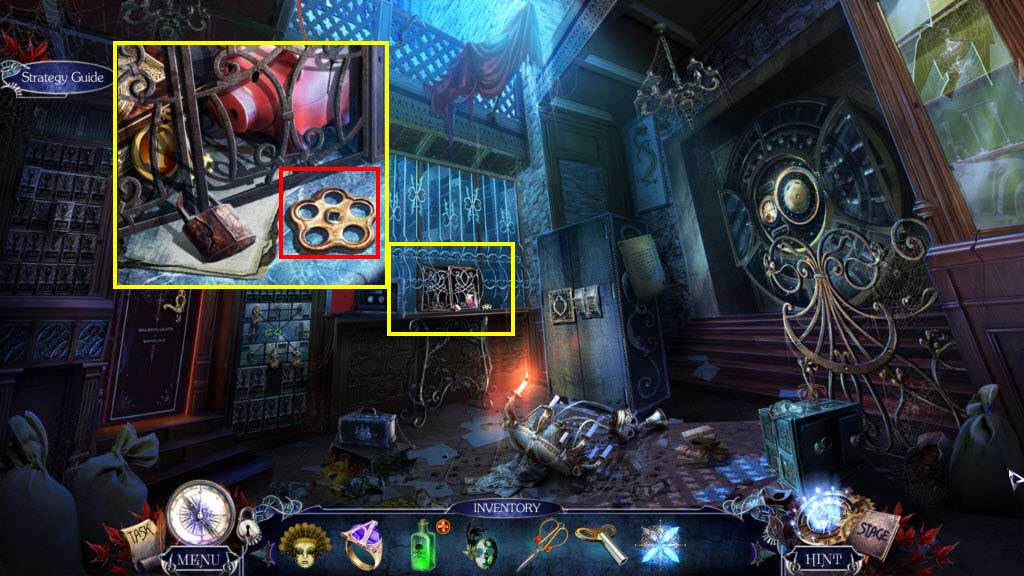
- Click to zoom in on the cabinet.
- Use the Bank Token on the slot.
- Click on the sparkles to play the HOG.

- Find all the items on the list.
- You will receive the Mechanical Egg.
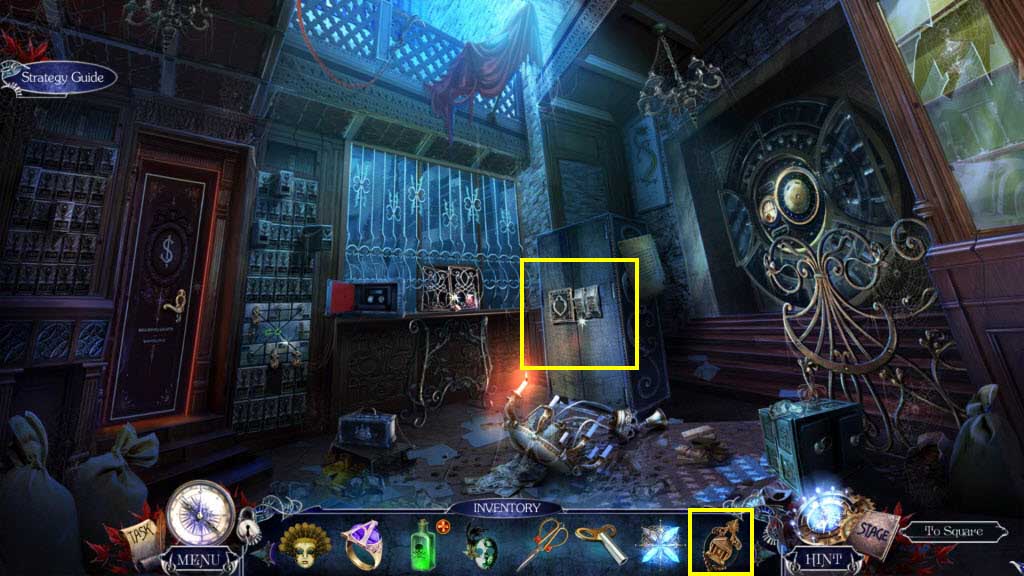
- Click to zoom in on the Mechanical Egg.
- Use the Wind-Up Key on the egg.
- Take the Profile Key.

- Click to zoom in on the office door.
- Use the Profile Key on the door.
- Enter the office.
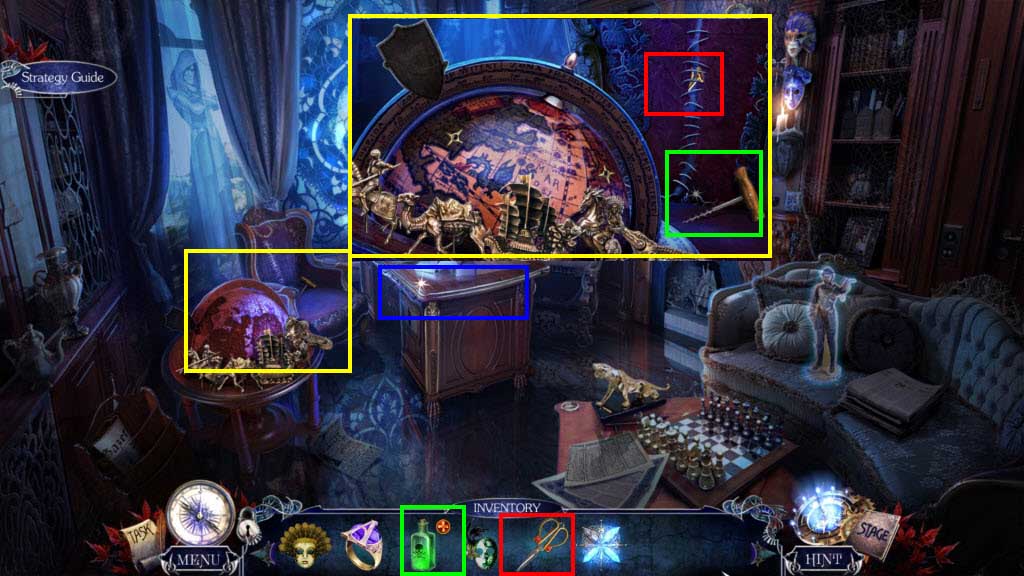
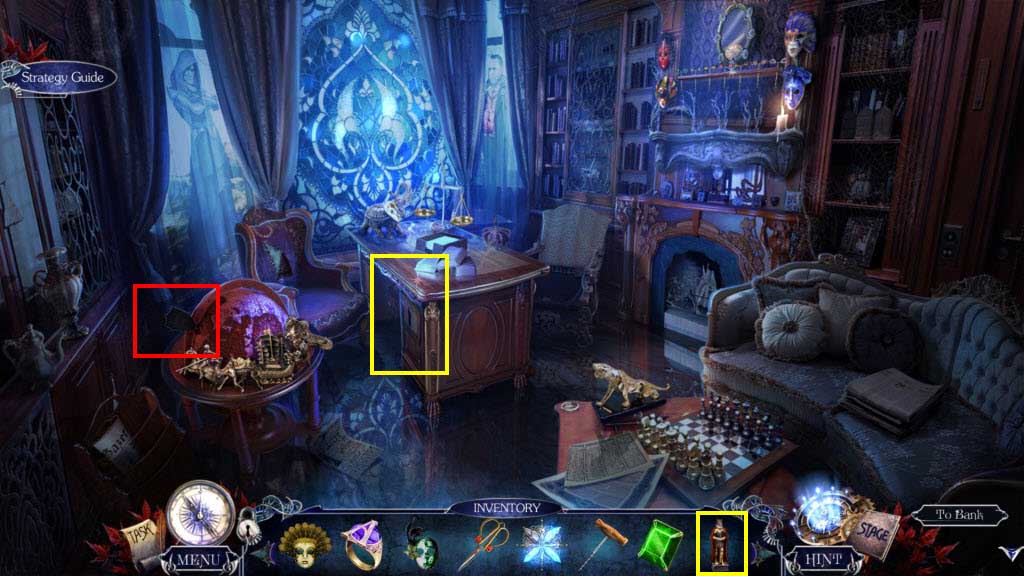
- Click to zoom in on the globe.
- Take the Corkscrew.
- Use the Scissors on the chair.
- Take the Numbered Key.
- Click to zoom in on the Bottle of Acid on your Inventory.
- Use the Corkscrew on the bottle of acid.
- Take the Acid.
- Click to zoom in on the desk.
- Take the Paperweight.
- Go back one screen.
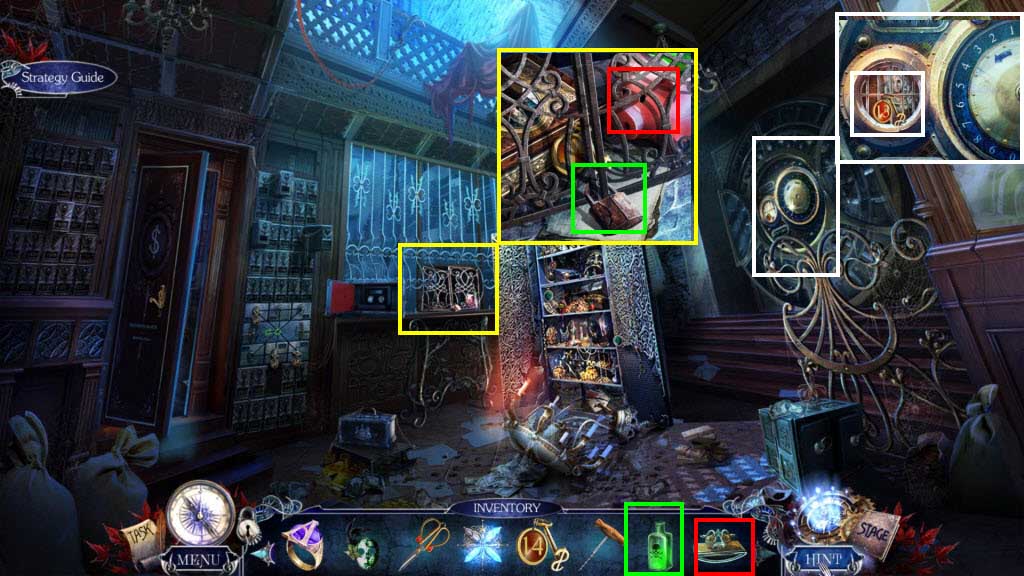
- Click to zoom in on the counter.
- Use the Acid on the lock.
- Open the grate.
- Use the Paperweight on the piggybank.
- Take the Emerald.
- Take the Numbered Key.
- Click to zoom in on the vault.
- Take the Numbered Key.
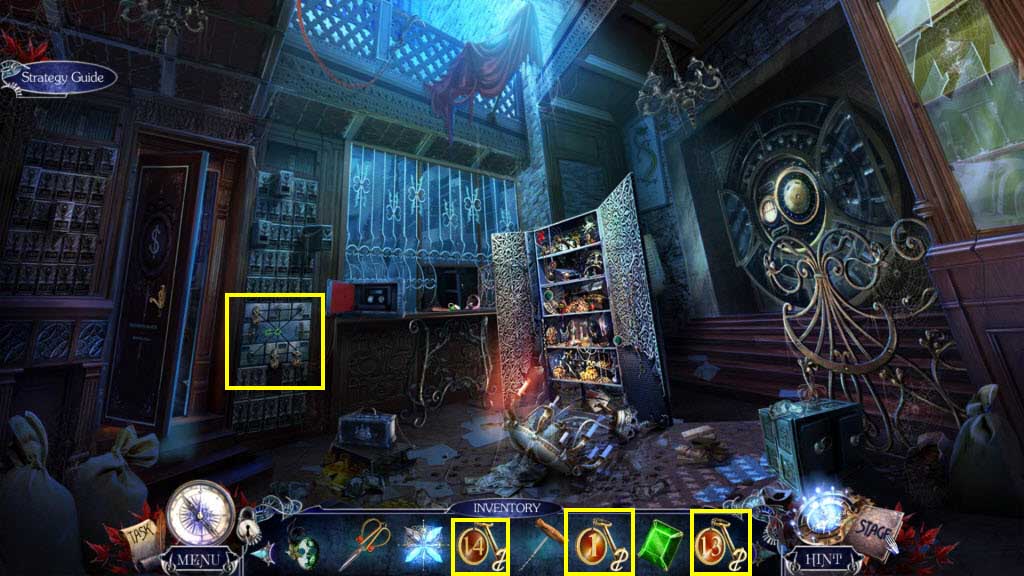
- Click to zoom in on the safety deposit boxes.
- Use the three Numbered Keys on the boxes.
- Play the mini-game.
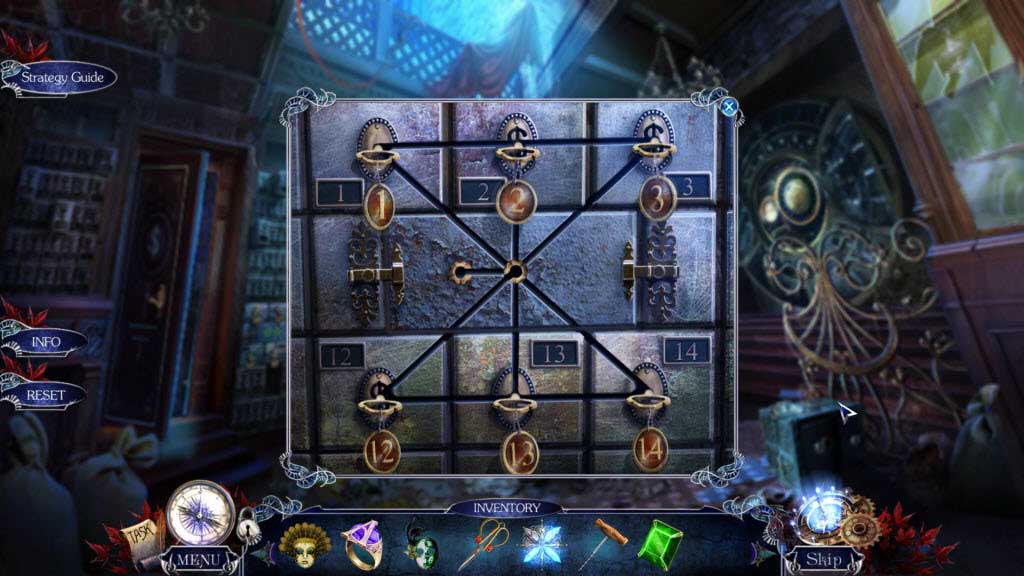
- You will need to move each key to the matching slot.
- Use the middle slot as a holder as you move the keys around.
- Take the King Figurine.
- Go into the office.
- Click on the desk to zoom in.
- Use the King Figurine in the empty slot.
- Take the Coat of Arms and the Puppet Part.
- Click to zoom in on the globe.
- Use the Coat of Arms on the empty slot.
- Play the mini-game.
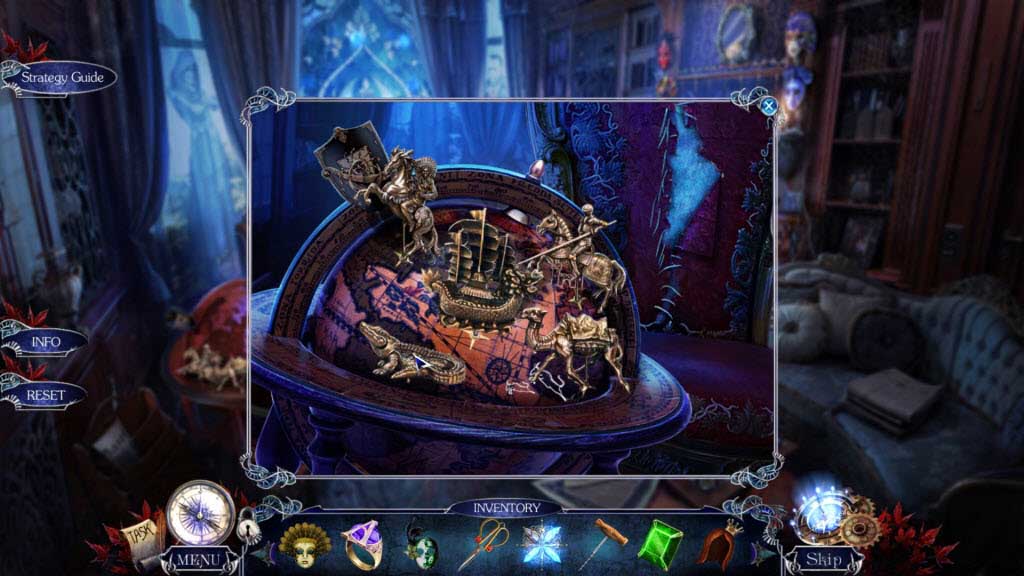
- You need to place the figurines on the correct country.
- Take the Scroll and the Mask.
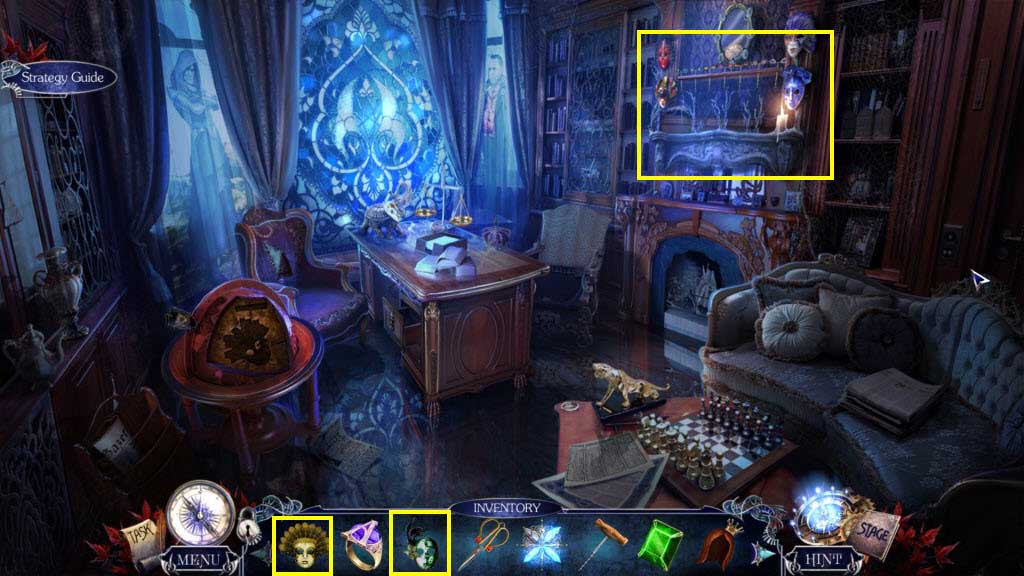
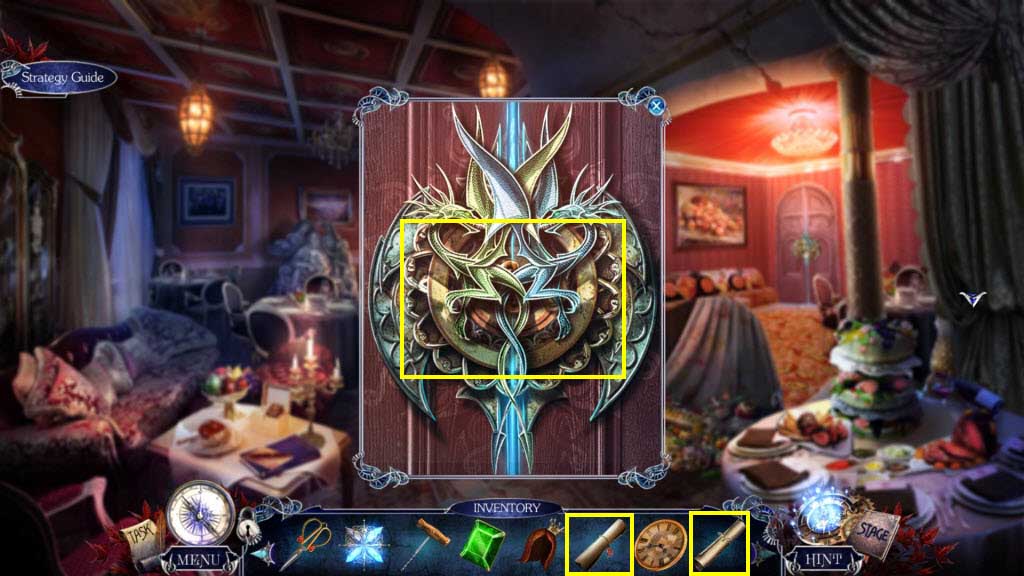
- Click to zoom in on the wall with the masks.
- Use the three Masks from your inventory on the wall.
- Play the mini-game.

- You need to place the eyes on the right mask.
- Take the Clock Face and the Scroll when you are done.
- Go to the Restaurant.
- Click on the door to zoom in.
- Use the two Scrolls on the door.
- Enter the Secret Passage.

- Click to zoom in on the gargoyles.
- Use the Drained Banishing Crystal on the empty slot.
- Take the Charged Banishing Crystal.
- Go to the bank.
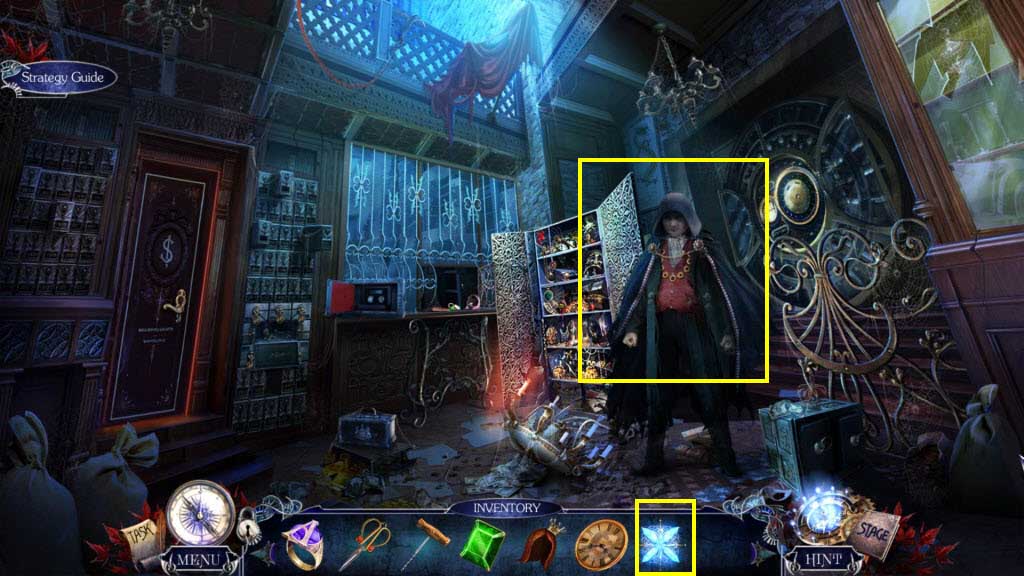
- Use the Charged Banishing Crystal on Greed.
- Take the Safe Handle.
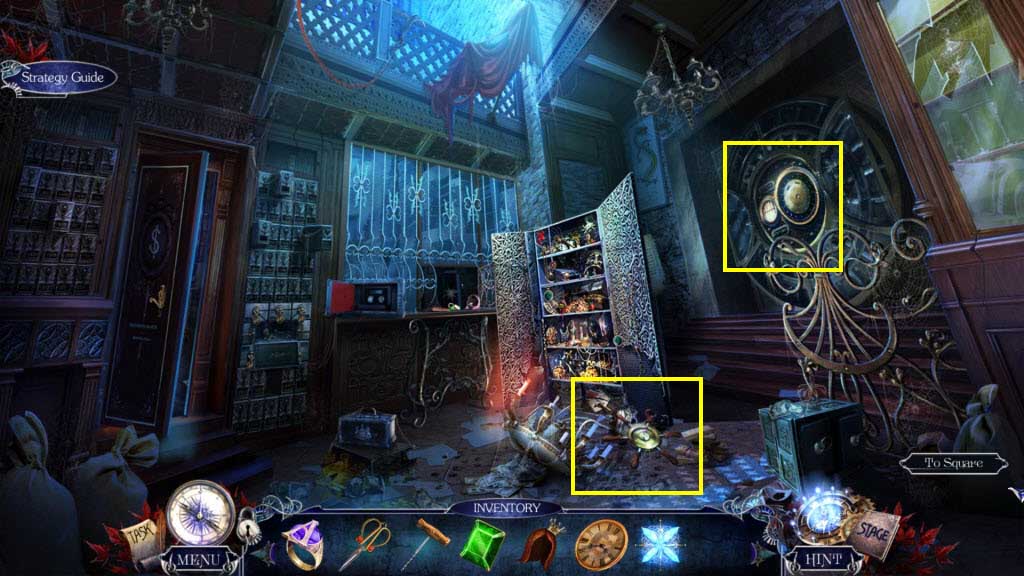
- Click to zoom in on the vault.
- Use the Safe Handle on the vault.
- Play the mini-game.
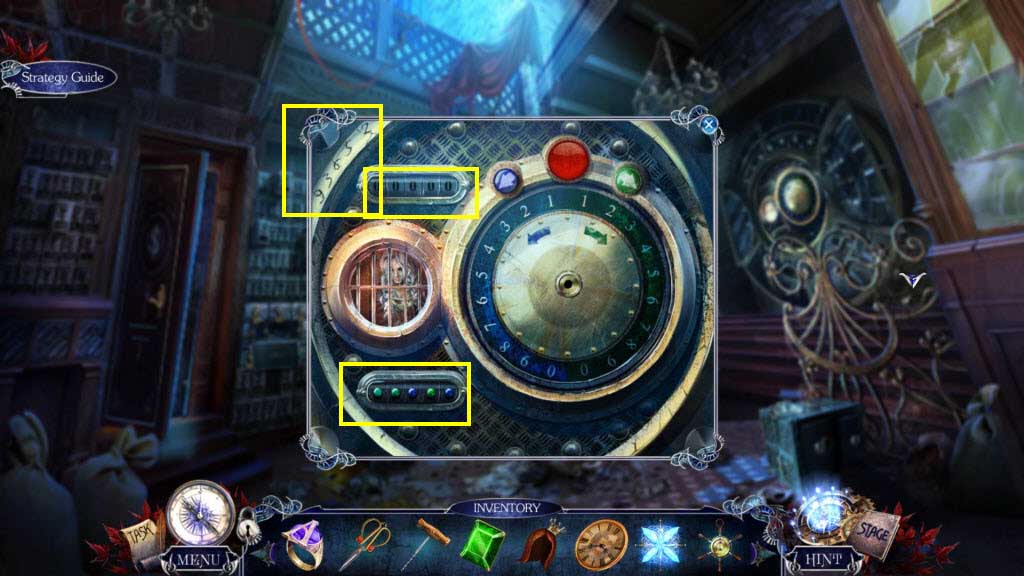
- The combination is on the top left.
- Note the numbers are in blue and green. See a hint for what color to use on the bottom left.
- The combo is: 9-green, 3-green, 6-blue, 5-green, 2-blue.
-
Enter the treasury.
General Information & Tips
Chapter One: Riddlestone
Chapter Two: Greed
Chapter Three: Princess Anna
Chapter Four: The King
Chapter Five: Hall of Statues
Chapter Six: Sloth & Gluttony
Chapter Seven: Prince Colin
Chapter Eight: Envy & Lust
Chapter Nine: Pride
Chapter Ten: Wrath
Ask for help in the comments below!
Chapter One: Riddlestone
Chapter Two: Greed
Chapter Three: Princess Anna
Chapter Four: The King
Chapter Five: Hall of Statues
Chapter Six: Sloth & Gluttony
Chapter Seven: Prince Colin
Chapter Eight: Envy & Lust
Chapter Nine: Pride
Chapter Ten: Wrath
Ask for help in the comments below!