
Nightmares from the Deep: The Siren's Call: Chapter Five: Shipwreck Graveyard
Our Nightmares from the Deep: Siren's Call Walkthrough will keep the briny seas at bay as you attempt to undo the curse of Davy Jones and free the captive Siren in this enchanting hidden object adventure game. Use our point-by-point instructions, our custom screenshots, and our simple puzzle solutions to navigate this treacherous mystery safely and put an end to the suffering of Kingsmouth.

- Zoom into the gate.
- Click the handle; collect the hook.
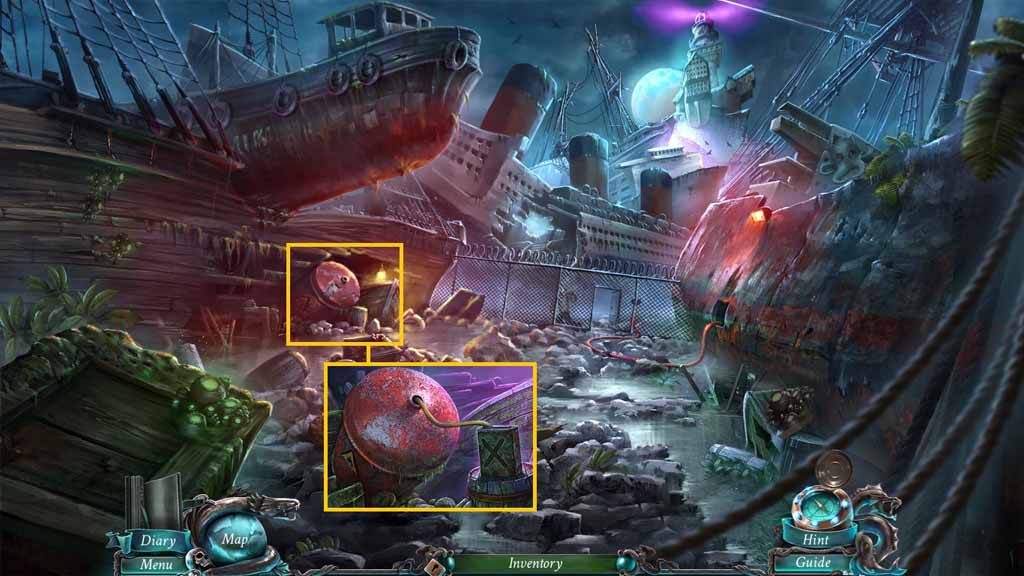
- Zoom into the fence.
- Select the hook to collect the screwdriver.
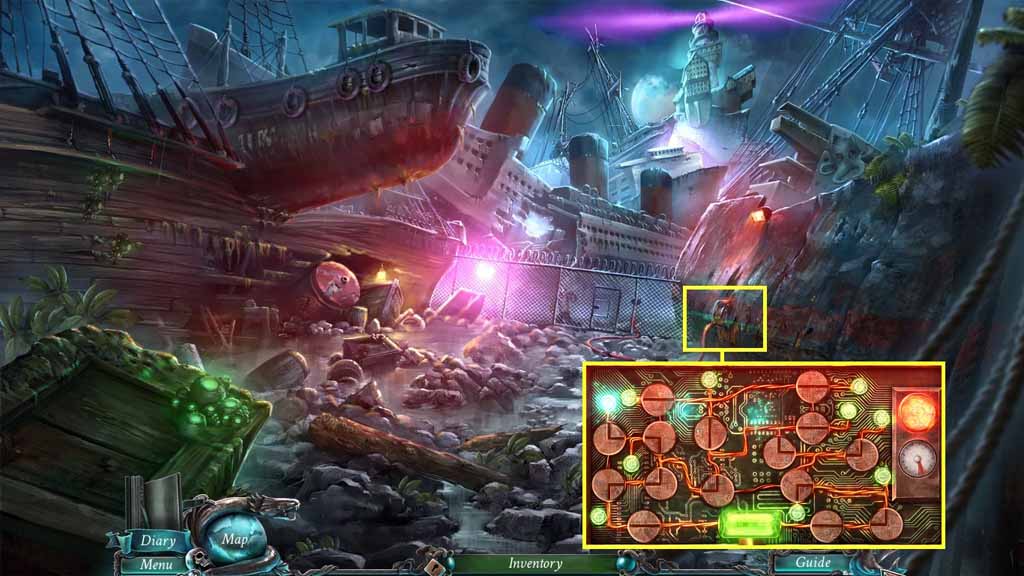
- Zoom into the circuit breaker and use the screwdriver on the screws to trigger a puzzle.
- Solve the puzzle by clicking the buttons to illuminate all the green lights.
- Zoom into the gate, click the door and move into the Foyer.
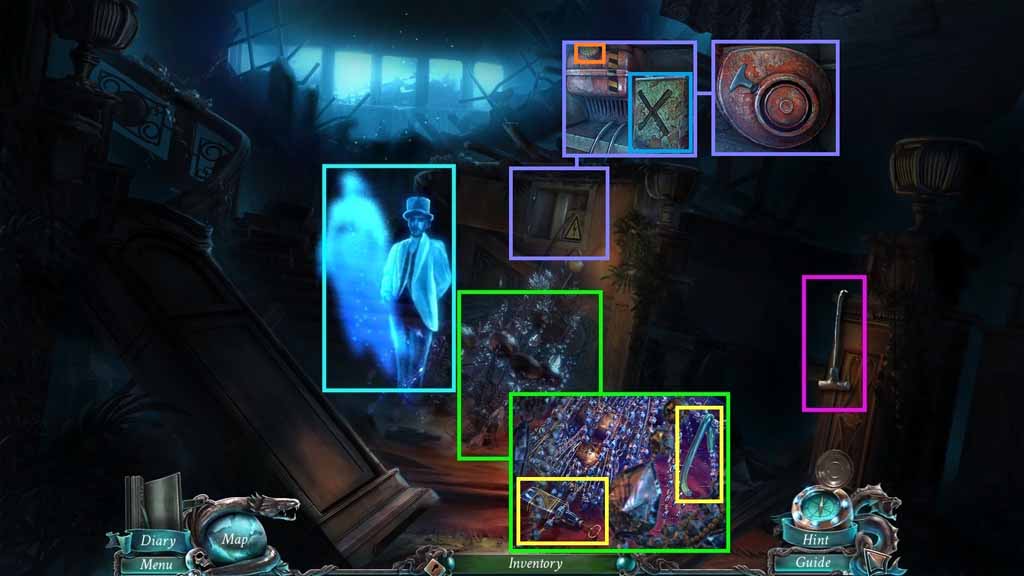
- Speak to the ghost.
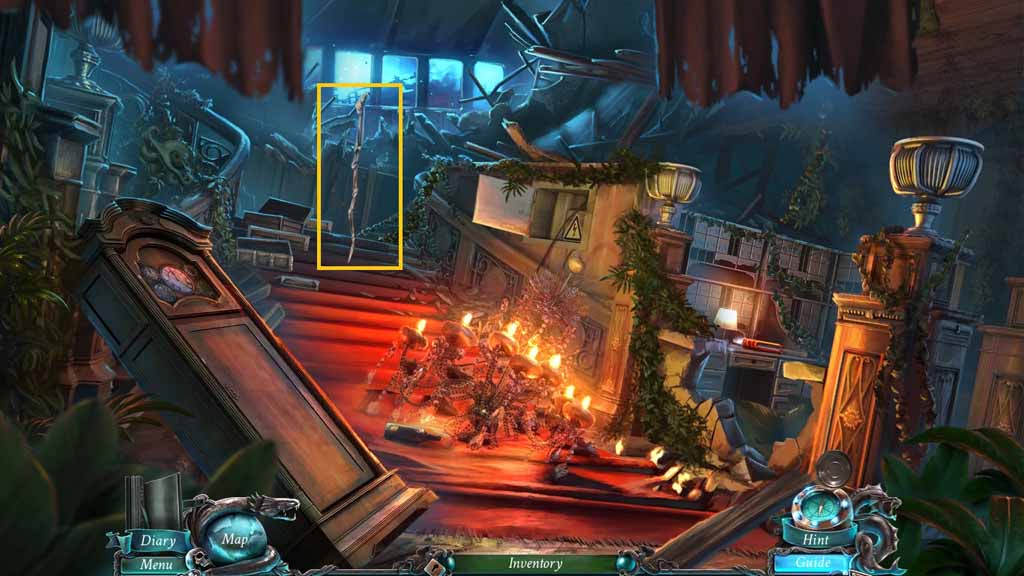
- Collect the starter cord.
- Zoom into the chandelier and collect the tube.
- Zoom into the bottle and collect the corkscrew.
- Zoom into the panel; remove the nozzle and collect the empty fuel can.
- Click the old starter cord.
- Move down once.
- Click the tank.
- Insert the corkscrew into the cork.
- Place the tube and the empty fuel can next to the tank; collect the full fuel can.
- Move ahead.

- Zoom into the generator and pour the full fuel can into the nozzle.
- Insert the starter cord and click it 3 times.
- Zoom into the beams and click the stairs to trigger a hidden objects area.
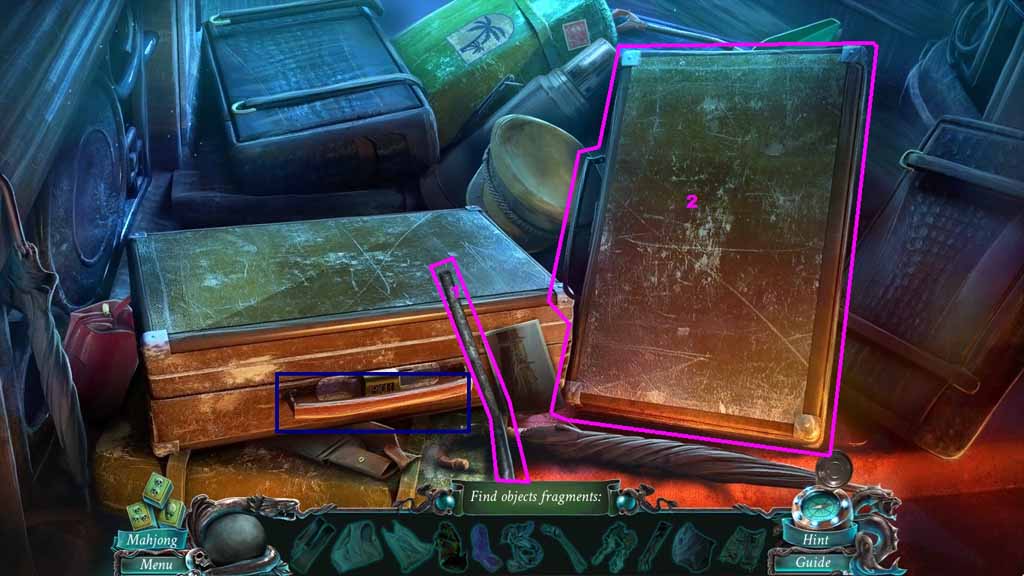

- Find the silhouetted items.
- Select the suitcase handle.
- Select the crowbar to open the suitcase.
- Collect the improvised rope.
- Zoom into the boards and place the improvised rope on them.
- Move ahead to the Bridge.
- Speak to the ghost.
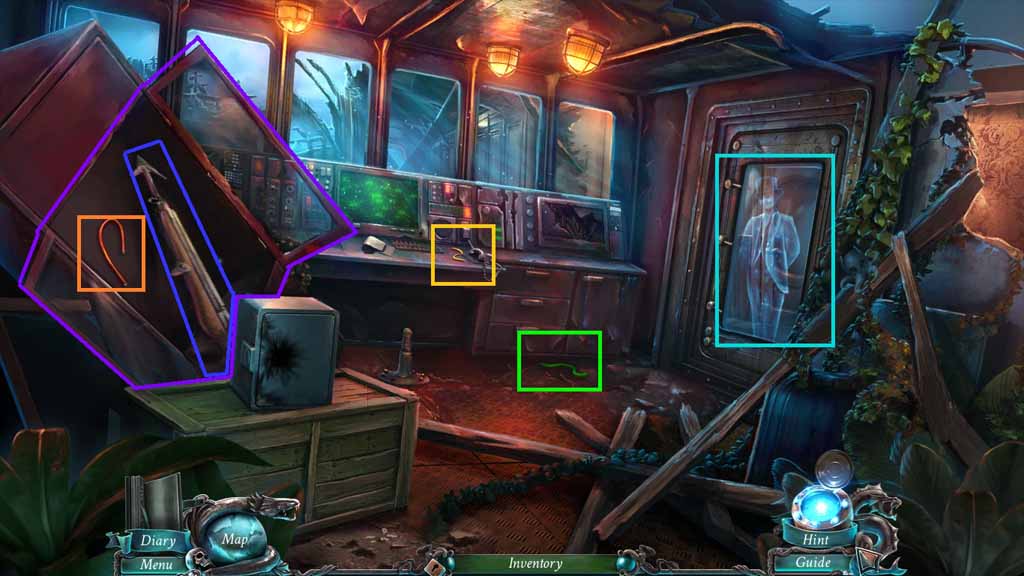
- Collect the 1 /3 cables.
- Zoom into the display and click the doors.
- Collect the 2 /3 cables and the harpoon gun.
- Zoom into the console and collect the 3 / 3 cables.
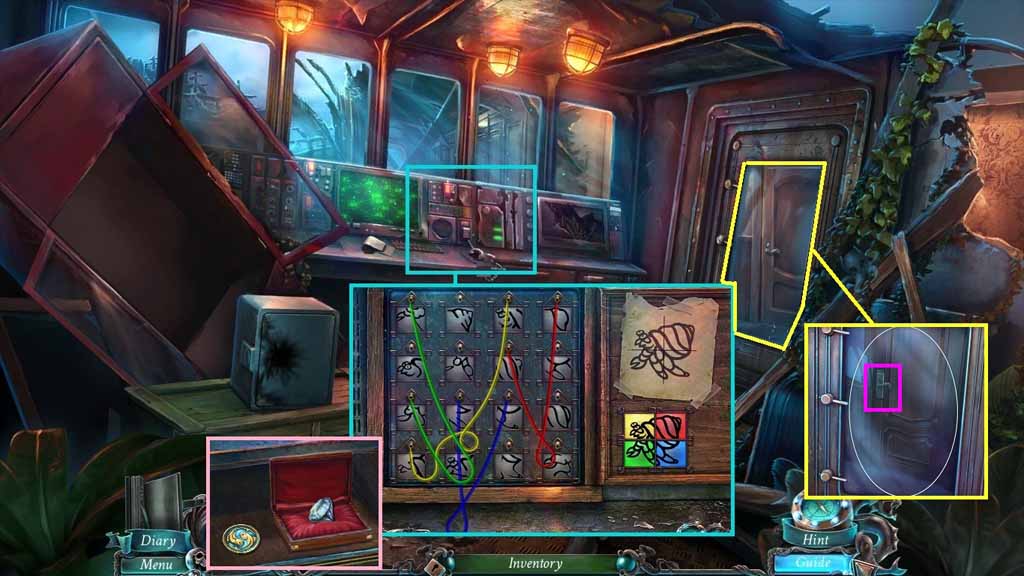
- Click the console panel and zoom in.
- Insert the 3 / 3 cables to trigger a puzzle.
- Solve the puzzle by placing the cables into the slots to complete the picture.
- The solution is random.
- Click the jewelry box and collect the diamond and the 5 /12 golden fish.
- Zoom into the door and select the diamond to cut the glass.
- Click the glass and click the handle.
- Move into the Passenger Cabin.

- Speak to the ghost.
- Click the sheet; collect the sheet rope.
- Click the rug and zoom into the hole.
- Hang the sheet rope on the beam.
- Move into the Captain’s Cabin.

- Zoom into the table; collect the stone picture.
- Zoom into the desk; collect the knob.
- Click the book 2 times; collect the 3 /3 printing matrix pieces.
- Move to the Foyer.

- Zoom into the desk; collect the red book and insert the knob.
- Click the knob and zoom into the book.
- Move to the Passenger Cabin.
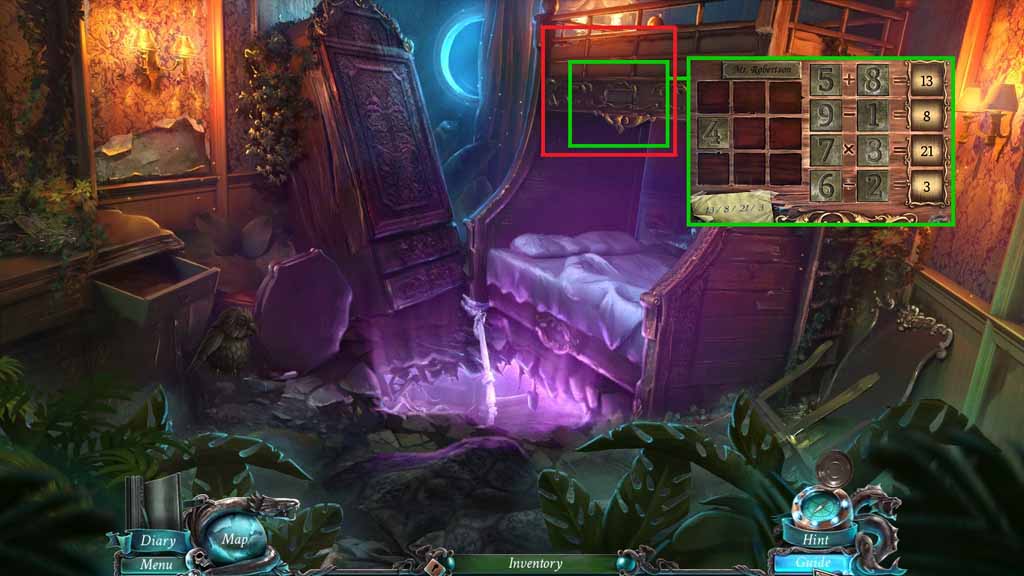
- Zoom into the bed to trigger a puzzle.
- Move the tiles so that the math equations are correct.
- Zoom into the compartment to trigger a hidden objects area.
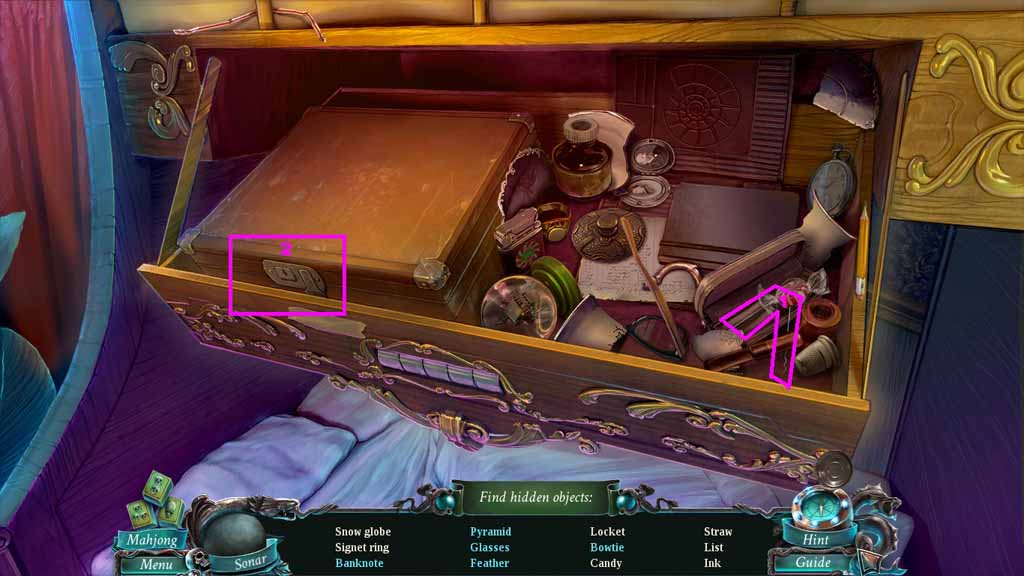
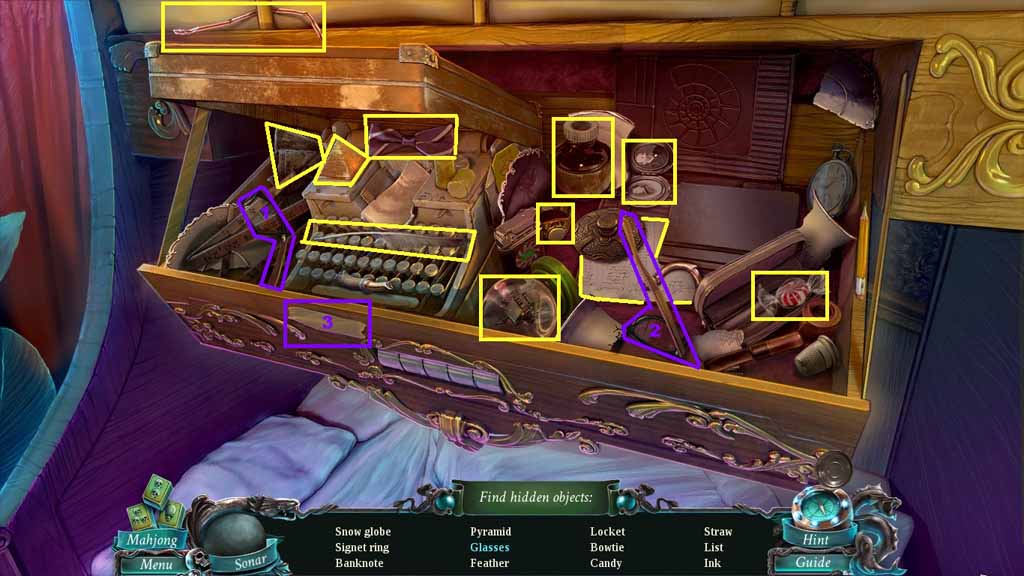
- Select the lock pick to open the suitcase.
- Find the listed items.
- Select the ½ glasses frame and place it with the other ½ glasses frame and select the tape to secure them; collect the glasses.
- Collect the printing ink.
- Move to the Underground.
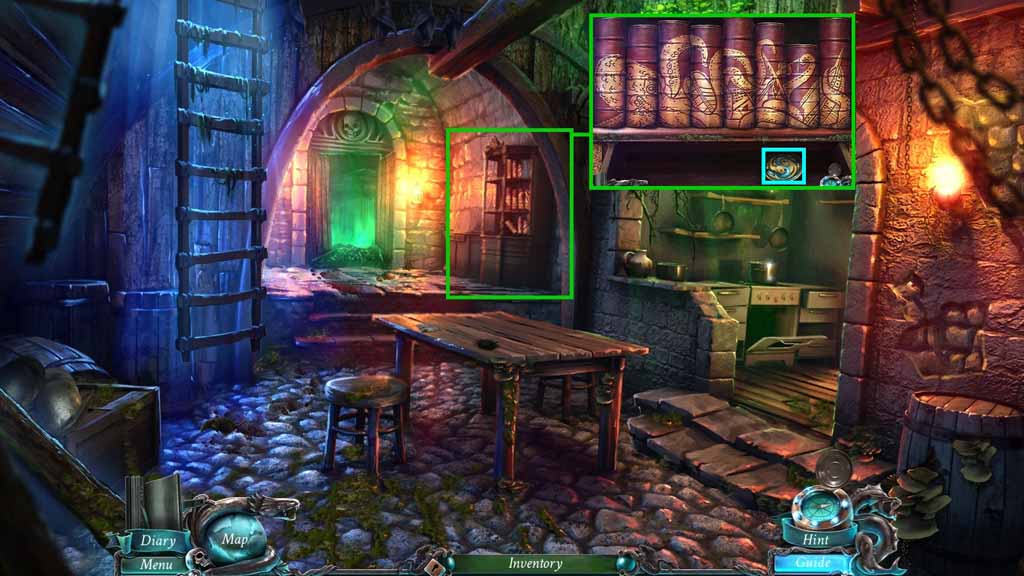
- Zoom into the bookshelf and insert the red book to trigger a puzzle.
- Move the books to create a completed image.
- Collect the golden fish 6 /12.
- Move to the Fountain.
- Zoom into the stall to access a hidden objects area.
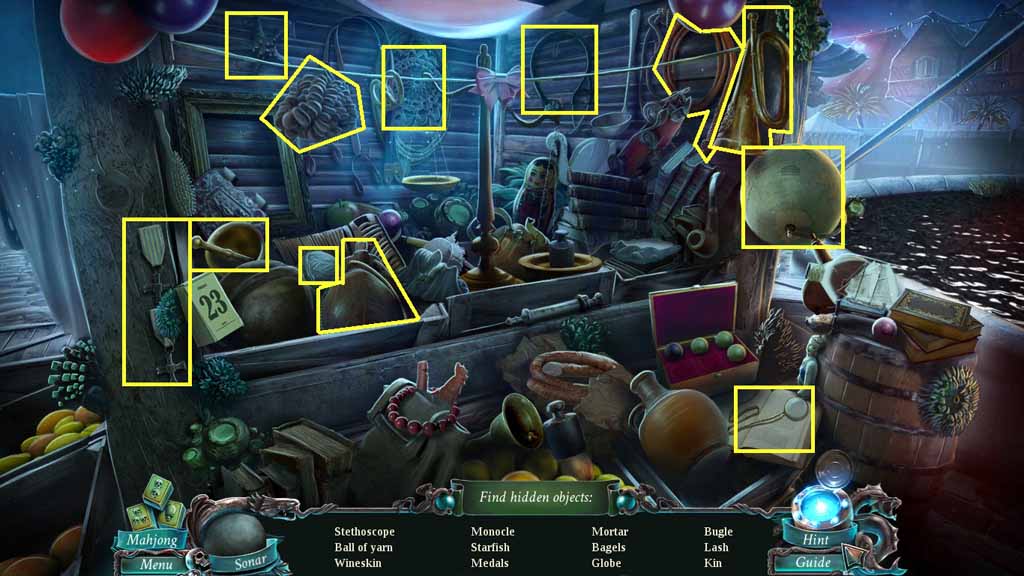
- Find the listed items.
- Collect the stethoscope.
- Move to the Hideout.
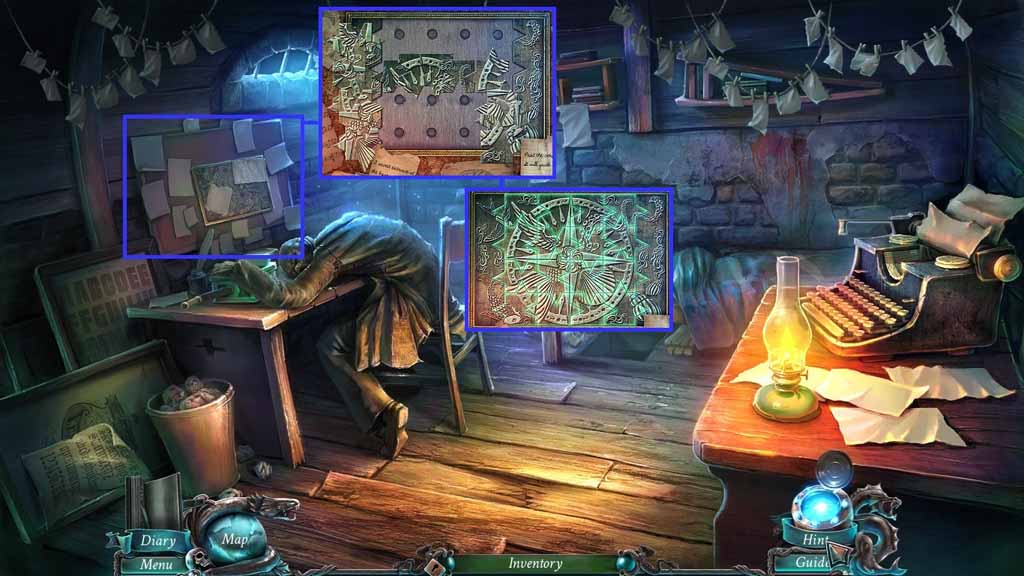
- Zoom into the bulletin board.
- Click the notes and attach the 3/3 printing matrix pieces to trigger a puzzle.
- Move the pieces around to complete the picture.
- Collect the matrix.
- Move down once.
- Click the table to trigger a hidden objects area.
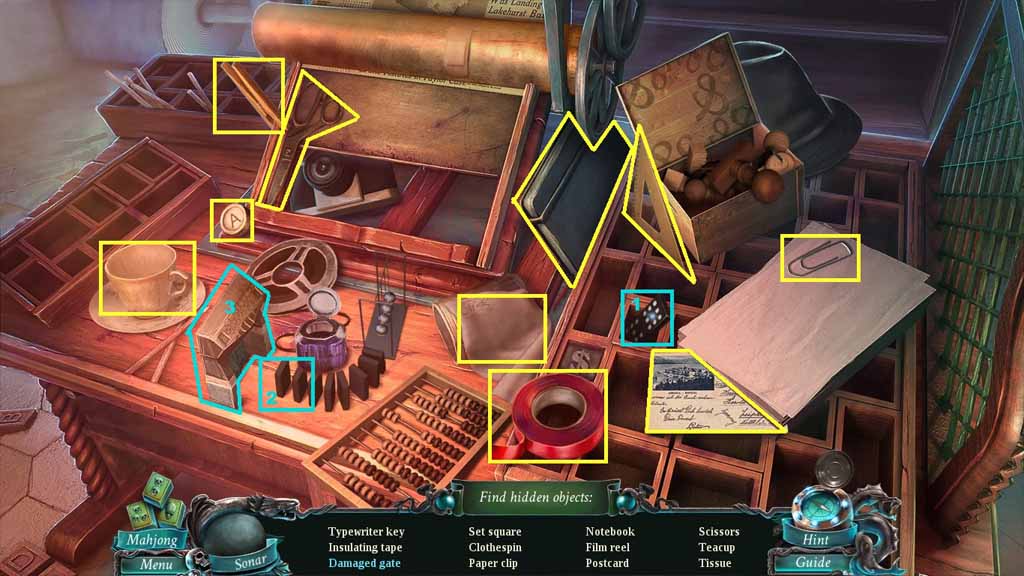
- Find the listed items.
- Select the domino and place it with the other dominos and click it once; collect the damaged gate.
- Collect the insulating tape.
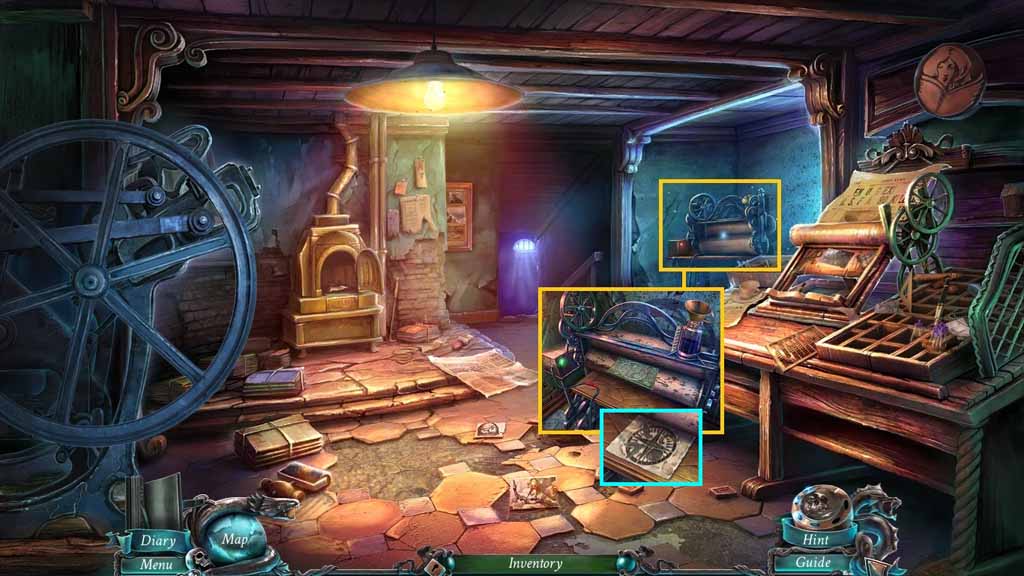
- Zoom into the press.
- Pour the printing ink into the nozzle and place the matrix and the insulating tape onto it.
- Click the valve and collect the ring’s pattern.
- Move to the Statue.
- Zoom into the junk to access a hidden objects area.
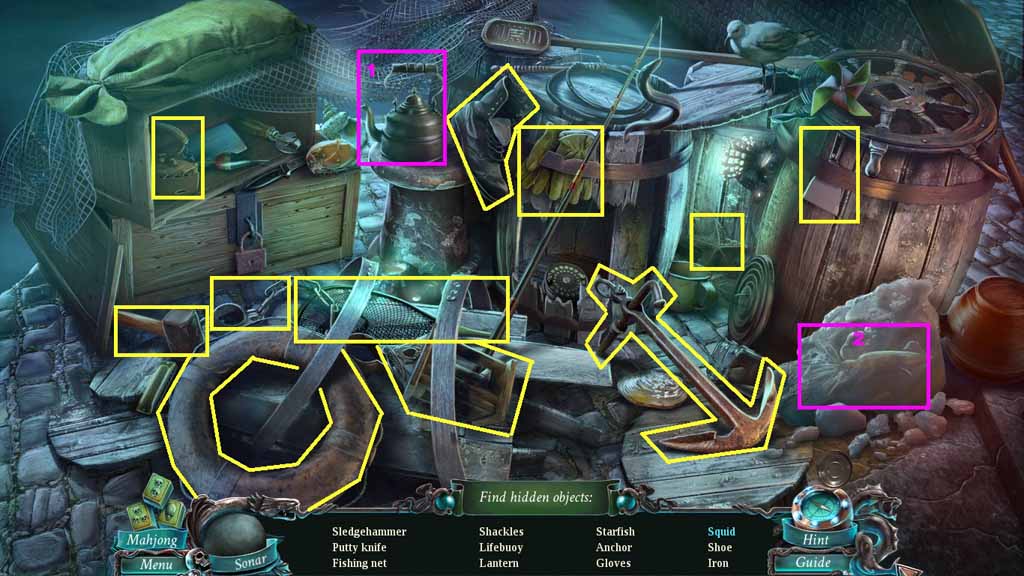
- Find the listed items.
- Select the kettle and pour it onto the ice; collect the squid.
- Collect the sledgehammer.
- Move into the Secret Chamber.

- Click the statue.
- Zoom into the painting and place the stone picture onto it to trigger a puzzle.
- Solve the puzzle by switching the tiles around to complete the picture.
- Collect the stone ring.
- Move to the Passenger Cabin.

- Zoom into the armoire.
- Select the sledgehammer to use on the crack 3 times.
- Zoom into the hand; click it 2 times and collect the safe dial.
- Move down to the Bridge.
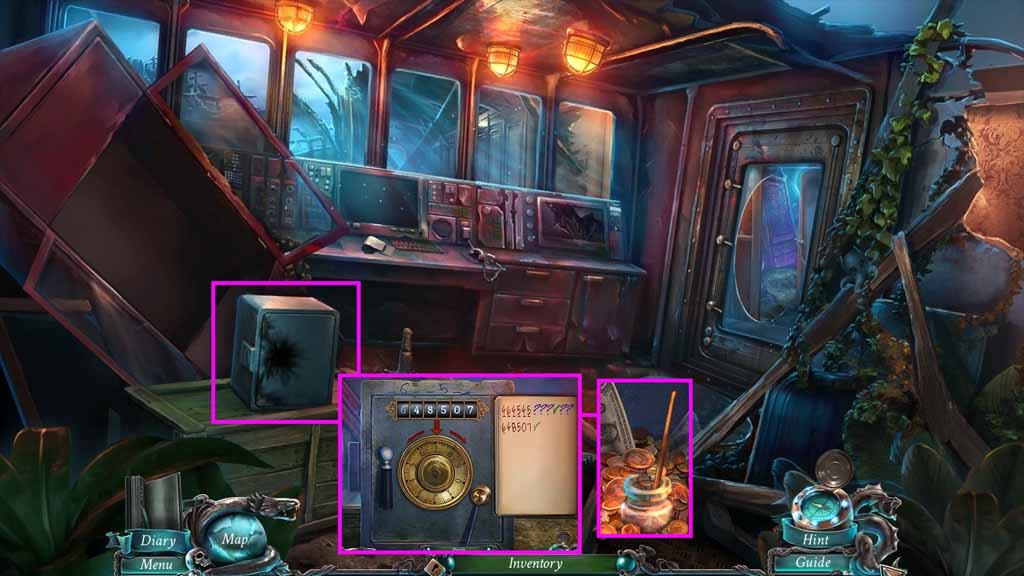
- Zoom into the safe.
- Put the stethoscope and the safe dial onto the safe to trigger a puzzle.
- Solve the puzzle by trying different combinations.
- Use the following combo to crack the puzzle: 6 – 4 – 8 – 5 – 0 - 7
- Collect the sticky resin.
- Move to the Captain’s Cabin.
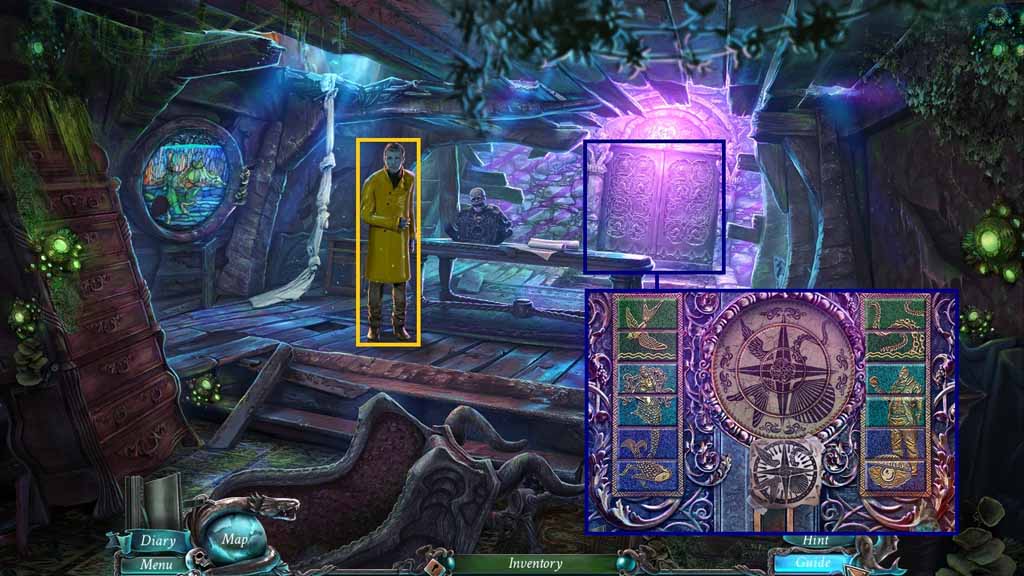
- Speak to the Fisherman.
- Zoom into the door and attach the stone ring and the ring’s pattern to trigger a puzzle.
- Move into the Prison.