Hidden Expedition: Smithsonian Castle: Chapter Five: Looking Through the Library
Our Hidden Expedition: Smithsonian Castle Walkthrough will guide your steps as you explore the Smithsonian Castle, investigating an anomaly that's be reported there. Trust our detailed directions, custom marked screenshots, and simple solutions to all the puzzles you'll encounter as you follow the clues to unlocking the secrets of time travel in this exciting hidden object adventure game!

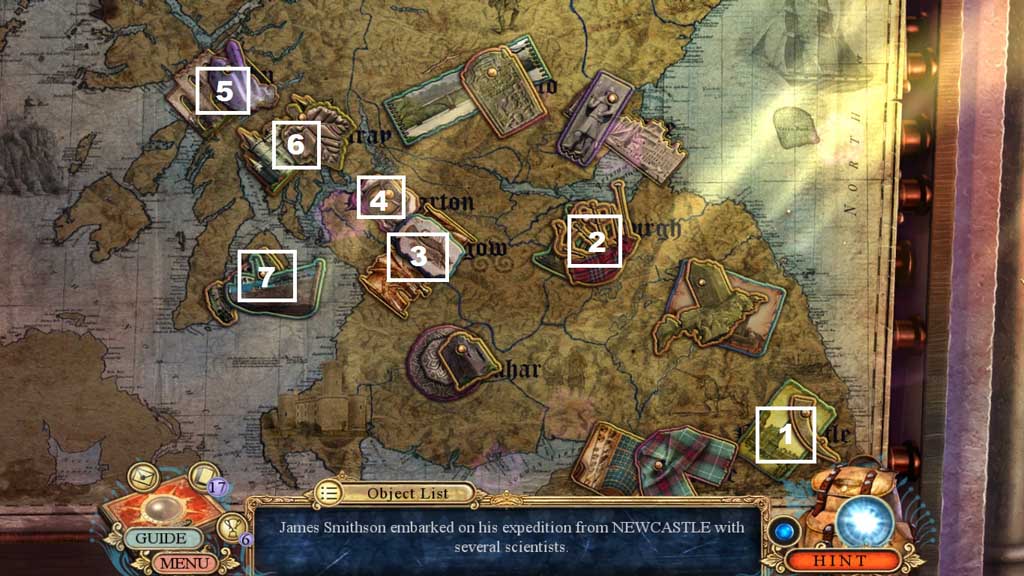
- Click the books; collect the fact card.
- Insert the H.E.L.P. crest; collect the glass adornment.
- Collect the glue.
- Move ahead.

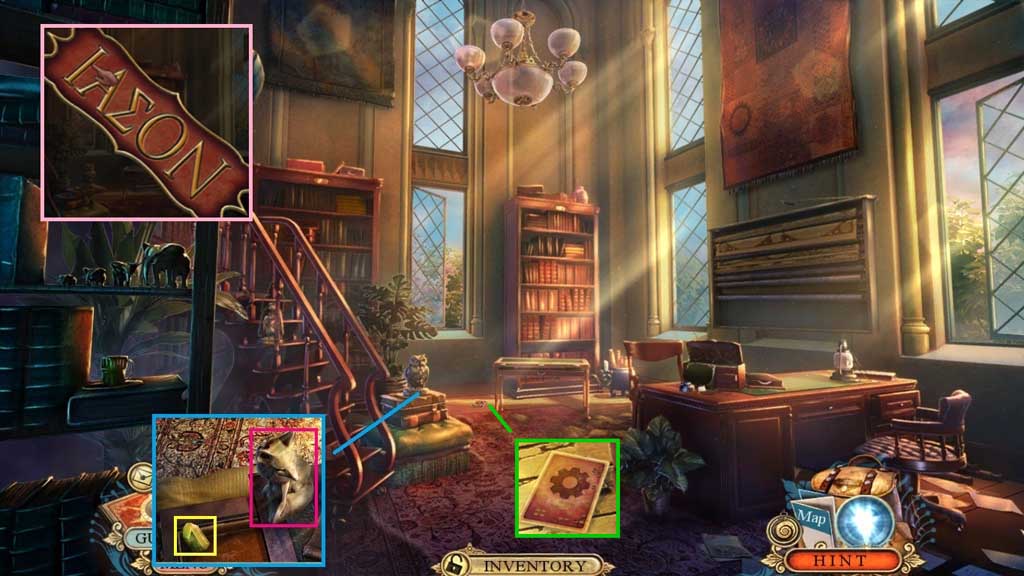
- Collect the scepter and the fact card.
- Place the stone slab.
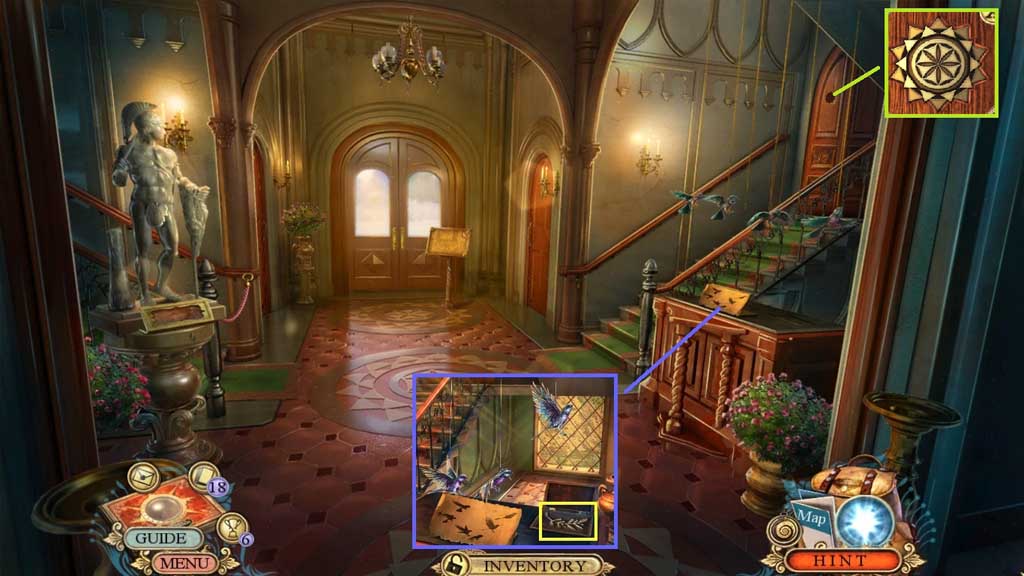
- Collect the colored lens.
- Collect the ticker tape.
- Collect the wedge.
- Move down once.
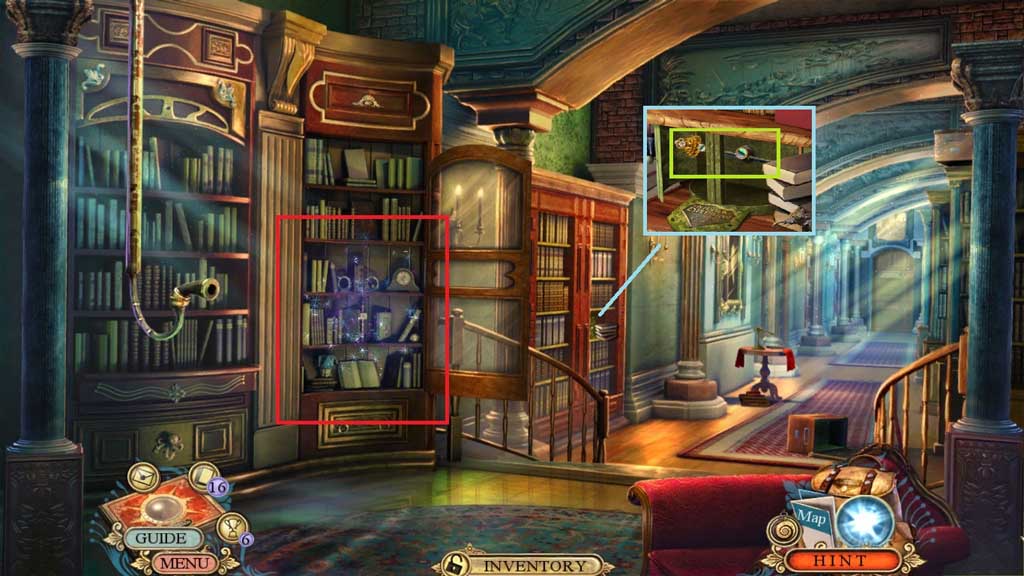
- Place the scepter to trigger a hidden objects area.
- Find the items.
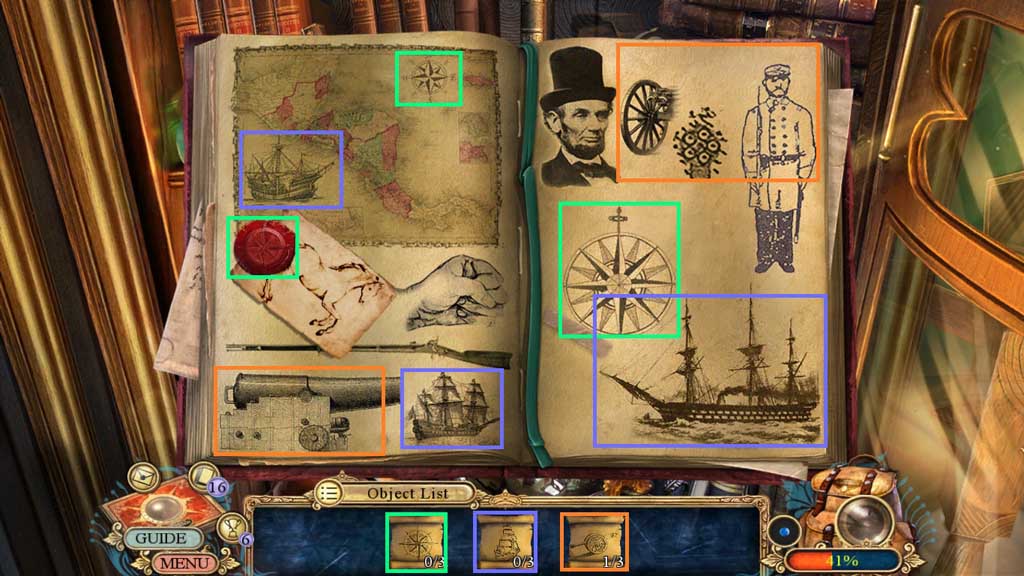
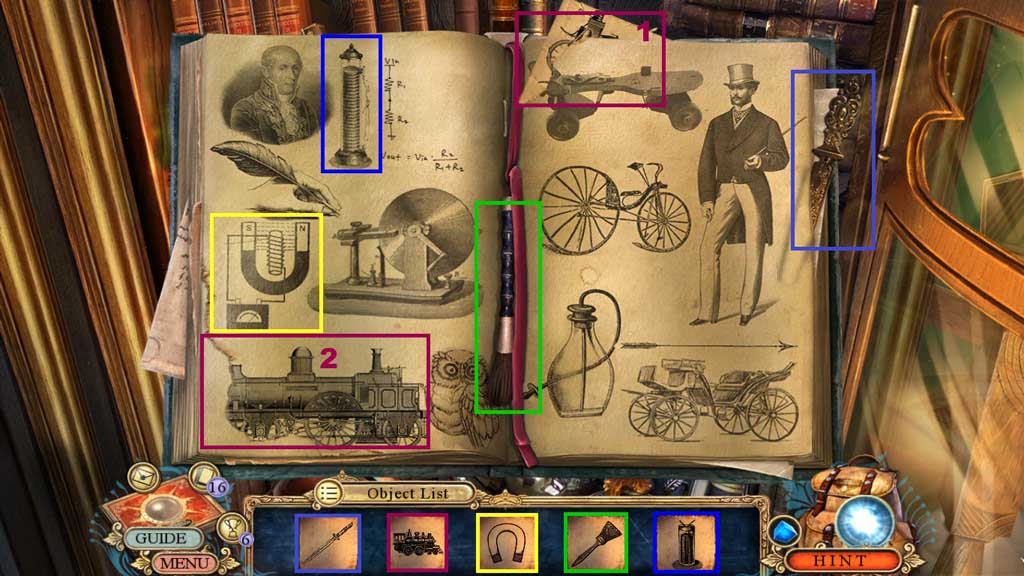
- Click the selected books to trigger mini hidden objects areas.
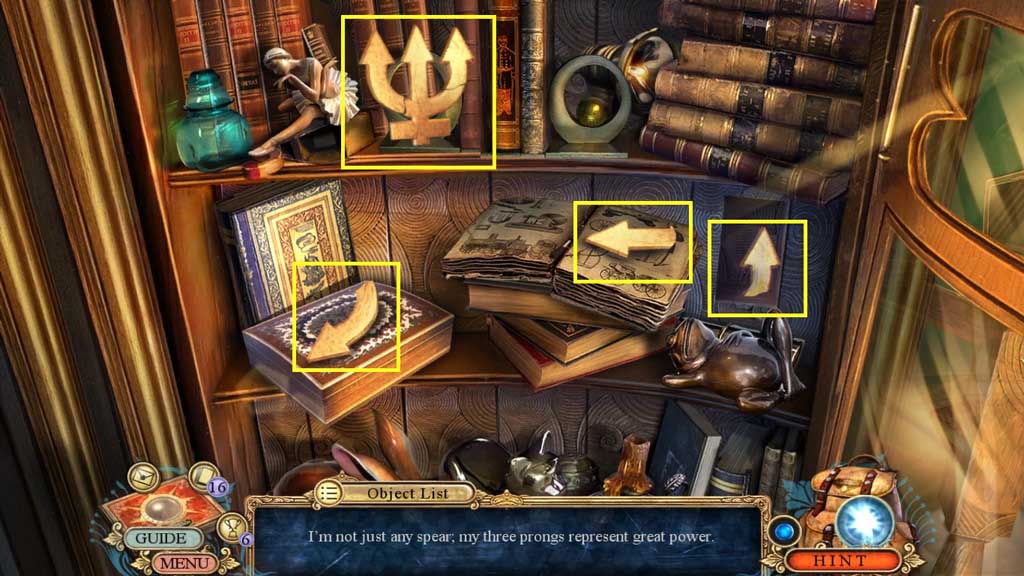
- Collect Neptune’s symbol.
- Move ahead.
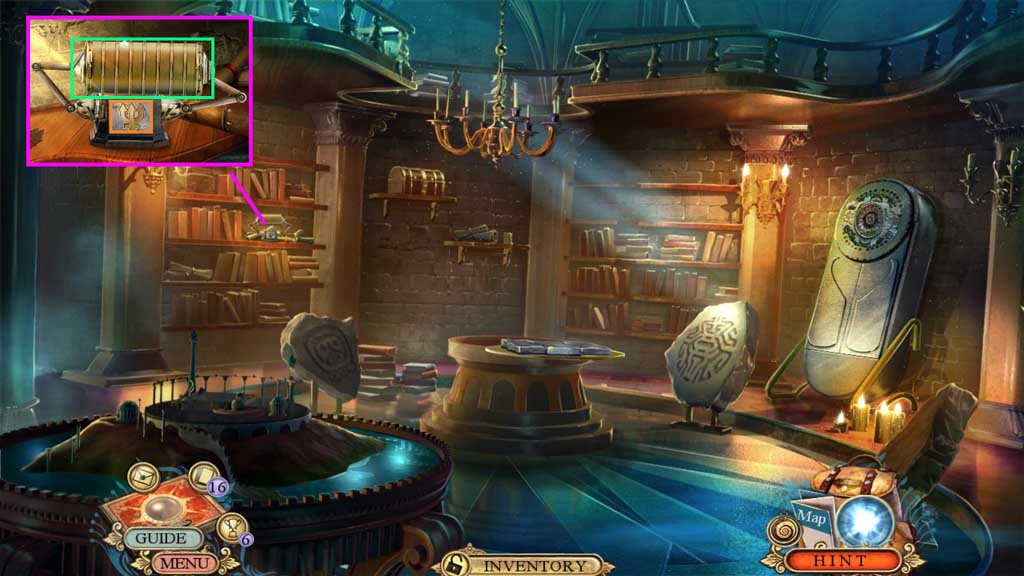
- Insert Neptune’s symbol; collect the coded cylinder.
- Move down once.
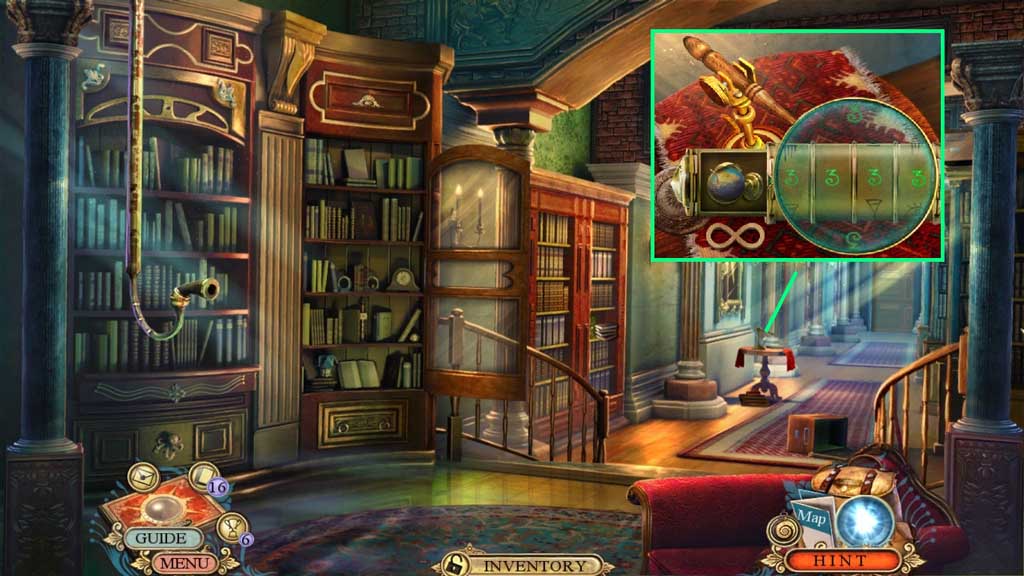
- Attach the colored lens and place the coded cylinder.
- Click the cylinders to reflect 3 – 3 – 3 – 3; collect 3 /3 Atlantis parts.
- Move ahead.
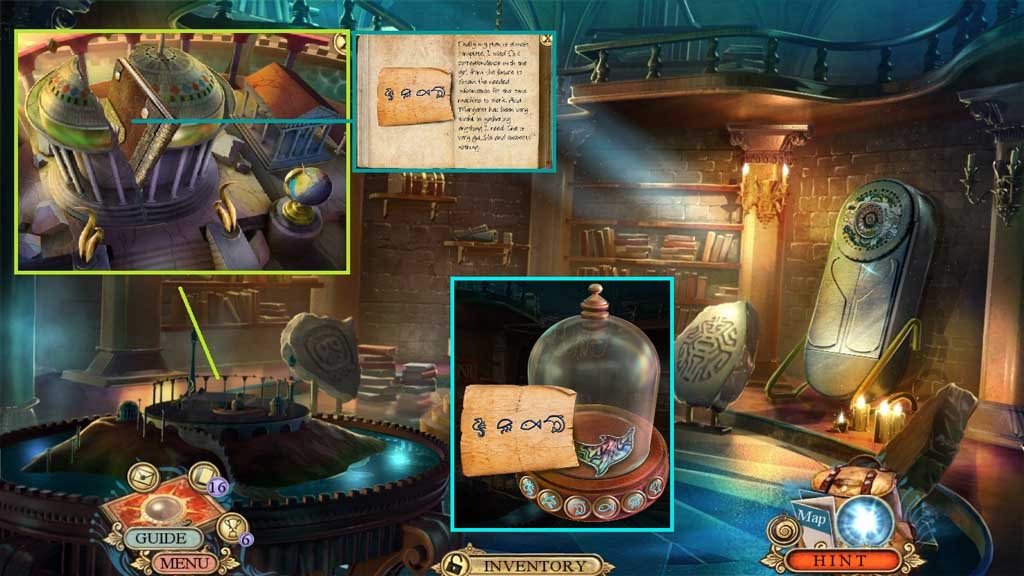
- Insert the 3 Atlantis parts; collect the instructions.
- Receive Thomas’ ledger.
- Click the glass adornment and place the instructions onto it; click the symbols as shown.
- Collect the dolphin.
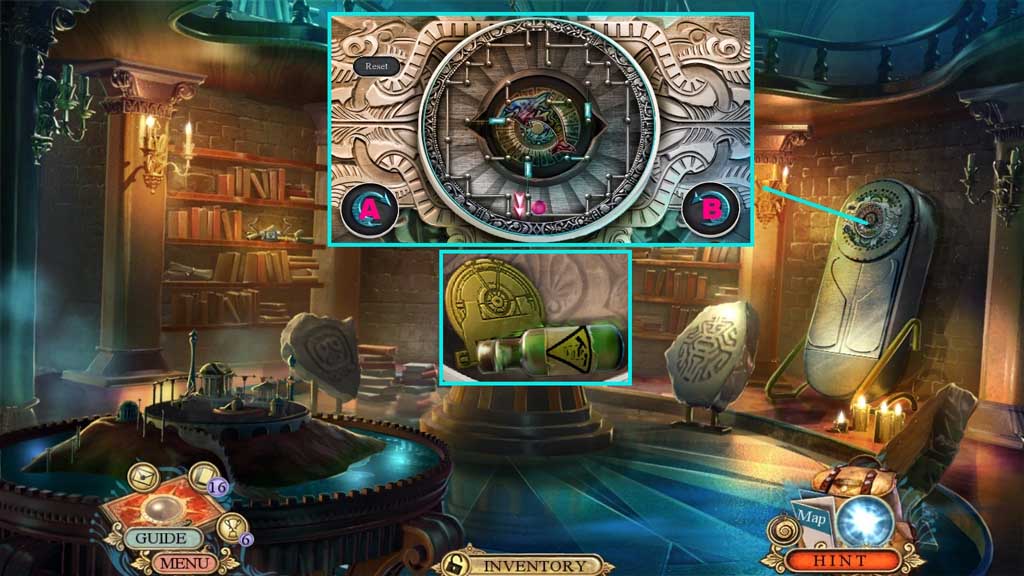
- Place the dolphin to trigger a mini game.
- Solve the game by guiding the marble to the bottom.
- Use the following solution to solve: A x 2 – B – A x 2 – B – A x 6 – B – A
- Collect the acid and the vault symbol.
- Move to the Meeting Room.
- Insert the vault symbol.
- Move into the Vault.
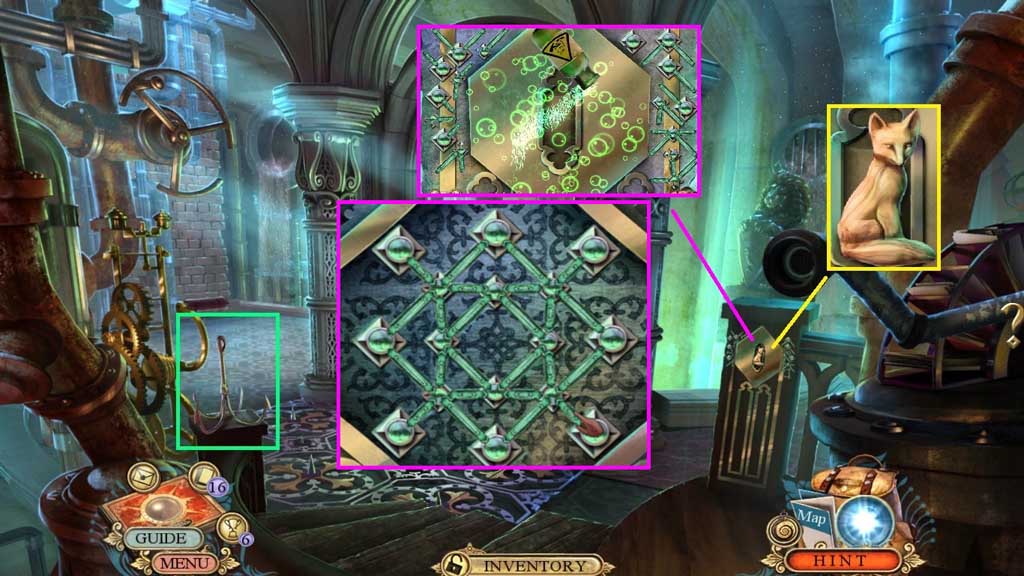
- Collect the hook and the fox figurine.
- Select the acid to pour onto the board and trigger a mini game.
- Solve the game by fitting the pieces correctly onto the board.

- Click the valve.
- Place the wedge and click the valve.
- Click the chest; collect the chain and attach the hook to create and collect the grappling hook.
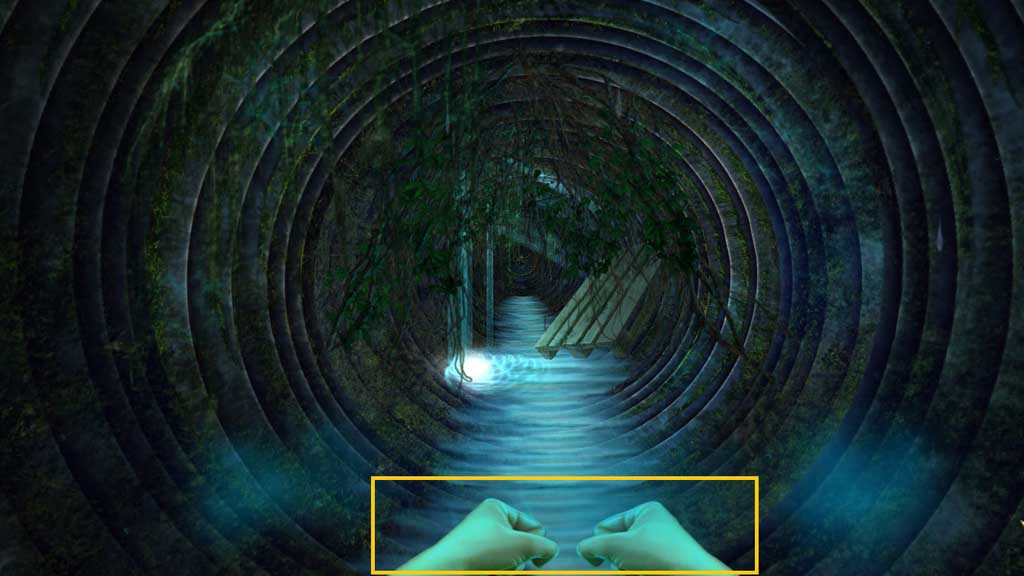
- Toss the grappling hook toward the drain.
- Click the scene 5x’s.
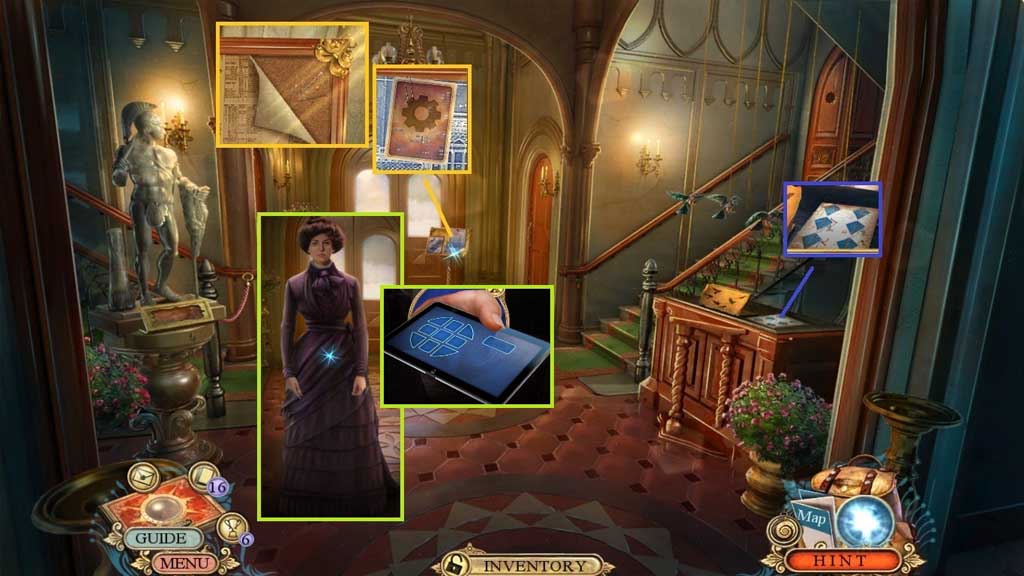
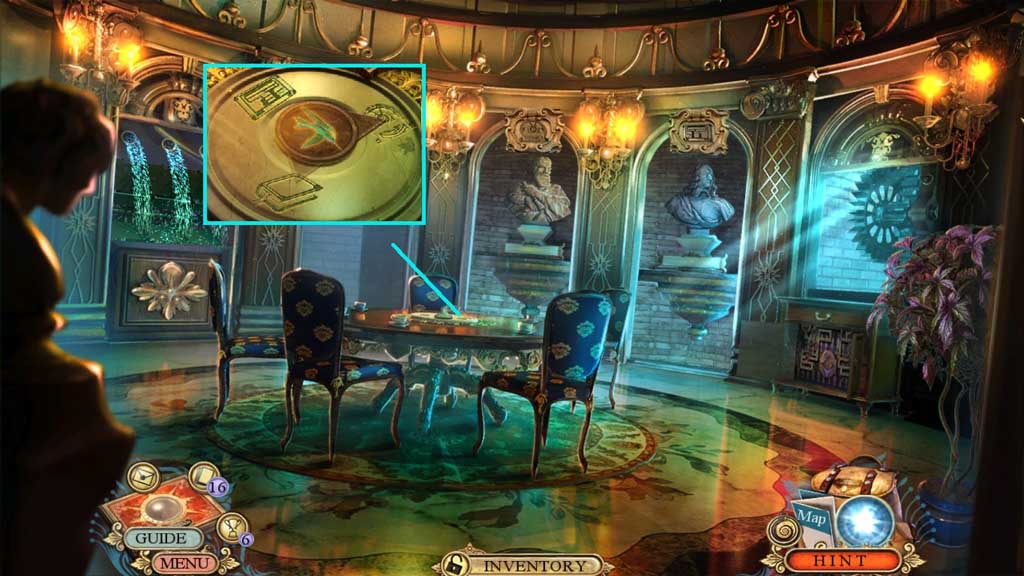
- Give the woman Thomas’ ledger; collect the tablet.
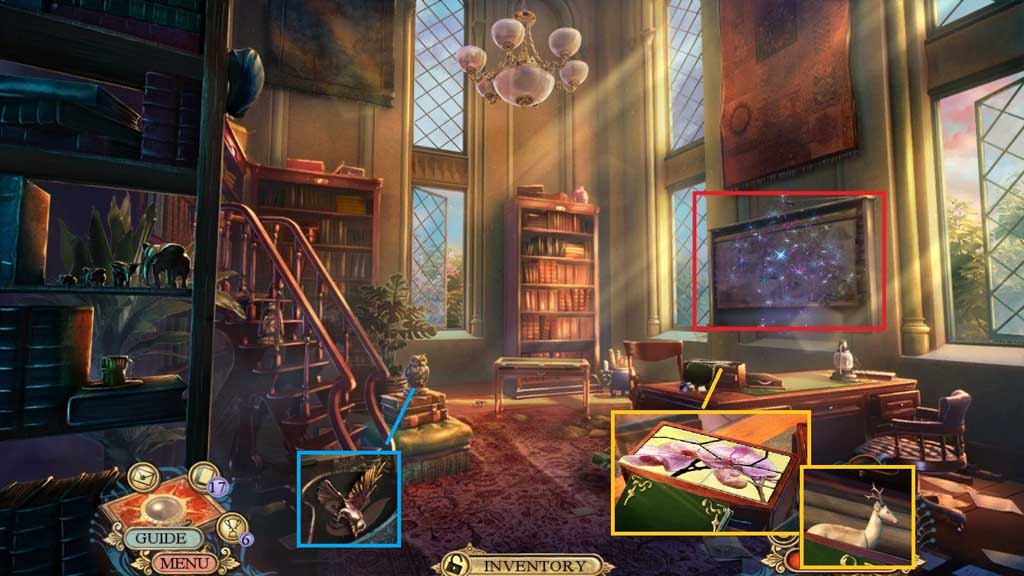
- Collect the fact card.
- Click the papers aside and collect the ivory pin.
- Collect the kite plans.
- Move to the left.
- Click the paper rolls to trigger a hidden objects area.
- Select the glue to smear onto the box and collect and place the 4 pieces.
- Collect 1 /2 deer.
- Collect 1 /2 birds.
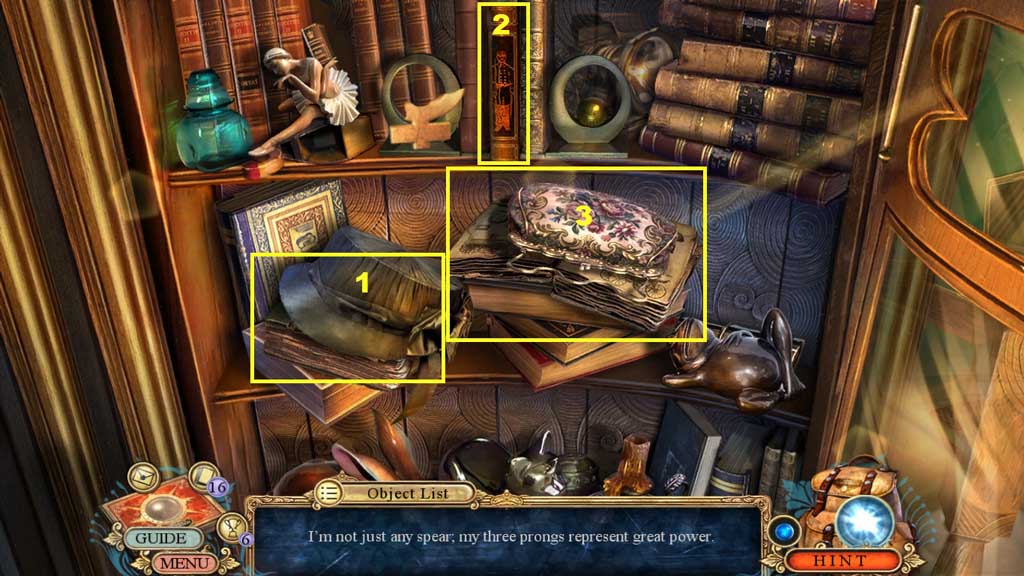
- Click the hidden objects area.
- Find the items.
- Collect the jumbled name plate.
- Place the fox figurine.
- Collect the elbaite mineral.
- Assemble the jumbled nameplate correctly; receive the nameplate.
- Collect the fact card and the fish fin beneath it.
- Move to the Janitor’s Quarters.

- Attach the fish fin; collect 2 /2 deer and insert it into the slot.
- Click the items aside; collect 2 /2 door inlays.
- Select the ivory pin to unlock the lock and collect 2 /2 birds.
- Move down once.
- Place the 2 birds to trigger a mini game.
- Solve the game by arranging the birds as shown on the diagram.
- Collect the olive branch.
- Insert the door inlay.
-
Move into the Circular Office.