Hidden Expedition: Smithsonian Castle: Chapter Four: Laboratory
Our Hidden Expedition: Smithsonian Castle Walkthrough will guide your steps as you explore the Smithsonian Castle, investigating an anomaly that's be reported there. Trust our detailed directions, custom marked screenshots, and simple solutions to all the puzzles you'll encounter as you follow the clues to unlocking the secrets of time travel in this exciting hidden object adventure game!
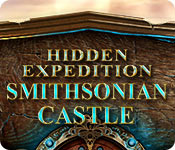
- Speak to Helen.
- Select the chalk to complete the molecular drawing.
- Select the model and move it to the board; click it 2x’s.
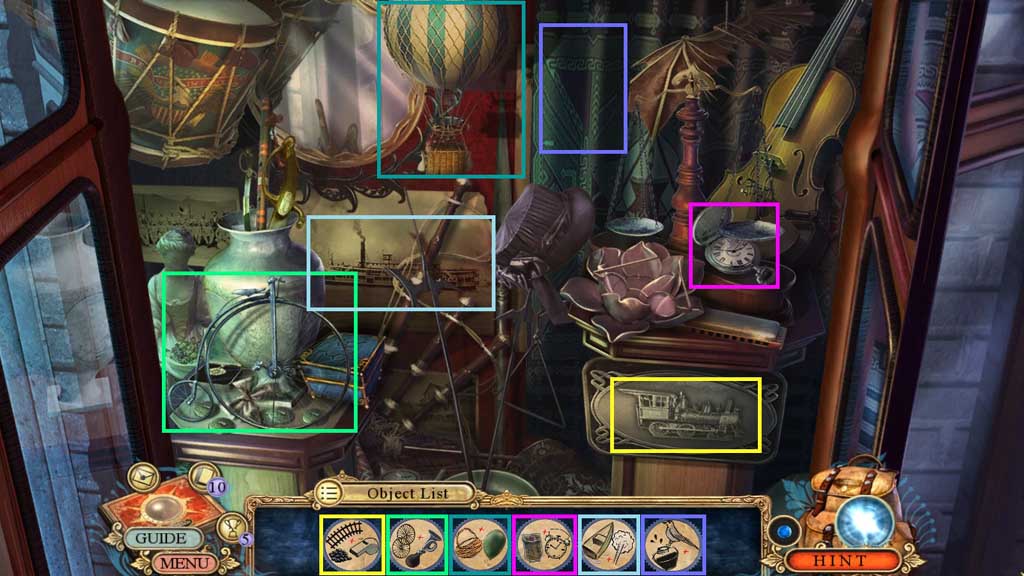
- Collect 1 /2 molecular models.
- Zoom into the crate; insert the roller handle.
- Collect the bellows.
- Place the small weight onto the scale; collect the showcase inlay.
- Move down once.
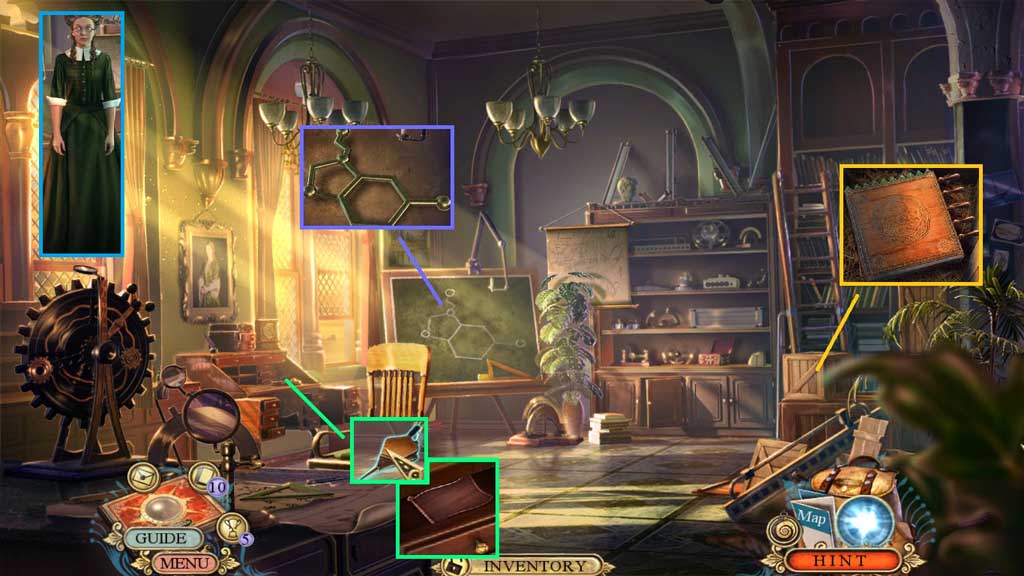
- Collect 2/2 molecular models.
- Move down once.
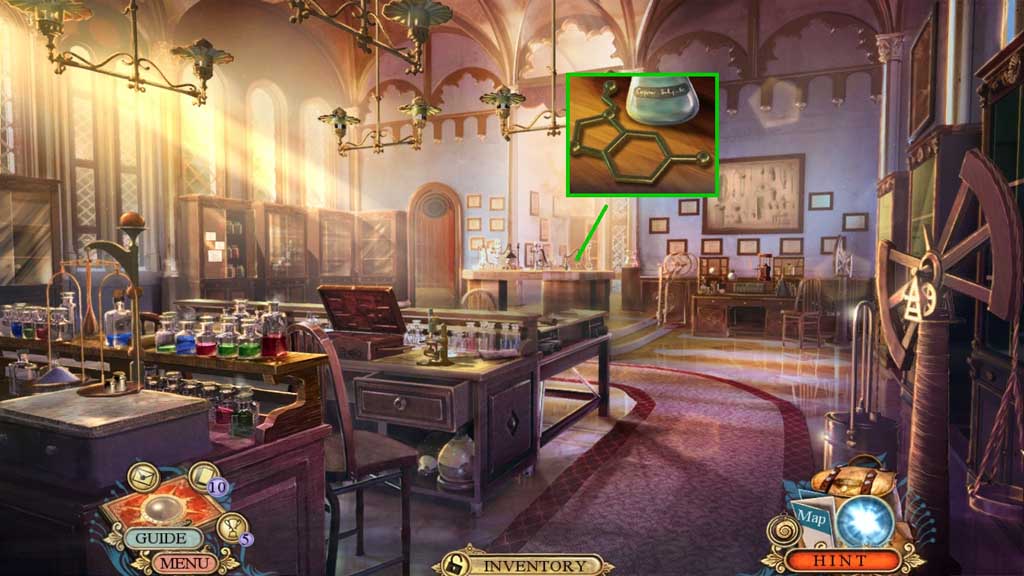
- Insert the showcase inlay to trigger a hidden objects area.
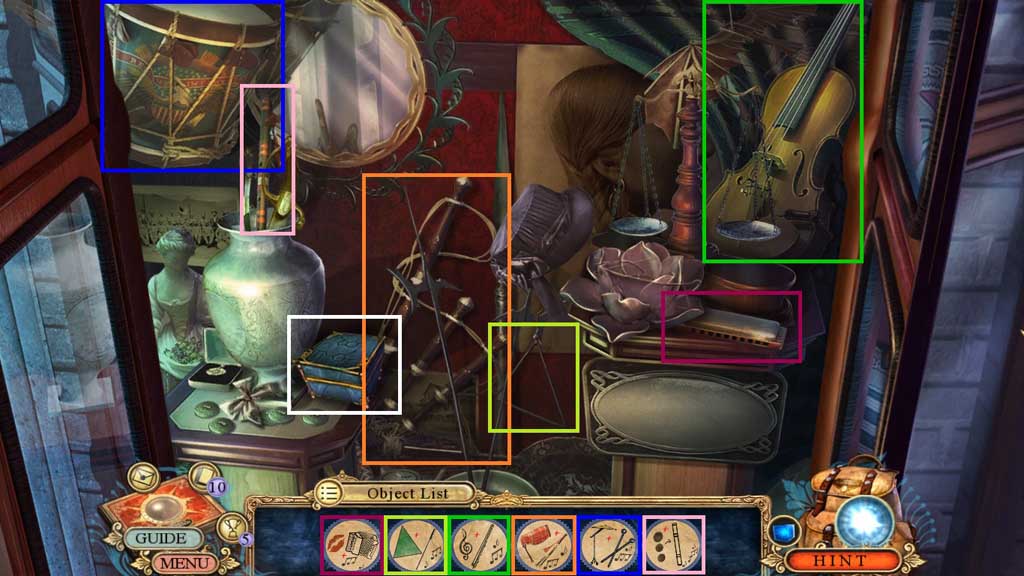
- Find the items.
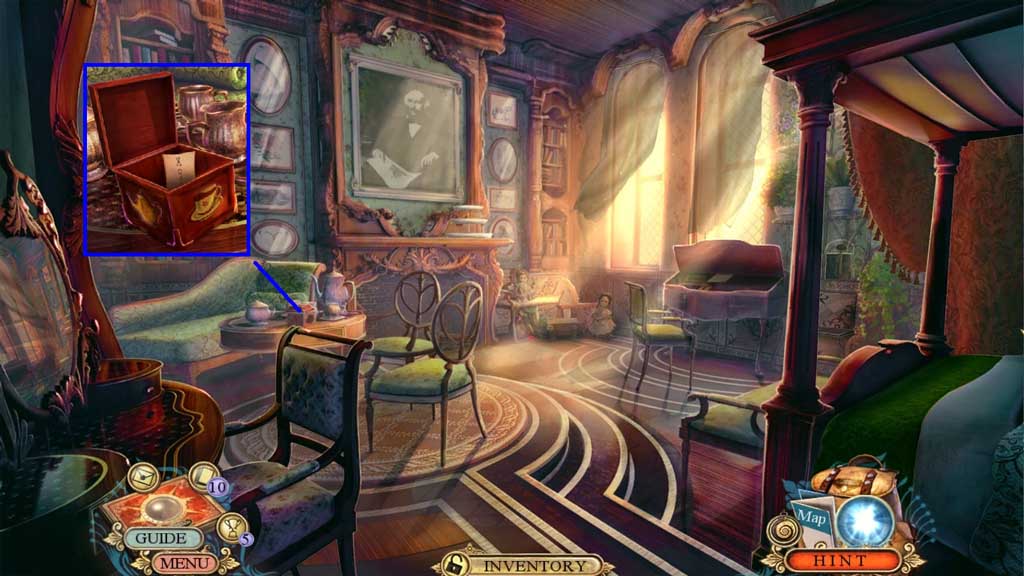
- Collect the decorated chest.
- Click the decorated chest.
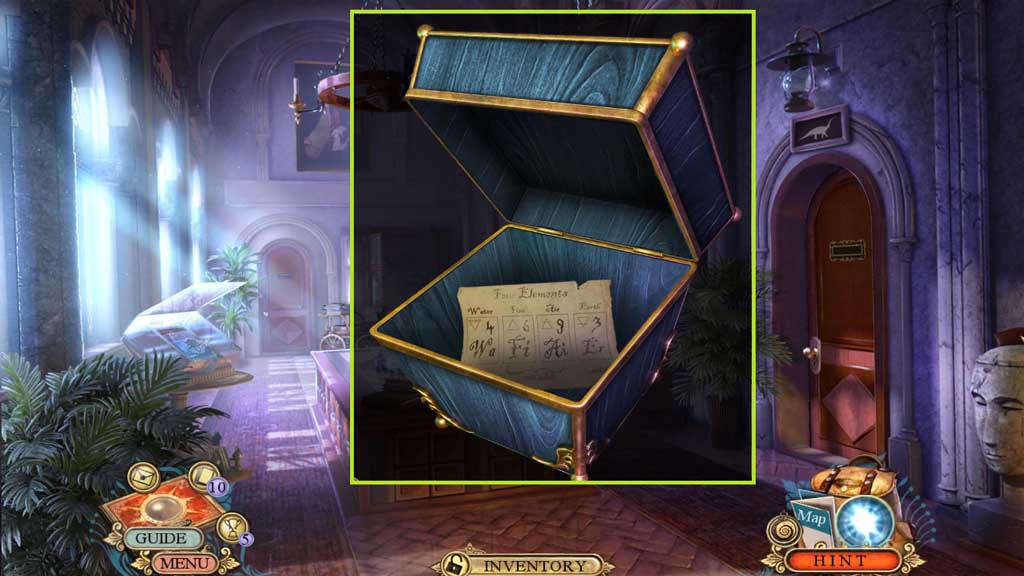
- Insert the 2 molecular models; collect the element list.
- Move ahead.
- Place down the element list to trigger a mini game.
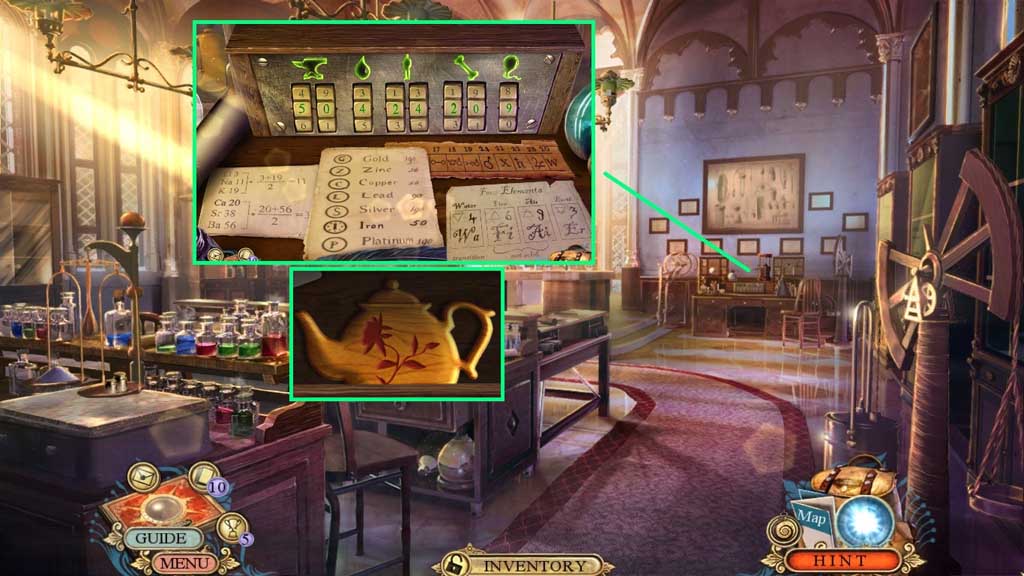
- Solve the game by entering the correct number combinations to create the elements.
- Use the following pattern to solve: 50 – 4 – 24 – 20 - 9
- Collect 2/2 wooden tea sets.
- Move to Helen’s Residence.
- Insert the 2 wooden tea sets; collect the lockbox drawing.
- Move to Helen’s Laboratory.
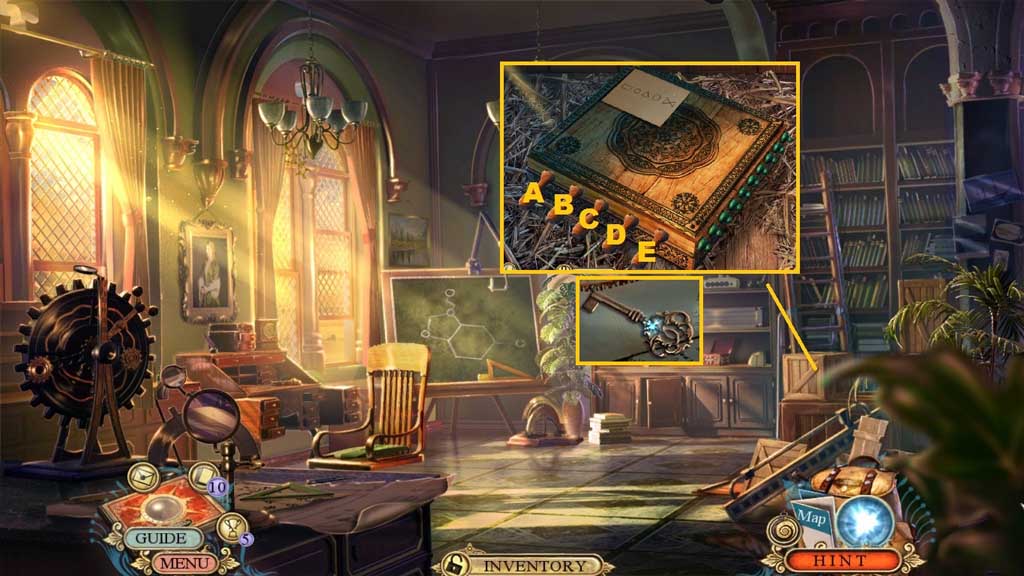
- Zoom into the crate and place down the lockbox drawing to trigger a mini game.
- Solve the game by aligning the handles according to the diagram.
- Use the following sequence to solve:
- C – D – C – E – C – A – C – B
- Collect the natural history key.
- Move to the Cloister.
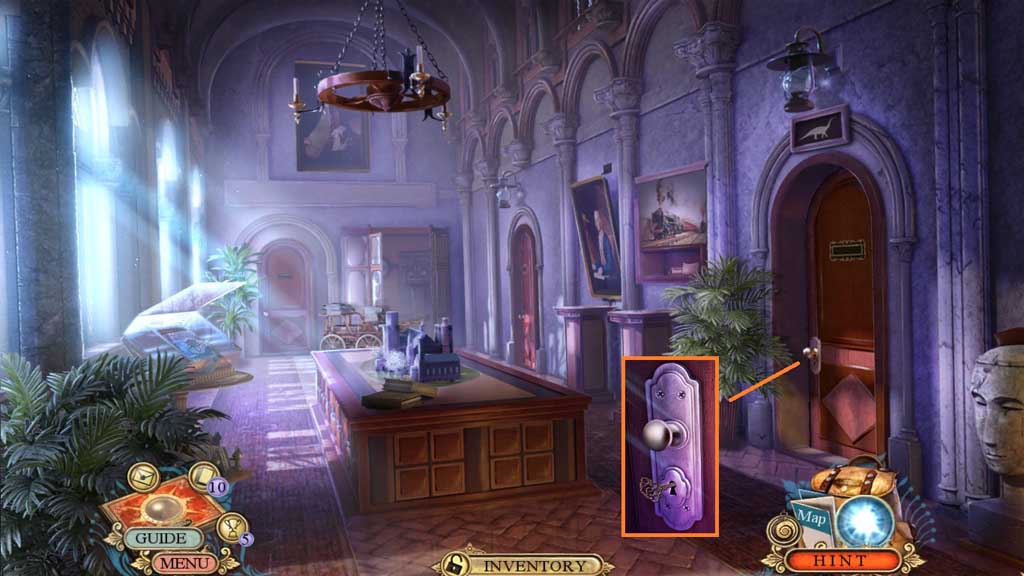
- Insert the natural history key and click it once.
- Move into the Natural History Laboratory.
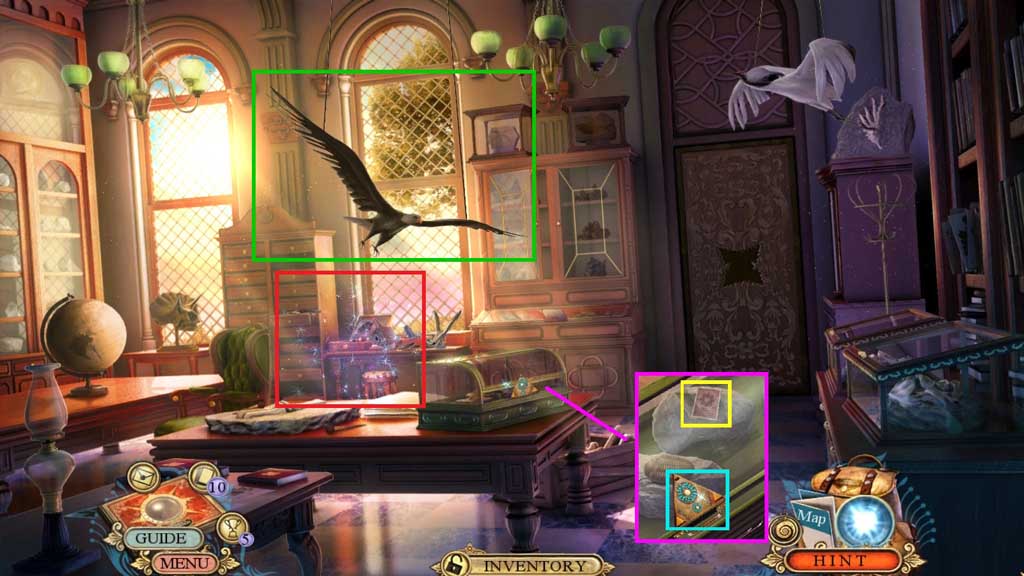
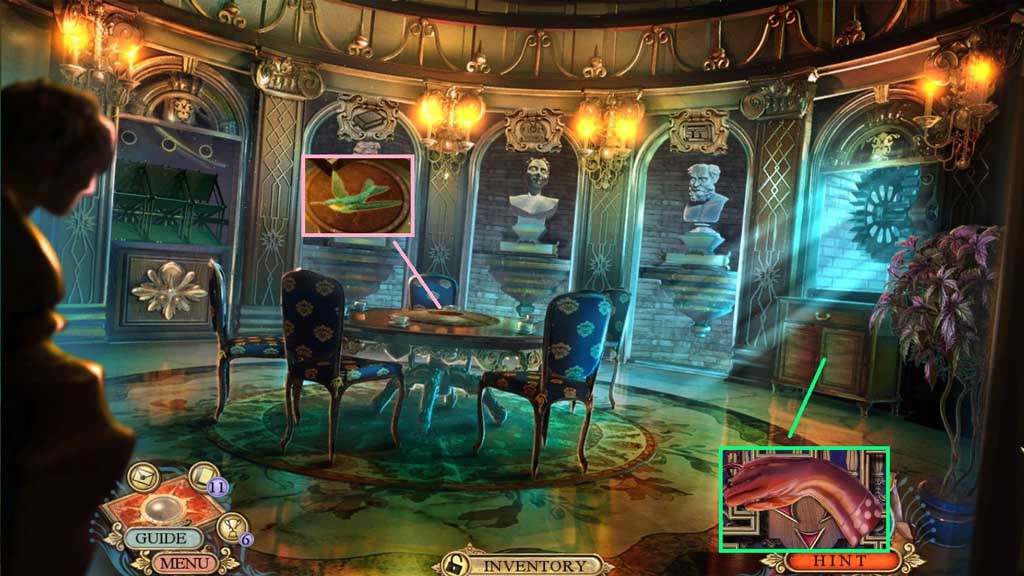
- Click the bird figure.
- Collect the triangle and click the glass case open.
- Collect the fact card.
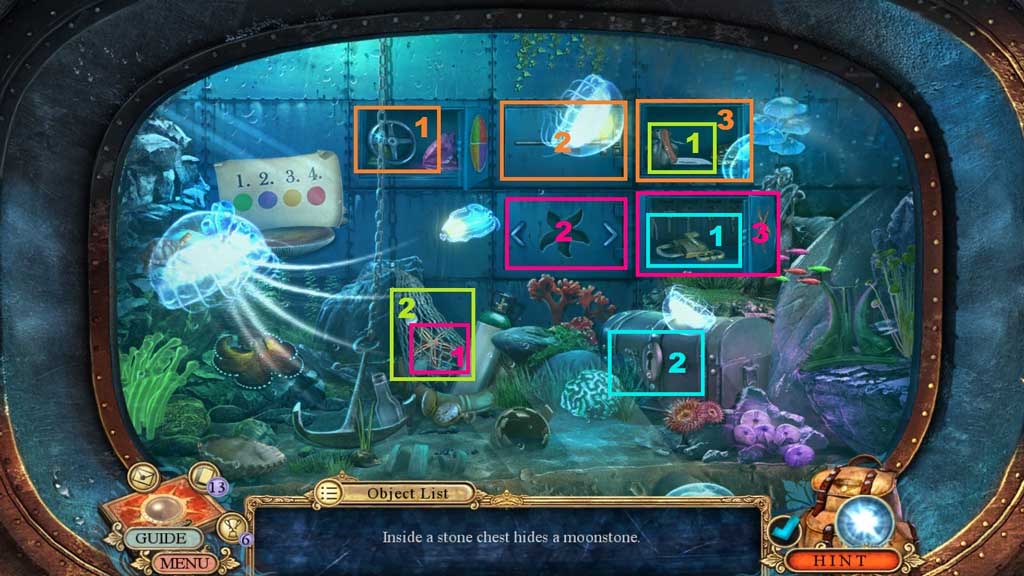
- Click the hidden objects area.
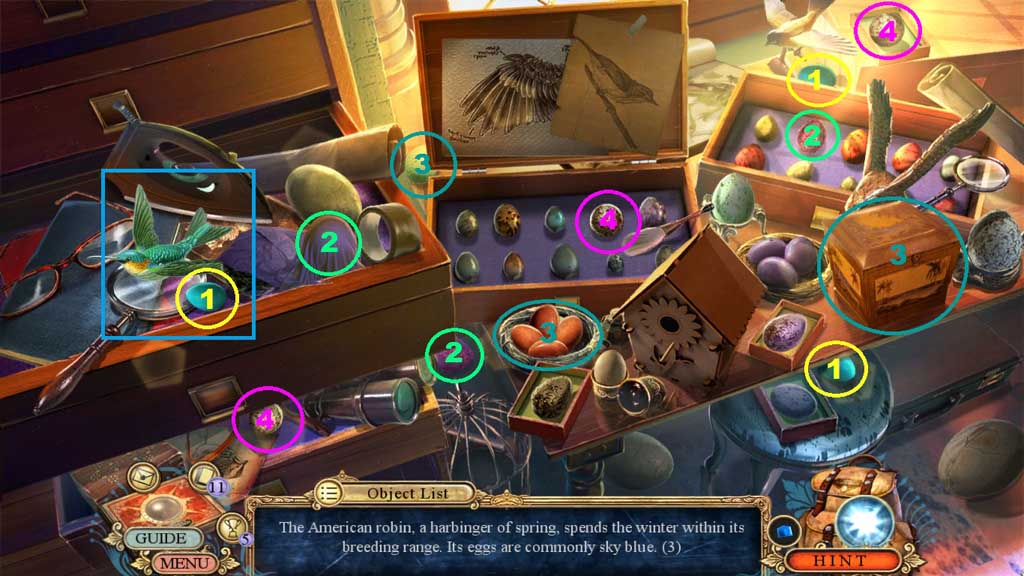
- Find the items based on the clues.
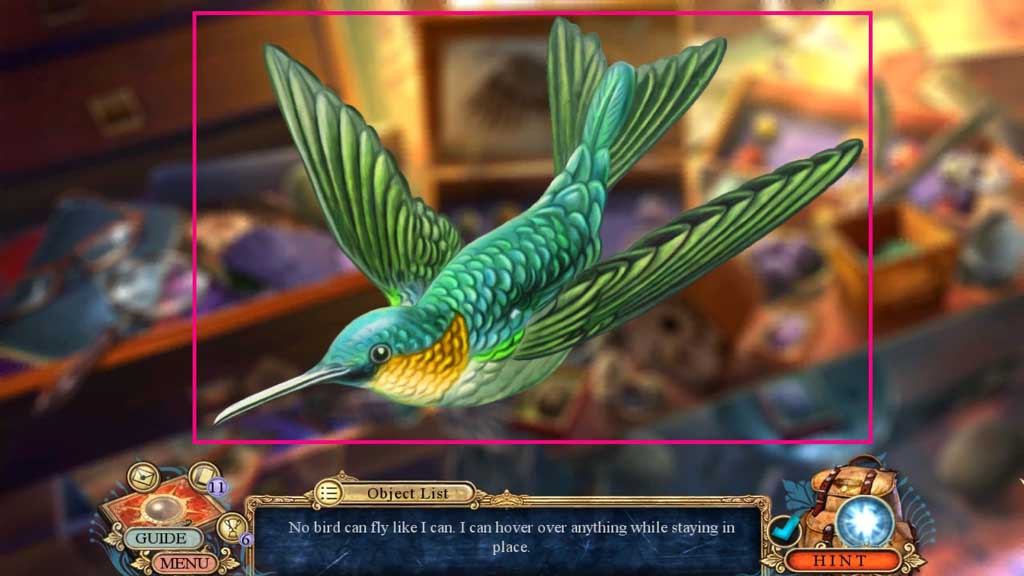
- Collect the hummingbird.

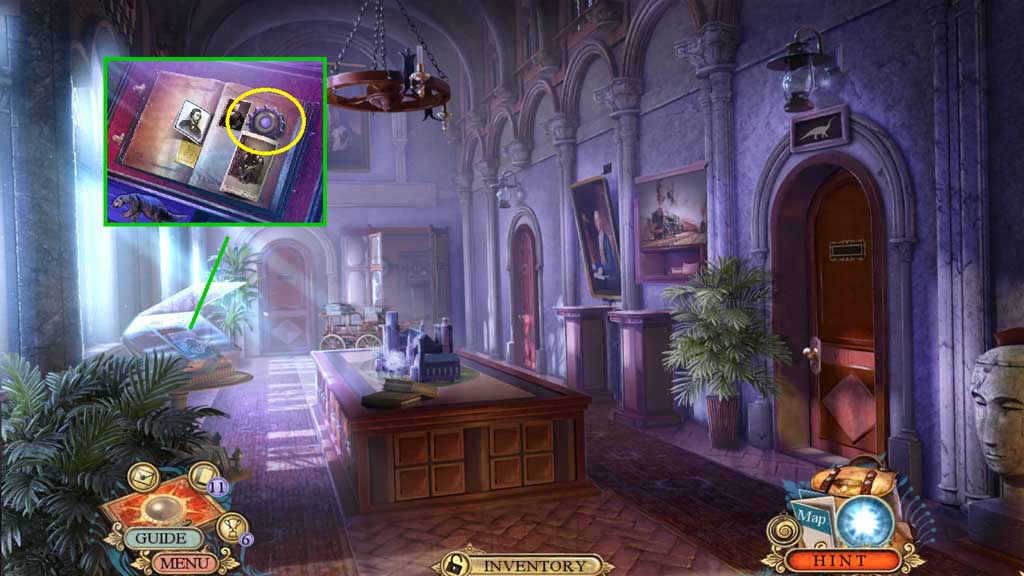
- Collect the note and 3 /3 old photographs.
- Click the glass case open.
- Move down once.
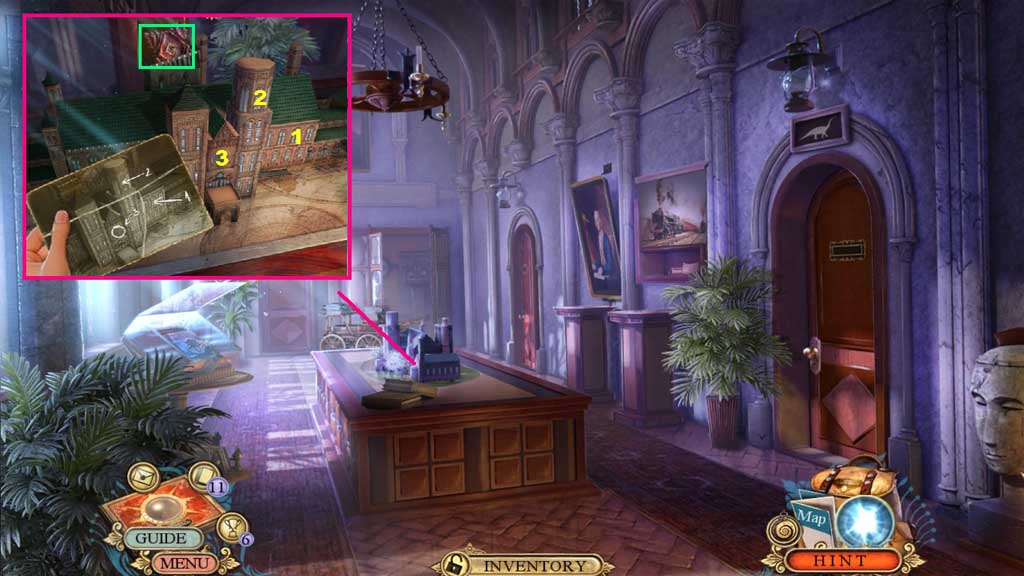
- Place the old photograph near the model.
- Click the 3 windows as shown in the diagram.
- Collect the wooden décor.
- Move to the Natural History Lab.
- Insert the wooden décor.
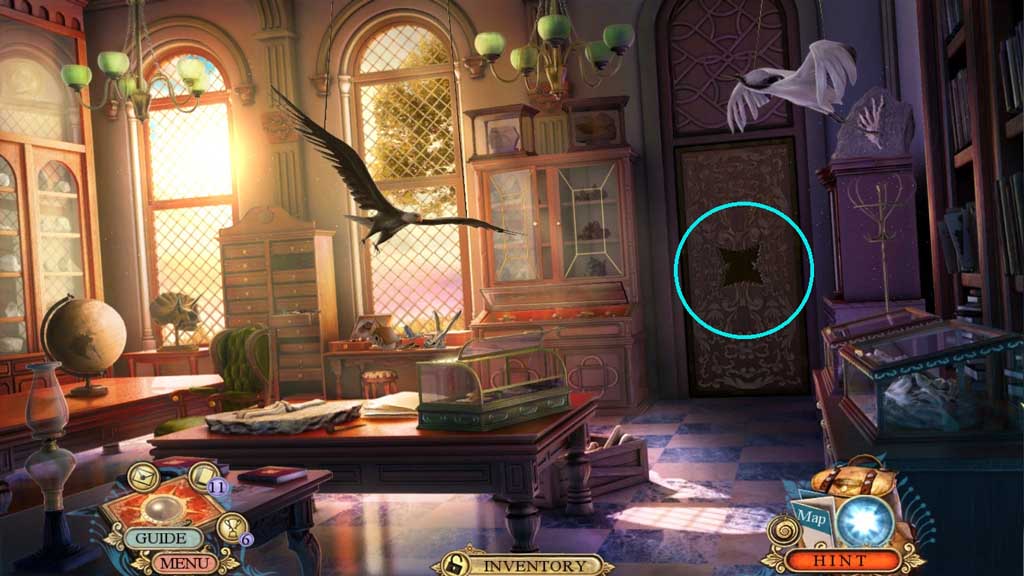
- Move ahead.
- Click the cabinet door; collect the mushroom glove.
- Insert the hummingbird into the center of the table.
- Move down once.
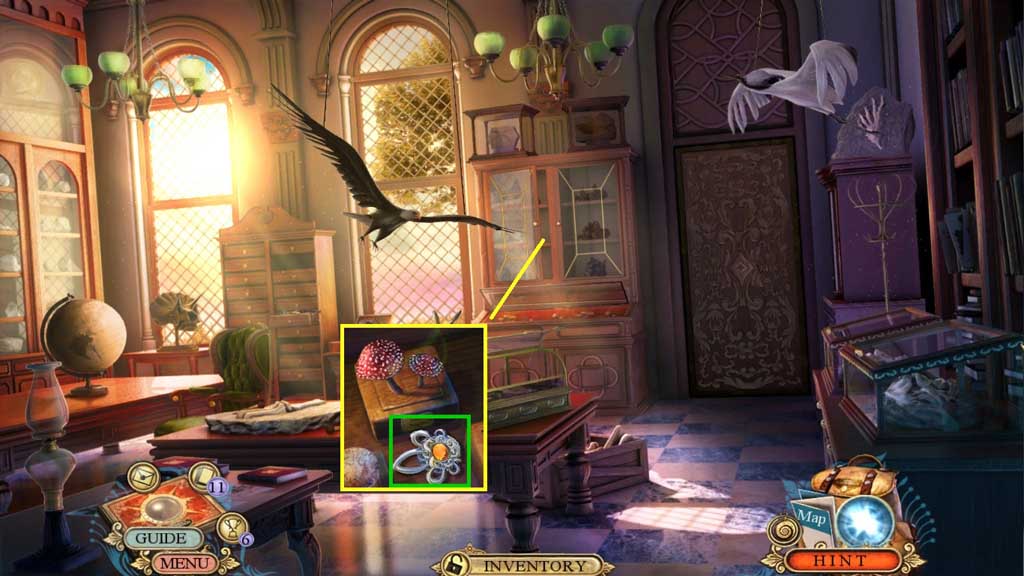
- Select the mushroom glove to collect the book pattern.
- Move down once.
- Insert the book pattern.
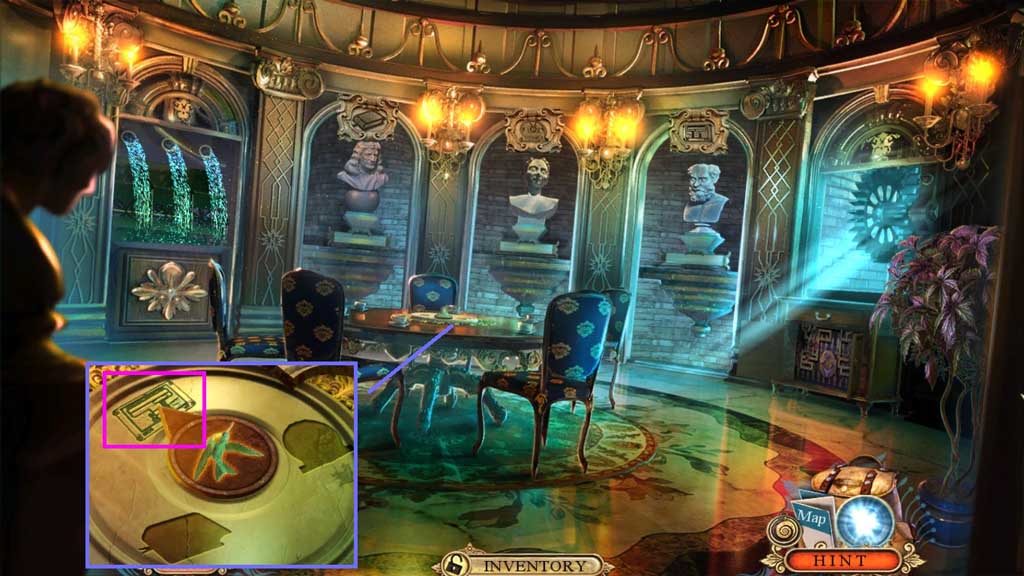
- Collect the cog.
- Move to the Meeting Room.

- Insert the cog to trigger a mini game.
- Solve the game by moving the cog from one side of the maze to the other.
- Use the following solution to solve: C –D – C – B – C – D – C – B – A x 2 – D – A x 3 – D – C – B – C – B – A – D – C – D – A – D – C – B x 2 – C x 2 – D x 2 – C – B – A – B – A – D
- Collect the letter L and the shell fossil.
- Move down once.

- Insert the shell fossil.
- Click the items aside; collect the registry plate.
- Move ahead.
- Place the registry plate.
- Move into the Registry.
- Click the panel.
- Insert the letter L.
- Place the stethoscope and click it 4x’s to trigger a hidden objects area.
- Find the items.
- Collect the magnet.
- Collect the note and insert the triangle.
- Collect the mechanical wing.
- Move ahead.
- Collect the H.E.L.P. crest; click the 3 parts.
- Collect the leather string.
- Click the cabinet; collect the fact card.
- Select the magnet to collect the small cannon.
- Click the right arrow and click the cabinet.
- Select the magnet to collect the wind up key.
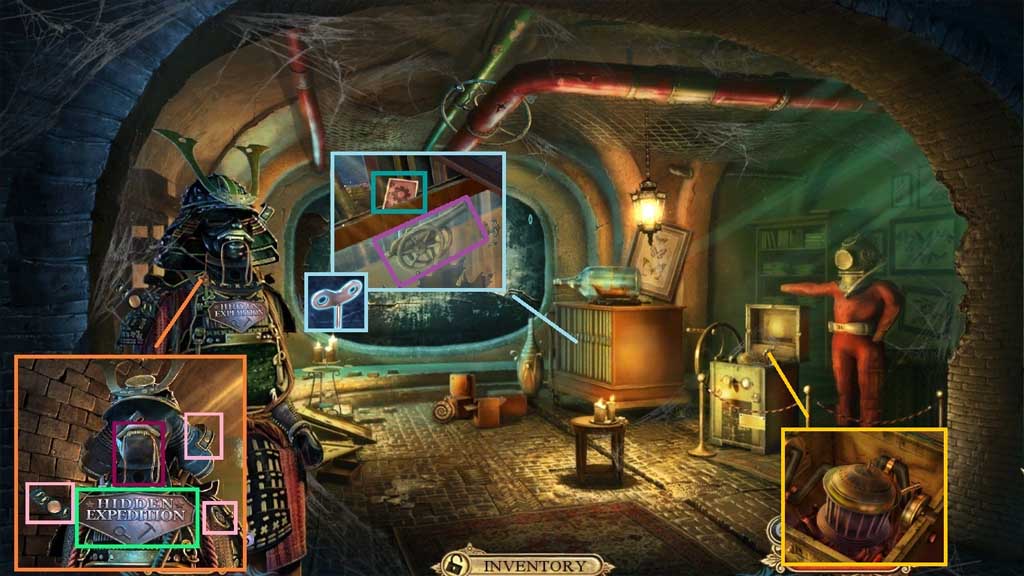
- Select the bellows to remove the cobwebs; collect 1 /3 Atlantis parts and the hose.
- Move down once.
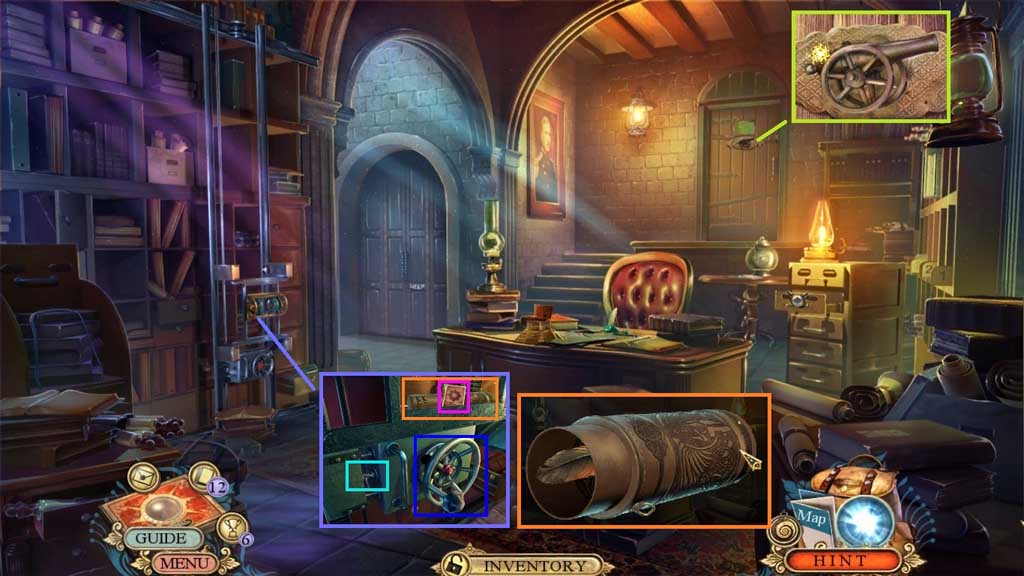
- Insert the small cannon.
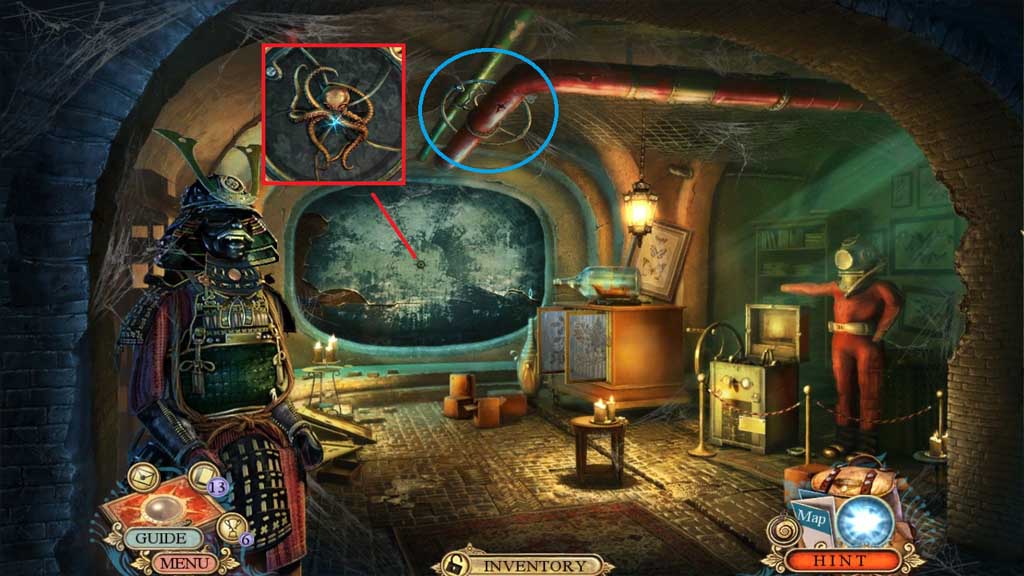
- Attach the hose and the leather string; click the valve.
- Collect the fact card and the leather tube.
- Click the leather tube and collect the quill.
- Move to the Inventions Room.
- Select the music box to give the Sarah; collect Sarah’s song.
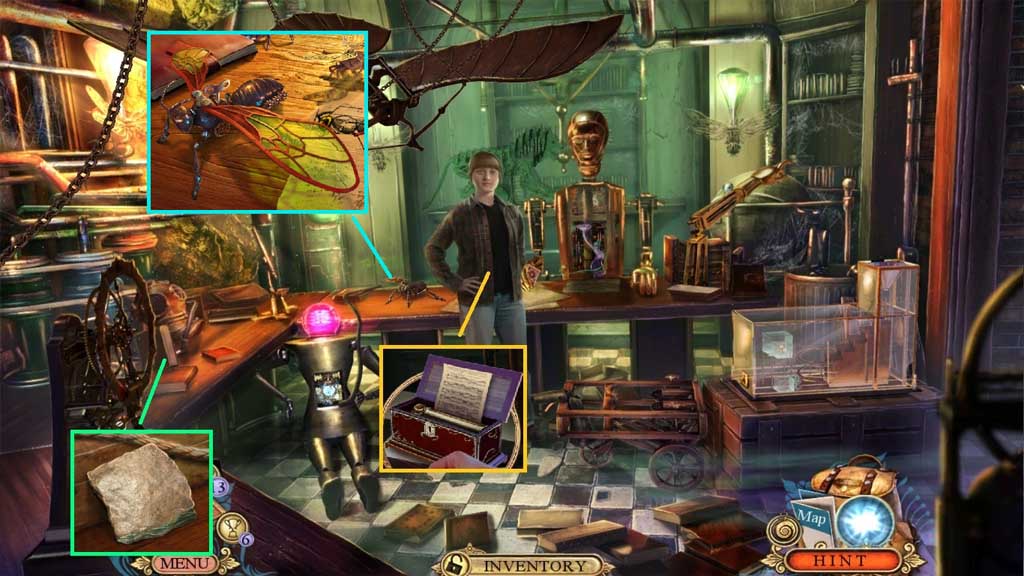
- Collect the stone slab.
- Insert the wind up key and attach the mechanical wing.
- Collect the insect.
- Move to the Repository.
- Select the insect to collect the valve.
- Attach and click the valve to trigger a hidden objects area.
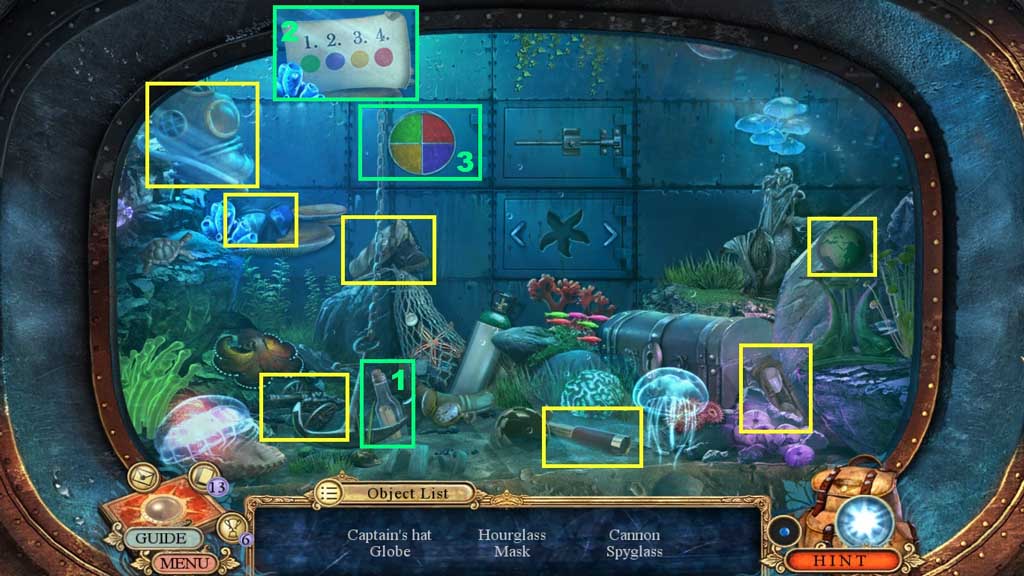
- Find the items.
- Collect the shell.

- Click the shell open to trigger a mini game.
- Solve the game by matching the pearls until there is only one remaining.
- Receive the pearl and the sharp shell.
- Move to the Inventions Room.
- Select the sharp shell to slice the ropes.
- Click the box; collect 2/ 3 Atlantis parts and the ink bottle.
- Collect the fact card.
- Select the quill to write on the paper.
- Click the up arrow and select the ink bottle and pour it into the tube.
- Collect the symbols.
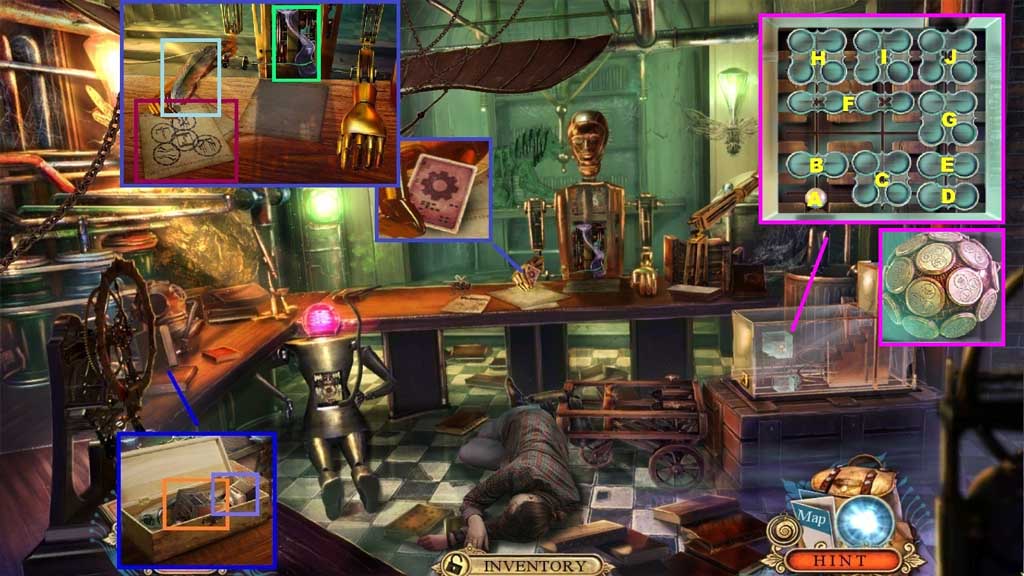
- Place the pearl into the glass box to trigger a mini game.
- Solve the game by sliding the tiles to move the pearl to the exit on the upper right.
- Use the following solution to solve: B – up , B – right , A – up , C – left, E – left, D – left, G – down , F – right , A – up , B – left, F –down , A – right, B – up , B – right, H – down, I – left, J – left, A – up
- Collect the sphere.
- Move to the Meeting Room.
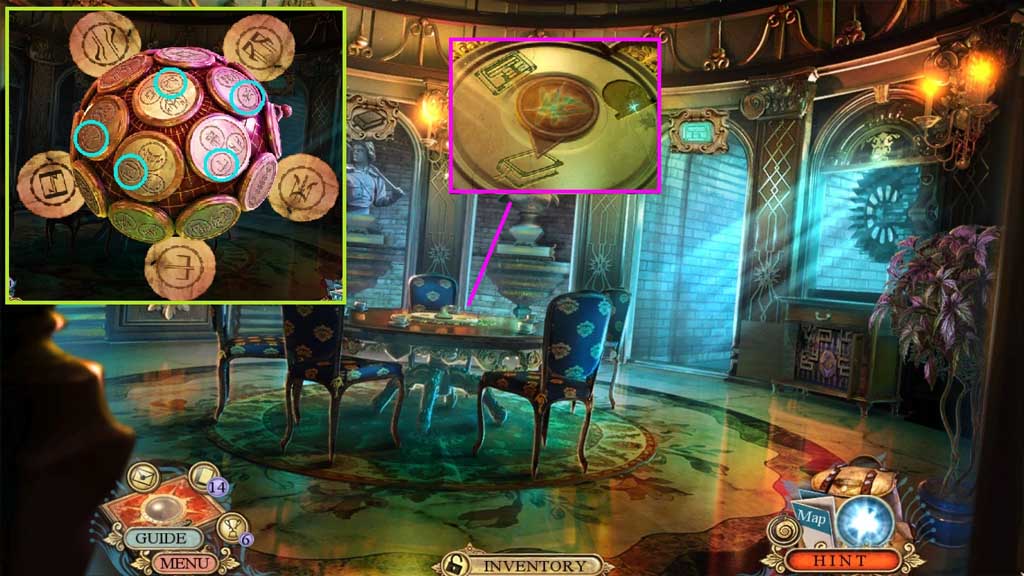
- Place the symbols onto the sphere to trigger a mini game.
- Solve the game by clicking the 5 symbols.
- Collect the book symbol and insert it into the center of the table.
- Move to the Library.