
Death Pages: Ghost Library: Chapter Three: Rescuing Romeo
Our Death Pages: Ghost Library Walkthrough will be your companion as you fight to save three teenagers from a tragic end. Being engrossed in a book is one thing, but having your soul taken from your body and injected into a tragedy is quite another. When three teenagers are subjected to just such a fate it’s up to you to go into the story and make the ending a happy one, or else the children will be forced to follow the tale to its original tragic end. Use our tips, step-by-step instructions, and custom screenshots to help you turn tragedy into triumph.
Chapter One: Rescuing Mercutio
Chapter Two: Rescuing Juliet
Chapter Three: Rescuing Romeo
Chapter Four: Hello, Hamlet
Bonus Chapter
Ask for help in the comments below!
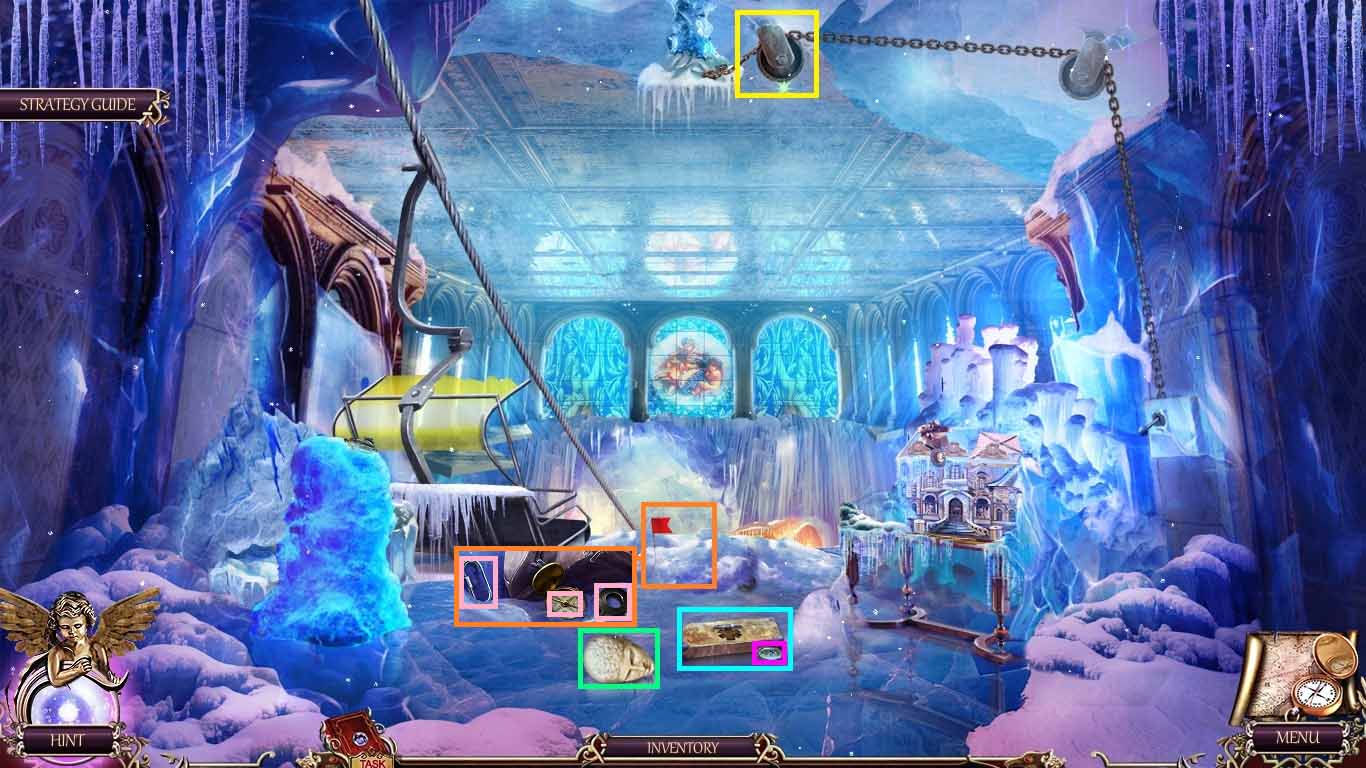
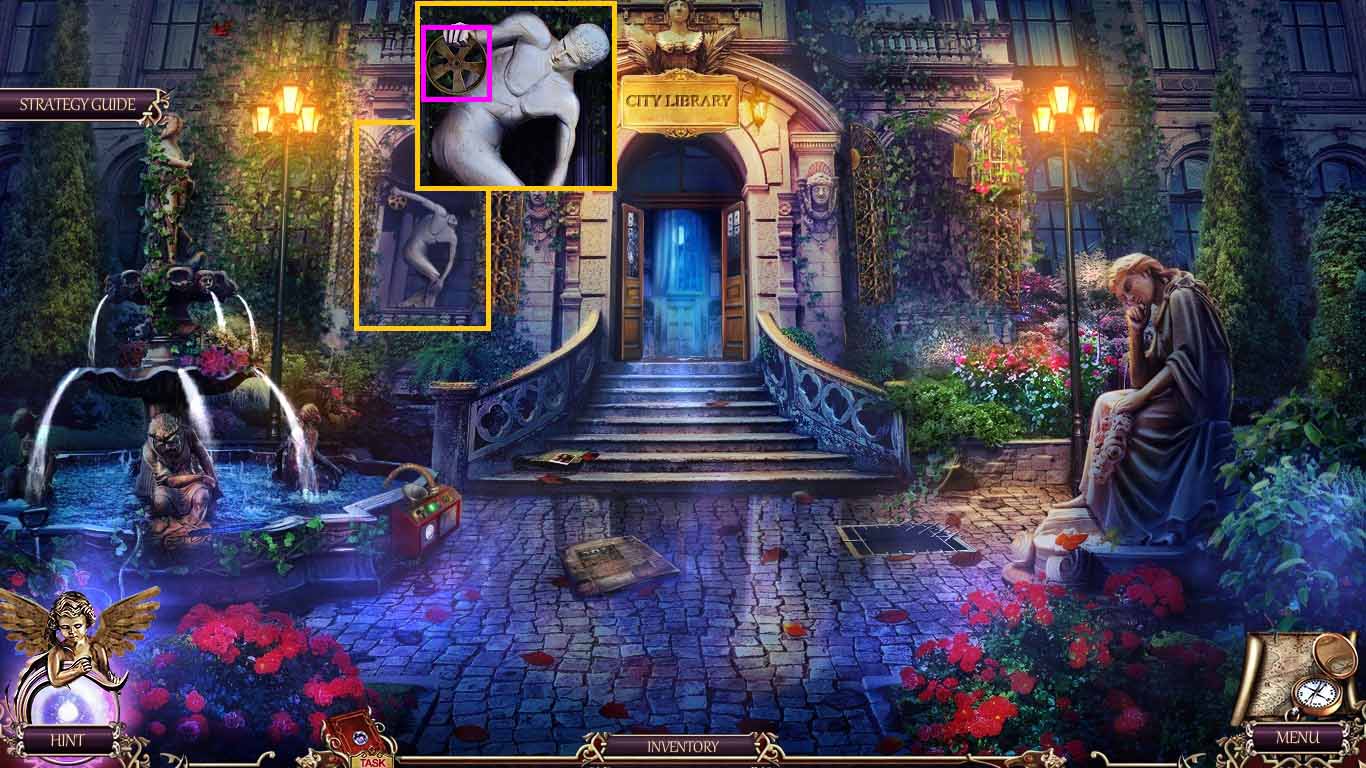
- Zoom into the wheel.
- Use the owlet on the wheel.
- Collect the statue head.
- Zoom into the medicine chest; collect the lens.
- Zoom into the snow pile; use the shovel on it.
- Collect the clock hands, electric tape and carabiner.
- Zoom into the ice block; collect the figure.
- Click the chain to wrap it around; use the carabiner on it.
- Click the lever.

- Zoom into the elevator; collect the rope.
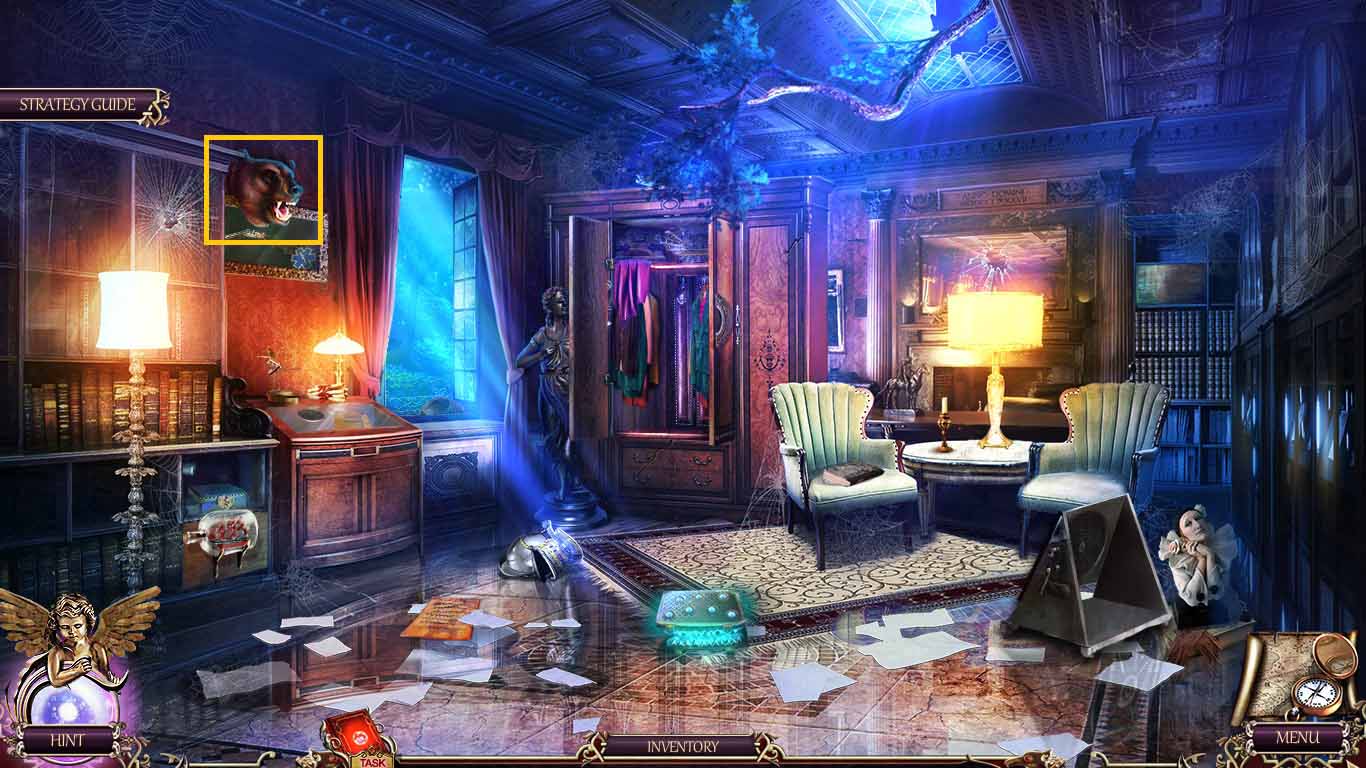
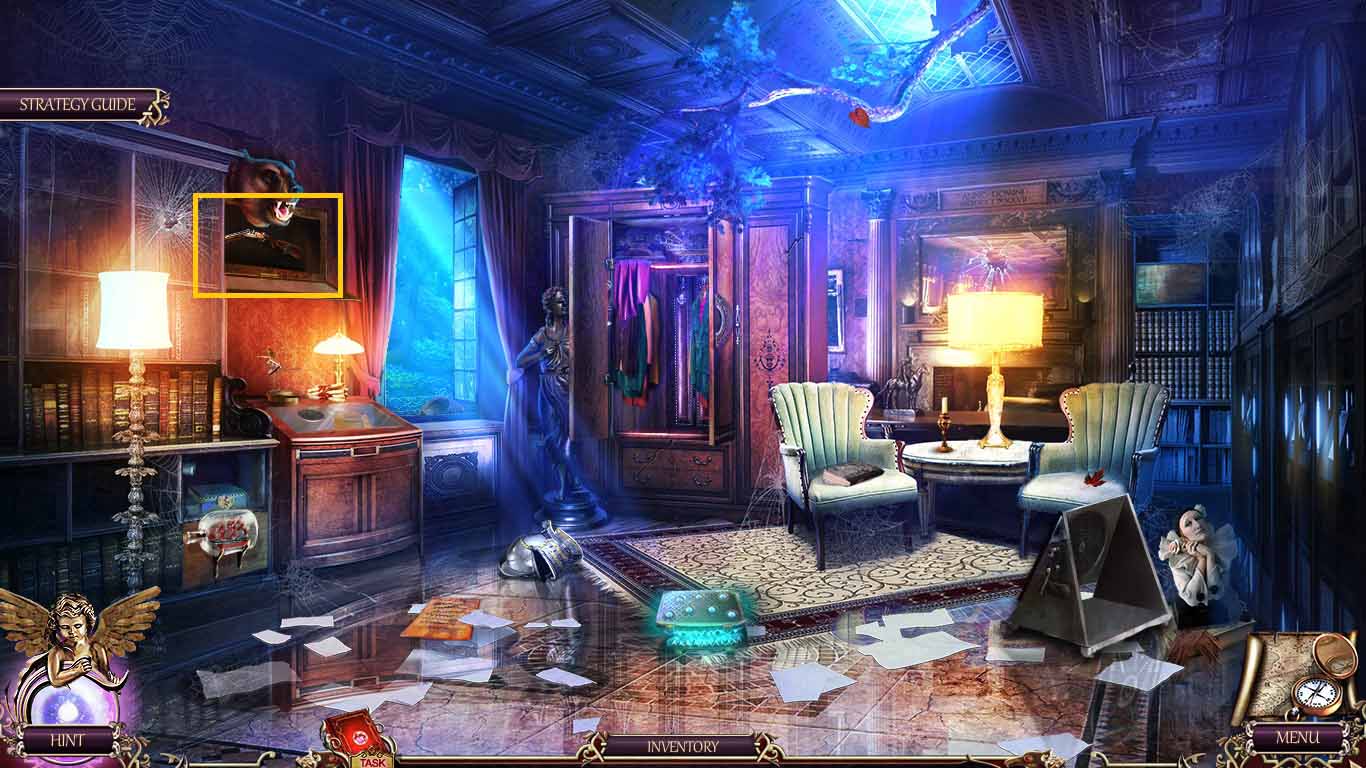
- Use the sword on the head; collect it.
- Move back once go to the right through the office and go to the laboratory.
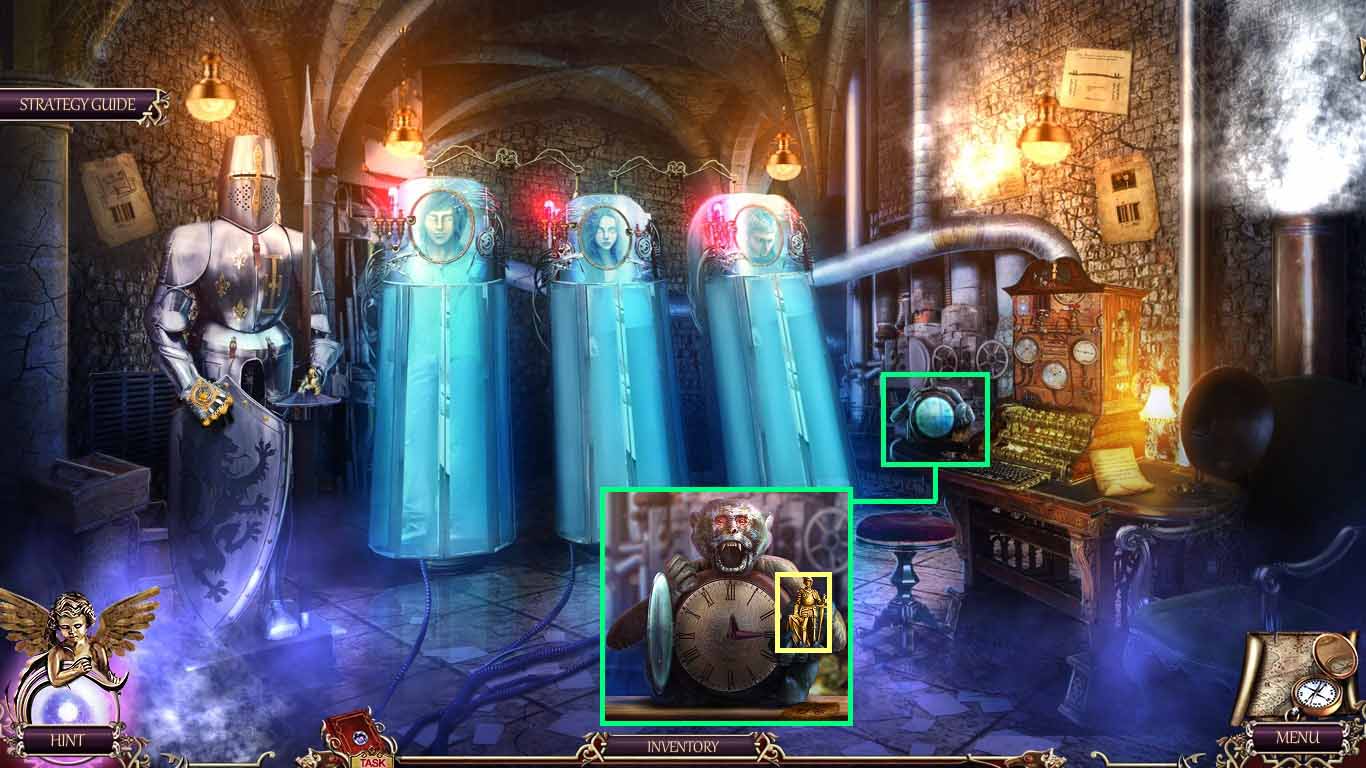
- Zoom into the clock.
- Insert the head and clock hands.
- Click the dial to 12:15; collect the 2nd figure
- Move to the ice hall.
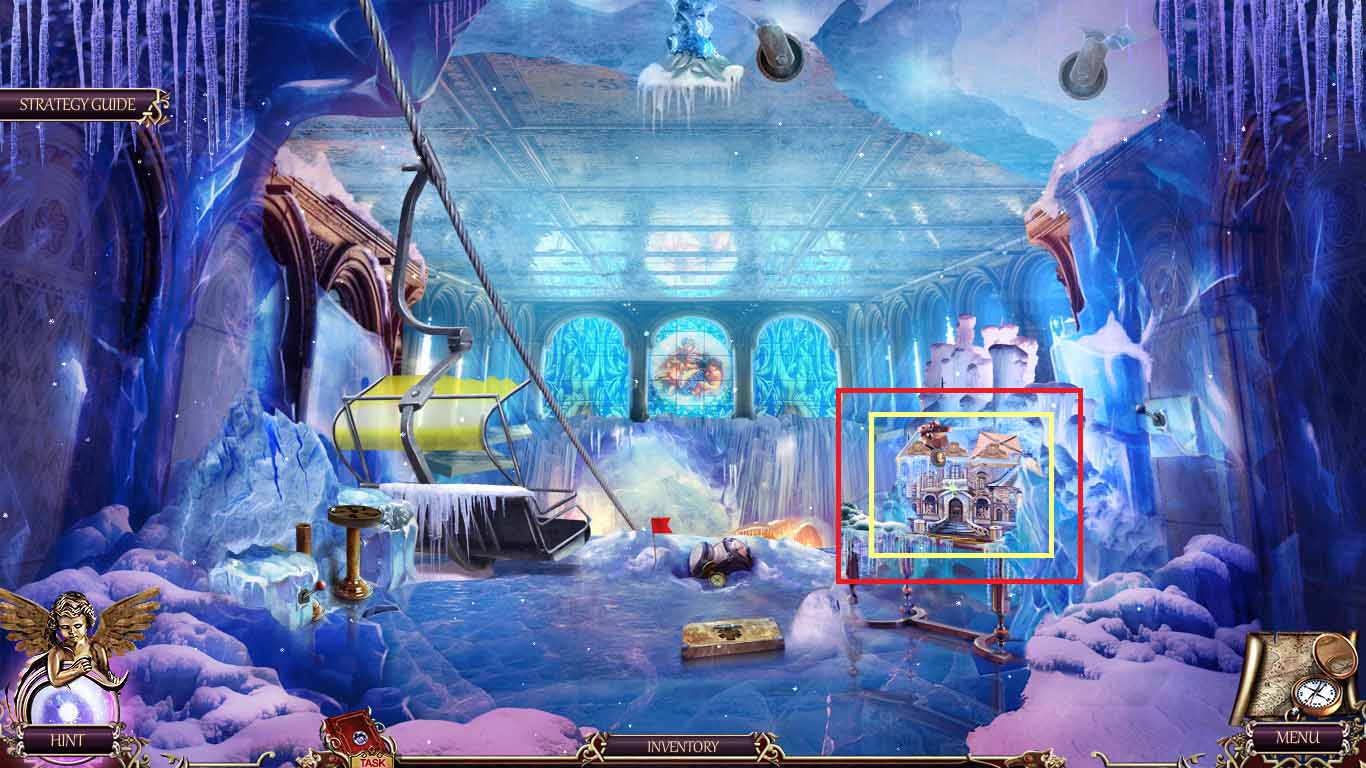
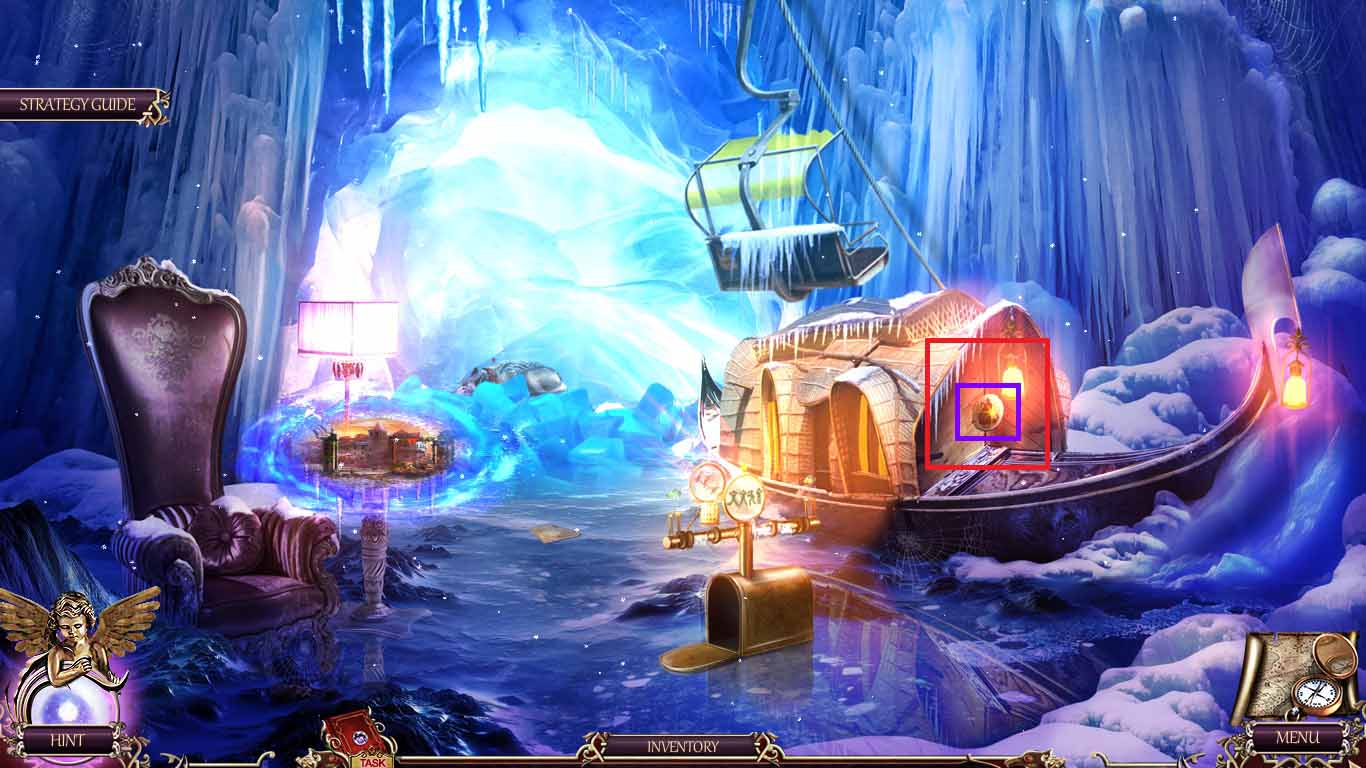
- Zoom into the dollhouse; put the 2 figures onto the pedestals.
- Zoom into the dollhouse to access a hidden objects area.
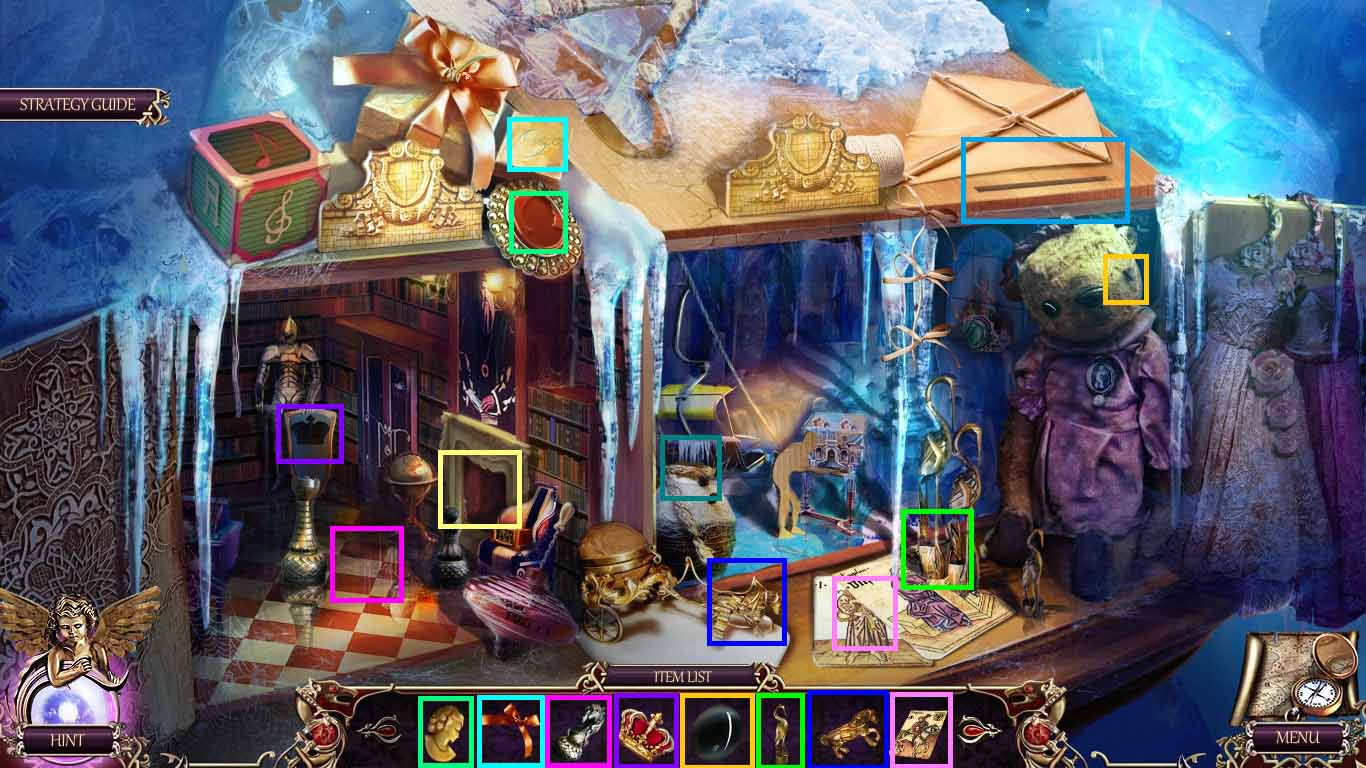
- Arrange the objects into the correct areas.
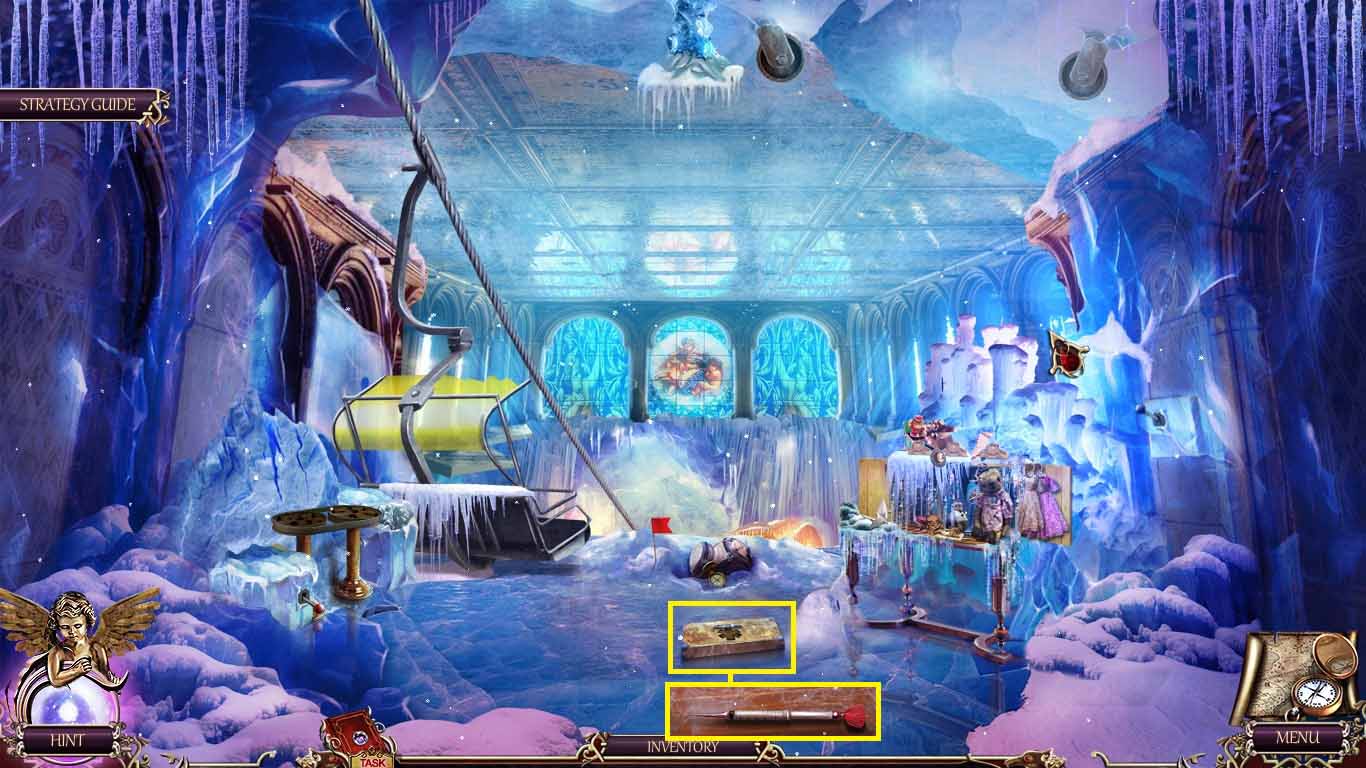
- Collect the ship in a bottle.
- Move back and go forward.

- Zoom into the shelf.
- Place the ship in a bottle onto it.
- Collect the belt and the 2nd lens.
- Move back two times.
- Zoom into the niche.
- Place the statue head onto the statue.
- Collect the wheel.
- Move to the ice hall.
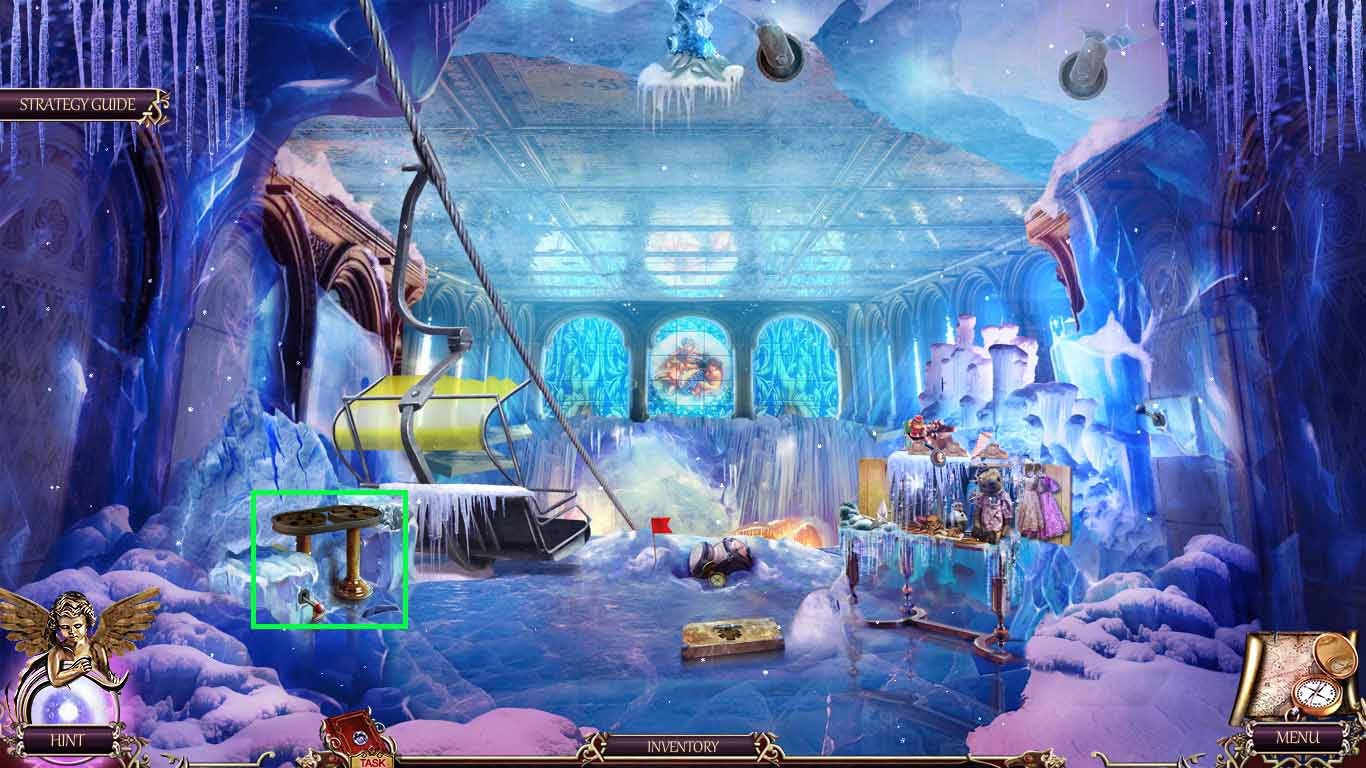
- Zoom into the elevator.
- Place the wheel and the belt onto it.
- Tighten the belt using the wrench.
- Click the lever.
- Move forward to the basement.
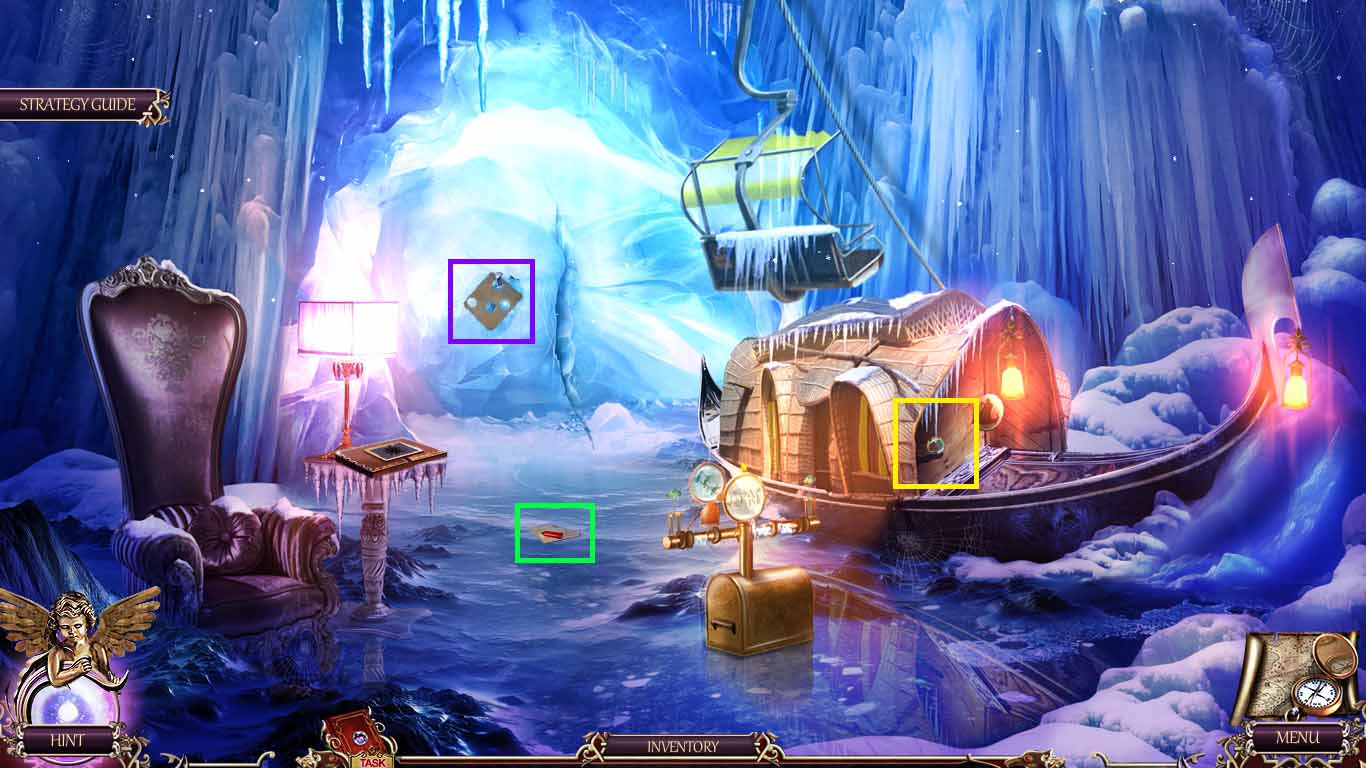
- Zoom into the note; collect the marker.
- Zoom into the frozen boat; collect the 3rd lens.
- Zoom into the ice wall; collect the stencil.
- Move back two times.
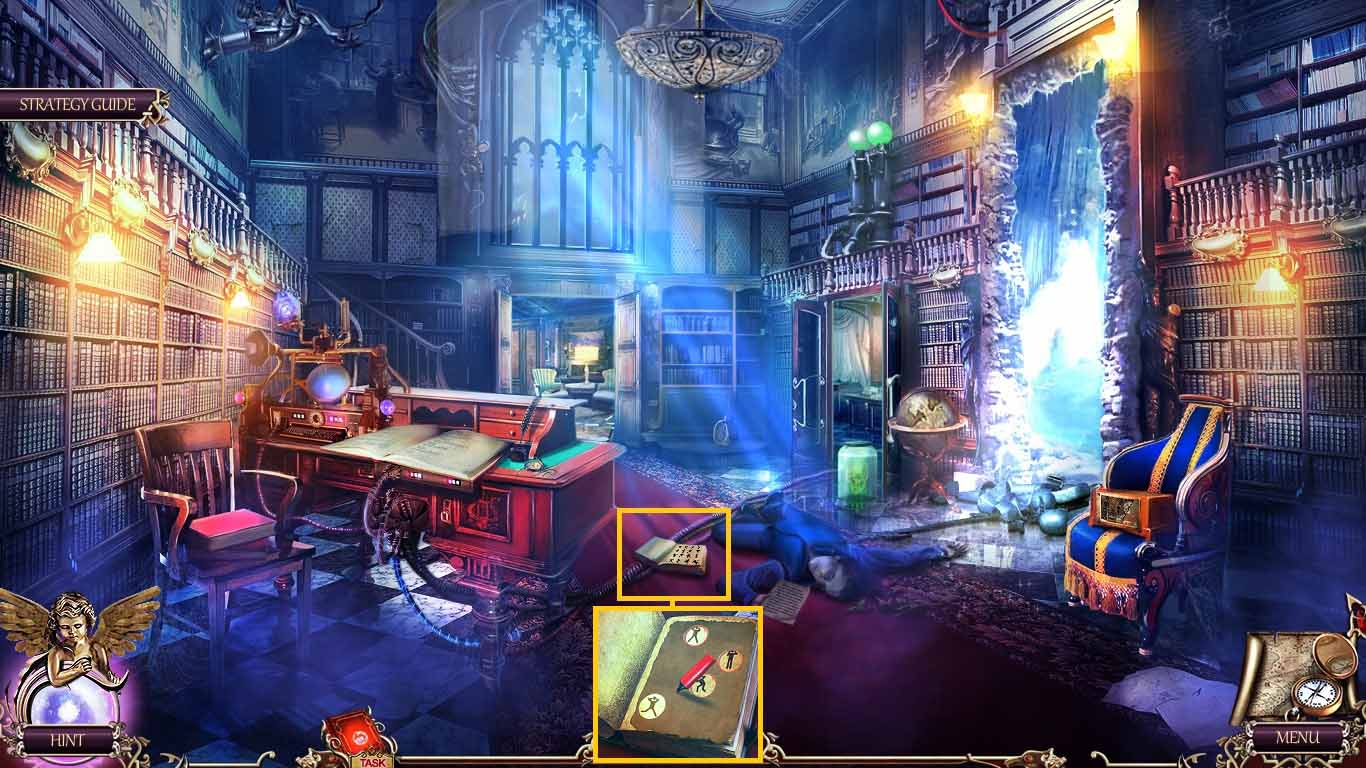
- Zoom into the book.
- Use the stencil and the marker on the book; collect the code.
- Move to the basement.
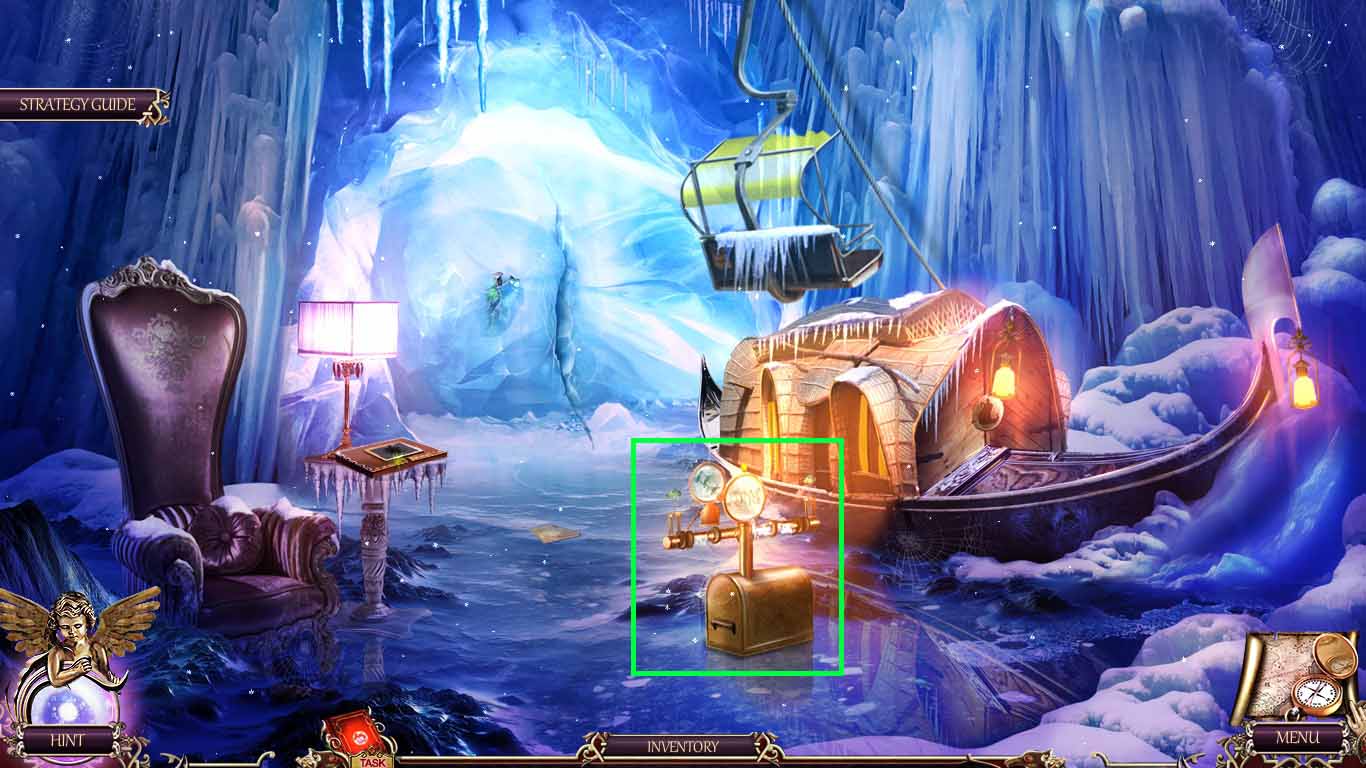
- Zoom into the kaleidoscope.
- Place the 3 lenses and code onto the kaleidoscope.
- A puzzle will trigger.
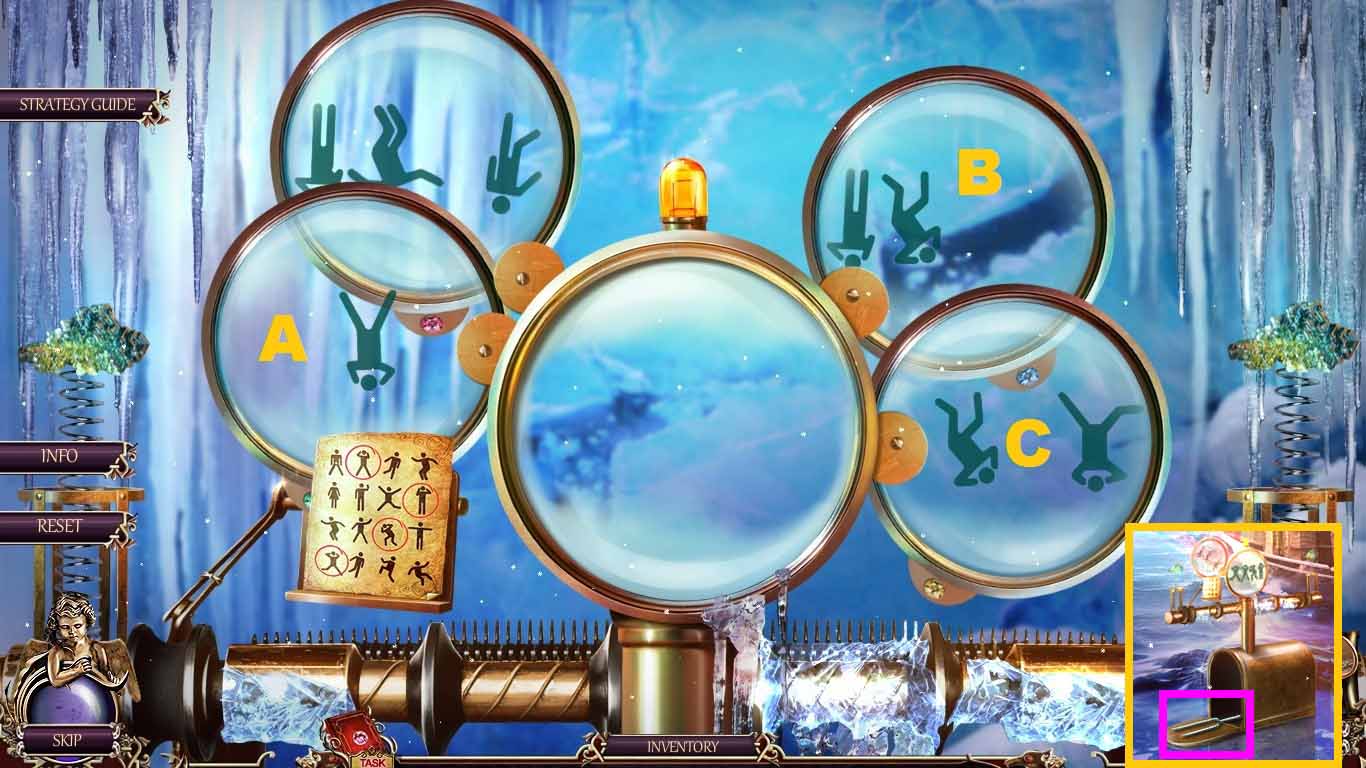
- Click the lenses as shown (A-C).
- Collect the tuning fork.
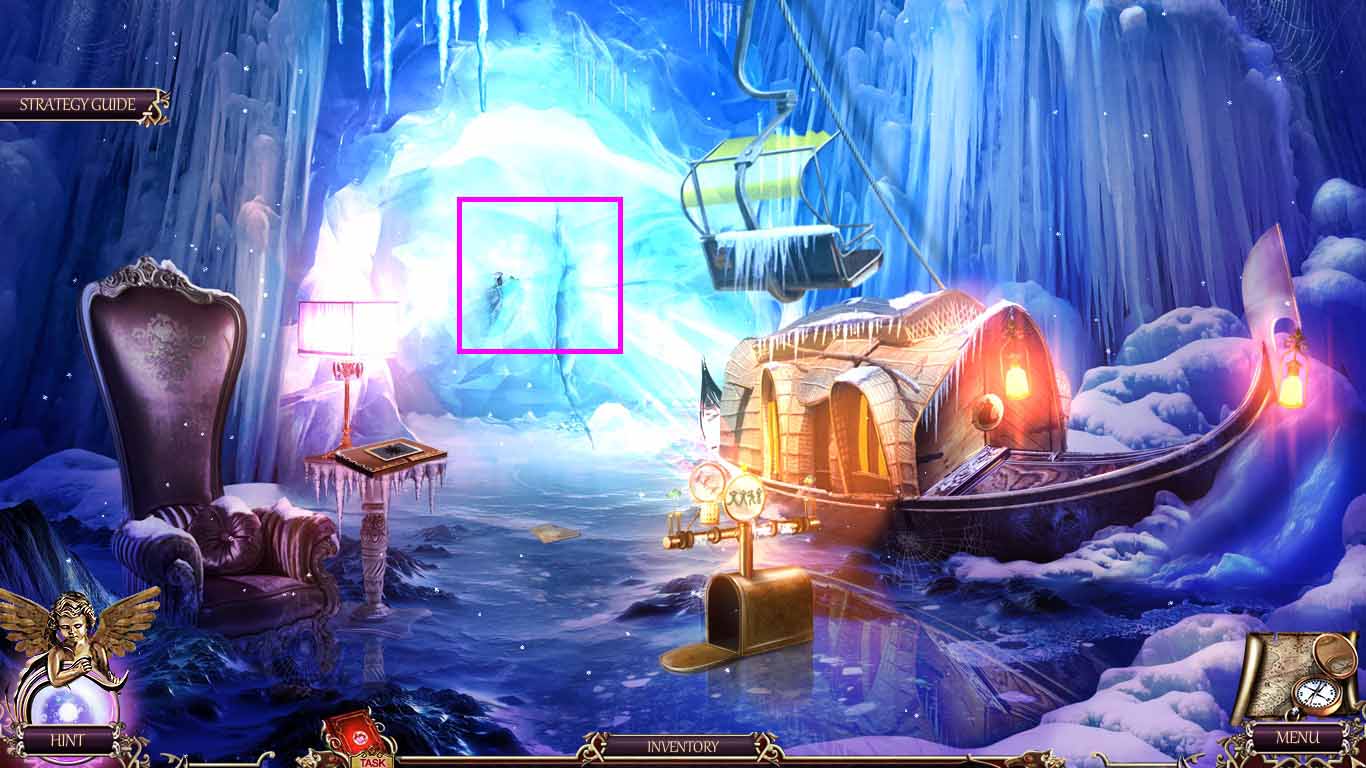
- Zoom into the ice wall; insert the tuning fork into the crack.
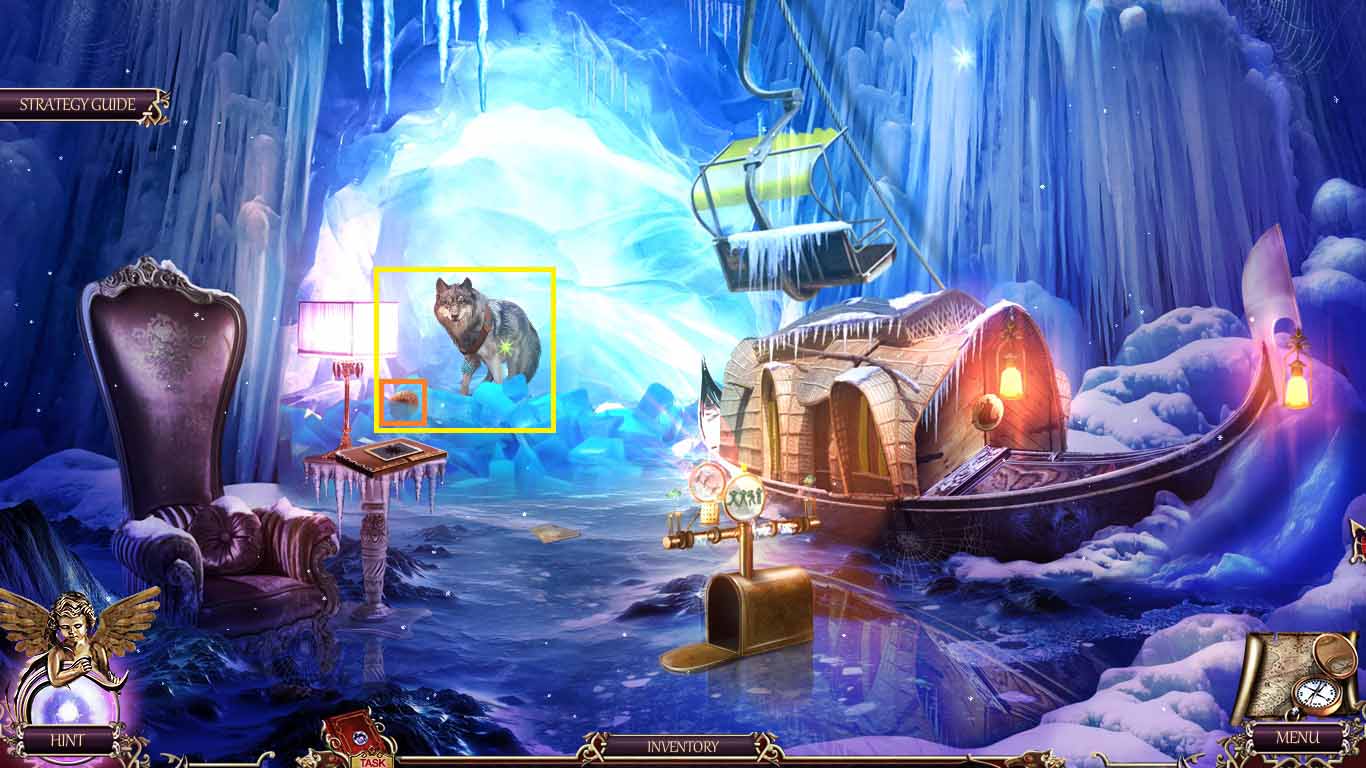
- Zoom into the wolf; collect the ear.
- Move back two times and go forward.
- Zoom into the gun glass case.
- Place the ear onto the head.
- A puzzle will trigger.

- Adjust the features to complete the bear face.
- Solve as follows:
- Click the ears all the way down.
- Click both eyebrows all the way up.
- Click the nose up and click it once down.
- Collect the first aid kit key.
- Move to the ice hall.
- Zoom into the medicine chest; insert the first aid kit key.
- Collect the tranquilizer dart.
- Move back once and move forward.
- Zoom into the gun glass case.
- Insert the tranquilizer dart into the gun.
- Collect a shotgun.
- Move to the basement of the ice hall.
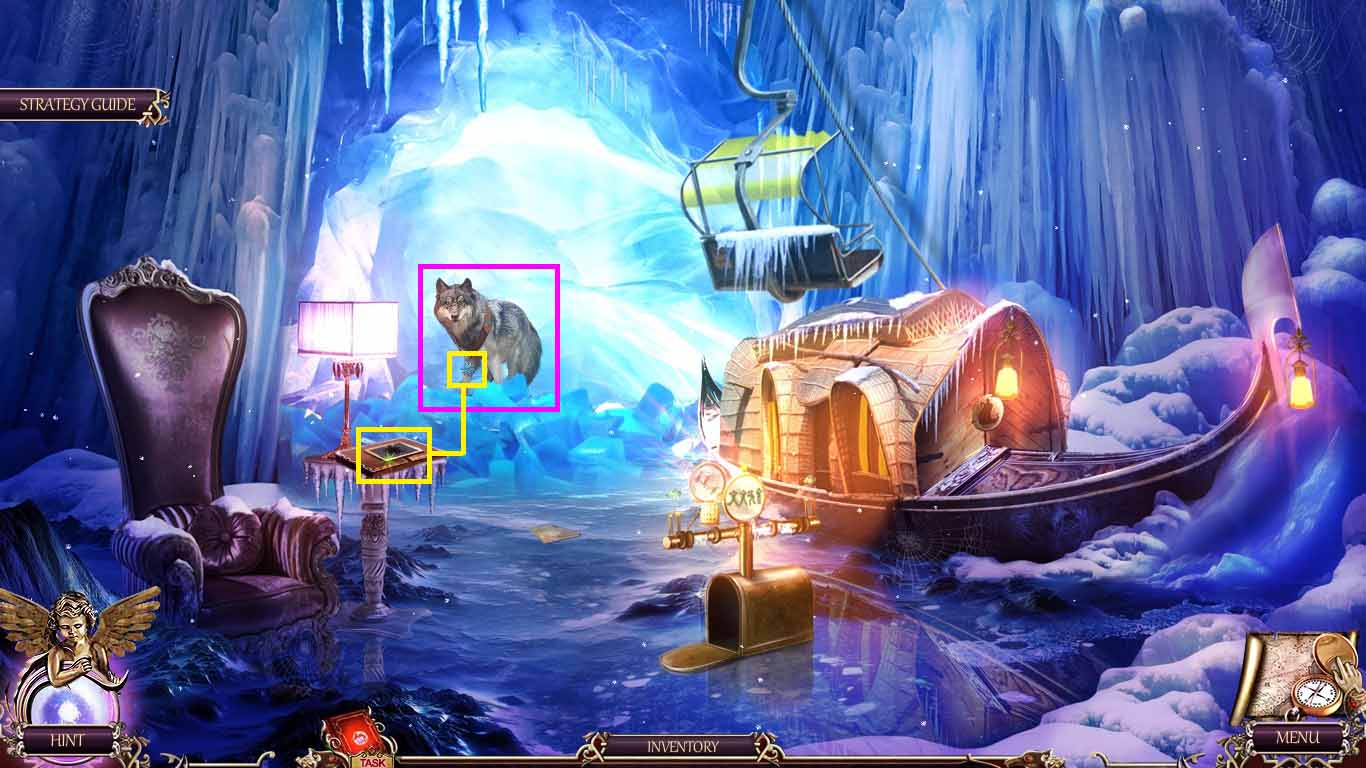
- Zoom into the wolf.
- Use the shotgun on the wolf.
- Collect the snowflake.
- Zoom into the book.
- Insert the snowflake.
- A puzzle will trigger.
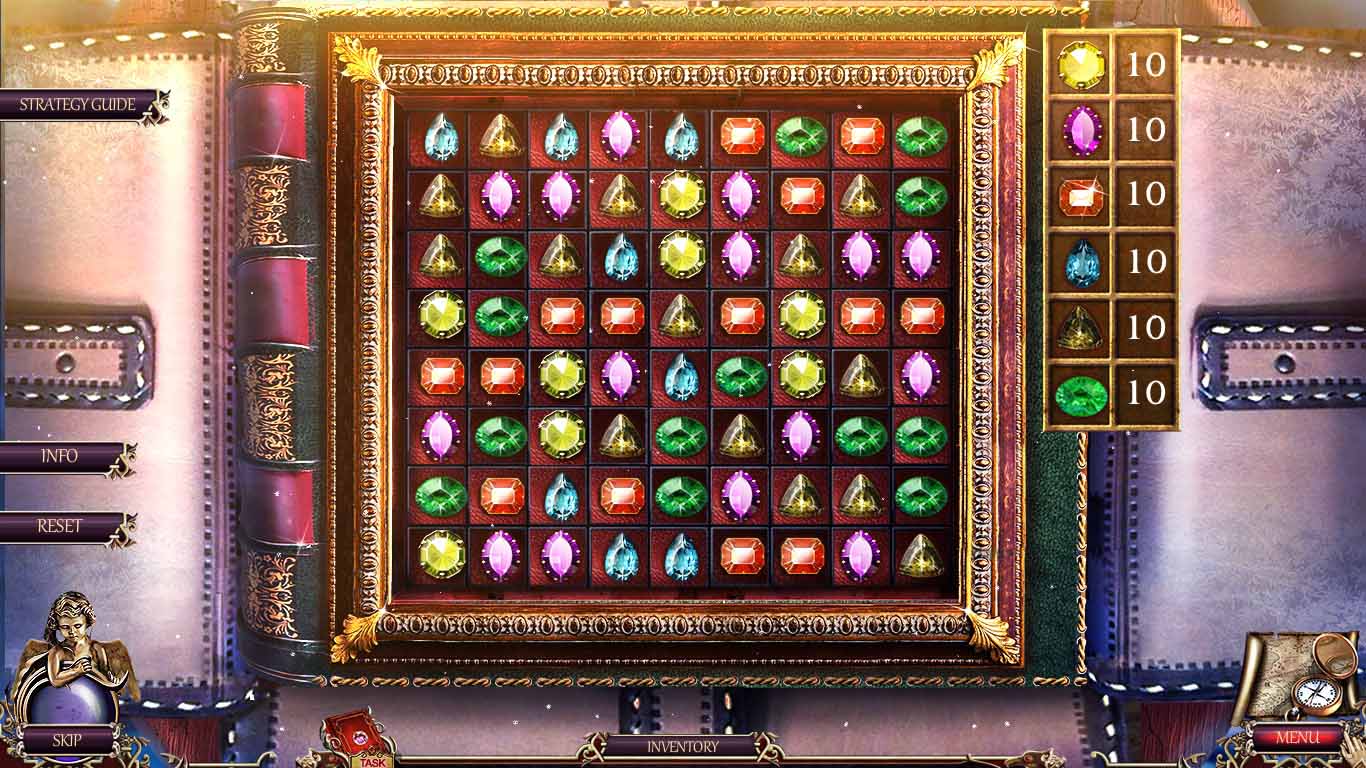
- Match 3 or more sets of gemstones.
- Collect 10 sets of each gem.

- Zoom into the hook; attach the rope.
- Collect the hook.
- Move to Juliet’s house.
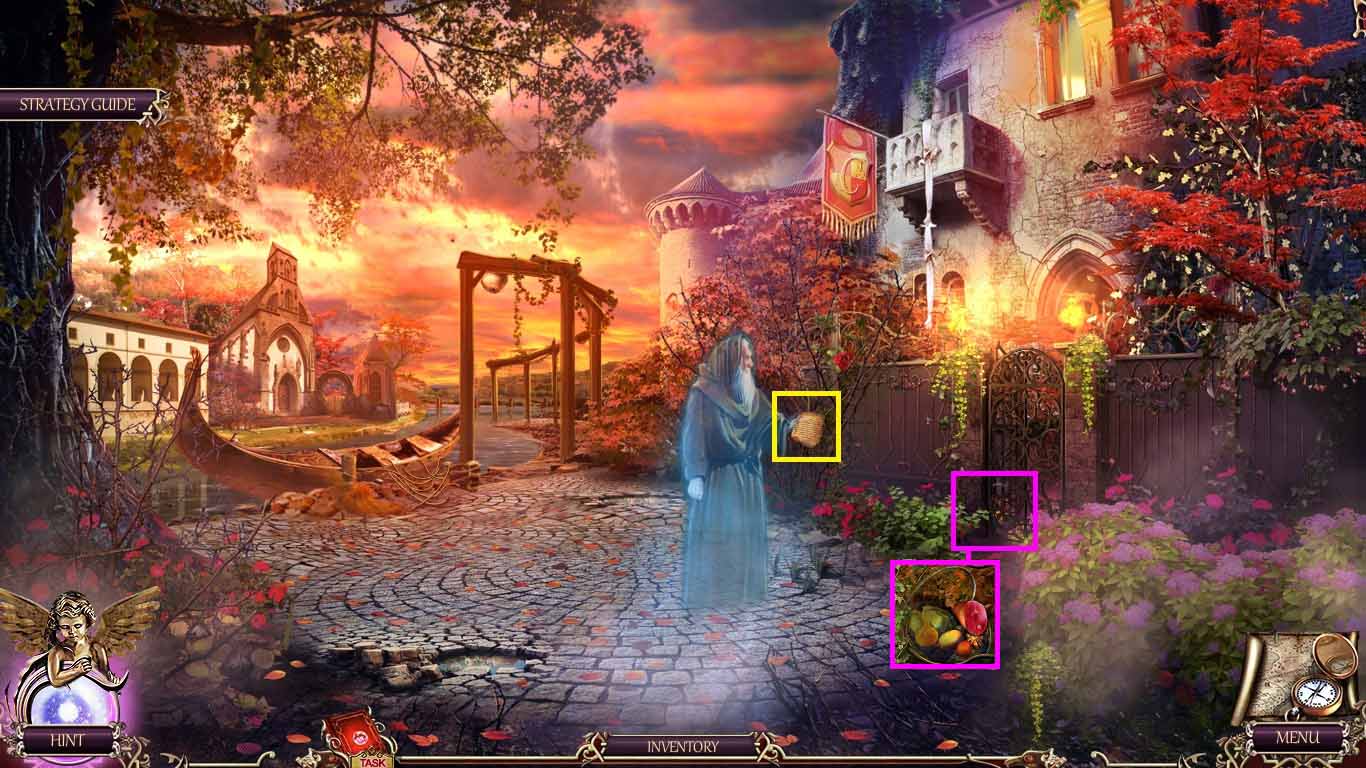
- Zoom into the gate.
- Use the hook on the package; collect the ham.
- Zoom into the letter; collect the pin.
- Move back one time.
- Give the ham to the dog.
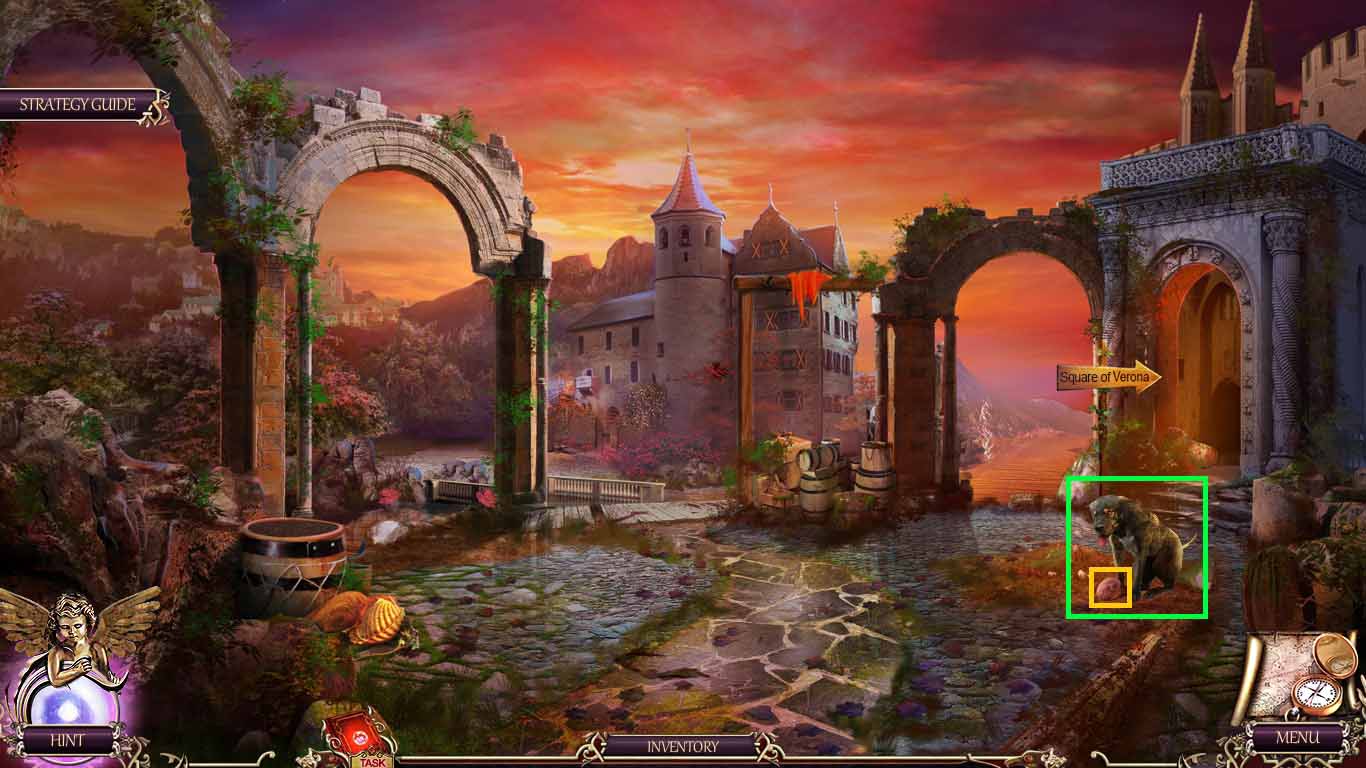
- Move to the right to the square.
- Zoom into the executioner.
- Use the pin on the clasp of the mask.
- Collect the diamond and the mask.
- Move forward to the trade lane.
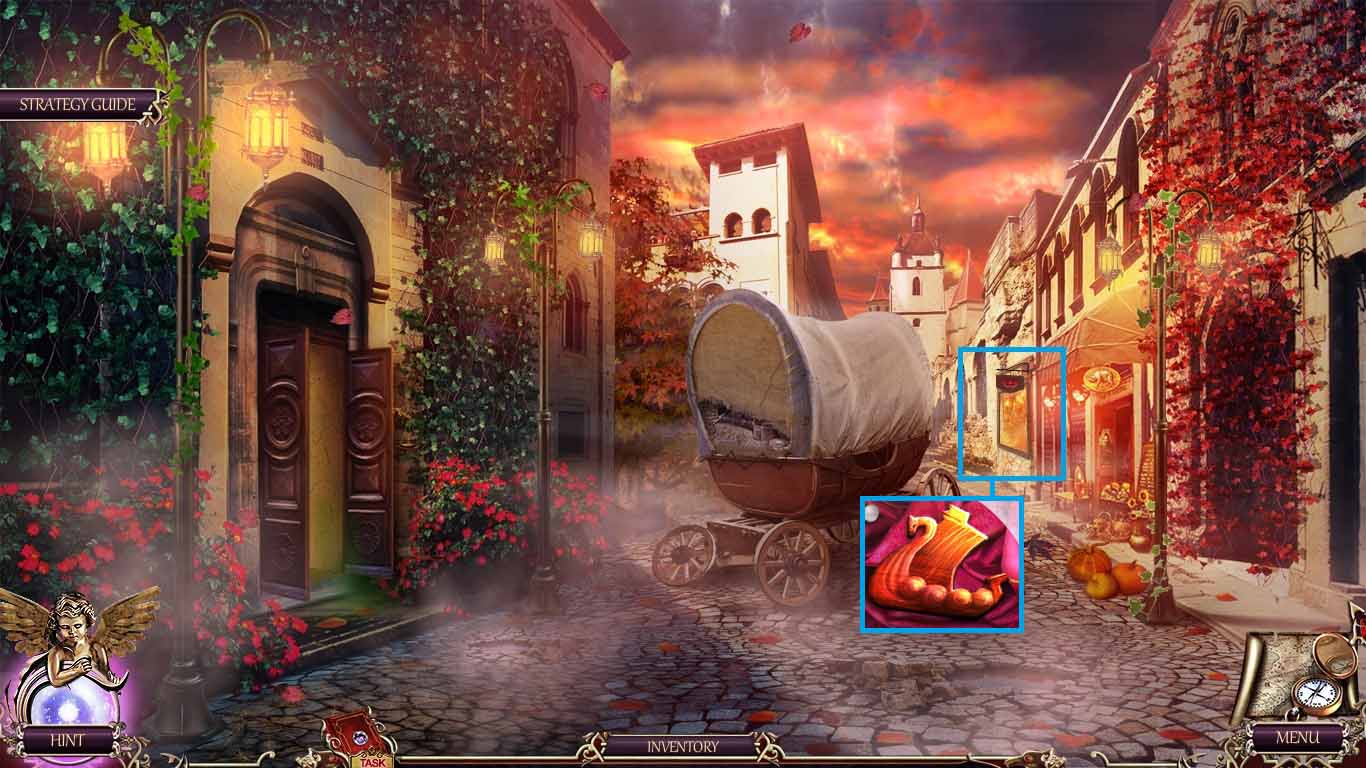
- Zoom into the glass case.
- Cut the glass case using the diamond; collect the ship.
- Move back four times; and go into the ice hall basement.
- Zoom into the frozen boat; place the ship onto it.
- A hidden objects area will be uncovered.

- Arrange the objects into the correct areas.
- Collect the oar.
- Move to Juliet’s house.
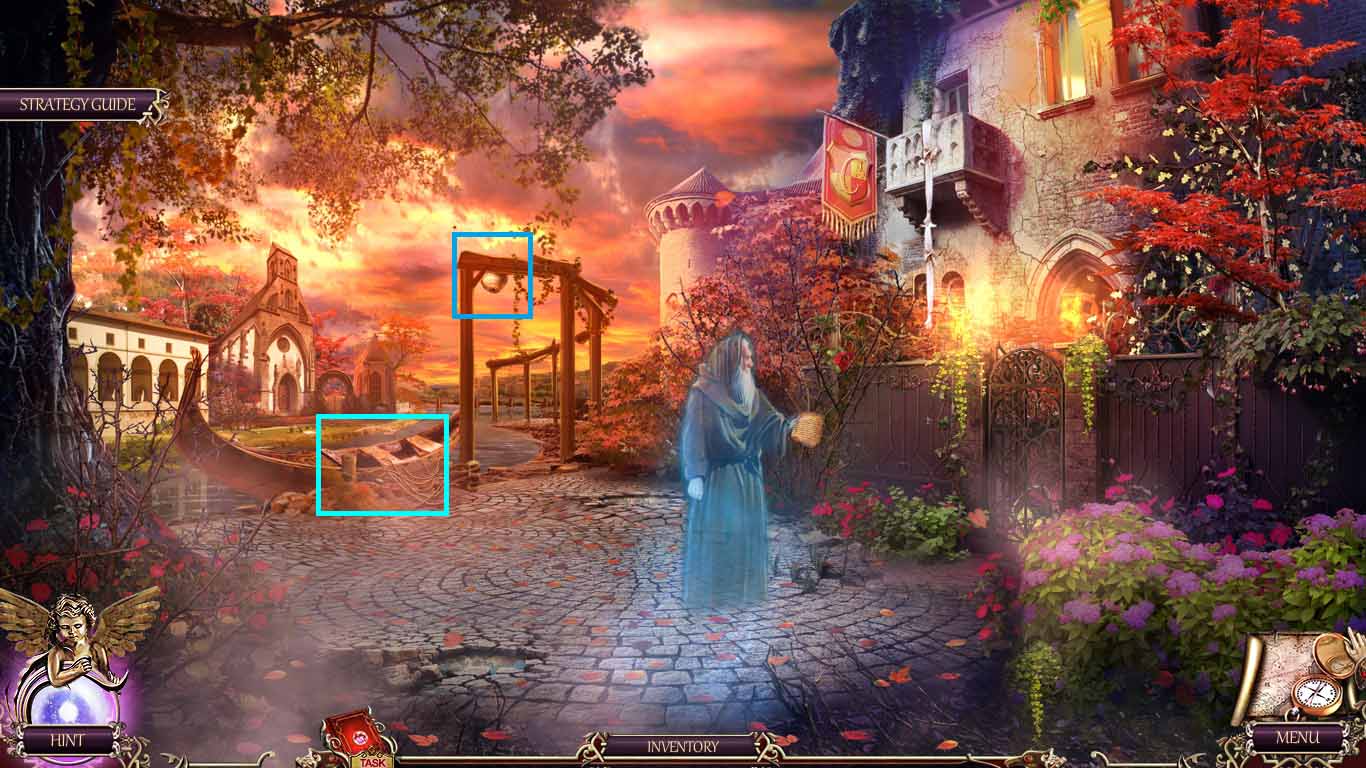
- Zoom into the beehive; use the oar on the hive.
- Zoom into the gondola to trigger a puzzle.

- Remove the ropes starting from the top moving down to the bottom.
- Loosen the bolt with the wrench.
- Move forward using the gondola.
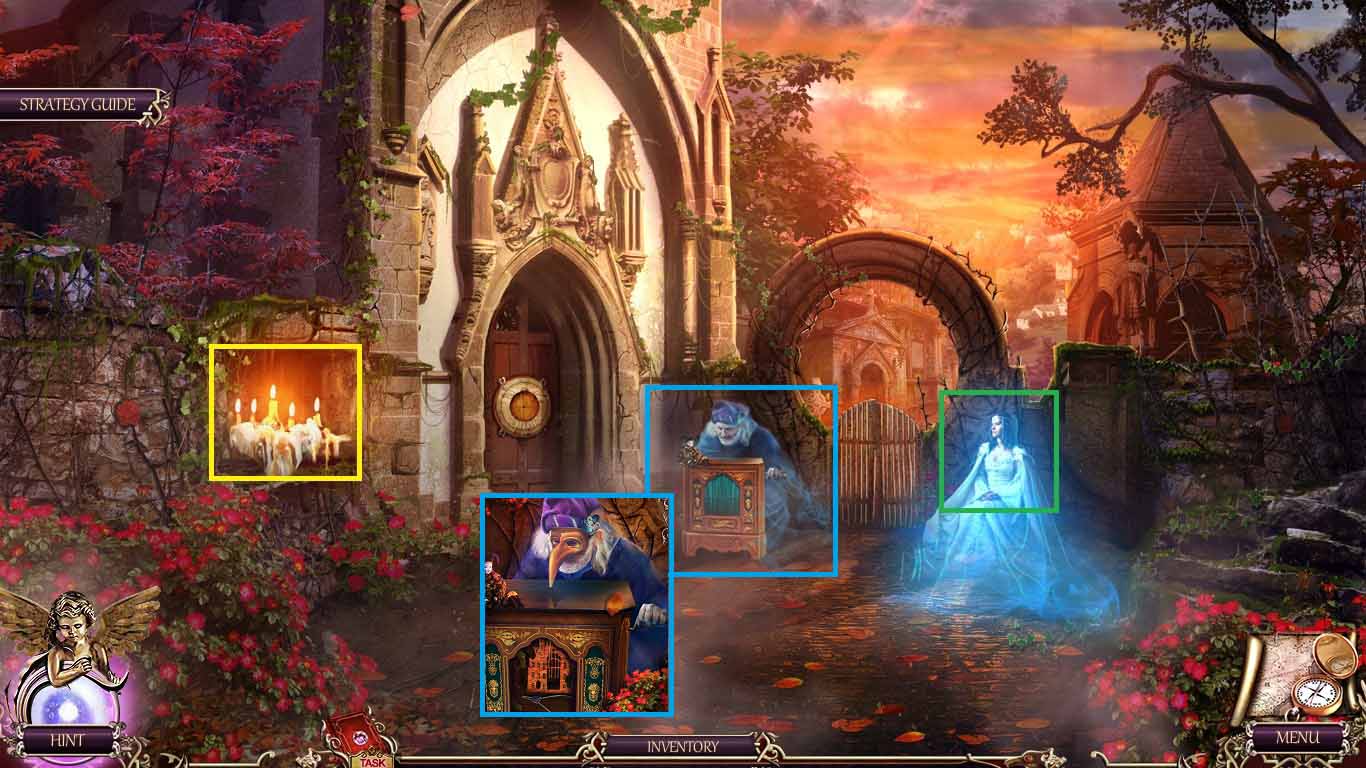
- Zoom into the candles.
- Use the sword on the candles to collect the wax.
- Zoom into the lady; collect the thread.
- Zoom into the organ grinder.
- Put the mask on to him.
- Collect the pliers.
- Move back two times.
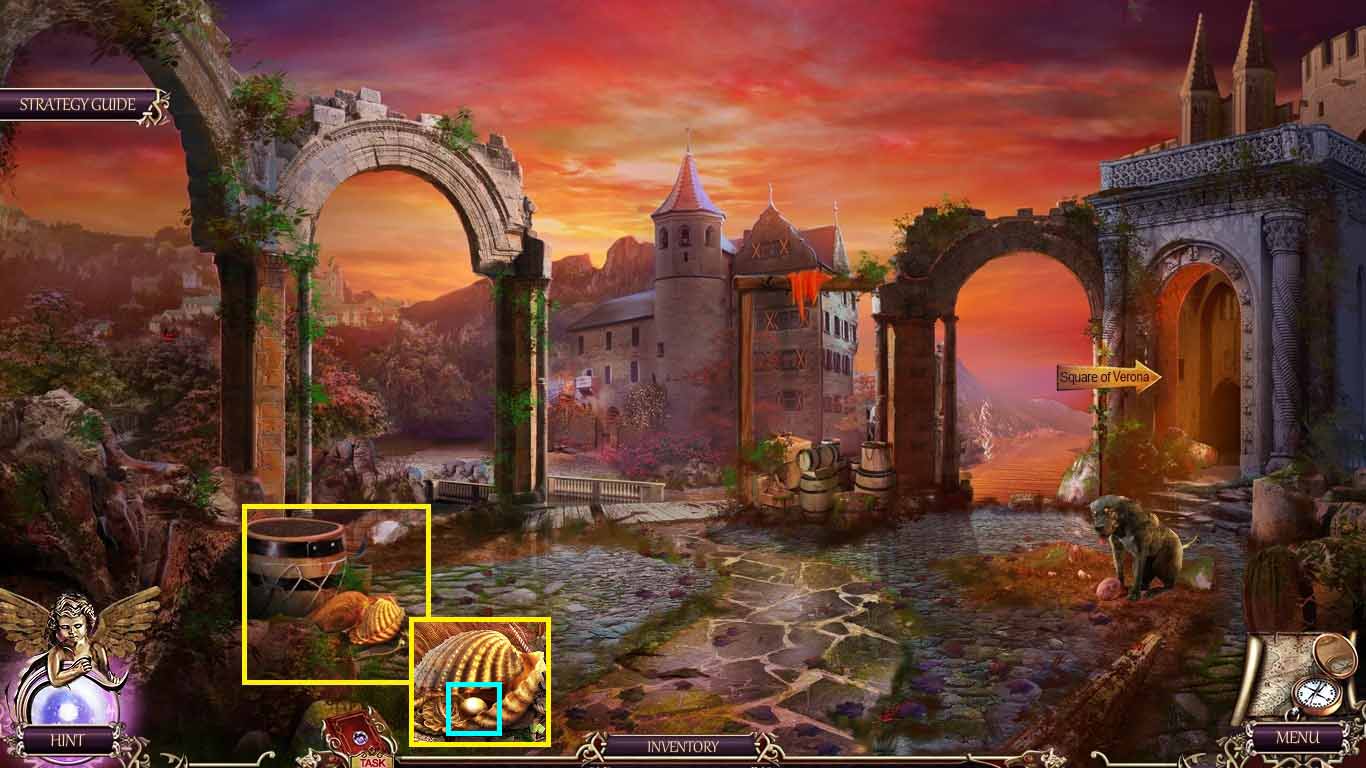
- Zoom into the fishing nets.
- Use the pliers on the shell; collect the pearl.
- Move to the right and forward to the trade lane.
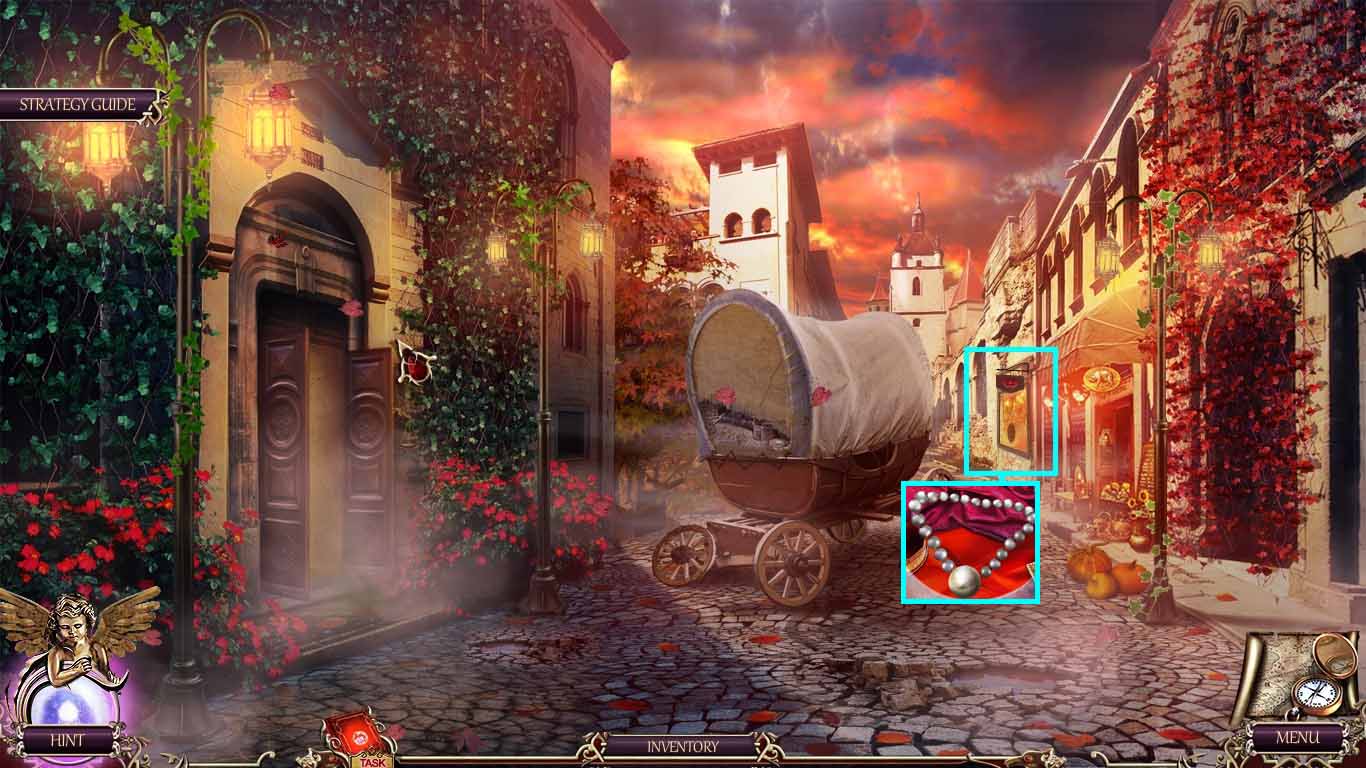
- Zoom into the glass case.
- Use the thread and pearl on the pearls.
- Collect the necklace.
- Move to the chapel.
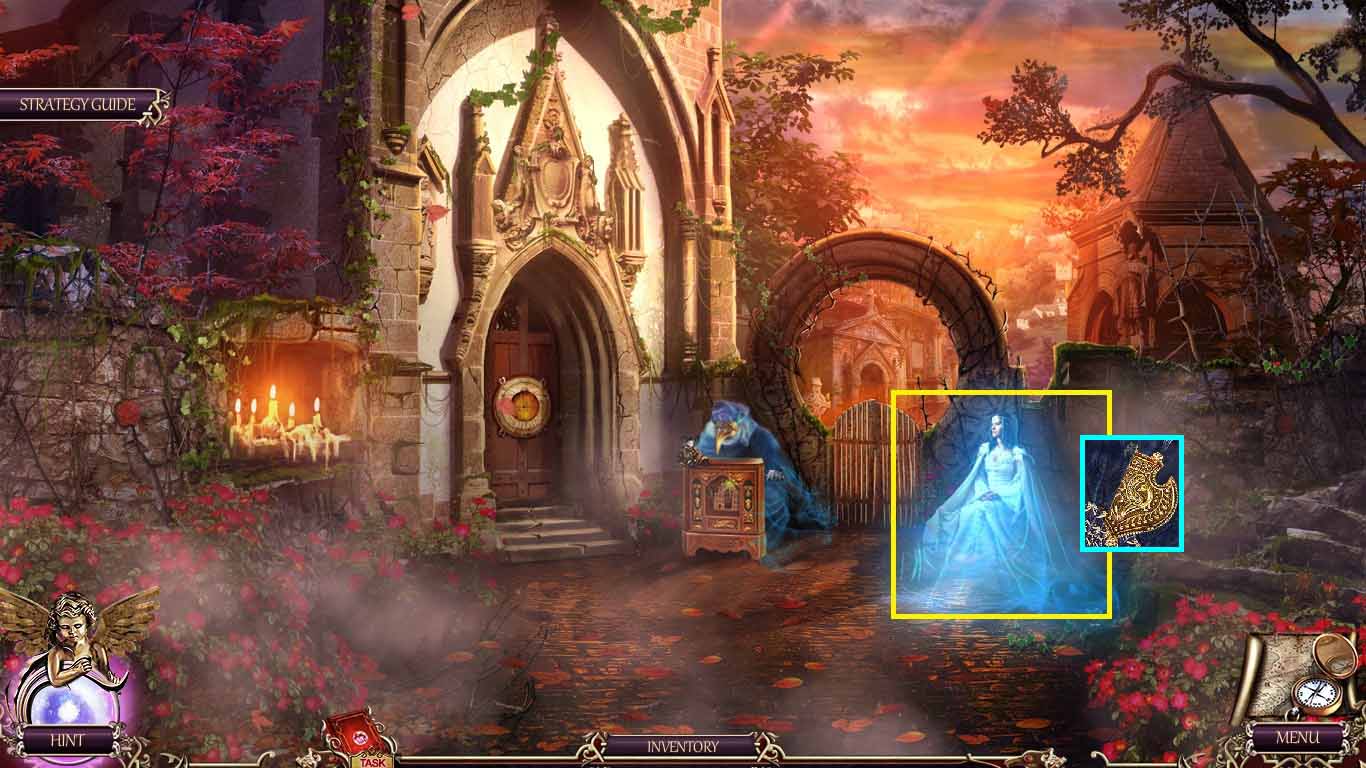
- Zoom into the lady.
- Hang the necklace around her neck.
- Collect the lady’s amulet.
- Move to the trade lane and turn left into the pharmacy.
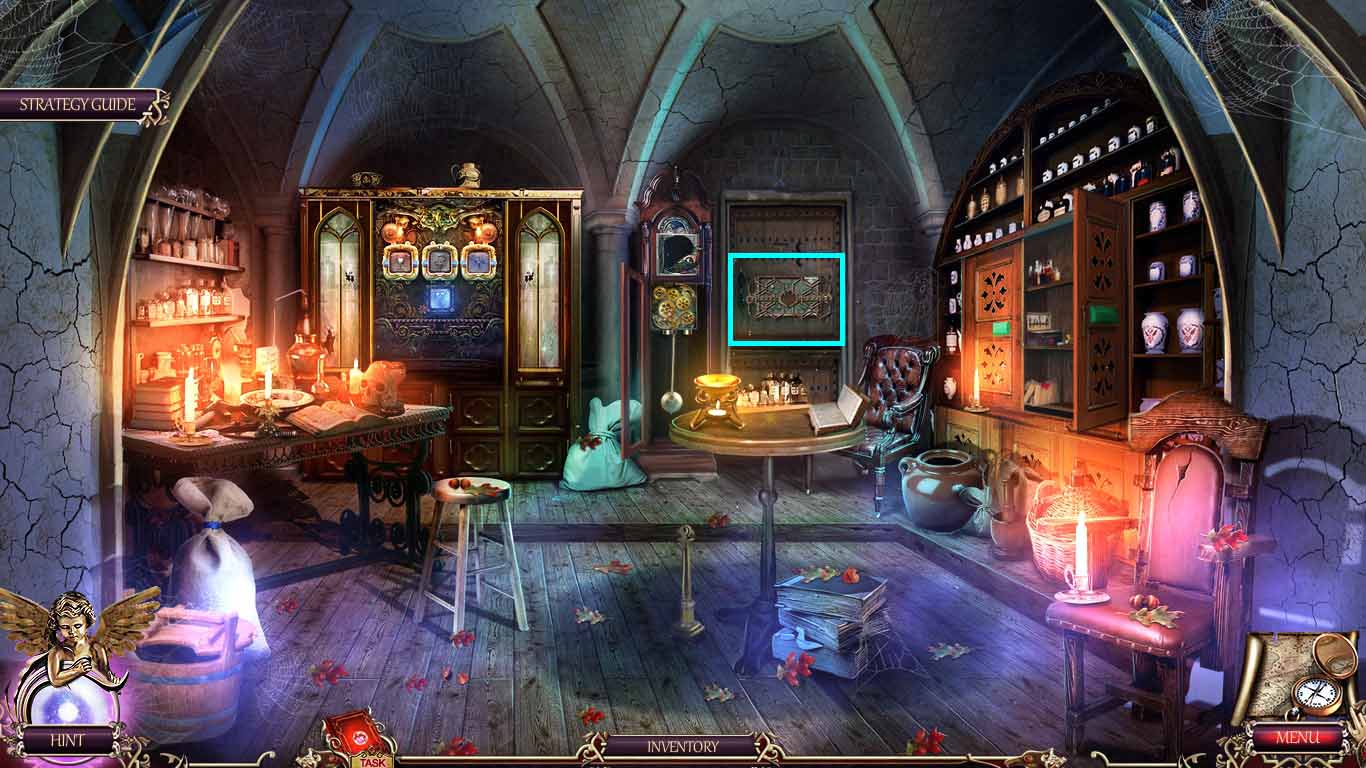
- Zoom into the apothecary.
- Insert the lady’s amulet into the center.
- A puzzle will trigger.
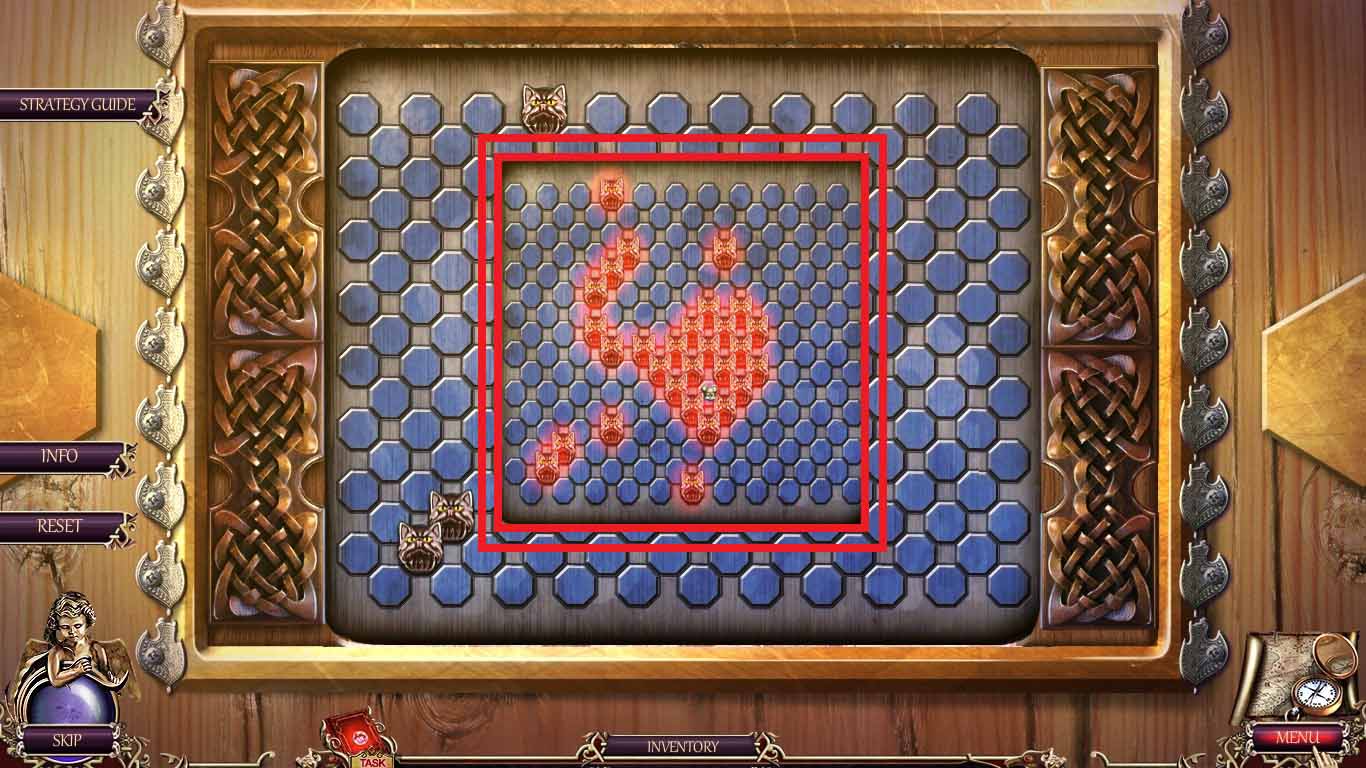
- Click the spaces around the mouse until it is surrounded.
- Move forward to the apothecary’s office.
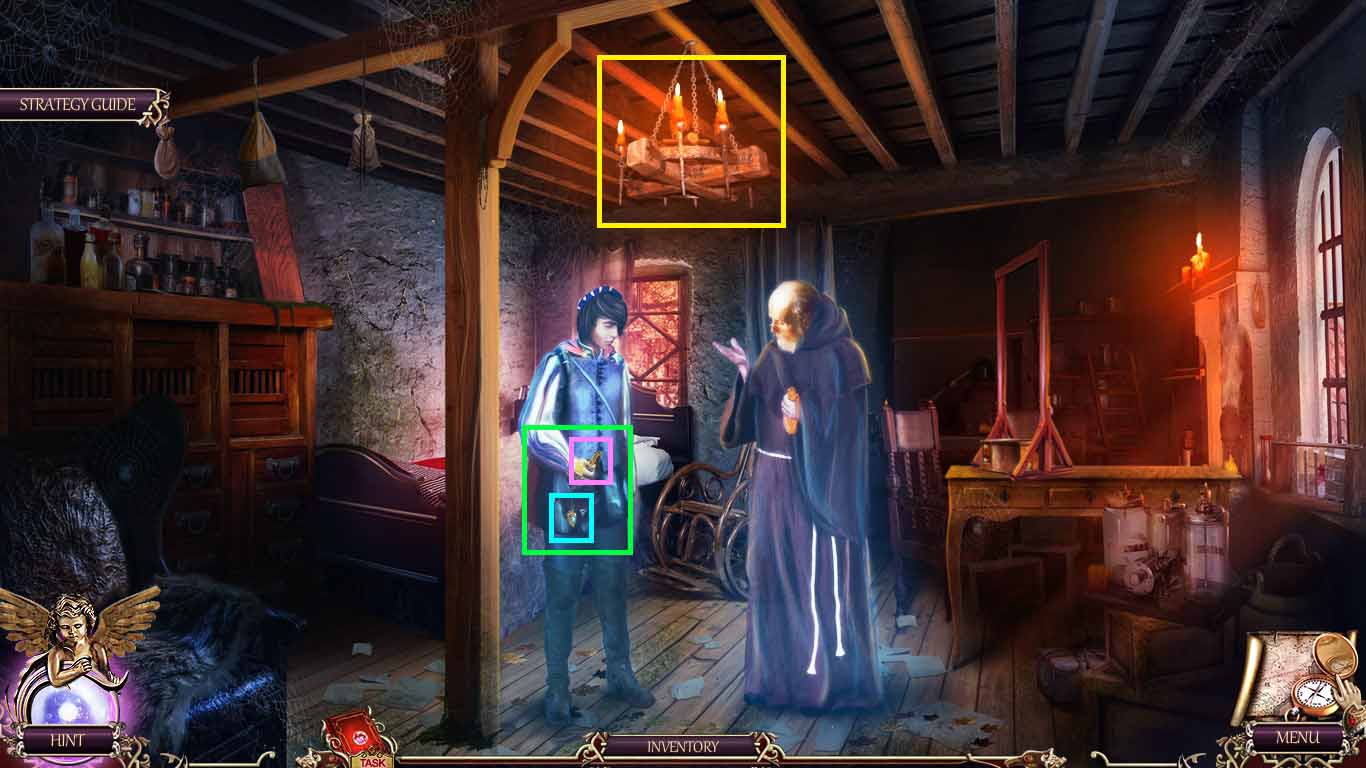
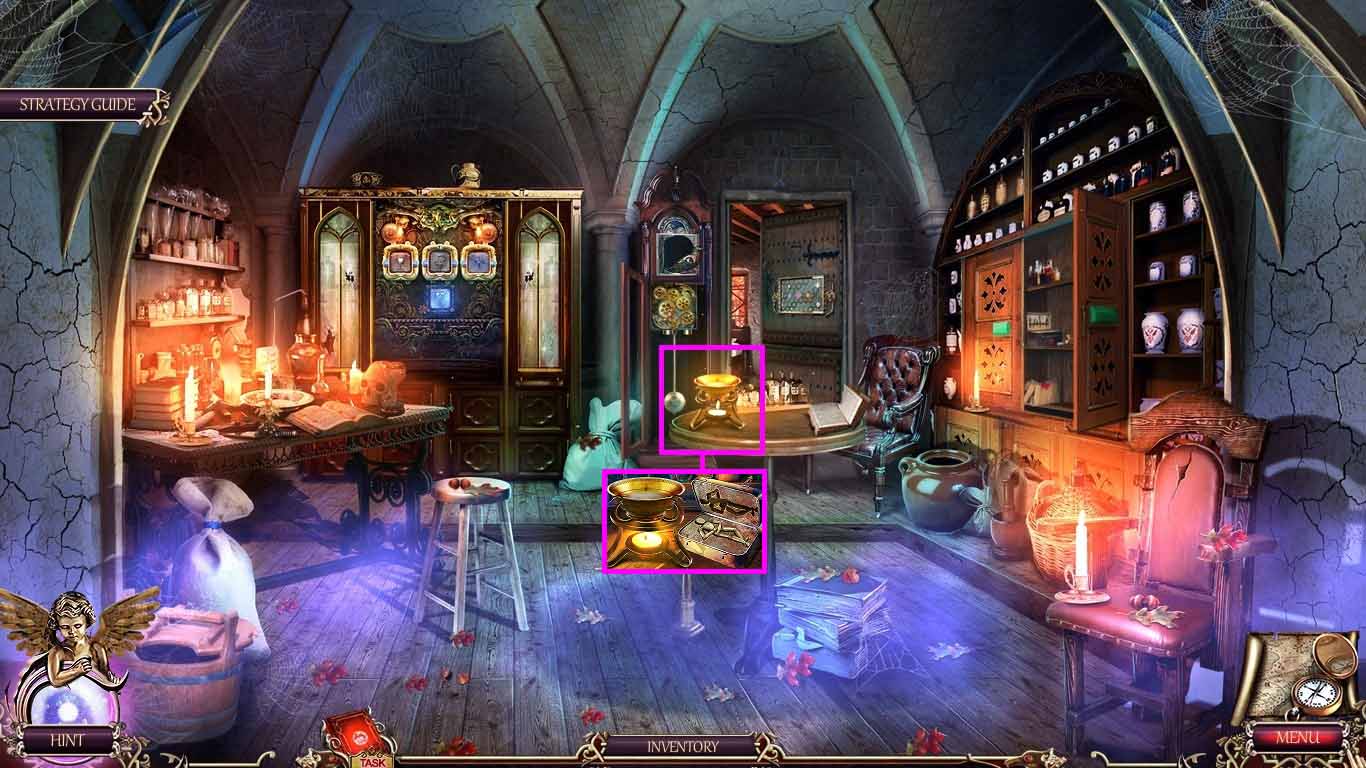
- Zoom into the chandelier.
- Use the owlet to collect the valve.
- Zoom into Romeo’s hand.
- Collect the heart piece.
- Click the potion in his hand.
- Move back 3 times.
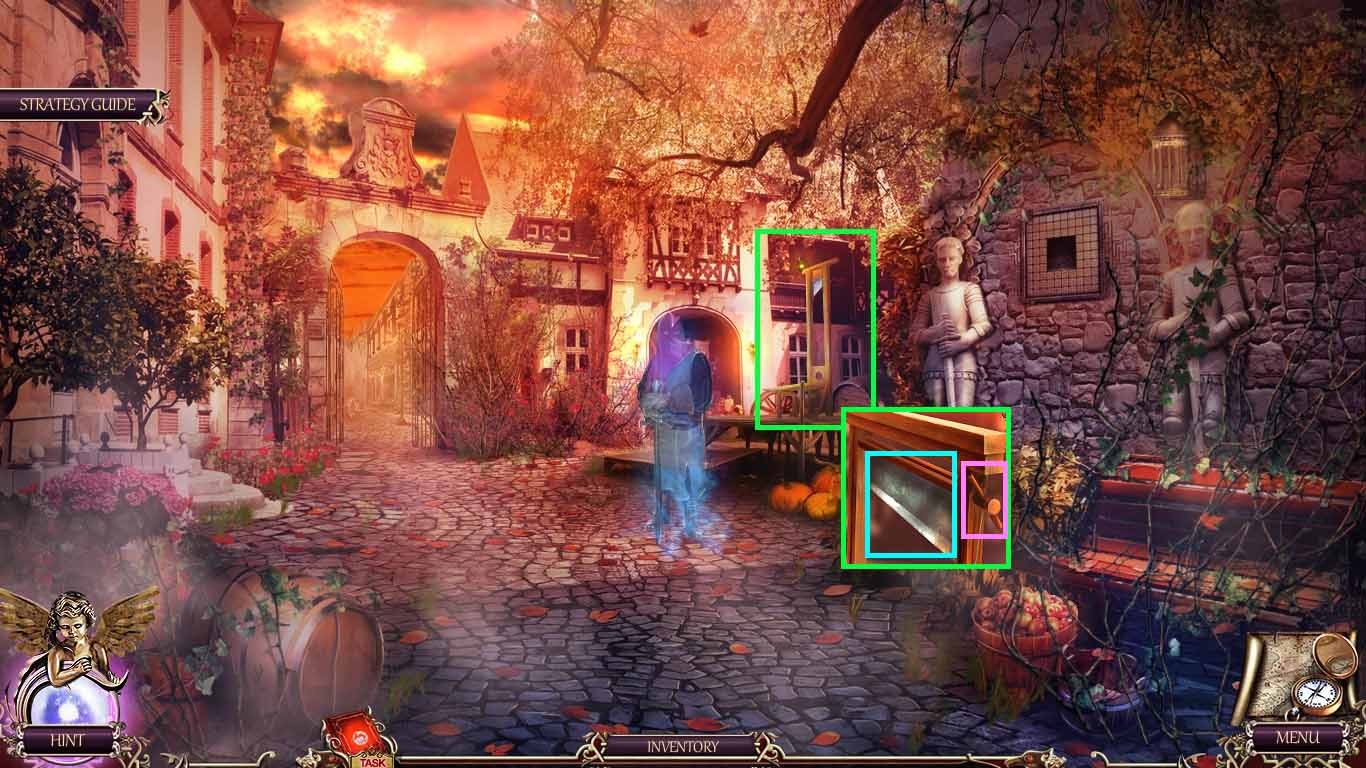
- Zoom into the guillotine.
- Place the valve onto it.
- Click the valve; collect the blade.
- Move to the apothecary’s office.
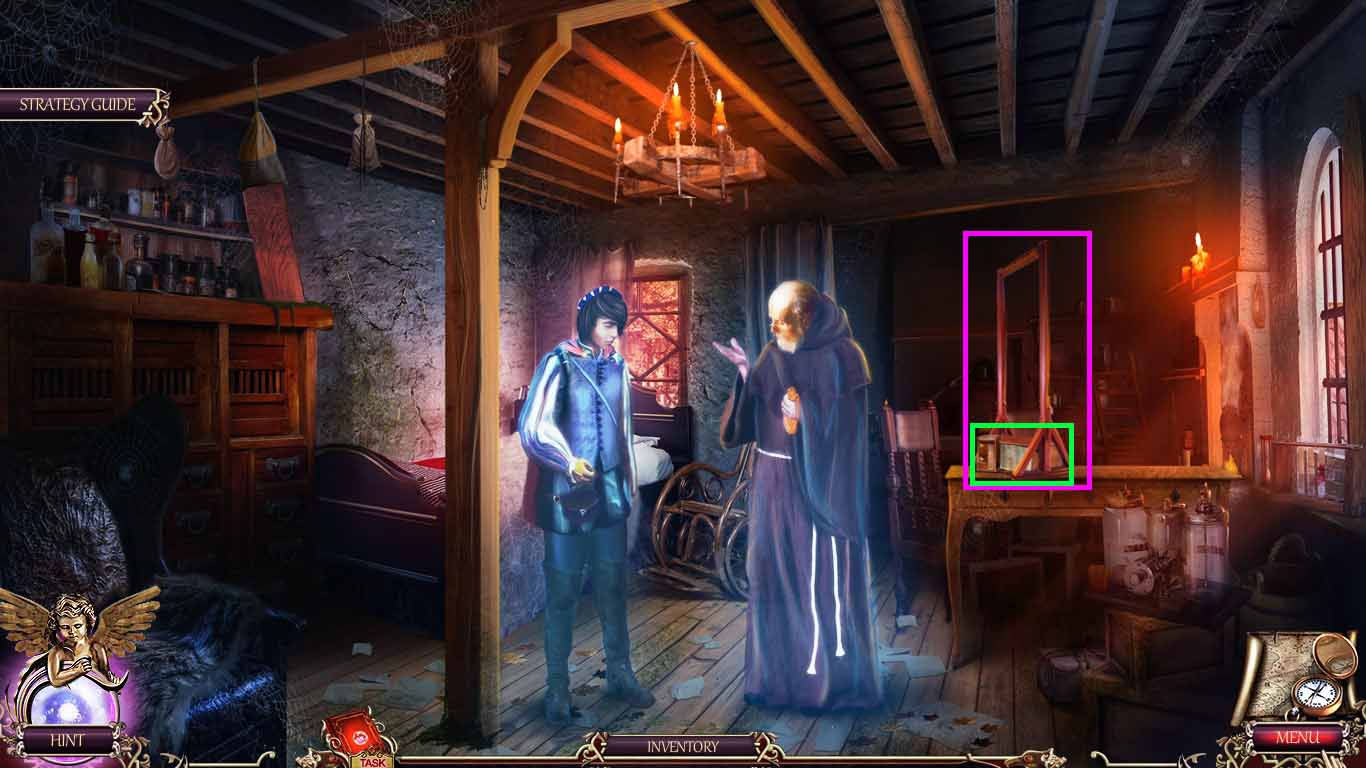
- Zoom into the guillotine.
- Place the blade onto the guillotine and untie the rope.
- Zoom into the operating table; collect the mold.
- Move back once.
- Zoom into the burner; place the wax into it.
- Place the mold onto the table.
- Click the melted wax.
- Collect the wax figurine.
- Move to the chapel.
- Zoom into the organ grinder.
- Place the wax figurine into the theatre box.
- Collect the disk.
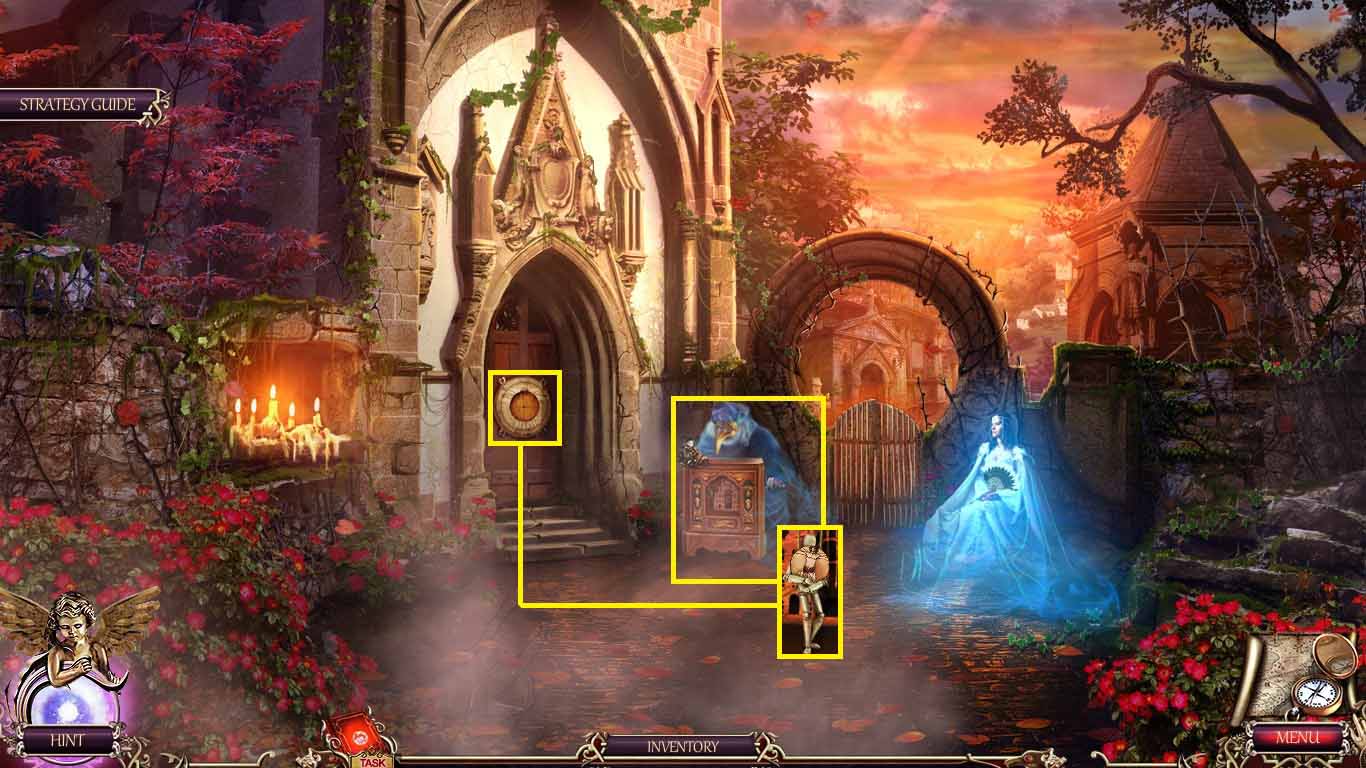
- Zoom into the chapel door.
- Insert the disk to trigger a puzzle.
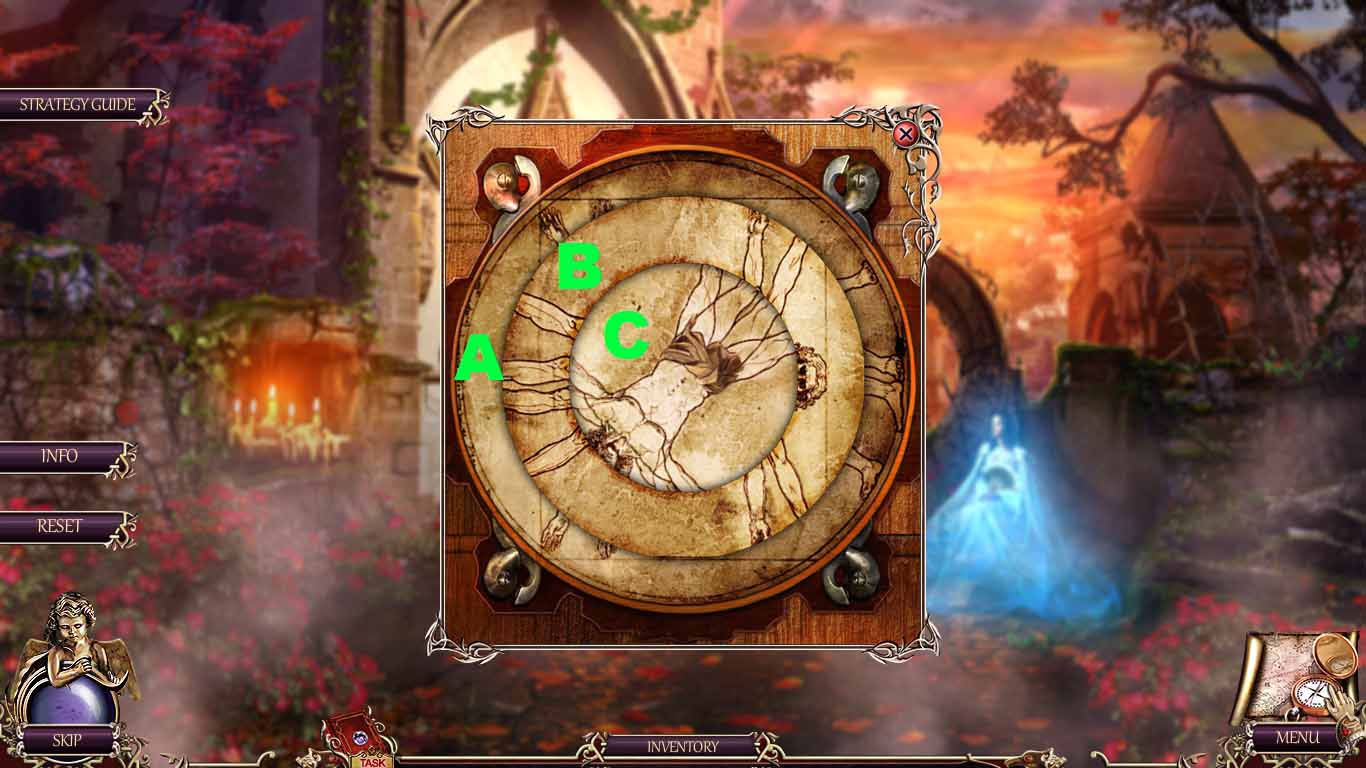
- Move the disks to complete the picture.
-
Solve as follows:
- C: 3x’s
- A: 4x’s
- C: 2x’s
- B: 4x’s
- Go into the vault to access a hidden objects area.
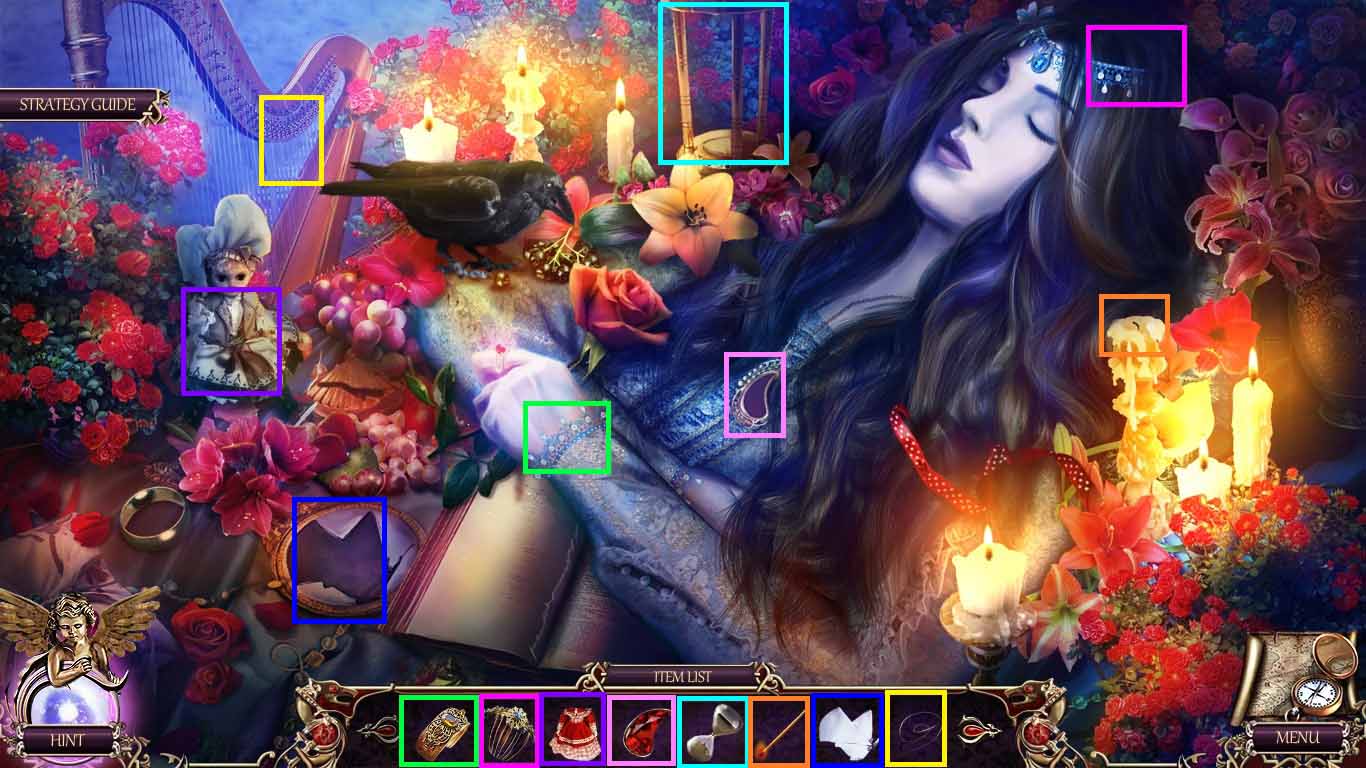
- Arrange the objects into the correct areas.
- Collect the 2nd heart piece.
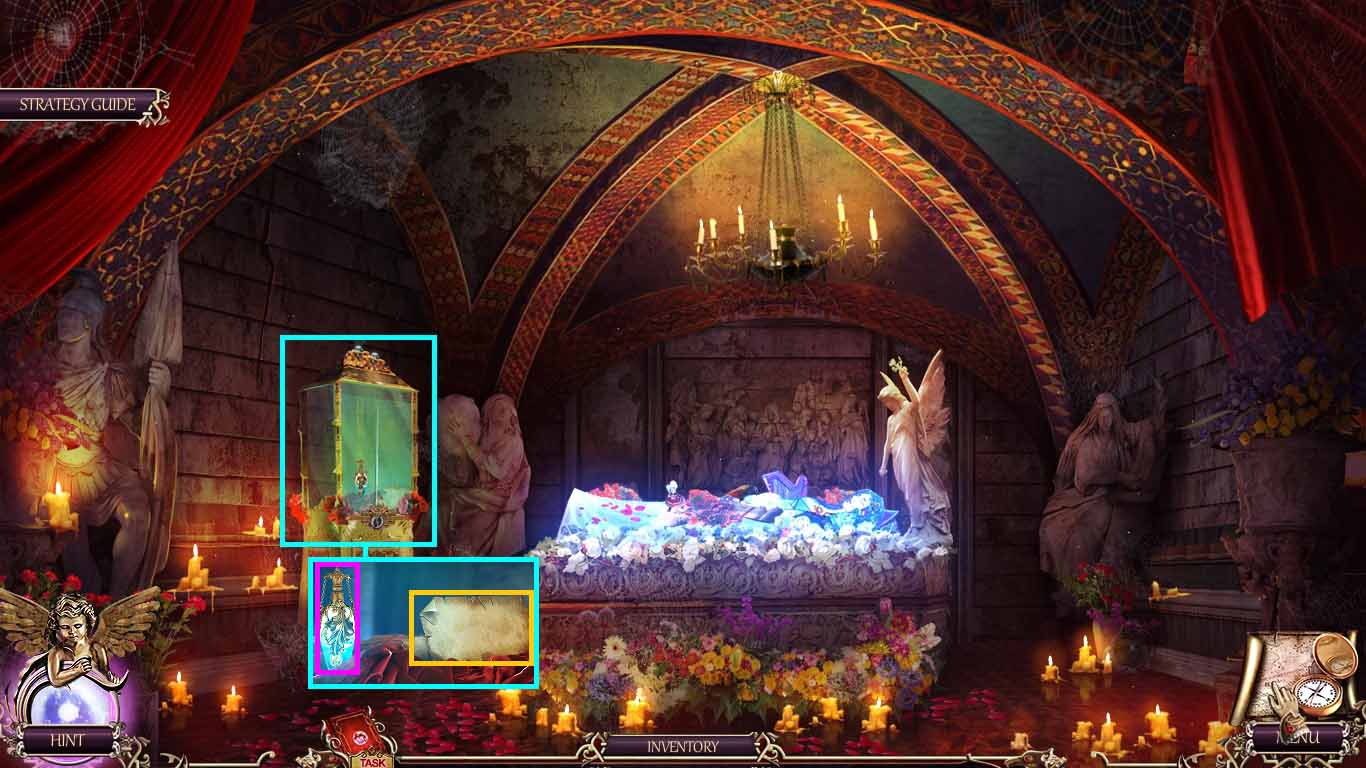
- Zoom into the altar.
- Insert the 2 heart pieces.
- Read the note and collect sleeping potion.
- Move into the apothecary’s office.

- Zoom into Romeo’s hand.
- Place the sleeping potion into his hands.
Chapter One: Rescuing Mercutio
Chapter Two: Rescuing Juliet
Chapter Three: Rescuing Romeo
Chapter Four: Hello, Hamlet
Bonus Chapter
Ask for help in the comments below!