Death Pages: Ghost Library: Bonus Chapter
Our Death Pages: Ghost Library Walkthrough will be your companion as you fight to save three teenagers from a tragic end. Being engrossed in a book is one thing, but having your soul taken from your body and injected into a tragedy is quite another. When three teenagers are subjected to just such a fate it’s up to you to go into the story and make the ending a happy one, or else the children will be forced to follow the tale to its original tragic end. Use our tips, step-by-step instructions, and custom screenshots to help you turn tragedy into triumph.
Chapter One: Rescuing Mercutio
Chapter Two: Rescuing Juliet
Chapter Three: Rescuing Romeo
Chapter Four: Hello, Hamlet
Bonus Chapter
Ask for help in the comments below!
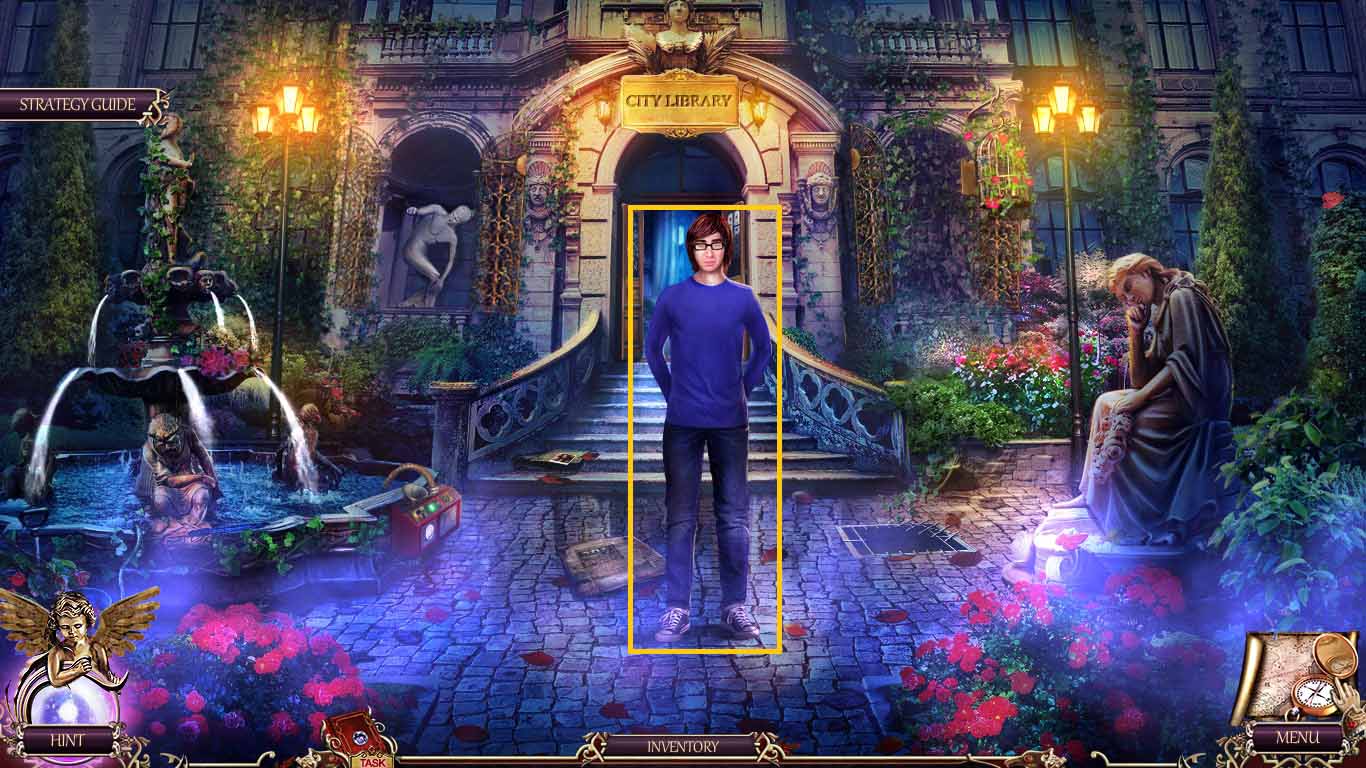
- Click Ronald to speak to him.
- Move into the main hall.
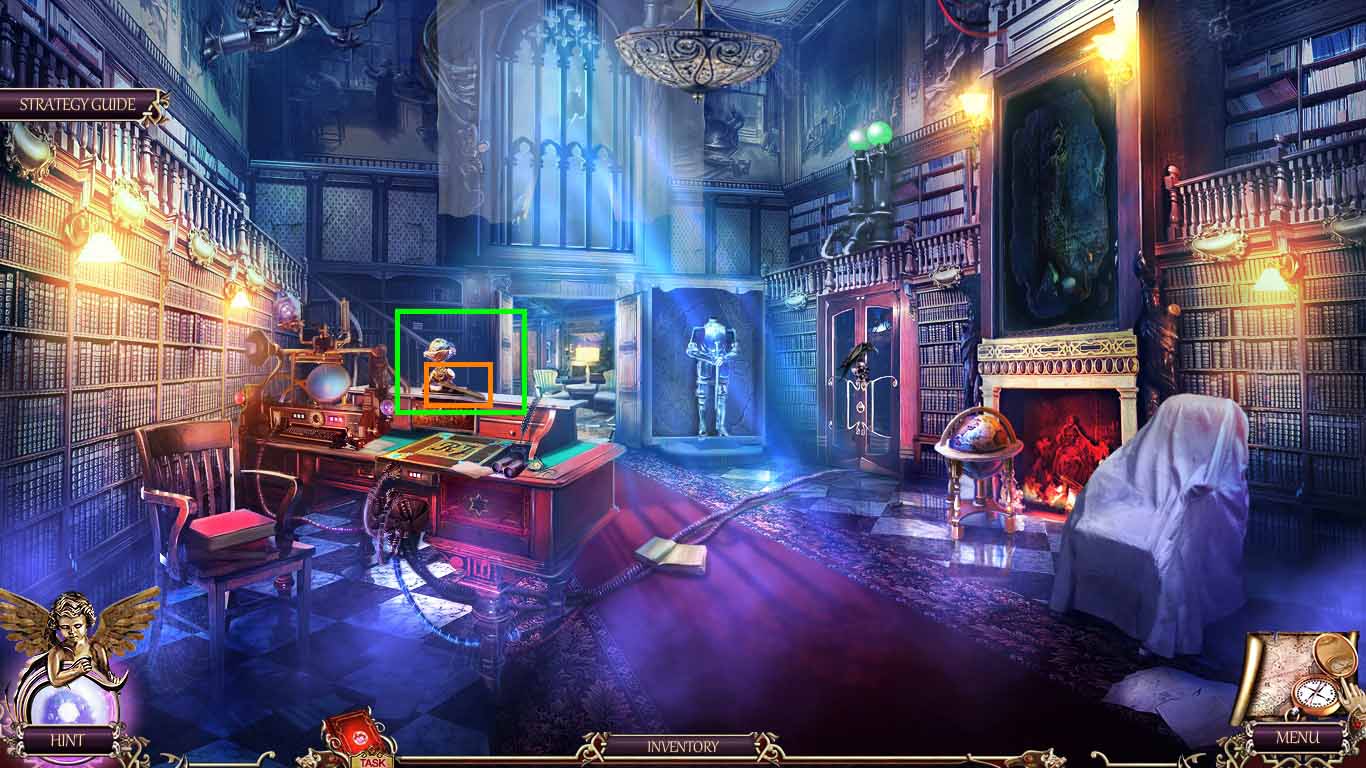
- Zoom into the table top; collect the ruler.
- Move ahead to the reading room.

- Zoom into the casket; collect the amulet.
- Zoom into the small table.
- Collect the precious stone.
- Go into the teeth book portal.
- Click anywhere in the scene; move up the balcony to Juliet’s room.
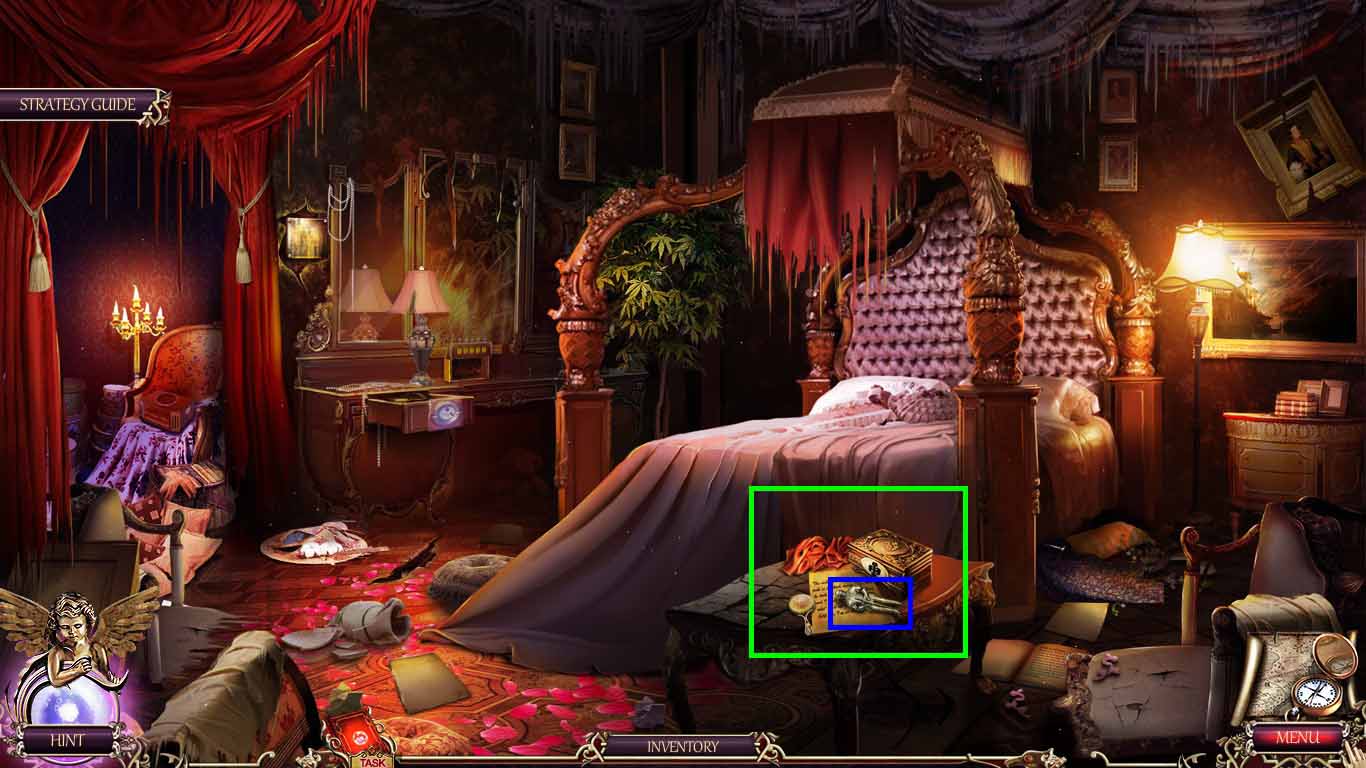
- Zoom into the dressing table; collect the knight figure.
- Move back one time.
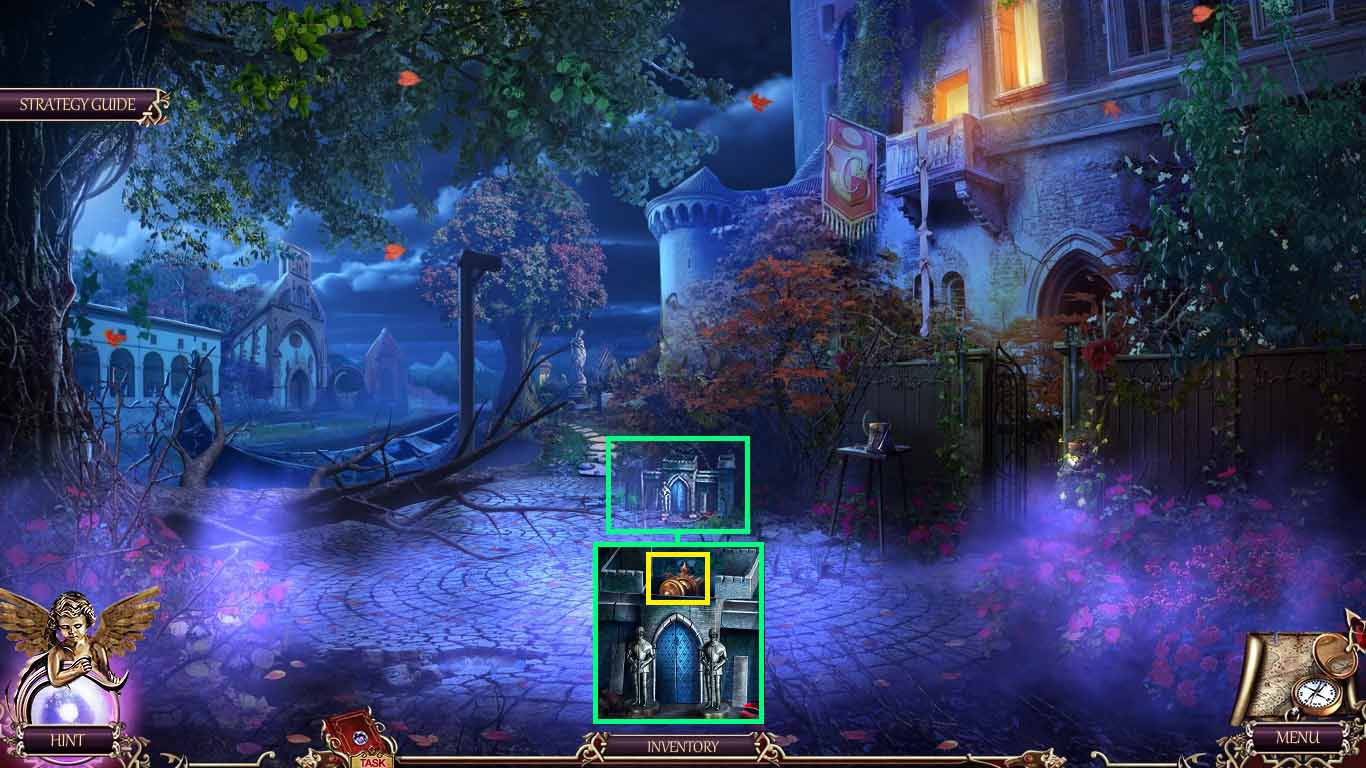
- Zoom into the toy castle.
- Insert the knight figure.
- Collect the cabinet handle.
- Move back to the main hall.
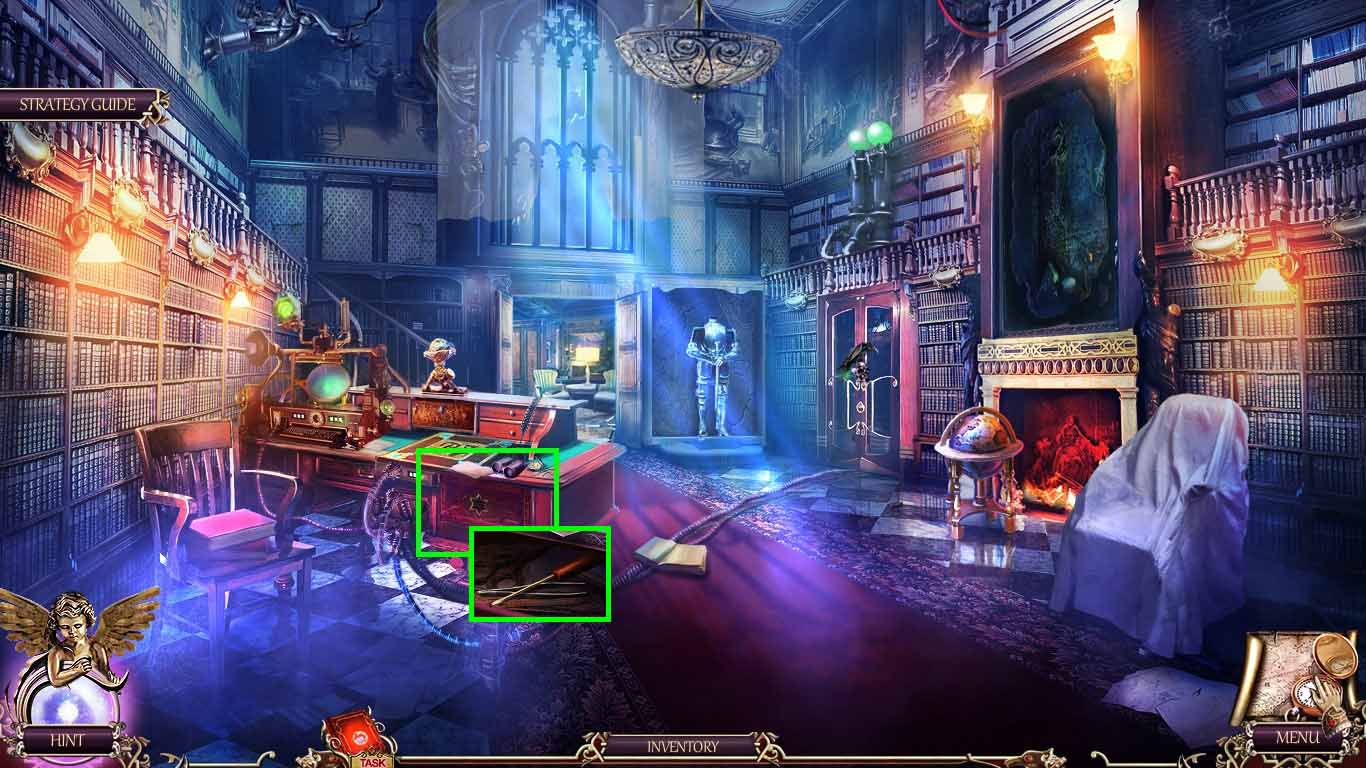
- Click anywhere.
- Zoom into the drawer and place the handle onto it.
- Collect the screwdriver and the tweezers.
- Move to Juliet’s room.
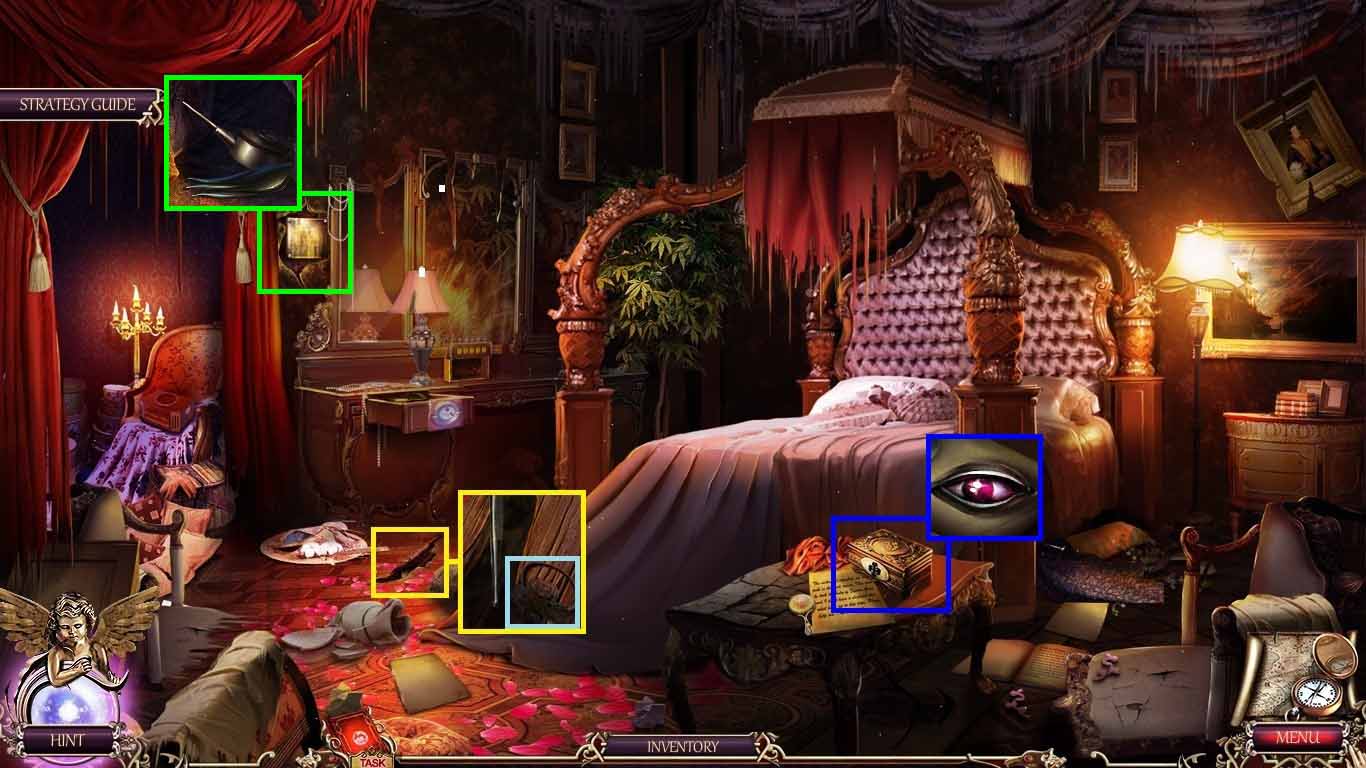
- Zoom into the gap in the floor.
- Collect the ring using the tweezers.
- Zoom into the dressing table; insert the ring onto the box.
- Collect the raven eye.
- Zoom into the wall stash.
- Use the screwdriver on it.
- Collect the oil and the raven wing.
- Move to the reading room.
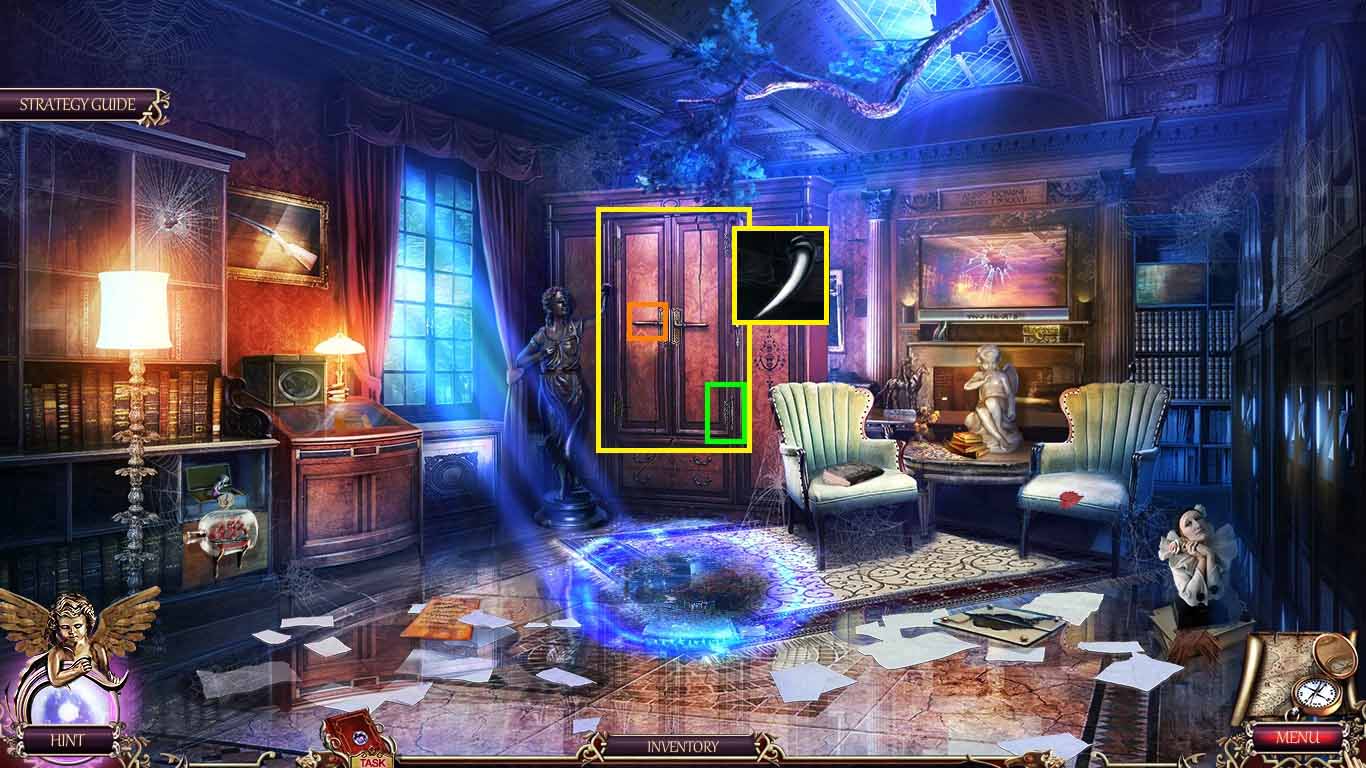
- Zoom into the wardrobe.
- Use the oil on the hinge.
- Click the handle; collect the raven claw.
- Use the screwdriver on the left handle.
- Collect the wine press handle.
- Move back one time.
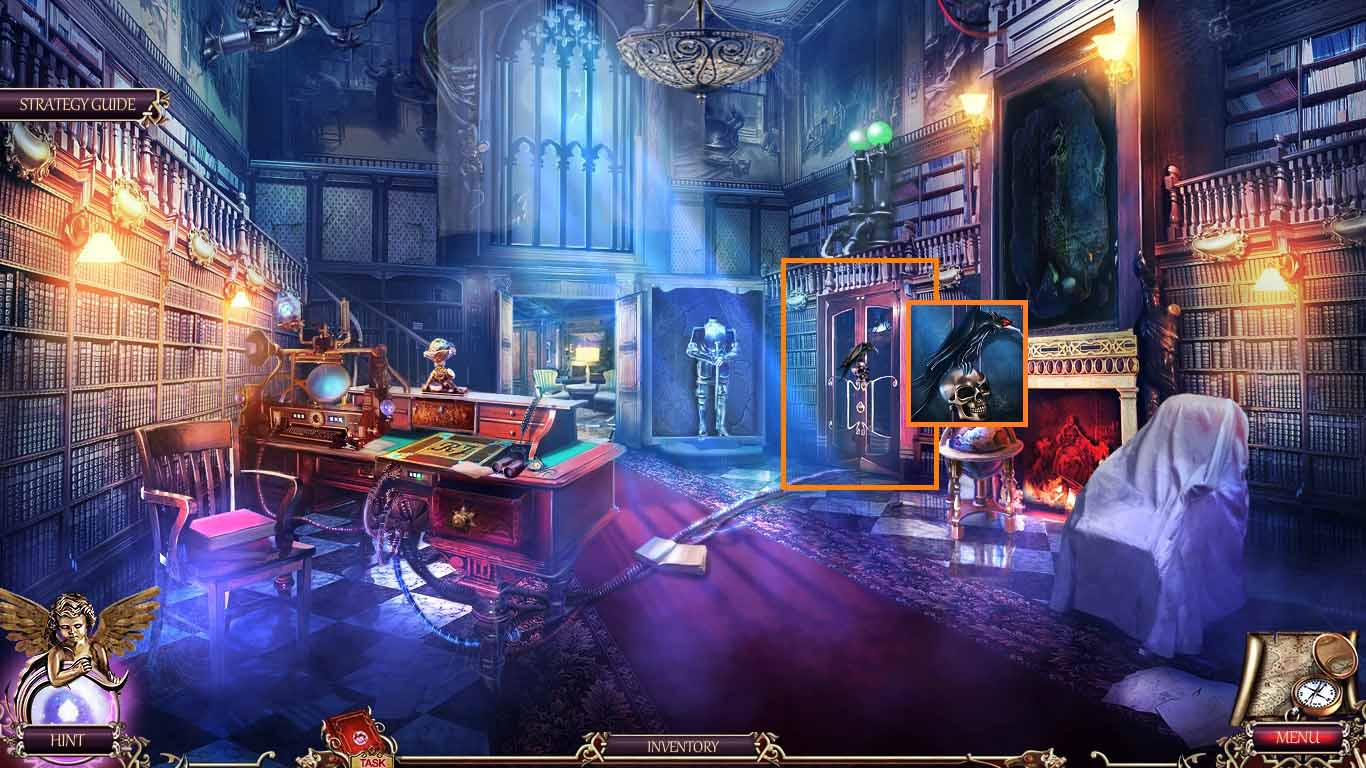
- Zoom into the office door.
- Insert the raven wing, raven eye and the raven claw.
- Go into the office.
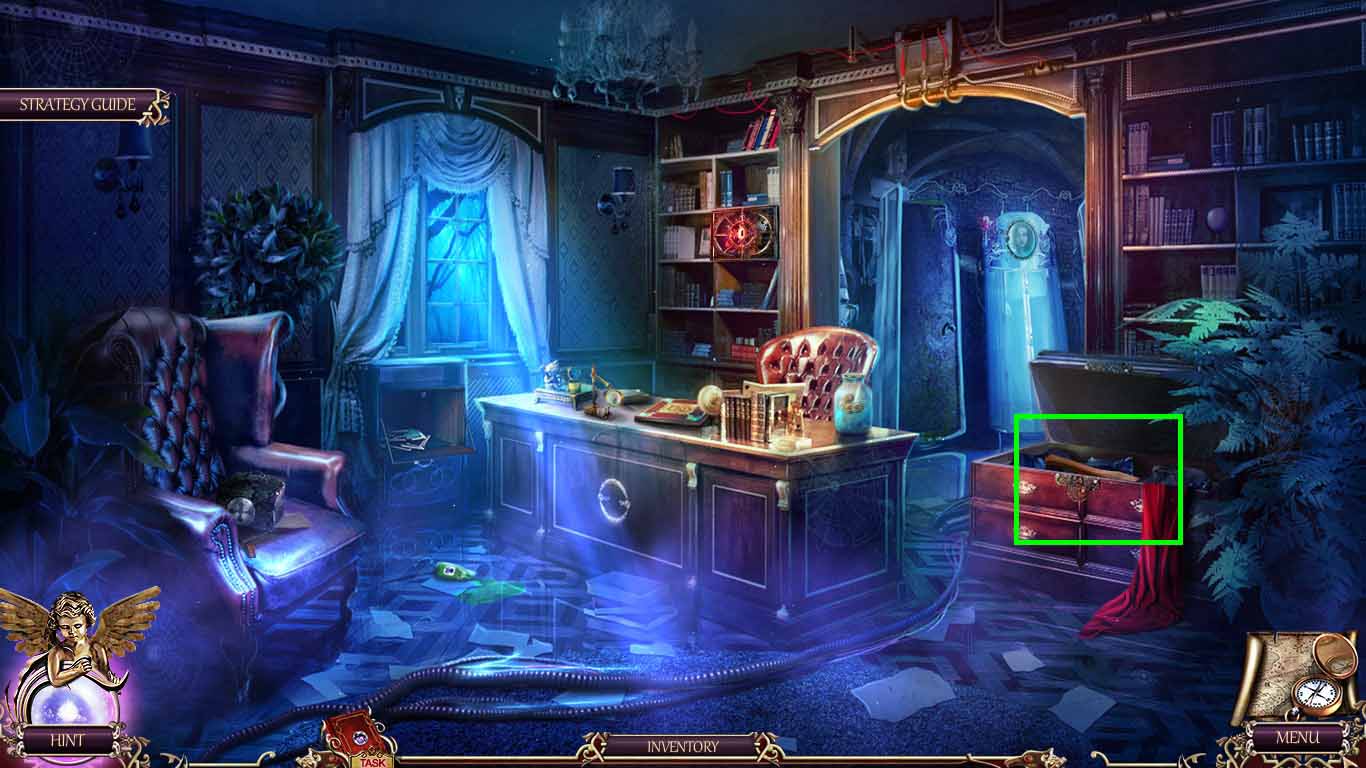
- Click anywhere.
- Zoom into the office box; collect the axe handle.
- Move forward into the laboratory.
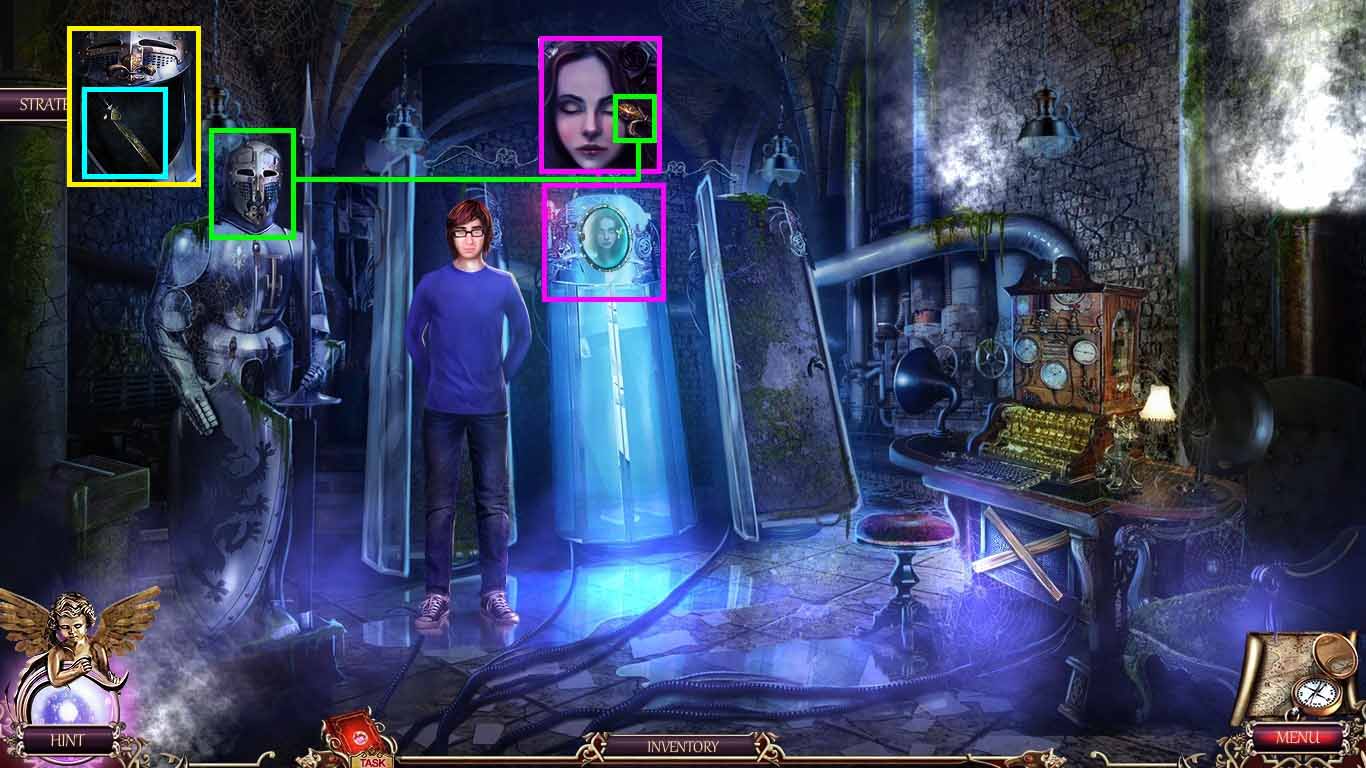
- Click anywhere.
- Zoom into Julie’s sarcophagus and click the door.
- Collect the royal lily.
- Zoom into the helmet; insert the royal lily.
- Collect the rusty dagger.
- Move to Juliet’s house.
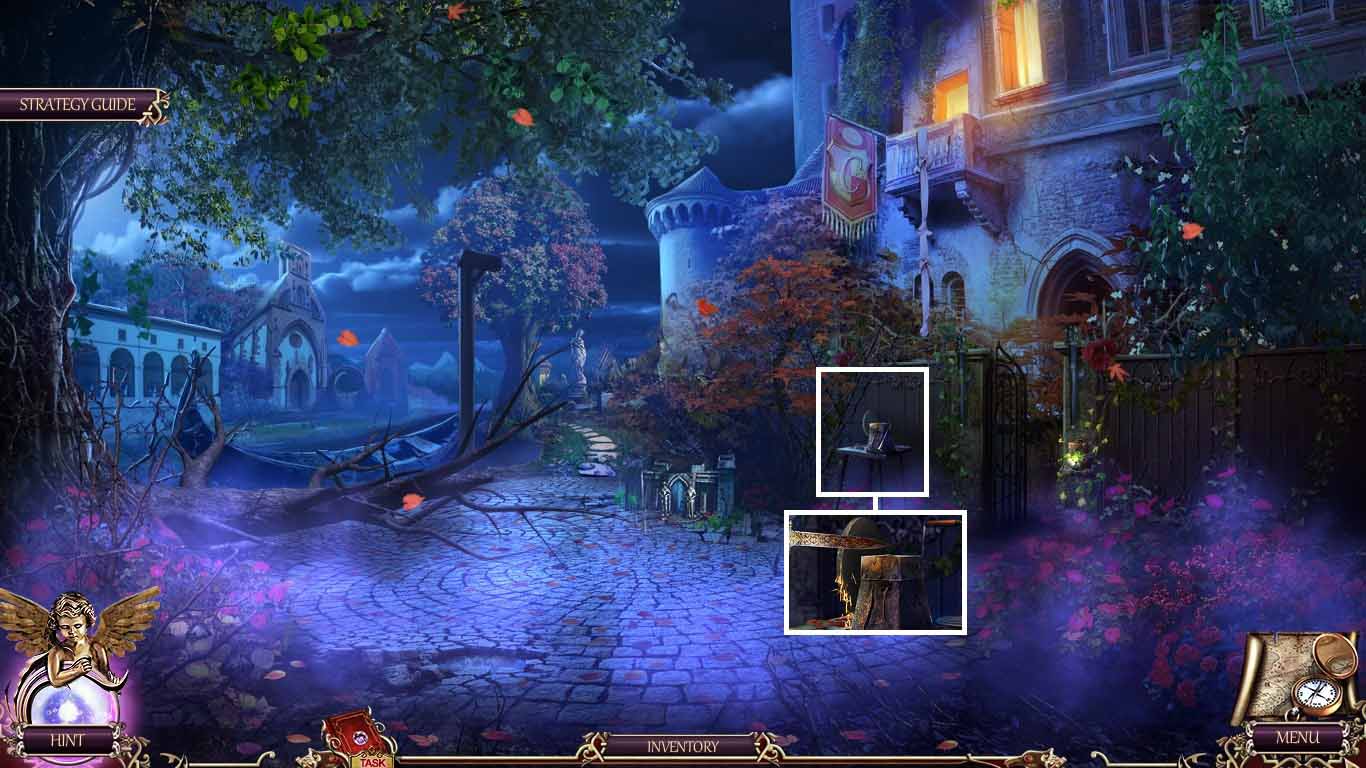
- Zoom into the grindstone; place the wine press handle onto it.
- Use the grindstone to sharpen the rusty dagger; collect the sharp dagger.
- Move ahead to the garden.
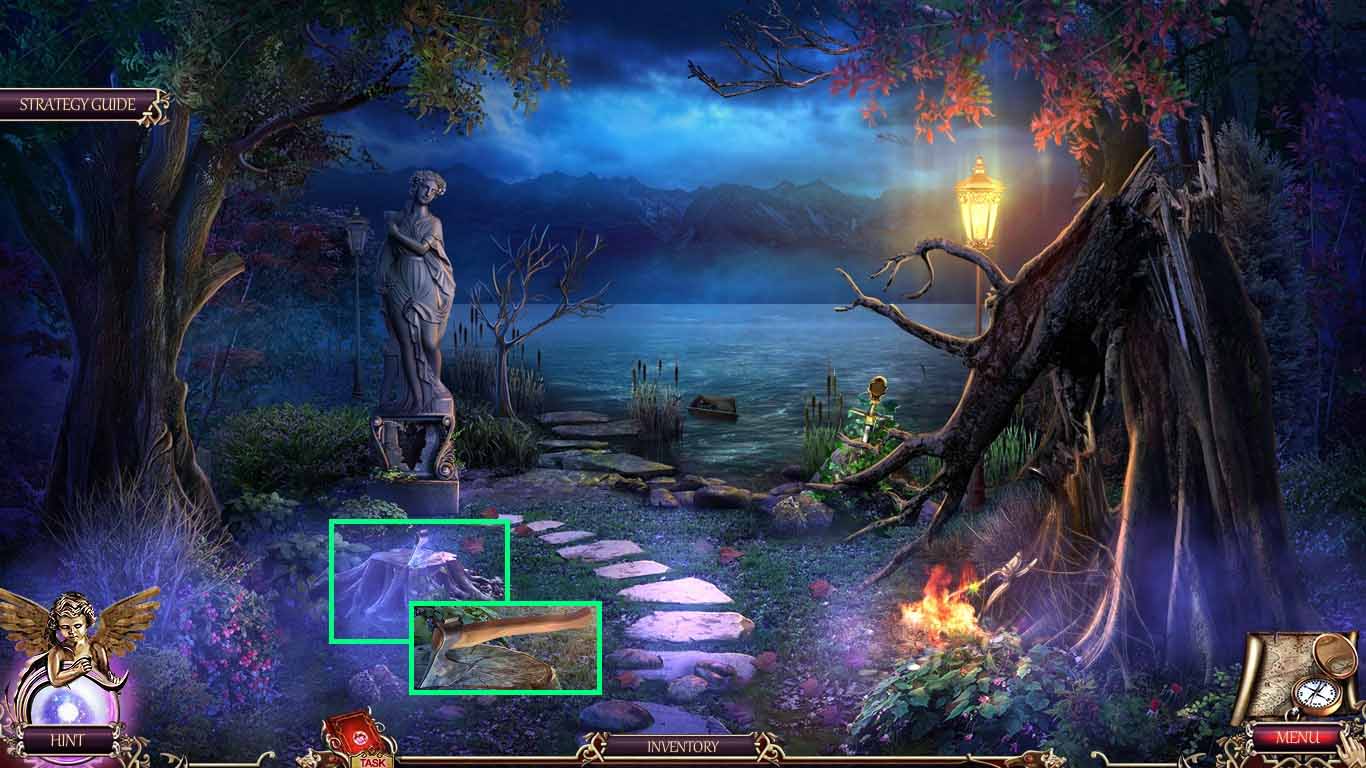
- Zoom into the tree stump.
- Put the axe handle onto the blade.
- Collect the axe.
- Move back one time.
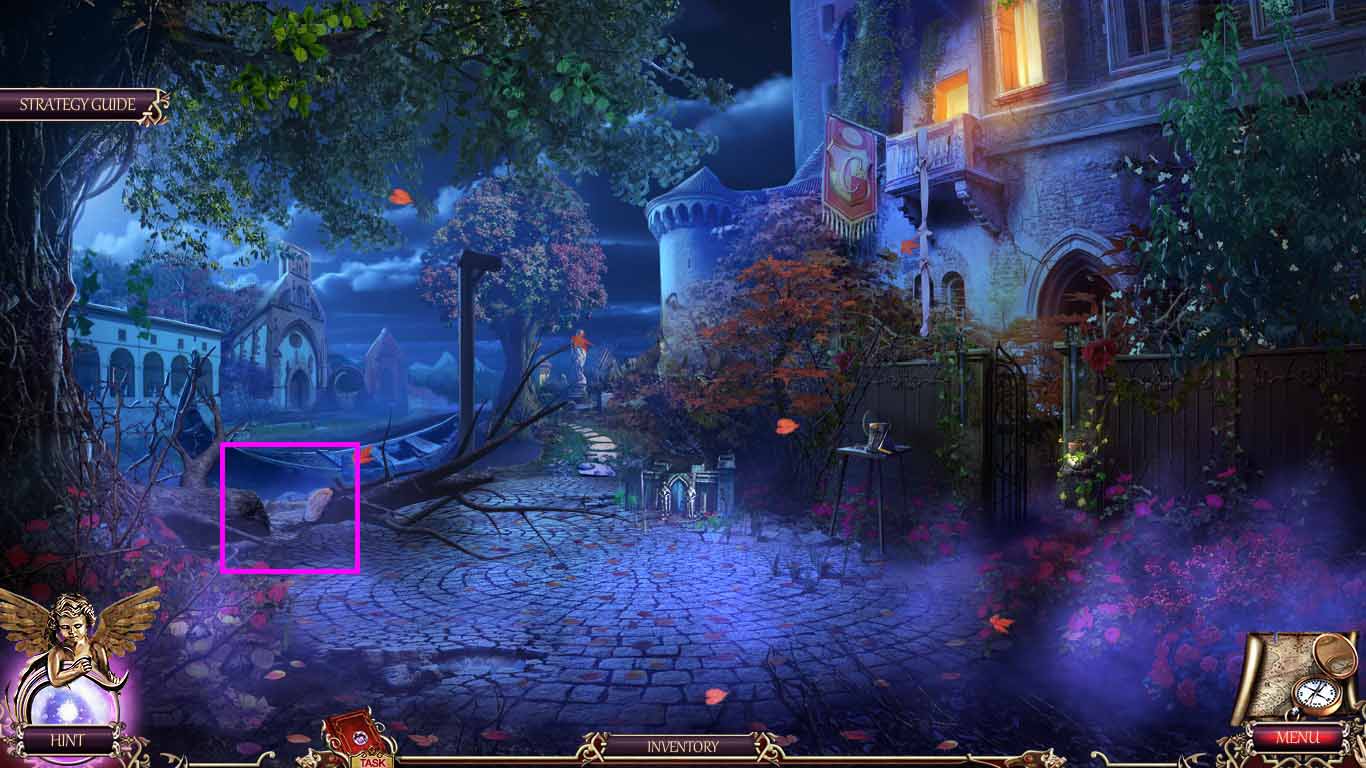
- Use the axe on the fallen tree.
- Move through the opening toward the shore.
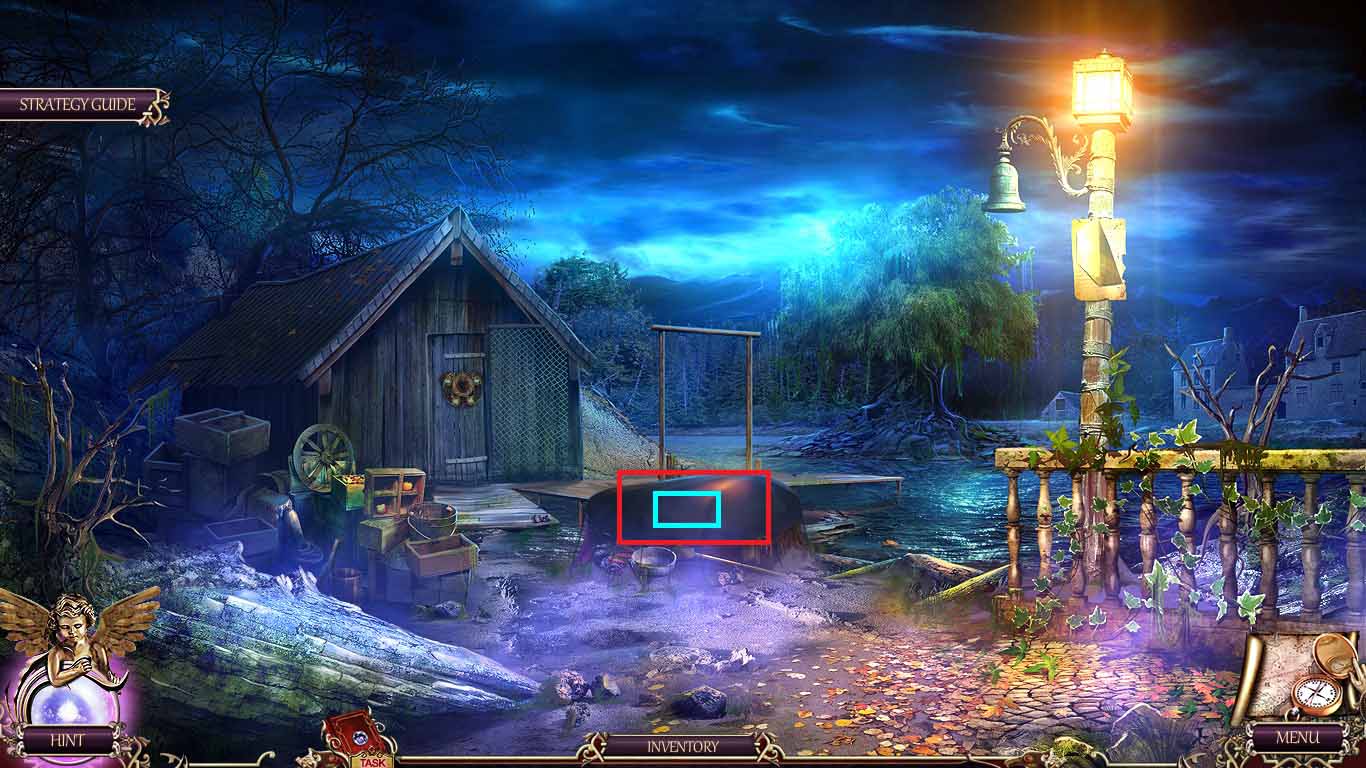
- Zoom into the boat.
- Slice the cover with the dagger.
- Zoom into the uncovered boat to access a hidden objects area.
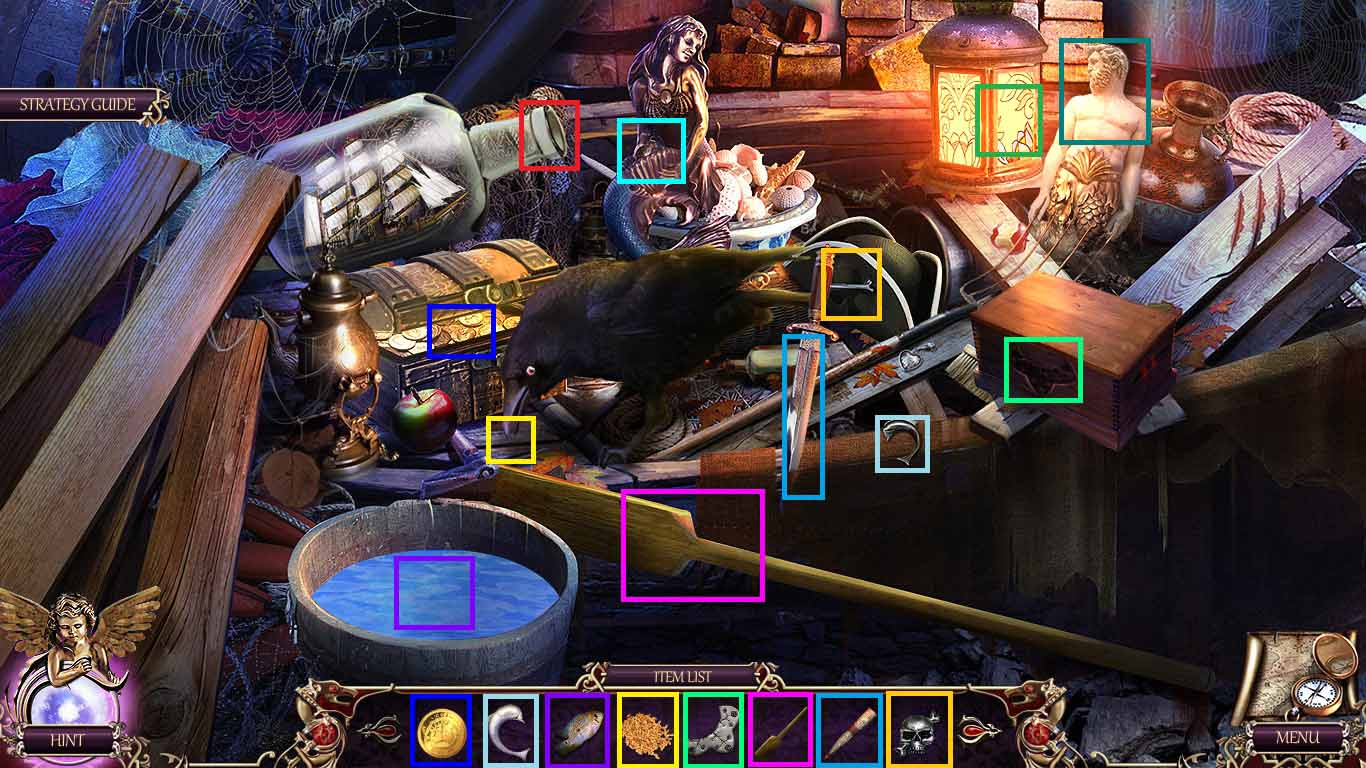
- Arrange the objects into the correct areas.
- Collect the silver dragon.
- Move back to the reading room.
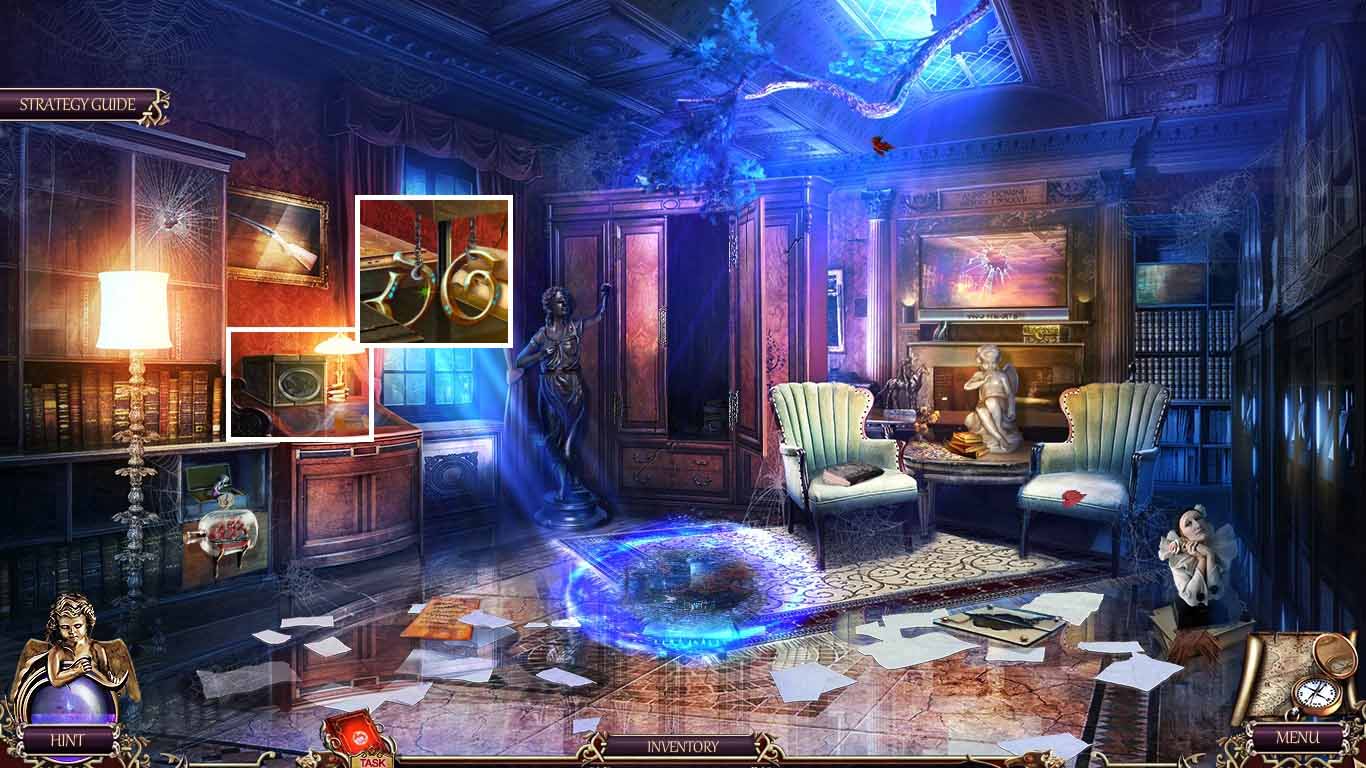
- Zoom into the casket and insert the silver dragon.
- Collect the DG.
- Move back one time and turn right into the office.
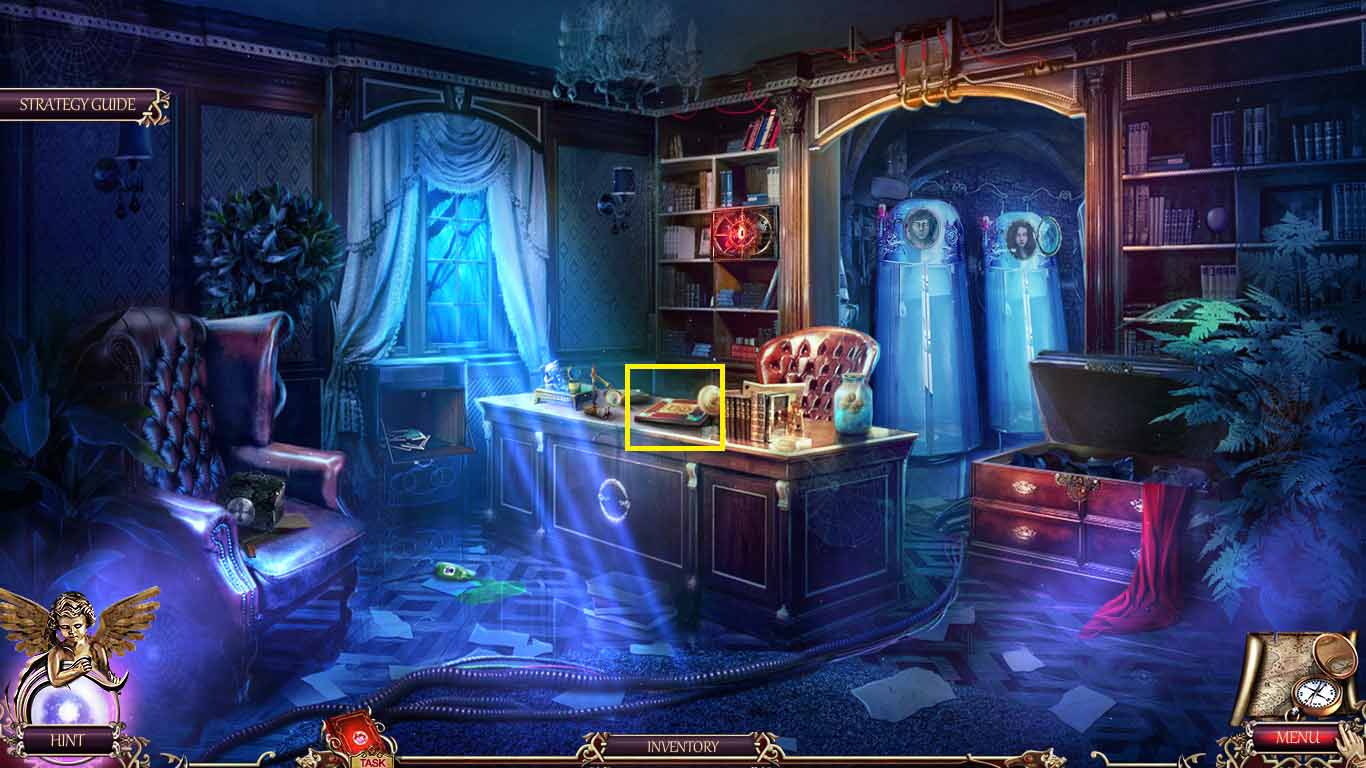
- Zoom into the office book.
- Insert the DG onto the cover.
- Go to Dorian Gray’s mansion.

- Click anywhere.
- Zoom into the boarded door; collect the stick,
- Zoom into the step.
- Collect the chisel and the mirror fragment.
- Move to the shore.
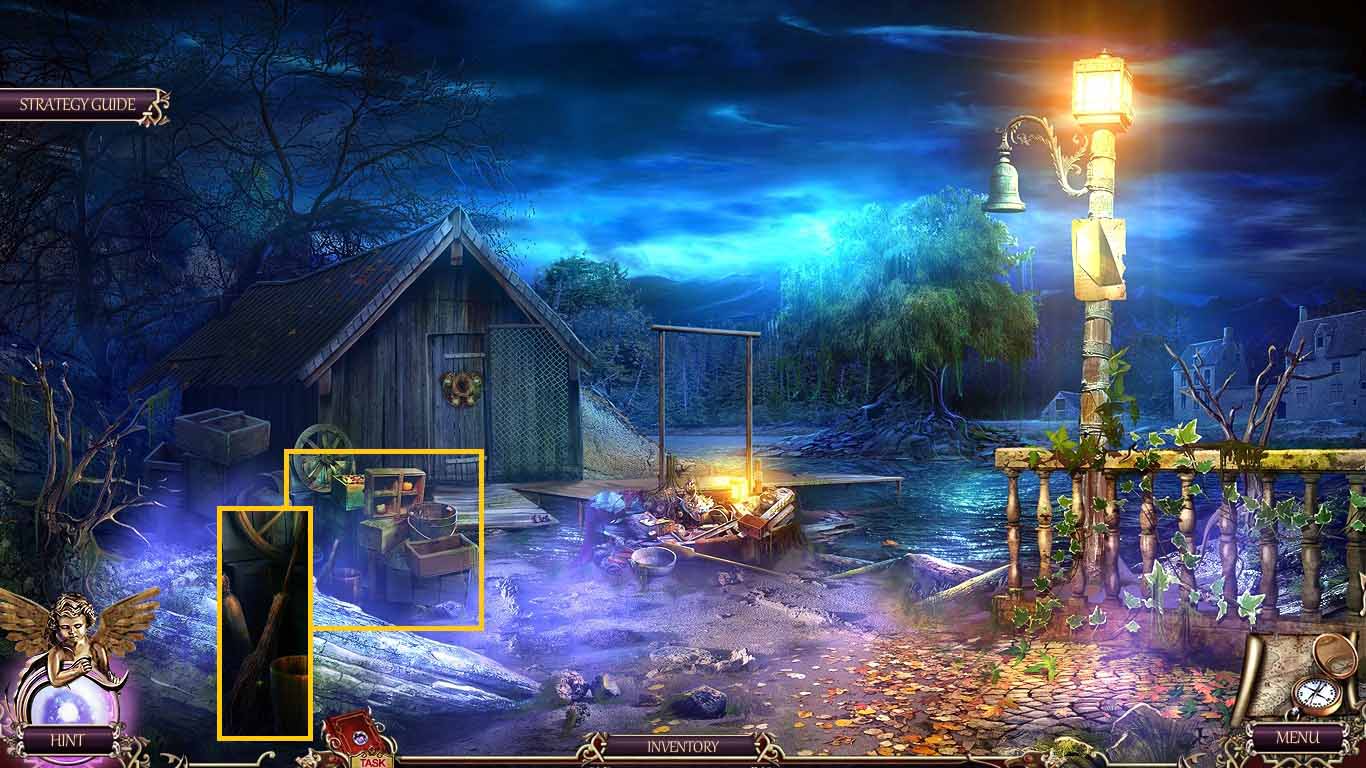
- Zoom into the boxes.
- Insert the stick onto the brush; collect the broom.
- Move to Dorian Gray’s house.
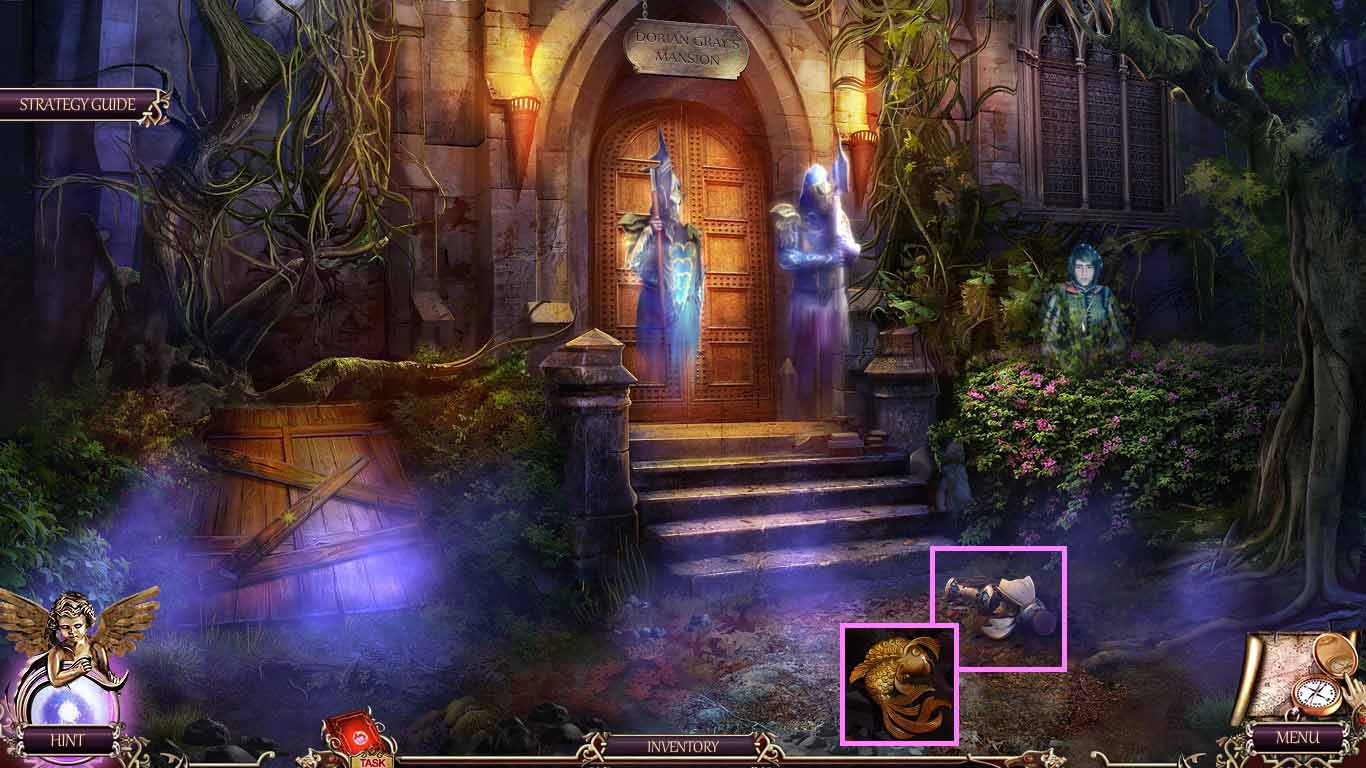
- Zoom into the broken vase.
- Sweep it up with the broom.
- Collect the fish amulet.
- Move back to the shore.
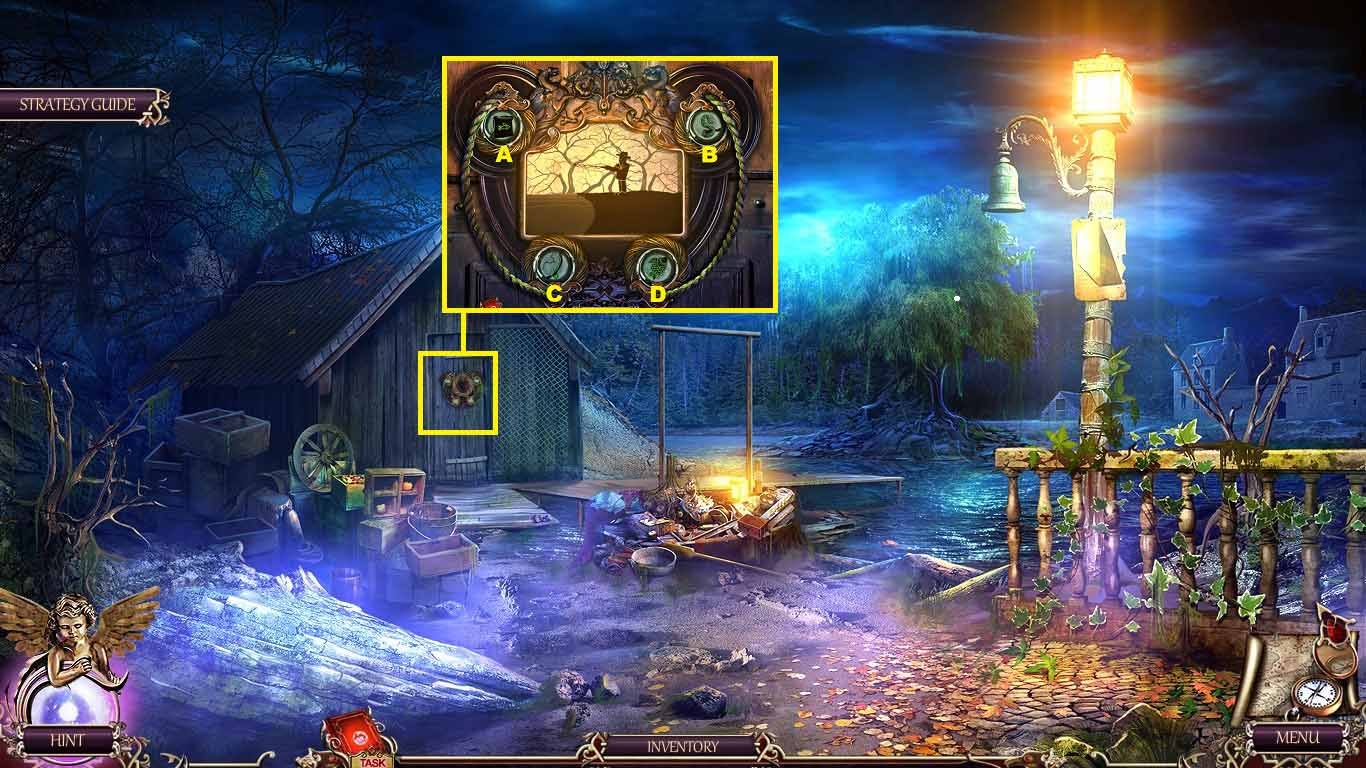
- Zoom into the fishing hut.
- Insert the fish amulet; a puzzle will trigger.
- Follow the pattern (A-D) to solve the puzzle.
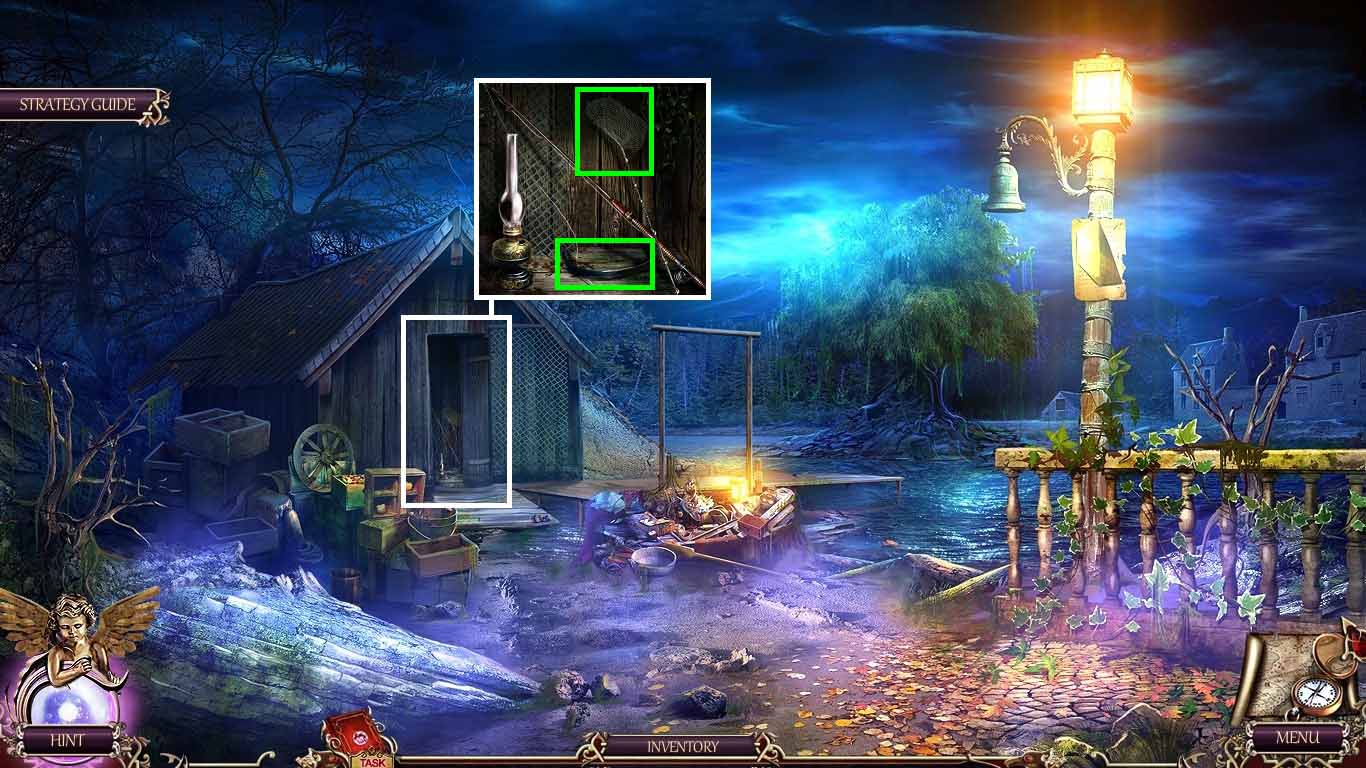
- Zoom into the fisherman tools.
- Collect the net and the rim.
- Move back one time and then go forward to the garden.
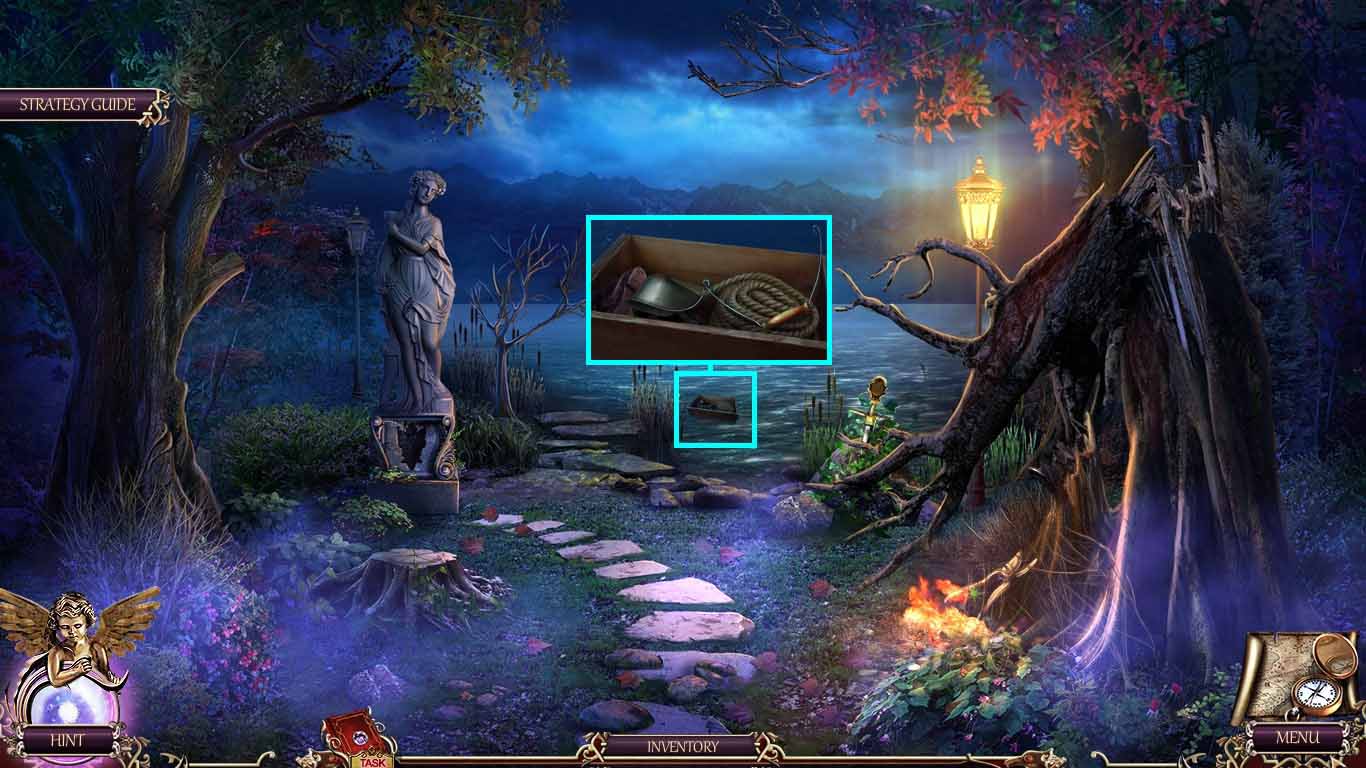
- Zoom into the box in the pond.
- Use the net to grab the box.
- Collect the bucket handle and the spaulder.
- Move back to the shore.
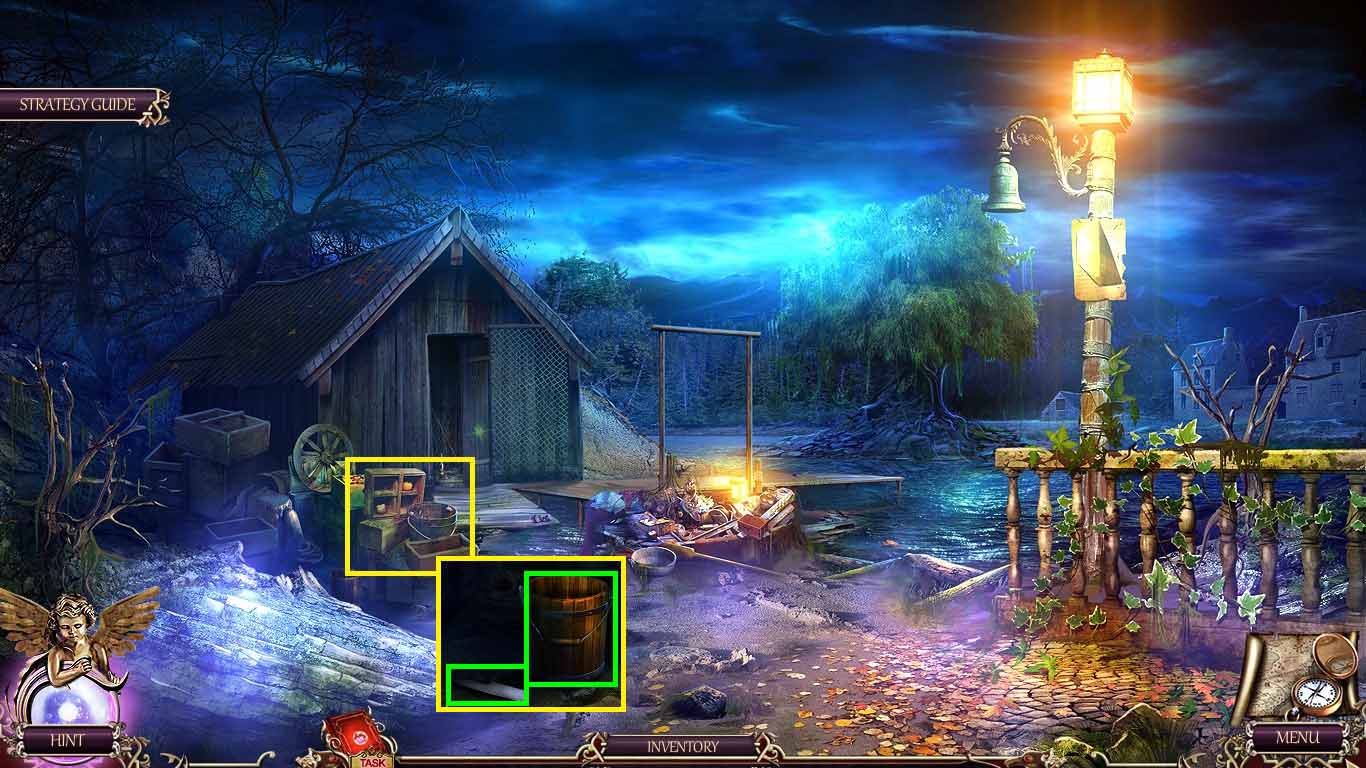
- Zoom into the boxes.
- Place the rim and the bucket handle onto the bucket.
- Collect the bucket.
- Collect the keys 1 /4.
- Move back one time and go forward.
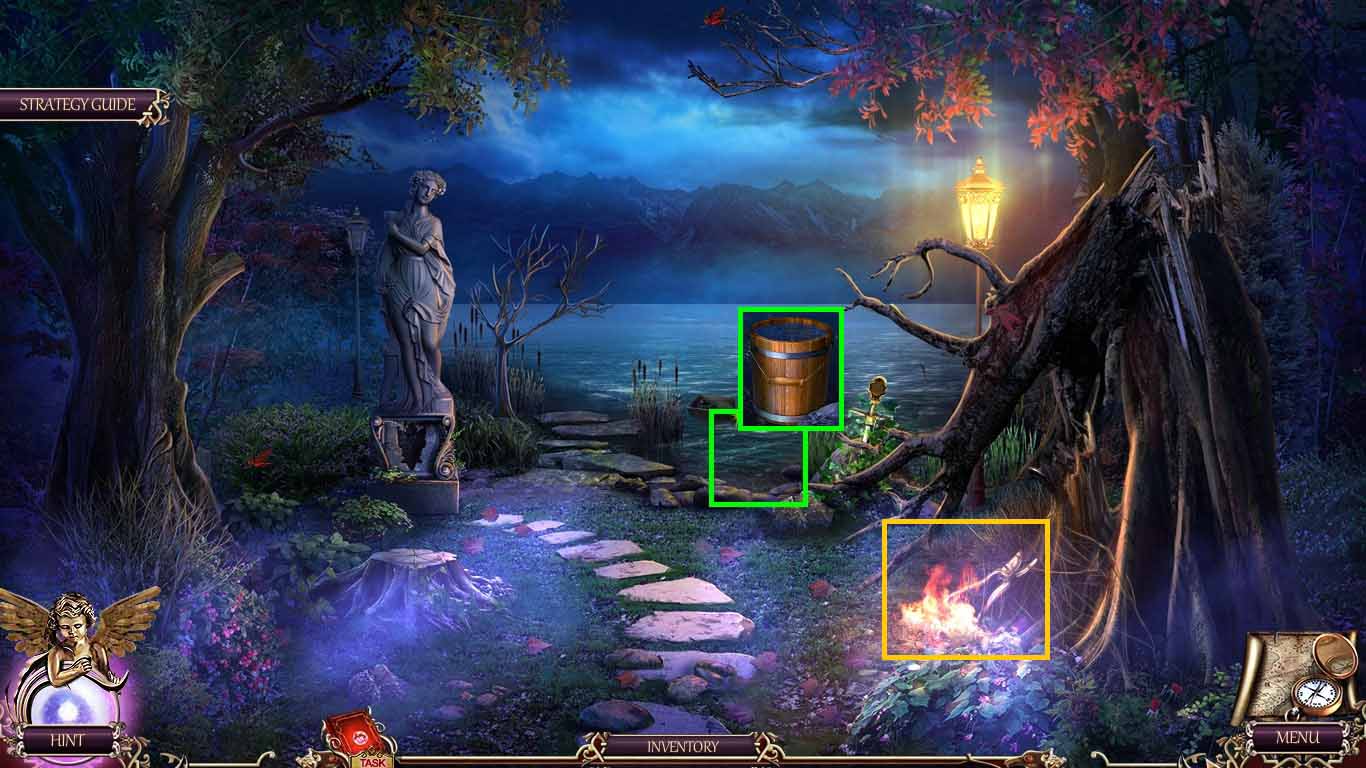
- Zoom into the pond.
- Dip the bucket into it to collect the water.
- Zoom into the fire; pour the water onto it.
- Collect the pruners.
- Move back once.
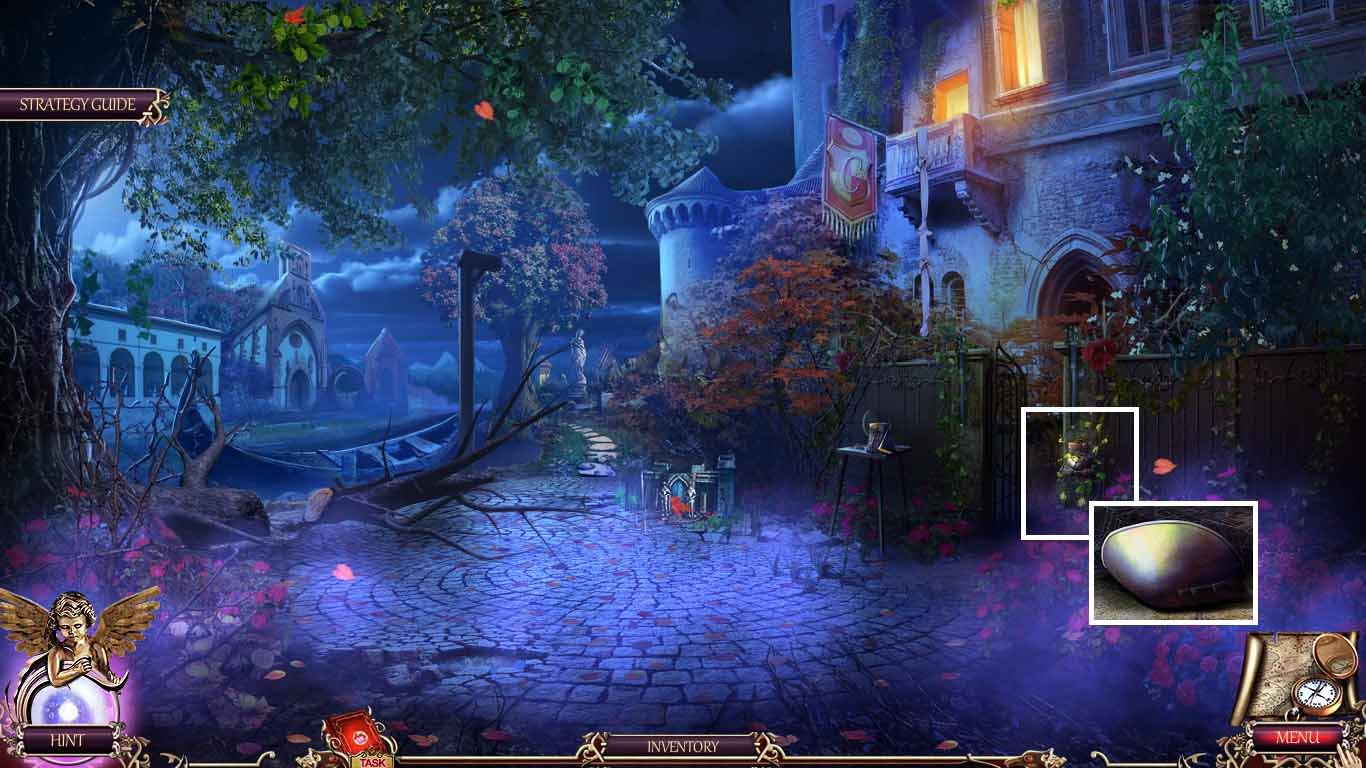
- Zoom into the overgrown wall.
- Clip the overgrowth using the pruners.
- Collect the 2nd spaulder.
- Move to Dorian Gray’s house.
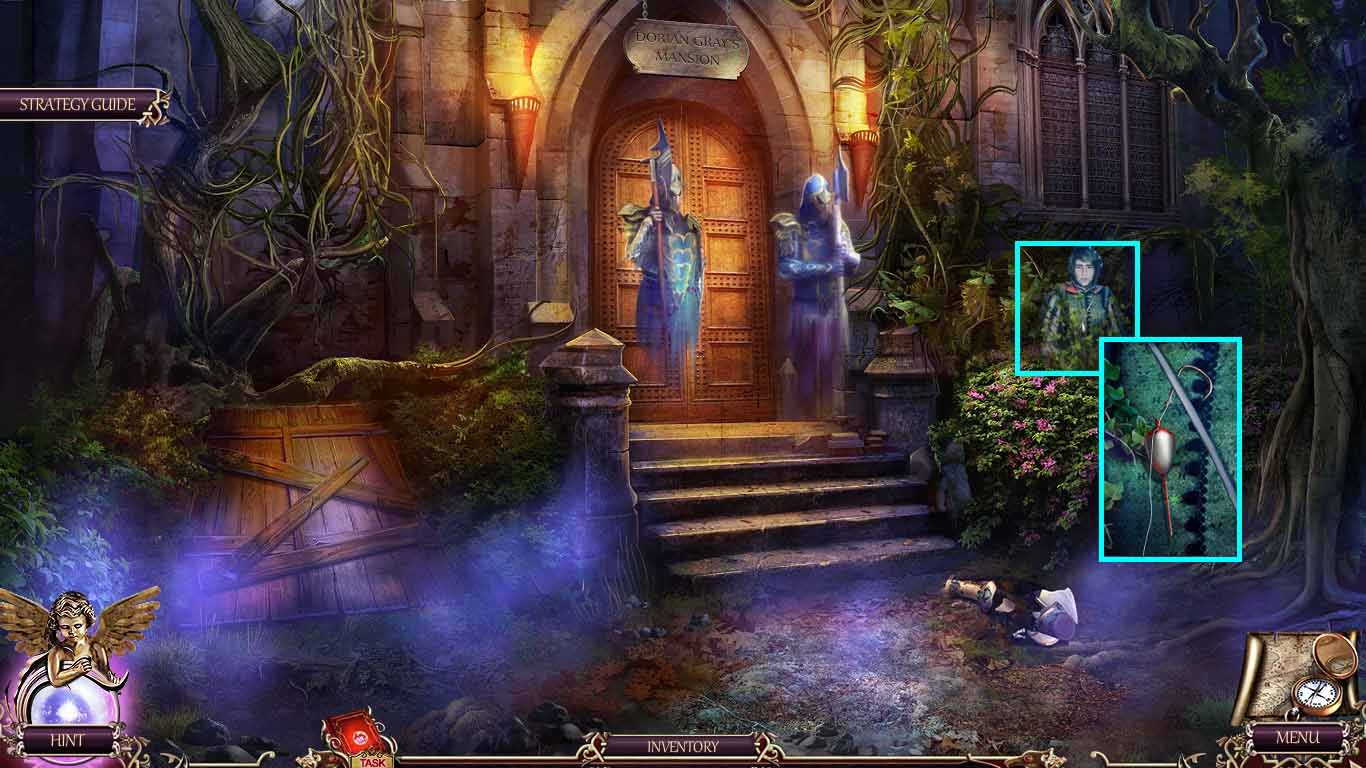
- Zoom into the ivy; trim them using the pruners.
- Collect the tackle.
- Move to the shore.
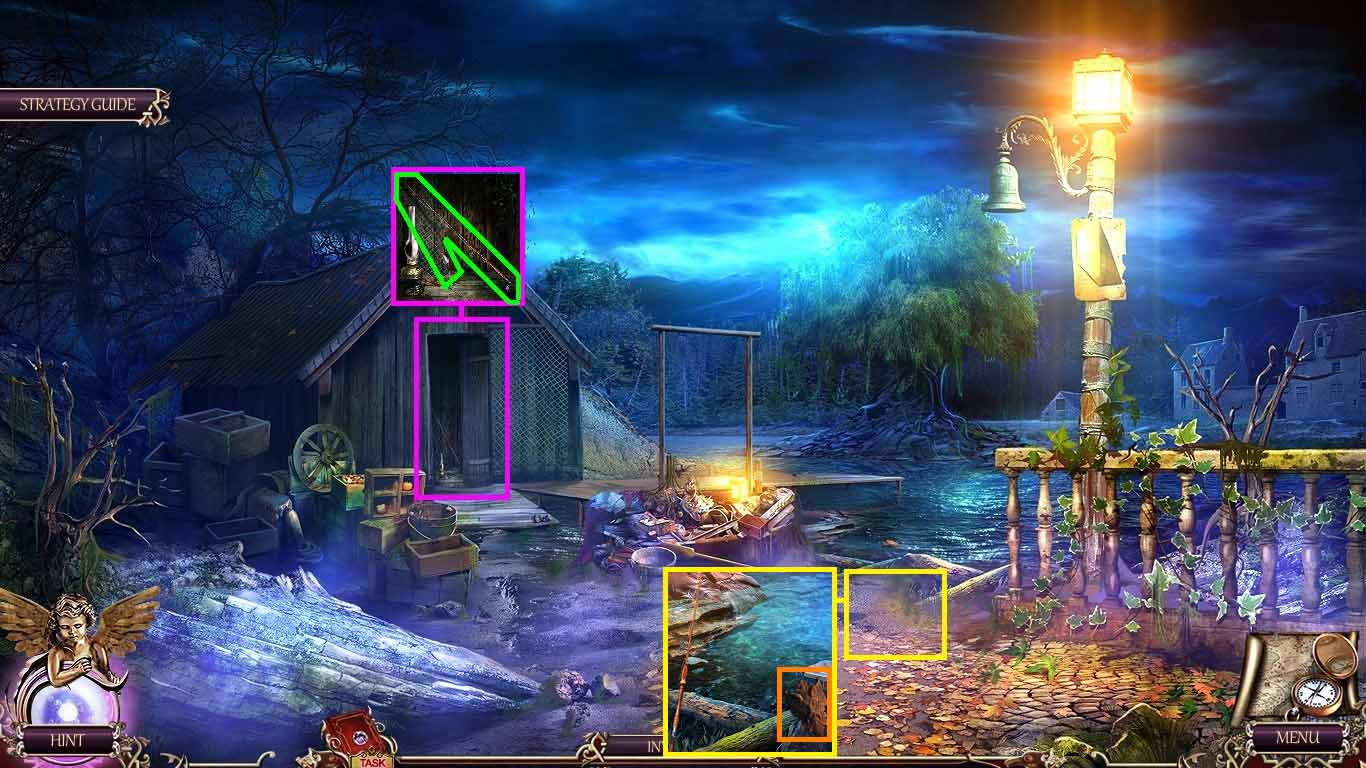
- Zoom into the fisherman tools.
- Put the tackle on the rod.
- Collect the fishing rod and the tackle.
- Zoom into the water’s edge.
- Use the fishing rod and tackle to collect the wooden amulet.
- Move back once and go forward.
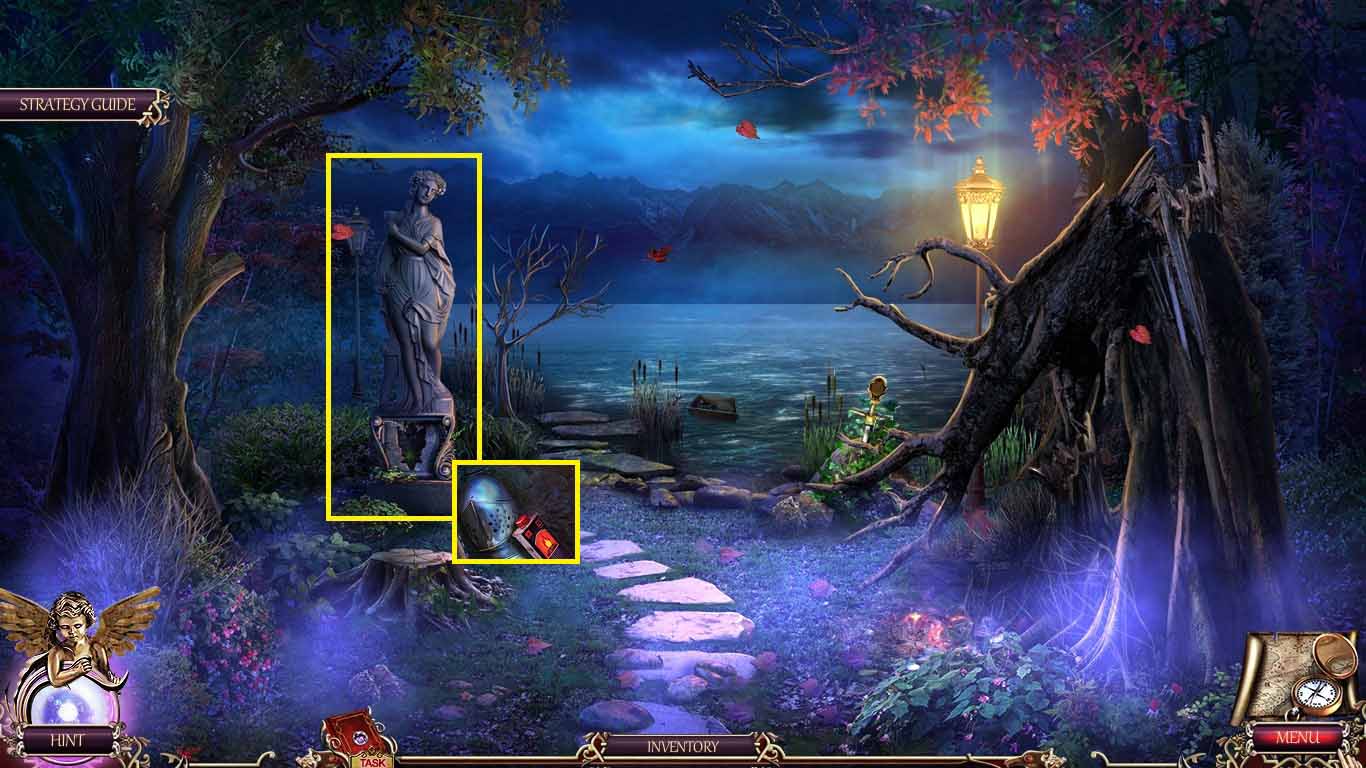
- Zoom into the garden statue base.
- Insert the wooden amulet.
- Collect the lantern oil and the helmet.
- Move to the main hall.
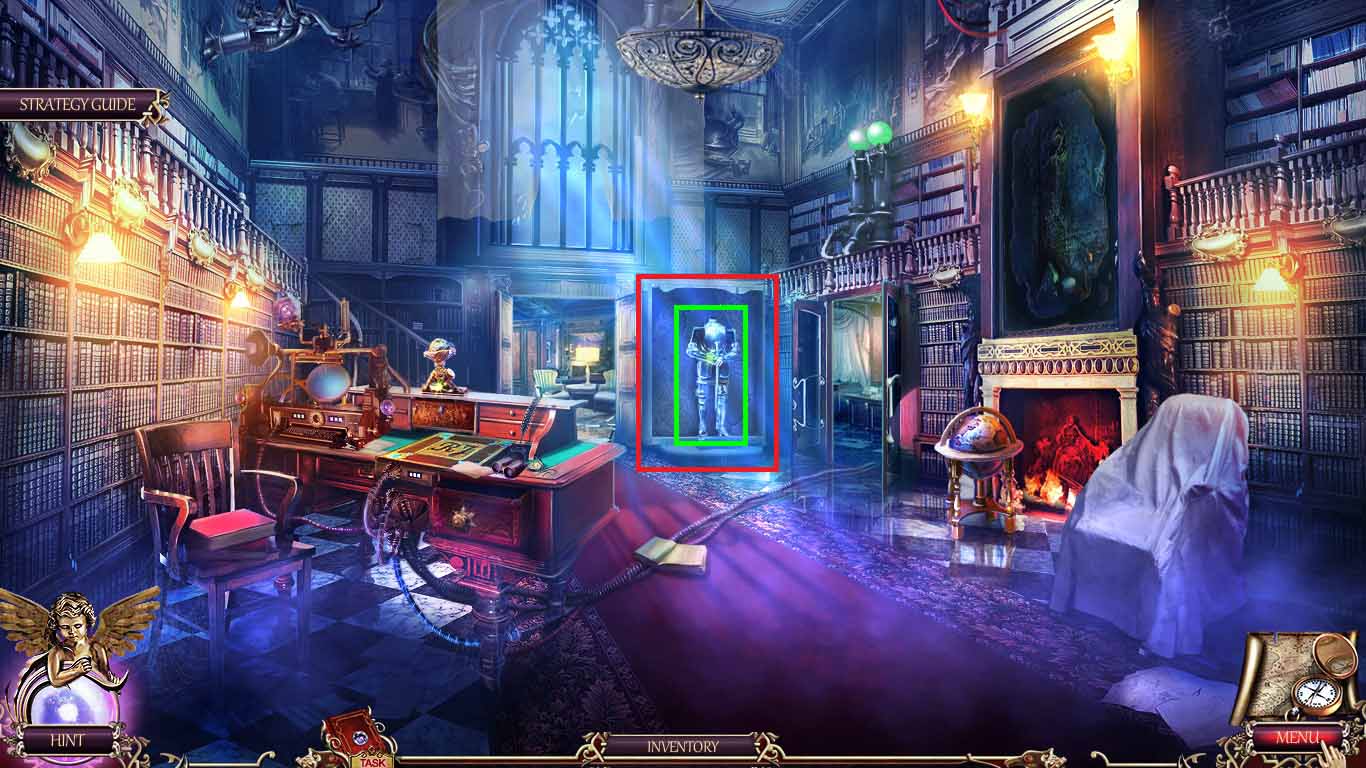
- Zoom into the armor.
- Put the helmet and the 2 spaulders onto it.
- Zoom into the armor to access a hidden objects area.
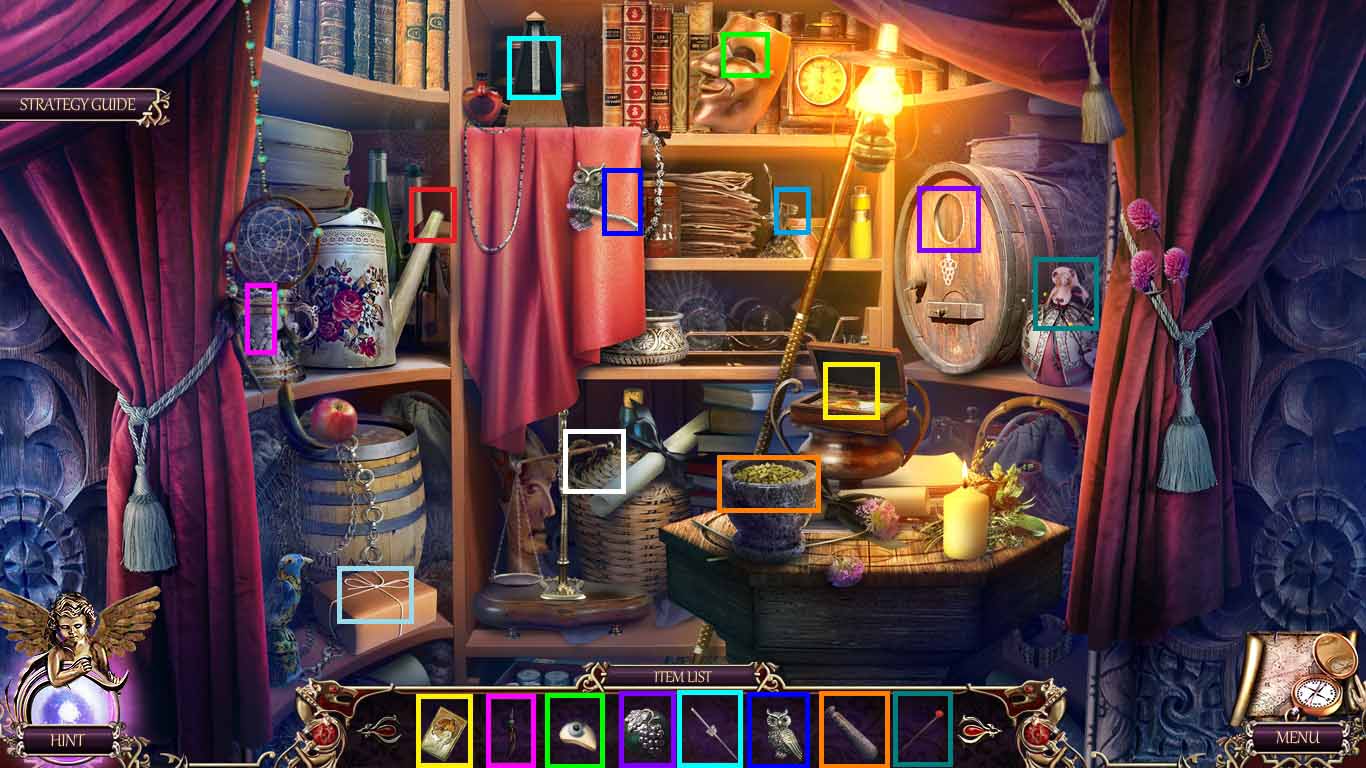
- Arrange the objects into the correct areas.
- Collect the sword amulet.
- Move to the garden.
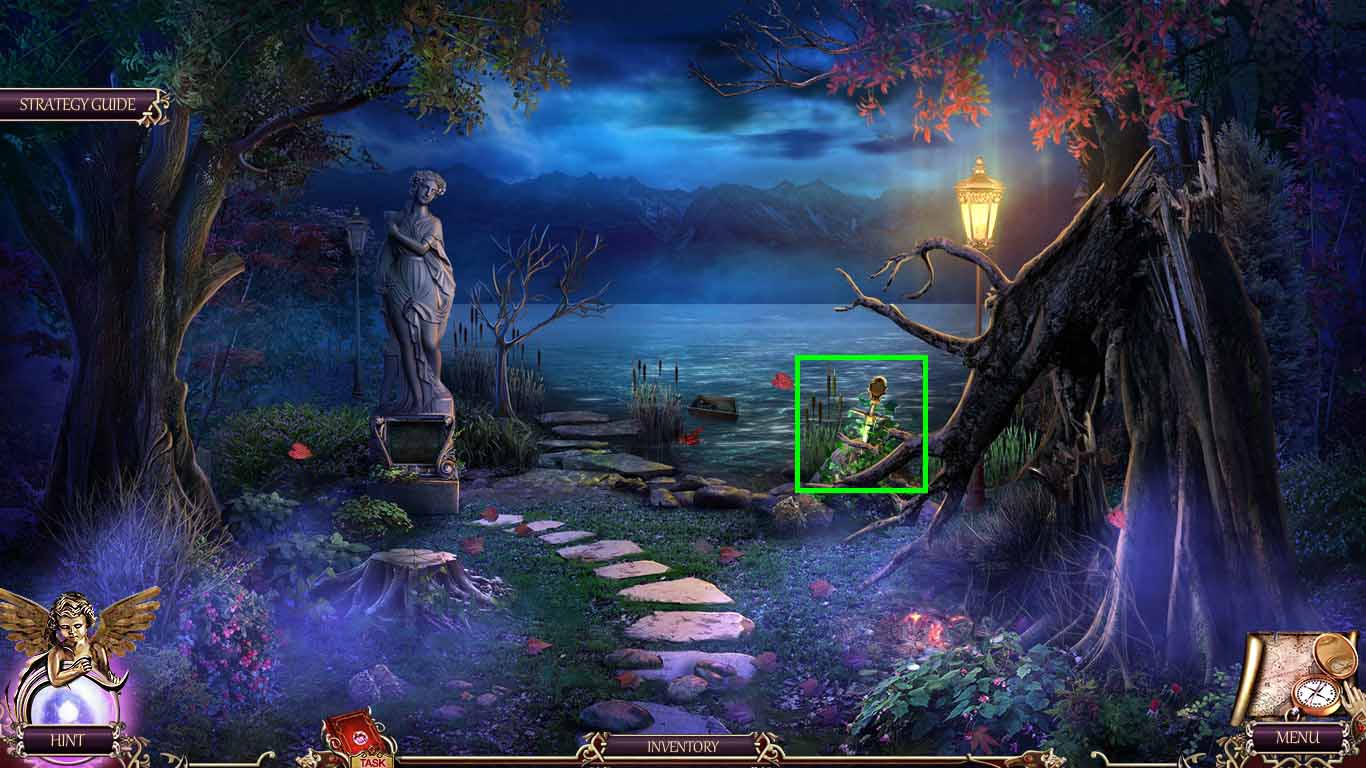
- Zoom into the sword in the stone.
- Cut the weeds using the pruners.
- Insert the sword amulet into the handle.
- Collect the sword.
- Move to Dorian Gray’s house.
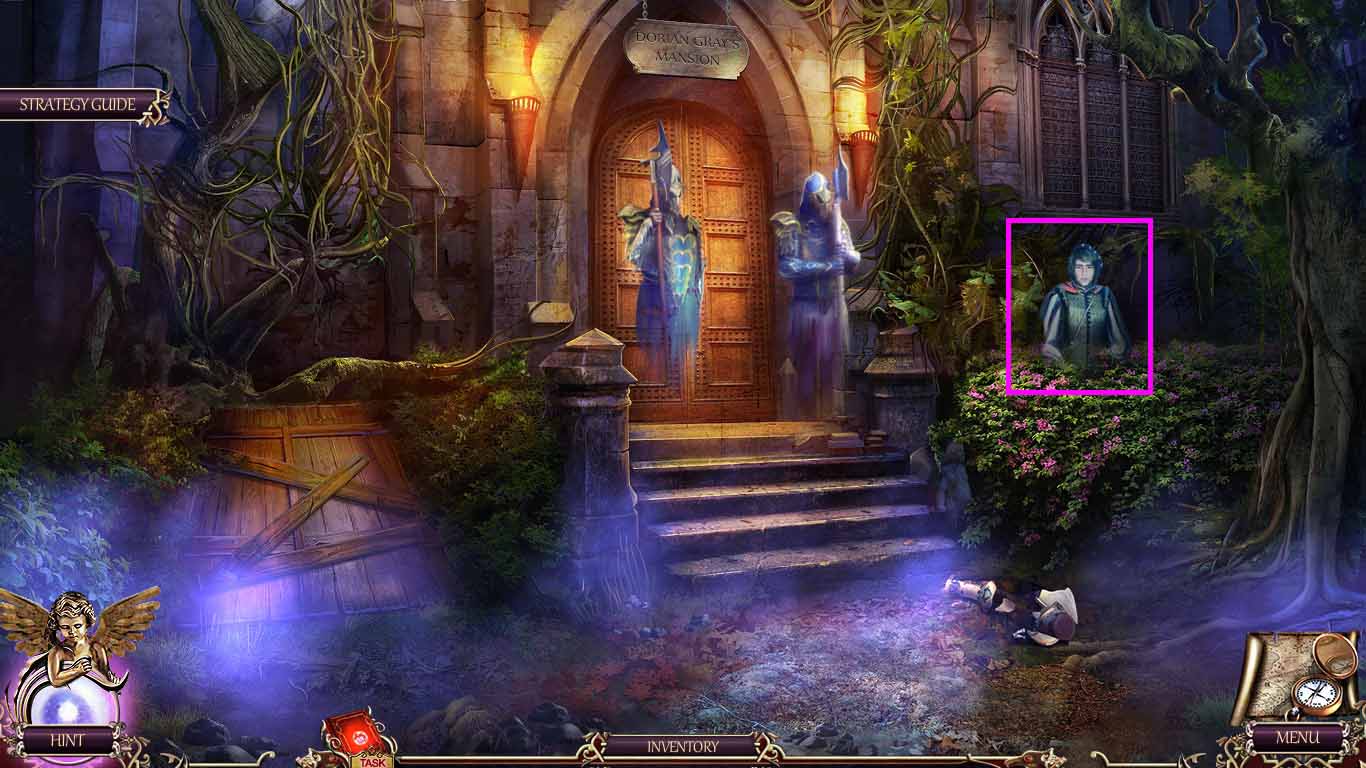
- Zoom into Ronald.
- Give him the sword.
- Go into Gray hall.
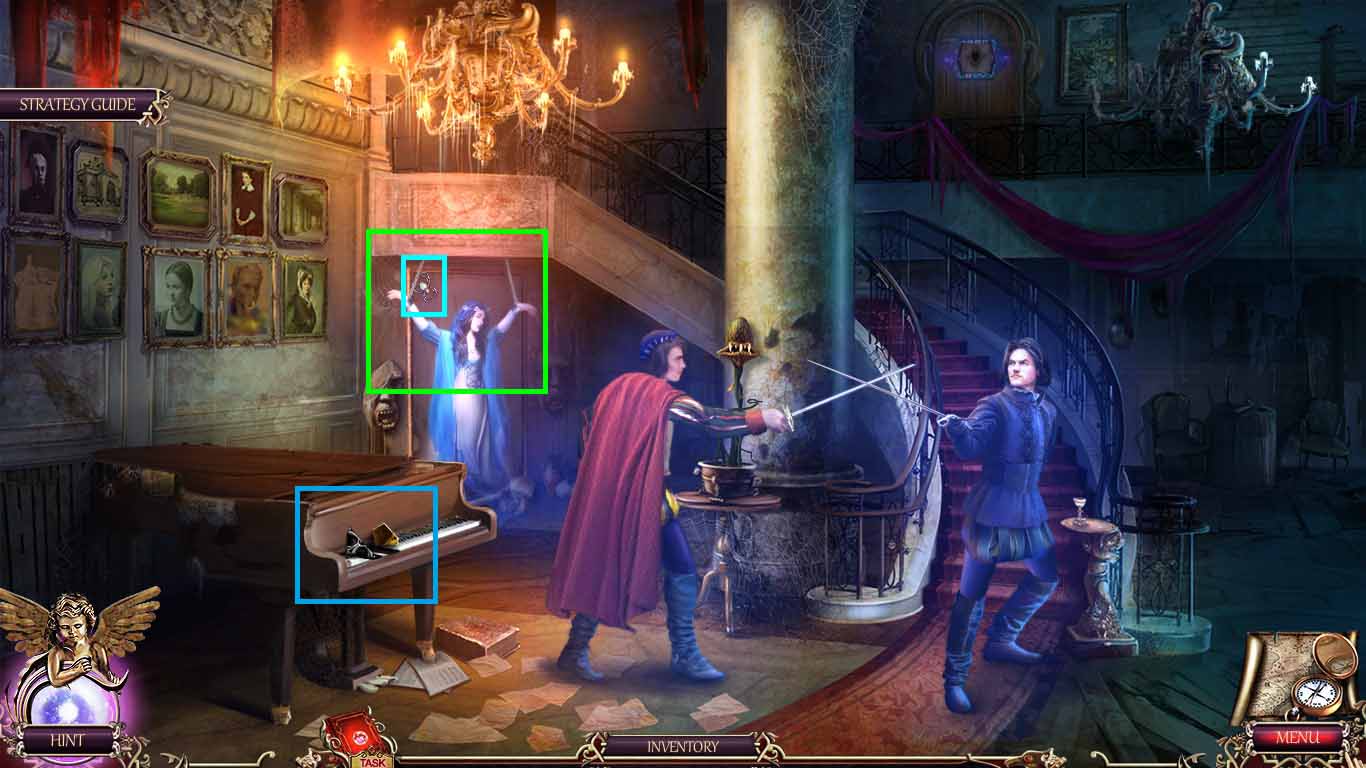
- Zoom into Juliet.
- Collect the spider 1/ 3.
- Zoom into the grand piano.
- Collect the 2nd amulet and the 2nd mirror fragment.
- Move back 3 times.
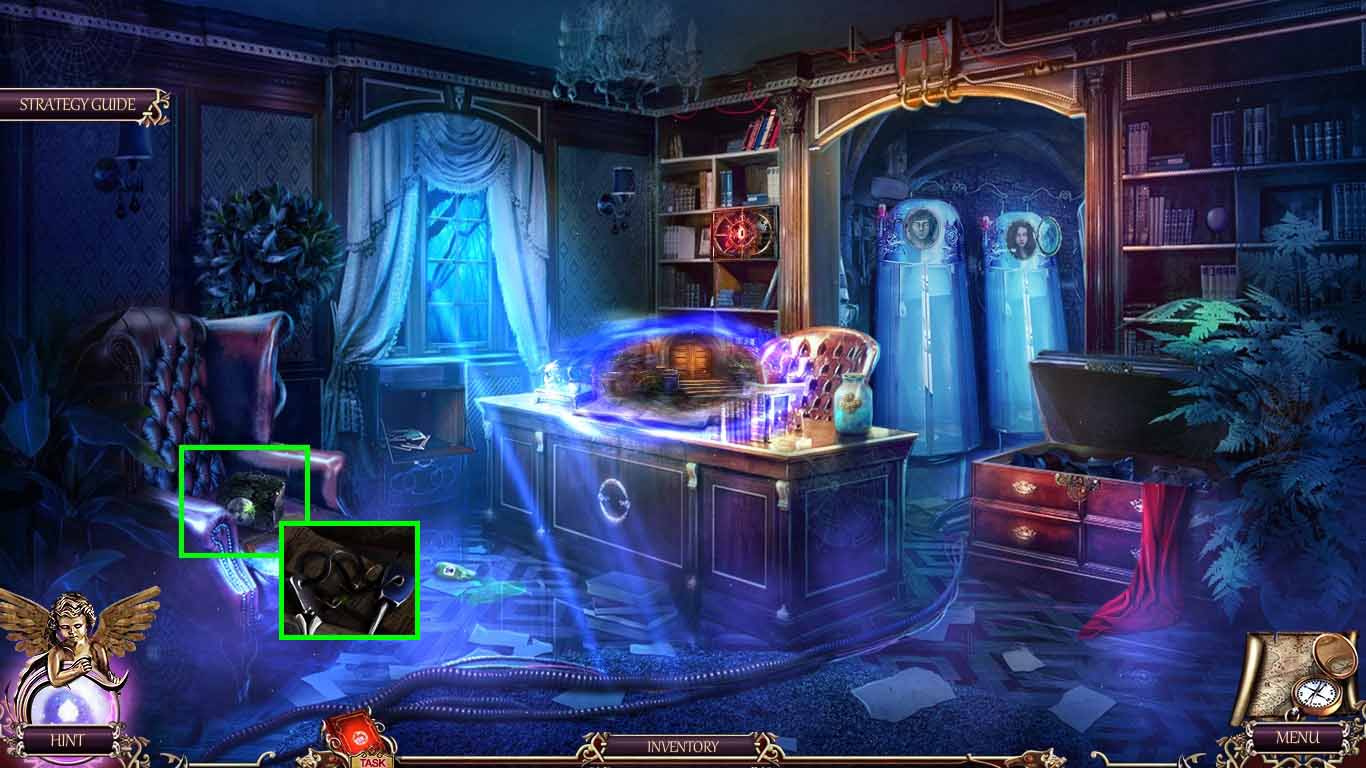
- Zoom into the office chair.
- Insert the 2 amulets into the box.
- Collect the flint stone.
- Move to the shore.
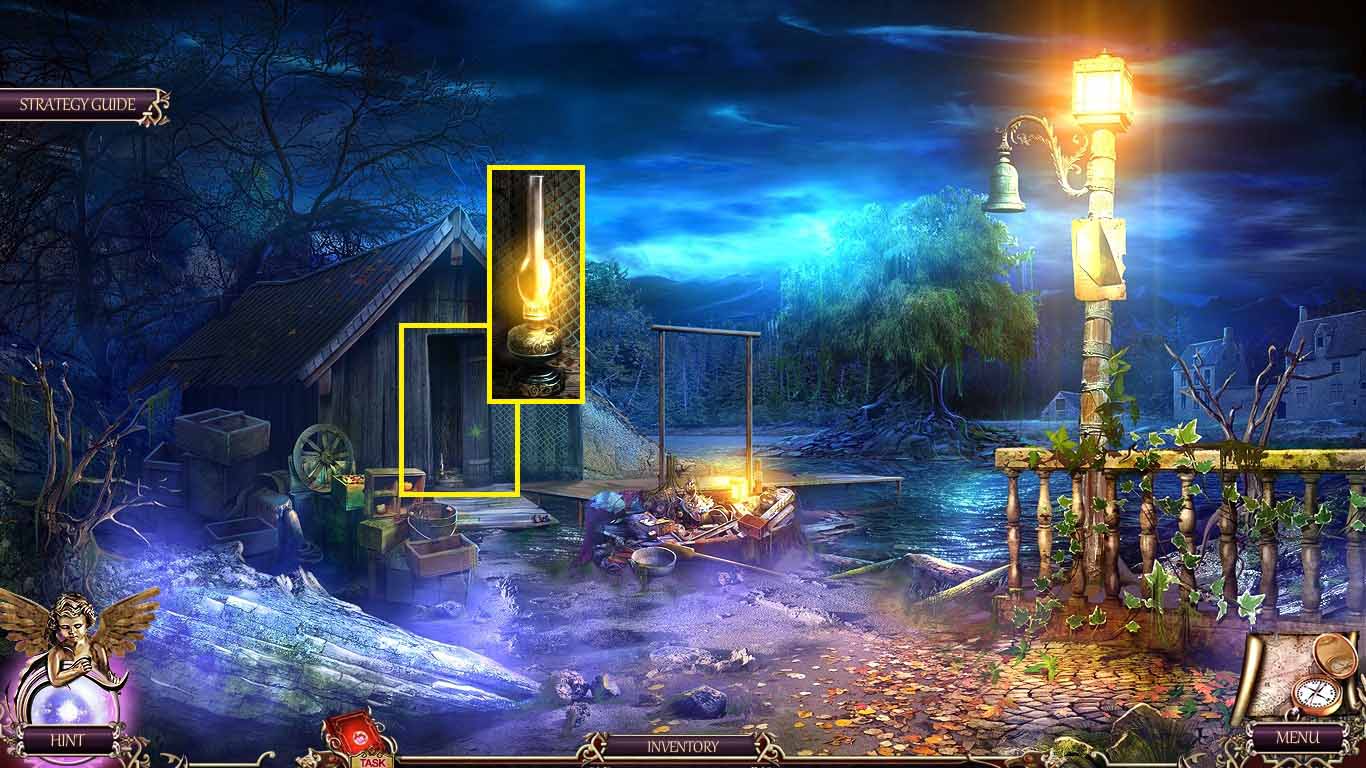
- Zoom into the fisherman tools.
- Use the lantern oil and the flint stone on the lamp.
- Collect the lamp.
- Move to Juliet’s room.

- Zoom under the bed.
- Light the darkness by using the lamp.
- Collect the key.
- Move to the office.
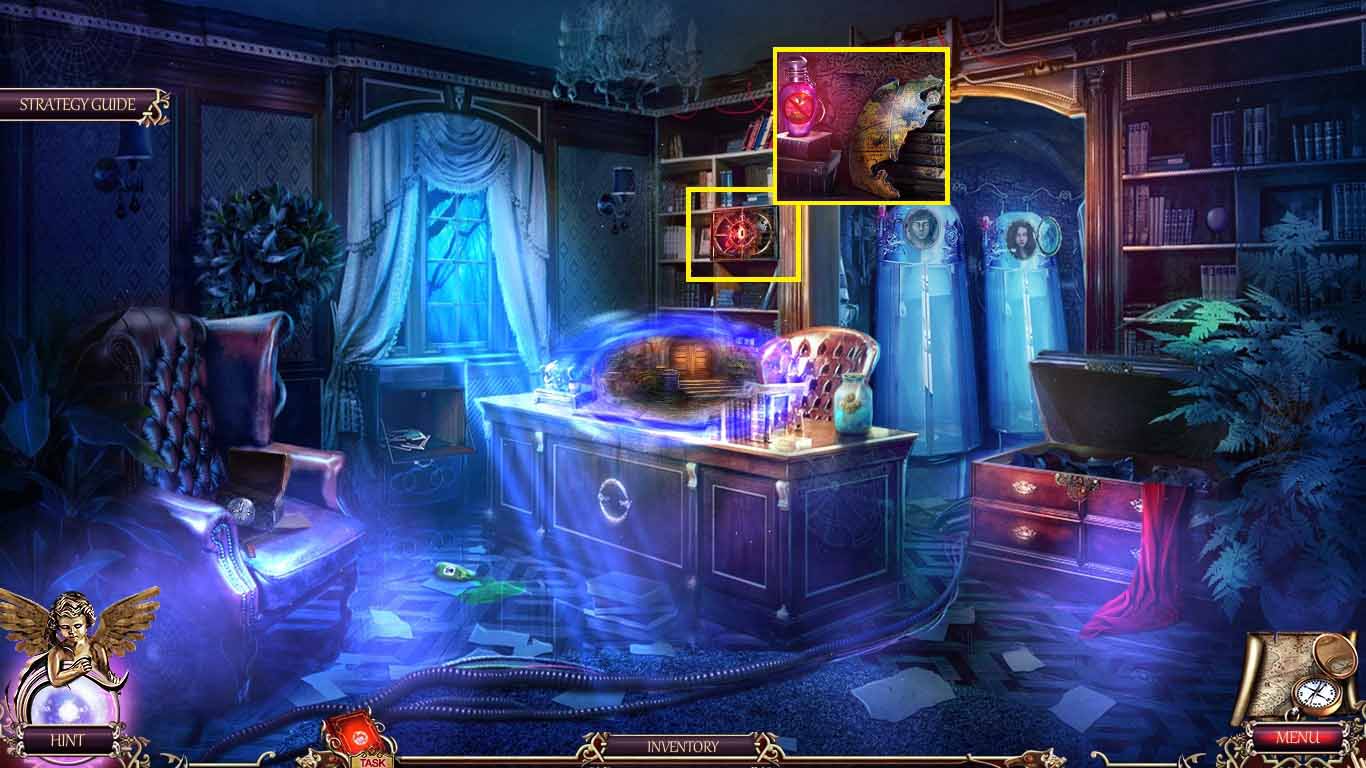
- Zoom into the closet; insert the key.
- Collect the globe part and the herbicide.
- Move to Gray hall.
- Bonus-39-Man-Eater
- Zoom into the man-eating plant.
- Douse it with the herbicide.
- Collect the crowbar.
- Move back one time.
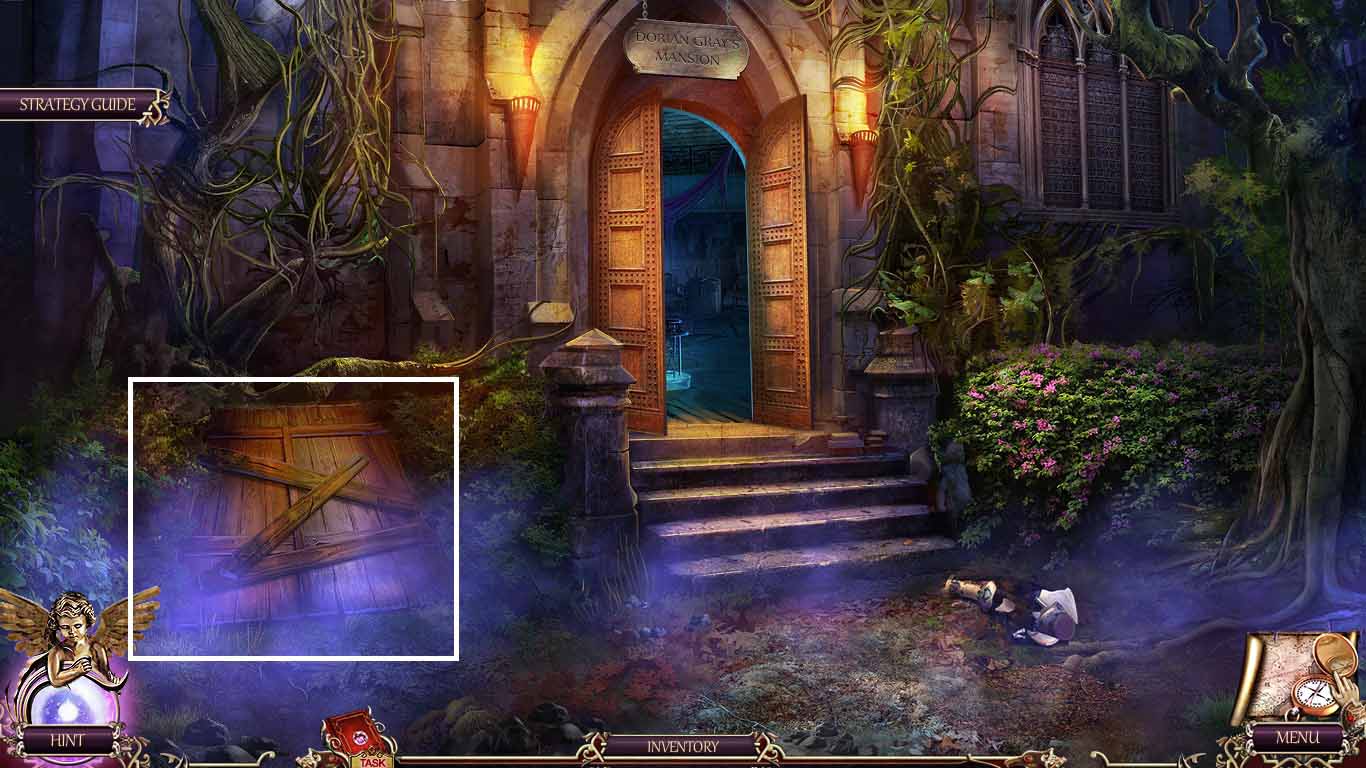
- Zoom into the boarded door; use the crowbar on it.
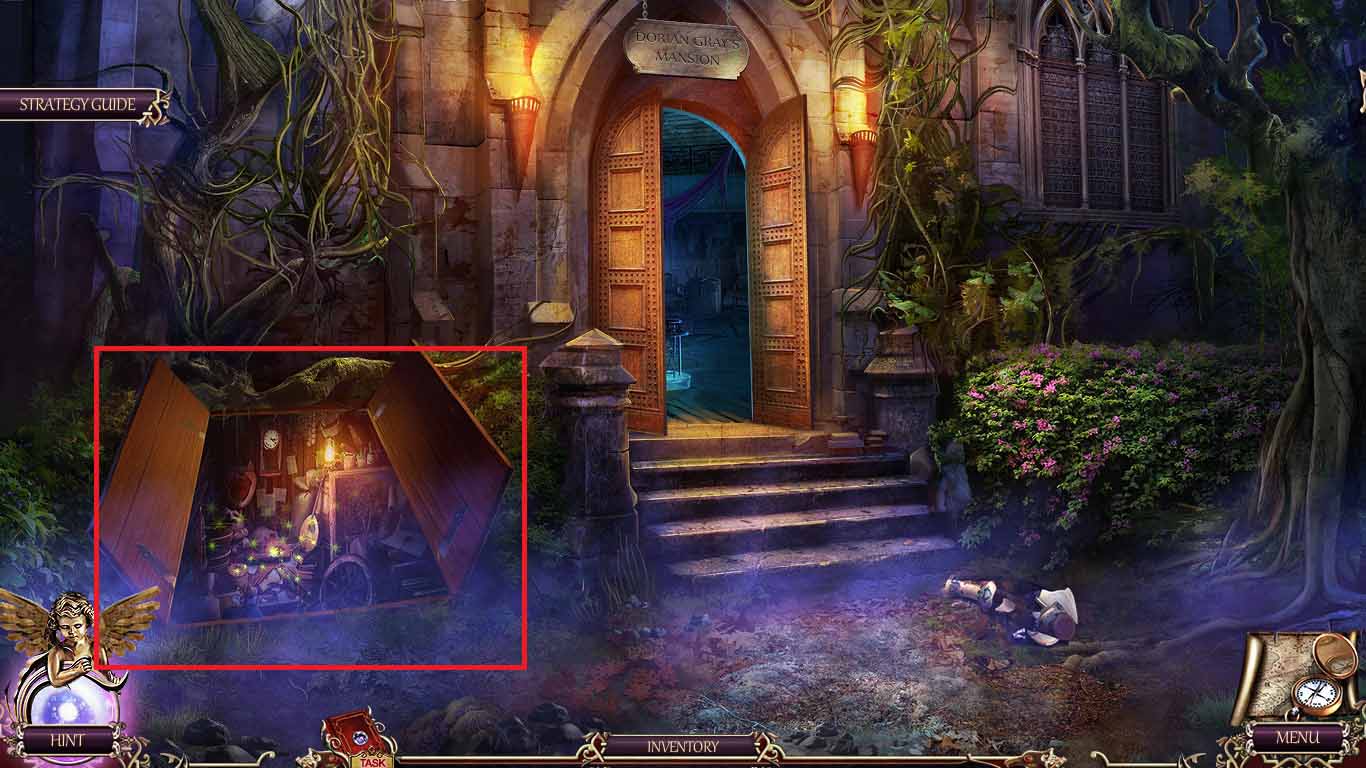
- Zoom into the door to access a hidden objects area.
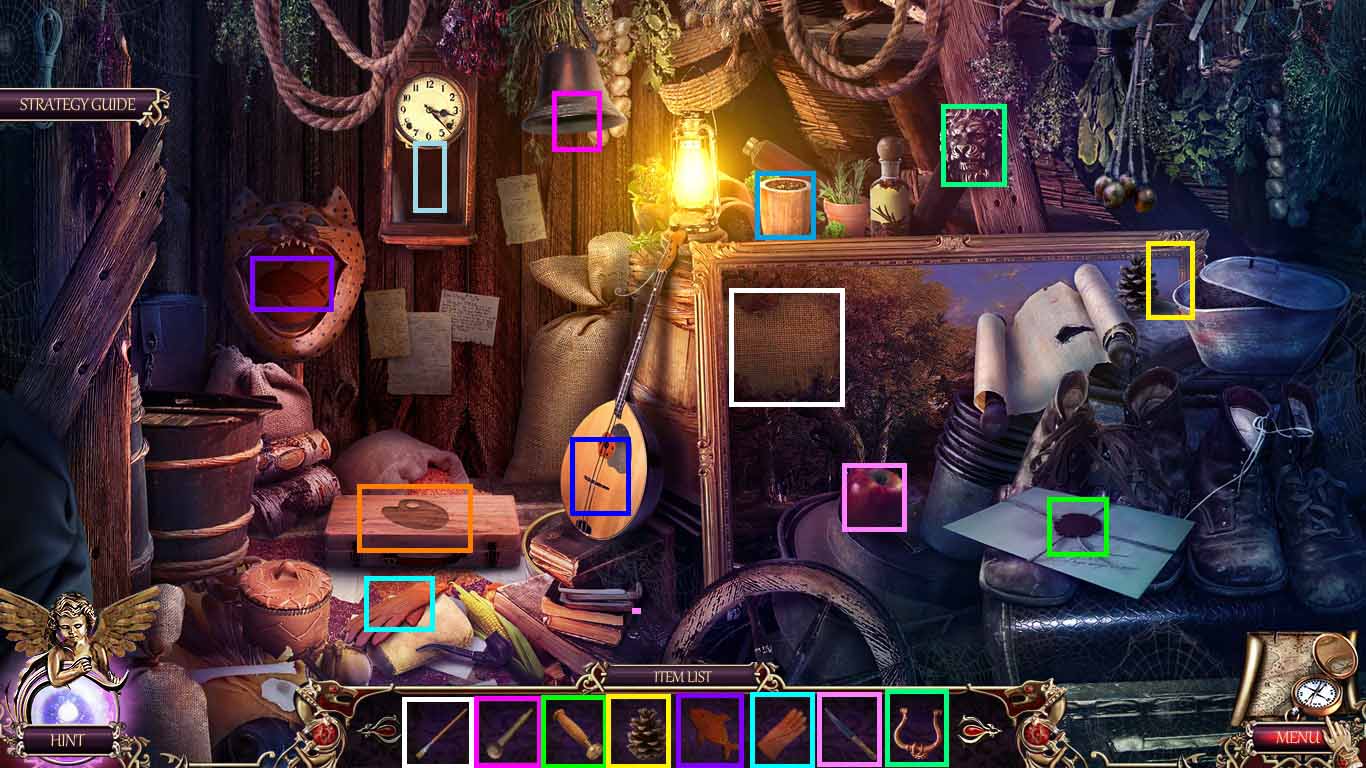
- Arrange the objects into the correct areas.
- Collect the skull amulet.
- Move to the shore.
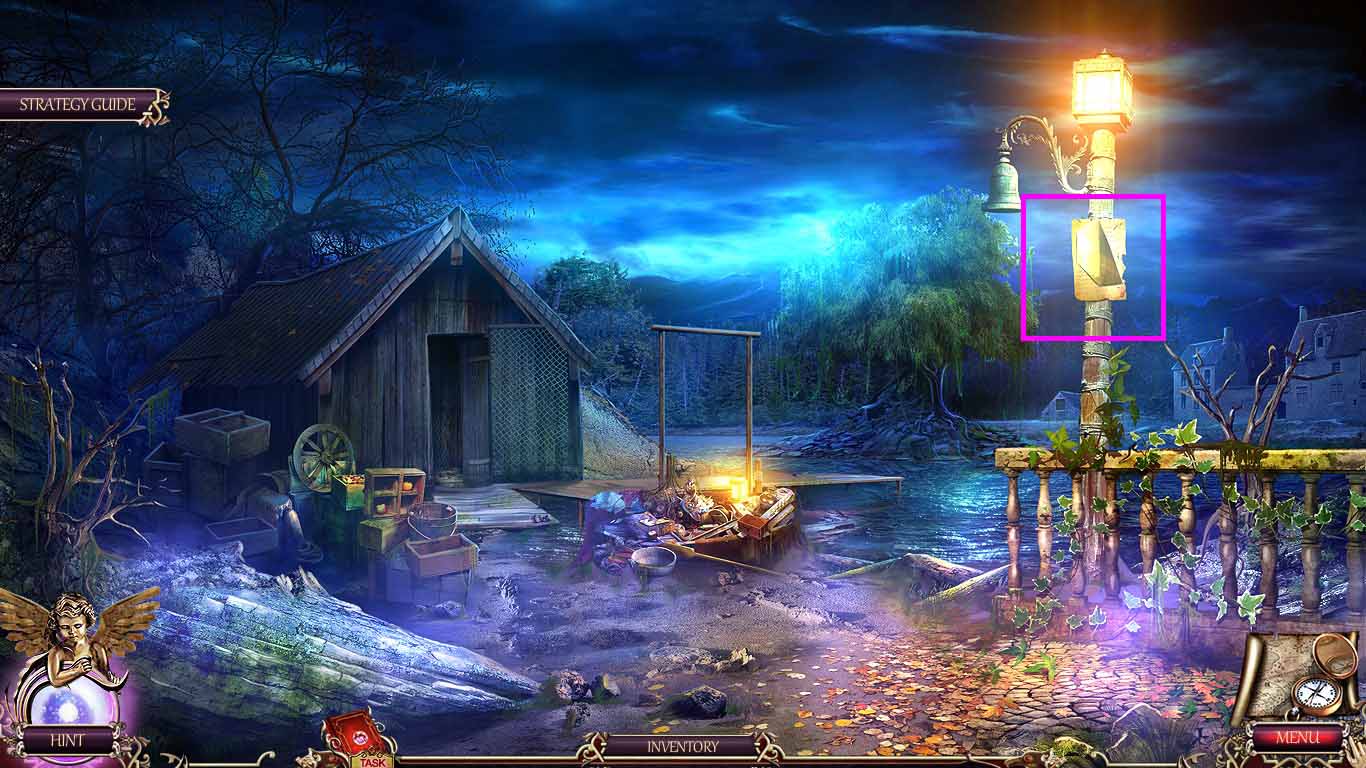
- Zoom into the truce note.
- Use the crowbar on the nails.
- Collect the 3rd mirror fragment.
- Move to the laboratory.
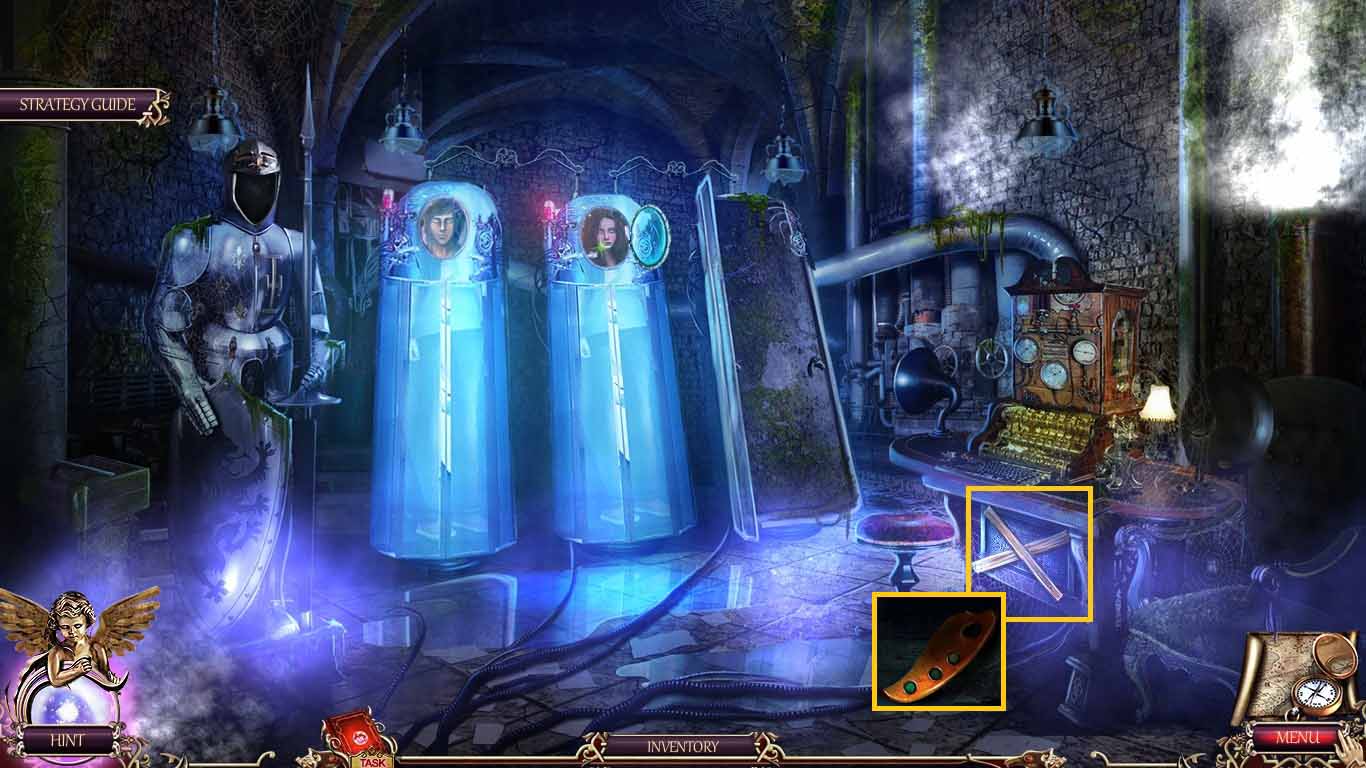
- Zoom into the alchemist’s desk.
- Use the crowbar on the boards.
- Collect the art amulet.
- Move to Gray hall.
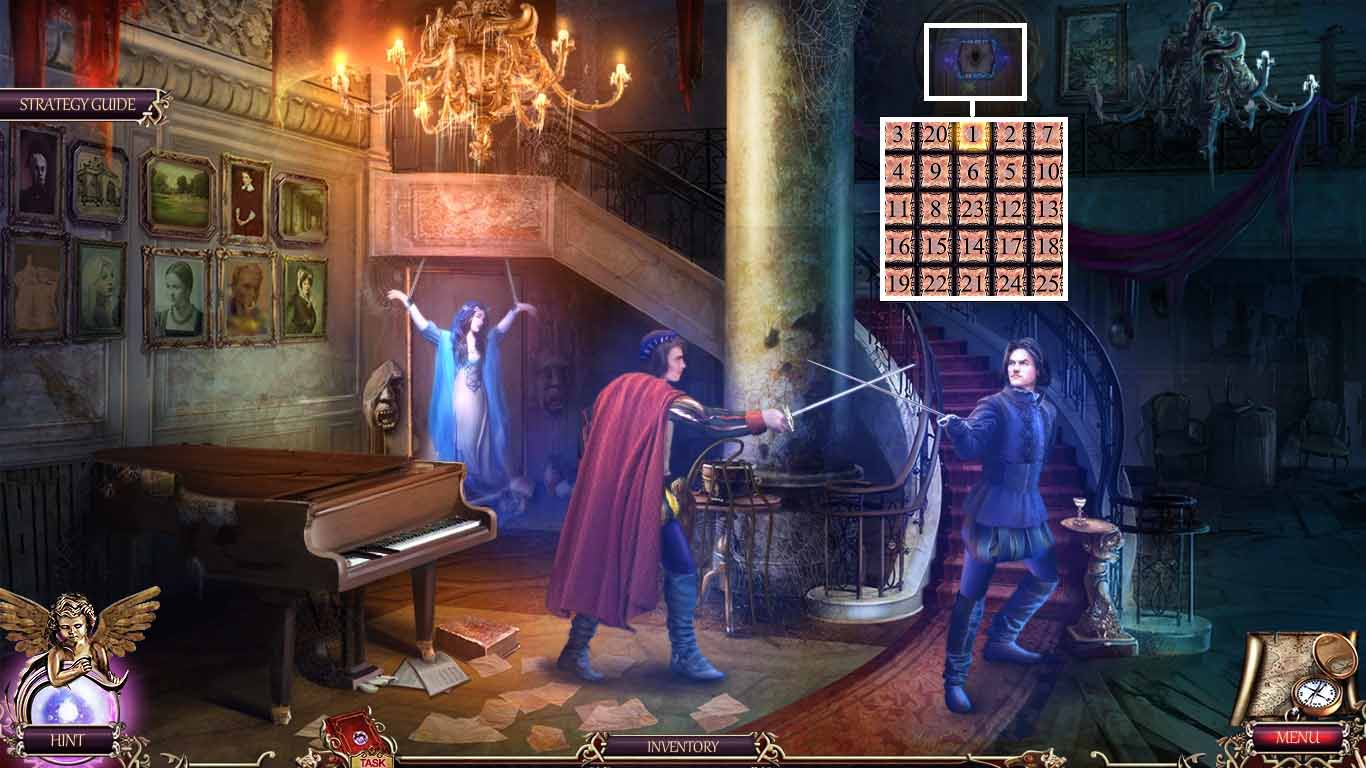
- Zoom into the attic door.
- Insert the skull amulet.
- A puzzle will be triggered.
- Click the cells in order from 1-25.

- Zoom into the window.
- Use the ruler on the sill.
- Collect the spider 2/ 3.
- Zoom into the mirror; collect the hammer.
- Insert the 3 mirror fragments into the mirror.
- Collect the keys 2/ 4.
- Move to Juliet’s house.
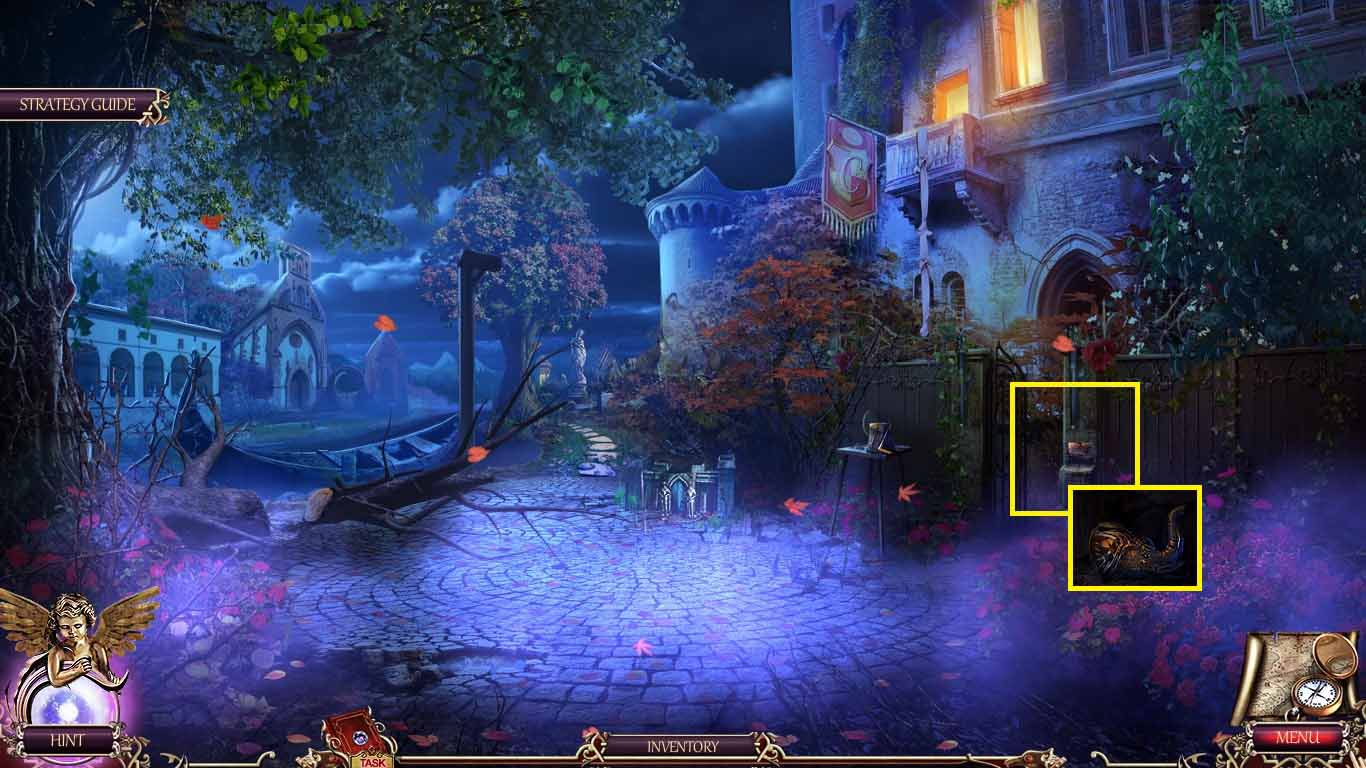
- Zoom into the overgrown wall.
- Use the chisel and hammer on it.
- Collect the statuette.
- Move back to the main hall.
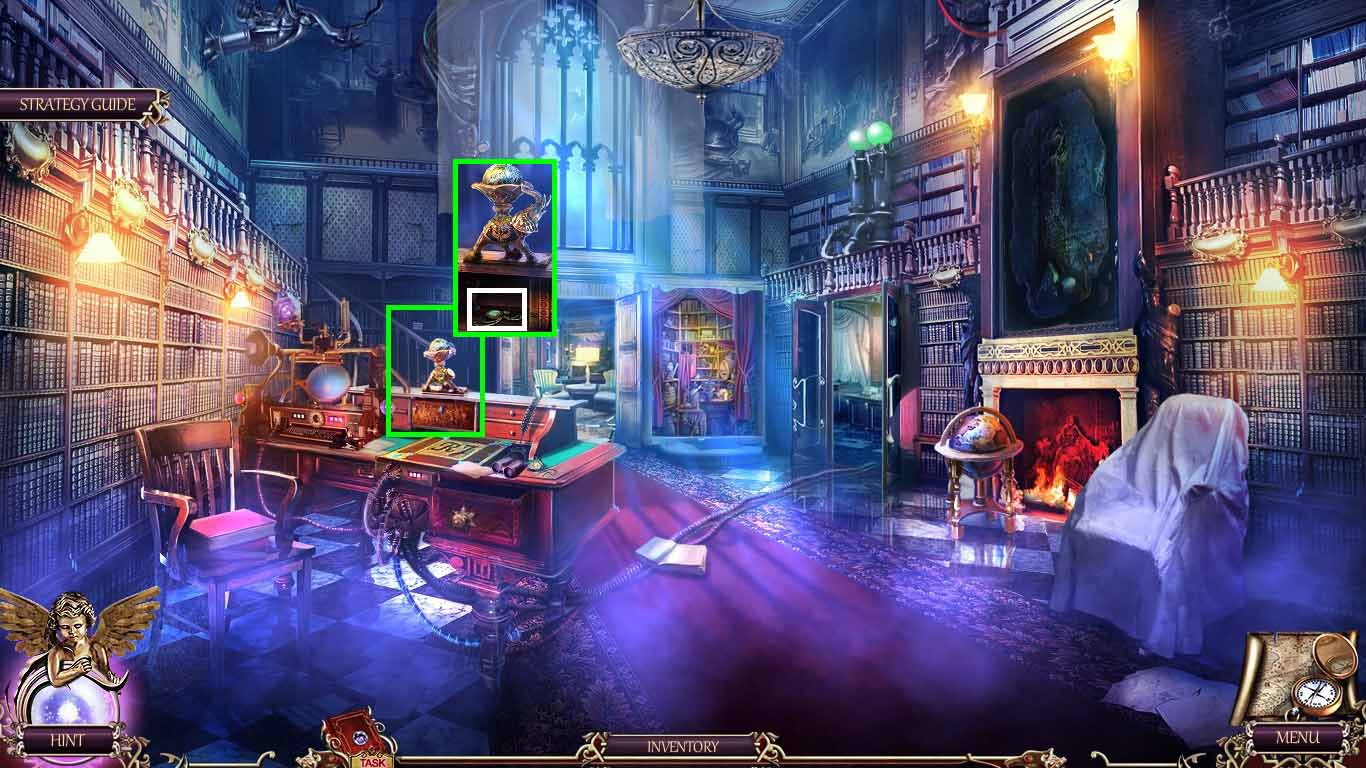
- Zoom into the table top.
- Place the statuette on the statue.
- Collect the spider 3/ 3.
- Go to the attic of Gray’s house.
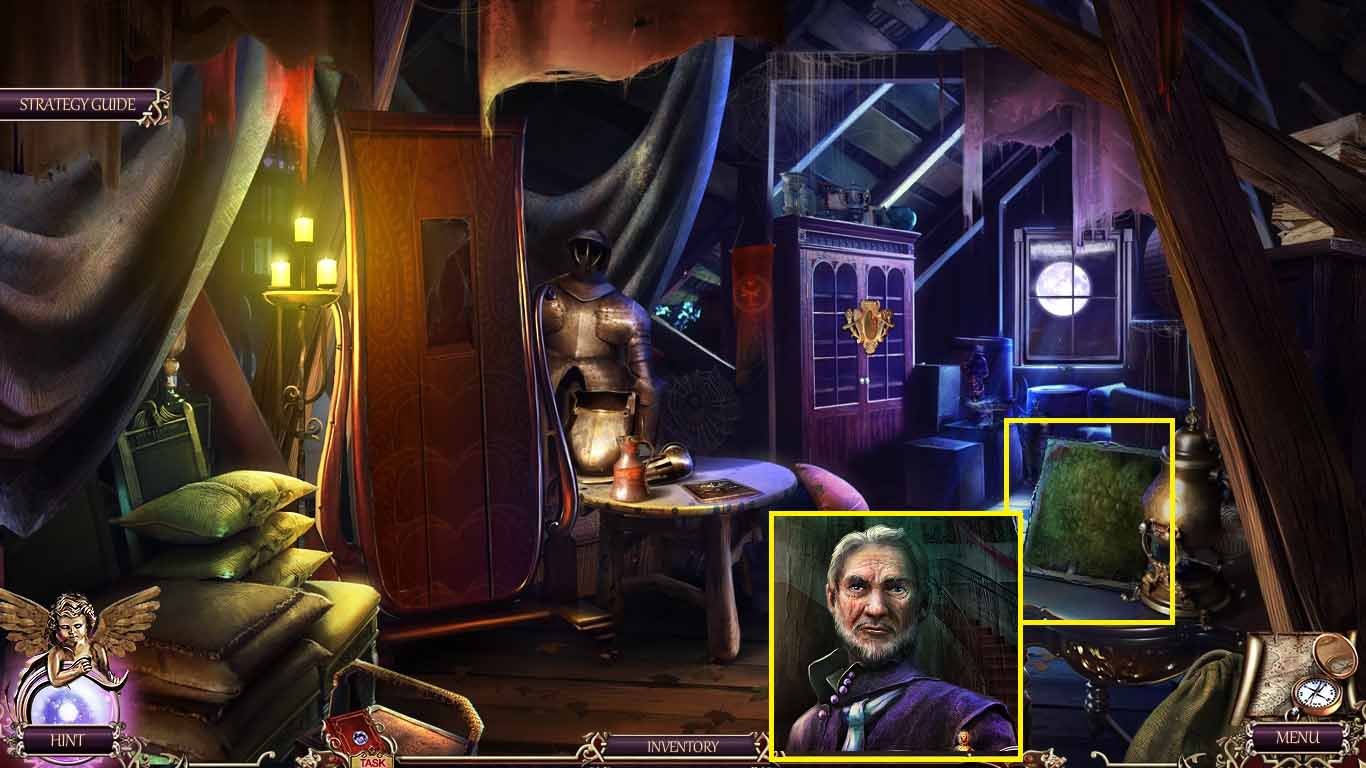
- Zoom into Dorian’s painting.
- Insert the 3 spiders to trigger a puzzle.
- The solution is randomized.
- Once the puzzle is completed collect the Dorian.
- Move back one time.
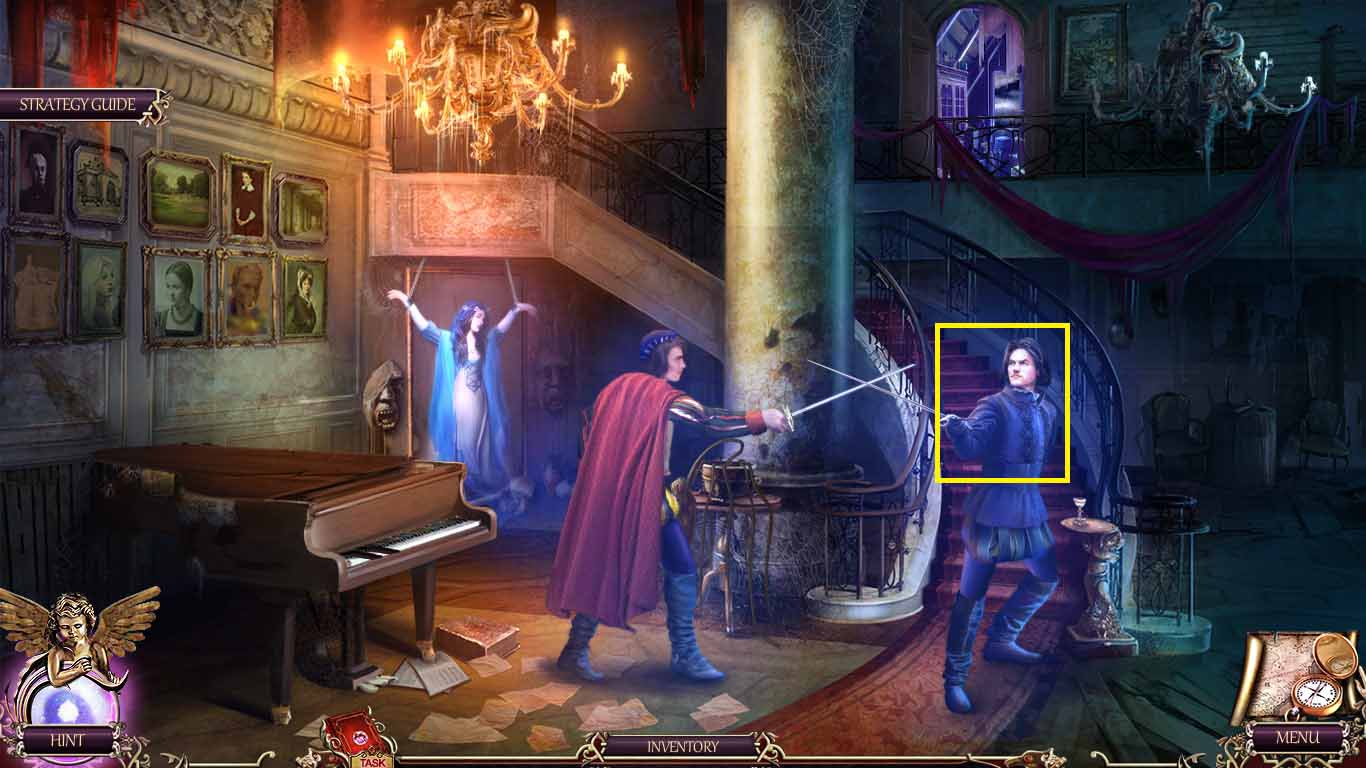
- Show the Dorian picture to Dorian.
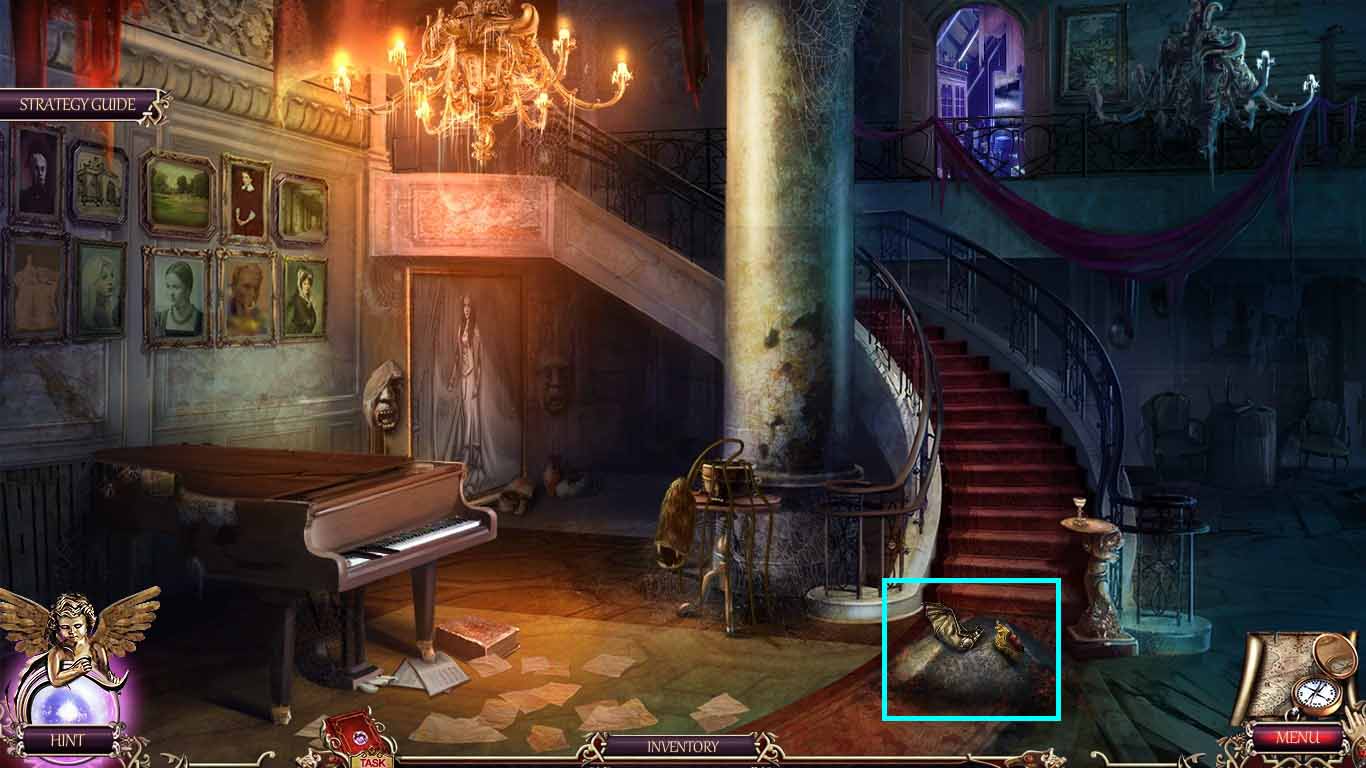
- Zoom into Dorian’s ashes.
- Collect the bat amulet and the 2nd precious stone.
- Move to the reading room.
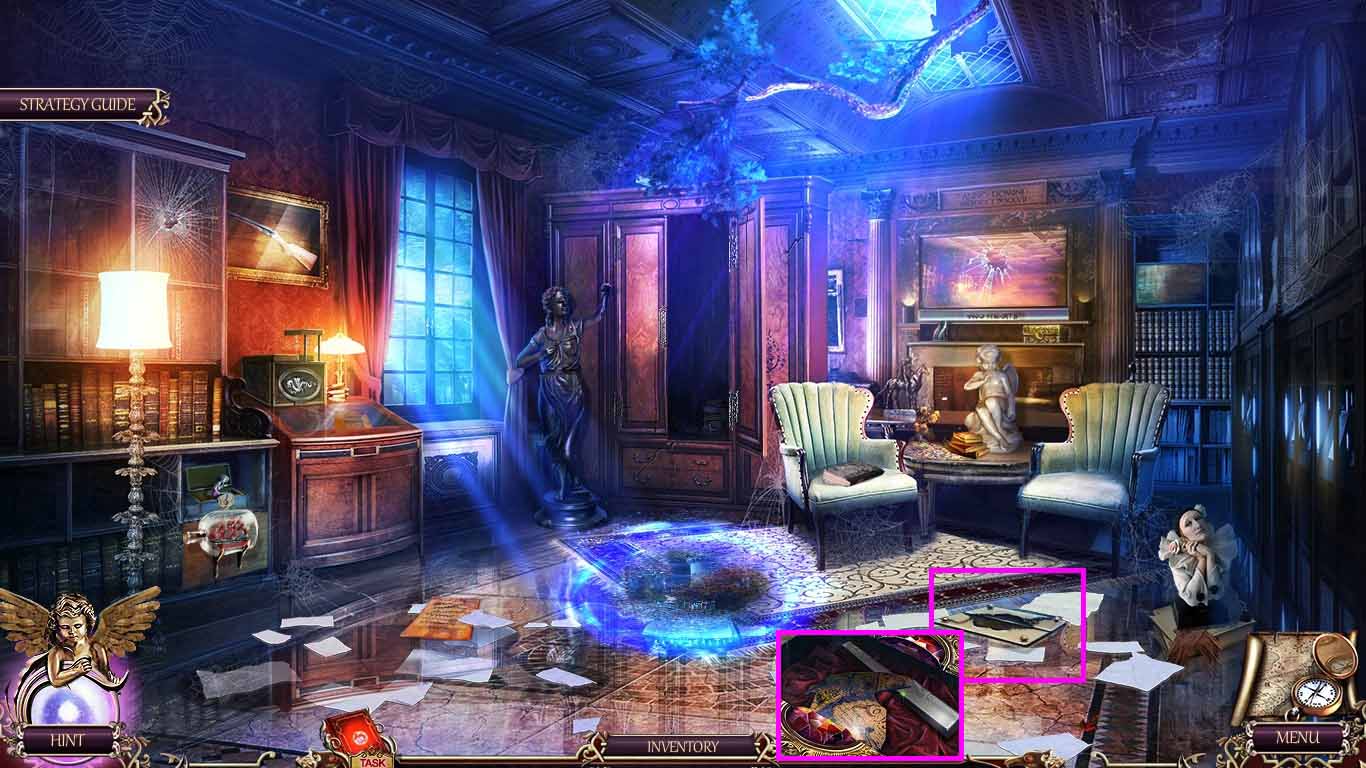
- Zoom into the floor stash.
- Insert the 2 precious stones.
- Collect the 2nd globe part and the keys 3 /4.
- Move back once.
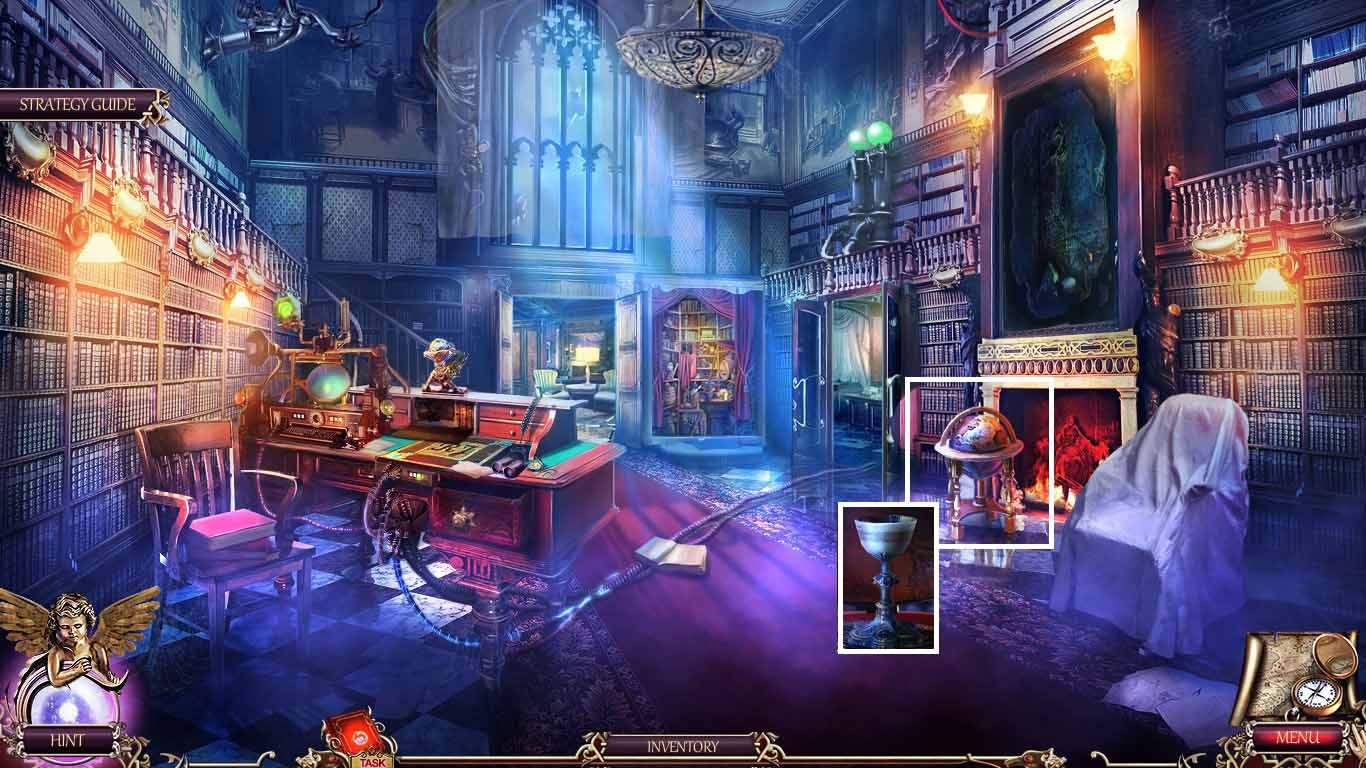
- Zoom into the globe.
- Insert the 2 globe parts onto it.
- Collect the chalice.
- Move to Gray hall.
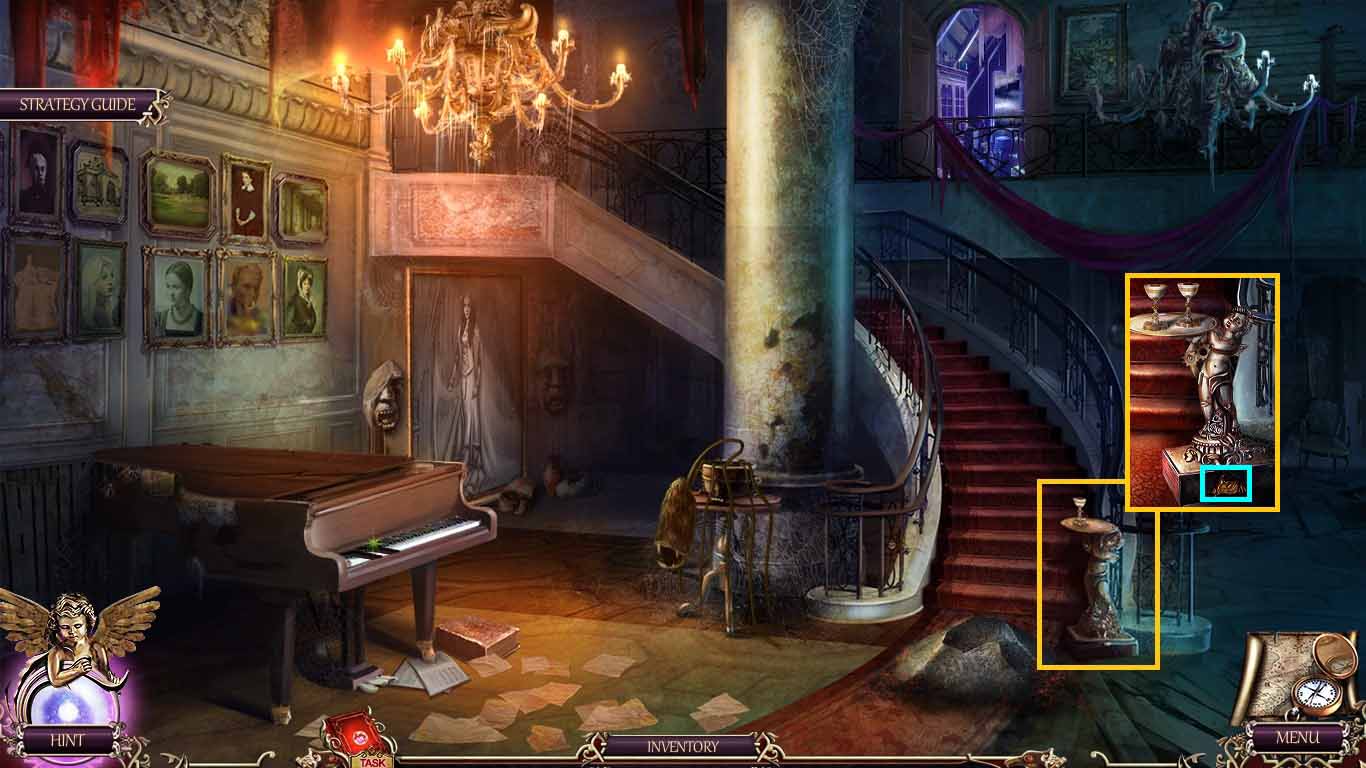
- Zoom into the dinner set; place the chalice on it.
- Collect the 2nd bat amulet.
- Move up to the attic.
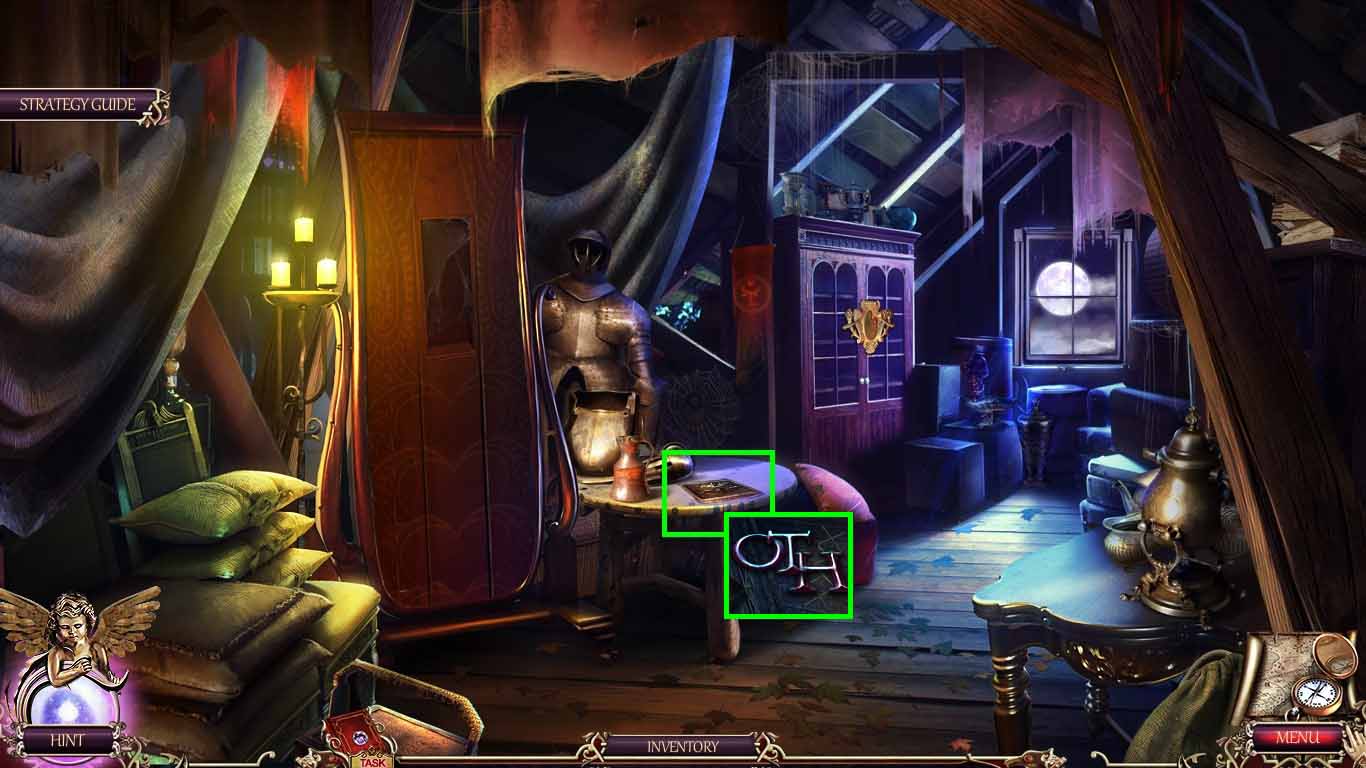
- Zoom into the table.
- Place the 2 bat amulets onto it.
- Collect the letters.
- Move to the reading room.
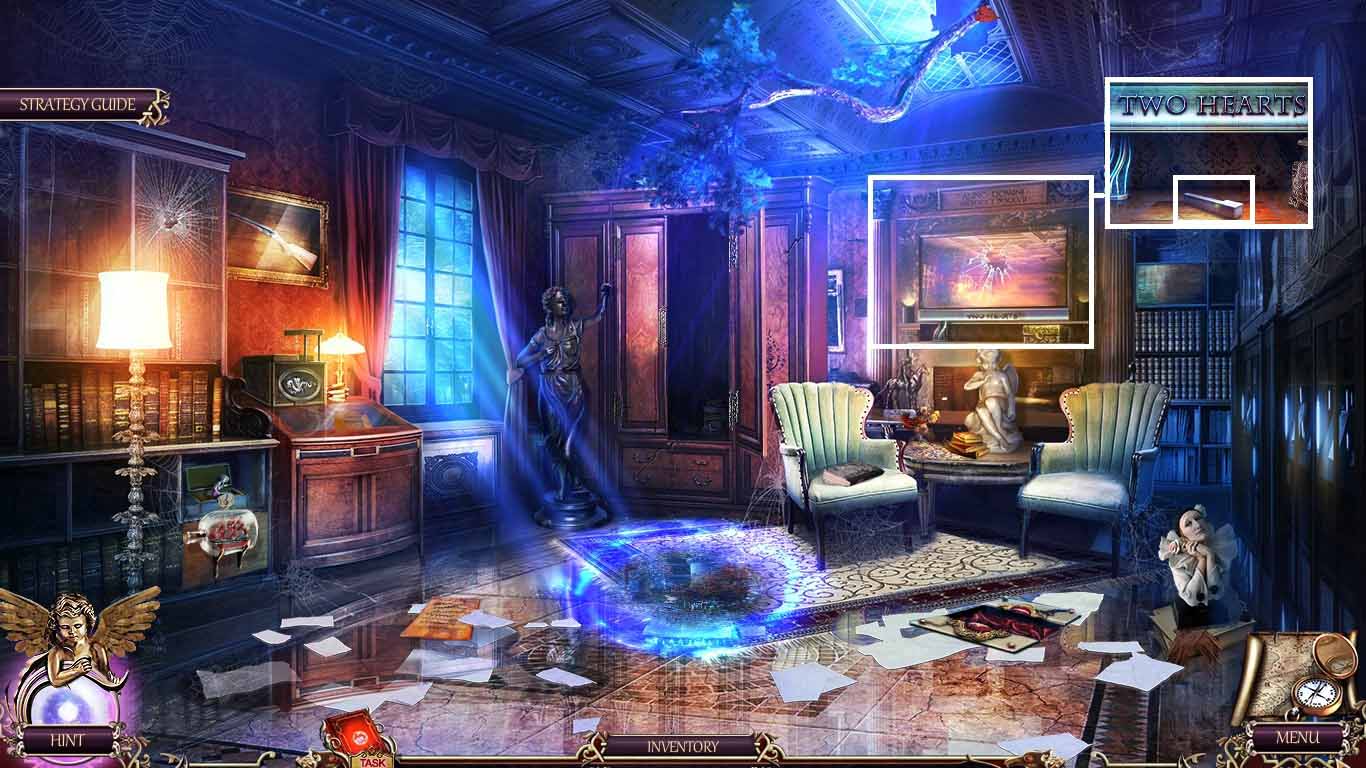
- Zoom into the mirror frame.
- Place the letters onto the mantle.
- Click each letter to place them; collect the keys 4/ 4.
- Move to Gray hall.
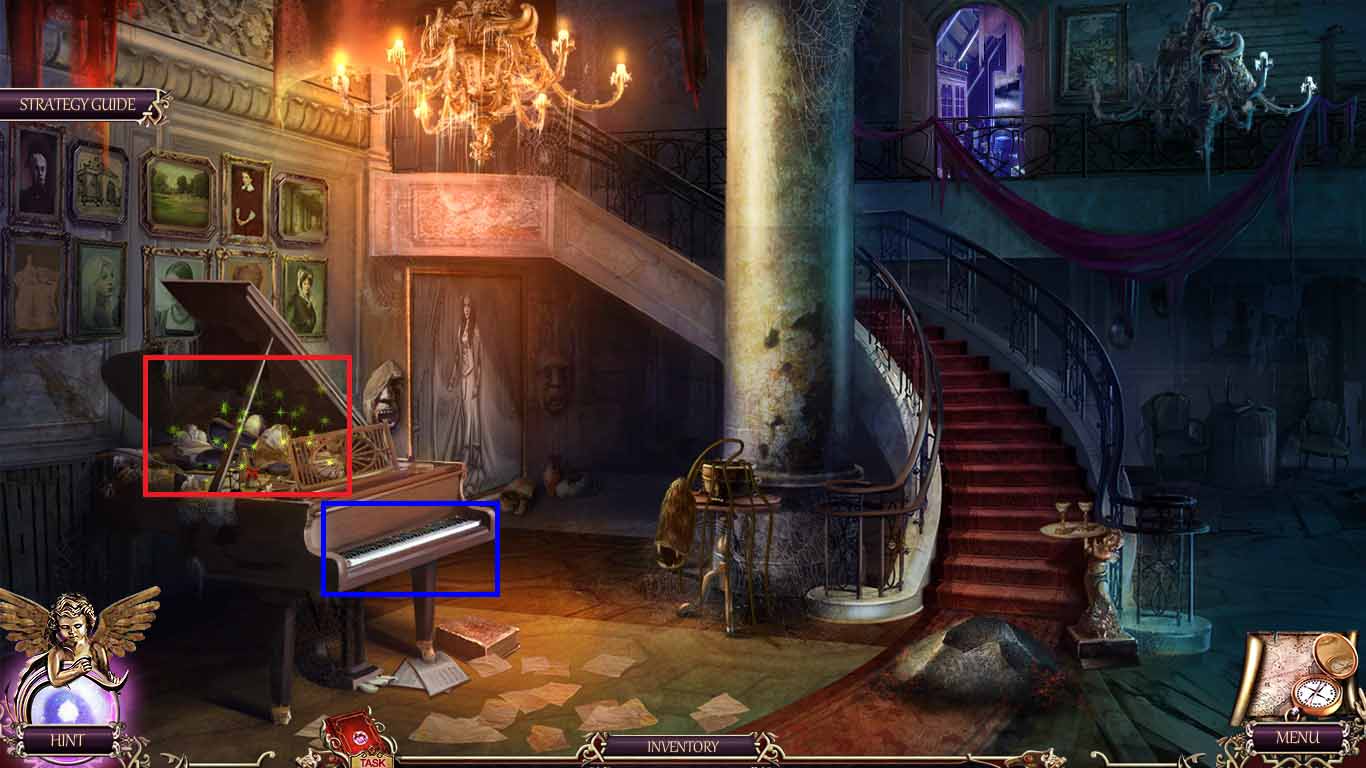
- Zoom into the grand piano; insert the 4 keys.
- Zoom into the opened piano to access a hidden objects area.
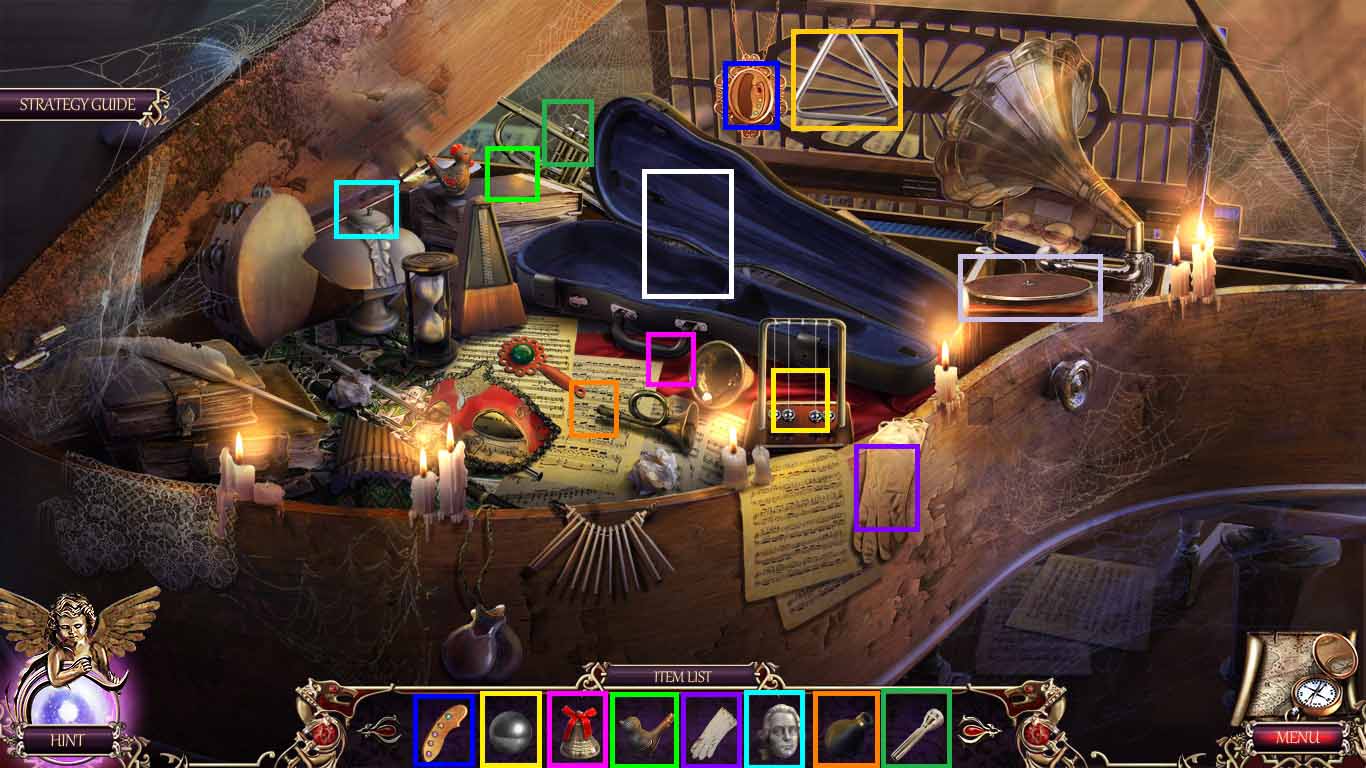
- Arrange the objects into the correct areas.
- Collect the 2nd art amulet.
- Move upstairs to the attic.
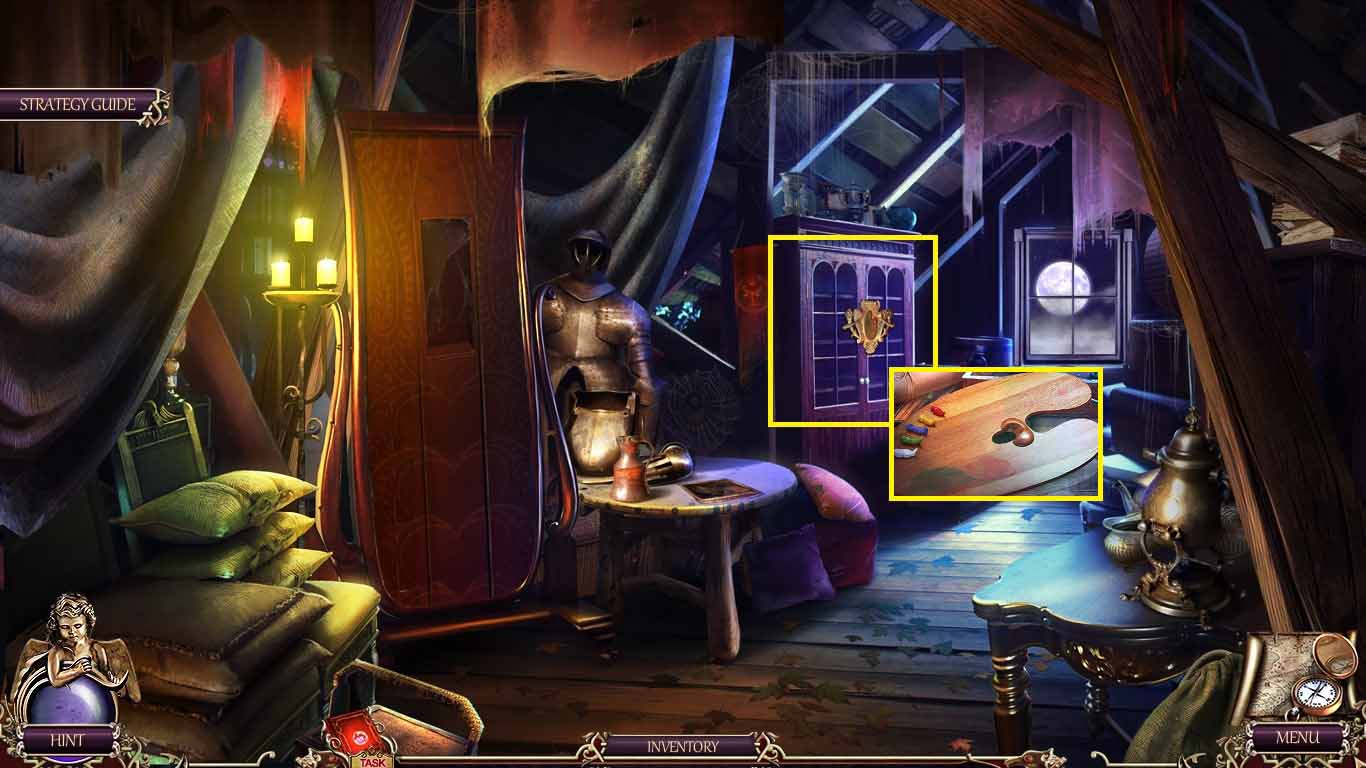
- Zoom into the glass case.
- Insert the 2 art amulets.
- Collect the palette.
- Move back once.
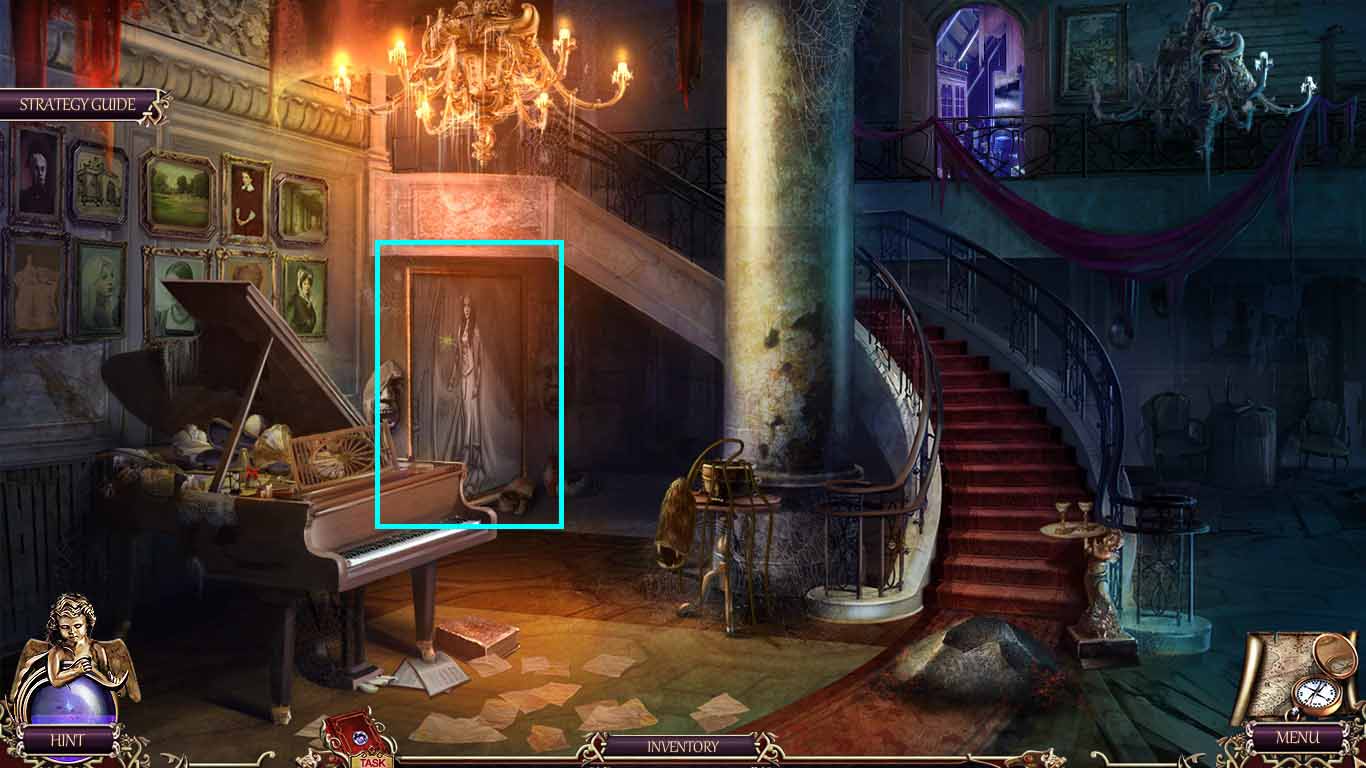
- Zoom into Juliet.
- Place the palette onto her to trigger a puzzle.
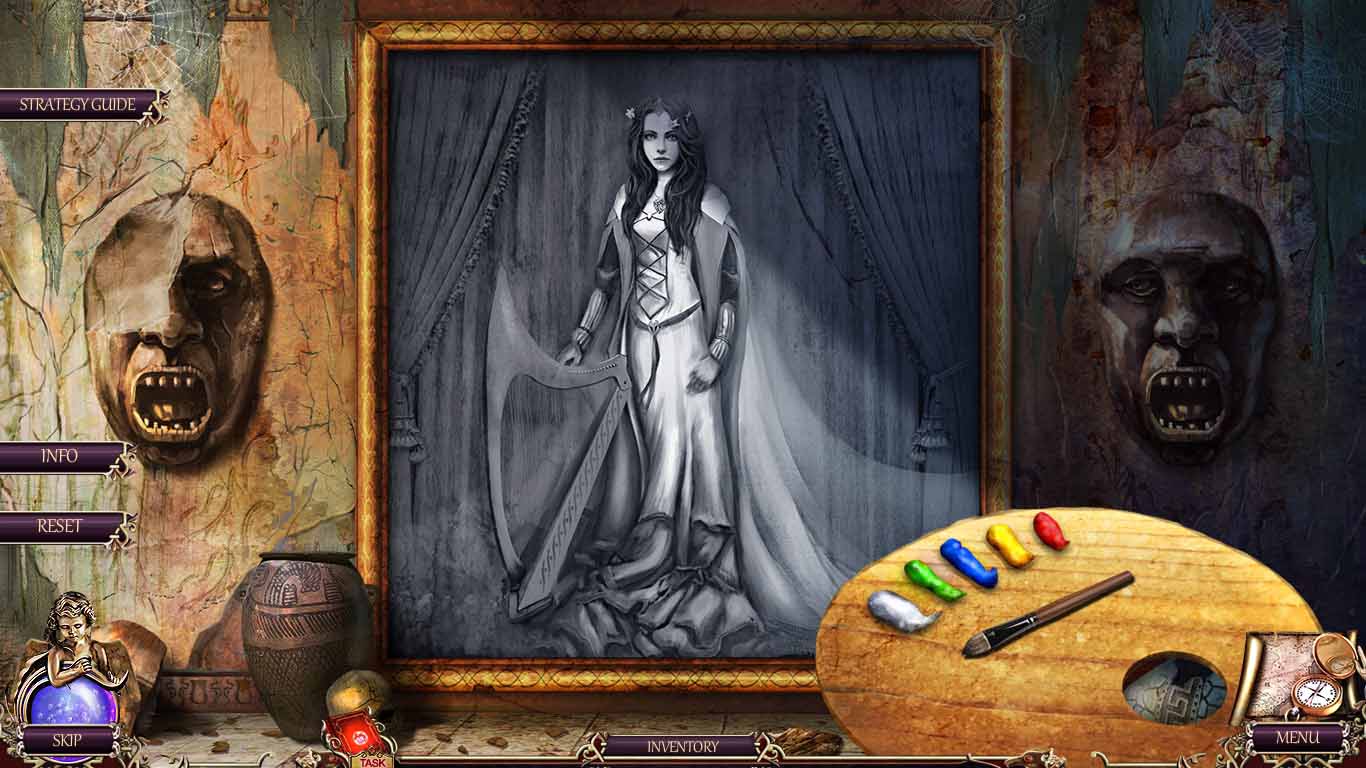
- Paint the picture.
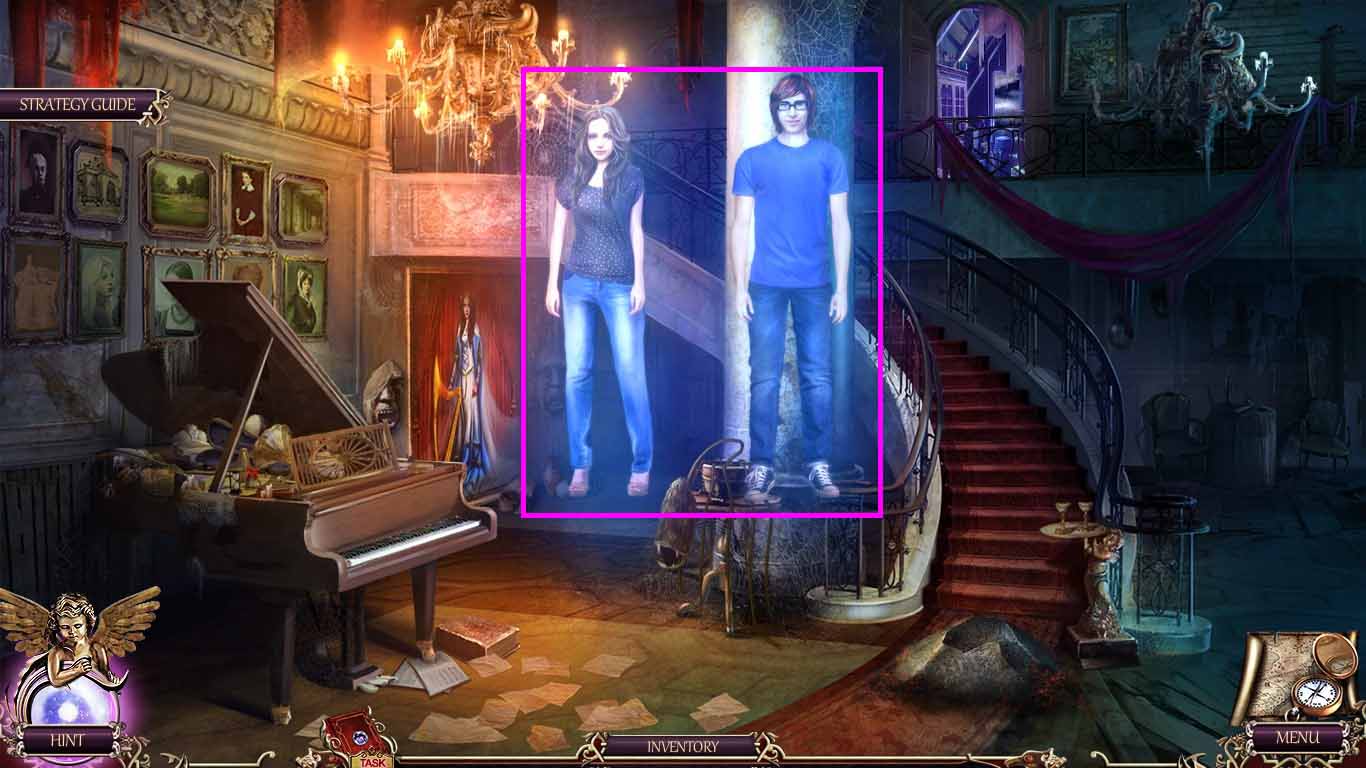
- Collect Julie’s soul and Ronald’s soul.
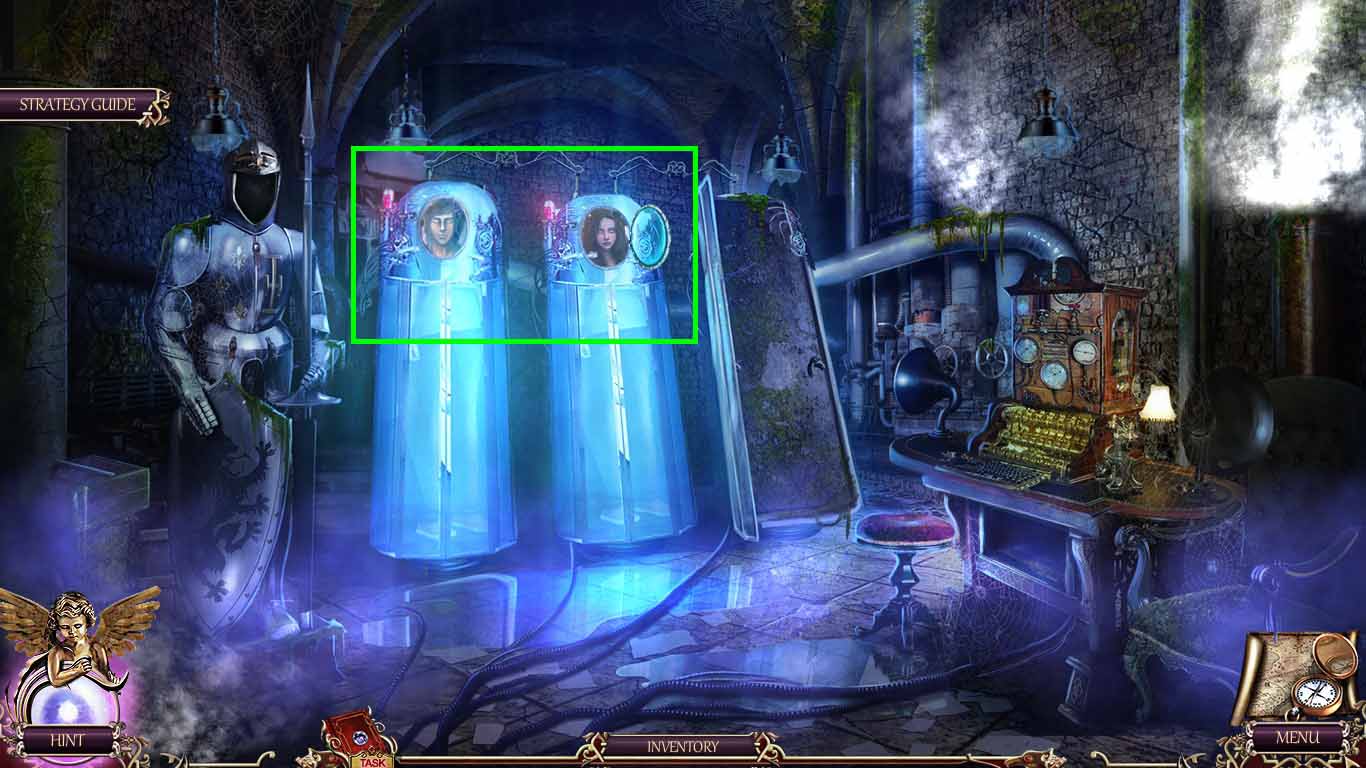
- Zoom into Ronald’s sarcophagus and insert Ronald’s soul onto it.
- Zoom into Julie’s sarcophagus and insert Julie’s soul onto it.
- Speak to Julie.
Congratulations! You have successfully completed Death Pages: Ghost Library Collector’s Edition.
Chapter One: Rescuing Mercutio
Chapter Two: Rescuing Juliet
Chapter Three: Rescuing Romeo
Chapter Four: Hello, Hamlet
Bonus Chapter
Ask for help in the comments below!
