
Dead Reckoning: Silvermoon Isle: Chapter Four: S.C.
Our Dead Reckoning: Silvermoon Isle Walkthrough is packed full of all the advice, tips, and hints you'll need in your investigation of the death of the famous movie star, Veronica West. Rely on our detailed instructions, our custom marked screenshots, and our simple puzzle solutions to help you quickly and safely solve this dark mystery!
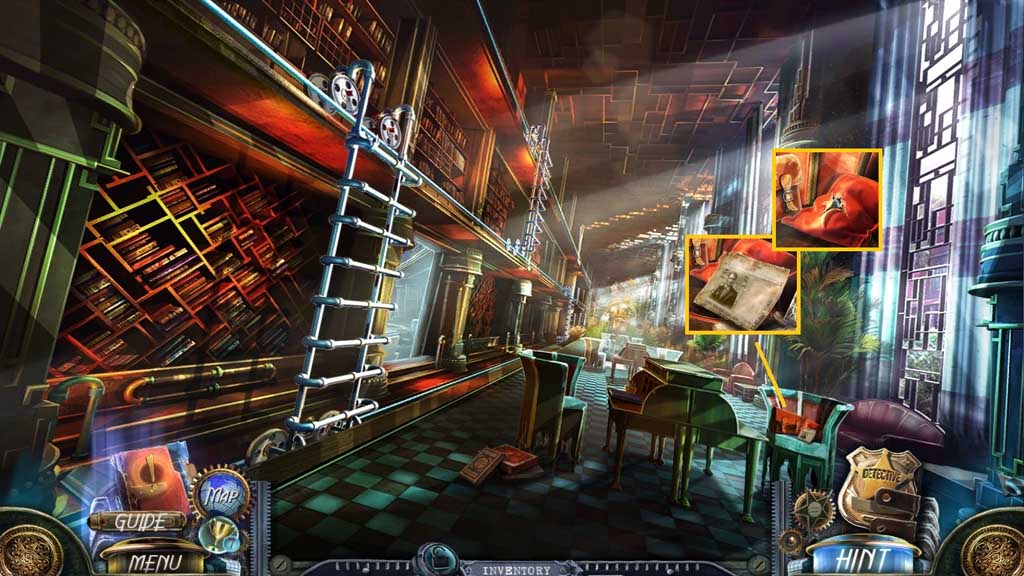
- Collect the evidence.
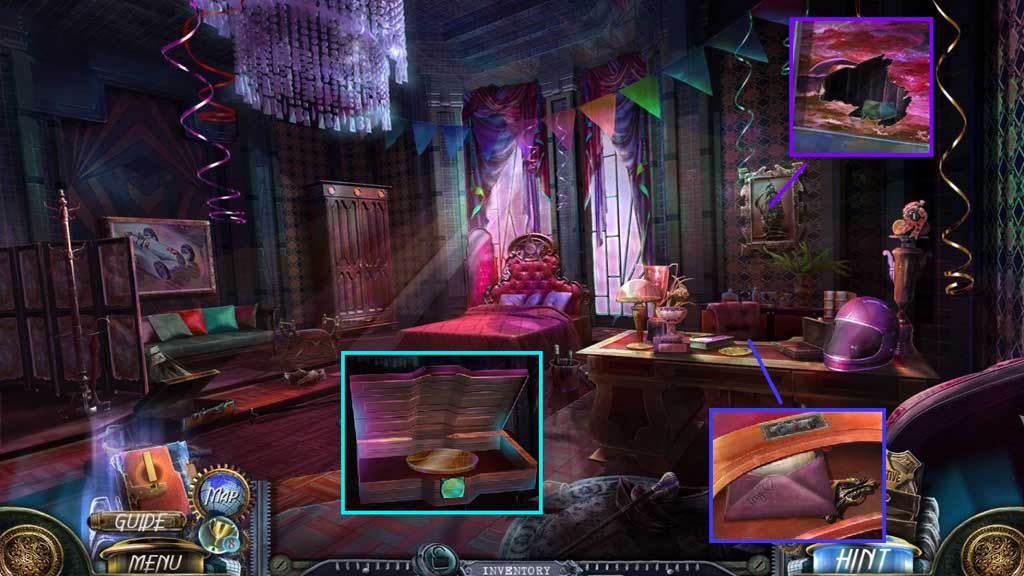
- Use the razor to slice the cushion; collect the glass cube.
- Move to the left.
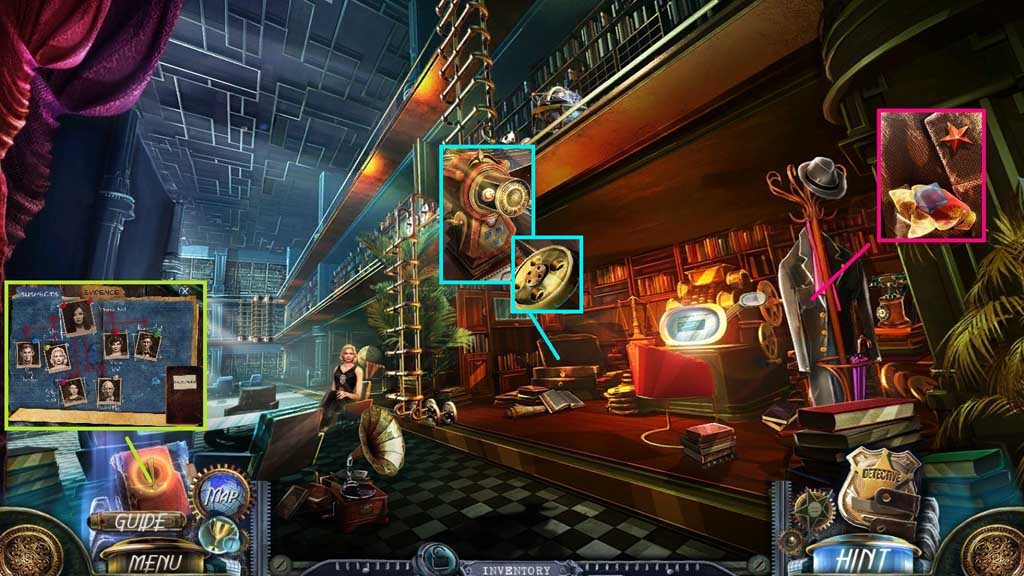
- Click the evidence board and move Sylvia’s picture to the step-daughter area.
- Click the handkerchief; collect 3/ 3 glass cubes and the star.
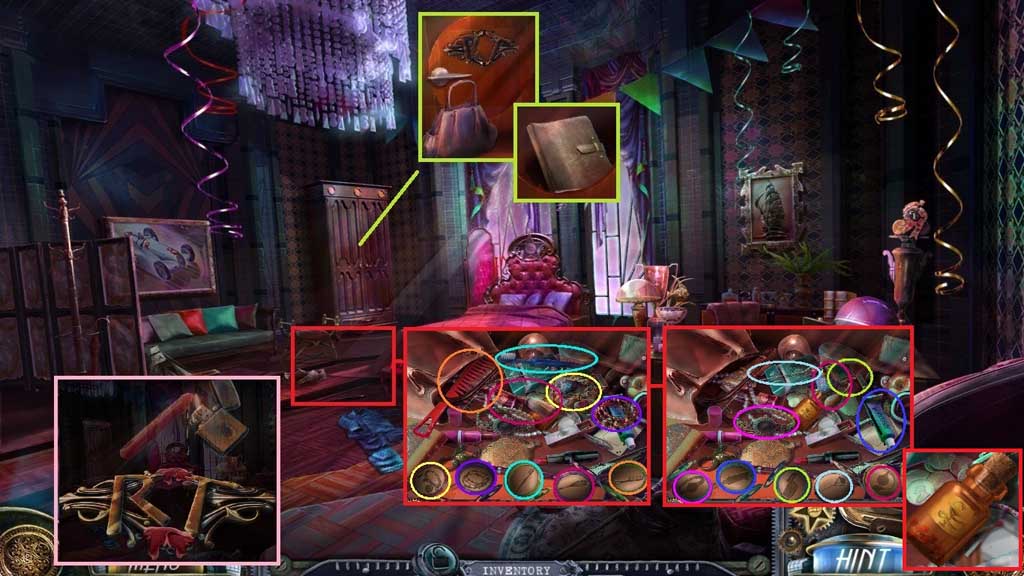
- Collect 2 /2 wheels.
- Place the glass cubes into the clock; collect the machine button.
- Move down once.
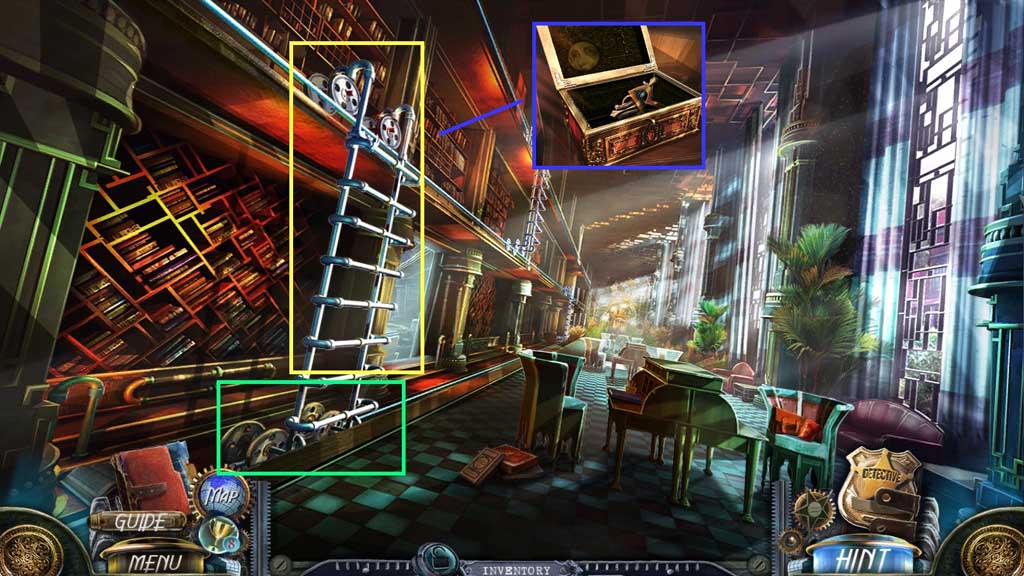
- Place the wheels onto the ladder; click it once.
- Click the box; collect the broken initials and 1 /6 mosaic parts.
- Move to the left.
- Attach the machine button and film tape onto the projector.
- Click the button; adjust the lever and click the red square button.
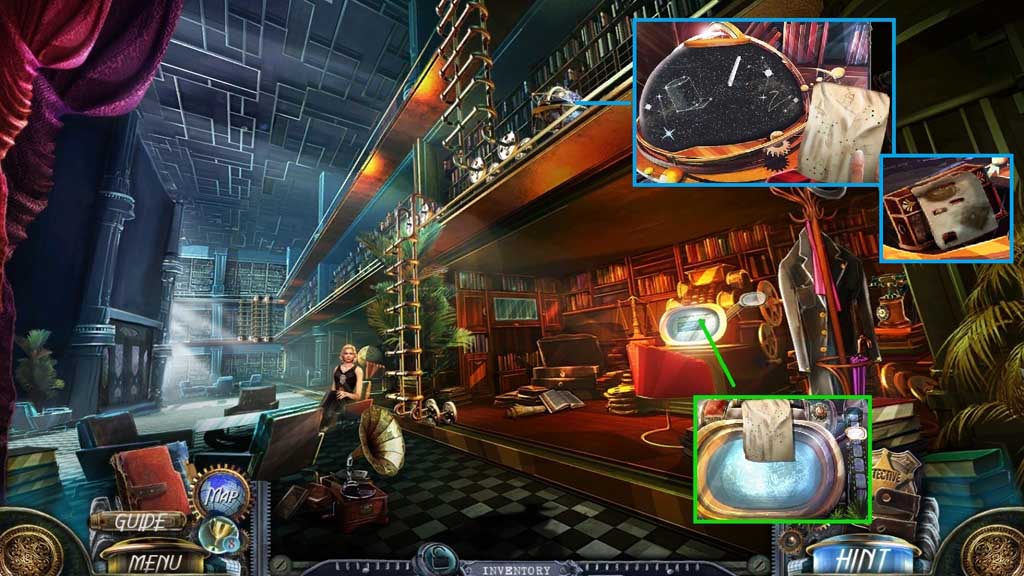
- Collect the constellations list and place it onto the globe to trigger a mini game.
- Solve the game by using the chalk to connect the stars and create the constellations.
- Collect the paper with holes and the music box.
- Give Sylvia the music box.
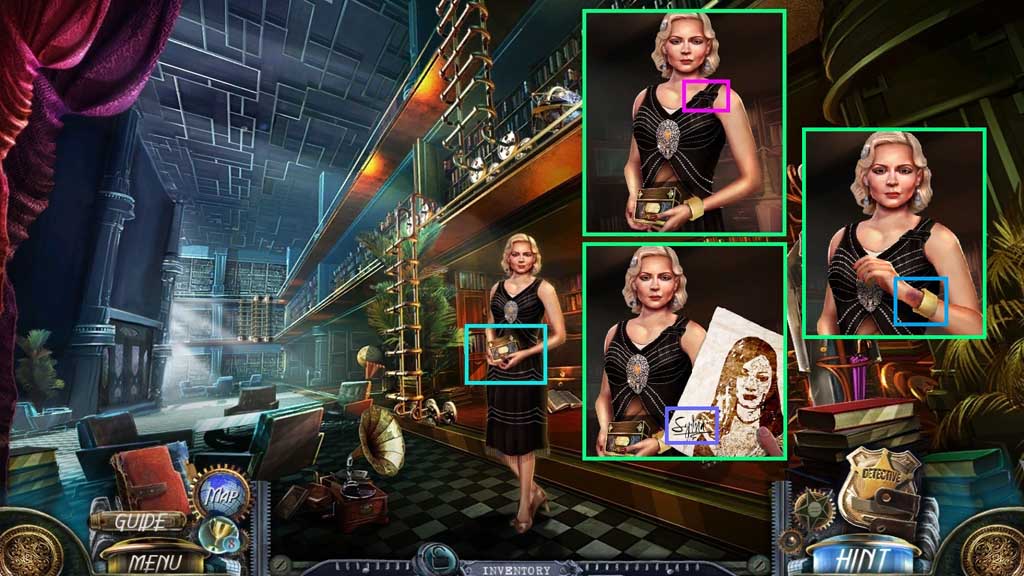
- Examine the ribbon.
- Examine Sylvia’s signature, the bracelet and the bruises.
- Move to the left.

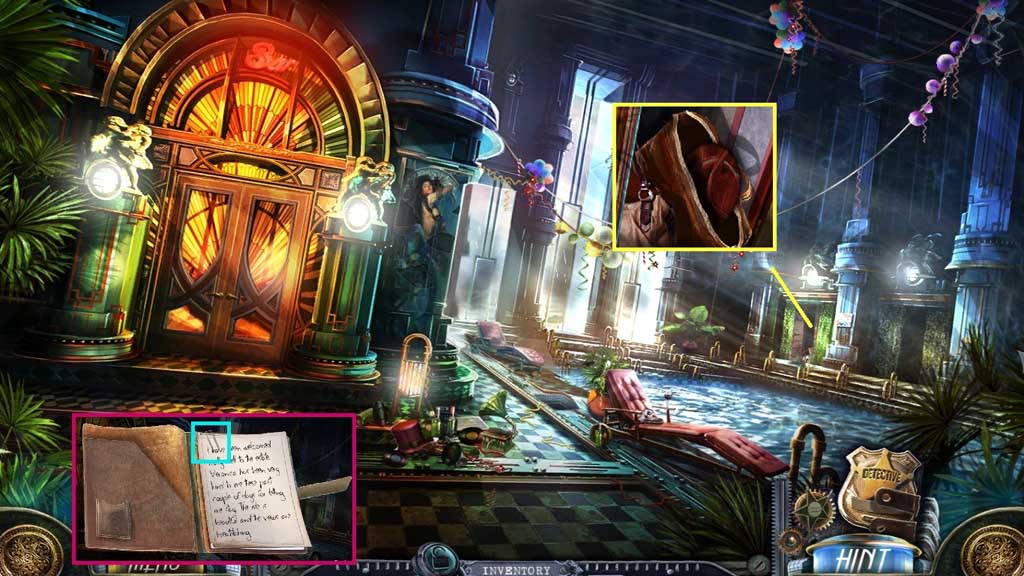
- Collect Ray’s room key.
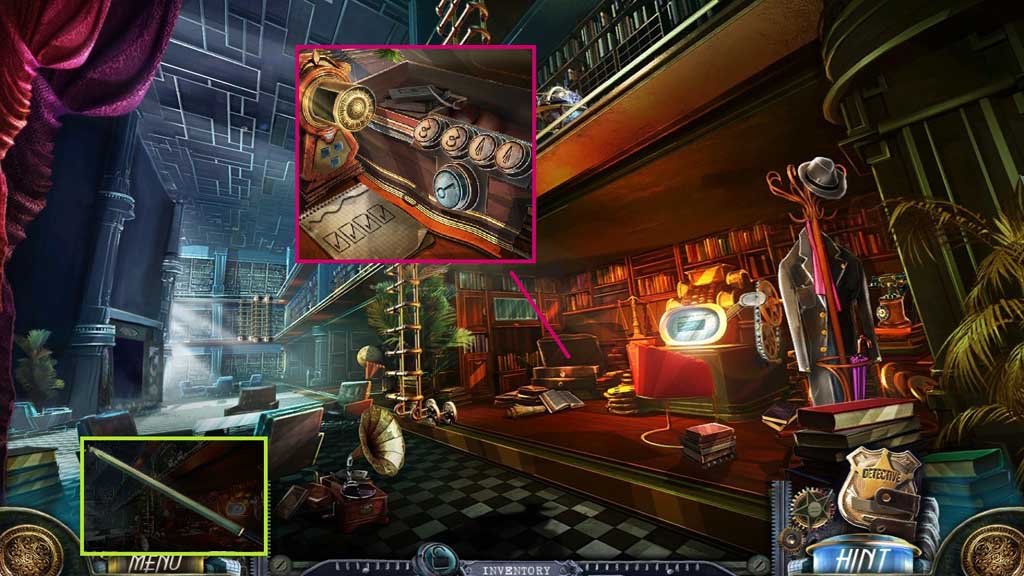
- Insert the star; collect the dull pencil.
- Move to the right.
- Click the dull pencil and use the razor to sharpen it; collect the pencil.
- Place the pencil onto the pad to trigger a mini game.
- Solve the game by finding the correct combination.
- Collect the pipe slot and 2 /6 mosaic parts.
- Move left and ahead.
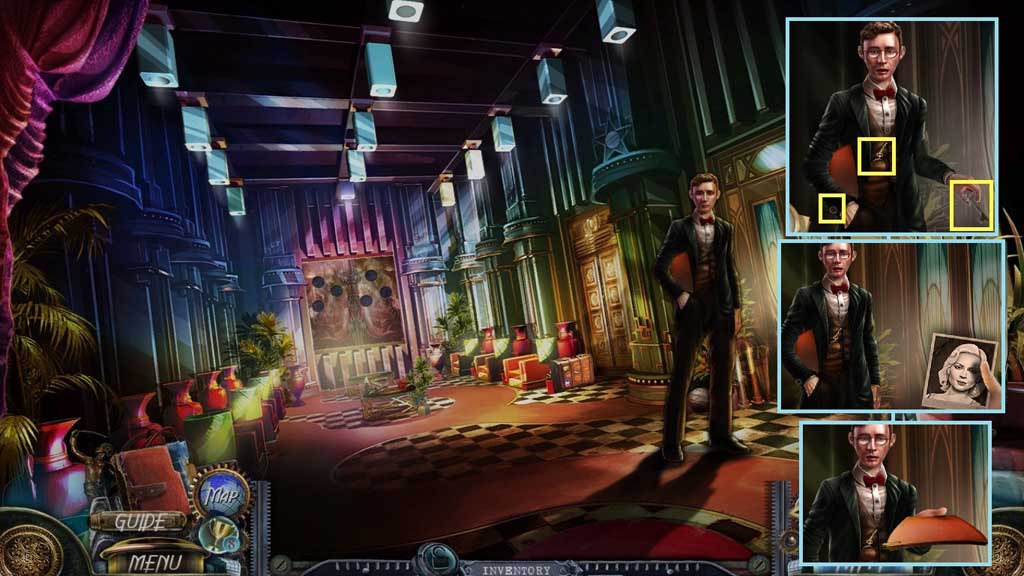
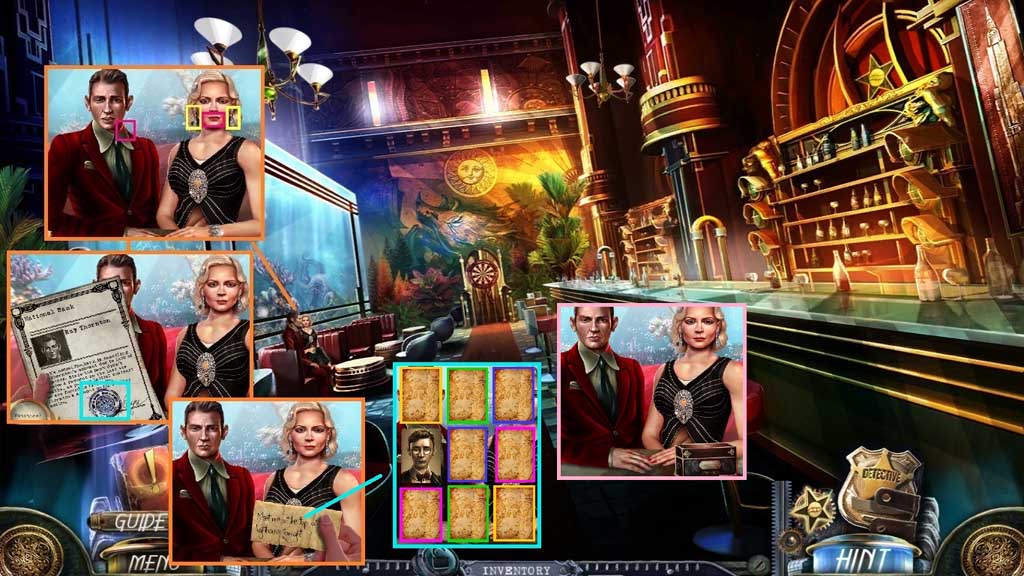
- Speak to Thomas.
- Examine the key, the cufflink and the pocket watch.
- Click the picture.
- Click the folder 3x’s; receive the evidence.
- Insert the pipe; collect the lighter.
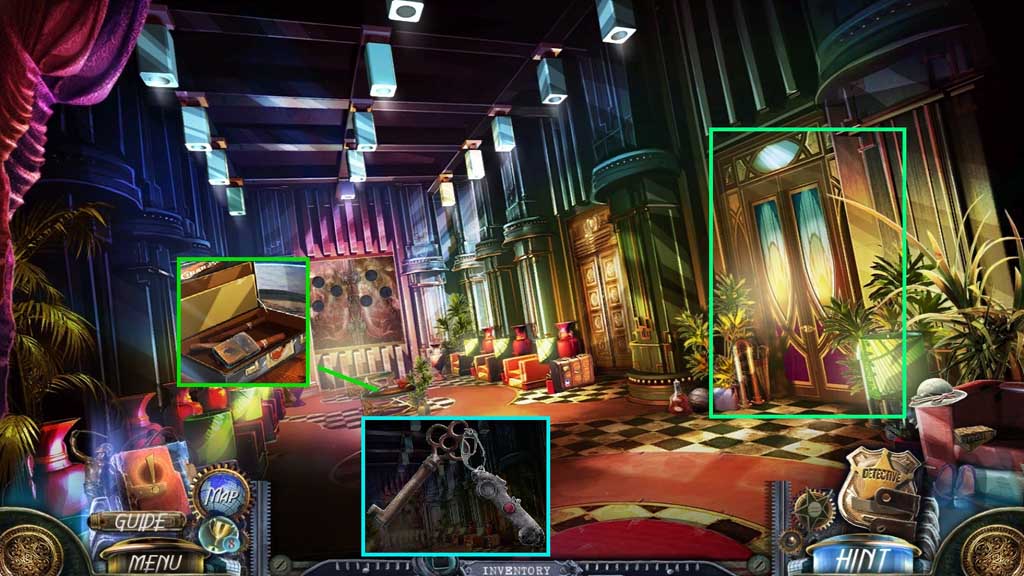
- Click Ray’s key 2x’s; receive room key and key ring.
- Insert Ray’s key into the door and click it once.
- Move into Ray’s Room.
- Insert Ray’s key ring and click it once; collect the evidence and the initials piece.
- Use the razor to slice the painting; collect the ornament box key.
- Click the ornament box and insert the ornament box key; collect 3/ 6 mosaic parts.
- Click the broken initials and the initial pieces, place the sealing wax and use the lighter on it.
- Drip the wax onto the pieces; collect the initials.
- Click the cabinet; insert the initials into the secret compartment.
- Collect the notebook.
- Click the hidden objects area; collect Sylvia’s pills.
- Move to the Pool Room.
- Click the notebook 2x’s; collect the paperclip.
- Use the paper clip to open the bag; collect 4 /6 mosaic parts.
- Move ahead.
- Give Sylvia her pills.
- Examine Sylvia’s lips and Ray’s collar.
- Click Sylvia’s earrings.
- Click the stamp, click the note to trigger a mini game.
- Solve the game by finding the matches.
- Collect Thomas’ photo.
- Collect the music box.
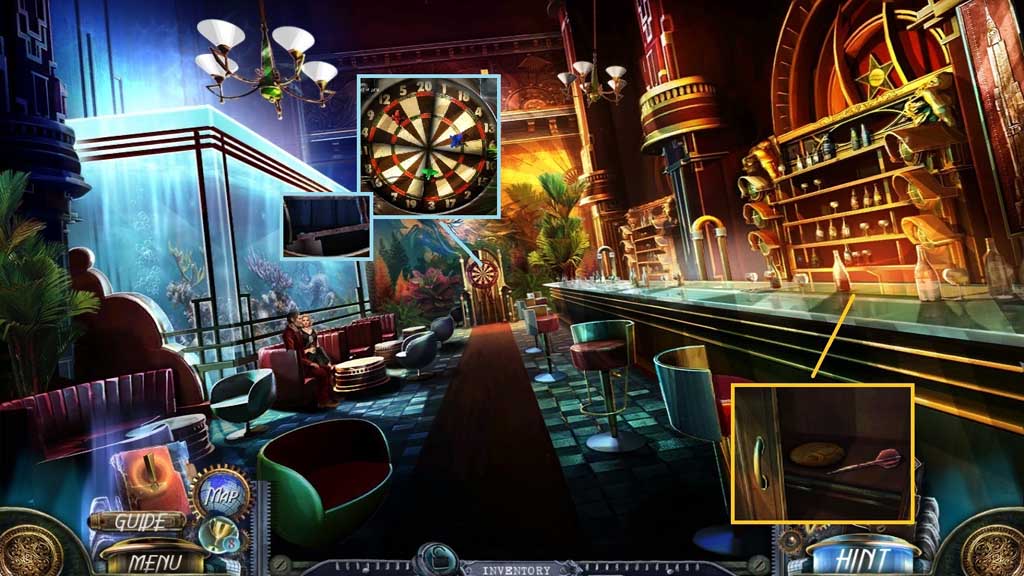
- Zoom into the bar and click the cabinet; collect 3 /3 darts and 5 /6 mosaic discs.
- Place the darts onto the board to trigger a mini game.
- Solve the game by hitting the correct numbers on the dart board (12 – 13 – 3).
- Collect the music box handle.
- Move down once and click the hidden objects area.
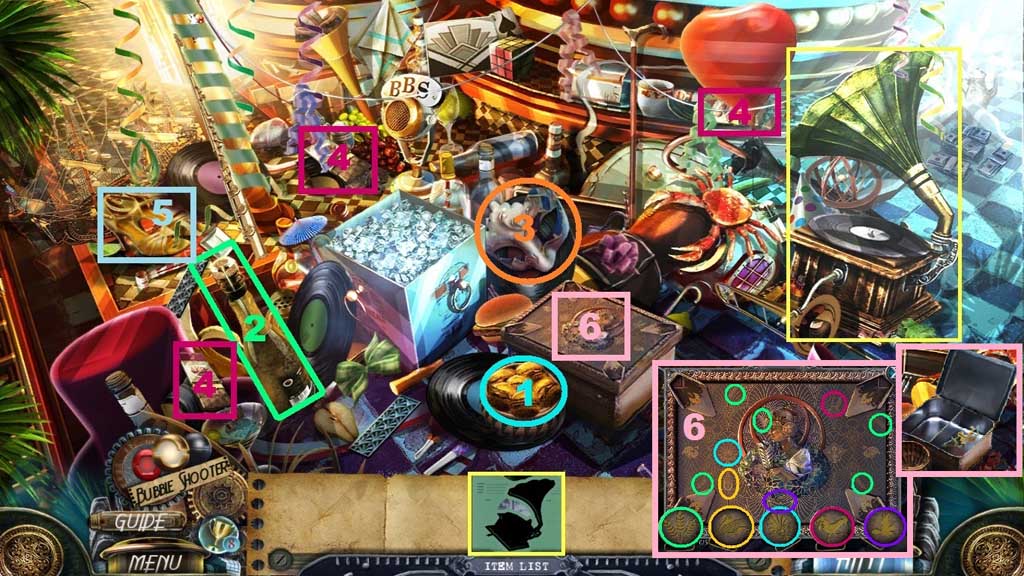
- Find the items based on the clues.
- Collect the music box figurine.
- Click the music box and attach the handle.
- Click it once and place the music box figurine.
- Collect the strange code and 6/ 6 mosaic parts.
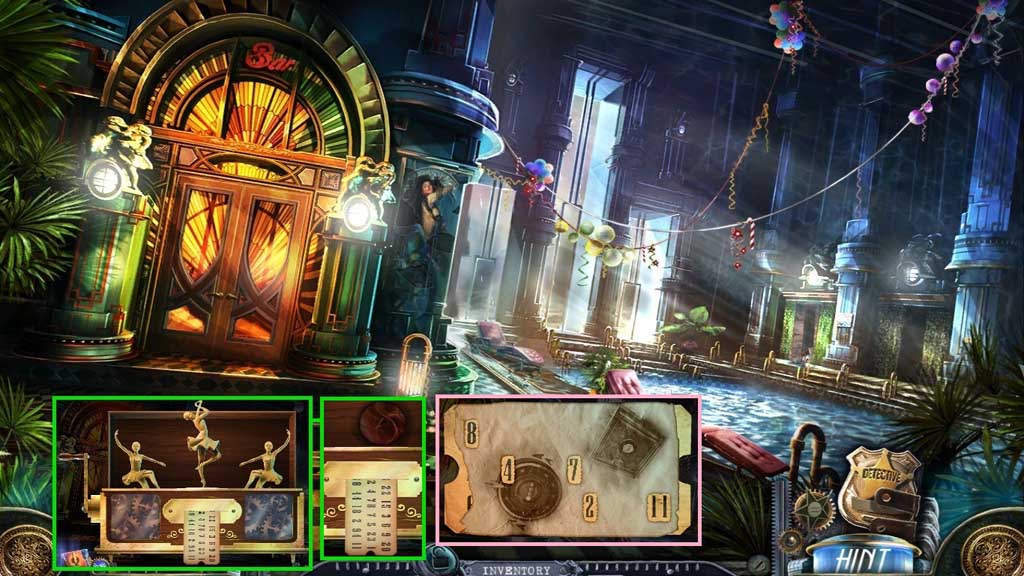
- Click the strange code 2x’s and place the paper with holes onto it.
- Collect the combination.
- Move to the Hallway.
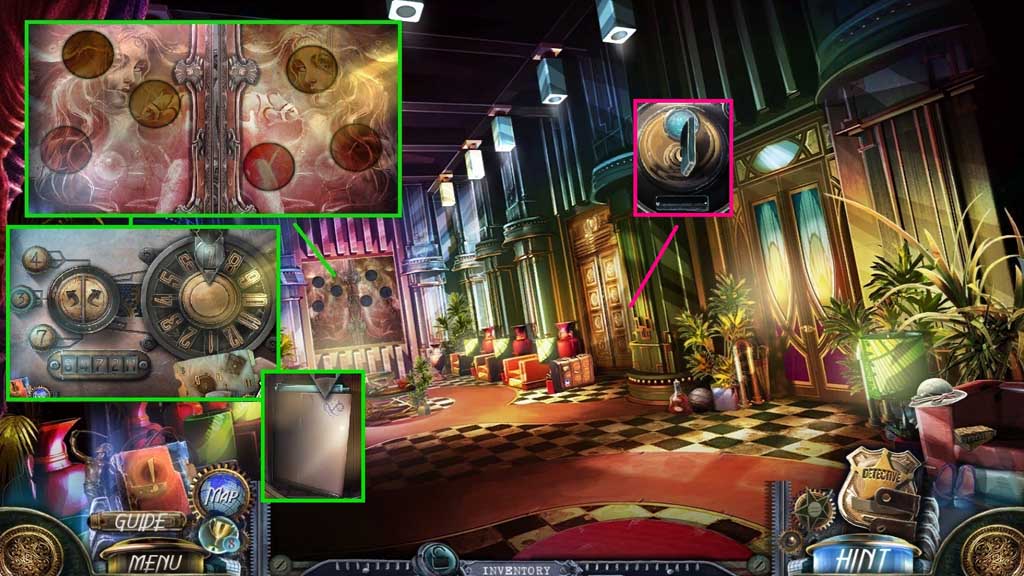
- Place the mosaic parts onto the wall to trigger a mini game.
- Solve the game by switching the discs and restoring the image.
- Place the safe combination down to trigger a mini game.
- Solve the game by finding the correct combination.
- Use the following solution: 7 right – 4 left – 3 right – 7 right – 3 left
- Collect the evidence and the elevator key.
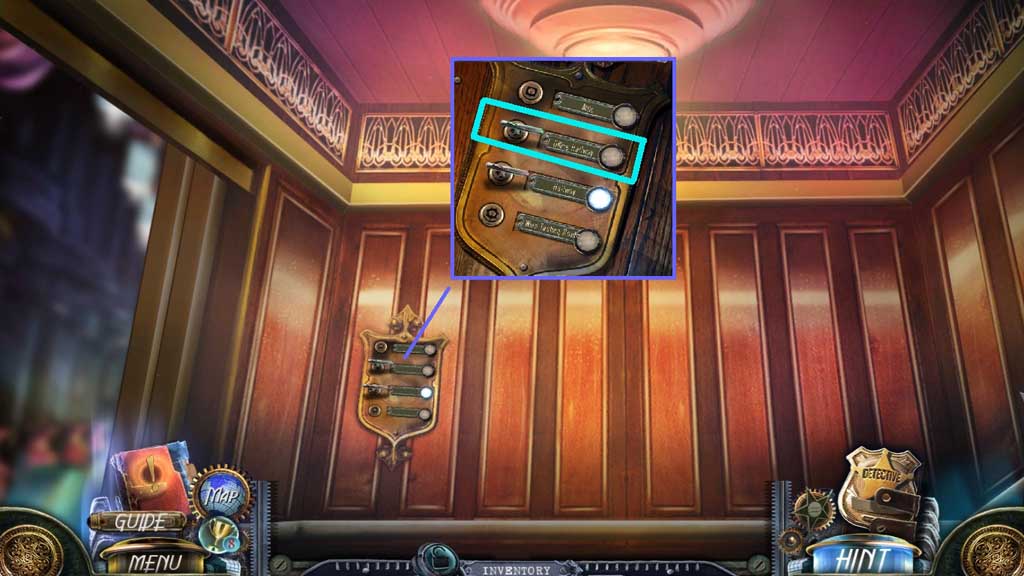
- Insert and click the elevator key.
- Move to the right.
- Click the “Office Hallway” key.
- Move left.