
Dead Reckoning: Silvermoon Isle: Chapter One: Death
Our Dead Reckoning: Silvermoon Isle Walkthrough is packed full of all the advice, tips, and hints you'll need in your investigation of the death of the famous movie star, Veronica West. Rely on our detailed instructions, our custom marked screenshots, and our simple puzzle solutions to help you quickly and safely solve this dark mystery!
- Speak to Daniels.
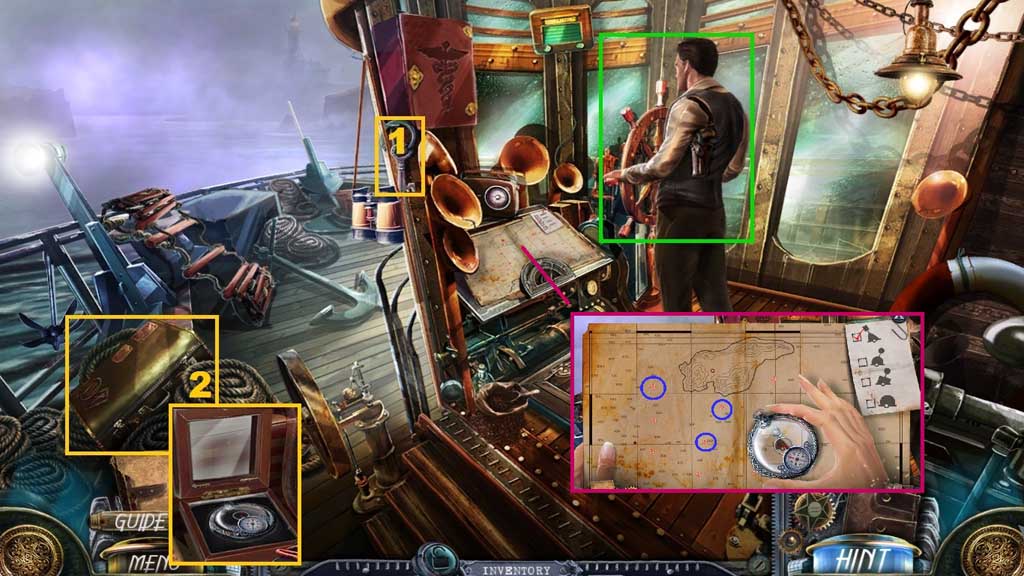
- Collect the small key and use it to open the suitcase.
- Click the box; collect the compass and place it onto the map to trigger a mini game.
- Solve the game by using the compass to locate the icons shown.
![]()
- Collect the badge.
- Click the badge 3x’s.
- Click the rope ladder.
- Move ahead.
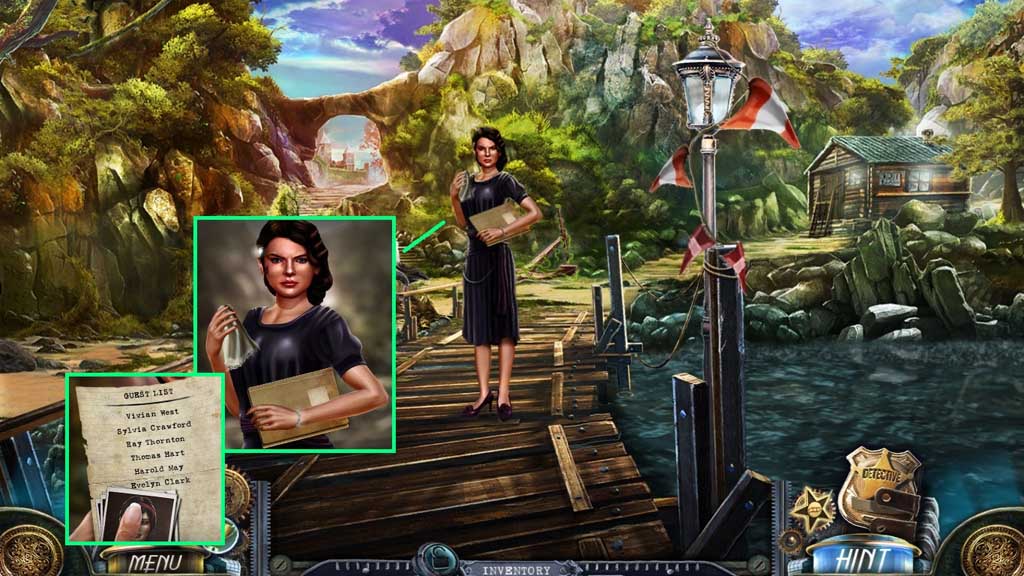
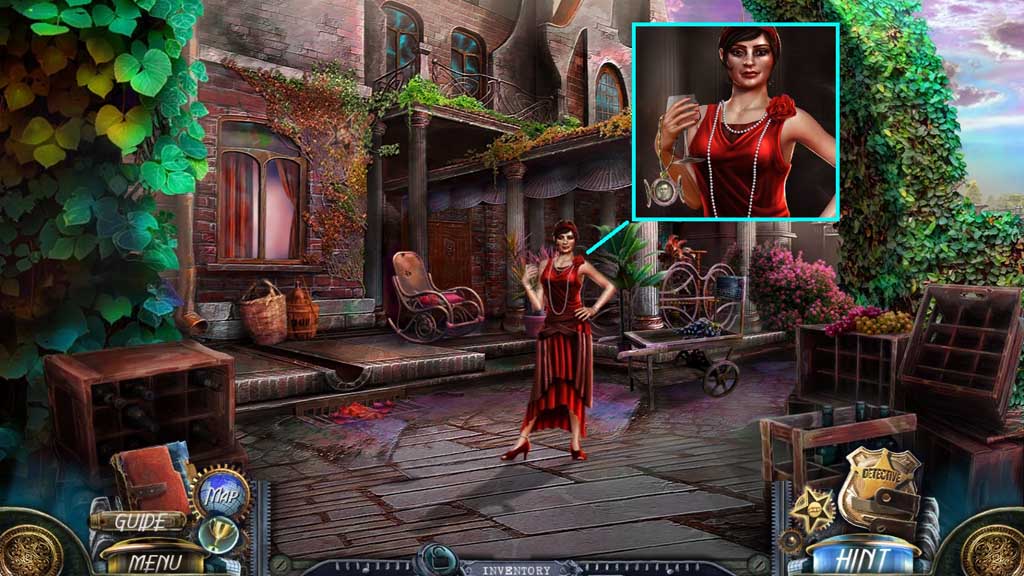
- Speak to Evelyn.
- Verify if she is lying by examining her eyes and the handkerchief.
- Examine the bracelet and the hairpin.
- Ask for and collect the case file.
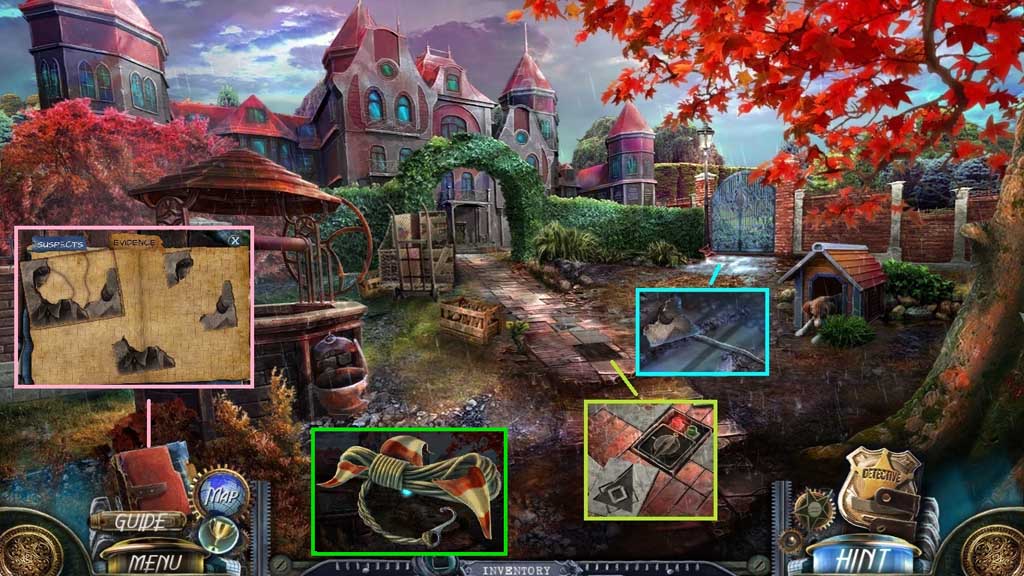
- Collect the suspect list.

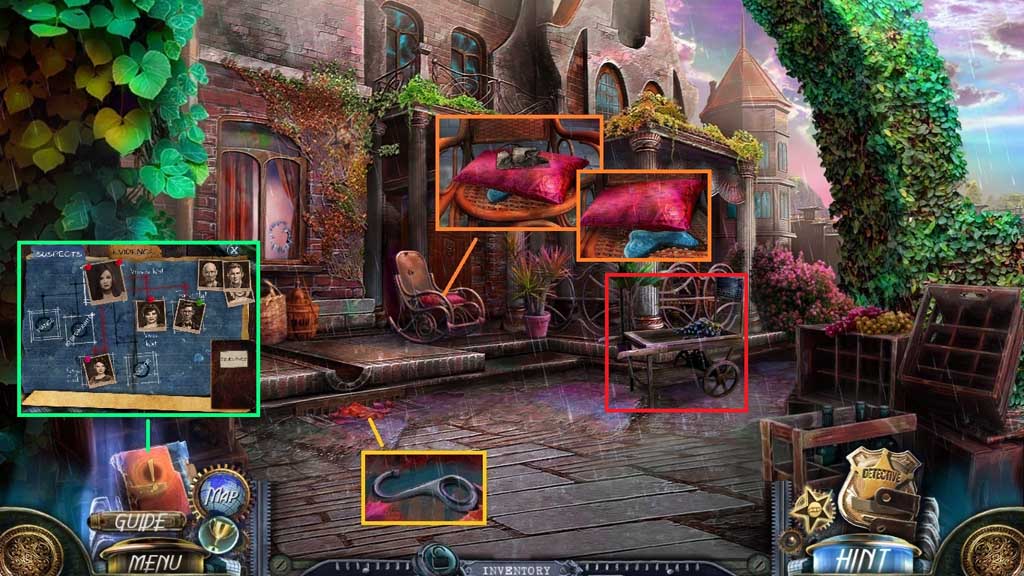
- Examine the evidence board.
- Click and drag Evelyn’s photo onto the maid area.
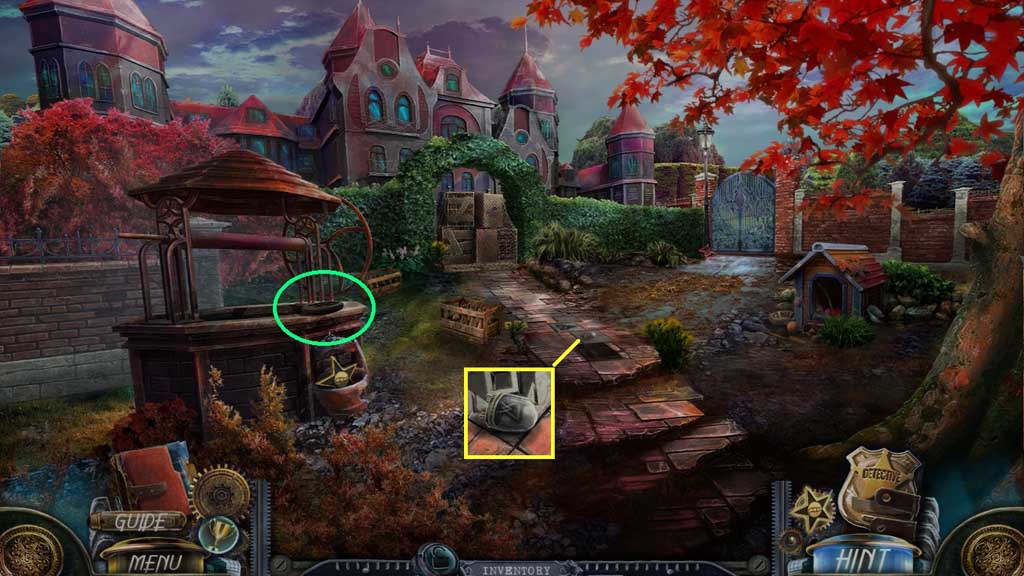
- Collect the garden shears and use them to collect the pennant string.
- Use the garden shears 2x’s on the algae.
- Click the suitcase; collect the empty flare gun and 1 /2 hand truck wheels.
- Move ahead.
- Collect 2 /2 hand truck wheels.
- Collect 1 /3 fuses.
- Move down once.
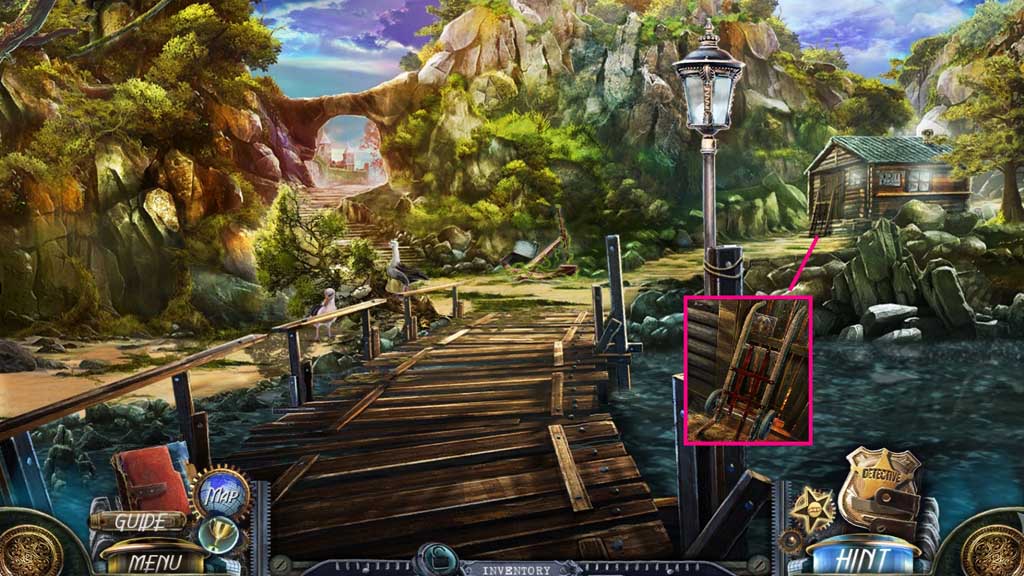
- Attach the wheels onto the hand truck and collect it.
- Move ahead.
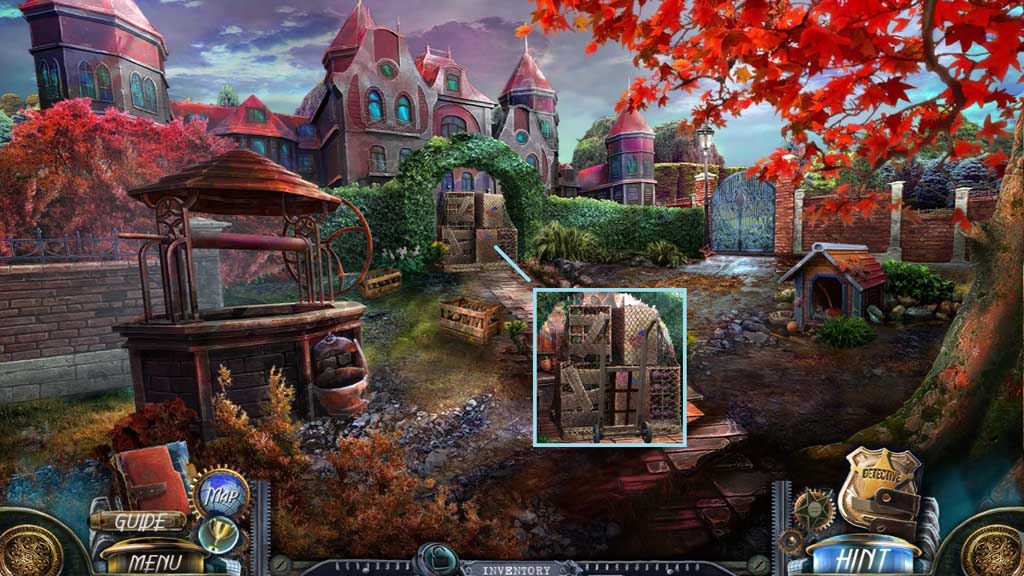
- Use the hand truck to remove the crates.
- Move ahead.
- Speak to Vivian.
- Examine her eyes.
- Examine her wine glass.
- Click and examine the locket.
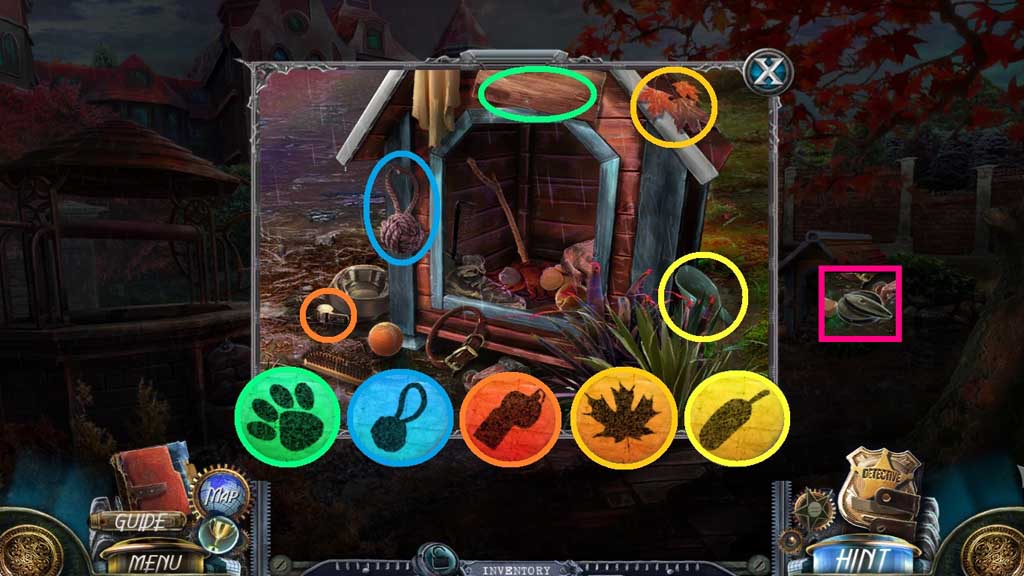
- Click the leaves; collect the fish hook.
- Collect the evidence.
- Click the evidence board and click the evidence tab.
- Click and drag the photo pieces into the frame.
- Move Vivian’s picture to the sister area and Thomas’ picture to the lawyer area.
- Click the cushion; collect the bone.
- Click the trolley to trigger a hidden objects area.
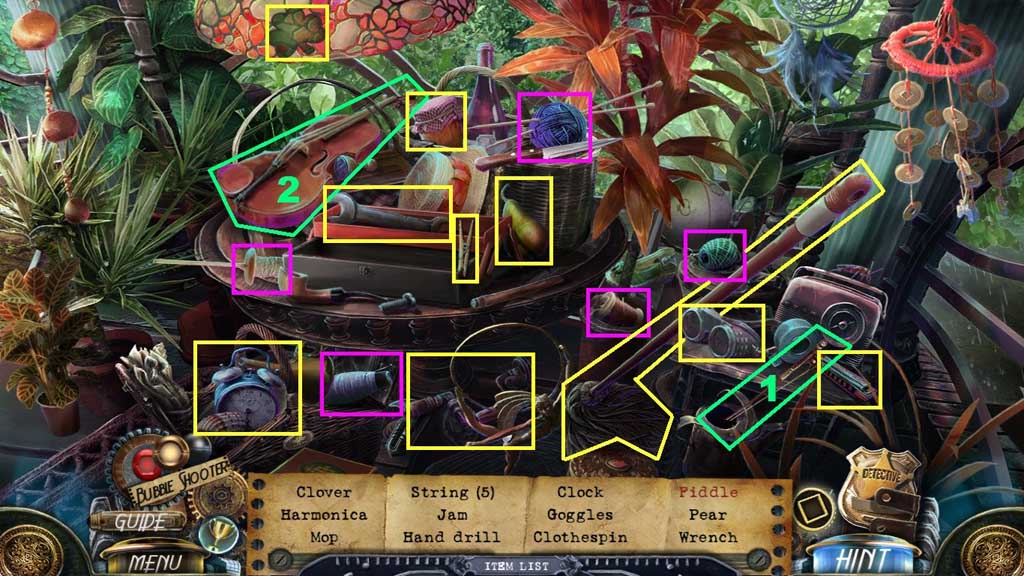
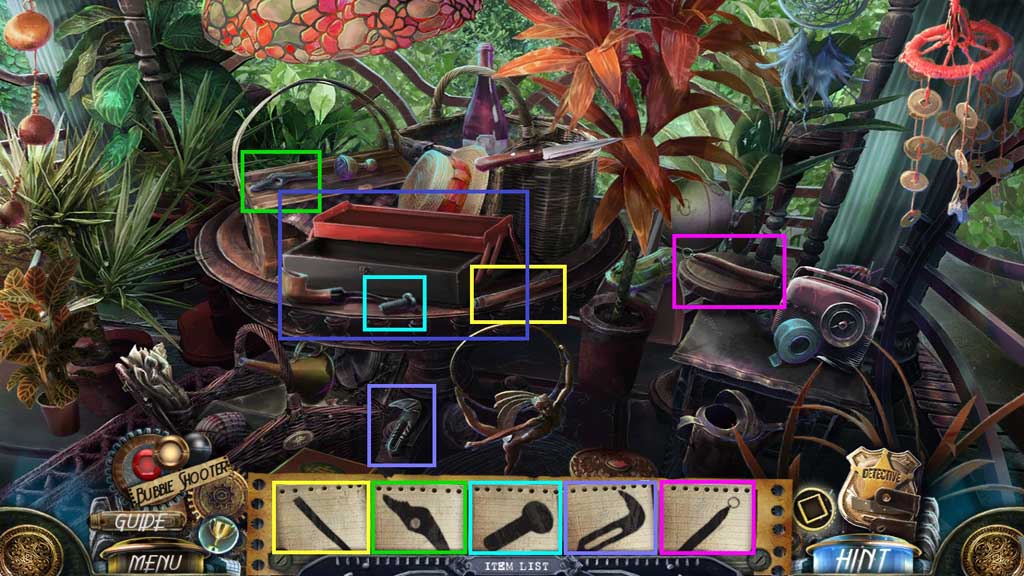
- Find the items.
- Collect the pliers’ parts.
- Move down once.
- Chapter-1-11-Bone
- Give the dog the bone.
- Click the mini hidden objects area.
- Find the items.
- Collect the switch.
- Click the panel.
- Insert the switch and click it once.
- Attempt to click the gate; collect the evidence and the steel wire.
- Click the evidence board, then click the evidence tab and click and drag the photo piece into the frame.
- Click the fish hook and connect the pennant string to receive the fishing line.
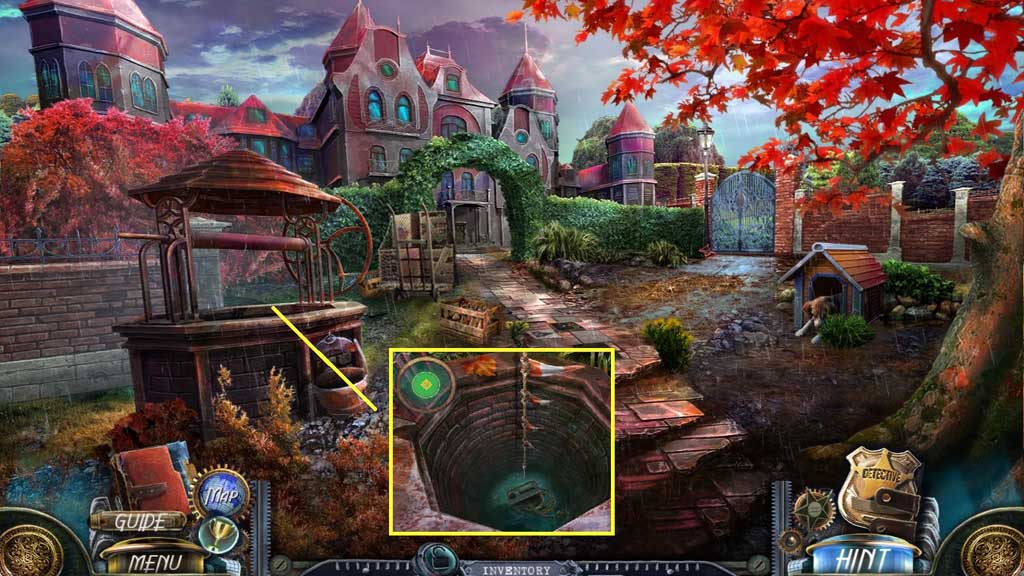
- Toss the improvised fishing line into the well to trigger a mini game.
- Solve the game by clicking the hook when the ball is in the green circle.
- Collect the gasoline can with rope.
- Move down once.
- Click the pliers’ parts and click and drag the parts into place.
- Collect the pliers.
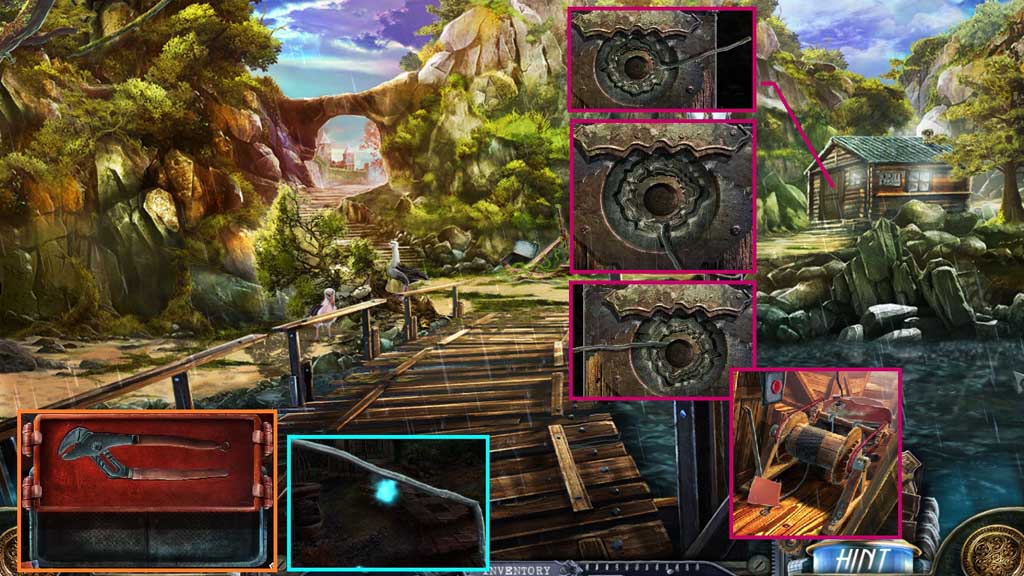
- Click the steel wire and use the pliers to bend it; receive the lock pick.
- Insert the lock pick to trigger a mini game.
- Arrange the discs so that the lock pick can slide through to solve the game.
- Collect the sand paper and the crow bar.
- Move down once.
- Click the gas can with rope; collect the rope and the empty gasoline can.
- Use the crow bar to lift the hatch; click the 3 valves and fill the empty gasoline can.
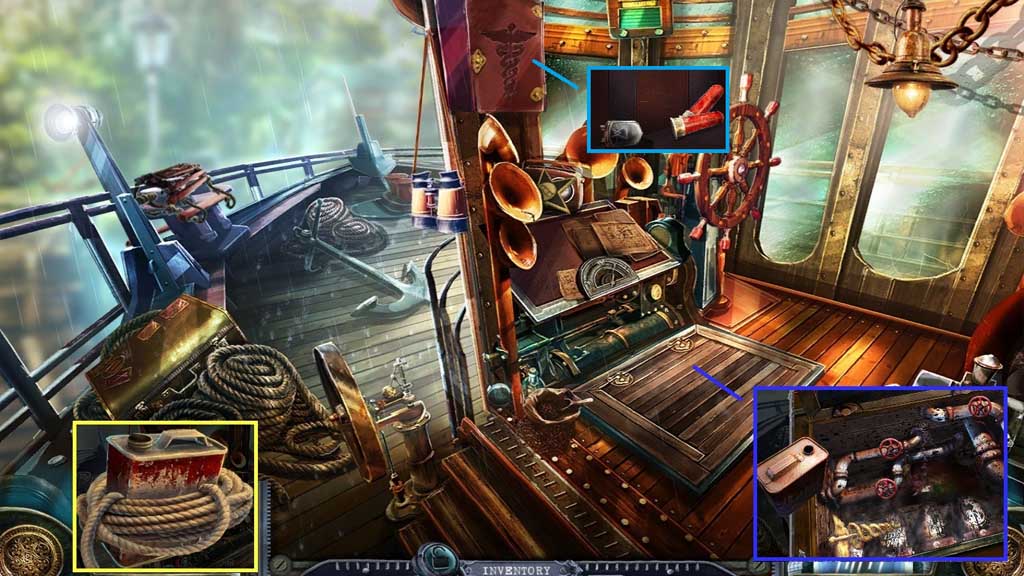
- Collect the gasoline can and the caduceus.
- Insert the caduceus; collect the flares and 2 /3 fuses,
- Move ahead.
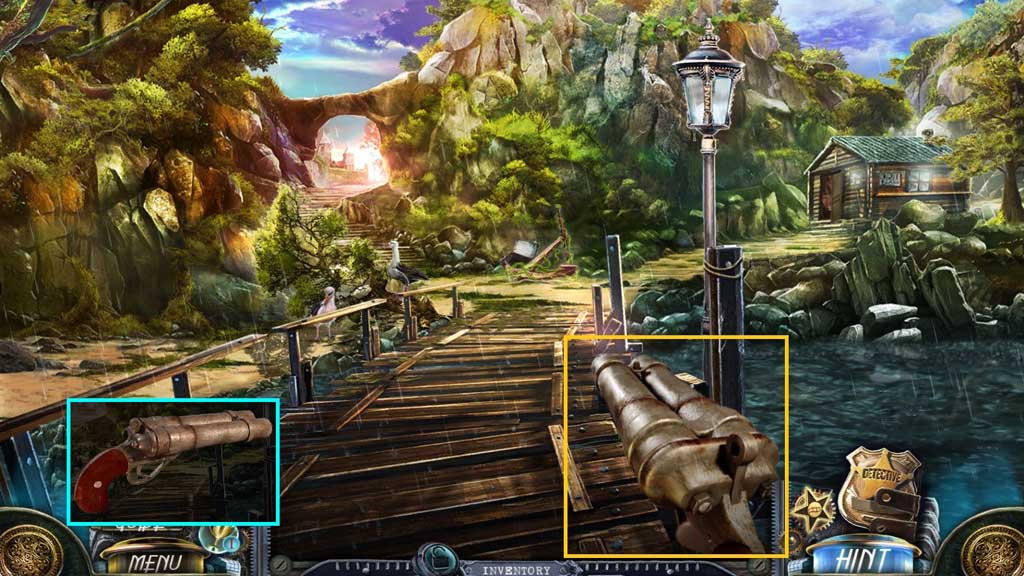
- Click the empty flare gun and insert the flares; receive the flare gun.
- Shoot the flare gun toward the gulls.
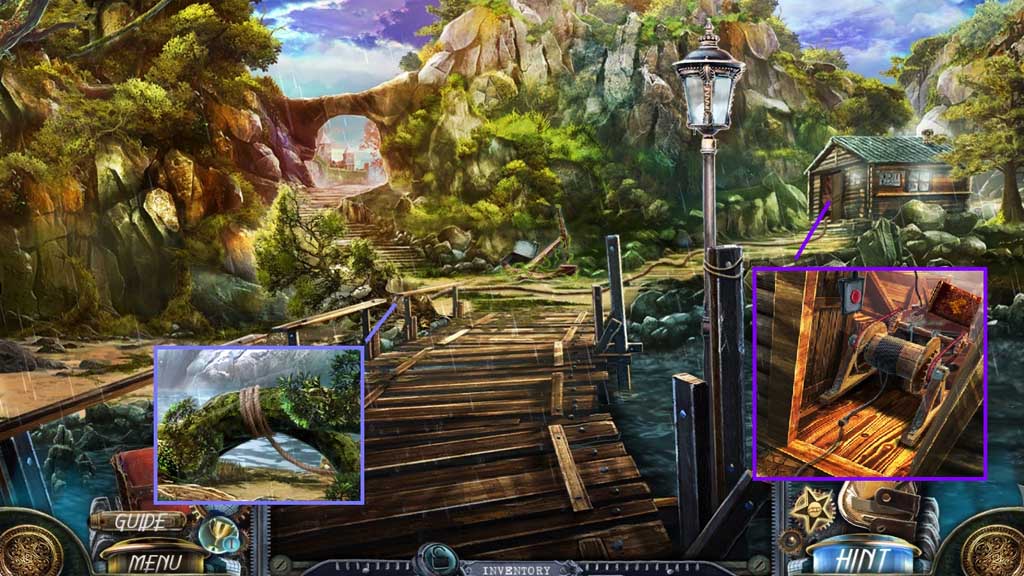
- Tie the rope around the tree.
- Pour the gasoline can into the engine, connect the rope onto the hook and click the button.
- Move to the left.