
Dead Reckoning: Silvermoon Isle: Chapter Two: Crime Scene
Our Dead Reckoning: Silvermoon Isle Walkthrough is packed full of all the advice, tips, and hints you'll need in your investigation of the death of the famous movie star, Veronica West. Rely on our detailed instructions, our custom marked screenshots, and our simple puzzle solutions to help you quickly and safely solve this dark mystery!
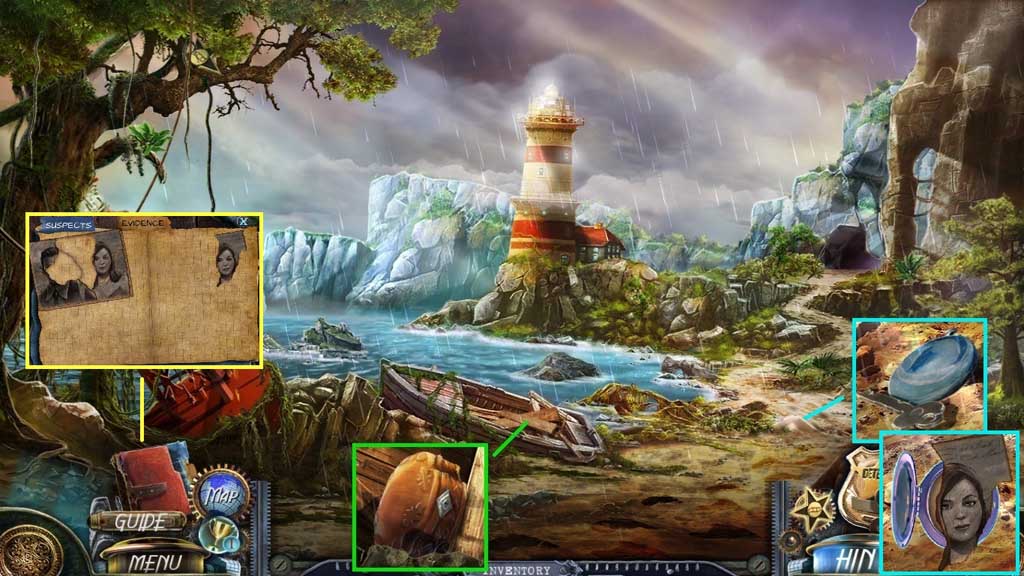
- Click the boards; collect the wooden box.
- Click the sand; collect the box key.
- Click the locket; collect the evidence.
- Click the evidence tab and move the picture fragments into the frame.
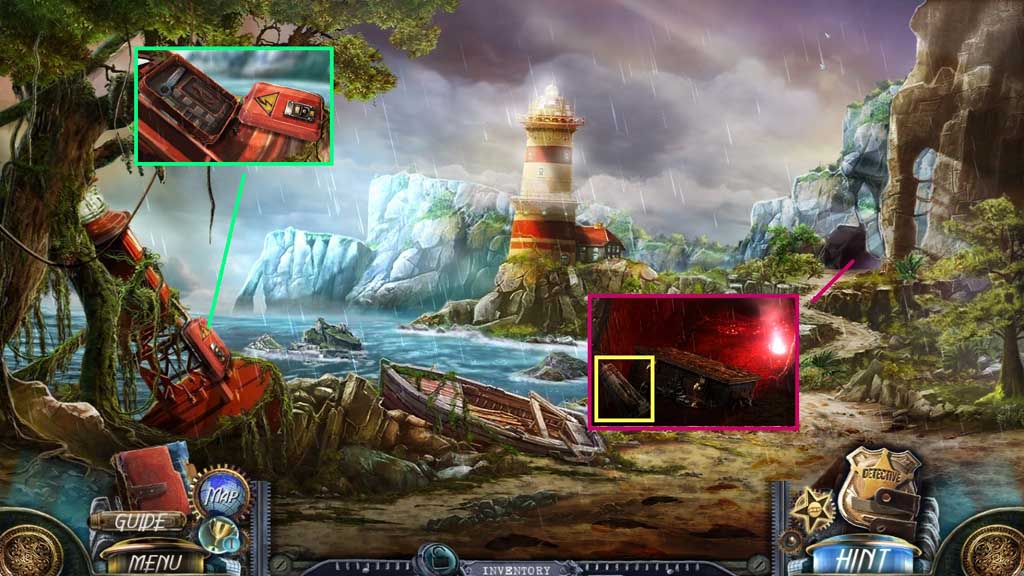
- Shoot the flare gun into the cave and collect the weight.
- Use the sandpaper on the buoy box.
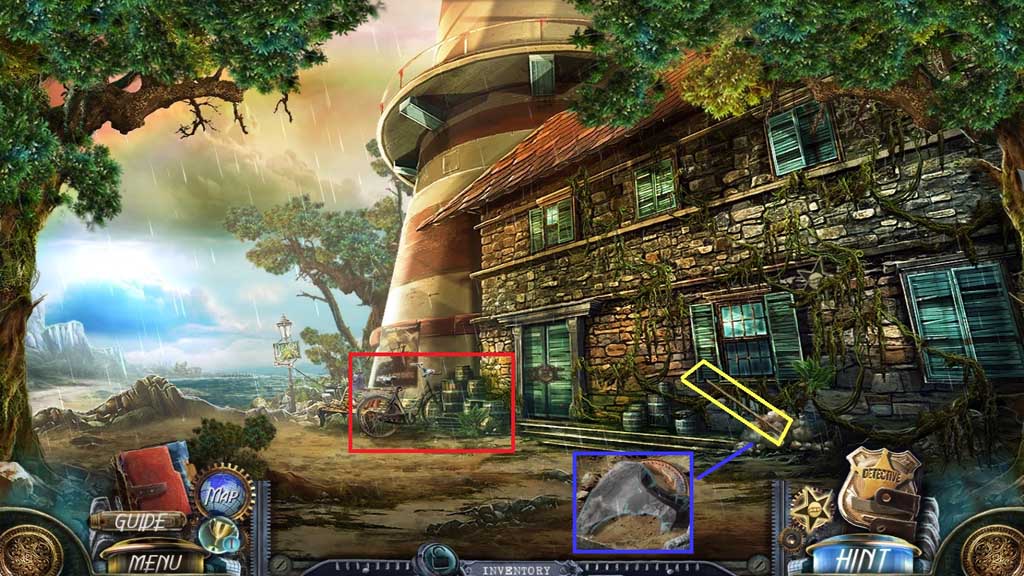
- Click the cover; collect the stove handle.
- Move ahead.
- Collect the pole.
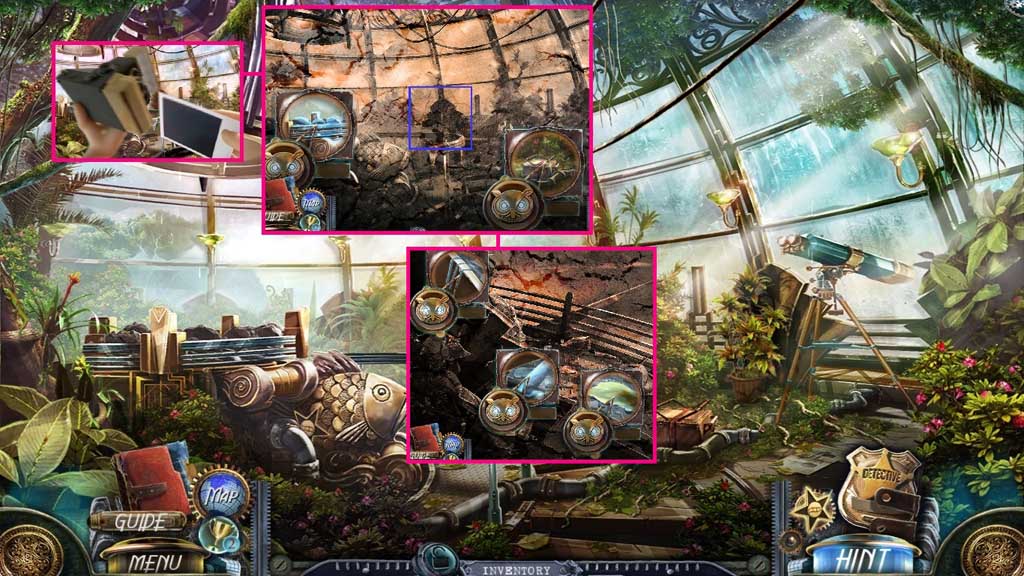
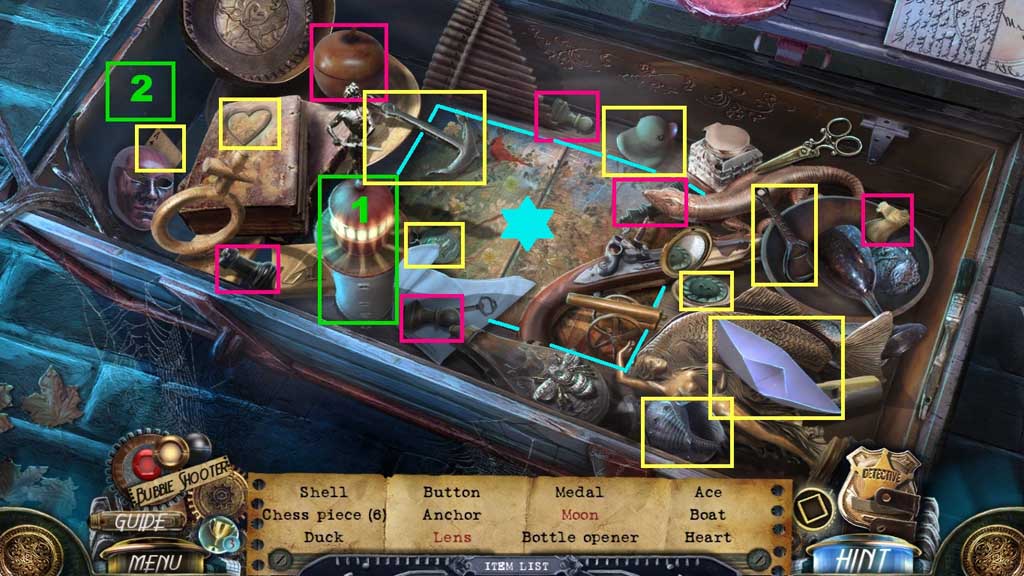
- Click the rocks; collect the evidence and 1 /3 coins.
- Click the mini hidden objects area.
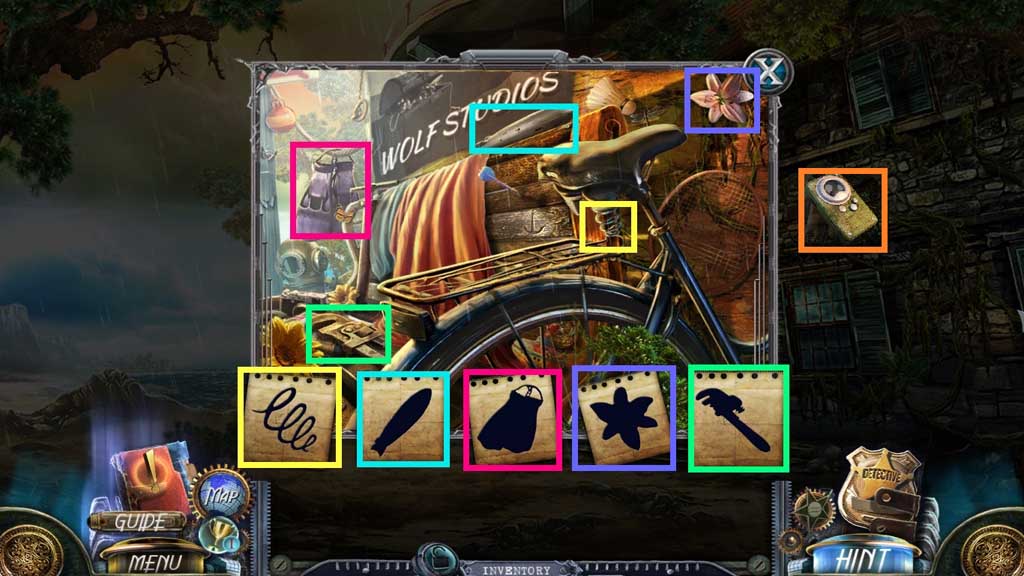
- Find the items.
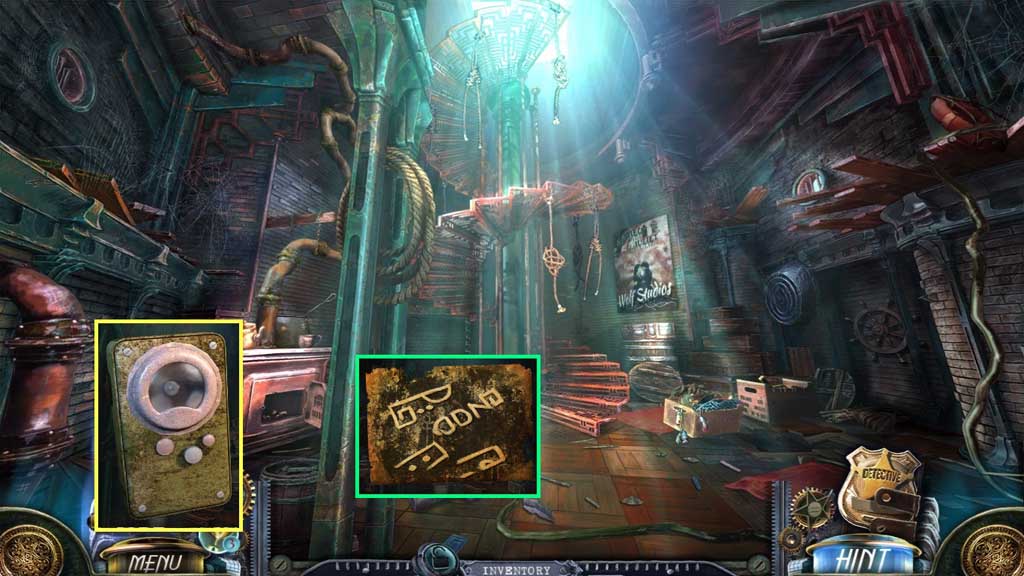
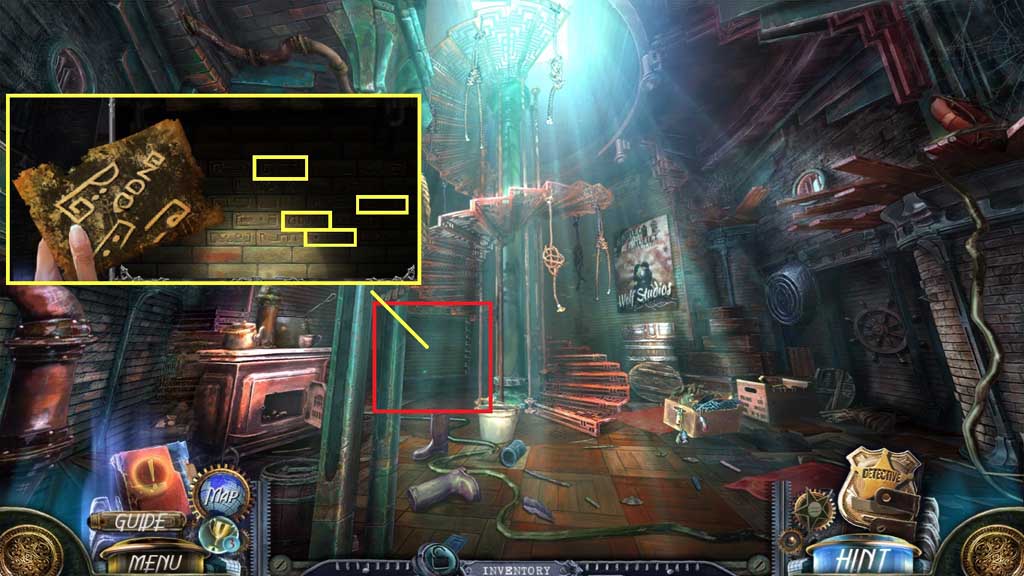
- Collect the broken flashlight.
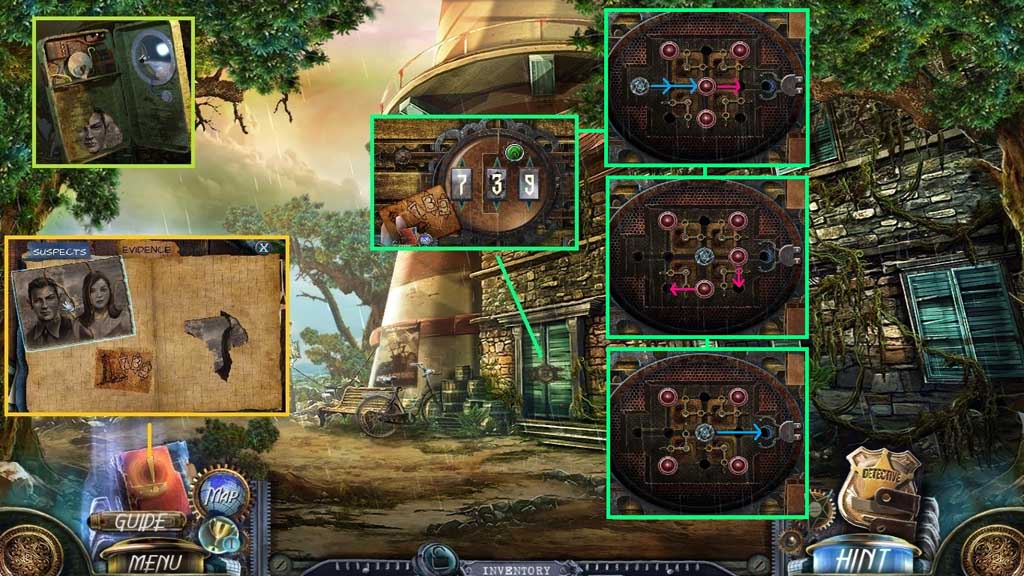
- Click the broken flashlight 2x’s; collect the evidence.
- Click the evidence tab and move the picture fragments into the frame.
- Receive the lighthouse code and place it onto the door.
- Enter the code: 739 and click the green button to trigger a mini game.
- Solve the game by guiding the blue knob to the right side while removing light bulbs to clear the path.
- Move ahead.
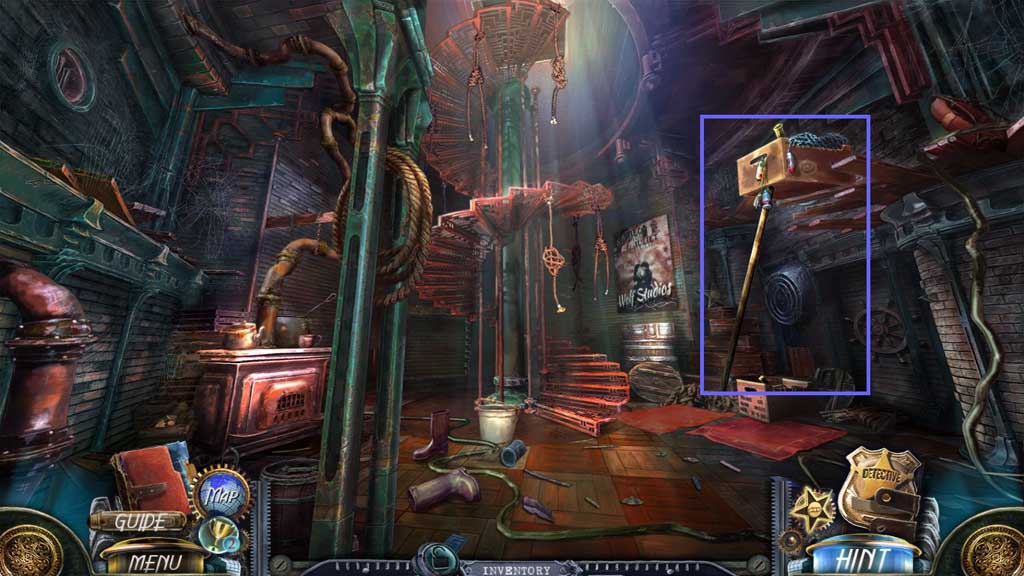
- Use the pole to collect the box.
- Collect the pocket knife.
- Click the box and the carpet.
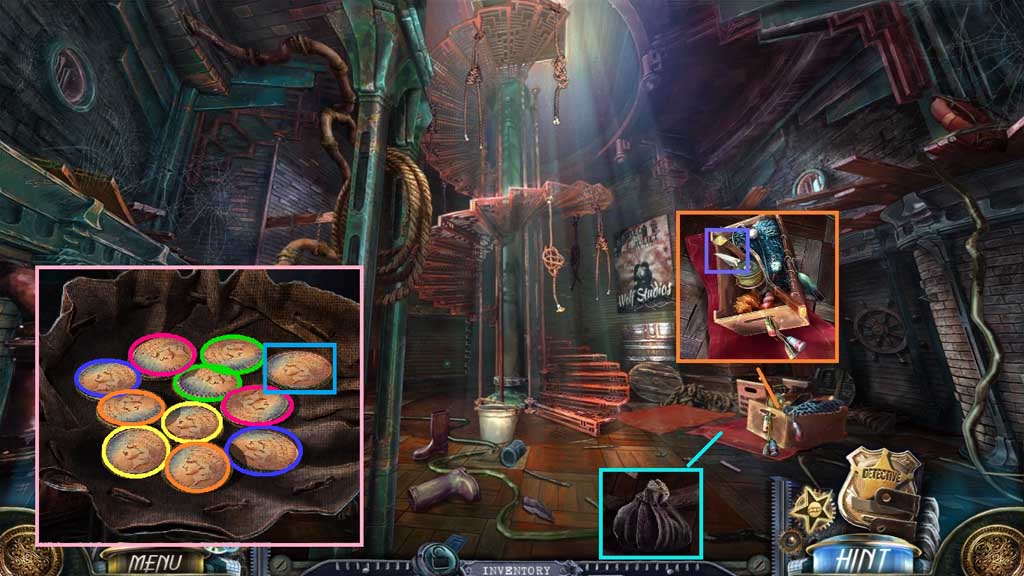
- Use the weight to smash the floor board; collect the bag with coins.
- Click the bag with coins 2x’s to trigger a mini game.
- Solve the game by matching the coins.
- Collect 2 /3 coins.
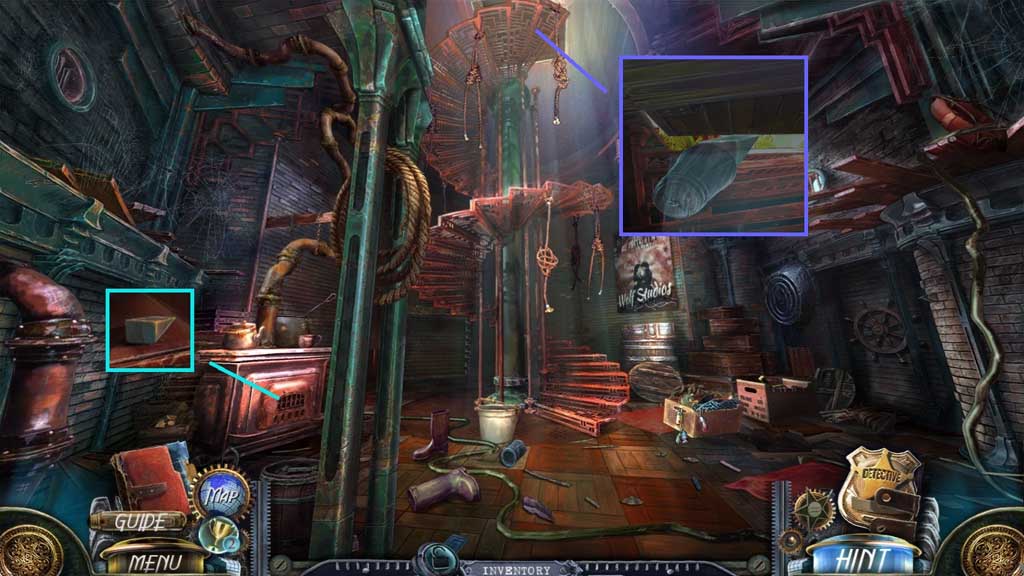
- Attach the stove handle and use the weight to strike it; collect the wedge.
- Place the wedge into the trap door and strike it using the weight.
- Move up.
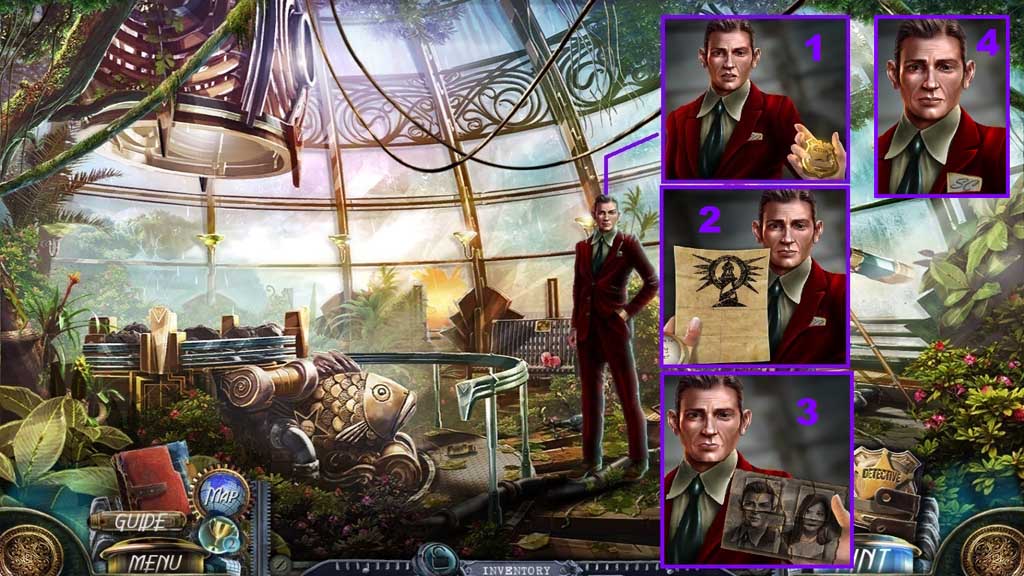
- Speak to Ray.
- Click your badge.
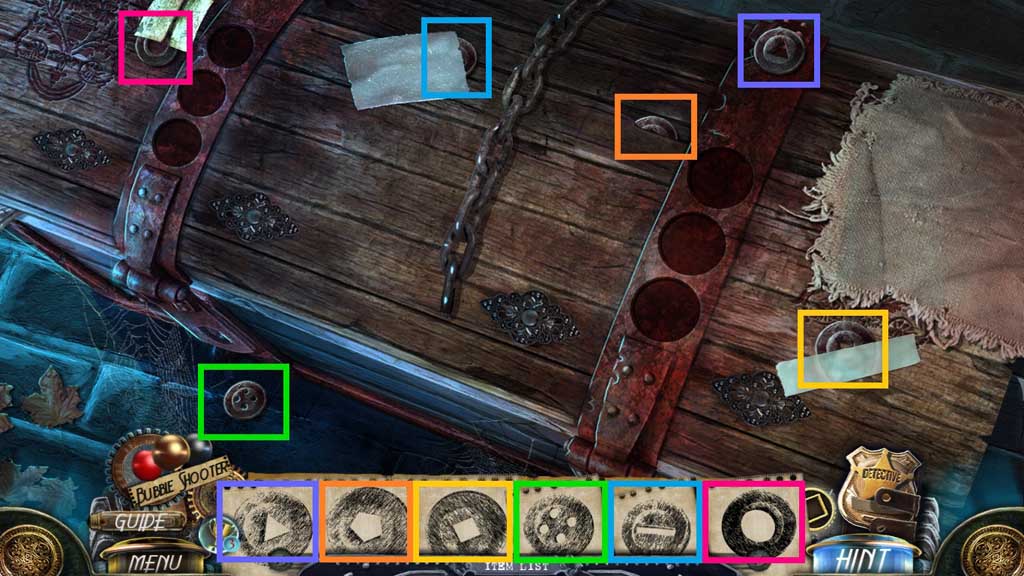
- Place the shapes into the outline and click it once.
- Realign the picture pieces; collect the picture.
- Examine Ray’s pocket square.

- Click the evidence board, then click the suspects tab; place Ray’s picture in the fiancé area.
- Click the wooden box and insert the box key and click it once.
- Collect the photo camera and the battery.
- Click the camera 2x’s to trigger a mini game.
- Solve the game by moving the magnifying glass to uncover the evidence.
- Zoom into the fire pit, the picnic basket and the candelabra.
- Click the scratched boards, the pill bottle and the fabric.
- Use the pocket knife to slice the straps.
- Click the basket; collect the soda bottle and 3 /3 fuses.
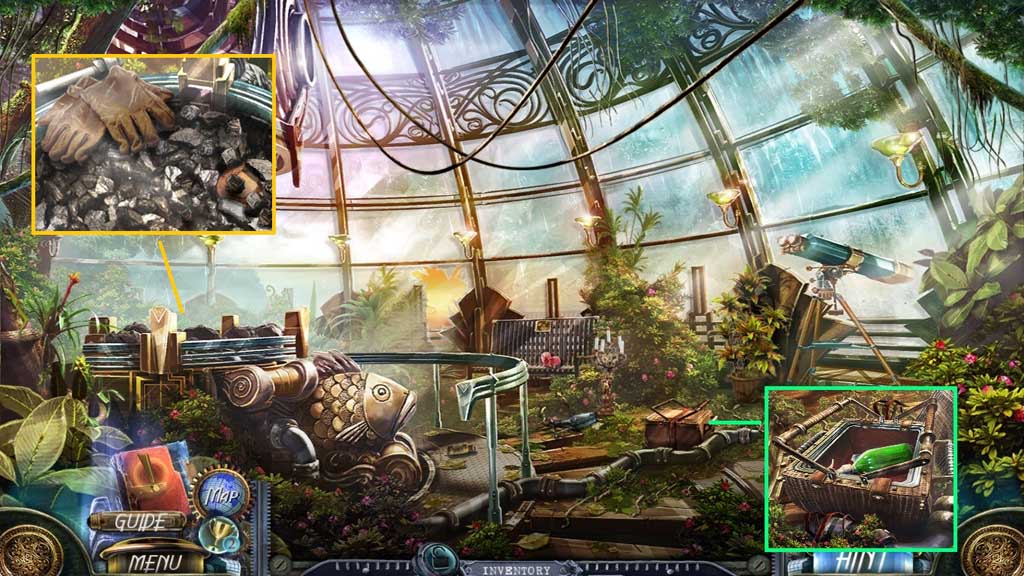
- Use the soda bottle to spray onto the burning embers; collect the coal, the gloves and 3 /3 coins.
- Move to the Beach.
- Insert the coins; collect the note.
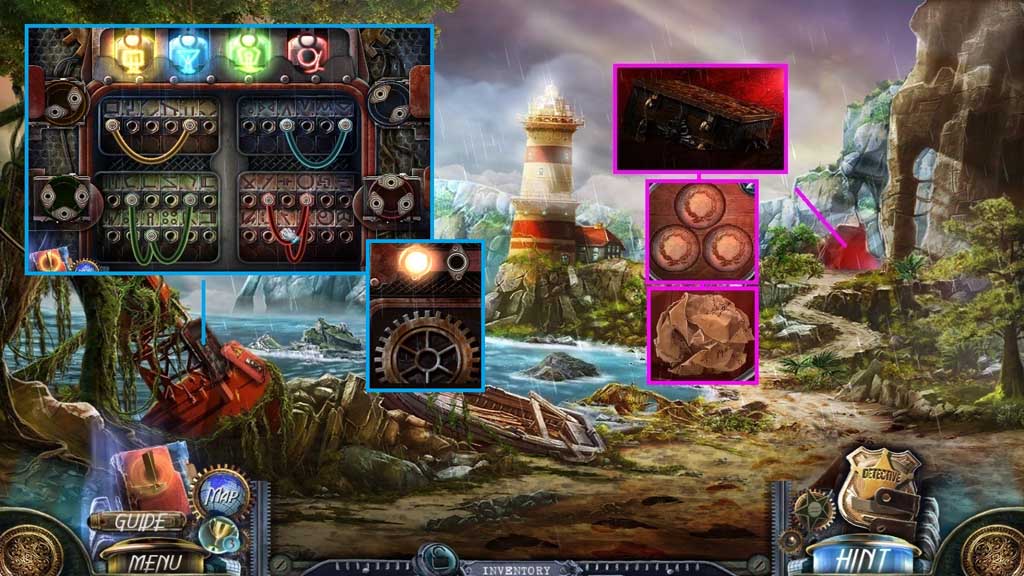
- Insert the fuses to trigger a mini game.
- Solve the game by recreating the image on the fuses by making the correct connections.
- Collect 1 /5 gears and the light bulb.
- Move to the Lighthouse.
- Click the broken flashlight 2x’s; insert the battery and the light bulb.
- Receive the flashlight.
- Click the note 2x’s and use the coal to reveal and collect the code.
- Use the flashlight to illuminate the wall and place the code onto the wall to trigger a mini game.
- Solve the game by clicking the symbols as shown on the code.
- Click the hidden objects area.

- Find the items.
- Click the apple; collect the chess piece.
- Click the lighthouse; collect the moon.
- Click the chest floor board (*) and find the 10 flowers.
- Collect the lens.
- Move up.
- Remove and replace the lens on the telescope.