
Witches' Legacy: Slumbering Darkness: Chapter Five: Explore Morgana’s House
Our Witches' Legacy: Slumbering Darkness Walkthrough has arrived just in time to help you save Lynn and her husband from an evil sorcerer! If you find yourself stuck in the midst of this enthralling hidden object adventure game, just turn to our detailed instructions, our custom marked screenshots, and our simple puzzle solutions to lead the way to success.
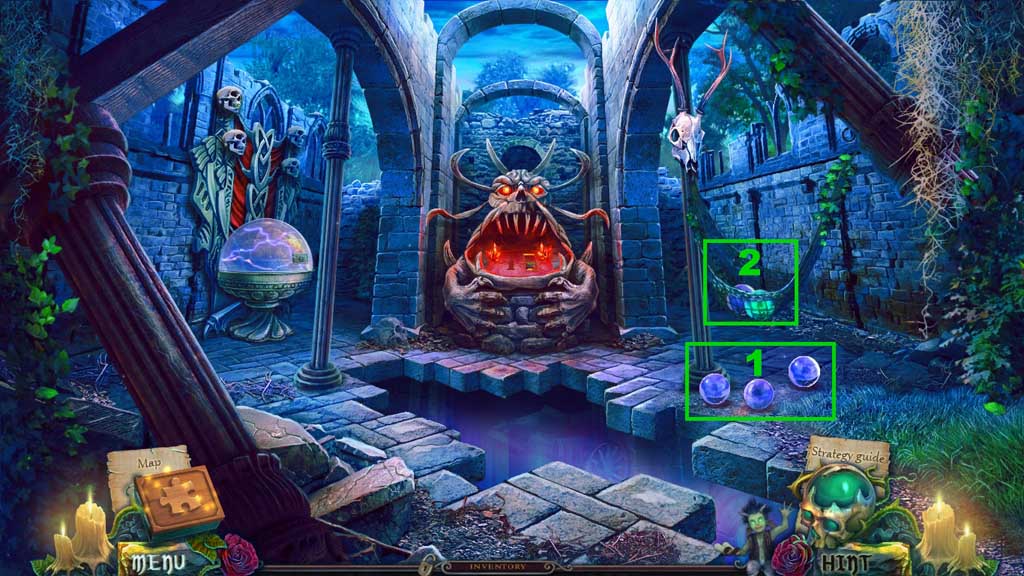
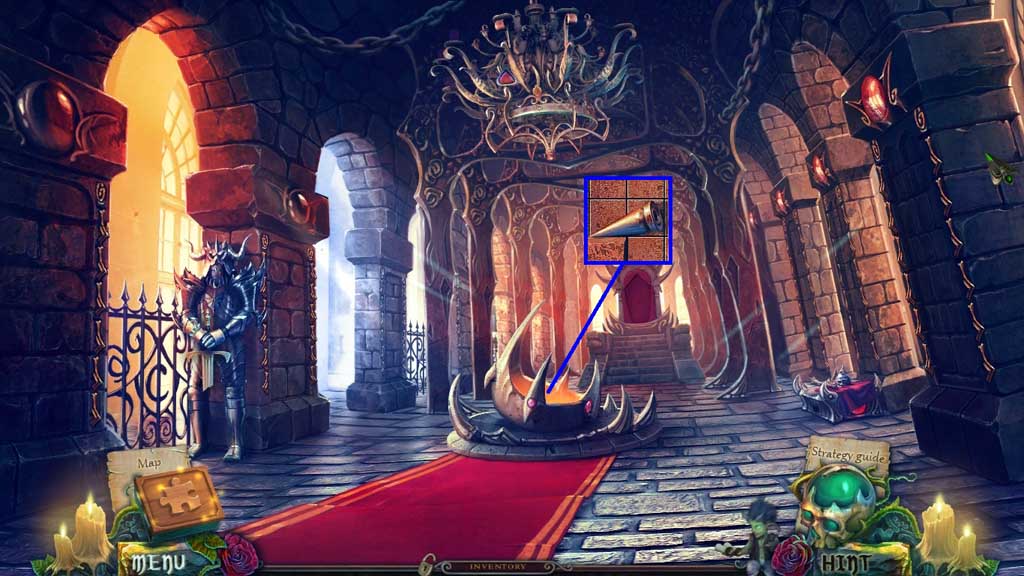
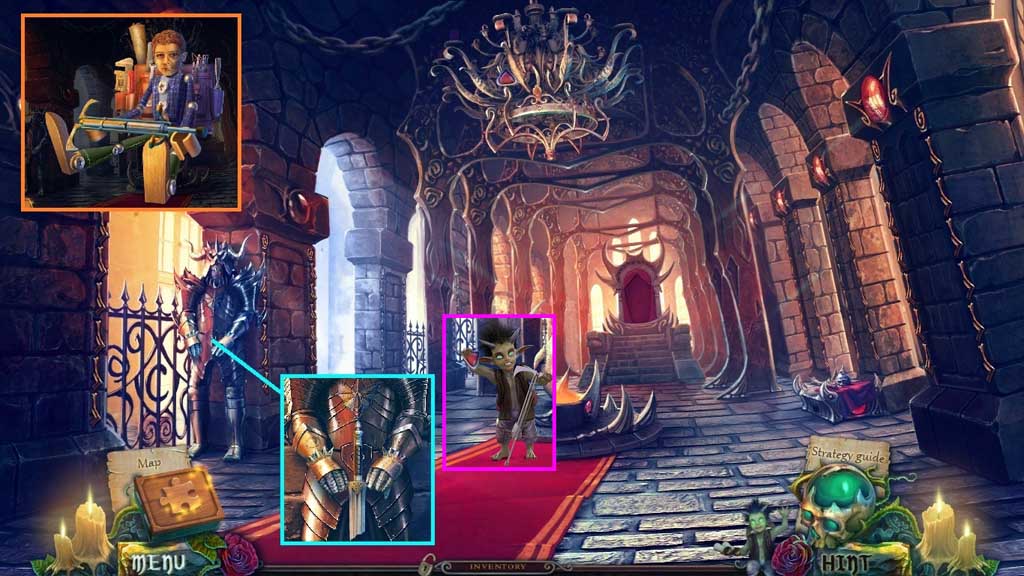
- Place the 3 balls into the sling.
- Collect the deer horns.
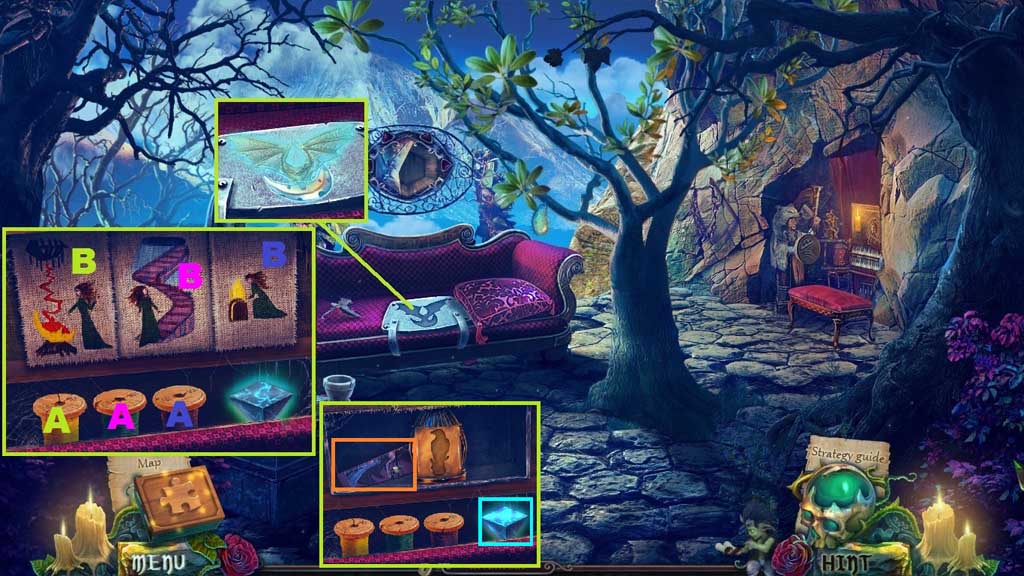
- Move down once and click the hidden objects area.
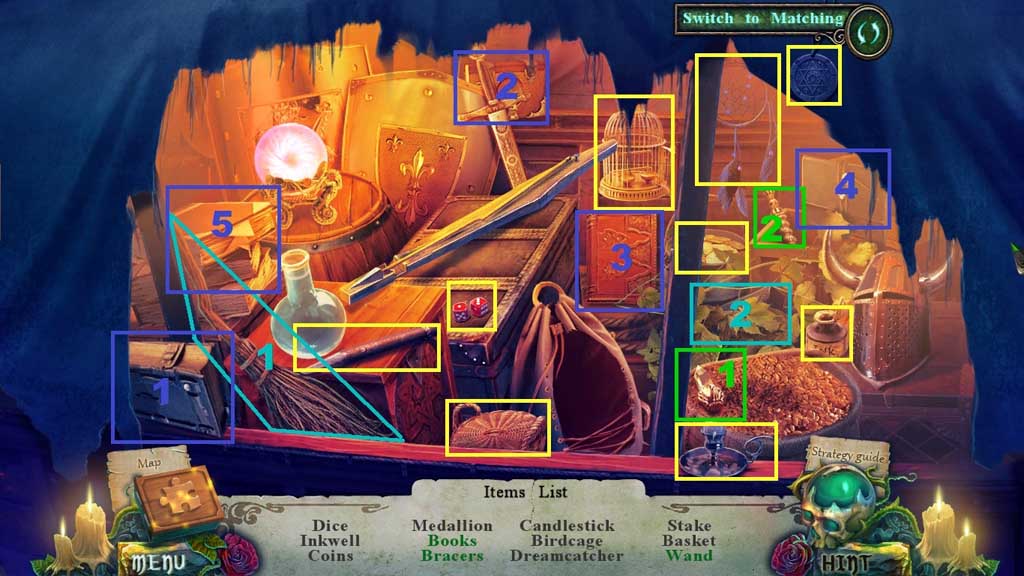
- Find the items.
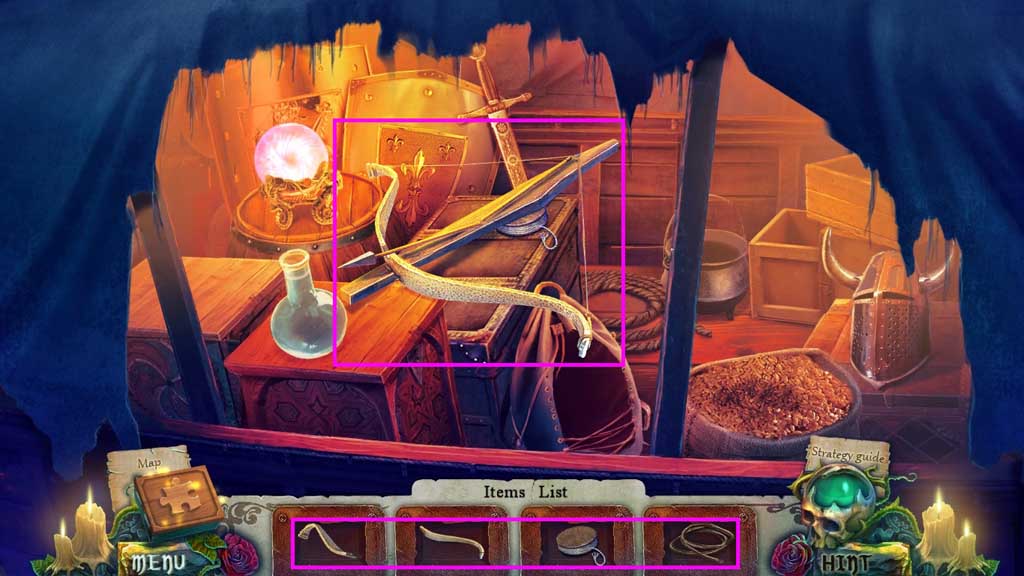
- Collect the crossbow.
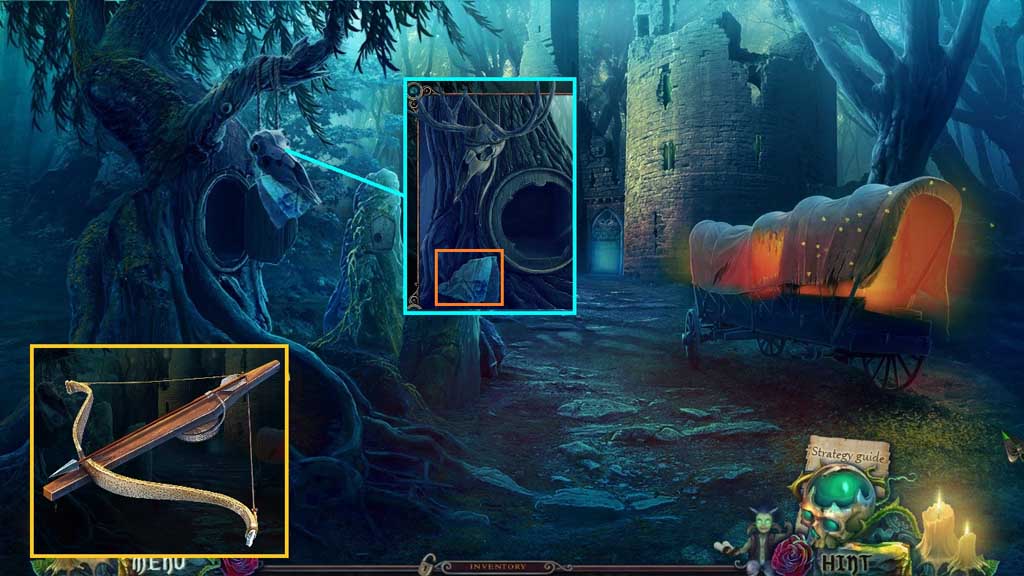
- Place the arrows into the crossbow.
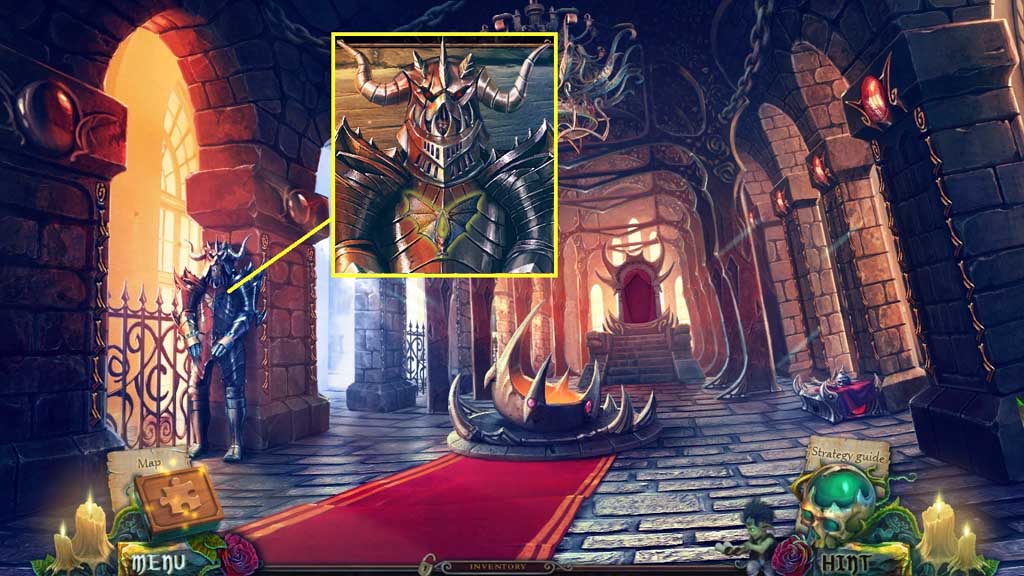
- Attach the deer horns.
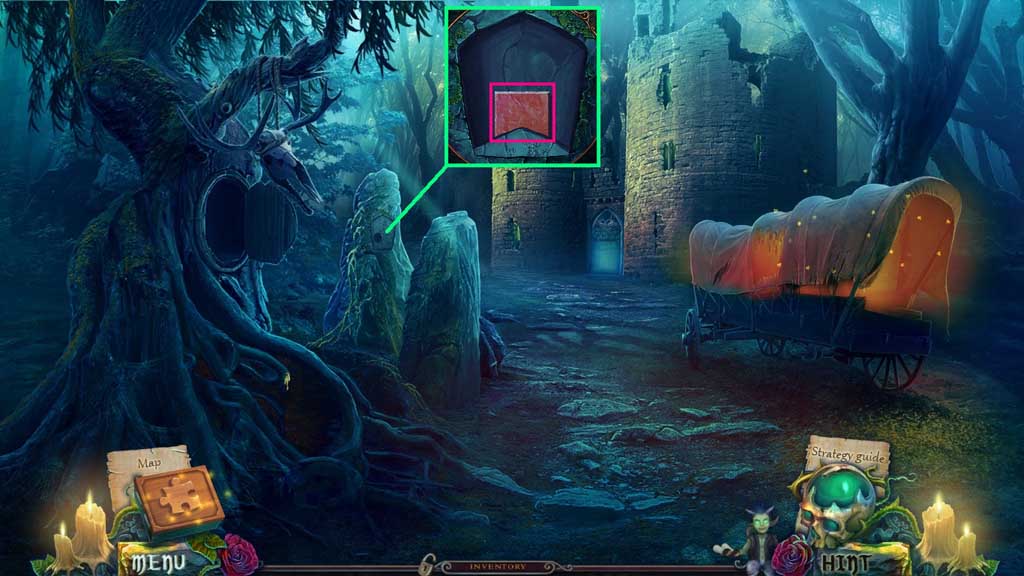
- Collect the rock top.
- Move ahead.

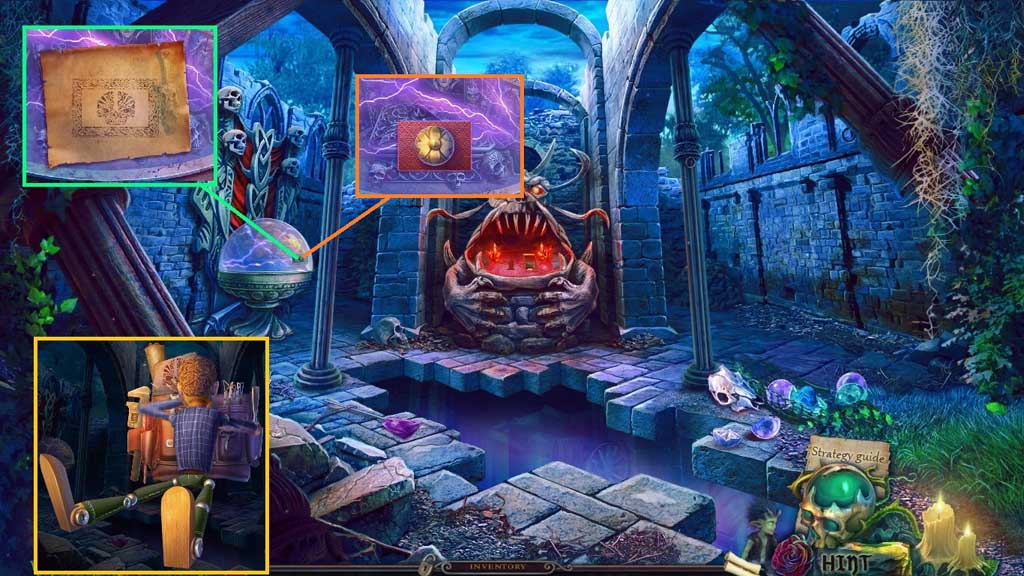
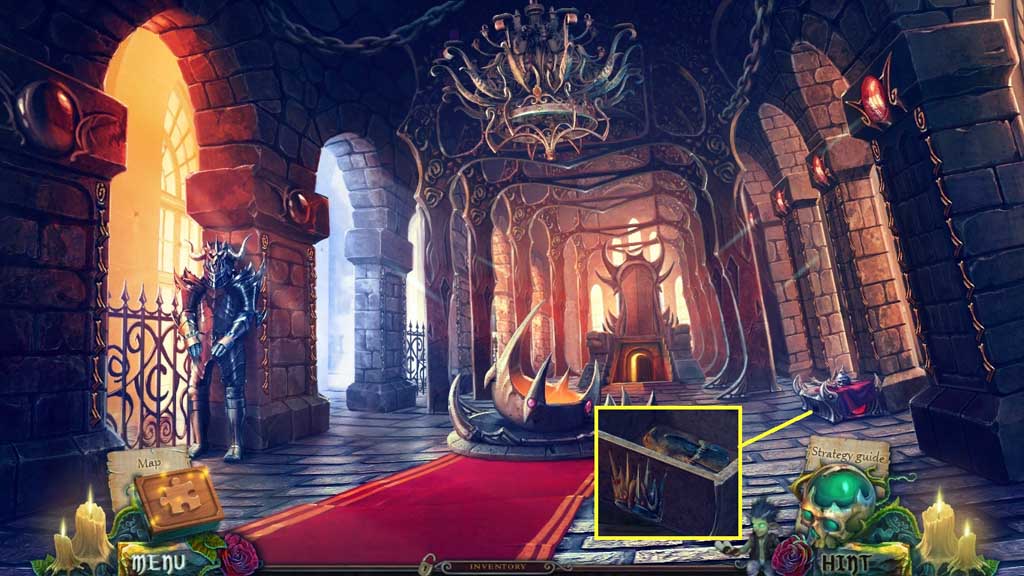
- Attach the rock top; collect the artifact and the figurine.
- Select the crossbow and arrows to retrieve the sack.
- Select the stone to slice the sack; collect the triangle tangram.
- Move down once.
- Place the artifact figurine.
- Collect the square tangram.
- Move ahead.
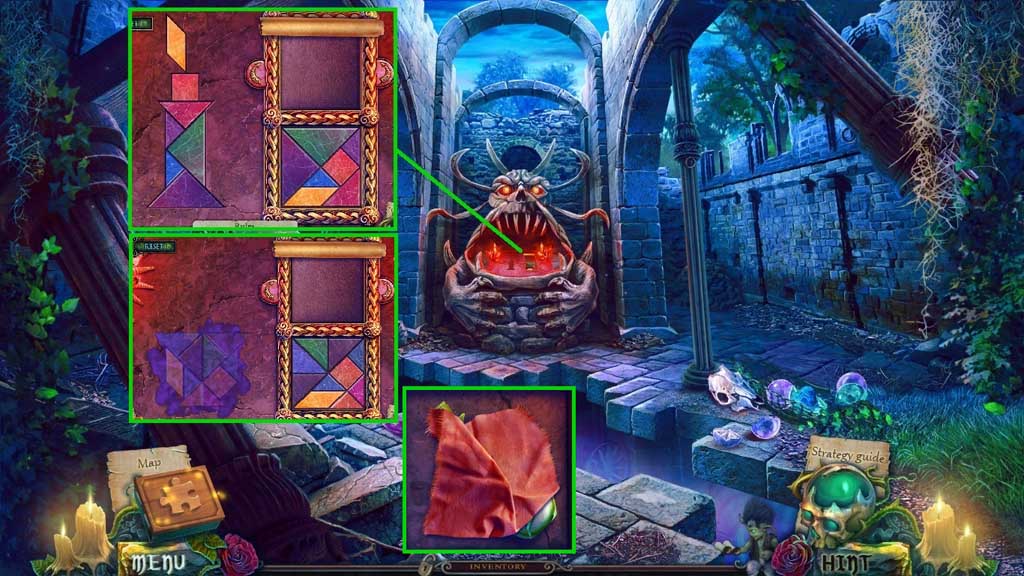
- Click the creature’s mouth and insert the triangle and square tangrams to trigger a mini game.
- Solve the game by using the shapes to create the symbols.
- Collect the shawl and the vial.
- Move down once.
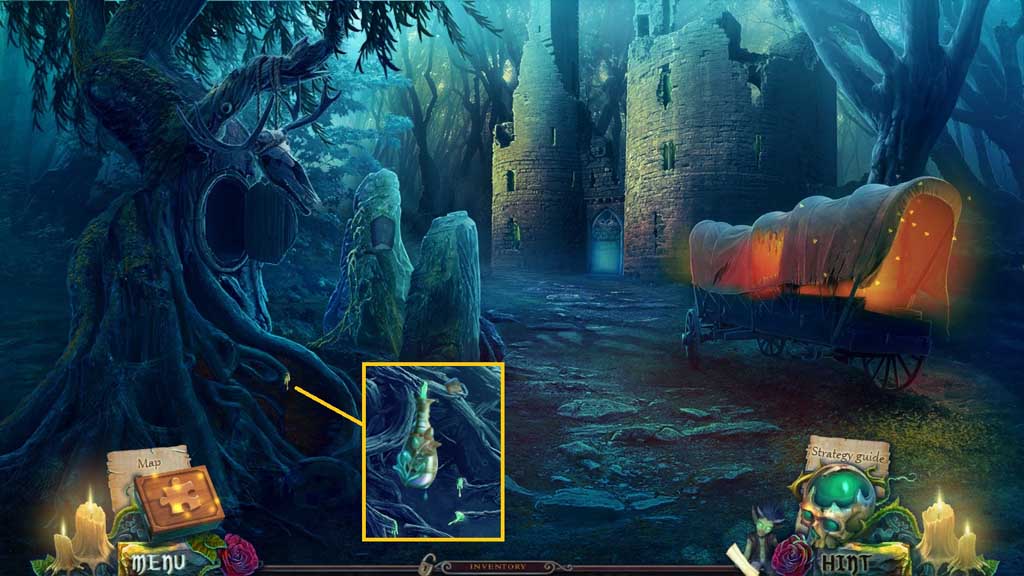
- Collect the willow sap using the vial.
- Move down once and to the right; click the hidden objects area.

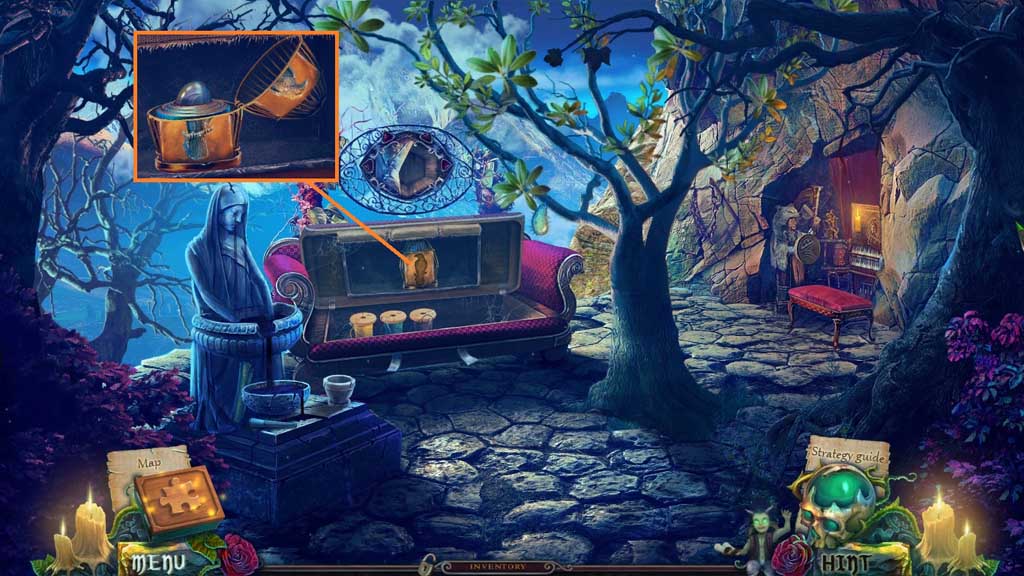
<img alt="Panel" src="http://www.casualgameguides.com/games/ck_images/images/Witches-Legacy-Slumbering-Darkness/Chapter-5-09-Panel.jpg" panel"="" data-cke-saved-src="http://www.casualgameguides.com/games/ck_images/images/Witches-Legacy-Slumbering-Darkness/Chapter-5-09-Panel.jpg" style="width: 600px; height: 338px;">
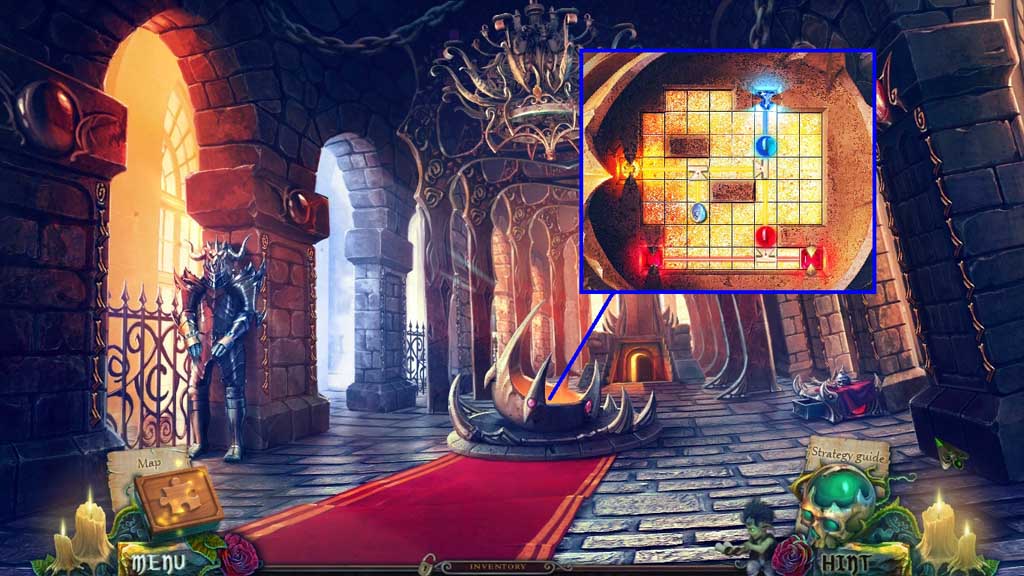
- Click the panel.
- Pour the willow sap; collect 2 /7 keys and the graphite.
- Move down once and ahead 2x’s.
- Select the parchment and the graphite and use them to create the key.
- Select the key and place it along with Master Edward and the press.
- Insert the key.
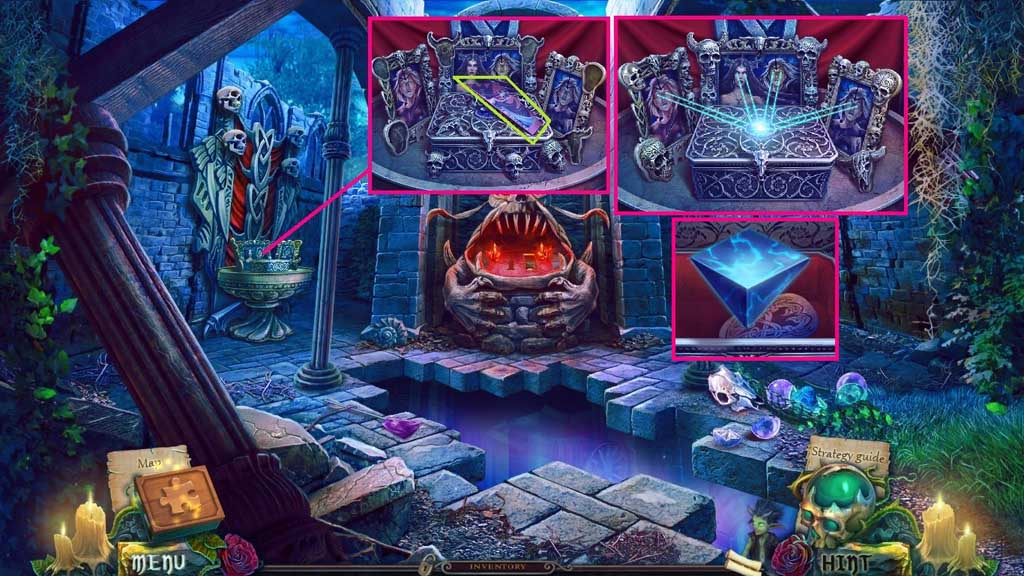
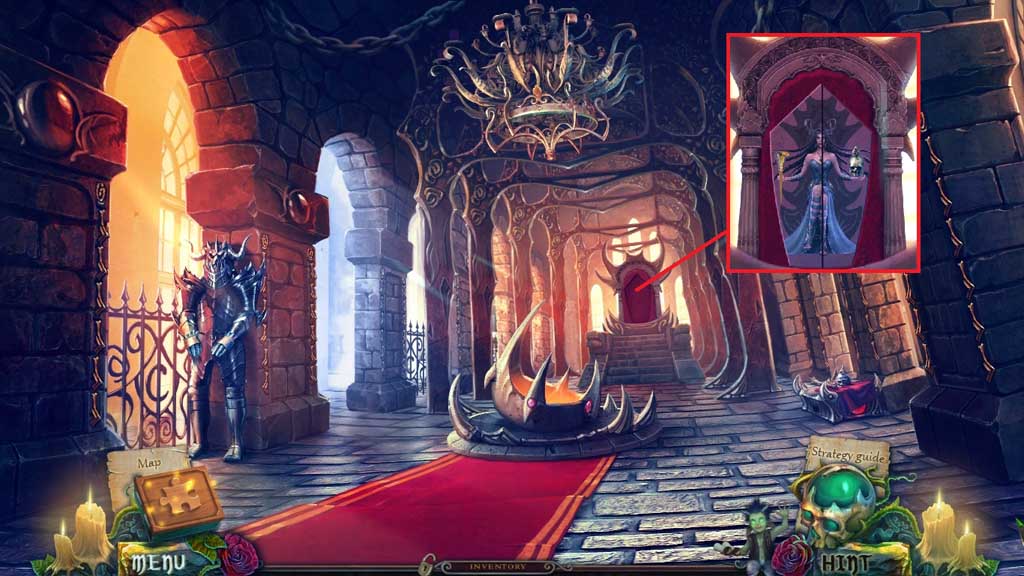
- Collect the 1st queen’s mural piece.
- Place the skulls correctly into the frames.
- Collect 3 /7 keys and the monster’s tongue.
- Move down 2x’s.
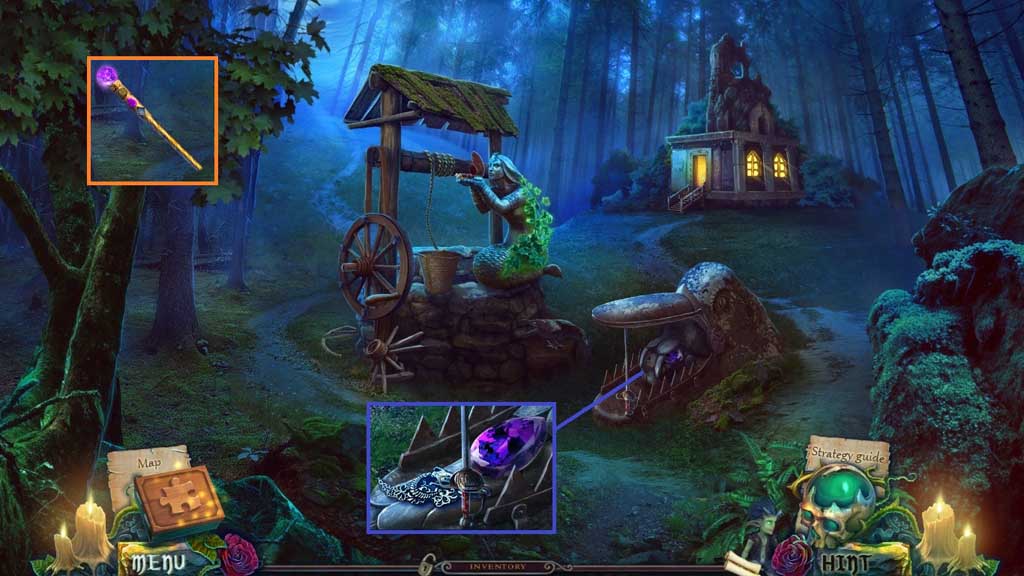
- Insert the monster’s tongue.
- Collect the lilac nugget and the necklace part and attach them onto the dead staff.
- Move down once.
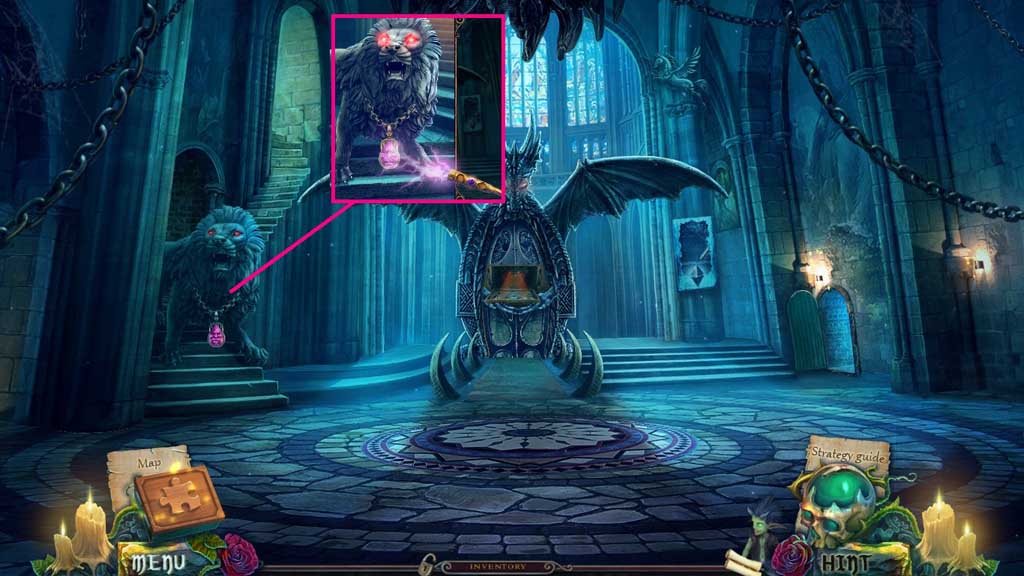
- Select the magic staff to use on the lion.
- Move to the left.
- Collect the spikes.
- Move to the left.
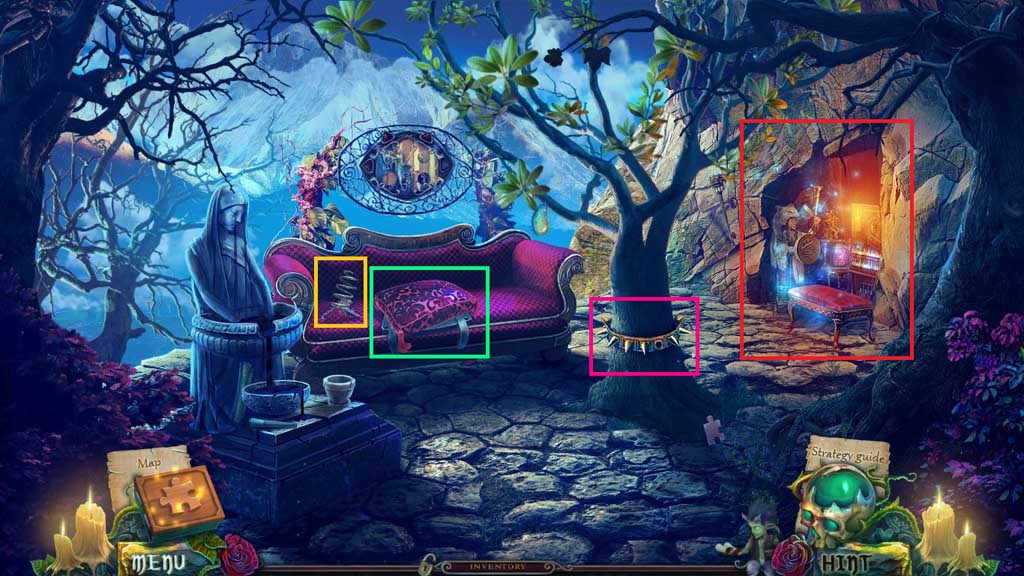
- Collect the spring and click the pillow.
- Attach the spikes.
- Collect the bracelet with spikes.
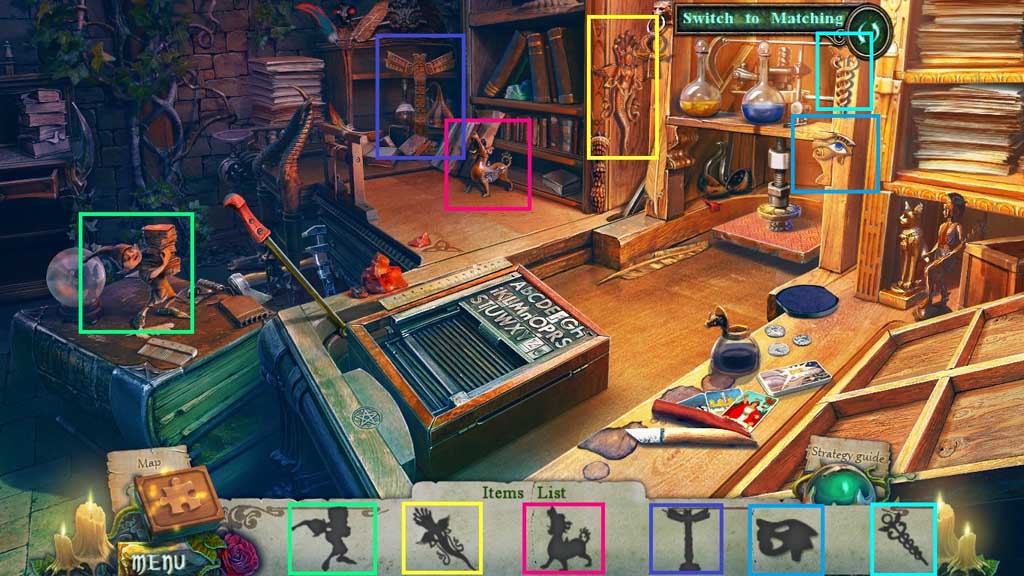
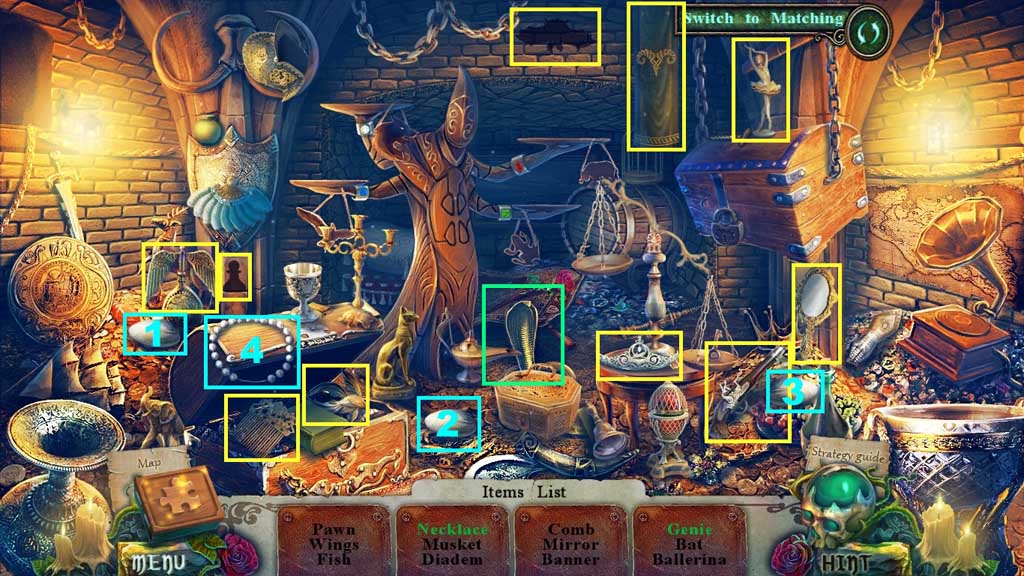
- Click the hidden objects area.
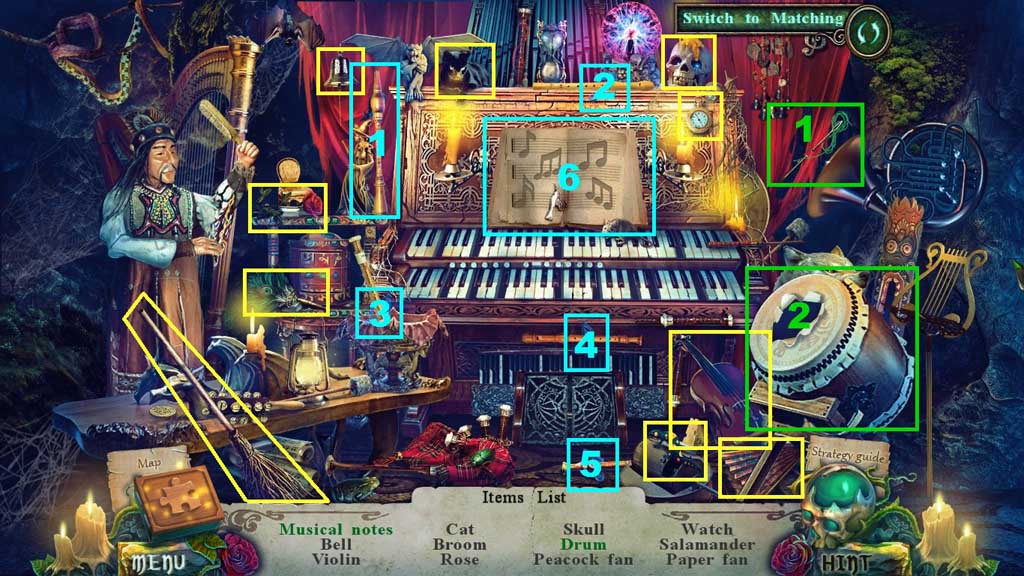
- Find the items.
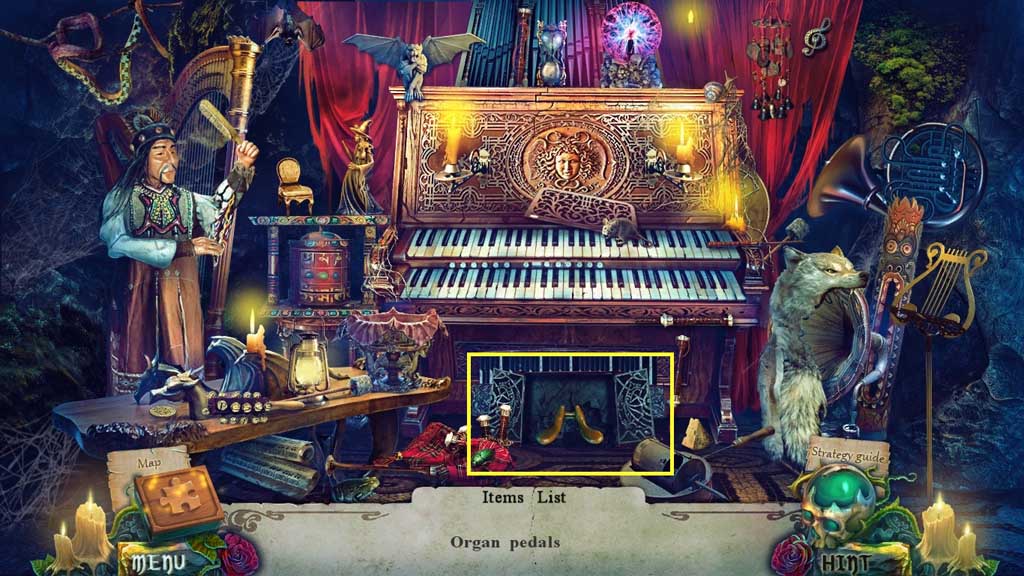
- Collect the organ pedal.
- Move down once.
- Place the bracelet with spikes.
- Collect the broken sword.
- Select Master Edward, the spring, the organ pedal and the broken stick and combine them.
- Select the imp and the pogo stick to collect the red arrow button.
- Move to the left.
![]()
- Click the picture to trigger a mini game.
- Solve the game by arranging the circles correctly to complete the image.
- Collect the visor.
- Move down once.
- Attach the visor.
- Collect the metal bat.
- Move to the left.
- Place the metal bat and the metal moon; collect 4/7 keys.
- Select the thread to complete the image.
- Collect the 2nd queen’s mural piece.
- Move own once.
- Insert the 2 mural pieces to trigger a hidden objects area.

- Find the items.
- Collect Morgana’s brooch.
- Insert Morgana’s brooch.
- Collect the steel raven.
- Move to the left.
- Insert the steel raven.
- Click the dolls; collect the moonstone.
- Move down once.
- Insert the moonstone to trigger a mini game.
- Solve the game by illuminating all of the gems.
- Move up the ladder.