
Witches' Legacy: Slumbering Darkness: Chapter Seven: Cross the Bridge
Our Witches' Legacy: Slumbering Darkness Walkthrough has arrived just in time to help you save Lynn and her husband from an evil sorcerer! If you find yourself stuck in the midst of this enthralling hidden object adventure game, just turn to our detailed instructions, our custom marked screenshots, and our simple puzzle solutions to lead the way to success.
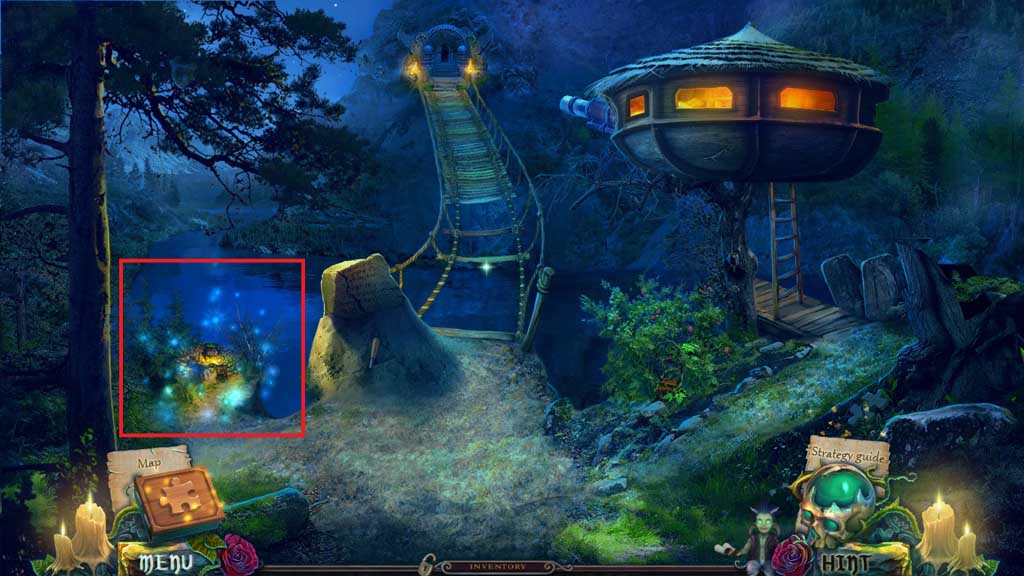
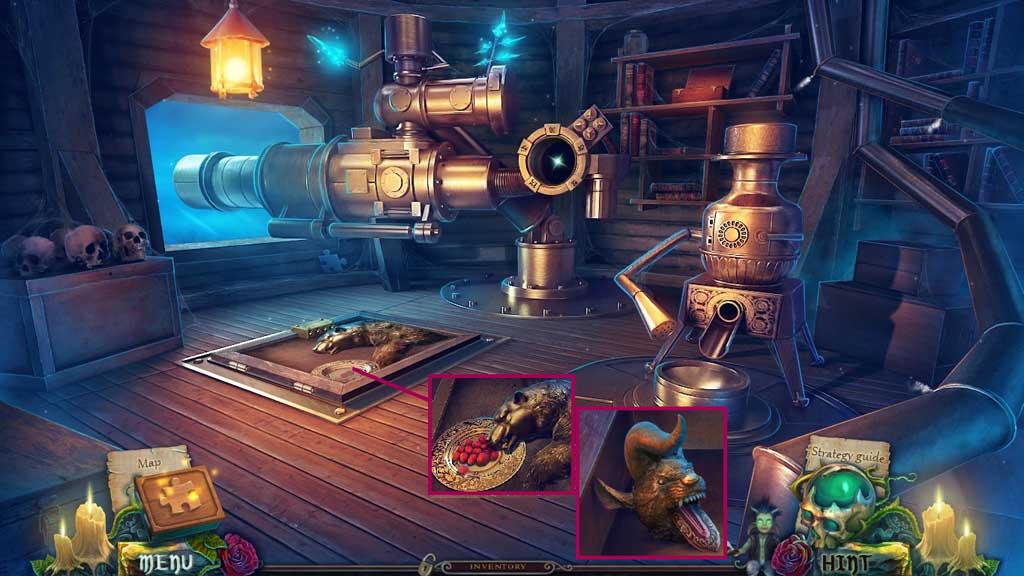
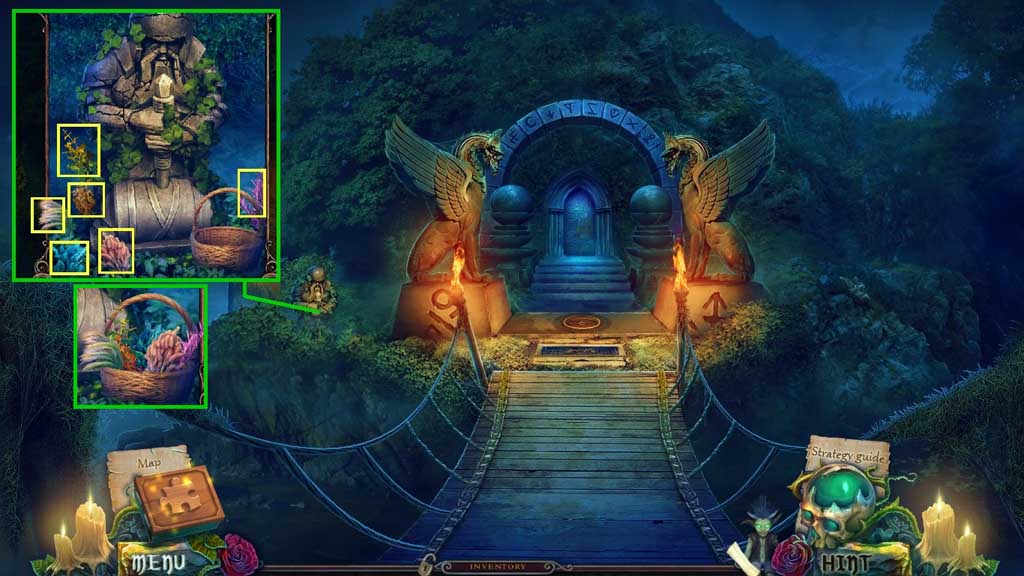
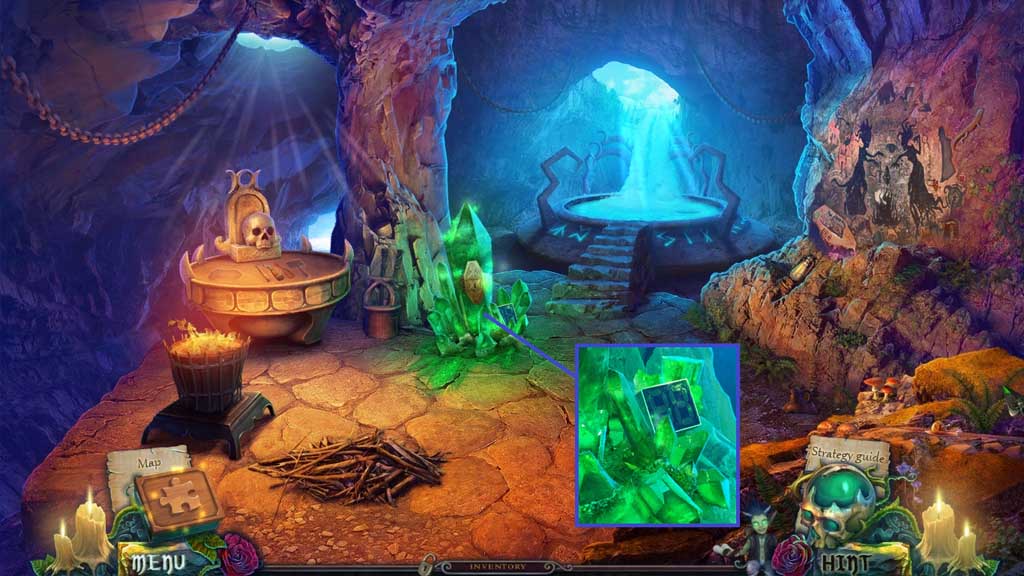
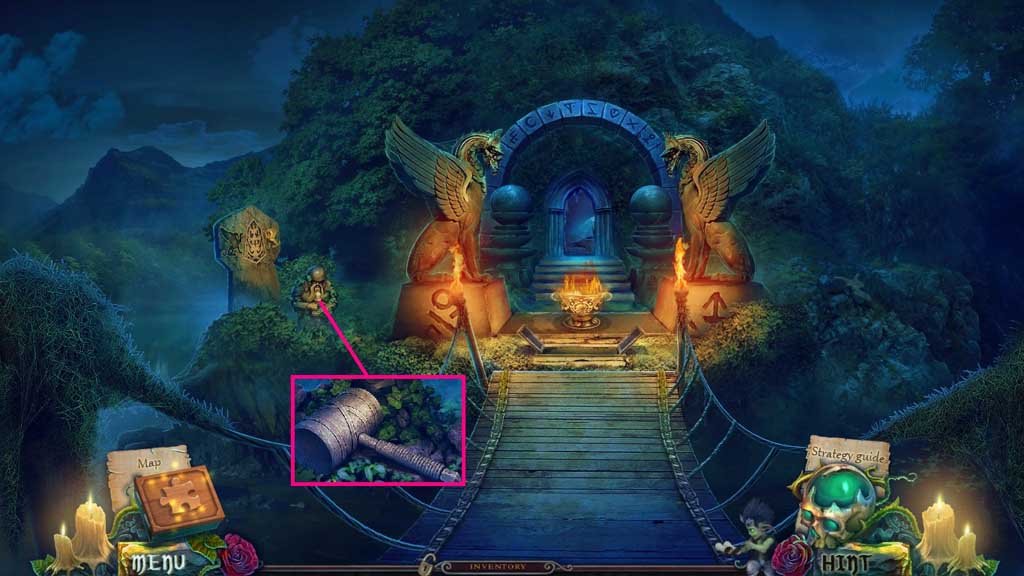
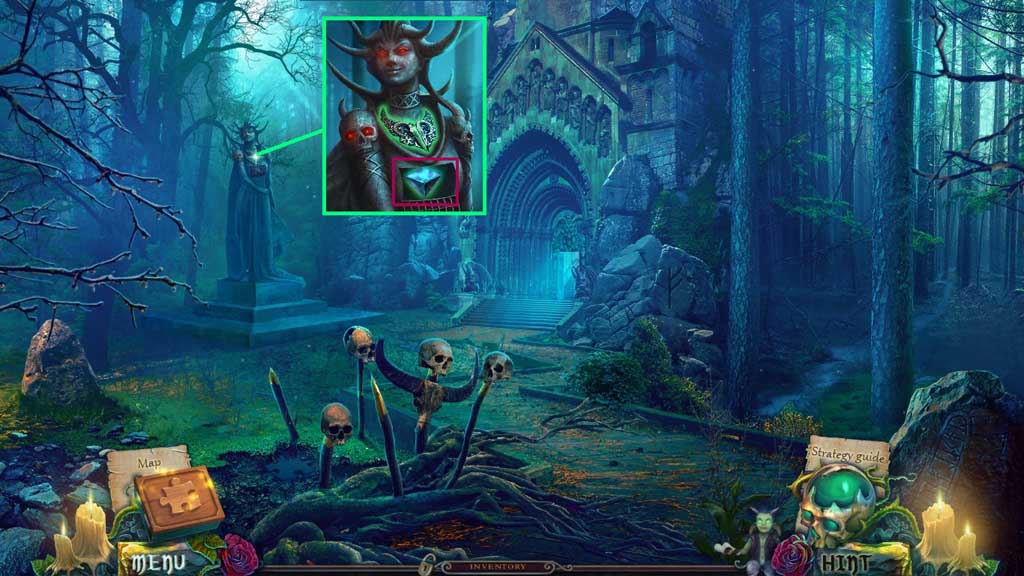
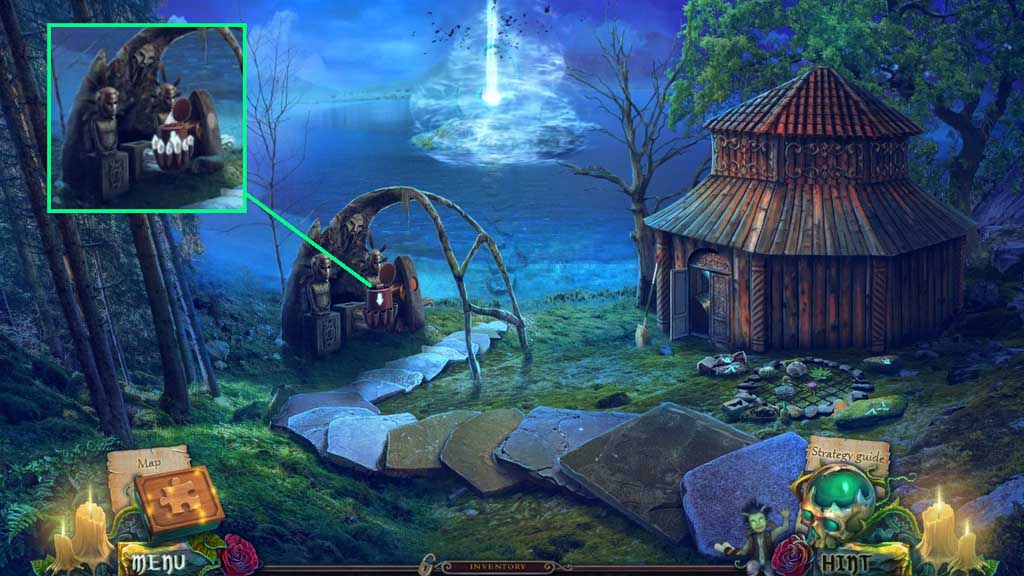
- Click the hidden objects area.
- Find the items and click the glowing fragments beneath them.
- Collect the witch’s amulet.
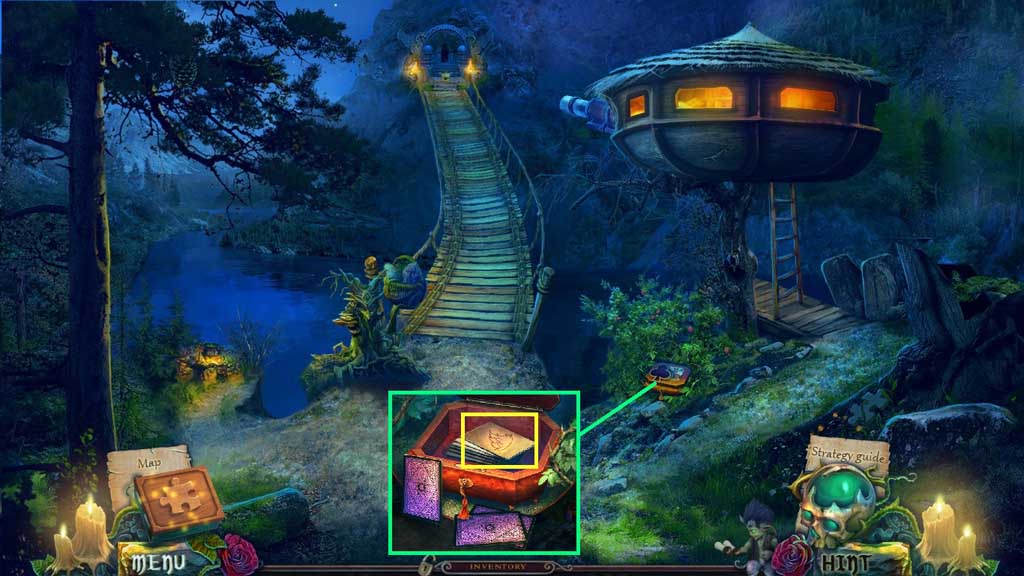
- Move into the Treehouse.
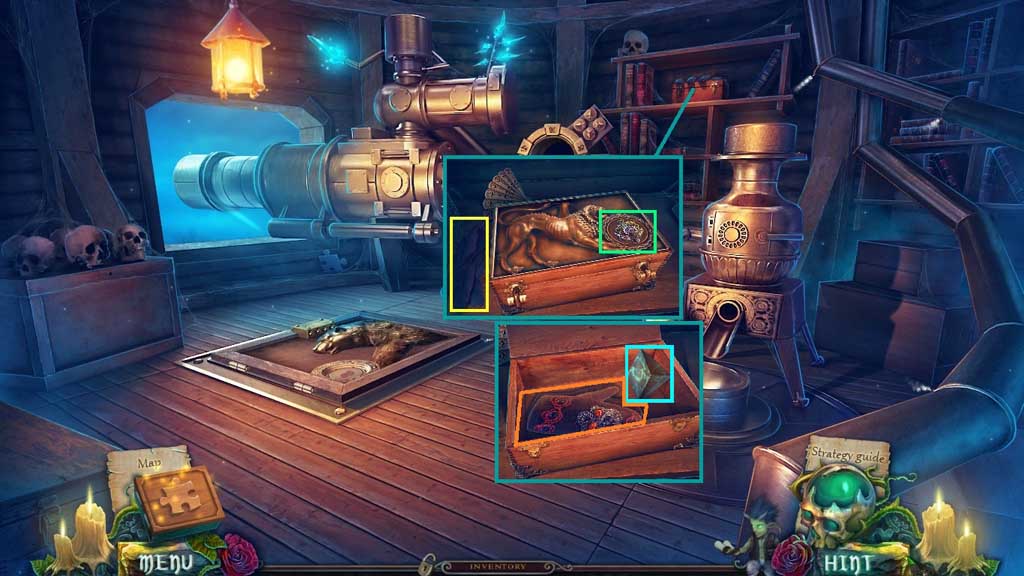
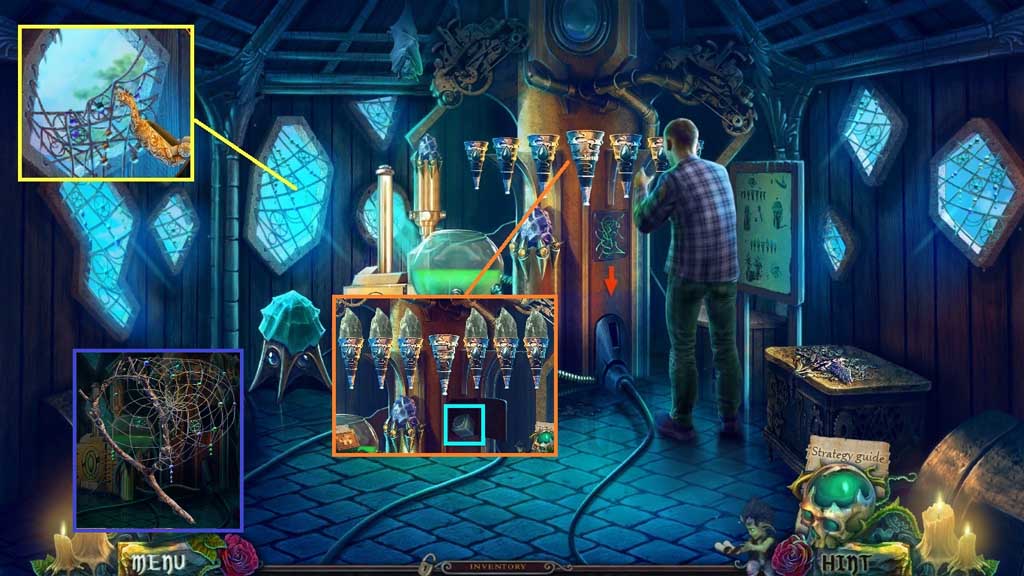
- Click the feathers; collect the crow feathers.
- Insert the witch’s amulet.
- Collect 6 /7 keys and the mittens.
- Move down once.
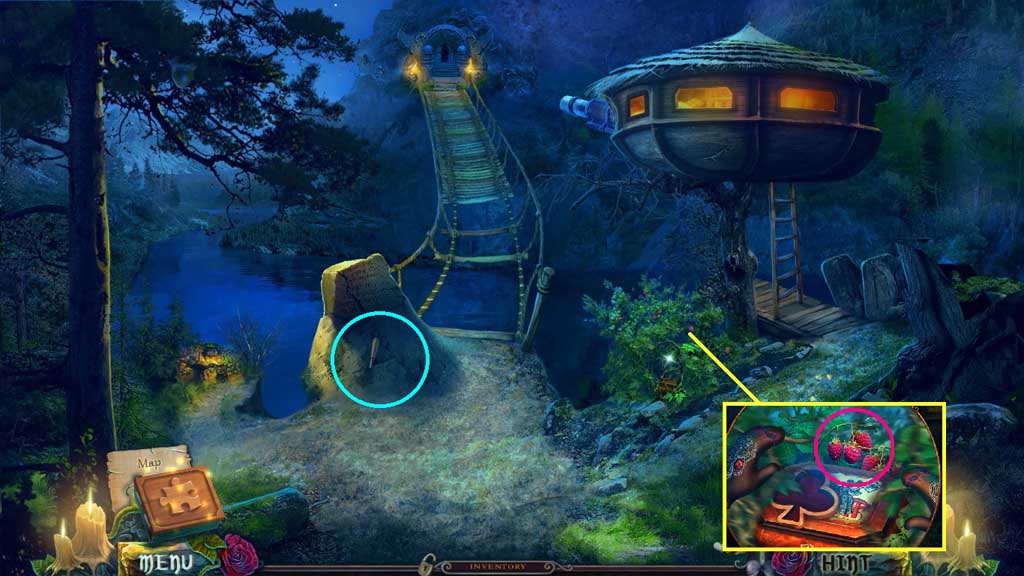
- Select the mittens to collect the raspberries.
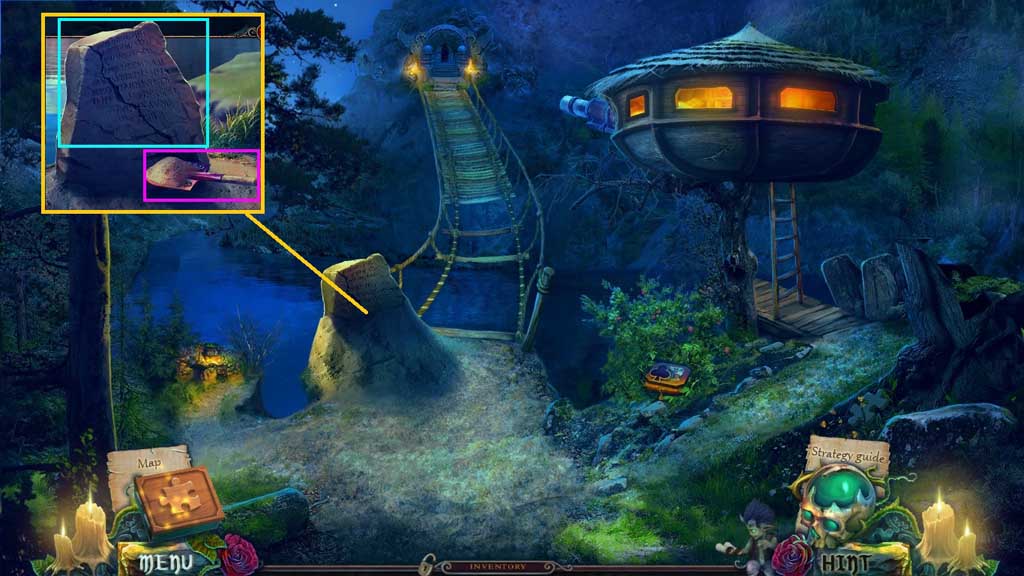
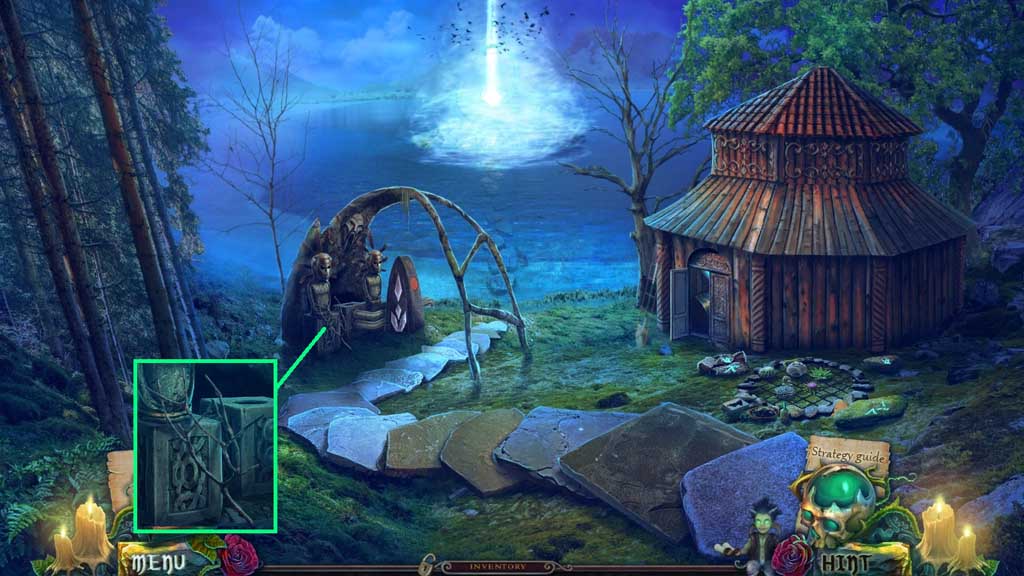
- Collect the chisel.
- Move into the Treehouse.
- Insert the raspberries.
- Collect the demon’s tongue.
- Move down once.
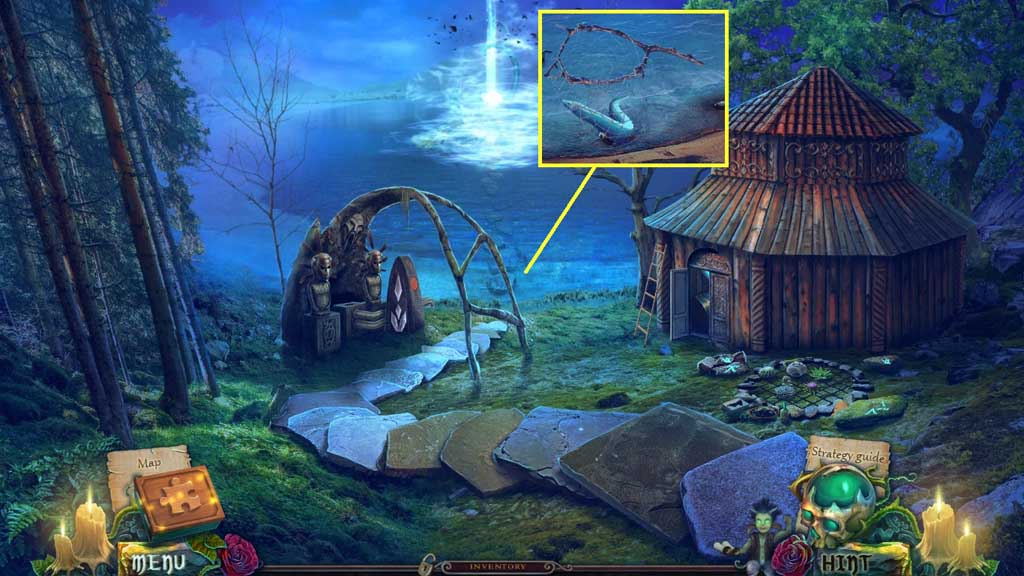
- Select the demons tongue to collect the shovel with sand.
- Collect the flagstone.
- Move into the Treehouse.
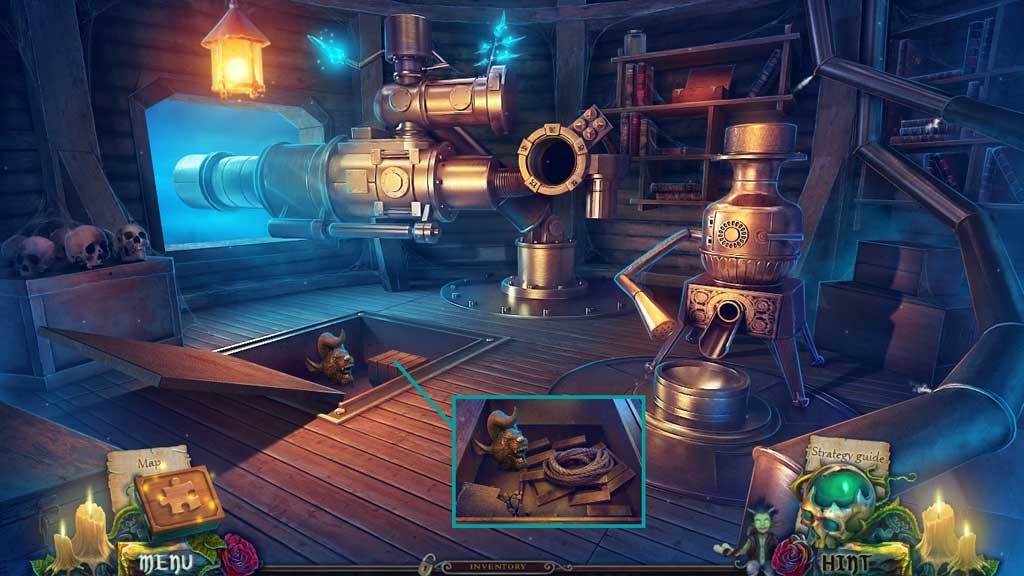
- Select the flagstone to break the box.
- Collect the rope and the boards.
- Move down once and click the bridge.
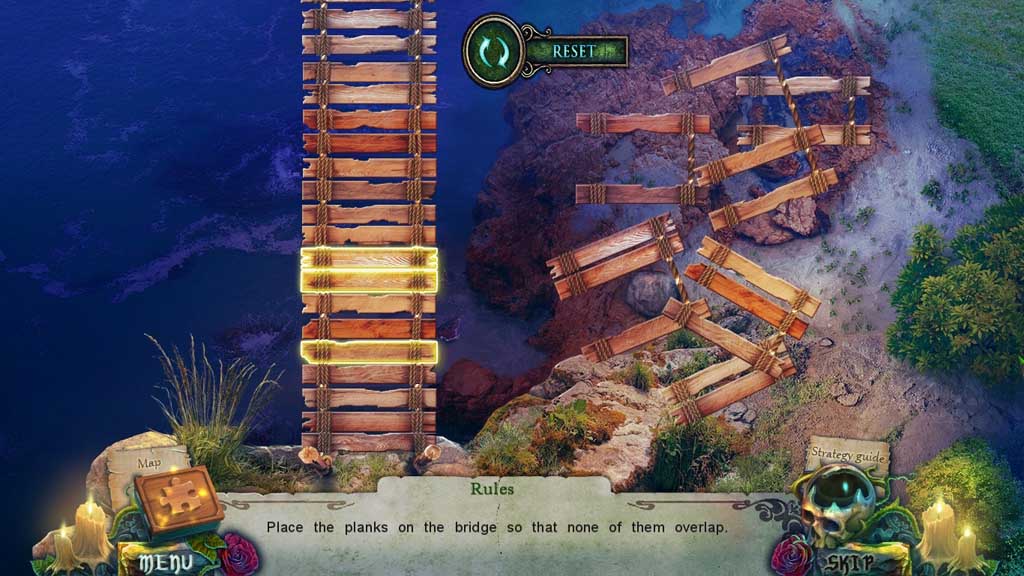
- Place the boards down to trigger a mini game.
- Solve the game by placing the planks correctly.

- Select the imp and the rope to secure the bridge.
- Move ahead.
- Place the bunch of straw to repair the basket.
- Collect the 6 herbs and collect the basket with herbs.
- Move down once.
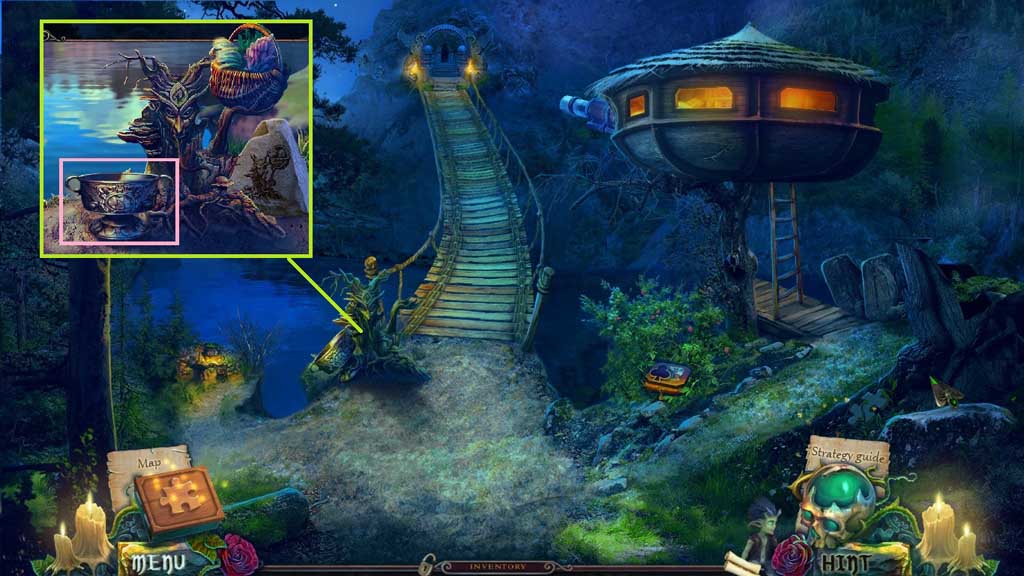
- Place down the basket of herbs.
- Collect the grail.
- Move ahead.
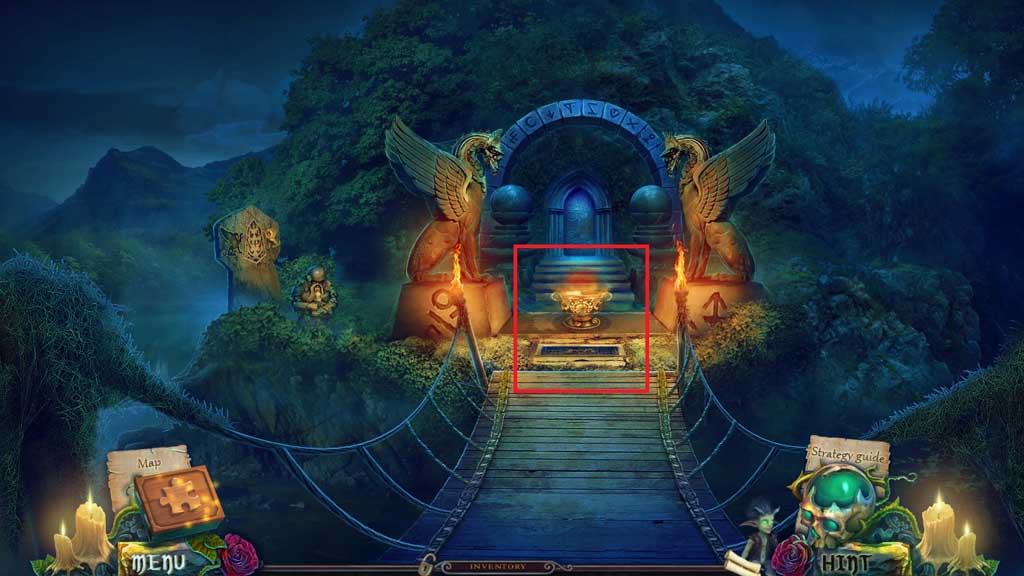
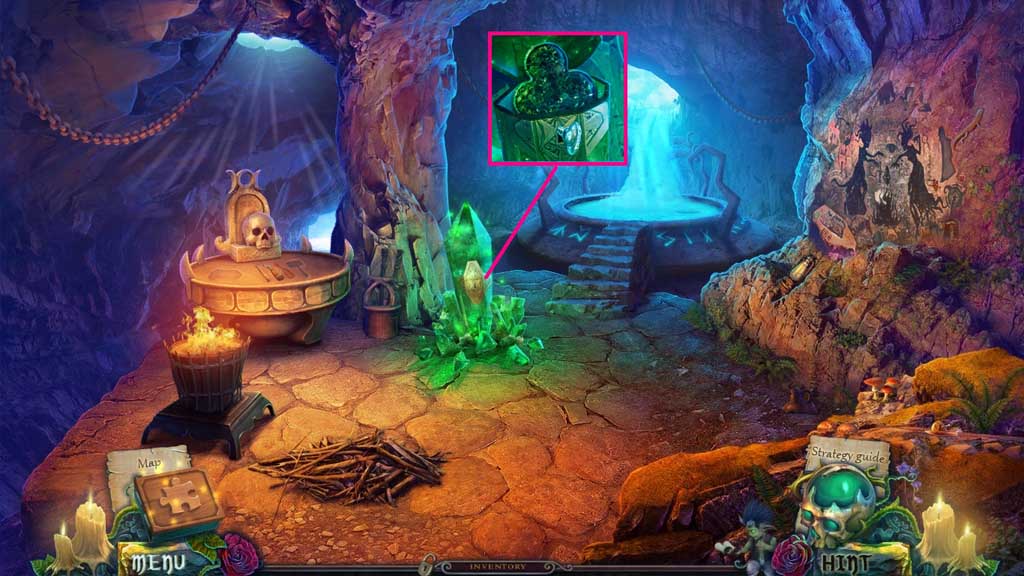
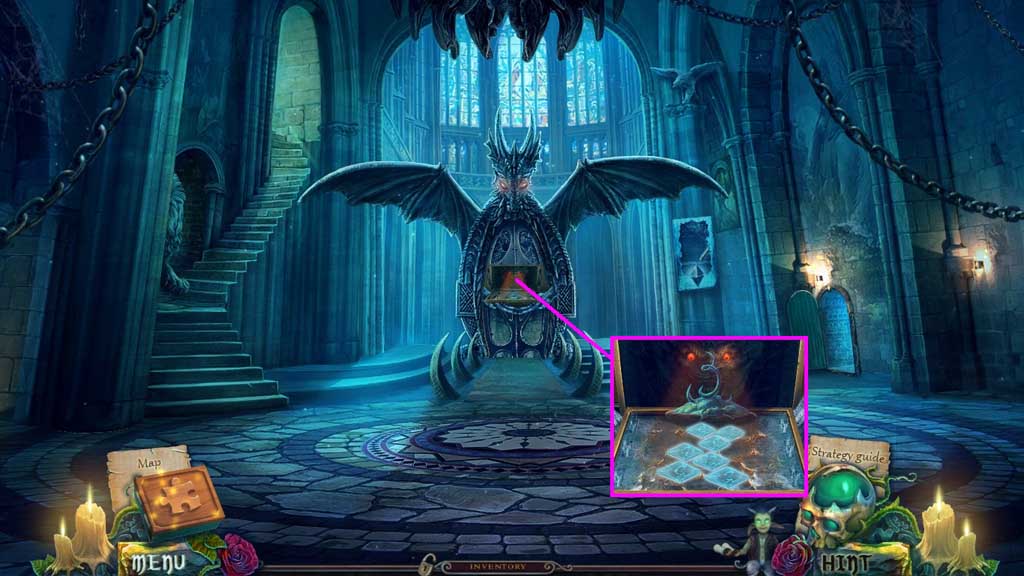
- Place the grail to trigger a hidden objects area.
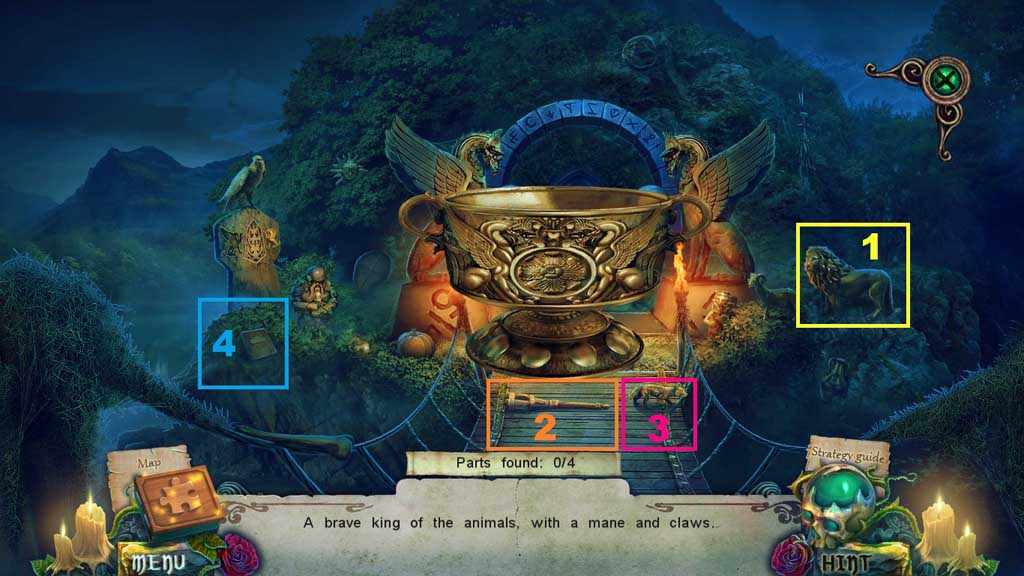
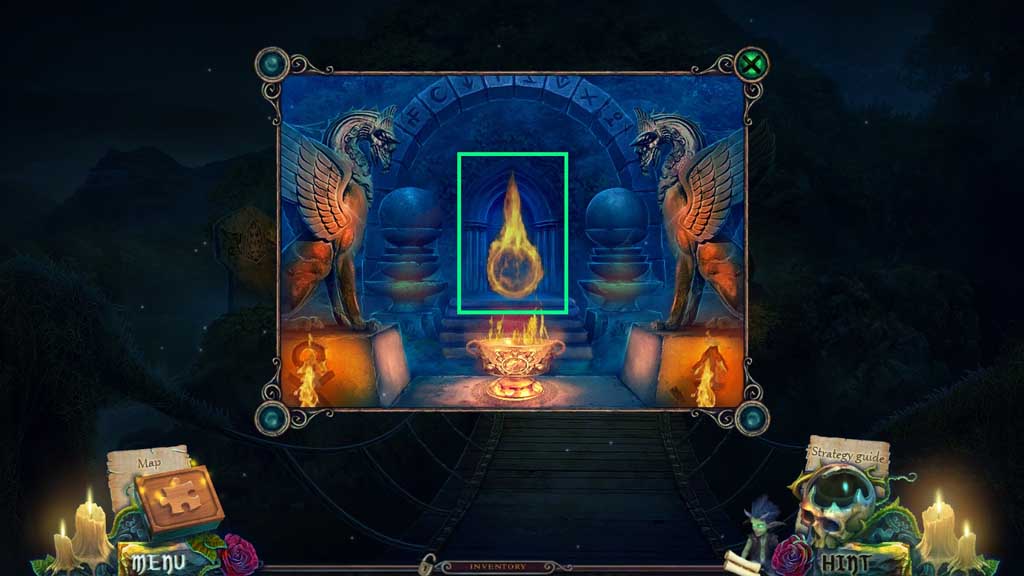
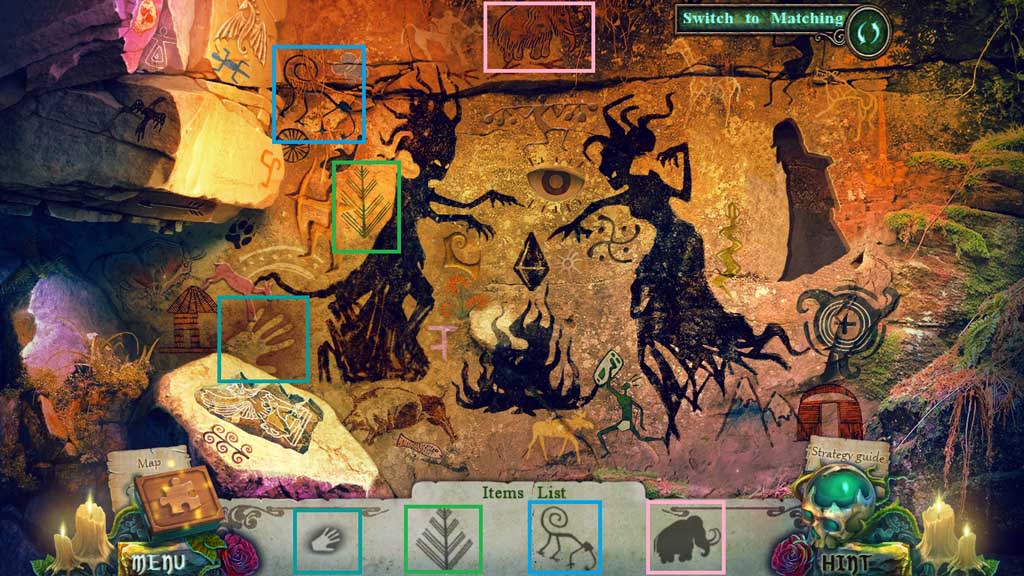
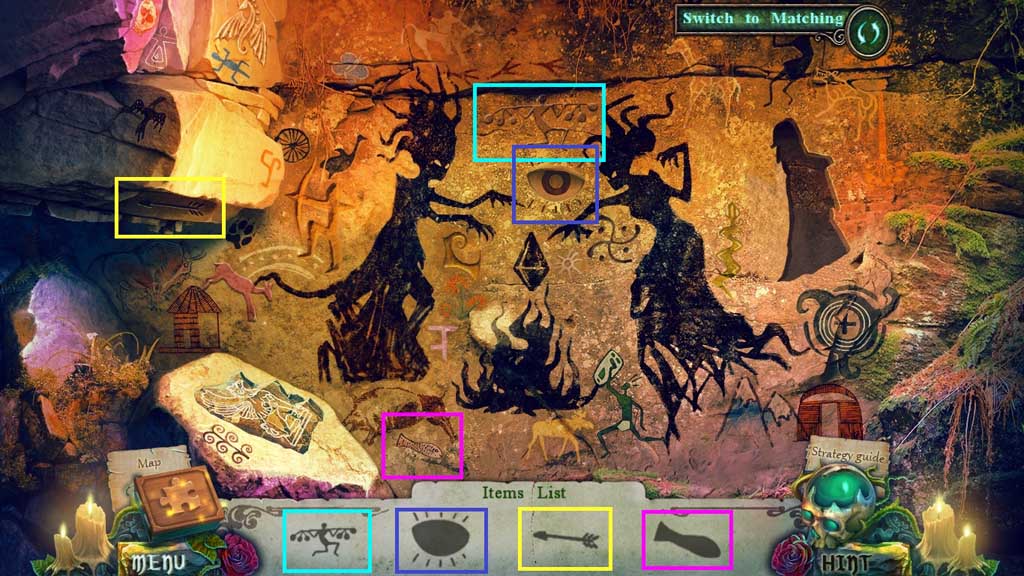
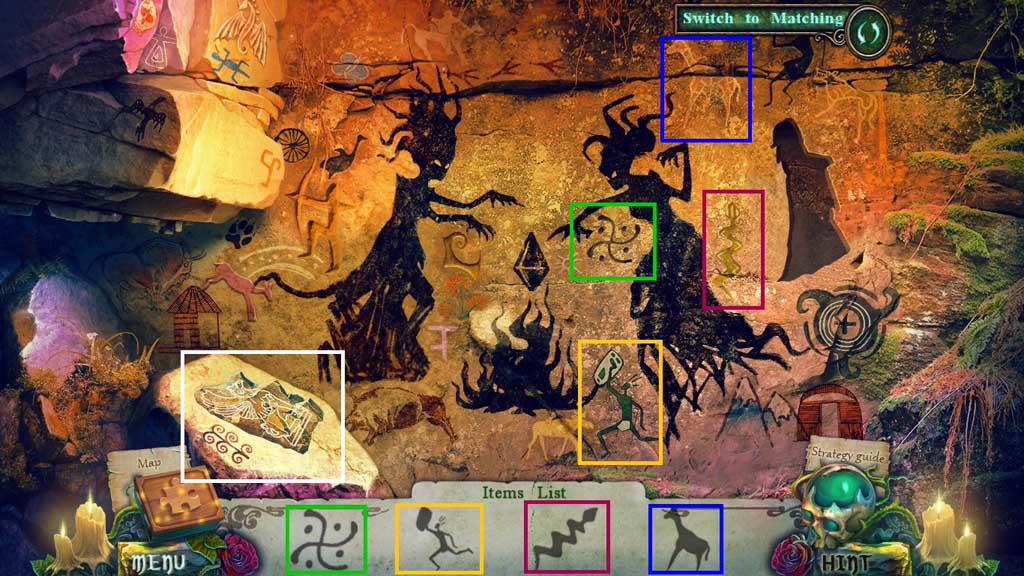
- Find the items.
- Click the ring.
- Move ahead.
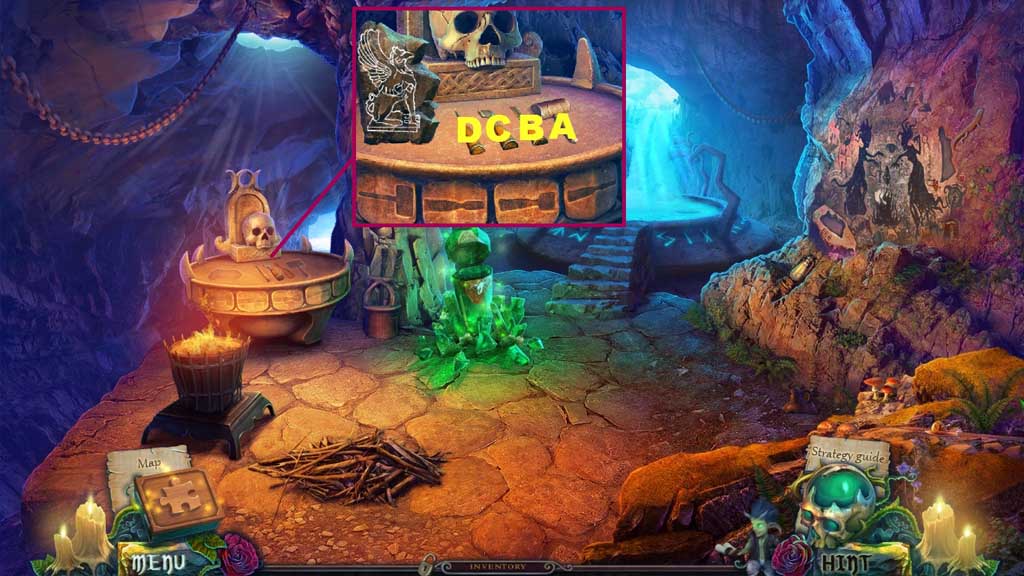
- Click the symbol.
- Collect the 1st stone witch.
- Click the hidden objects area.

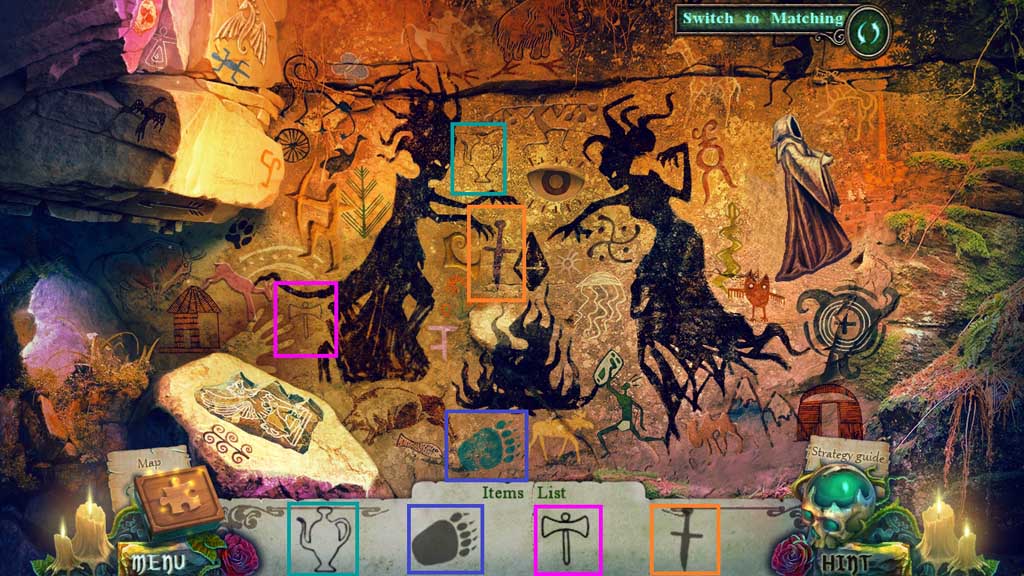

- Find the items.
- Collect the 2nd stone witch.
- Move down once.
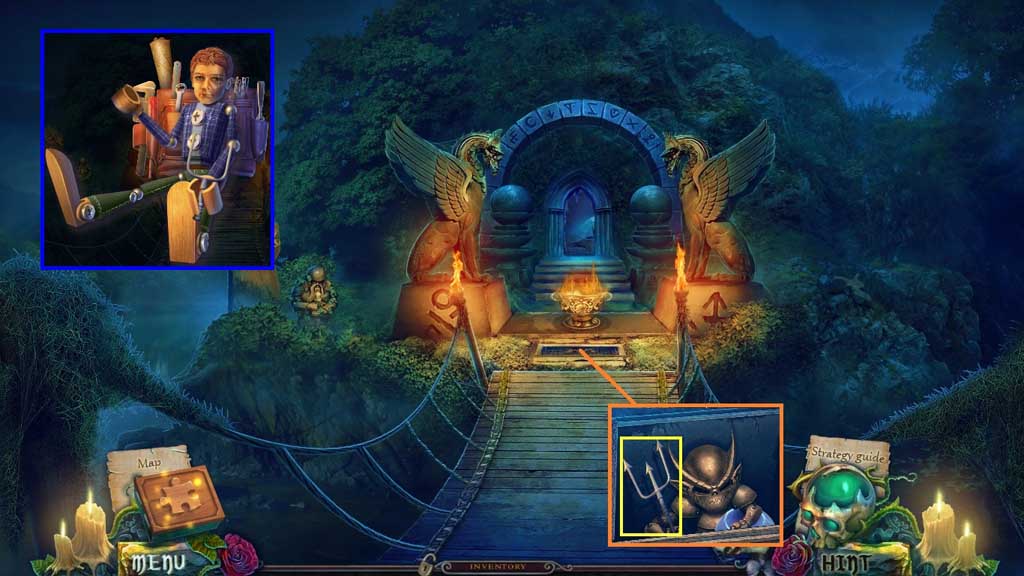
- Insert the 2 stone witches.
- Collect the trident and place it with Master Edward.
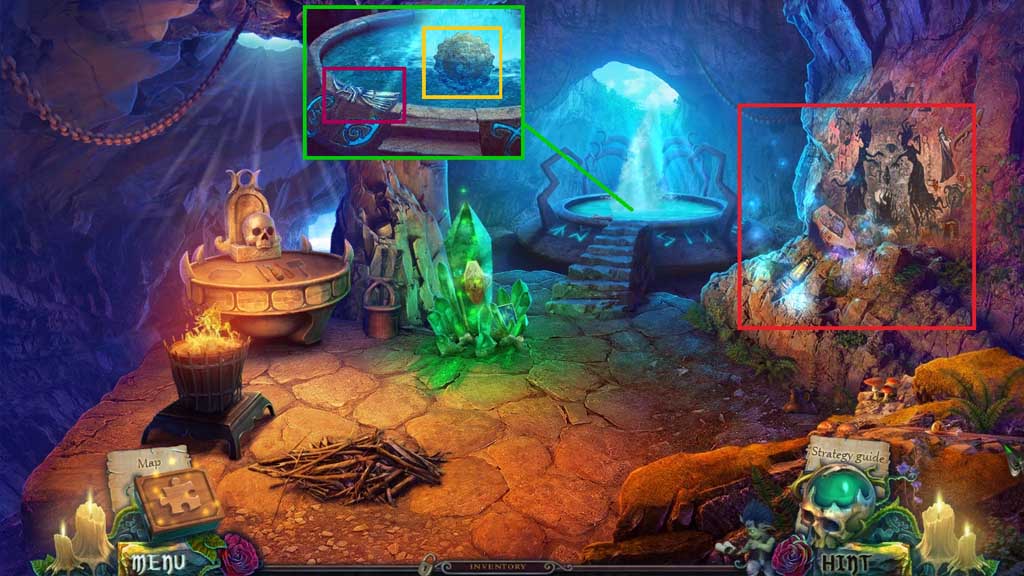
- Move ahead.
- Select the fork to smash the crystal.
- Collect the crystals and the counter part.
- Move down once.

- Click the orb and attach the counter part to trigger a mini game.
- Solve the game by removing the pieces in the correct sequence.
- Collect the crystal key.
- Move ahead.
- Insert the crystal key.
- Collect the club symbol.
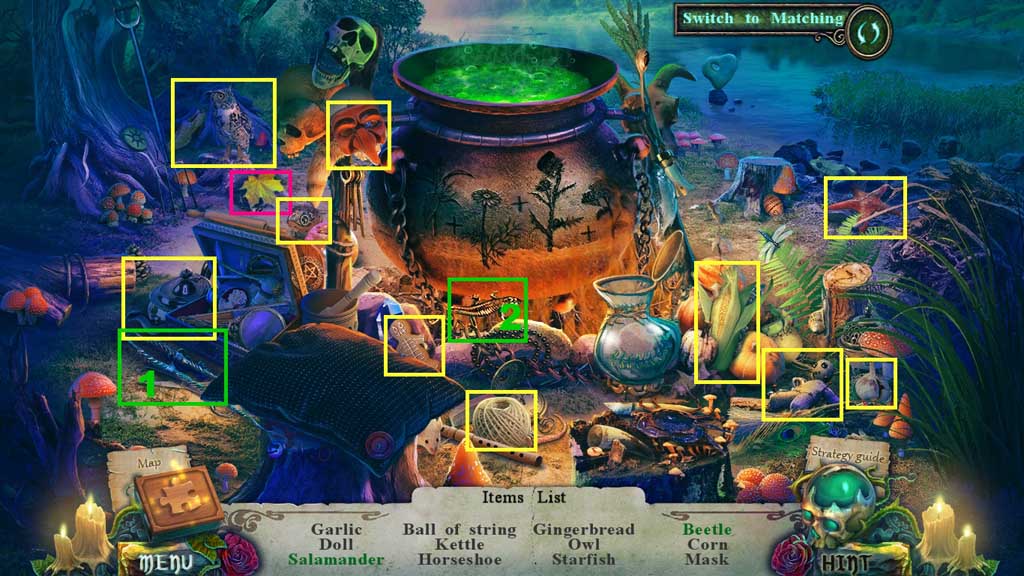
- Move down 2x’s and click the hidden objects area.
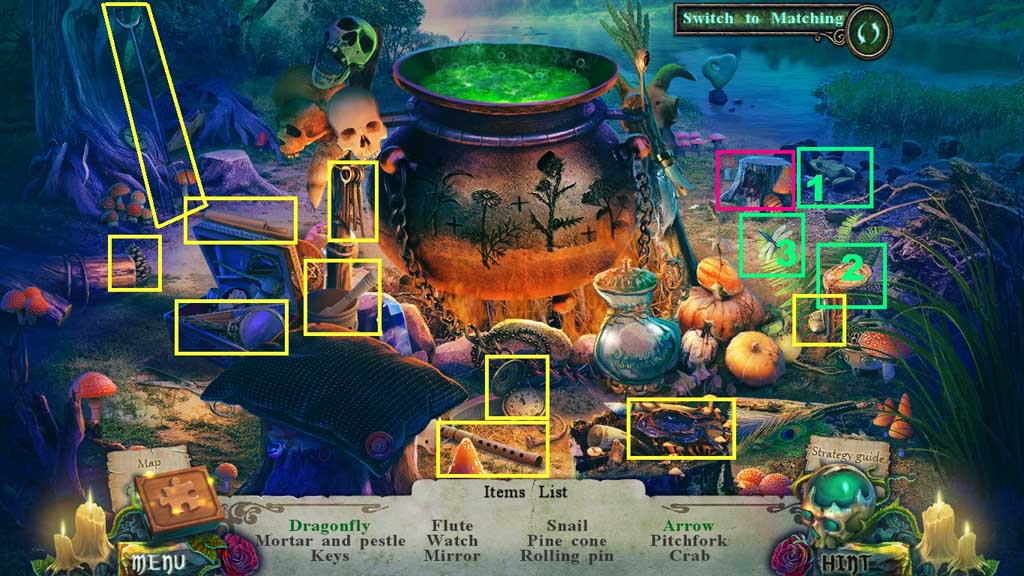
- Find the items.
- Place the ingredients into the cauldron.
- Collect the growth potion.
- Insert the club symbol.
- Click the 3 cards; collect the flame sign.
- Move ahead.
- Select the growth potion to use on the vines.
- Collect the sledgehammer.
- Move ahead and click the hidden objects area.
- Find the items.
- Collect the stone with griffin.
- Place down the stone with griffin, the chisel and the sledgehammer.
- Select the tools in the correct sequence.
- Collect the griffin.
- Move down once.
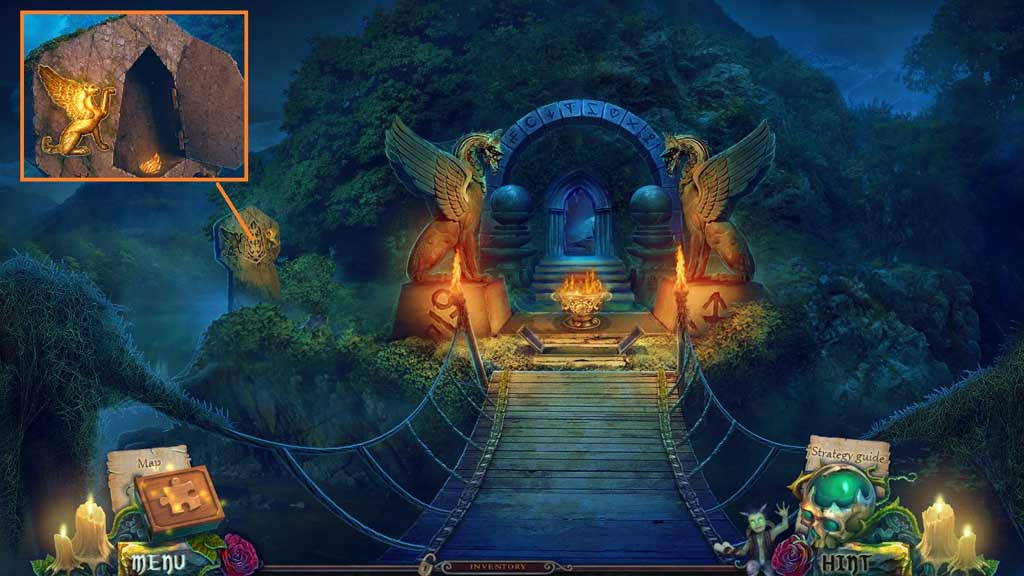
- Place the griffin.
- Read the note and insert the flame sign.
- Collect the flame emblem.
- Move down once and into the Treehouse.
- Place the flame emblem.
- Select the shovel with sand to fill the bowl.
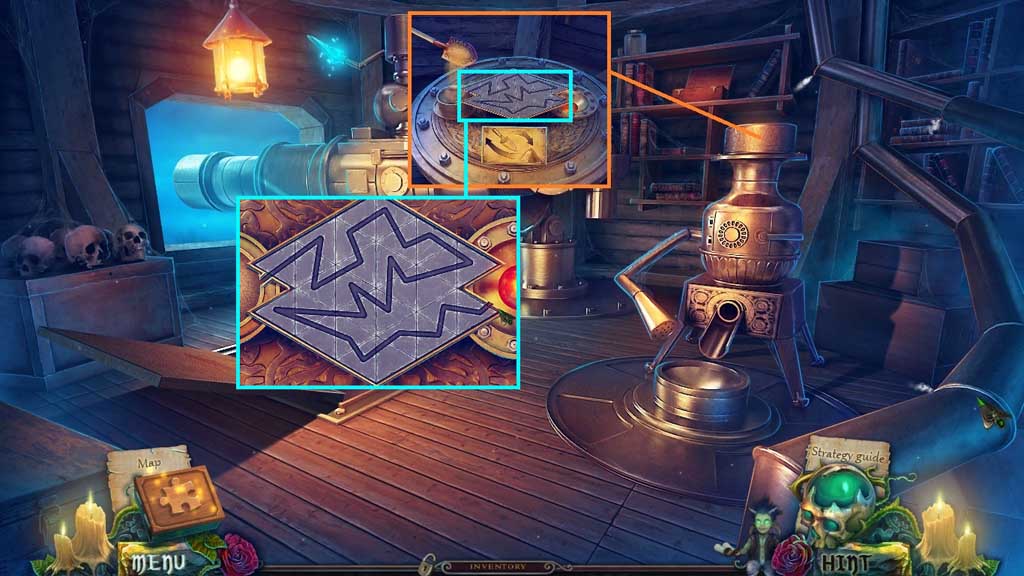
- Click the board to trigger a mini game.
- Solve the game by creating a path for the sand.
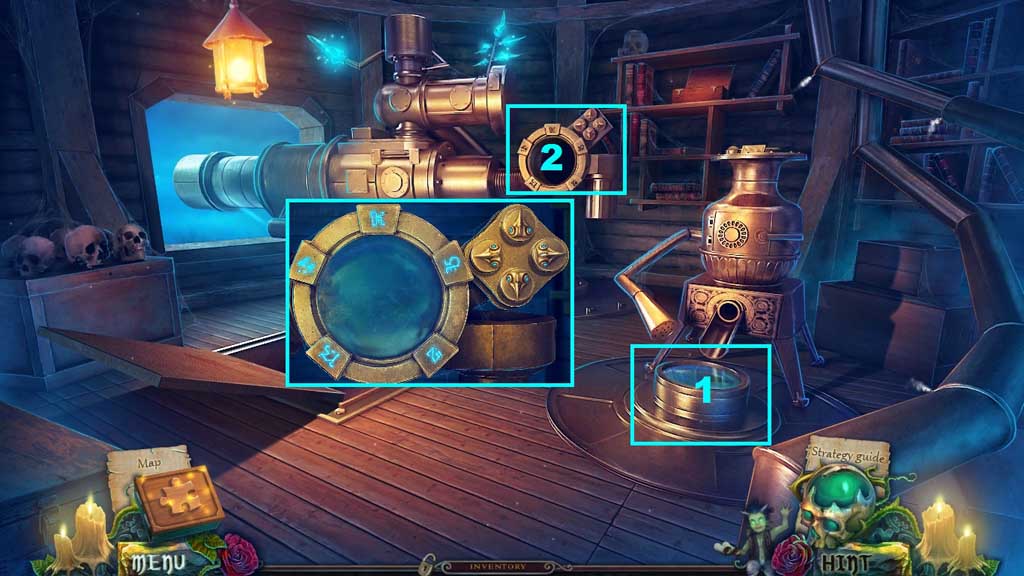
- Collect the lens and attach it onto the eyepiece to trigger a mini game.
- Solve the game by locating the runes.
- Collect the lens with runes.
- Move down once and ahead 2x’s.

- Place the lens with runes and click the ice to trigger a mini game.
- Solve the game by arranging the rune stones correctly.
- Collect the 2nd necklace part and the 2nd artifact part.
- Place the artifact parts together.
- Move down 3x’s.
- Place the 2 necklace parts.
- Collect 7 /7 keys.
- Move ahead and to the left and click the hidden objects area.
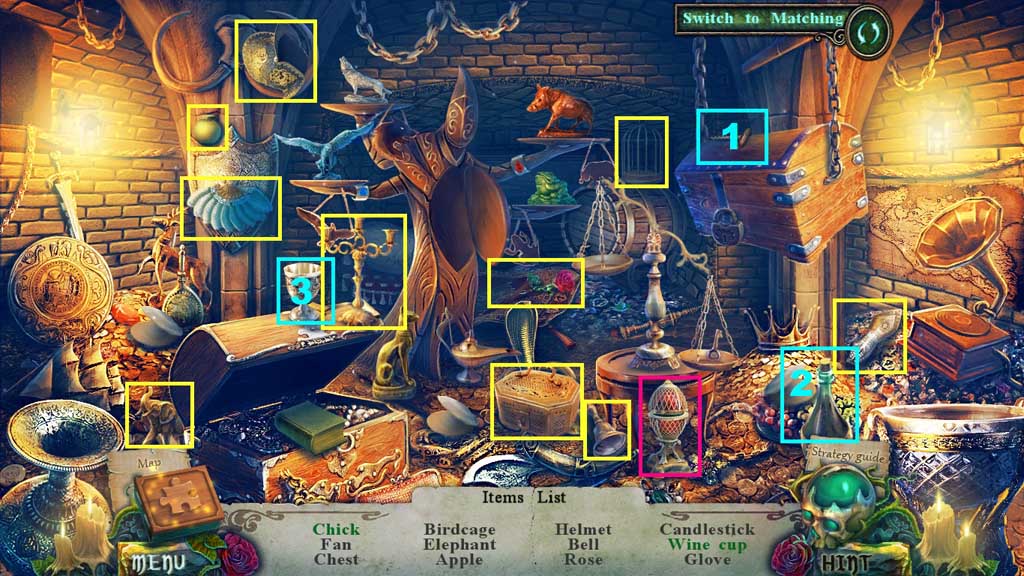
- Find the items and click the glowing fragments beneath them.
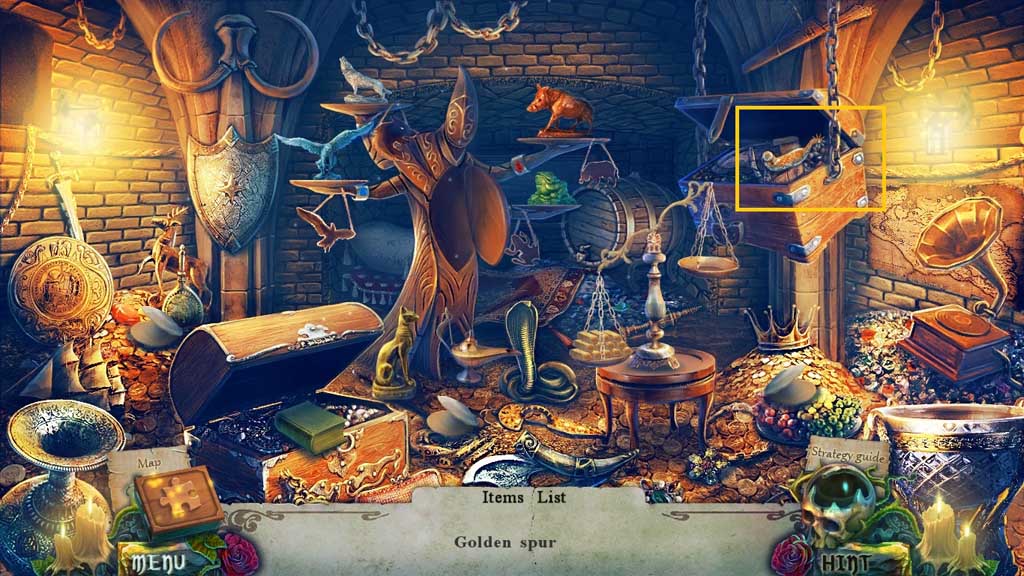
- Collect the golden spur.
- Collect the altar figurine.
- Move down once.
- Place the 7 keys and the altar figurine.
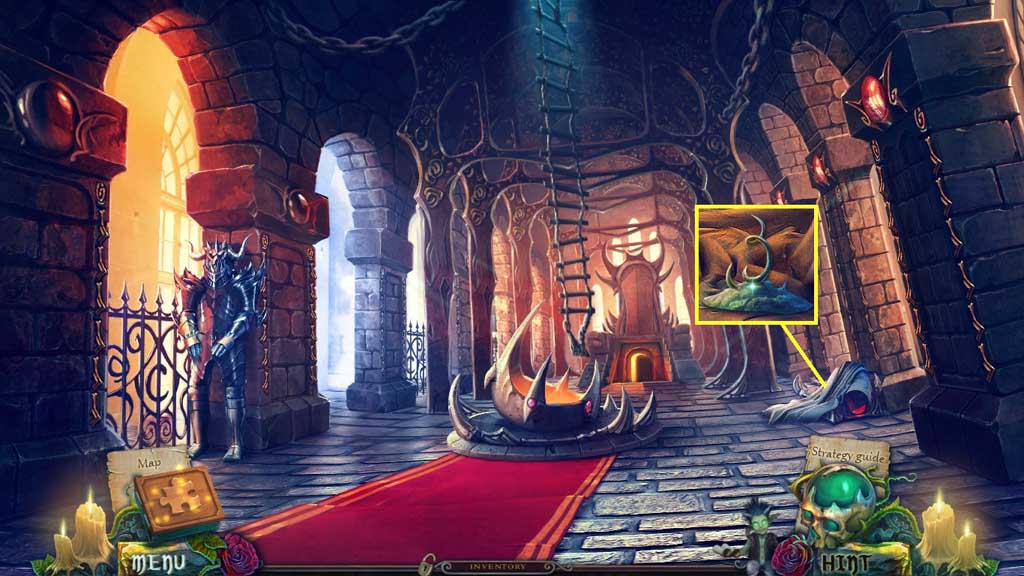
- Move ahead.
- Collect the branch.
- Move to the right.
- Select the golden spur to collect the net; use it along with the branch to create the net.
- Place the crystals; collect the herb jar.
- Move down once.
- Select the net to collect the electric eel.
- Move to the right.
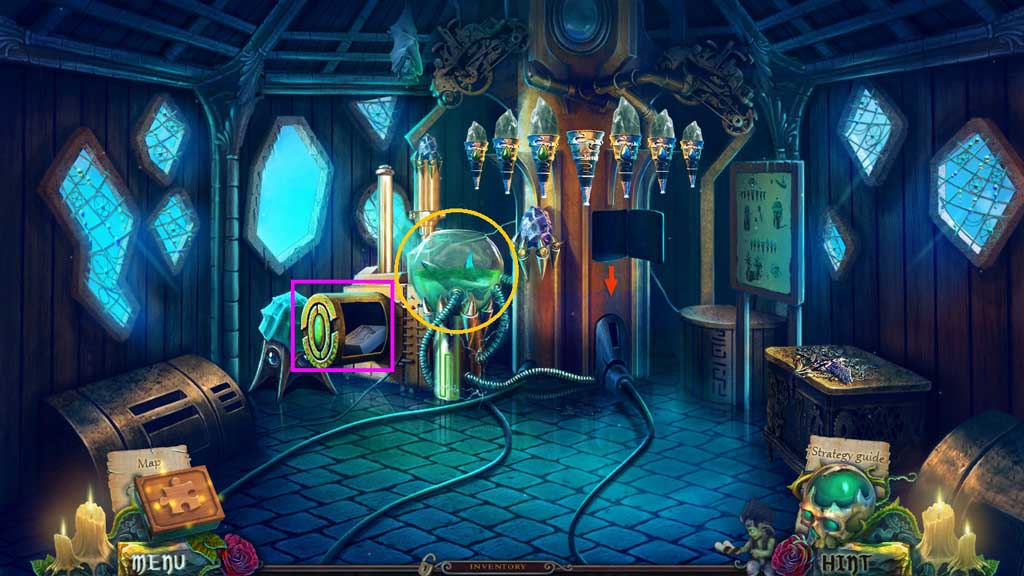
- Place the electric eel into the tank to generate a current.
- Collect the form wing.
- Move down once.
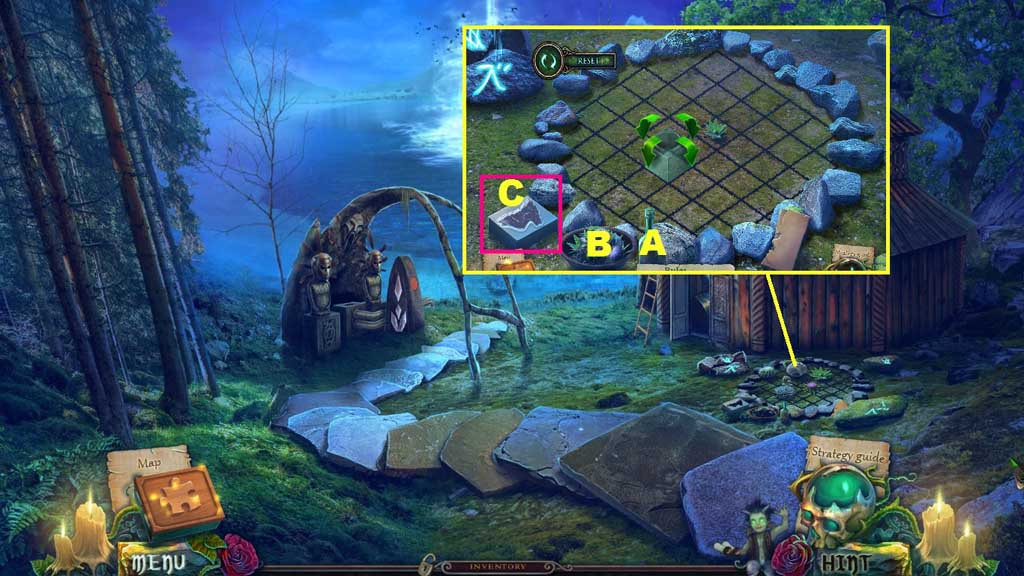
- Click the ring of stones and place the form for wing and the herb jar onto the grid to trigger a mini game.
- Solve the game by moving across the grid collecting the herbs.
- Pour the bottle into the bowl and pour the bowl contents into the mold.
- Collect the rubber wing.
- Move to the right.
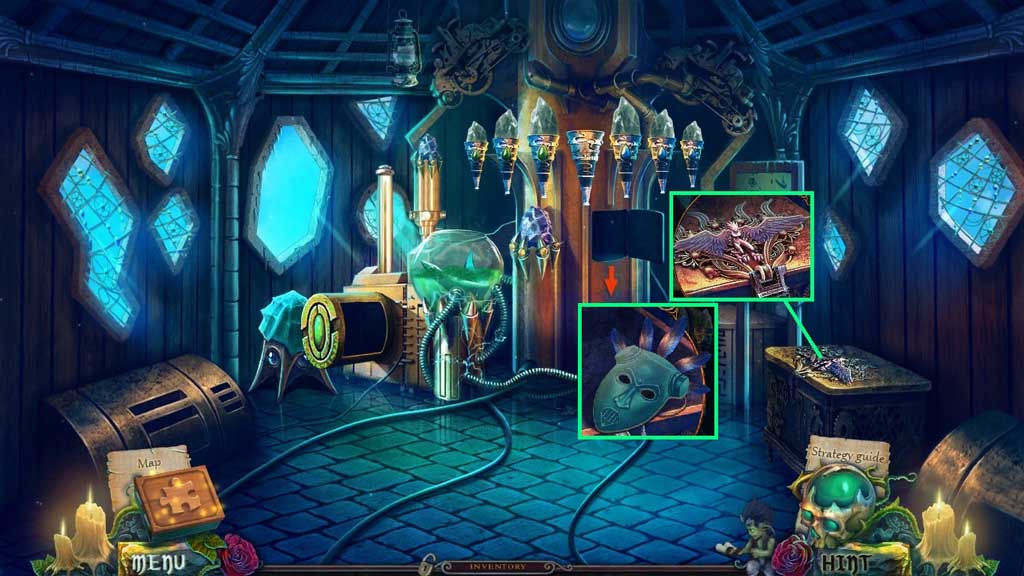
- Insert the rubber wing.
- Select the golden spur to
- Attach the crow feathers onto the face and place string onto the mask.
- Collect the terrible mask.
- Move down once.
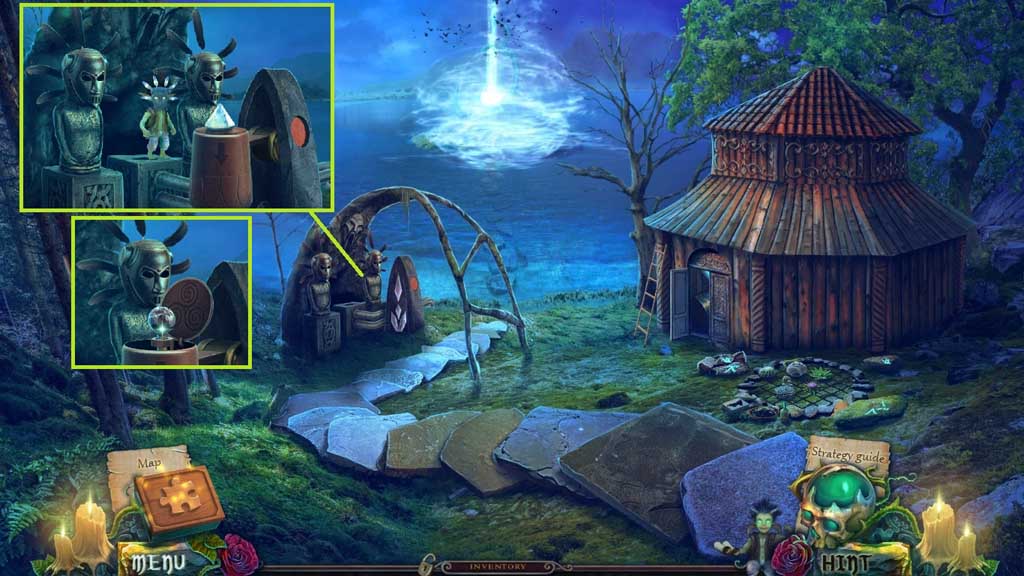
- Select the imp to and the terrible mask to place onto the altar.
- Click the button.
- Collect the activation lever.
- Move to the right.
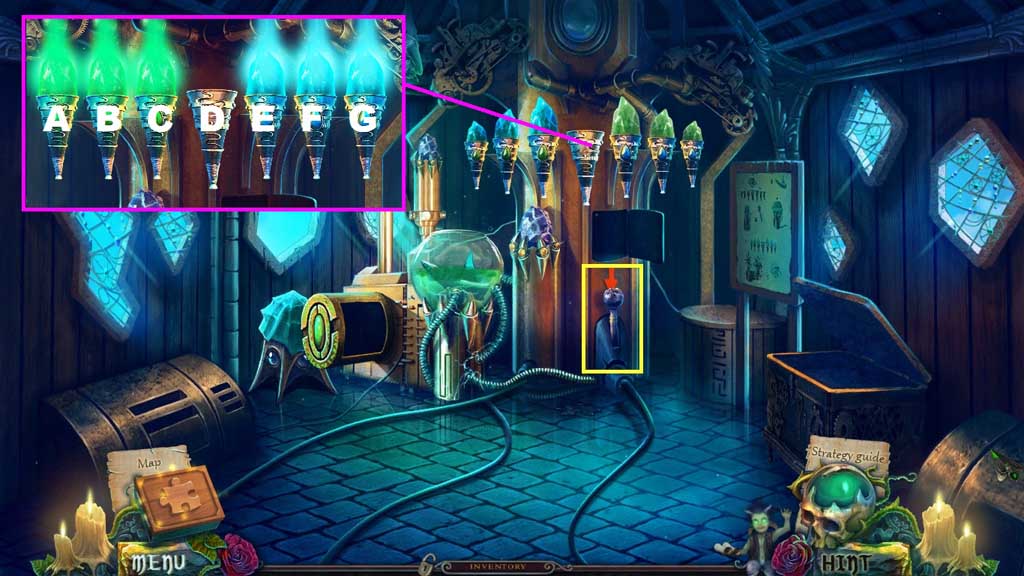
- Attach the activation lever to trigger a mini game.
- Solve the game by moving the crystals to their color matched bases.
- Use the following solution to solve: C – E – F – D – B – A – C – E – G – F –D – B- C- E – D
- Collect the charged crystals.
- Move down once.
- Place the charged crystals into the altar.

- Select the artifact to give to the man to help save Lynn.
- Congratulations! You have successfully completed the main game of Witches Legacy: Slumbering Darkness C. E.