Redemption Cemetery: Grave Testimony: Bonus Chapter
The Redemption Cemetery: Grave Testimony Walkthrough will guide you through each chilling moment of this exciting hidden object adventure game. After witnessing a terrible murder, you find yourself at the mercy of gangsters on a cursed island moments from being buried alive. Suddenly, the gangsters are set upon by some unknown force and dragged under the deadly waters surrounding the island. Can you find your way off this cursed land alive? With our Redemption Cemetery: Grave Testimony Walkthrough you can!
Chapter 1: Intro and Skull Hill
Chapter 2: The Mining Town
Chapter 3: The Chapel
Chapter 4: The Mine
Chapter 5: The Small Town
Chapter 6: The Judge's House
Chapter 7: The Swamp
Chapter 8: The Secret Lab
Chapter 9: The Ship
Chapter 10: The End
Bonus Chapter
Ask for help in the comments below!
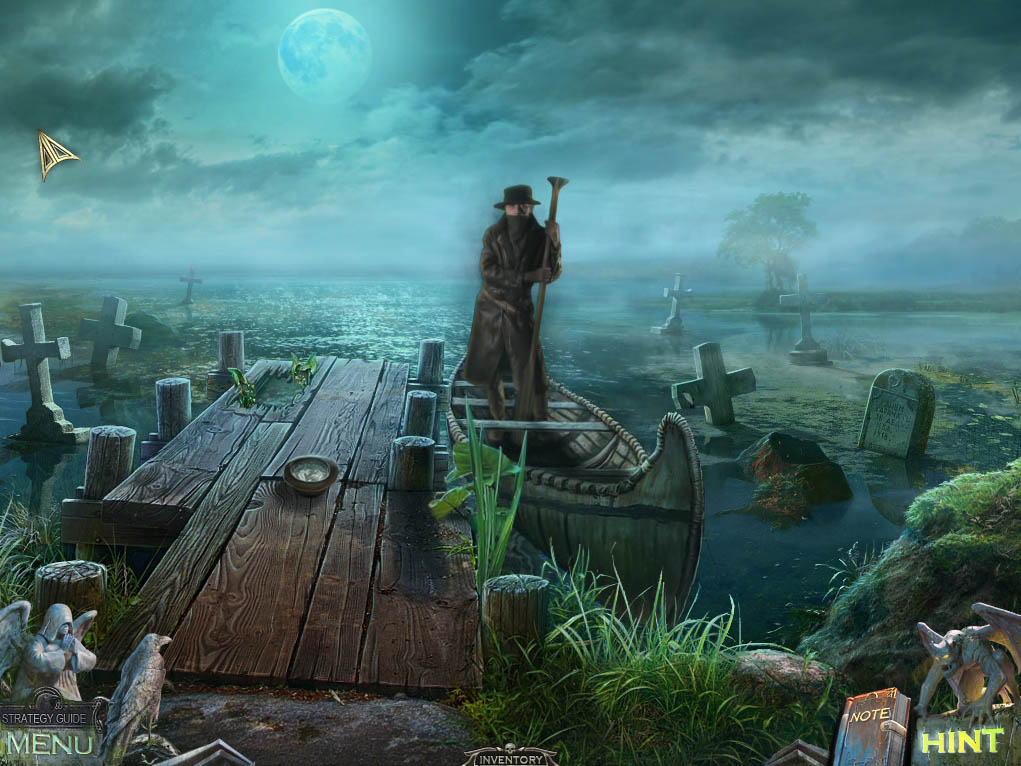
- Have a chat to the ferryman, who will put the hard word on you to continue your adventure.
- He’ll give you the SOUL STONES to help you on your way.
- After he paddles you across to a boat that looks like it’s on the verge of sinking, you of course say ‘sure, today’s a good day to drown’ and hop off.
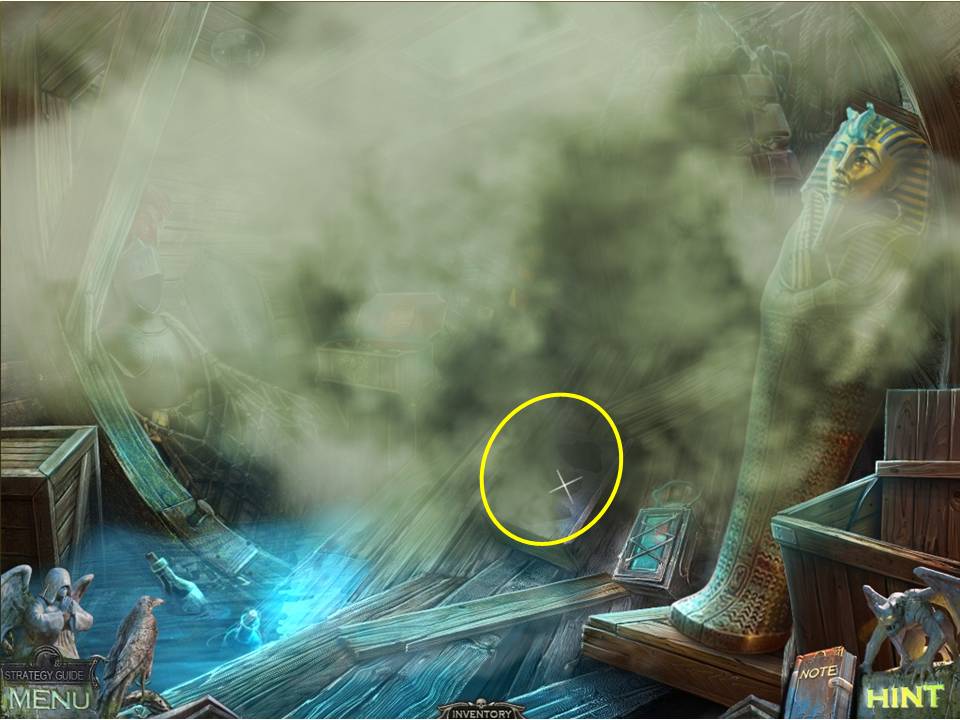
- Glance closely at the barely visible box on the floor and zoom in on it.
- Place the SOUL STONES on the lid and zoom in when it slides open
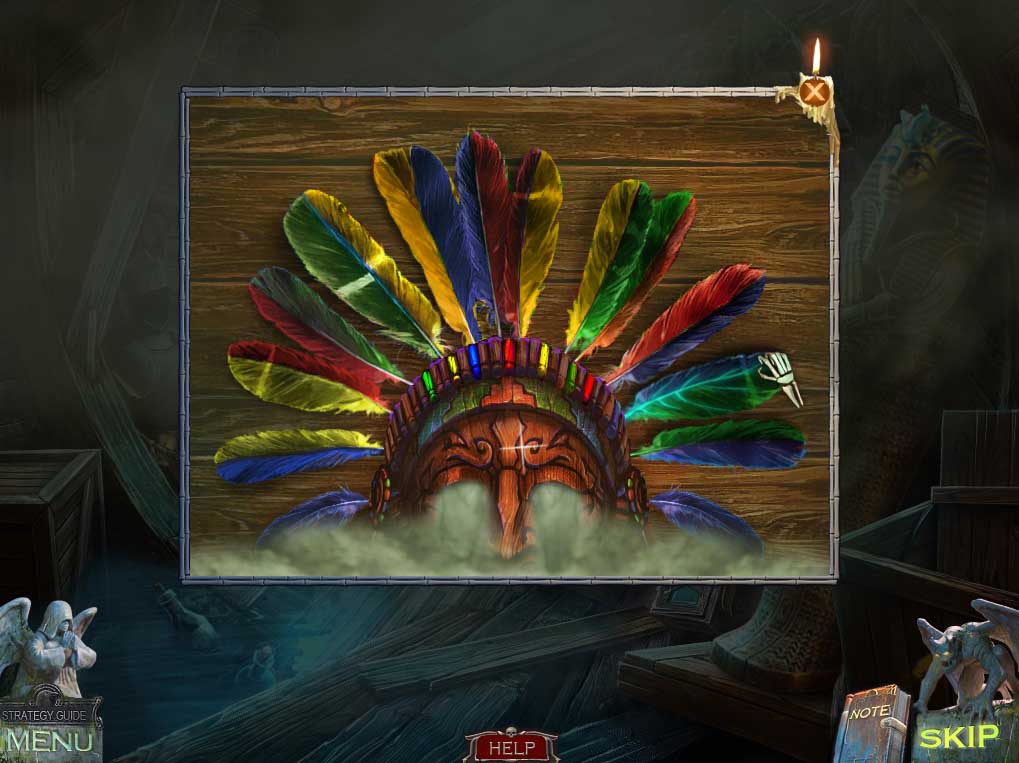
- The feathers are in essence like a set of dominoes, with colors taking the place of numbers that you have to pair up to.
- Each colored half has to match up to the same color on a neighboring feather, noting that the start and finish colors at either end are blue.
- The screen shot gives the solution. When completed, the fog in the room will disappear.
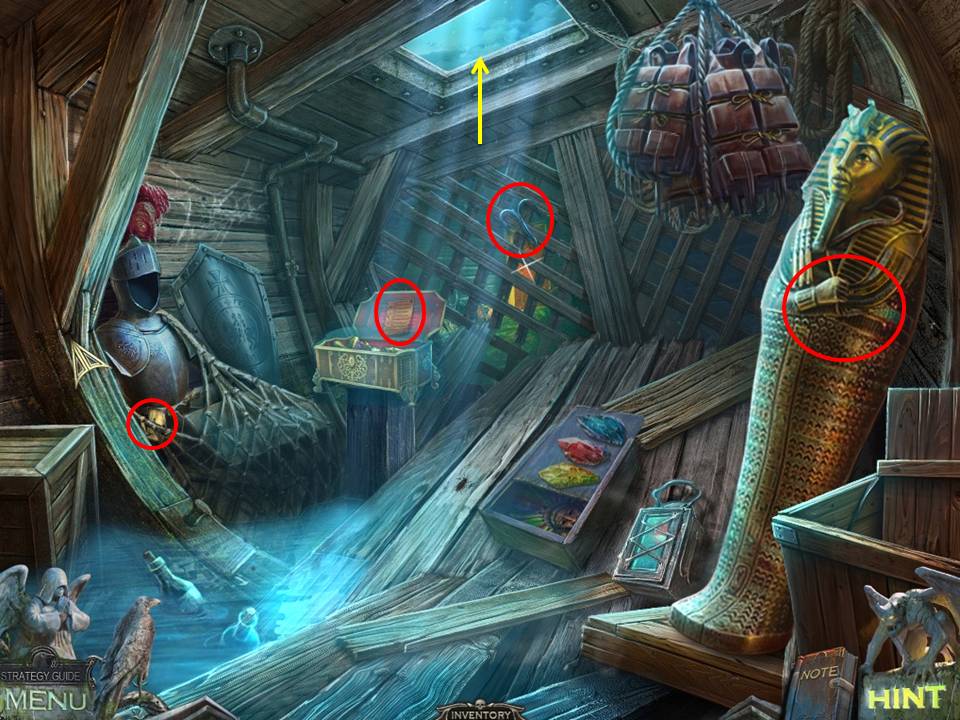
- Take a look inside the gold coffin to the left and take the note.
- Next open the sarcophagus – will a mummy attack you, you wonder – and take the BANDAGE dangling down.
- Zoom into the grate at the back and help yourself to the HOOK hanging from it. Next, combine the HOOK and the BANDAGE to create a GRAPPLING HOOK.
- Lastly, zoom into the suit of armor and take the document. Now to escape – toss the GRAPPLING HOOK up through the hole in the ceiling and climb out.
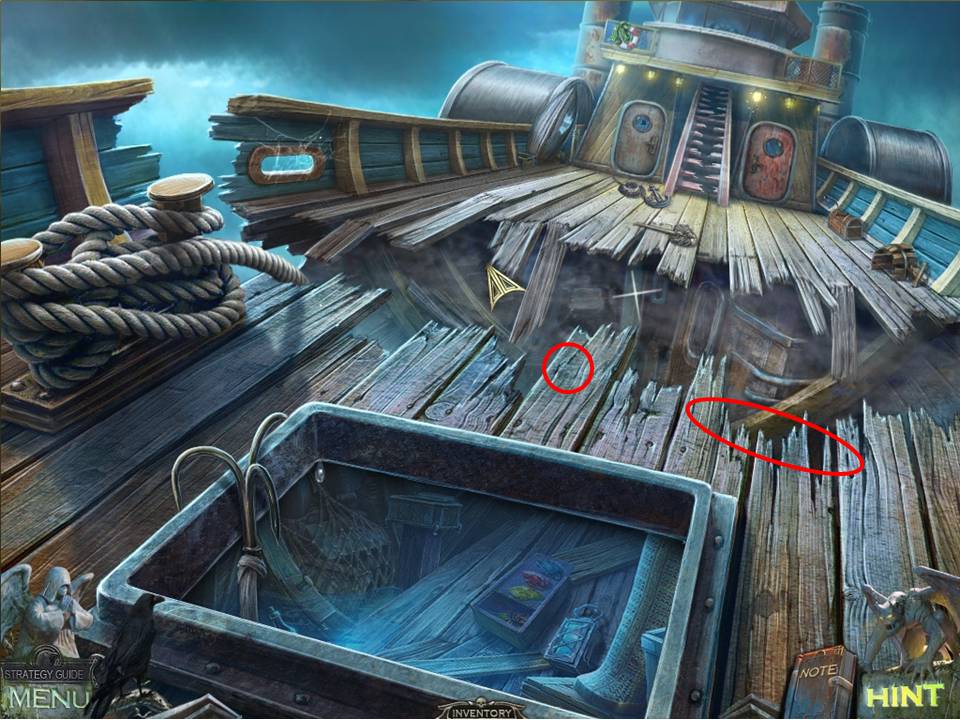
- Pick up the CROW RUNE and HAMMER lying on the deck, then return to the hold.
- Return to the suit of armor and beat the hell out of the helmet with the HAMMER.
- Now unconscious, the suit lets go of the SHIELD, which you can now appropriate.
- Exit on to the deck again.

- Hmmm, how to get across that gap in the deck – ah, the SHIELD!
- Once across, have your pal the crow fetch the SCARF, then get the MOP yourself – can’t have the crow do everything!
- Next, enter the door to the left.
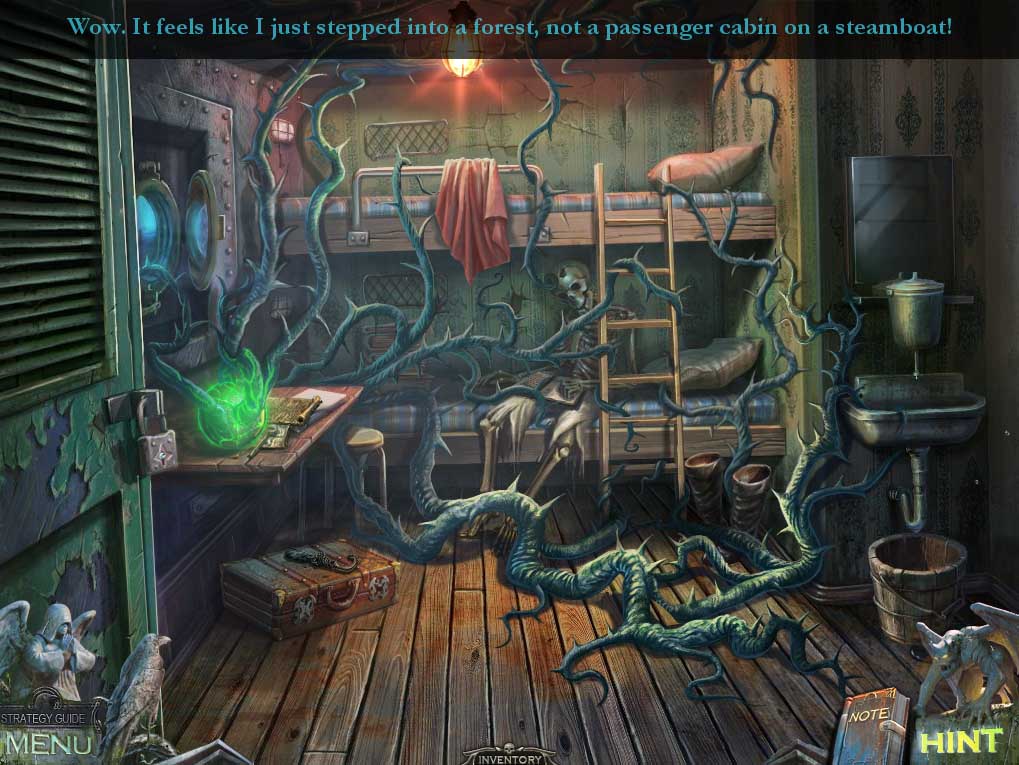
- As disgusting as it seems (you can disinfect later) go over to the sink on the right and click on the lid of the container above it.
- Retrieve the CENTRAL CLIP from inside and return to the deck area outside.
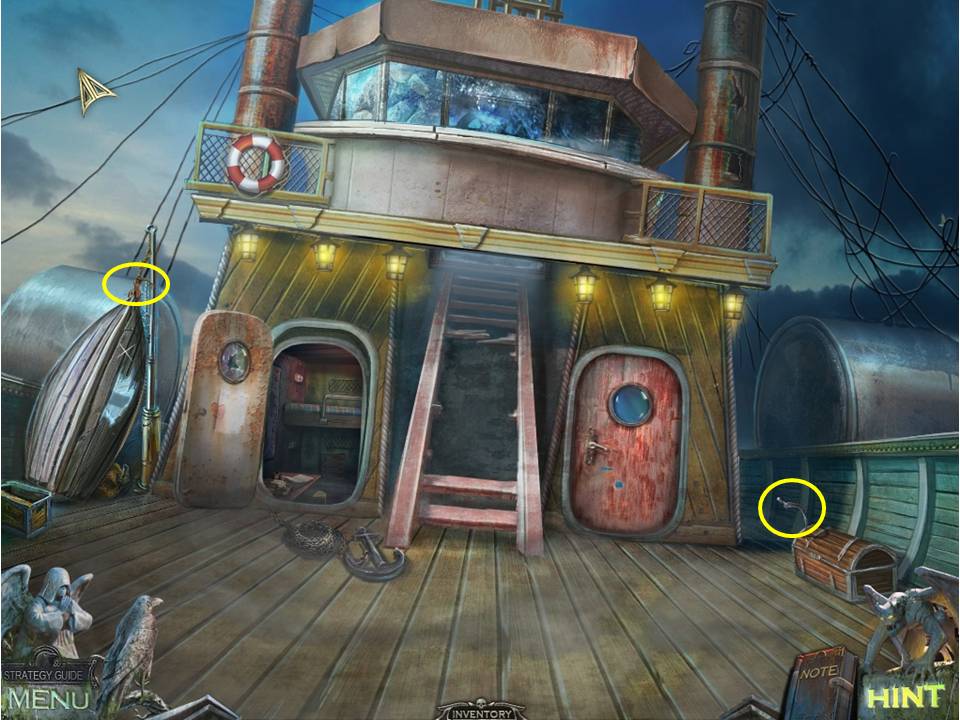
- Click on the chest to the right, and use the SCARF to retrieve the SICKLE embedded in it.
- Then combine the MOP and SICKLE to get (wait for it) a MOP WITH SICKLE – what every garage needs.
- Now take a close look at that boat to the left and cut the rope with the sickle.
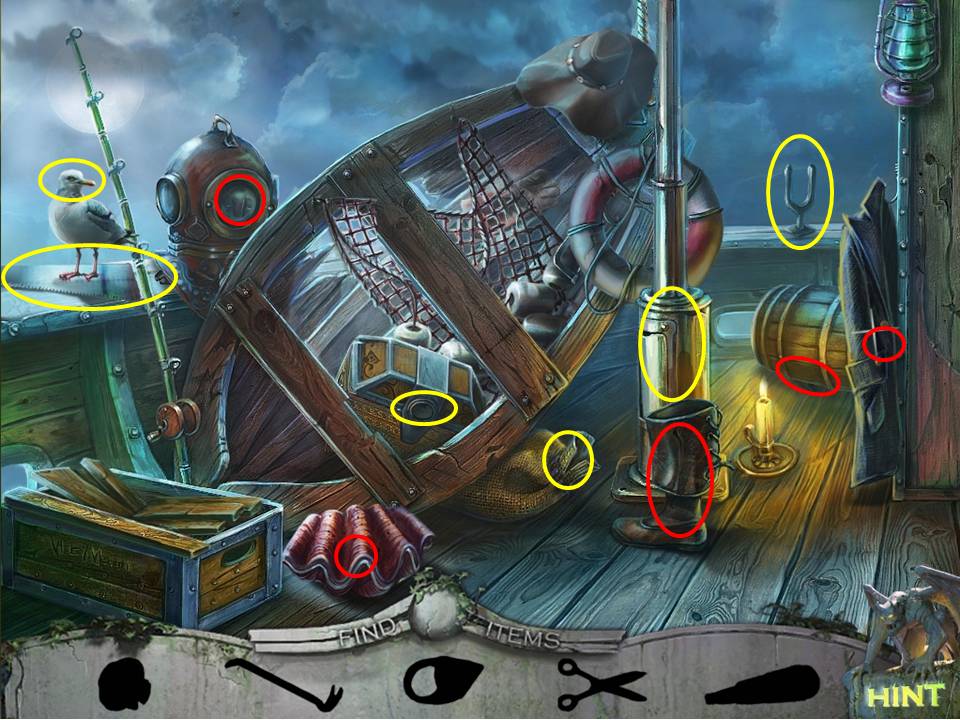
- Zoom in to initiate a sequential object game.
-
Here’s the run of play
- Grab the broken telescope inside the boot, the security lock inside the coat hanging up, the crowbar hiding behind the barrel, the ring inside the clam, and the scissors inside the diving helmet.
- Use the scissors to open up the sack and collect the bread inside.
- Give the bread to the seagull
- Use the crowbar to open up the base of the pole, then use the ring to cut out one of the lenses.
- Put the telescope on the mount on the ship’s rail behind, then use the glass lens to repair it – note the number 42 that appears.
- Place the security lock on the small chest and apply the code to it. Grab the saw handle inside – this must be the Stradivarius of saw handles to need such security!
- Attach the handle to the saw blade on the left, and you know have a handy dandy SAW to add to your inventory!
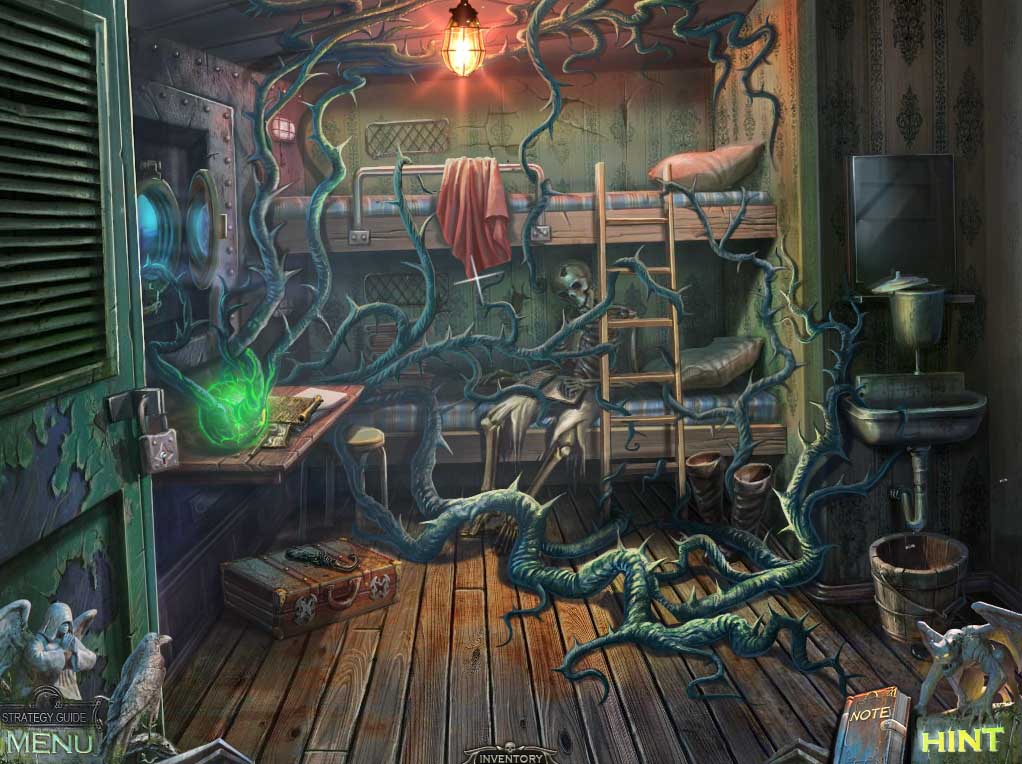
- Return to the cabin on the left and use the SICKLE to fetch the suitcase lying on the floor to the left, because the killer triffids won’t let you near.
- Take the UMBRELLA on top and exit, returning to the hold.

- Take out the MOP WITH SICKLE and use it to cut down the LIFE JACKETS hanging from the ceiling.
- Now zoom in on the wooden grate in the background and use your SAW to cut your way through to the next area.
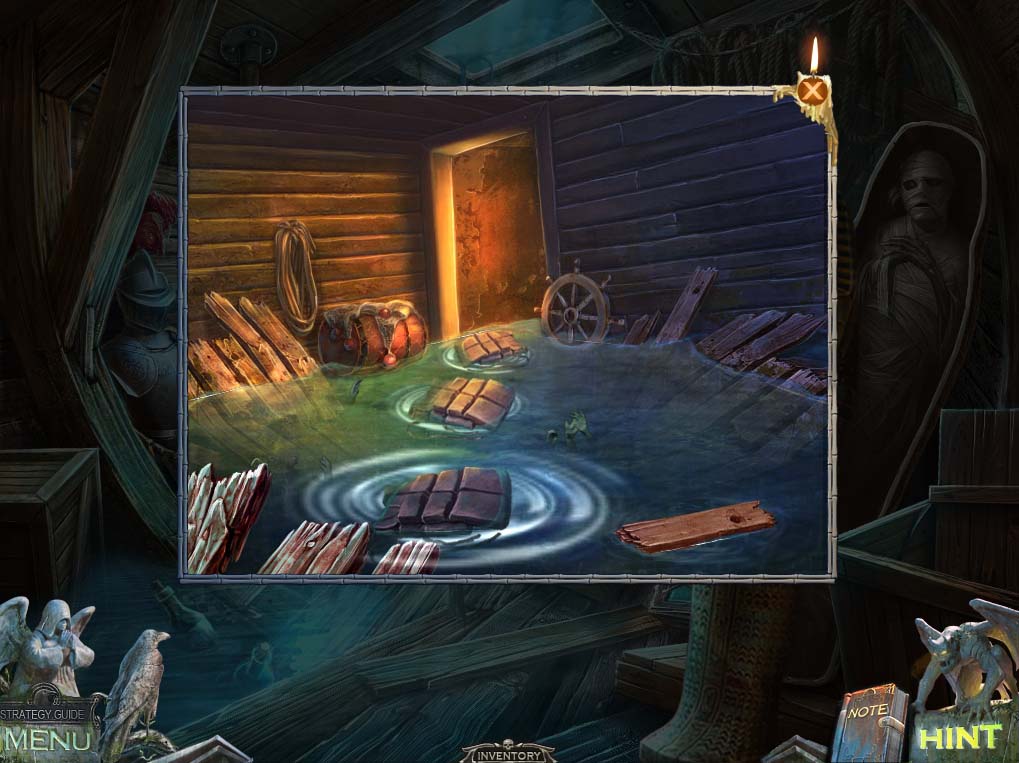
- Notice the creepy hands waiting to grab you – nice!
- Toss the LIFE JACKETS in and use them as stepping stones to get across the room.
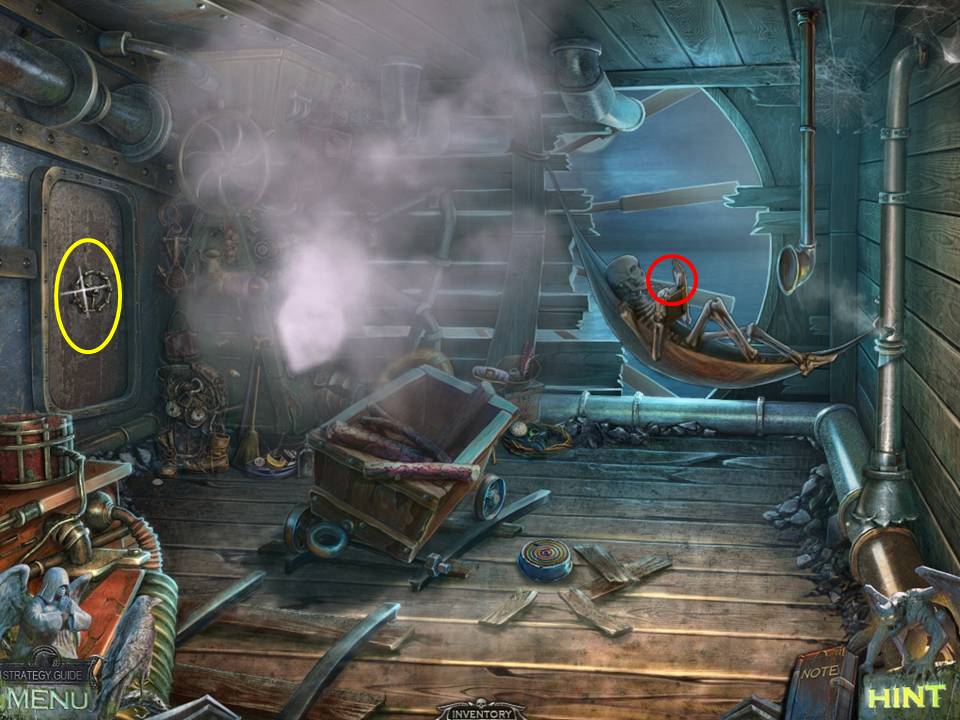
- Take a look at Billy Bones’ reading material over in the hammock and take the instructions for the boiler.
- Next click on the door to the left and use the symbols from the note book to open it – click on each appropriate symbol on the wheel in order and it will automatically rotate and light up in blue.
- Once all three have been lit the door will open.

- Try and open the hatch in the middle of the floor – when the ROPE breaks, add it to the inventory.
- Now use the UMBRELLA to hook the hatch open and take the HANDLE inside.
- Note the CROW RUNE lying on the floor in front of the barrels to the right.
- Zoom in to pick it up.
- Finally, click on the vent on the upper left to locate the next puzzle.
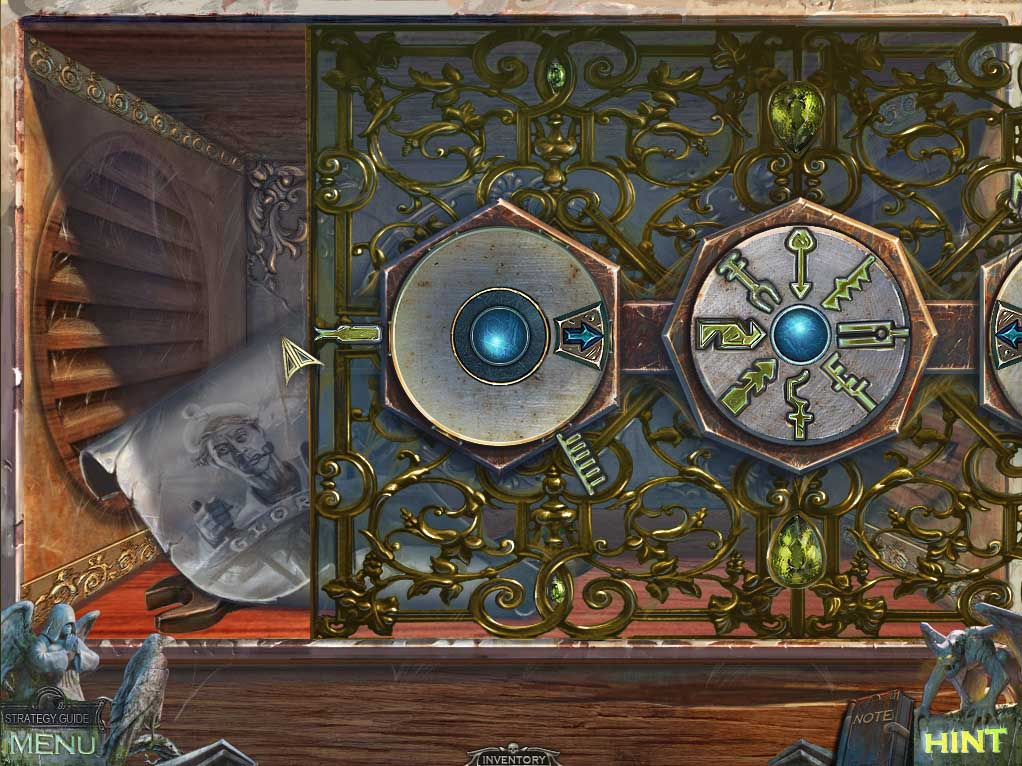
- Place the CENTRAL CLIP on the centre of the puzzle to initiate it.
- The aim is easy enough.
- The wheels to the left and right each have six distinctive keys protruding from them.
- The center wheel has matching spaces for eight of them, so four out of the six keys on each wheel will find a home on the middle wheel. It’s just a case of matching the shapes.
- See the screenshot for the solution.
- When opened, retrieve the photo and the WRENCH from inside.
- Return to the engine room.
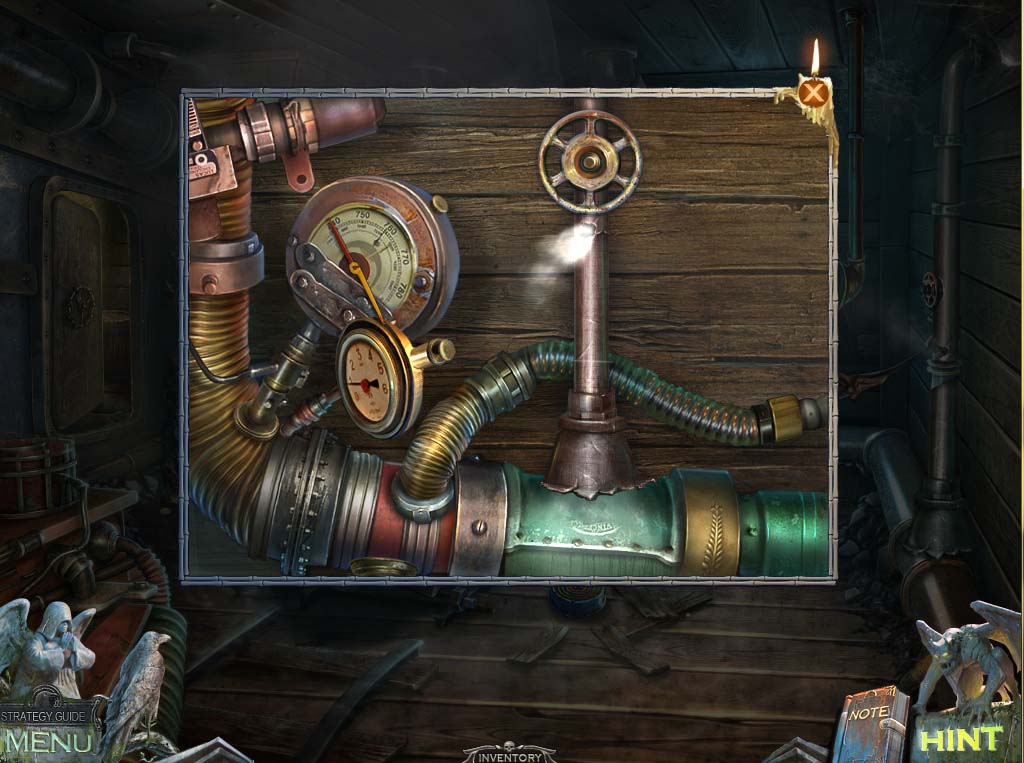
- Zoom in on the pipe to the right and use the HANDLE from inventory to turn off the steam.
- Then zoom in on the HOA sparkling away to the left of the room.
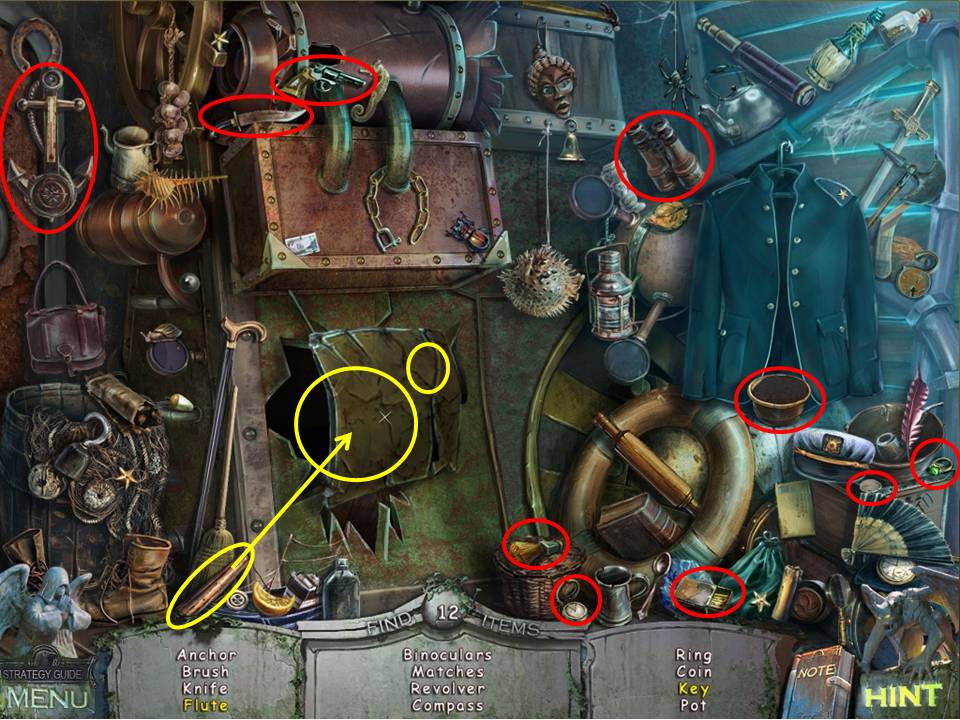
- Find the objects circled in red.
- Those in yellow require additional work – open the green metal plate to find a beaver that will gnaw the appropriate holes in the wooden tube to make a flute – you’ll also find the key on the inside of the green plate.
- When complete the pot will be added to inventory.
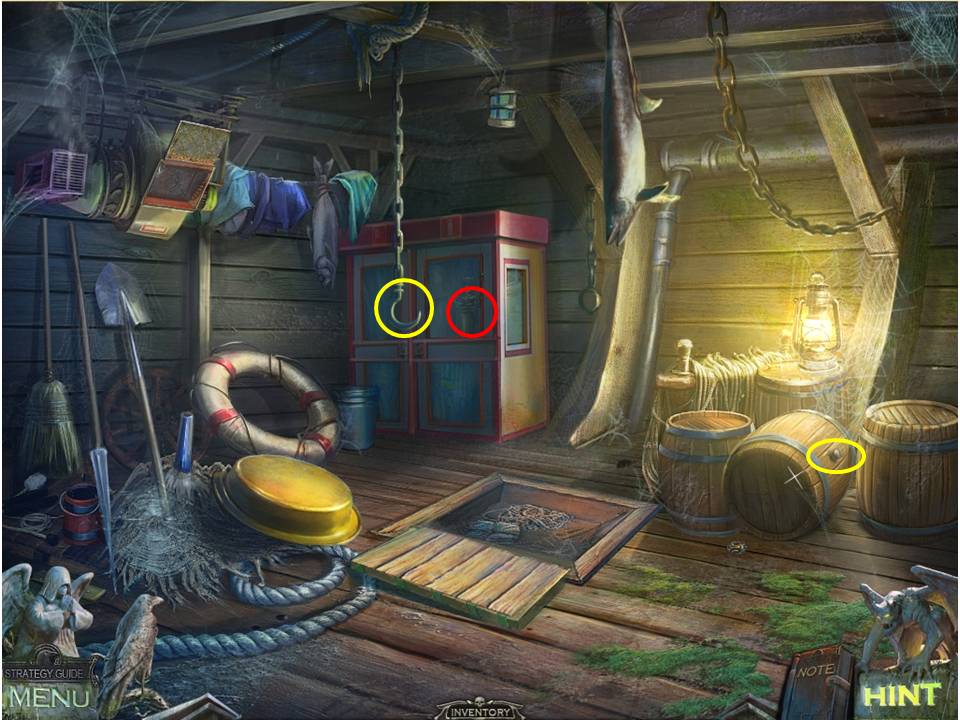
- Enter the storage room and combine the POT with the strand of BROKEN ROPE to obtain the POT WITH ROPE.
- Hang it on the hook suspended from the ceiling and swing it backwards and forwards against the glass on the cabinet in the background until it breaks (wouldn’t it be simpler to use the wrench in inventory?)
- When finished with your act of vandalism retrieve the POT and place it back in inventory.
- Zoom in on the cabinet and help yourself to the HAND DRILL and the FIRE PUMP.
- Use the HAND DRILL on the barrel to the right to remove the cork, then watch the caterpillar come crawling out – ugh!
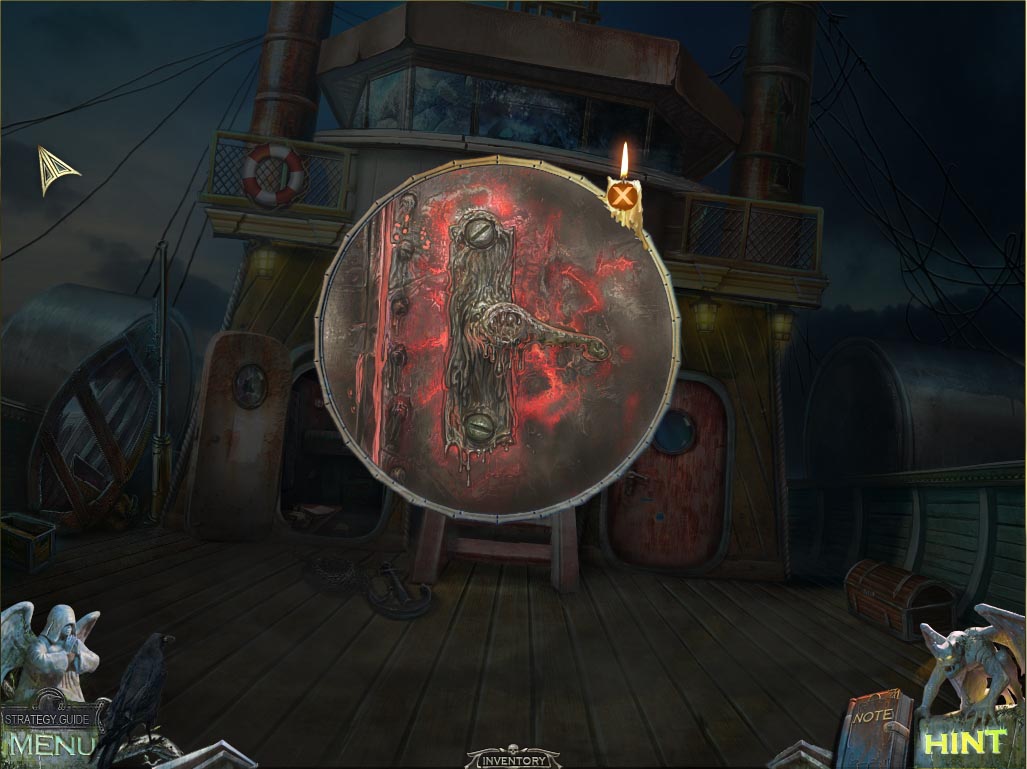
- Return to the main deck.
- Make your way to the door on the right and use the HAND DRILL again to remove the damaged handle.
- Then enter inside.
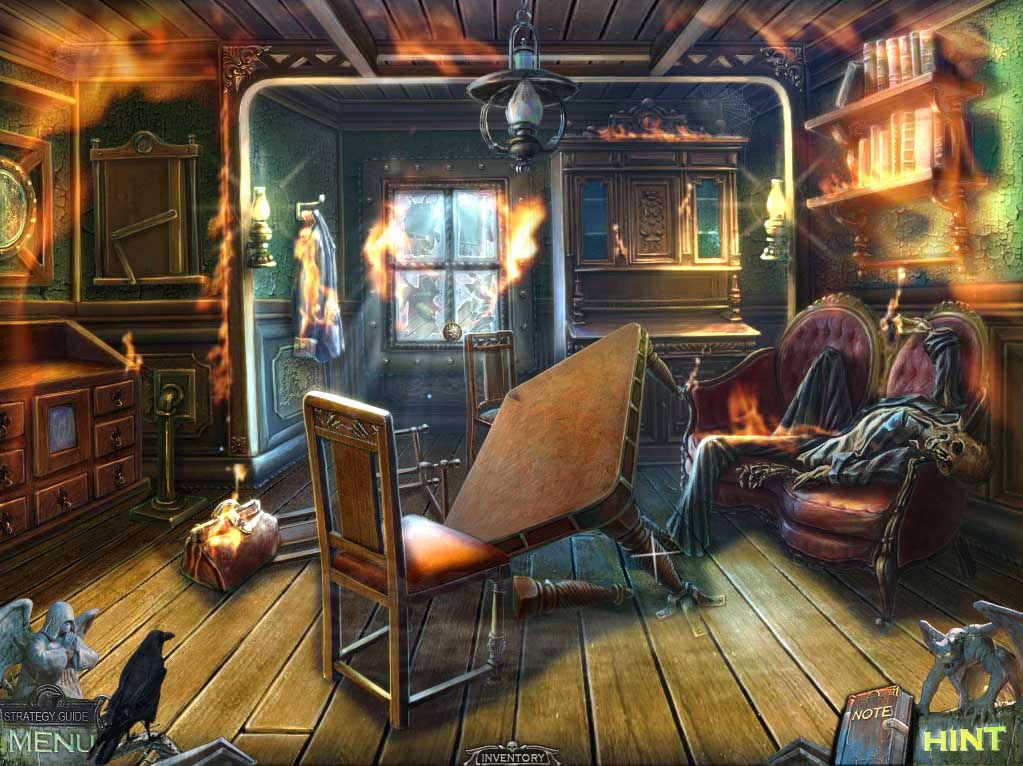
- The place is on fire!
- But that’s okay, you’ll calmly saw off a table leg with the SAW and take the TABLE TOP with you – you didn’t need those eyebrows anyway, right?
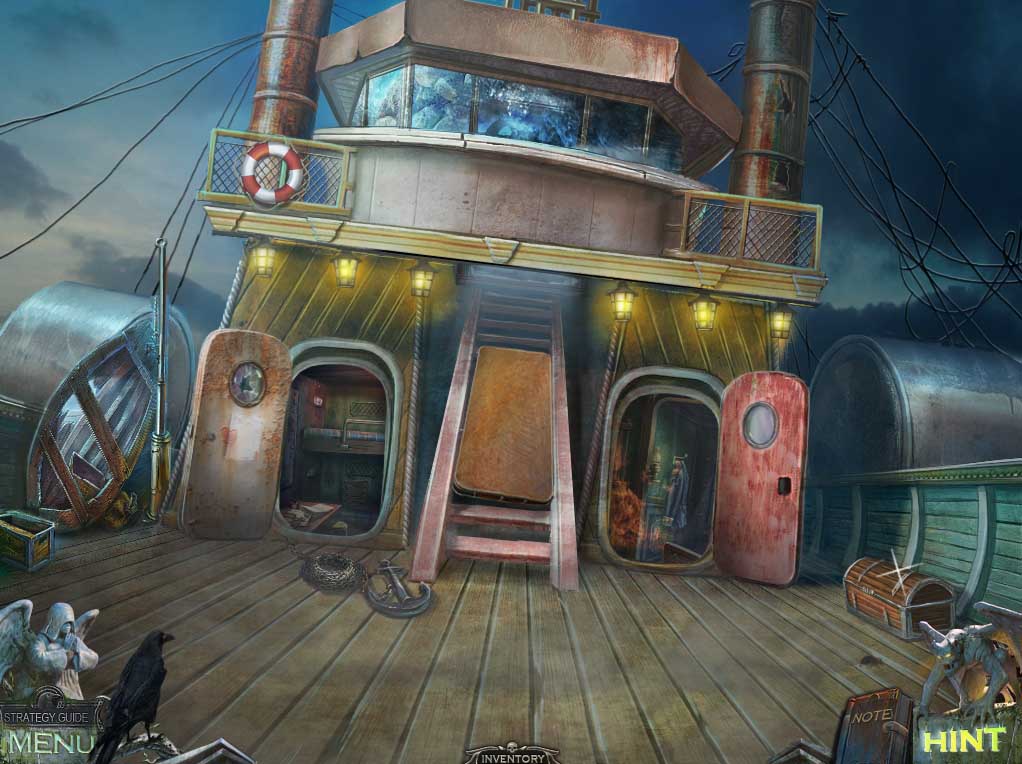
- Return outside and place the TABLETOP over the broken steps on the stair case and proceed to the deck above.
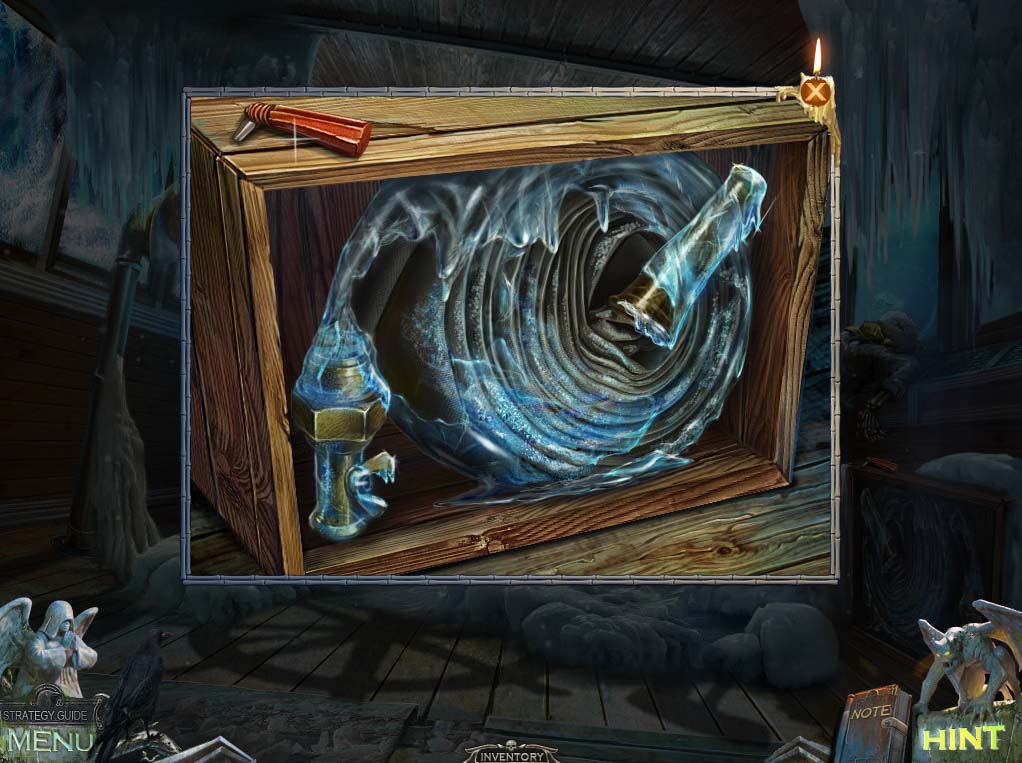
- Help yourself to the shell lying on the floor, then zoom in on the case to the left.
- Take the VALVE and the frozen HOSE via the use of the WRENCH.
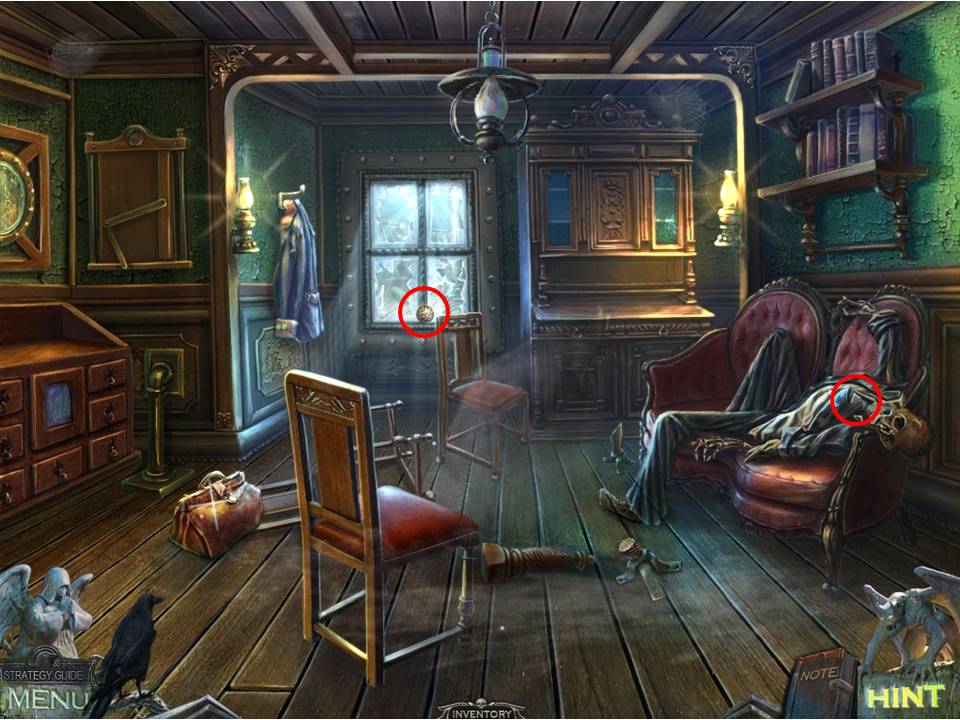
- Return to the doctor’s cabin (the room in flames) and combine the HOSE and FIRE PUMP to create an EXTINGUISHER which you can now use to put out the flames in the room.
- Examine the skeleton to the right and take the STETHESCOPE.
- Then zoom in on the window and take the FIRE SYMBOL.
- Finally, use the SAW to cut your way through the window and make yourself to the area next door.
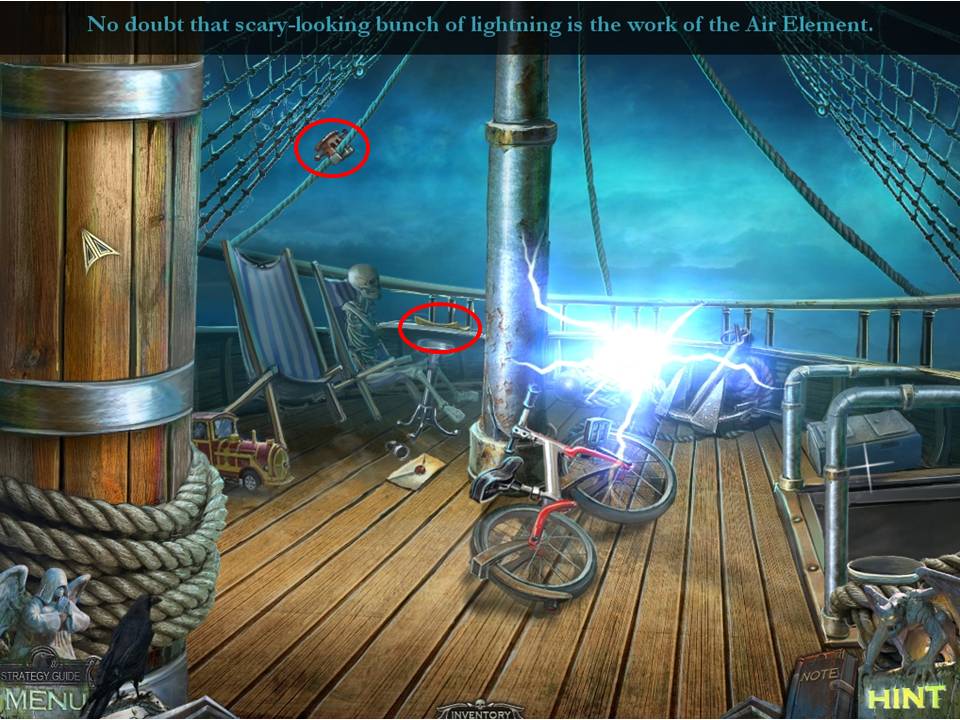
- Zoom in on the table that the skeleton is sitting at and take the document there.
- Next, use your feathered friend to knock down the TRI-KEY fixed to the rope above the skeleton.
- Click on it to add it to inventory, then return to the main deck.
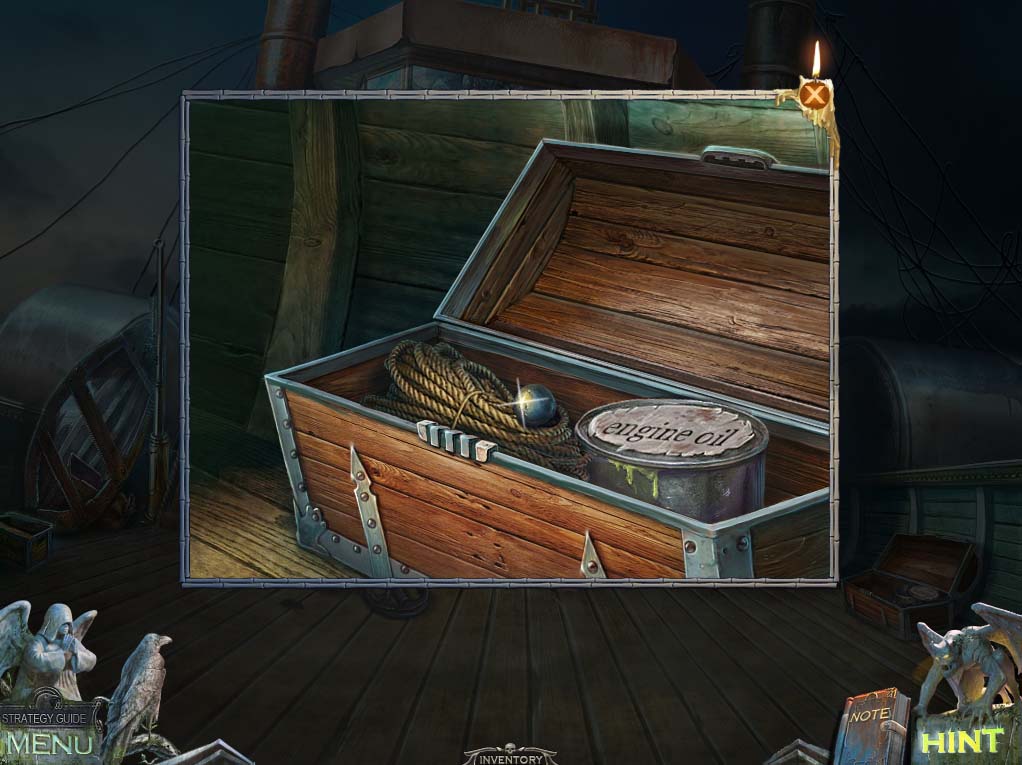
- Zoom in on the chest to the right and apply the TRI-KEY to it to open it.
- Take the RAILS PART, then dip the SCARF in the engine oil to obtain an OILED SCARF.
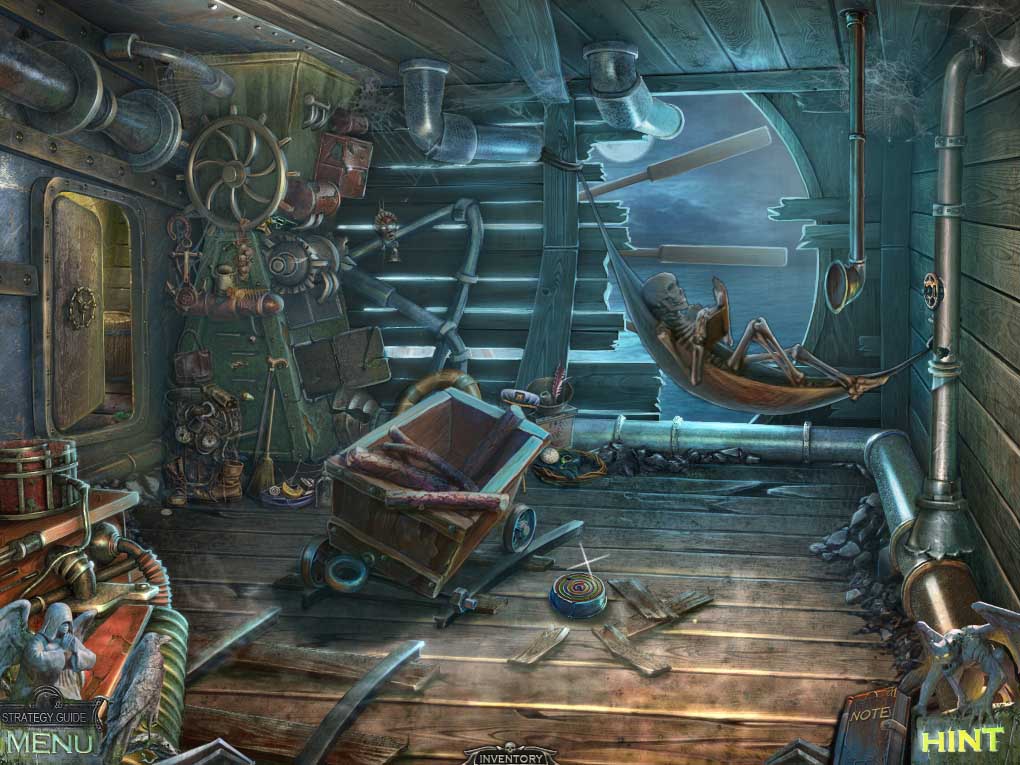
- Return to the engine room and zoom in on the puzzle lying on the floor, applying the RAILS PART on it to initiate the puzzle.
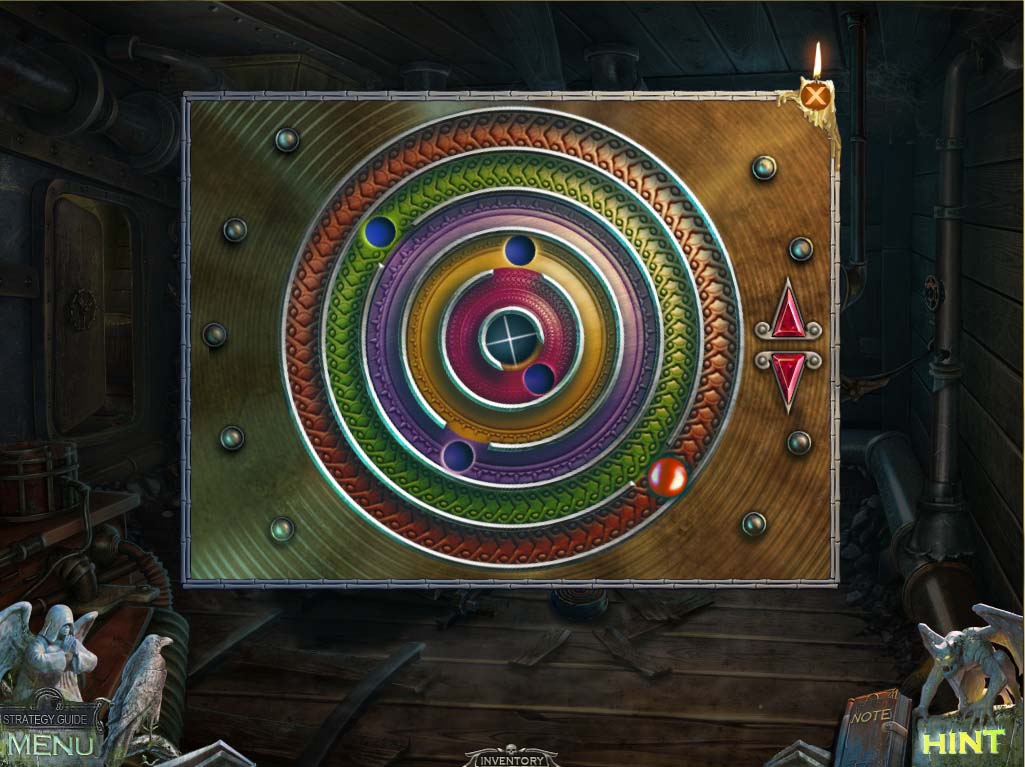
- The aim is to place both balls through the central hole.
- There are multiple solutions available, but it’s a fairly straightforward puzzle using gravity – every time you place one of the balls at the top of the rotation, it will fall or roll down.
- So basically just keep working each ball through the gaps and into the inner rings until the central hole is reached.
- Once both have gone through the puzzle will unlock and present you with a WHEEL.
- Now use the WHEEL to repair the cart nearby.
- When it rolls away help yourself to the SECTION OF RAIL, then return to the bow where you saw the lightning earlier.
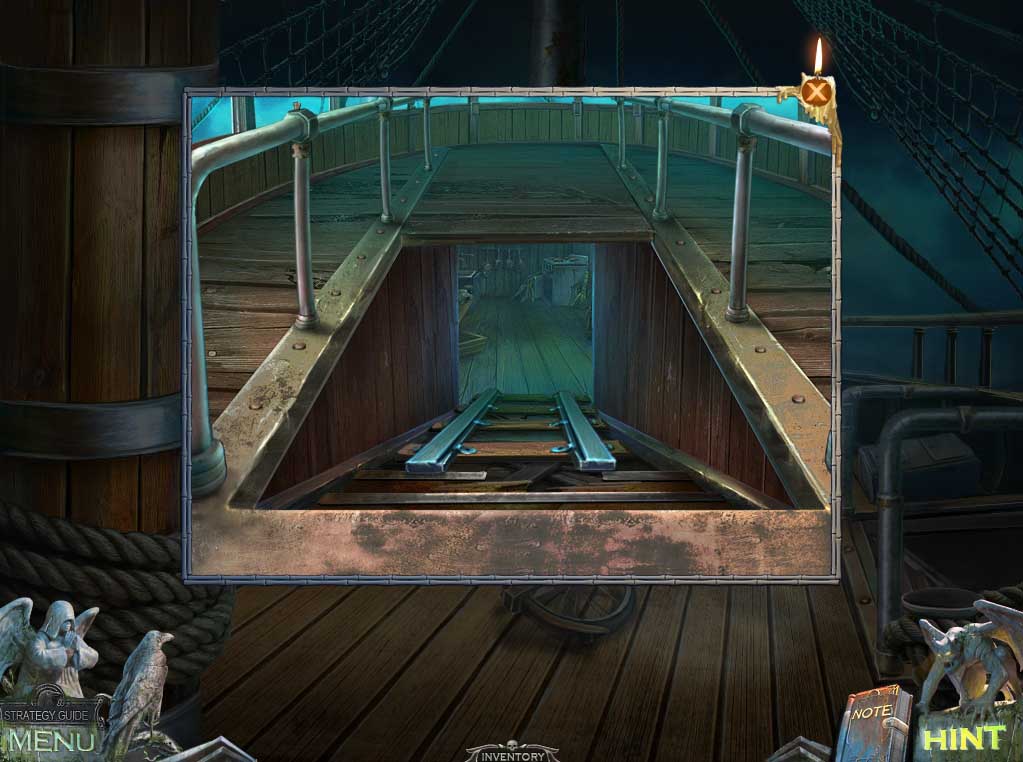
- Click on the stair rails to the right and use the SECTION OF RAIL to help you get to the area below.
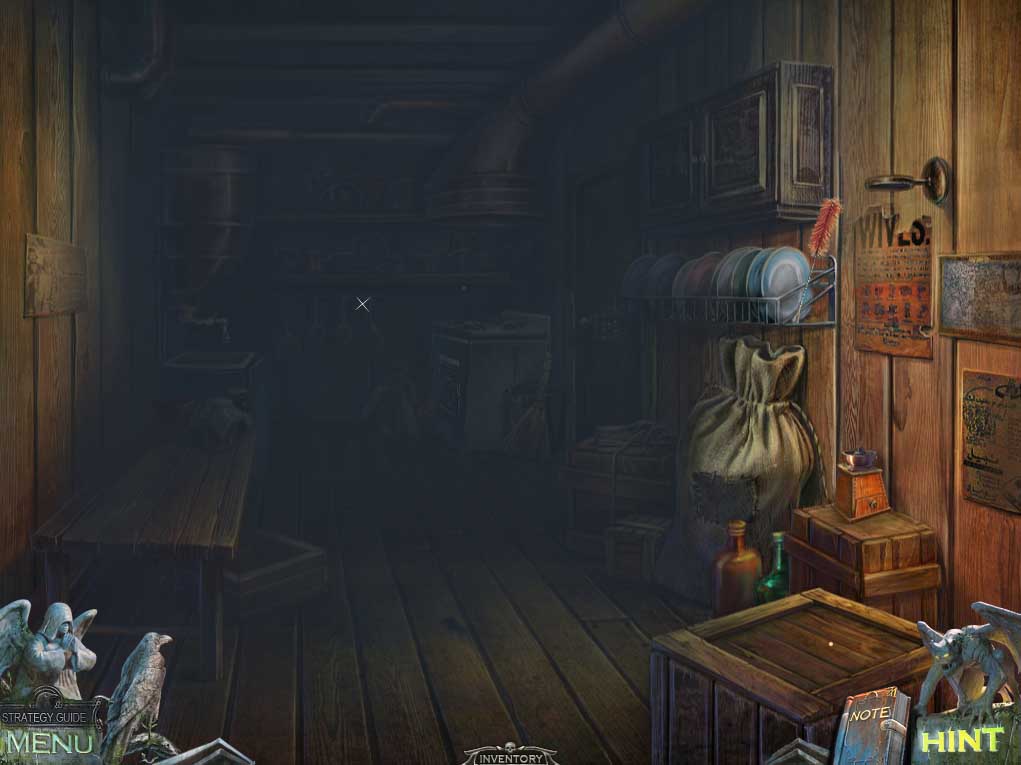
- Zoom in on the wall to the right and take the BRUSH, then return to the wheelhouse.
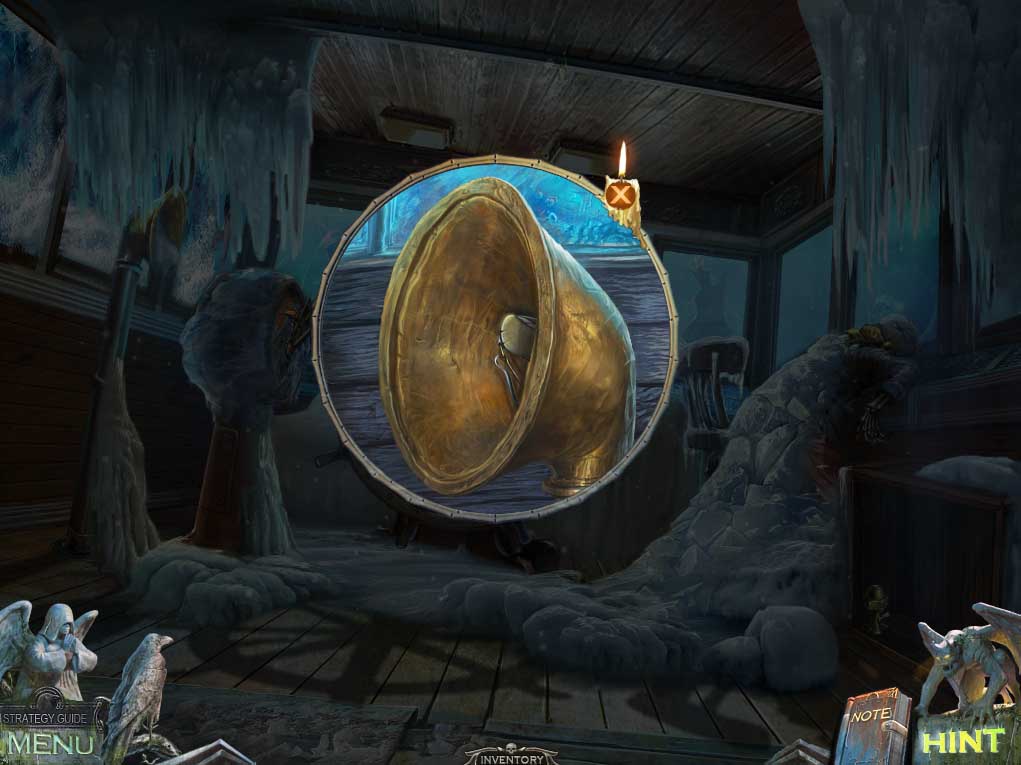
- Zoom in on the bell-shaped pipe to the left and use the BRUSH to knock the flint lodged inside down the pipe – why you just can’t use the wire handle of the brush to hook it out is anyone’s guess!
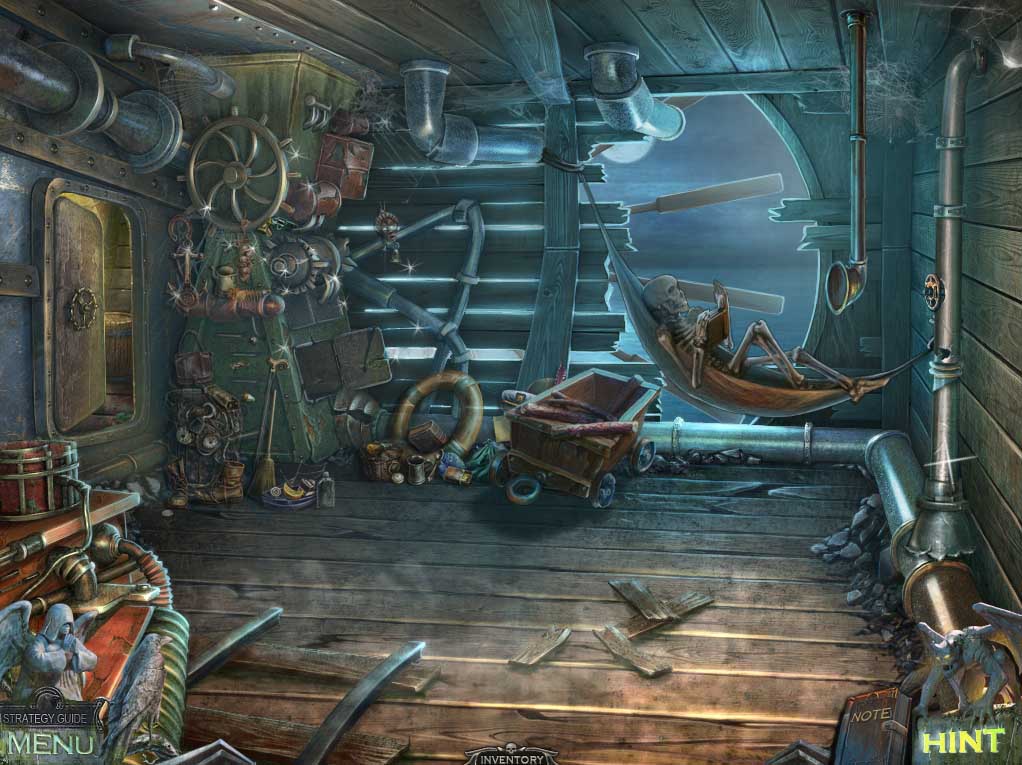
- Return to the engine room and zoom into the hammock again to retrieve the FLINT from the other end of the pipe.
- Next click on the pixie dust in the opposite corner to initiate the next HOA puzzle.
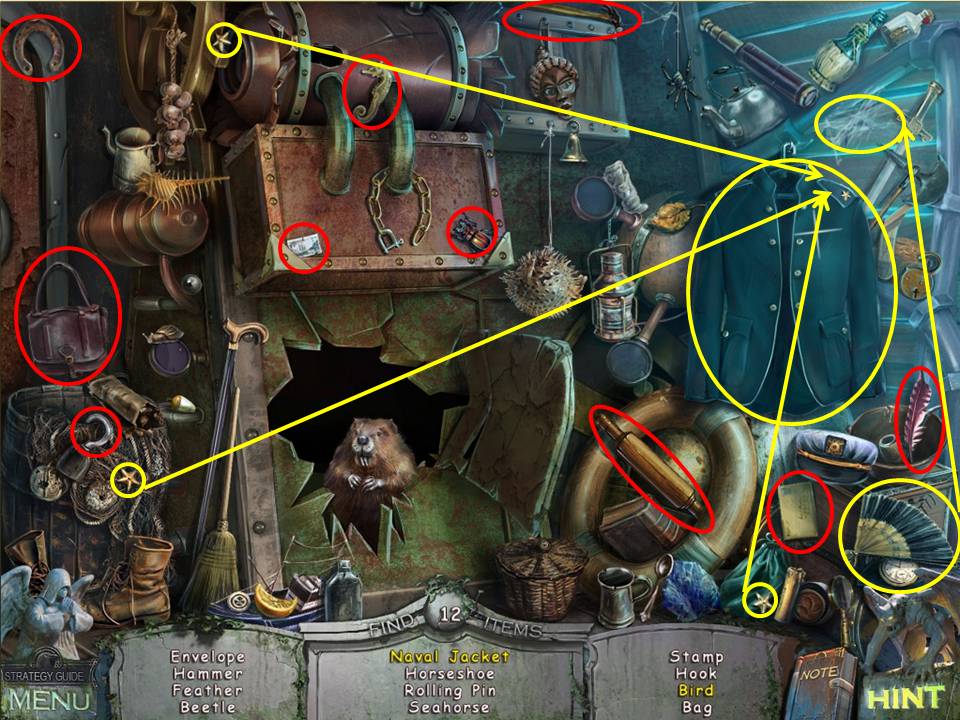
- Take all the items circled in red.
- Those circled in yellow require additional actions – the naval jacket requires that you gather three scattered stars before you can claim it, while the fan is required to blow away the cobwebs in the upper right of the picture to access the bird hidden behind it.
- Once complete, accept the ROLLING PIN into inventory, and combine it with the OILED SCARF to make yourself a handy dandy TORCH – feeling all Indiana Jones now, right?
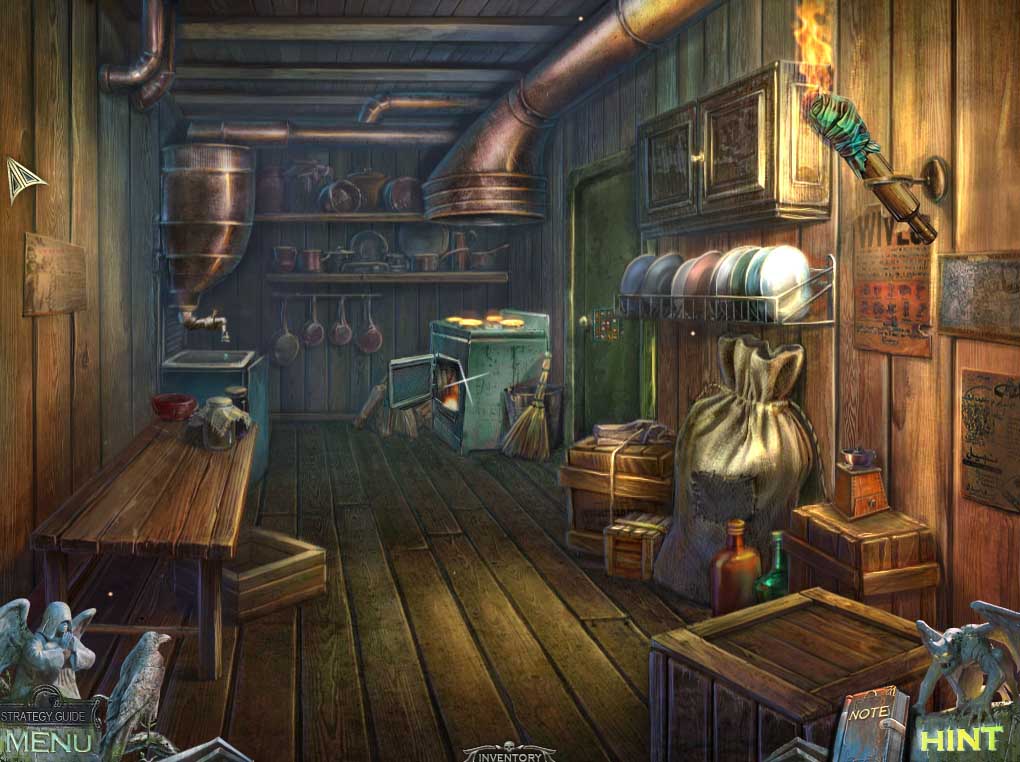
- Head down to the galley, place the TORCH in the holder on the wall to the right, use the FLINT to light it, and cry out “snakes, why did it have to be snakes?” – oh, wrong scenario!
- Click on the stove to the right and take the FILE.
- Then open the door below and use the FLINT to light the fire – most people would now close the door, but for some reason you can’t – maybe the room needs warming.
- Next zoom in on the sink and place the VALVE on the spigot to turn the water on.
- Place the POT under it to fill it up and guess what? You now have a WATER POT!
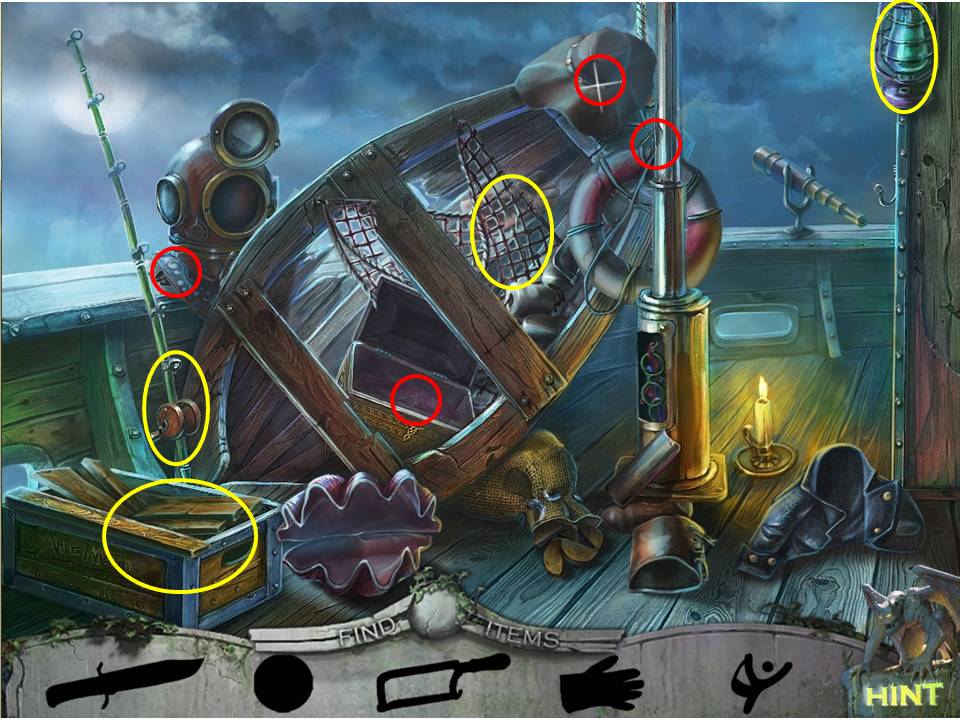
-
Return to the main deck and initiate the sequential object puzzle to the right. Proceed as follows -
- Click on the hat to find the knife hiding underneath.
- Retrieve the ball from inside the chest
- Knock the lifebuoy down to access the saw
- Slide the diving helmet aside to find the slingshot – combine the ball with it to add the weapon to inventory
- Use the slingshot to break the lantern and take the fishhook inside
- Use the saw on the box to the right to obtain the fishing line inside. Add the fishing line to the rod over on the left, then the hook, and watch as you reel in an old boot with a lobster inside.
- Use the knife to cut out the netting inside the boat, and take the glove.
- Use the glove to help you take the lobster from the boot. All this for a lobster - there has to be an easier way to get seafood, right?
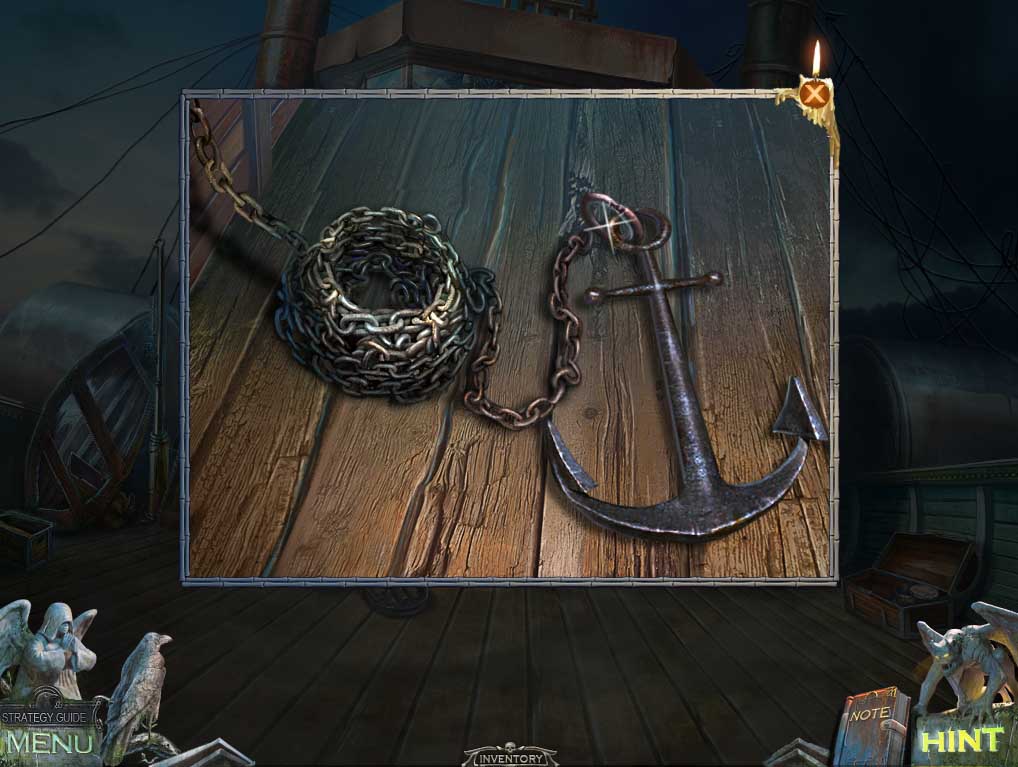
- Exit from the scene and zoom in on the anchor.
- Use the file to cut it free from the chain and add it to inventory.
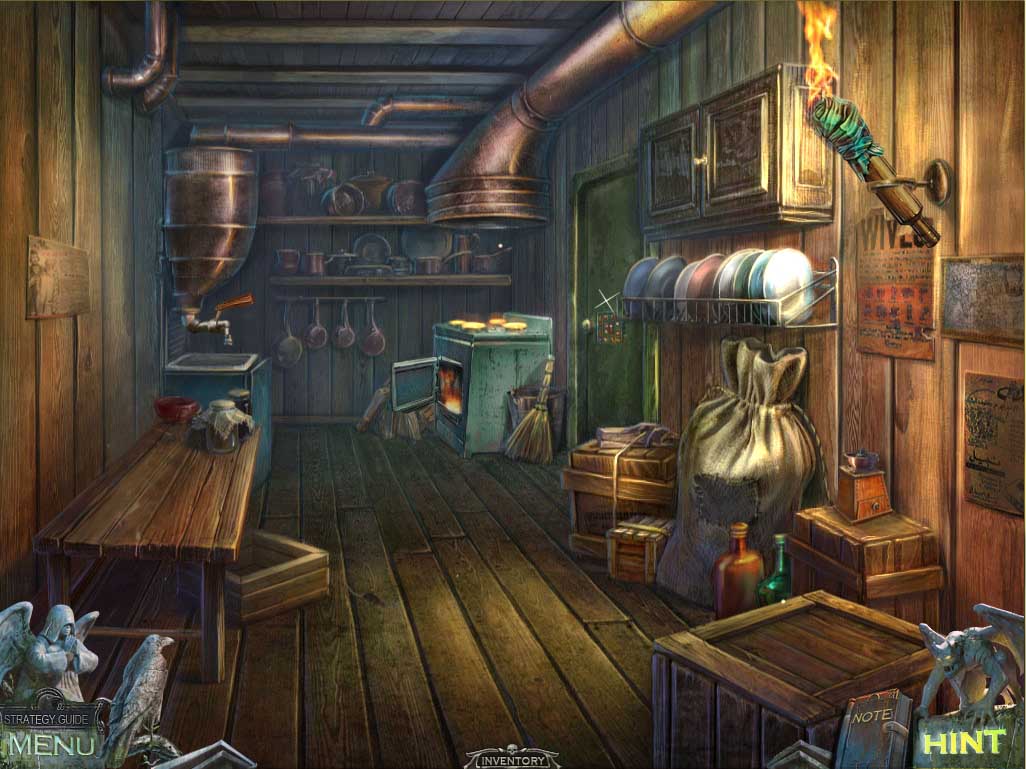
- Return to the galley and zoom in on the sack of salt to the right and use the lobster to cut it open – surreal doesn’t even come close to describing this, right?
- Take the CROW RUNE inside.
- Next go to the stove, place the WATER POT on it, and add the SALT. (where’s that lobster now, uh?)
- Take the BOILING WATER and exit to the wheelhouse.
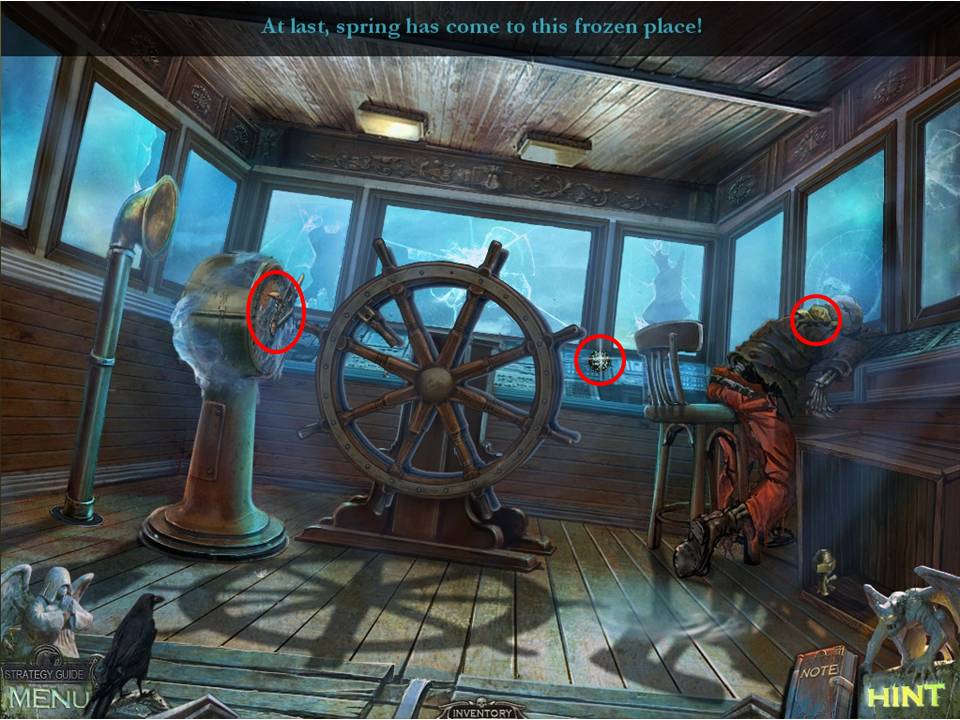
- Pour the BOILING WATER in and watch it work its magic on all that ice.
- On the console behind the wheel you’ll find the WATER SYMBOL.
- Take a closer look at the controls to the left and take the CORKSCREW and the note.
- Finally take a closer peek at the skeleton and take the note and the PUZZLE PART.
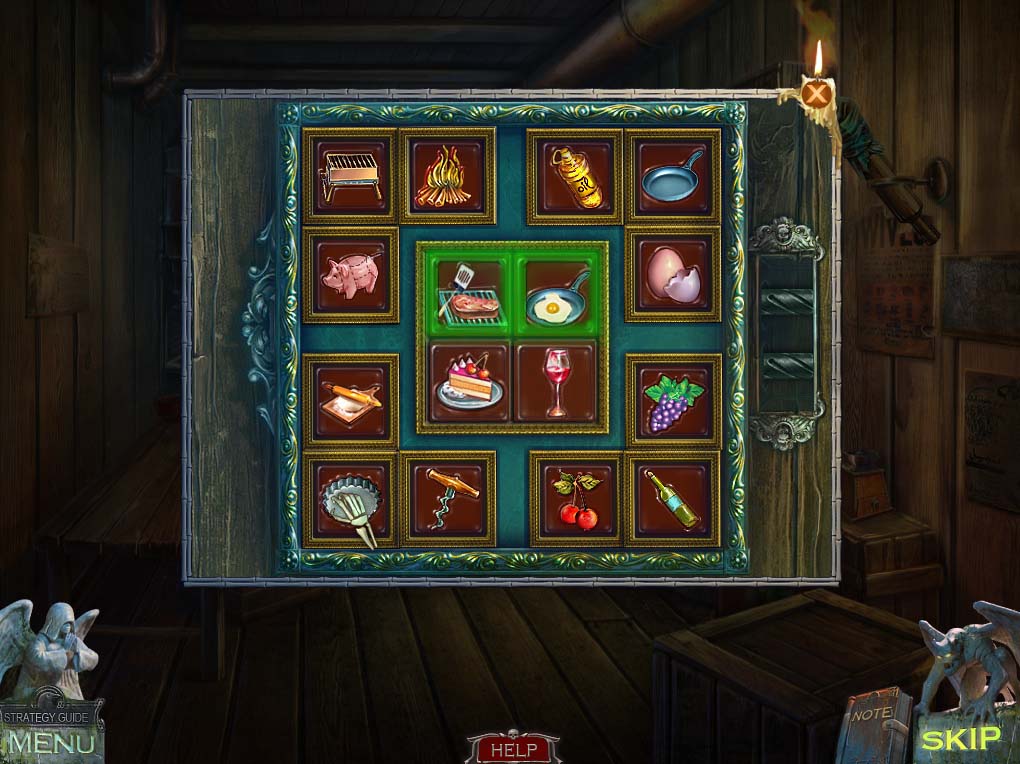
- Head back to the galley and click on the door to the right.
- Place the PUZZLE PART on it to initiate the puzzle.
- Basically, all you have to do is use the four images in the centre as a guide – each one needs to have three associated pieces next to them in the corresponding corner.
- Swap two pieces at a time until everything is in place – you’ll know by the simple fact that as each section is completed the borders will light up in green.
- See the screenshot for the solution.
- When finished the door will open.
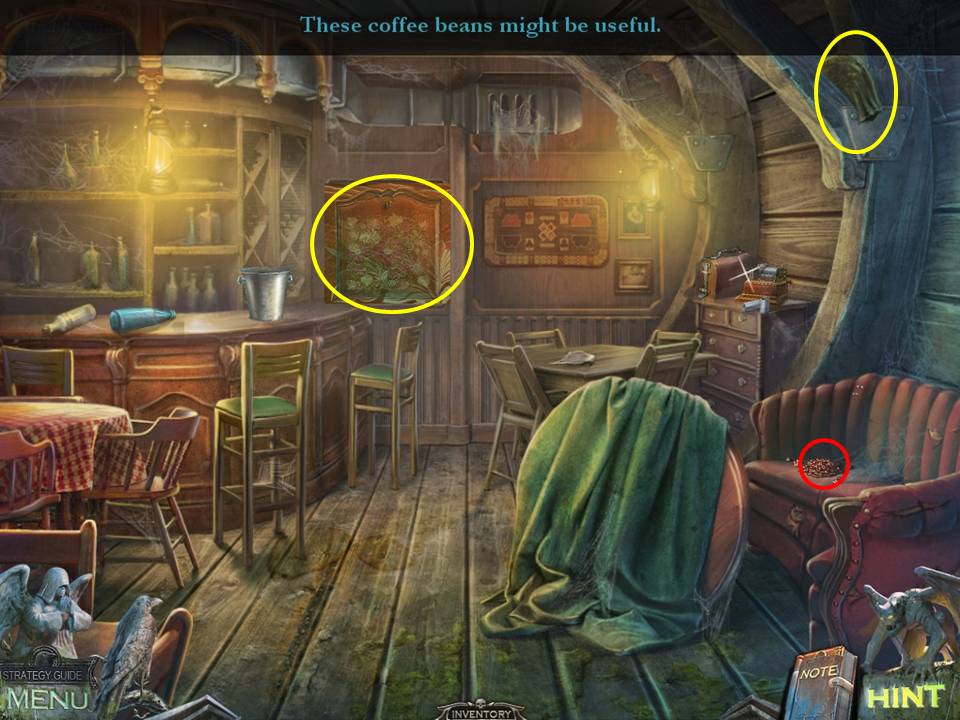
- Use the crow to knock the sack from the beam near the ceiling.
- Retrieve the COFFEE beans that spill down on to the sofa.
- Next, zoom in on the dumb waiter on the wall in the background, next to the bar – note the hook and the need for a counterweight.
- Toss the ANCHOR in and see what happens!
-
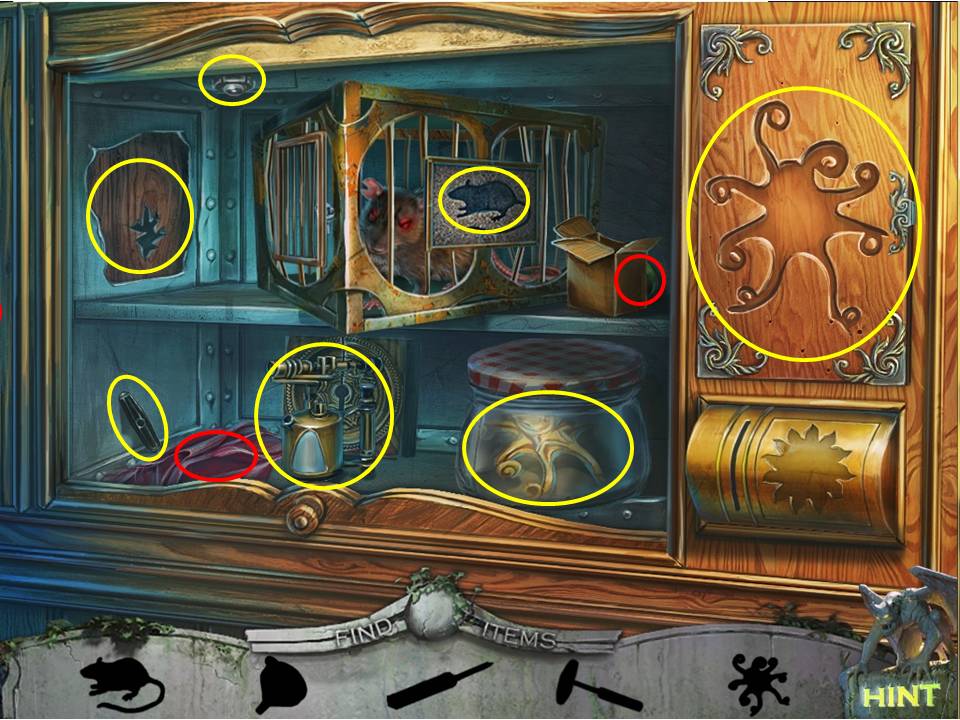
Work the sequential puzzle in the dumb waiter in the following fashion –
- Move the crimson-colored cloth on the lower shelf to access the mouse-shaped symbol
- Move the small box on the second shelf to retrieve the green funnel and place it on the blowtorch
- Place the rat symbol on the rat-shaped silhouette on the side of the cage to initiate a simple maze puzzle – use the arrows to the right to direct the little rat to the exit, which will trigger the cage opening and releasing the rat.
- After the rat has chewed its way through the wall, take the hammer handle and combine it with the handle on the shelf below
- Use the hammer to break open the jar and take the octopus inside – gross! Have you actually ever tried picking up an octopus?
- Put the octopus on the matching wooden cutout and help yourself to the wrench hidden behind the panel
- Use the wrench on the bolt at the top and take the gas canister that drops out – where else would you keep gas stored then a secret compartment above a dumb waiter?
- Pour the gas into the blowtorch and use it to thaw out the ice on the right
- Take the CAN OPENER you’ll find inside.
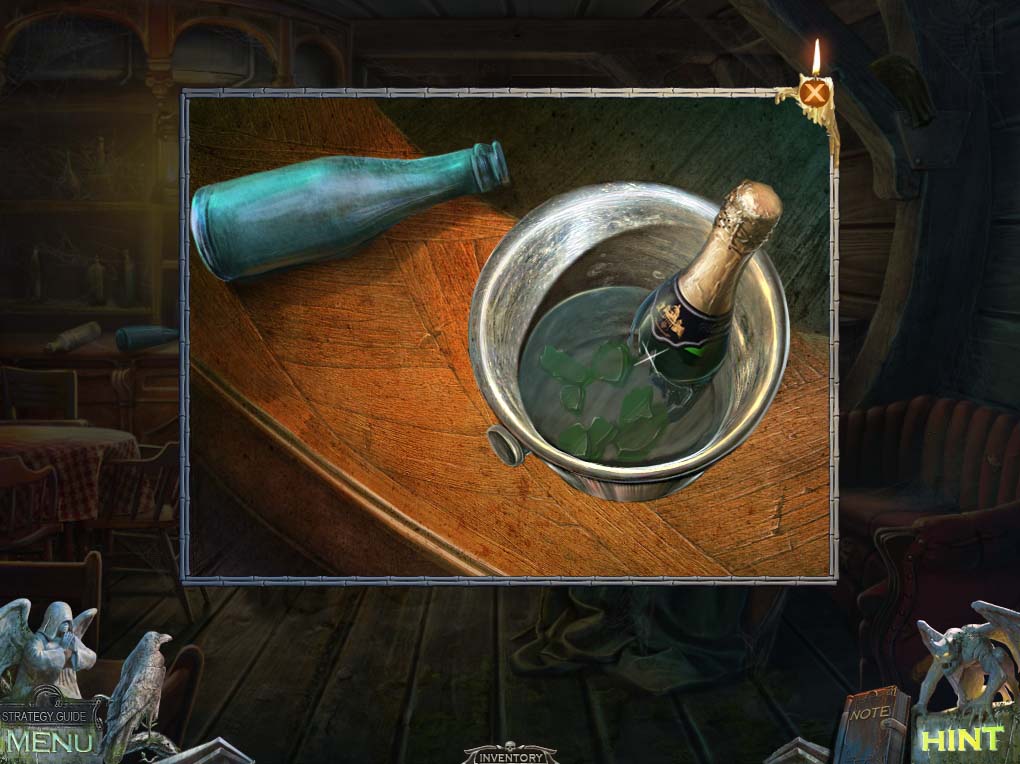
- Take a close look at the bar counter and take the CLOSED BOTTLE you’ll find there.
- Use the CORKSCREW on it to obtain the OPEN BOTTLE.
- Next, use the STETHOSCOPE on the bucket to drain out the contents and retrieve a SNAKE KEY.
- Take your booty and head back to the doctor’s cabin.
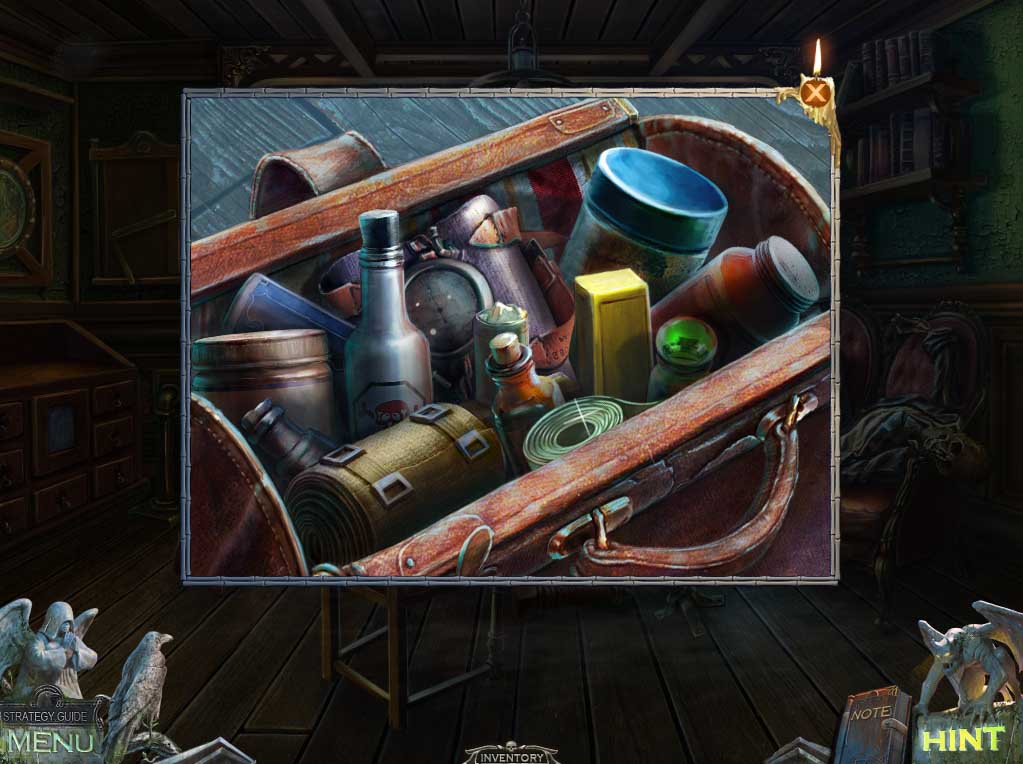
- Zoom in on the doctor’s bag on the floor and use the SNAKE KEY to open it.
- Take the BANDAGE inside, then return to the engine room.
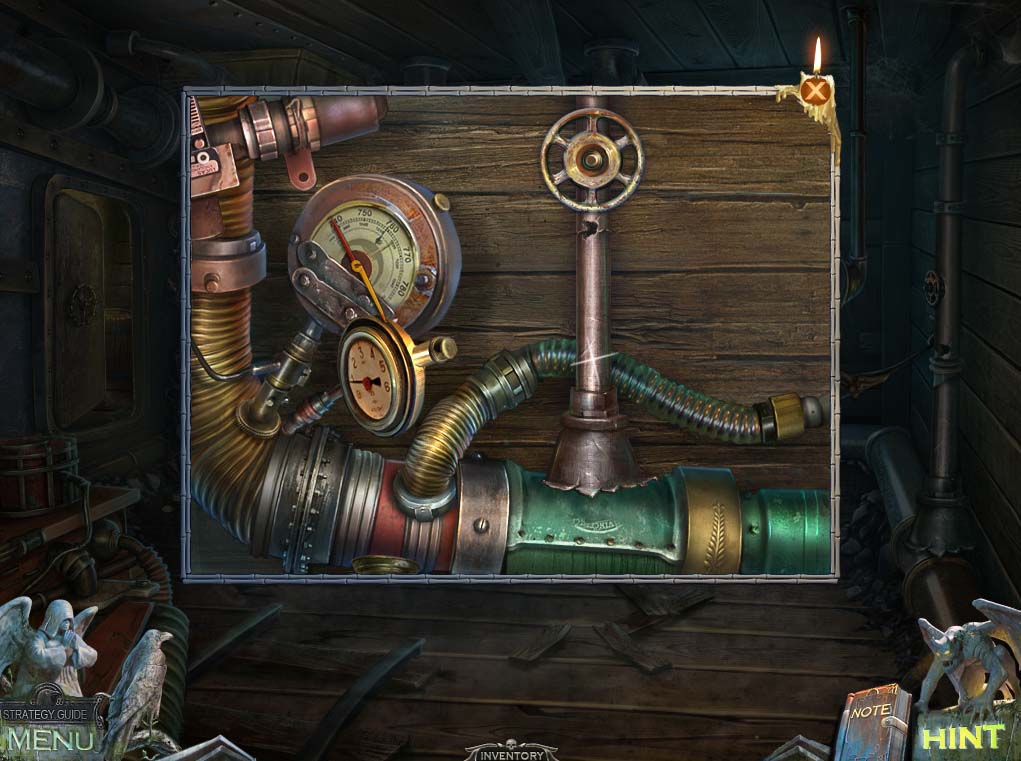
- Zoom in on the pipe to the right and apply the CAN OPENER to it to take a section of the TUBE.
- Then head back to the bow of the boat.

- Zoom in on the bike and use the FILE on the SPOKES.
- Now take a closer look at the table the skeleton is sitting at and combine the OPEN BOTTLE, BANDAGE and SPOKES on it to create a LIGHTNING ROD.
- Zoom back and use the LIGHTNING ROD to diffuse the lightning.
- Lastly, uncoil the rope at the bow and take AIR SYMBOL hidden within.
-
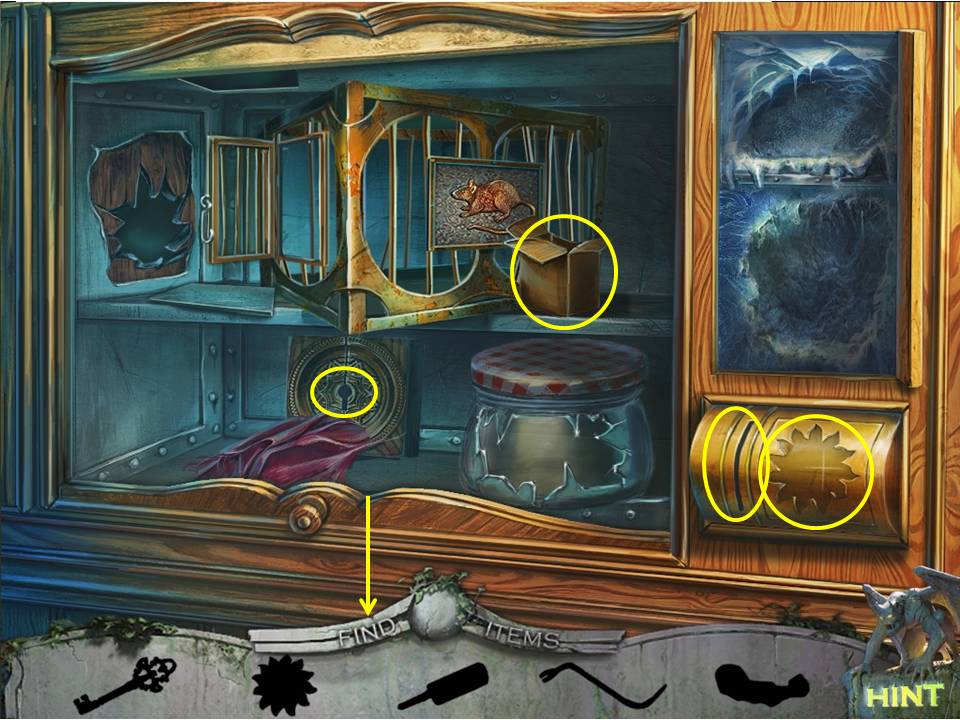
Return to the saloon and take another look at the dumb waiter to initiate the next sequential object puzzle. Proceed as follows –
- Look inside the small box and take the key inside
- Use the key on the lock and take the sun symbol inside
- Place the sun symbol on the matching recess to the right and take the level inside
- Place the lever in the slot and pull it – presto! Another section pops up!
- Open the mini-coffin and prize the crowbar from the skeleton’s cold dead fingers
- Use the crowbar to open the dragon’s jaws and take the knight’s arm
- Place the knight’s arm on the knight and accept the broken sword
- Sharpen the sword on the grinding stone and turn it into a sharpened knife
- Next use it on the doll to the left – getting a little weird now – and collect the glasses
- Place the glasses on the doll and take the gem that gets poked out at you on the creature’s tongue
- Place the gem on the doll face to initiate a simple puzzle, which is to place all the gems in the corresponding colors of the receptacles. Unlike some of the other puzzles, you have to slide the gems around, rather than swap them, so there’s a little more work involved.Once complete, take the BAG KEY.
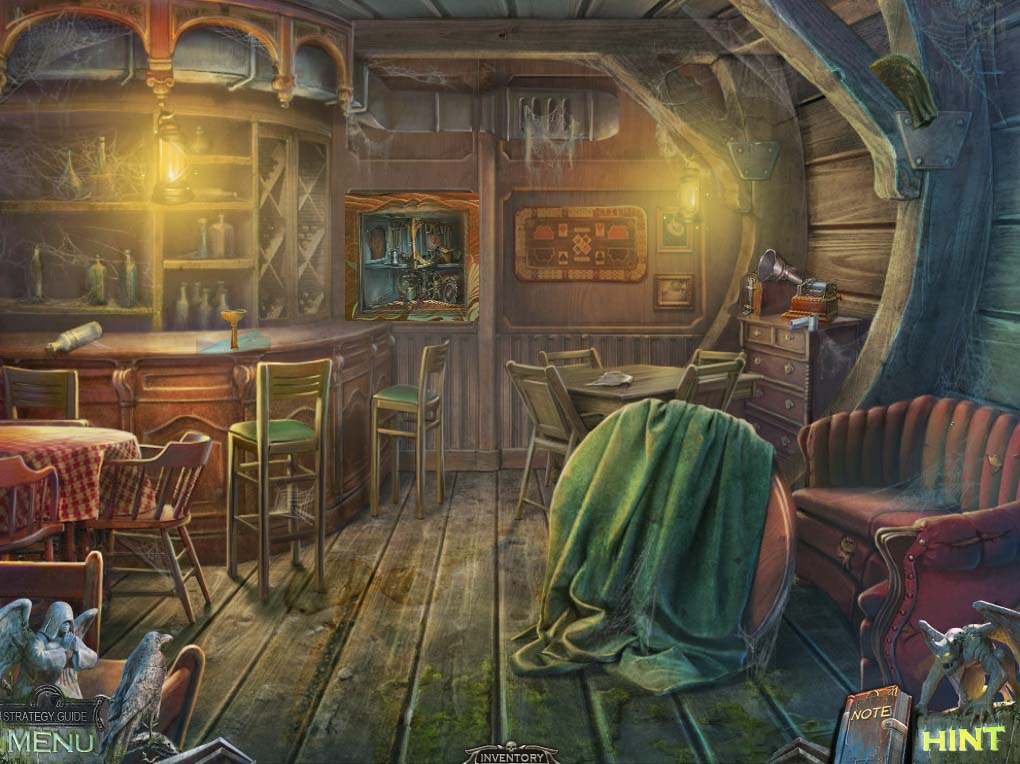
- Zoom out, and take a look at the phonograph to the right in the dresser.
- Use the tube from inventory to get it playing again, then take the HANDLE on the table to the right and slot it into inventory.
- Head off back to the galley.
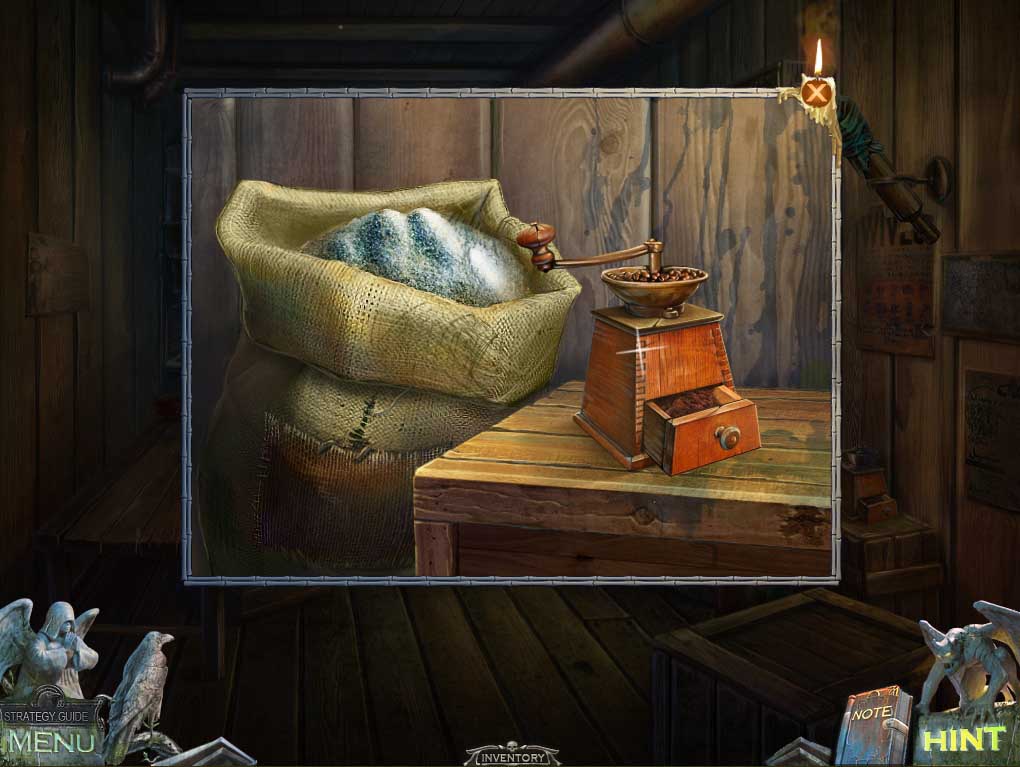
- Zoom in on the coffee grinder sitting on the crate to the right and place the HANDLE on it.
- Toss in the COFFEE beans and grind away to get some GROUND COFFEE.
- Take the coffee back to the doctor’s cabin – maybe a cup of java can revive him?

- Zoom in on the doctor’s skeleton and place the GROUND COFFEE on the book to discover the hidden text on it.
- Take the page and return to the cabin with all the killer weeds in it.
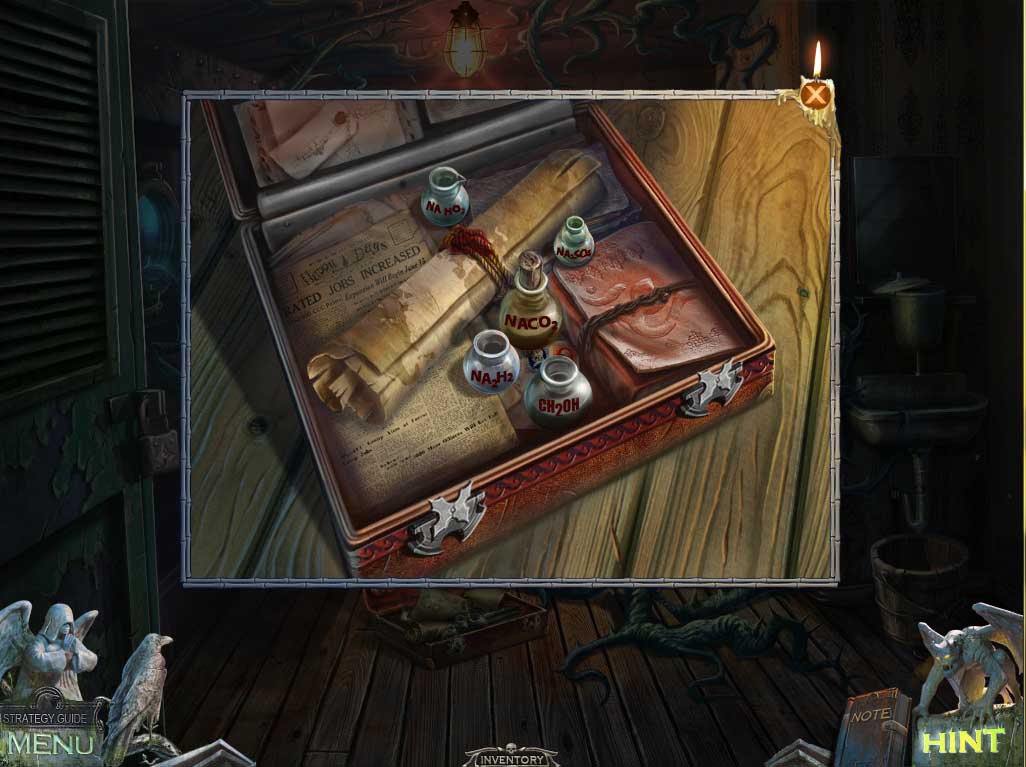
- Use the BAG KEY on the suitcase and open it.
- Remember the code on the paper you just found?
- Match it to the bottle in the case, which is actually glucose, and put it in inventory.
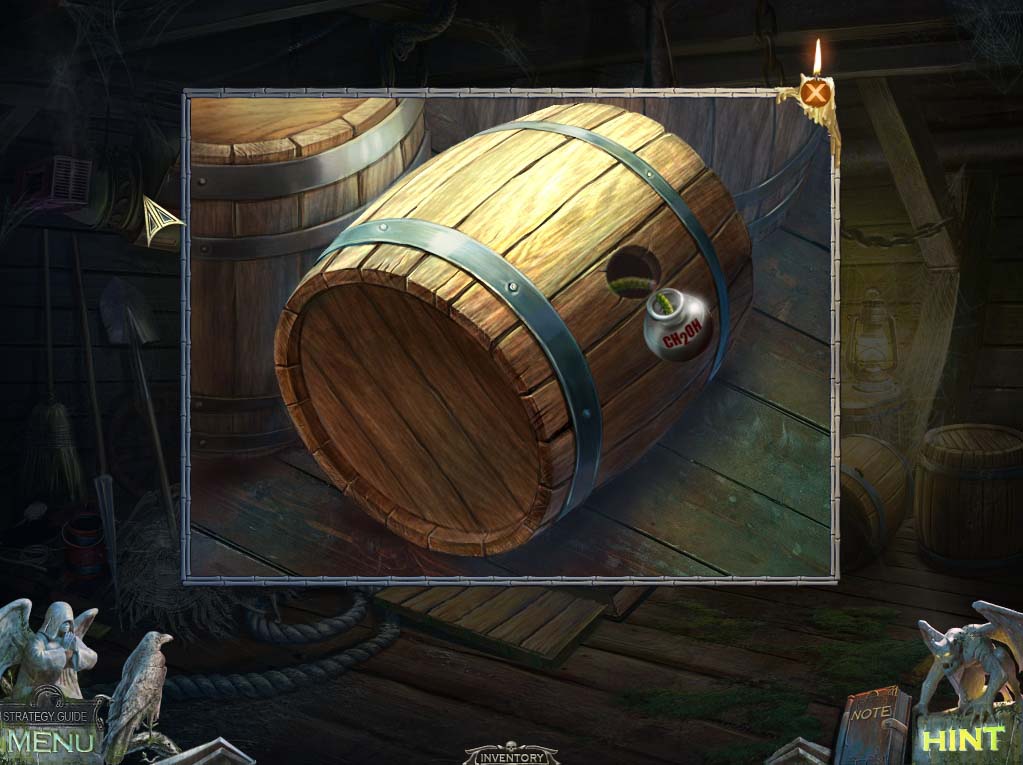
- Return to the storage room and zoom in on the barrels to the right.
- Use the GLUCOSE on the small hole to attract the caterpillars out. WHAT! You’ve gone through all this gallivanting around in the ship just to coax out some caterpillars you knew where there virtually from the start? Why couldn’t you just pick up the barrel and take it with you – you carried a half ton anchor around like it was small change!
- Oh well. Take the VIAL OF CATERPILLARS and head back to the cabin with all the vile weeds.
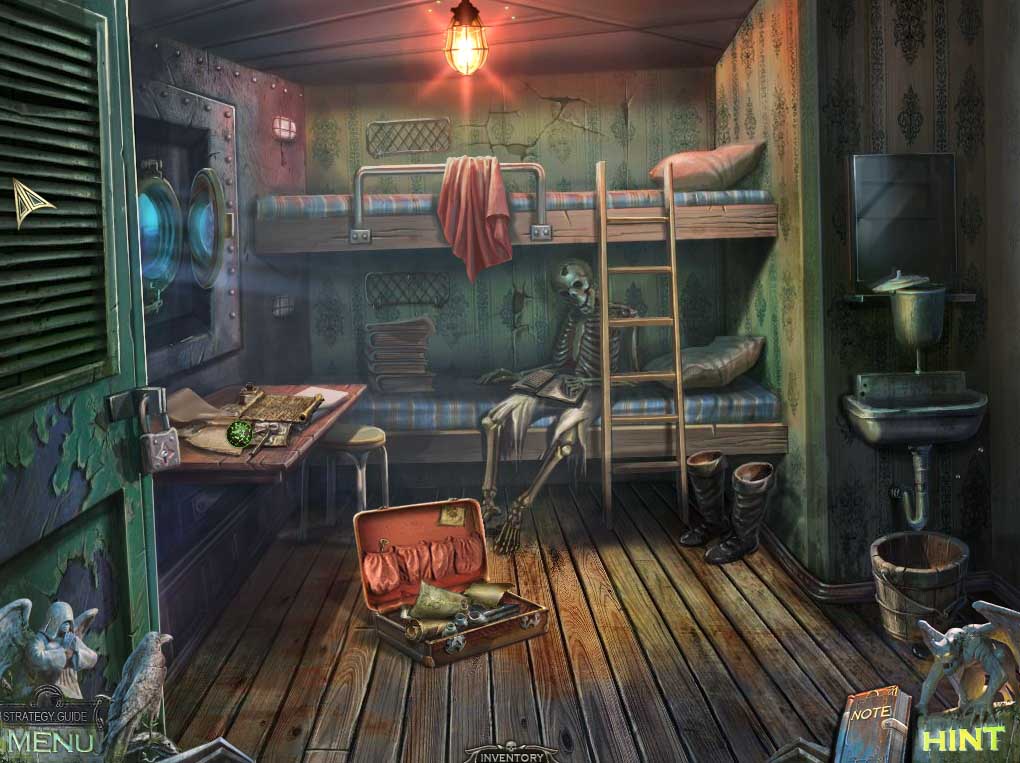
- Okay, now to exact some revenge!
- Let the bugs loose from the VIAL OF CATERPILLARS and watch them go to town on the nasty vines.
- Take the note from the skeleton’s hand, then zoom in on the table to the left.
- Take both the EARTH SYMBOL and the note.
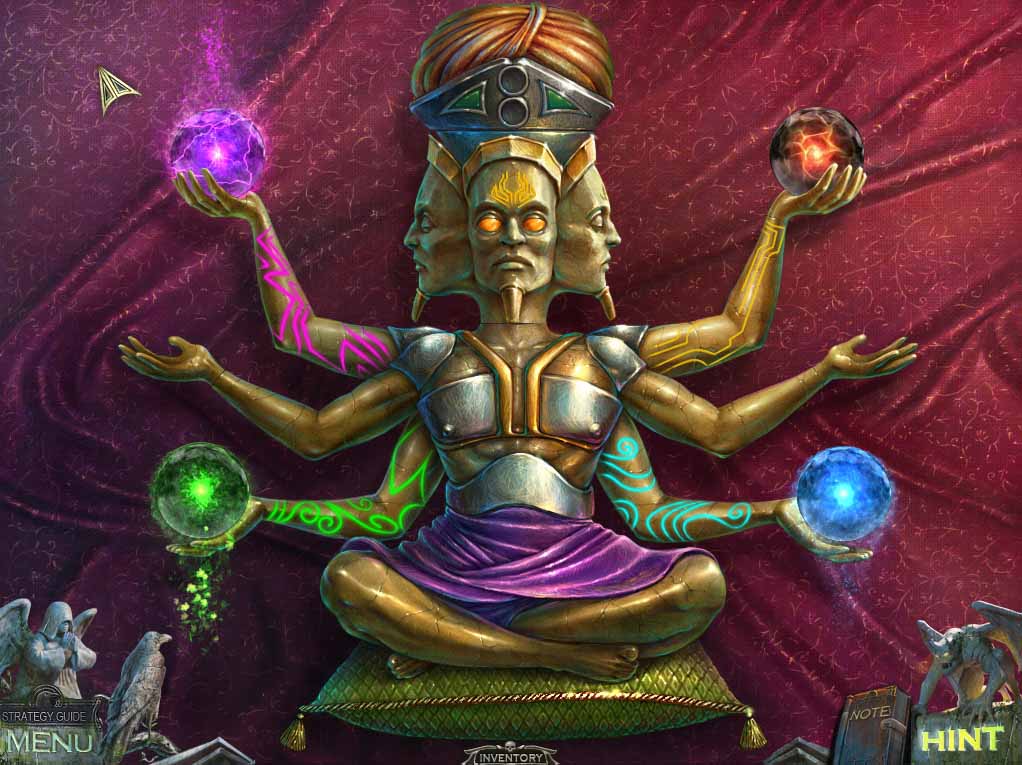
- Return to the hold and take a closer look at the small gold casket in the background and place the four SYMBOLS from inventory on it to trigger the last puzzle.
- First thing to note is that the heads rotate to show different colored eyes, using the green arrows on the crown.
- Also note that the forehead of each head had a different color on it.
- Finally, note the two vacant holes between the two green arrows. So what’s the point to the puzzle?
- You have to pop the eyes out of the eye sockets, place them in the slots above, and place them into the faces with their matching colors.
- So the blue eyes have to end up on the face with the blue forehead, the gold eyes in the face with the gold forehead, and so on.
- Bear in mind that you can’t move the eyes two at a time, because you need to keep one of the slots in the crown open to take out one of the eyes in the correct face before you can put the matching colored eye in it.
- Once you have the basic idea of the aim, the solution is fairly simple.
- At the end the globes will power up.
- Now it boils down to placing the orbs in the arms with the matching colors.
- Again, this is not very hard – one method is to click on the balls to the left and work them down into their correct hands, then work the balls on the right up and across into their correct positions.
- When finished, you’ll be presented with the casket.
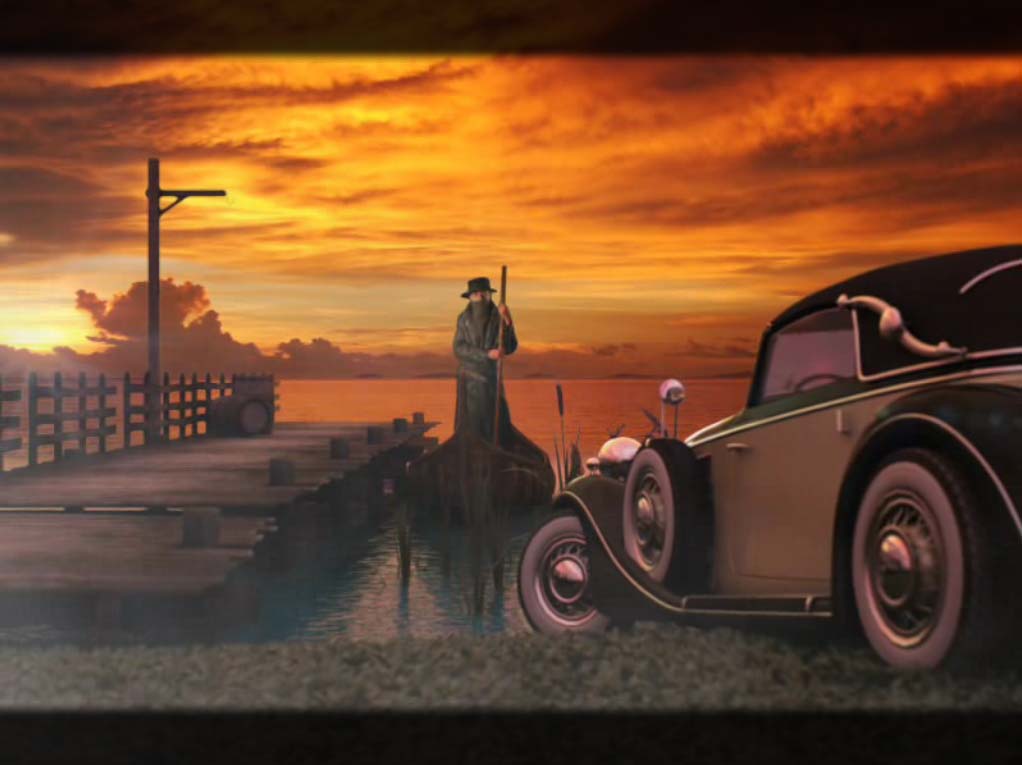
- Go outside and present the casket to the ferryman, who’ll shower with you praise as he disappears off into the proverbial sunset.
Chapter 1: Intro and Skull Hill
Chapter 2: The Mining Town
Chapter 3: The Chapel
Chapter 4: The Mine
Chapter 5: The Small Town
Chapter 6: The Judge's House
Chapter 7: The Swamp
Chapter 8: The Secret Lab
Chapter 9: The Ship
Chapter 10: The End
Bonus Chapter
Ask for help in the comments below!
