
Nevertales: Shattered Image: Chapter Five: Wellspring
Our Nevertales: Shattered Image Walkthrough will assist you as you travel through the Book Worlds searching for the daughter who was taken from you by a strange mirror-hopping monster. Rely on our detailed instructions, custom game screenshots, and simple puzzle solutions to save both your daughter, Alice, and the entire Taleworld before it's too late!
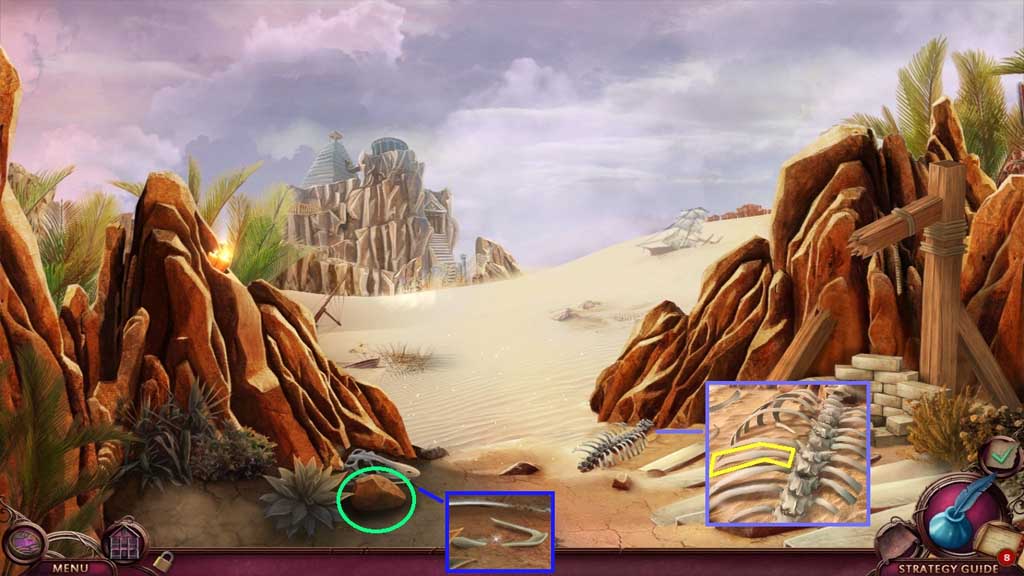
- Click the ribs; collect the bone.
- Collect the blunt rock and the hooked bone.
- Move ahead.
- Click the loose boards.
- Collect the rags.
- Create and collect the rope with hook by combining the rags and the hooked bone.
- Move down once.
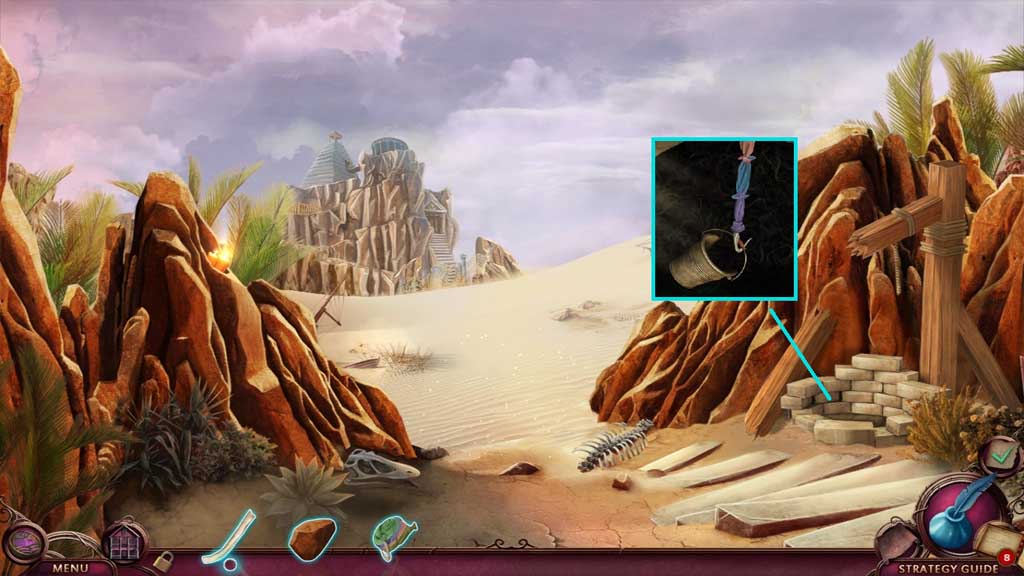
- Use the rope with hook to collect the bucket of oil.
- Move ahead.
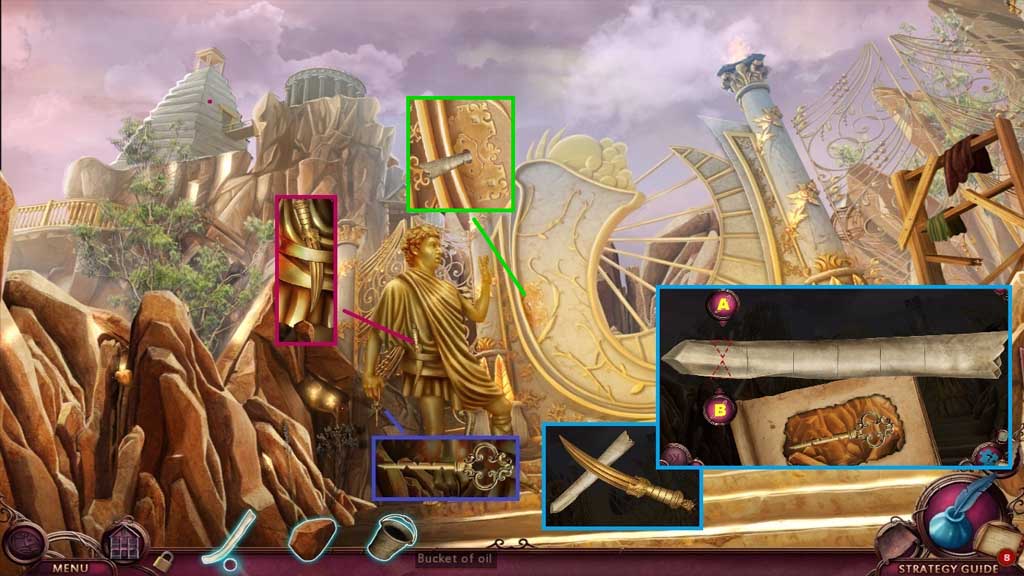
- Click the key 2x’s.
- Use the bucket of oil and the blunt rock to collect the golden dagger.
- Combine the bone and the golden dagger to trigger a mini game.
- Solve the game by replicating the key.
- Use the following sequence to solve: A – B – A x 2 - B
- Receive the skeleton key; insert it into the lock.
- Move ahead into the Temple Hall.
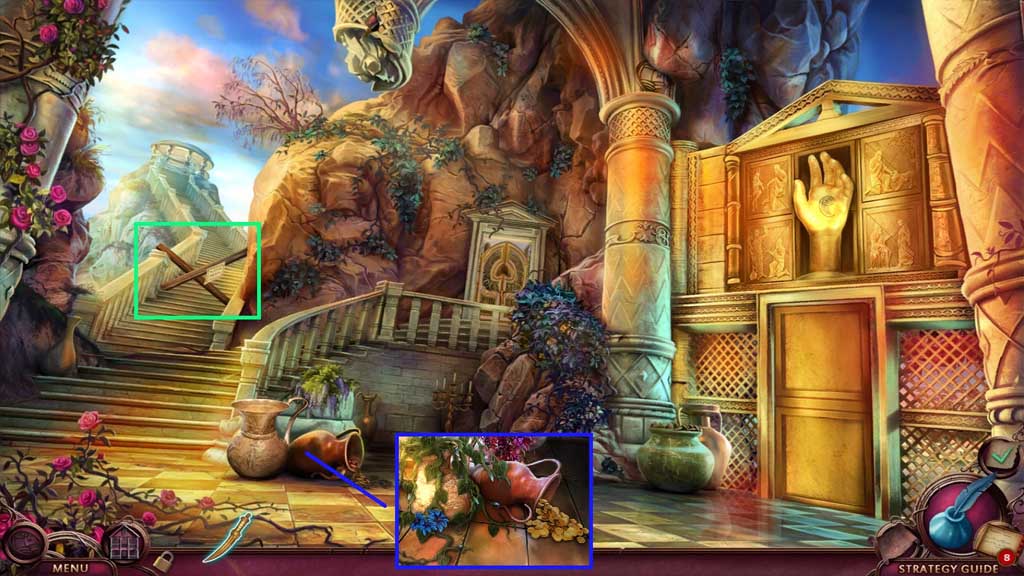
- Click the vines; collect the blue flowers and the small gold coins.
- Zoom into the boards.
- Read the note and click the boards.
- Move up the stairs.
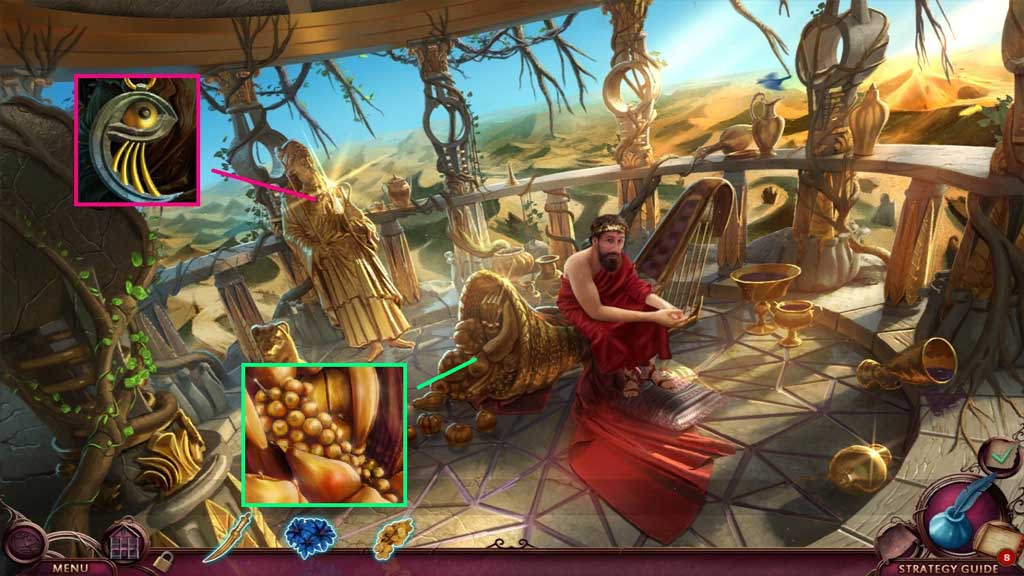
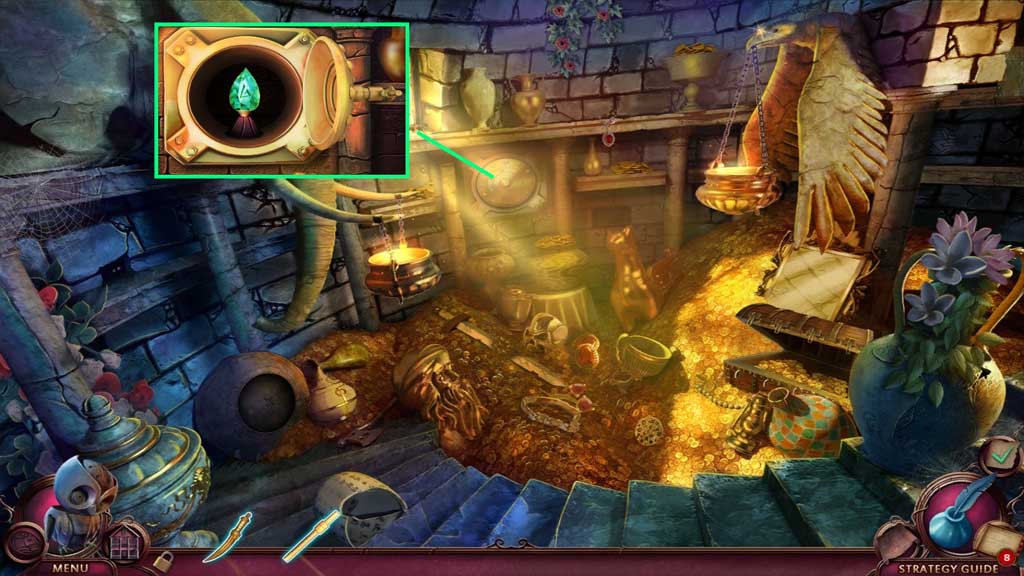
- Collect the philosopher’s stone.
- Collect the golden grapes.
- Move down once.
- Insert the philosopher’s stone to trigger a mini game.
- Solve the game by completing the image.
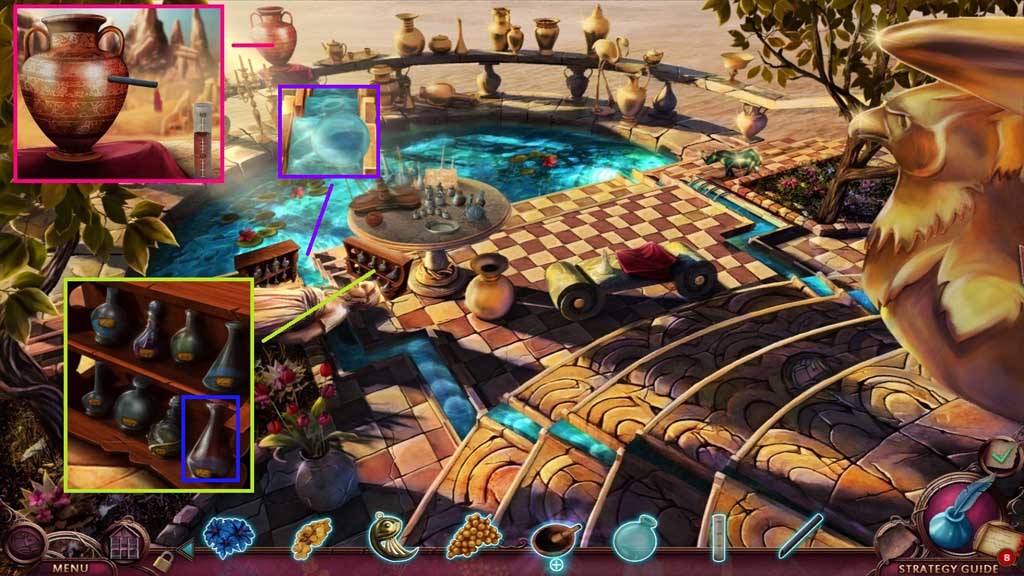
- Move to the right.
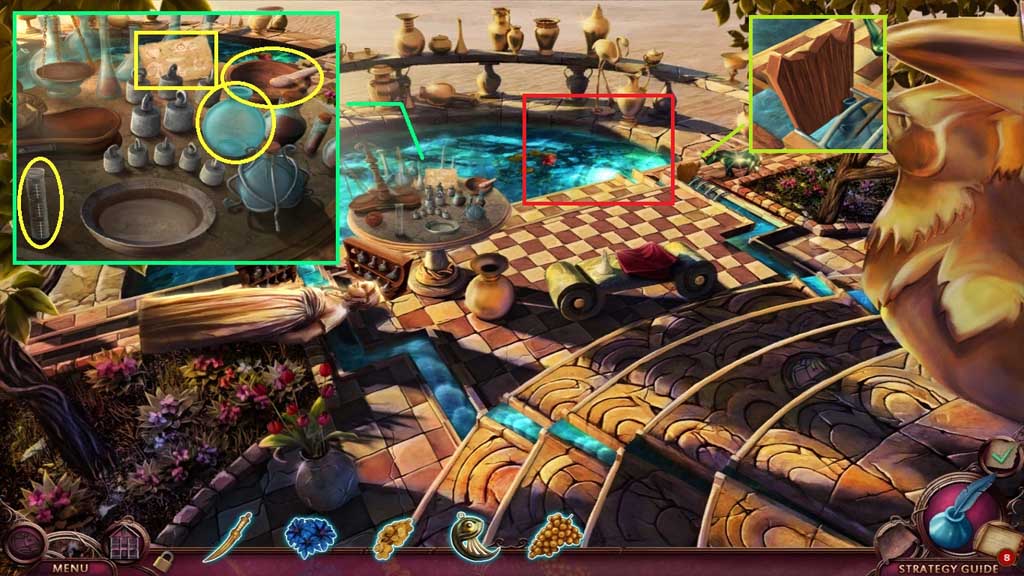
- Read the recipe.
- Collect the mortar and pestle, the beaker and the empty bottle.
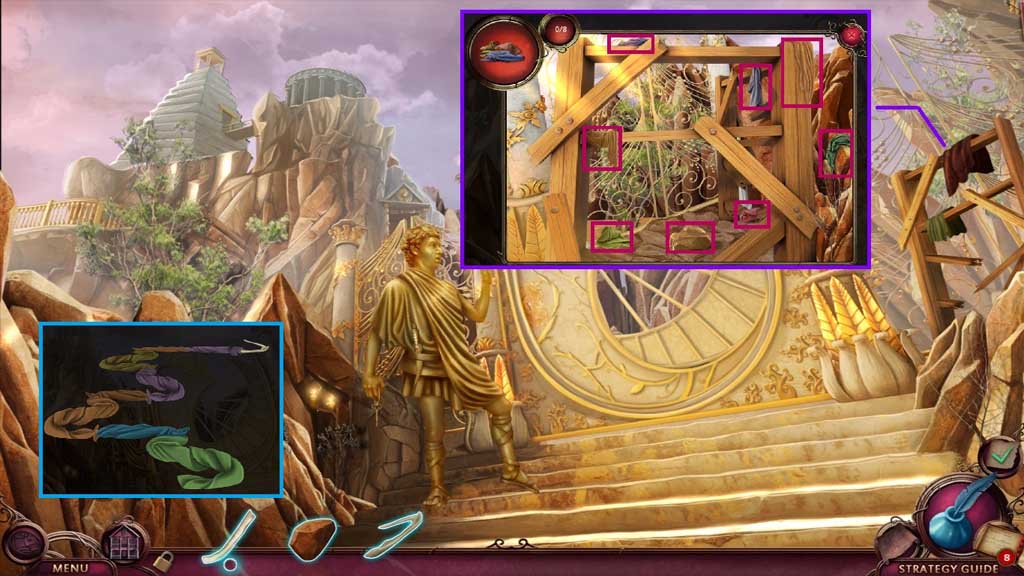
- Click the wood 3x’s to trigger a hidden objects area.

- Find the items.
- Select the heart and place it with the others; collect the clover.
- Click the lily pad aside; place the bow halves together to collect the bow.
- Collect the metal pipe.
- Insert the metal pipe into the jug.
- Place the beaker beneath the pipe; collect the vial of wine when the beaker reaches 2/3.
- Zoom into the bottles.
- Collect the vinegar.
- Select the empty bottle and dip it into the water flow to collect the bottle of water.

- Click the rag, and then click the book.
- Zoom into the photo and click it once to trigger a mini game.
- Solve the game by finding the items within the images.
- Collect the honey comb.
- Move to the Midas’ Room.

- Create and collect the blue grapes by placing the blue flowers, the bottle of water and the golden grapes into the mortar and pestle.
- Place the blue grapes into the nest; collect the blue bird feather.
- Move to the Temple Hall.
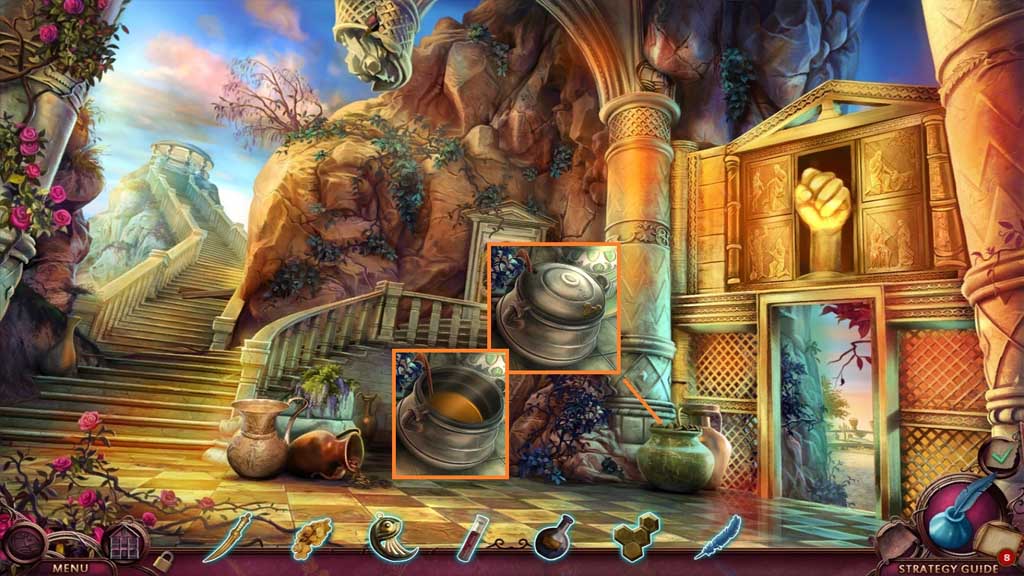
- Insert the honeycomb.
- Click the lid; collect the honey.
- Move to the right.
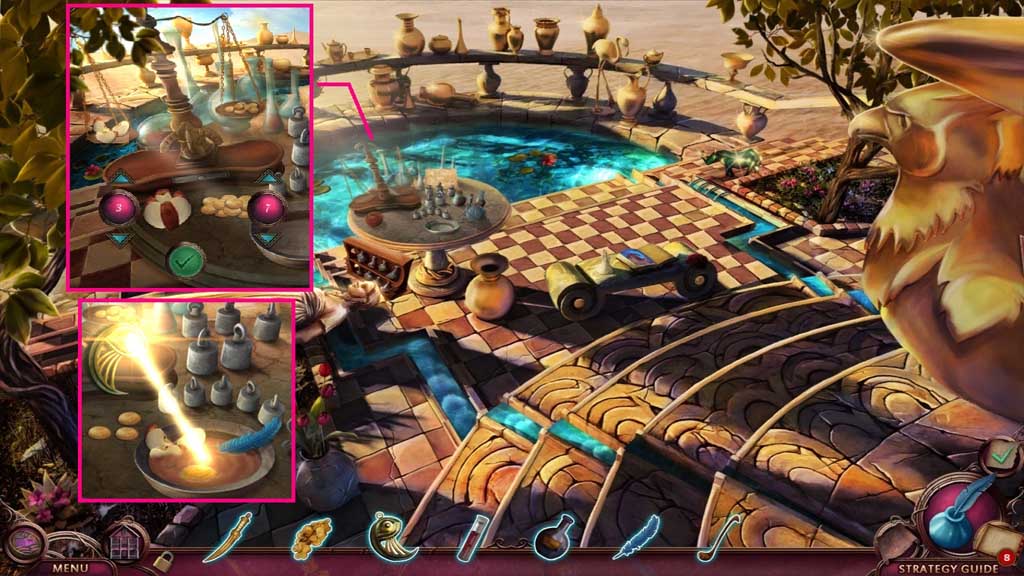
- Slice the apple using the golden dagger and place the gold coins down to trigger a mini game.
- Solve the game by adjusting the scale for 3 apples and 7 coins; click the check mark.
- Click the apple slices on the scale.
- Create and collect the curse breaker by combining the vinegar, the honey, the vial of wine, the blue bird feather and the philosopher’s stone into the bowl.
- Move down once.
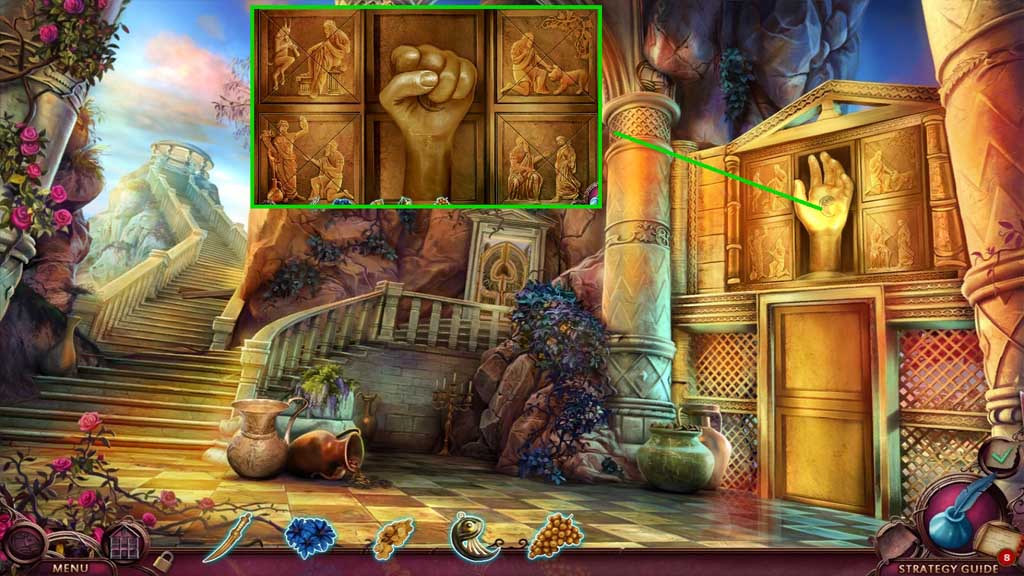
- Select the curse breaker and the golden dagger to remove the rope.
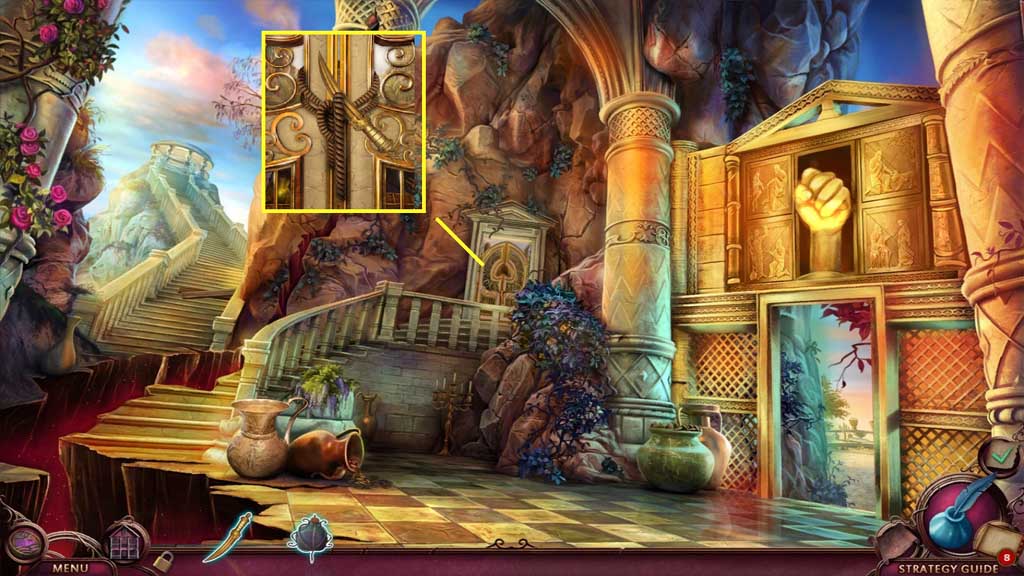
- Move into the Gardens.
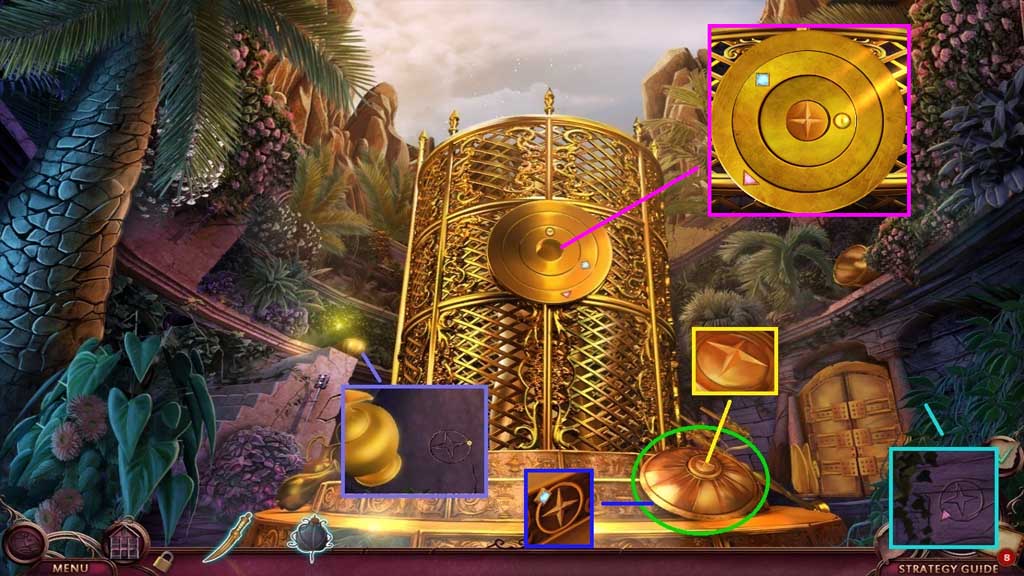
- Click the vases; collect the clue.
- Click the vines; collect the 2nd clue.
- Collect the star, click the dome and collect the 3rd clue.
- Insert the star to trigger a mini game.
- Solve the game by rotating the rings into the correct alignment.

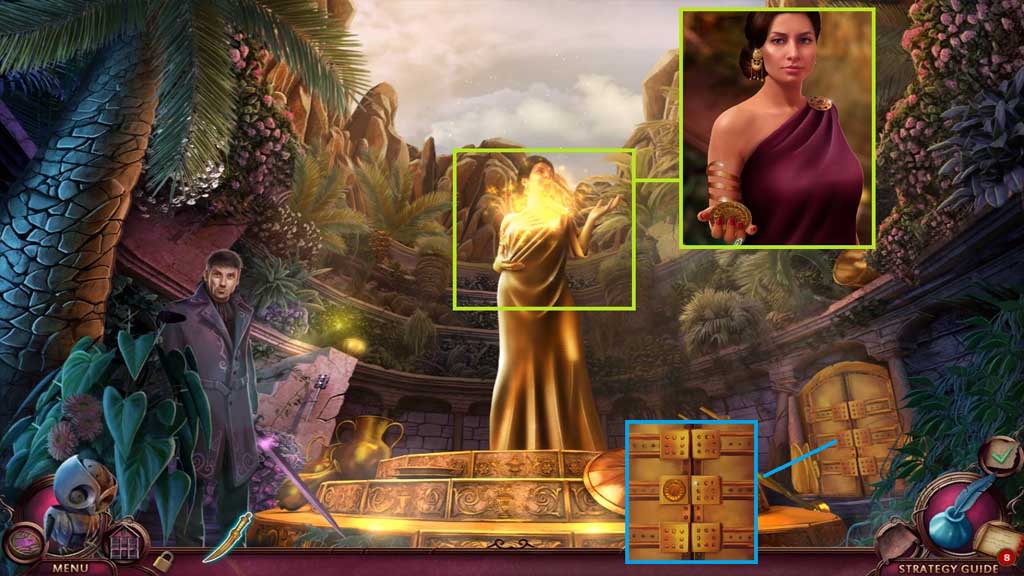
- Select the curse breaker to use on the princess.
- Enter the doorway to the Garden Atrium.
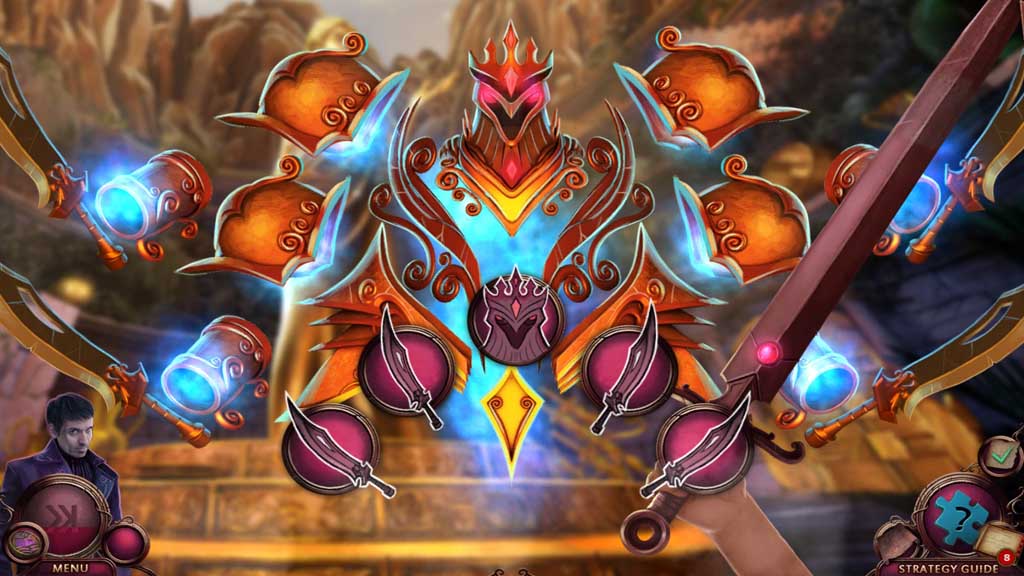
- A mini game will trigger.
- Solve the game by repeating the sequence.
- The solution is random.
- Select the curse breaker to collect the vault door key.
- Insert the vault key.
- Move to the right.
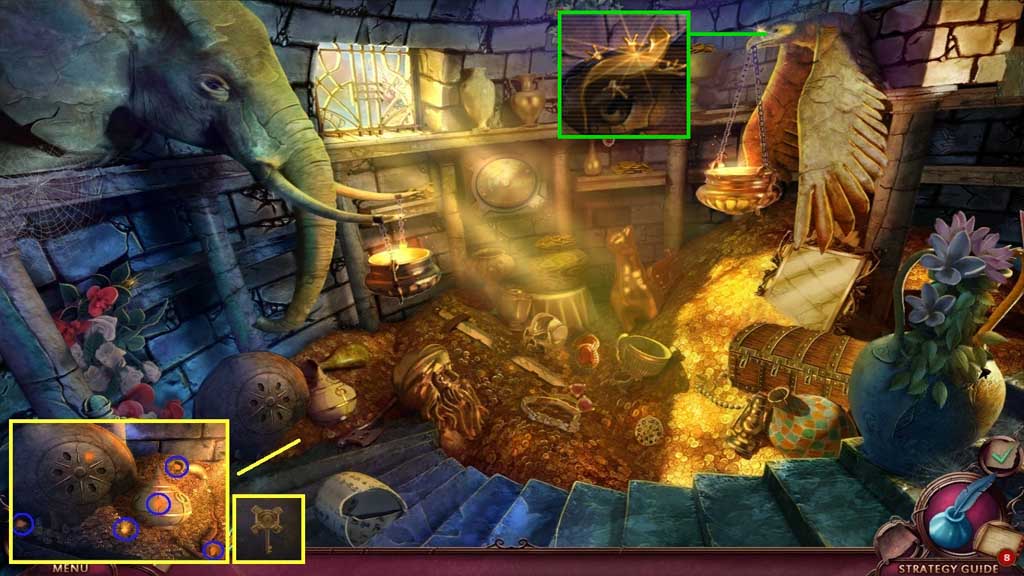
- Click the 5 gems and insert them into the slots; collect 1 /3 vault keys.
- Click and collect the golden lizard.
- Move down once.
- Insert the golden lizard; collect 2 /3 vault keys.
- Move down once.
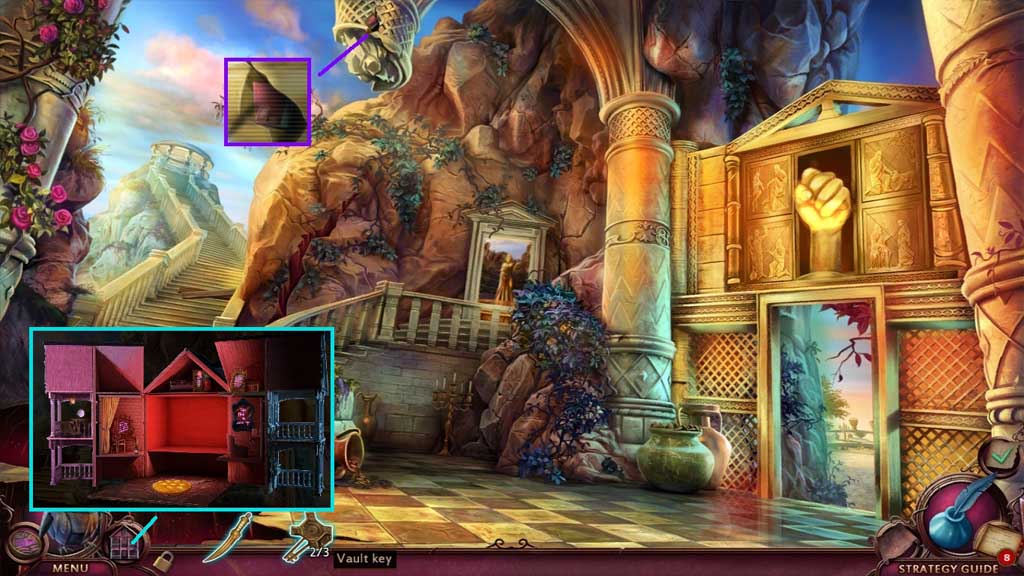
- Click and collect the dollhouse piece.
- Insert it into the dollhouse; collect the cracker.
- Move to the Vault.
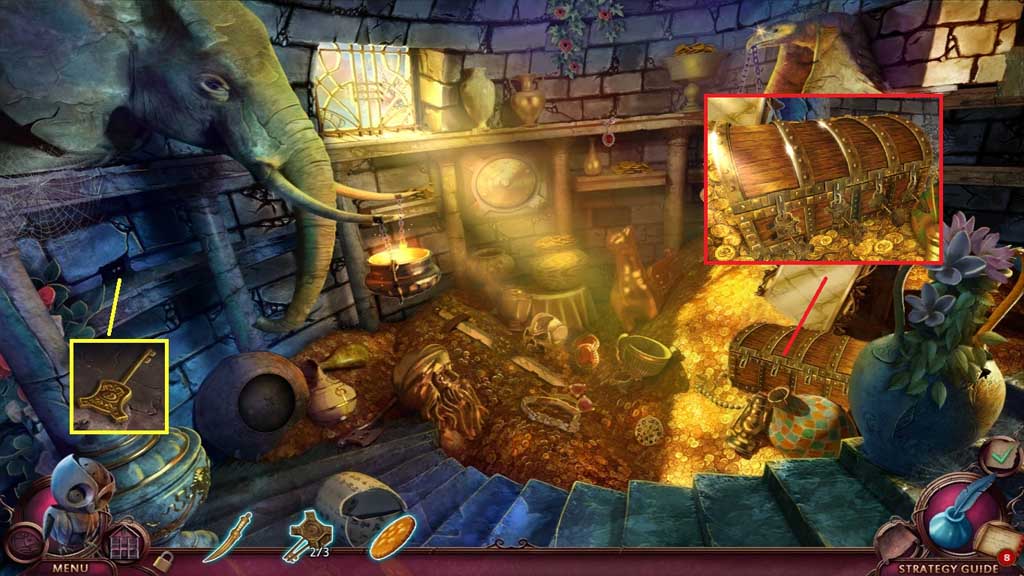
- Click the branch.
- Give the mouse the cracker; collect 3 /3 vault keys.
- Insert the 3 vault keys to trigger a mini game.
- Solve the game by arranging the keys correctly.
- A hidden objects area will trigger.
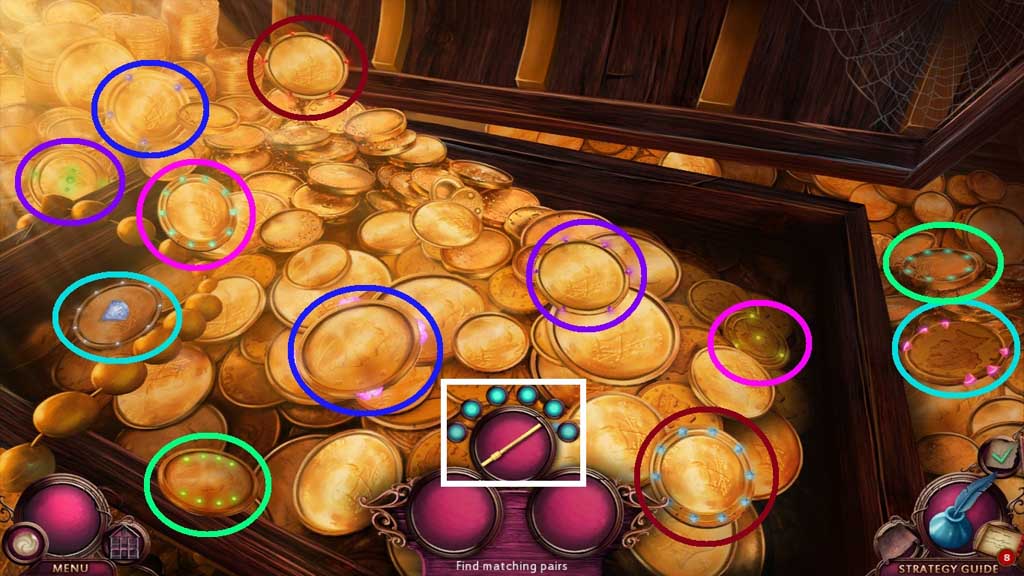
- Find the matching items.
- Collect the vault handle.
- Attach the vault handle and click it once.
- Collect the catalyst.