Mystery of Unicorn Castle: The Beastmaster: Chapter Three: The Blacksmith
Our Mystery of Unicorn Castle: The Beastmaster Walkthrough is a comprehensive guide prepared to help you overcome the obstacles and traps you'll face as you enter the castle of the Beastmaster in search of young Sophie. Put your trust in our detailed, step-by-step instructions, our simple puzzle solutions, and our custom marked screenshots as you attempt to restore the unicorn and save Sophie from the Lord of Beasts.
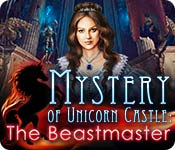
- Click to close the window on the left.
- Take the Page of Sheet Music on the floor
- Click to open the curtain on the right.
- Click to zoom in on the wall behind the curtain.
- Take the Ancient Tome.
- Take the Crowbar.
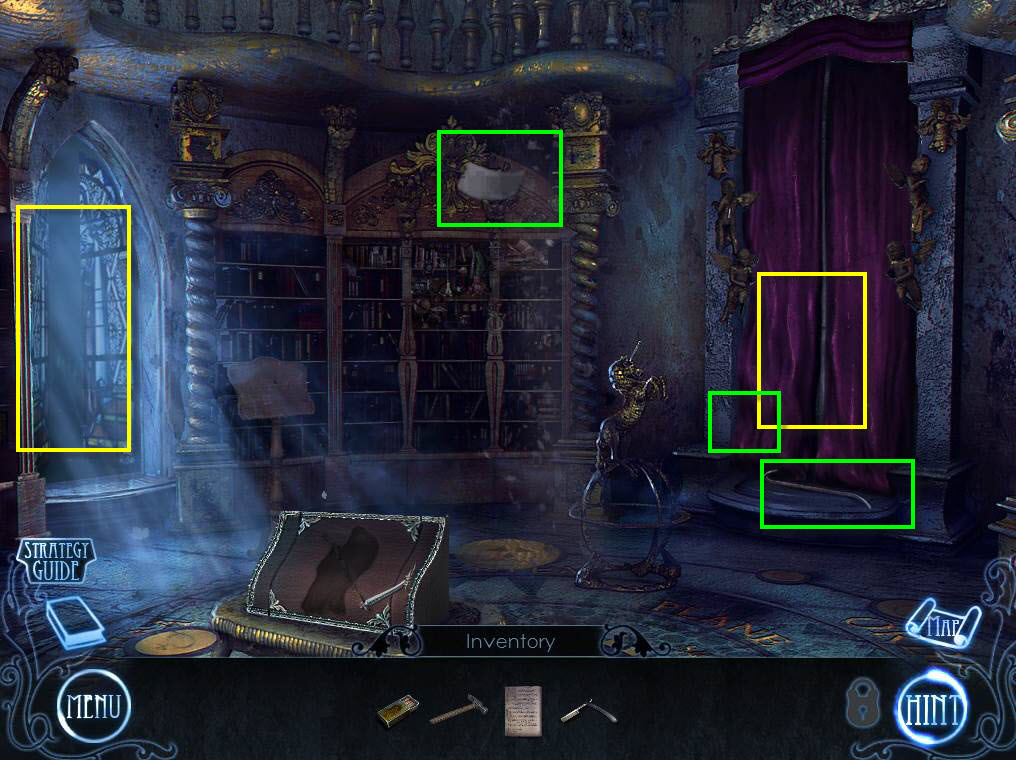
- Use the Ancient Tome on the lectern.
- Use the Straight Razor on the wax.
- Take the Golden Coin.
- Use the Straight Razor again on the wax.
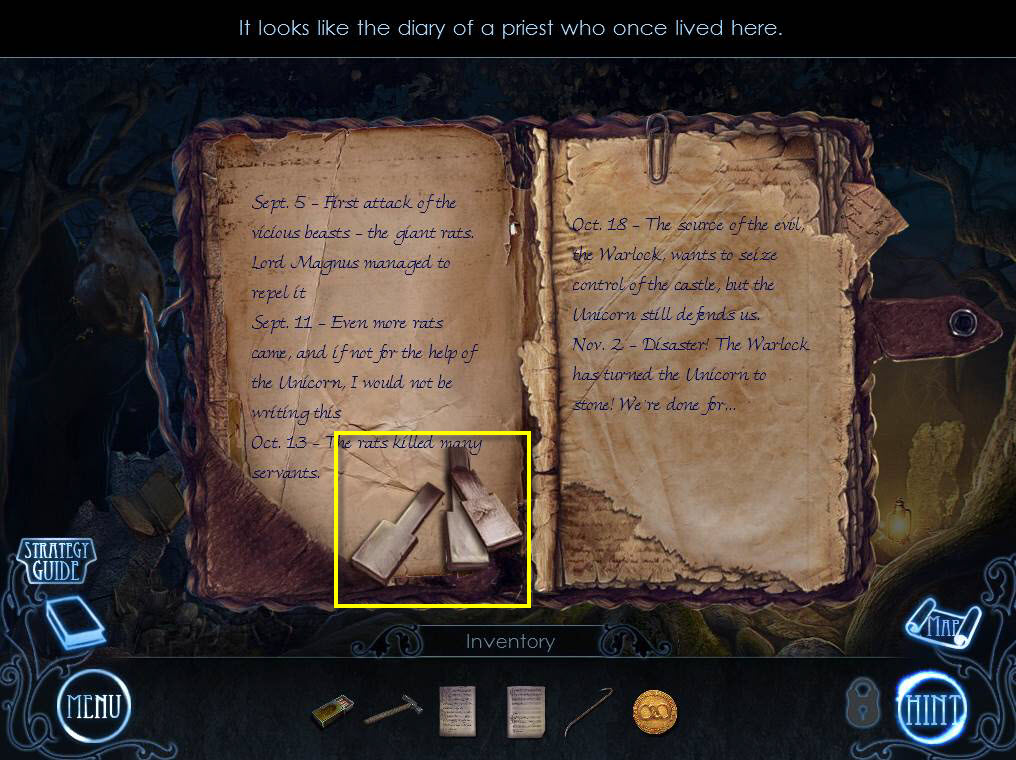
- Click to turn the page twice.
- Take the Note.
- Go to the Kitchen.

- Use the Crowbar on the boards across the door.
- Go through the door to the cellar.
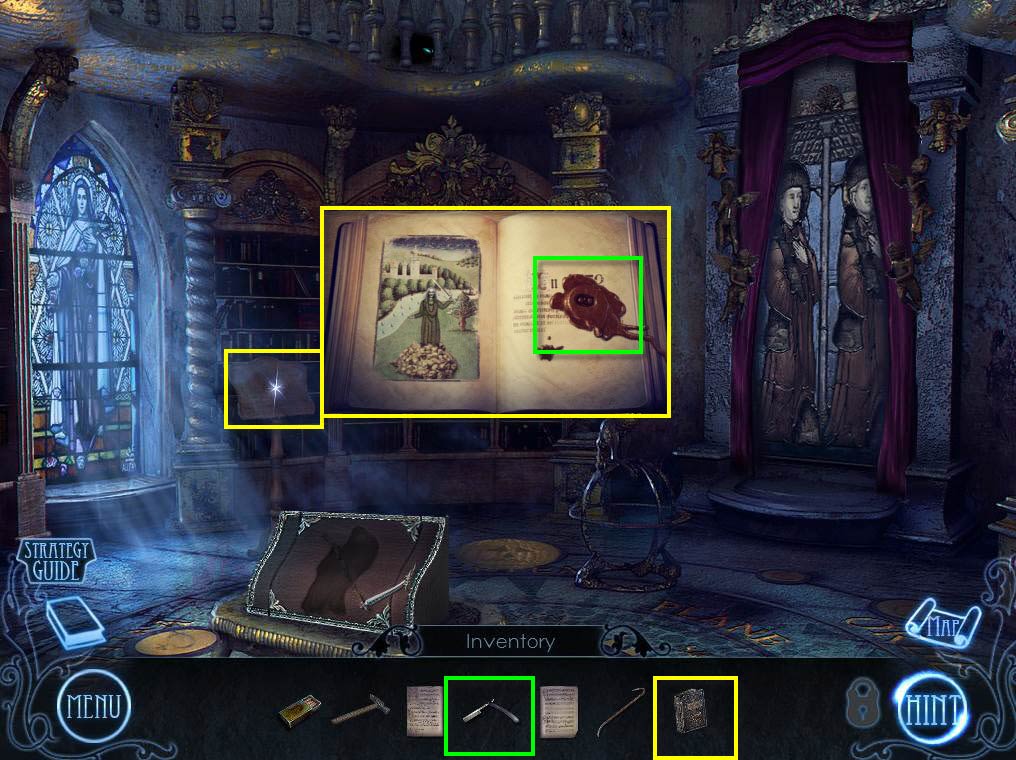
- Click on the sparkles to play the HOG.
- Find all the items on the list.
- You will receive the Balance Weight.
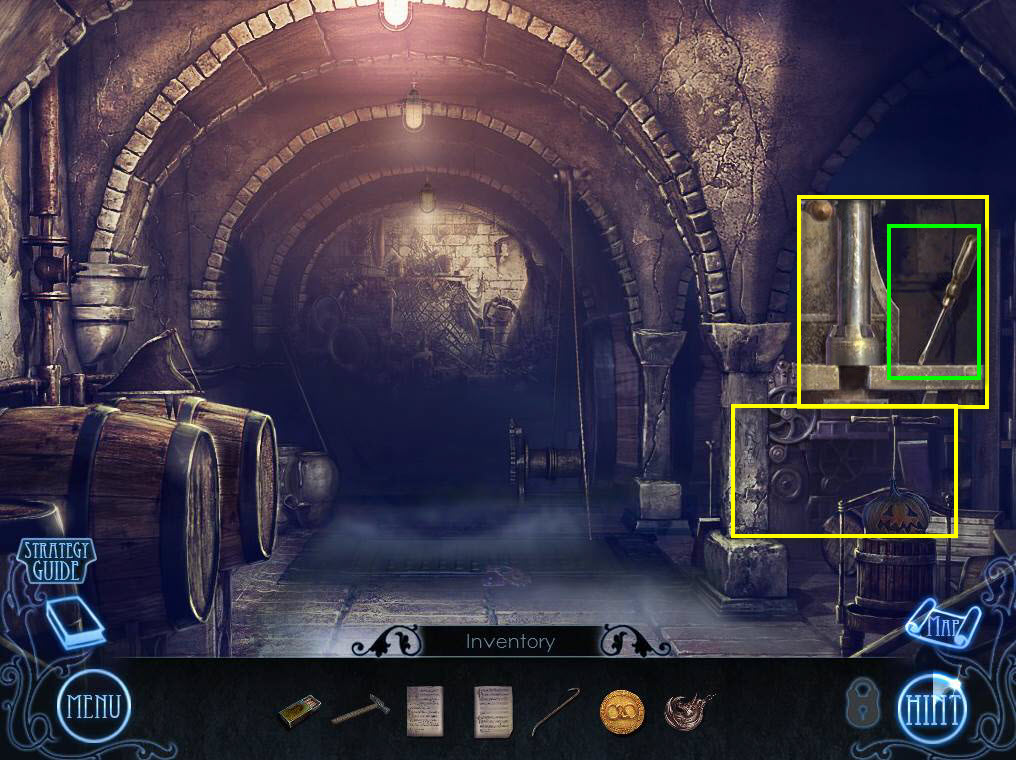
- Click to zoom in on the right.
- Take the Screwdriver.
- Go back one screen.

- Click to zoom in on the lock on the door.
- Use the Screwdriver to remove the screws.
- Use the Screwdriver to pry the panel off.
- You will receive the Screws.
- Play the mini-game.

- The object of the game is to move the unicorn to the castle.
- The solution is: Down, Right, up, left, up, right, down, left, up, right, down.
- Go to the Greenhouse.
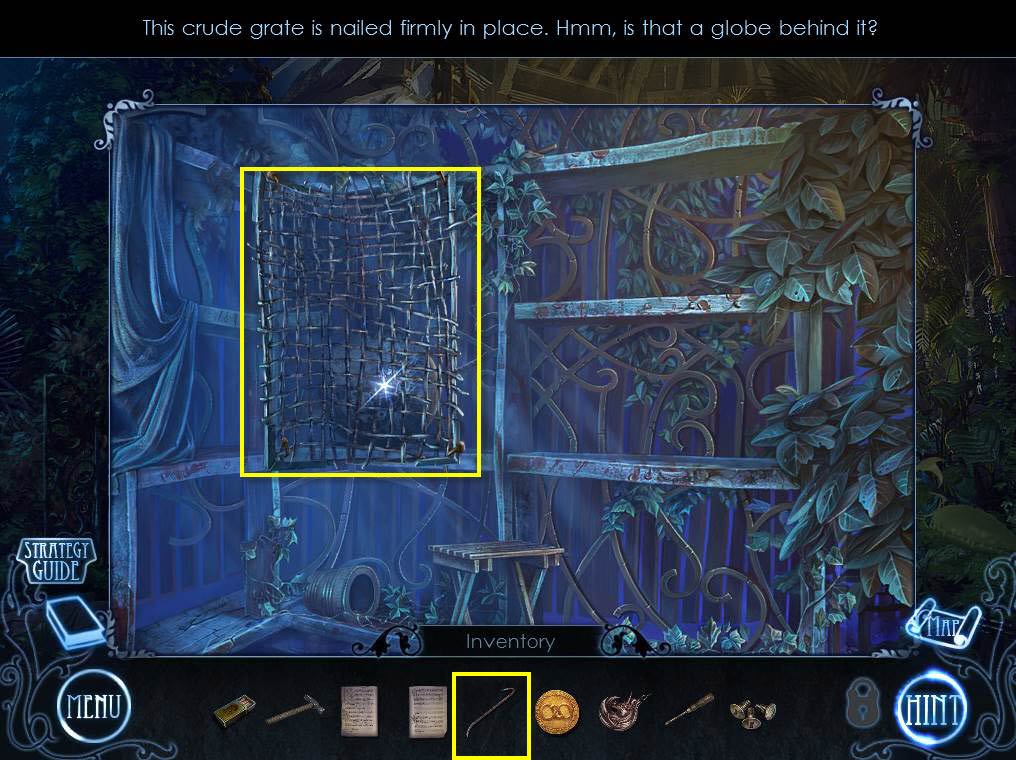
- Click to zoom in on the left.
- Use the Crowbar on the grate.
- Take the Globe.
- Go to the Library.
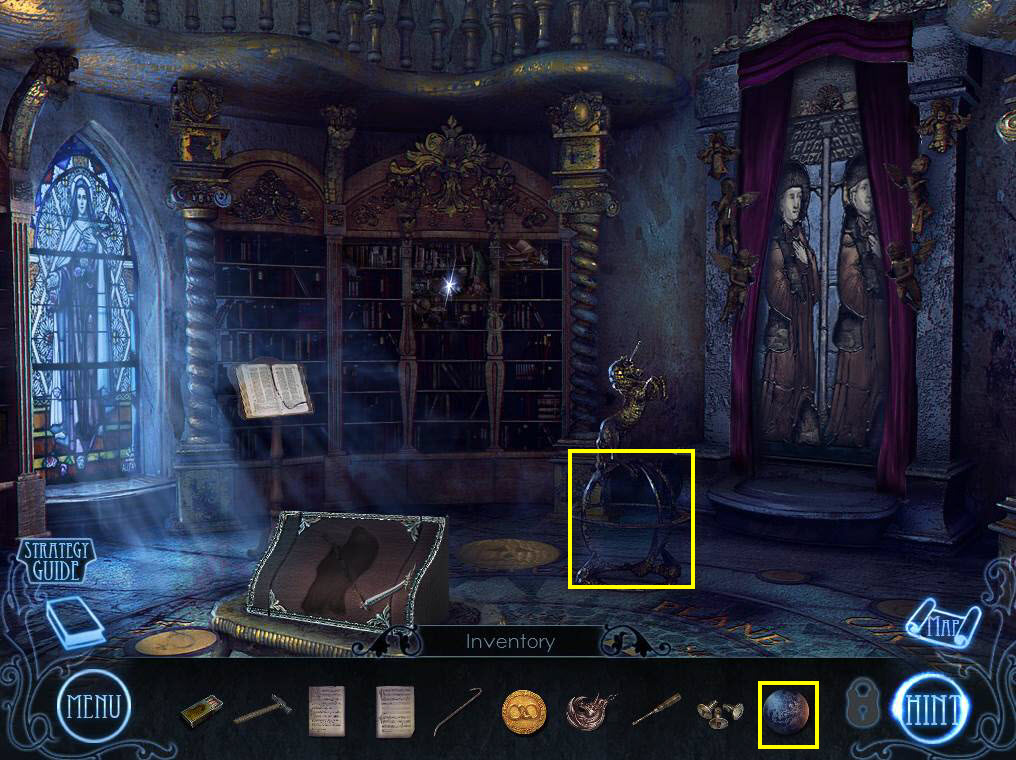
- Use the Globe on the unicorn frame.
- Click on the globe to play the Mini-game.
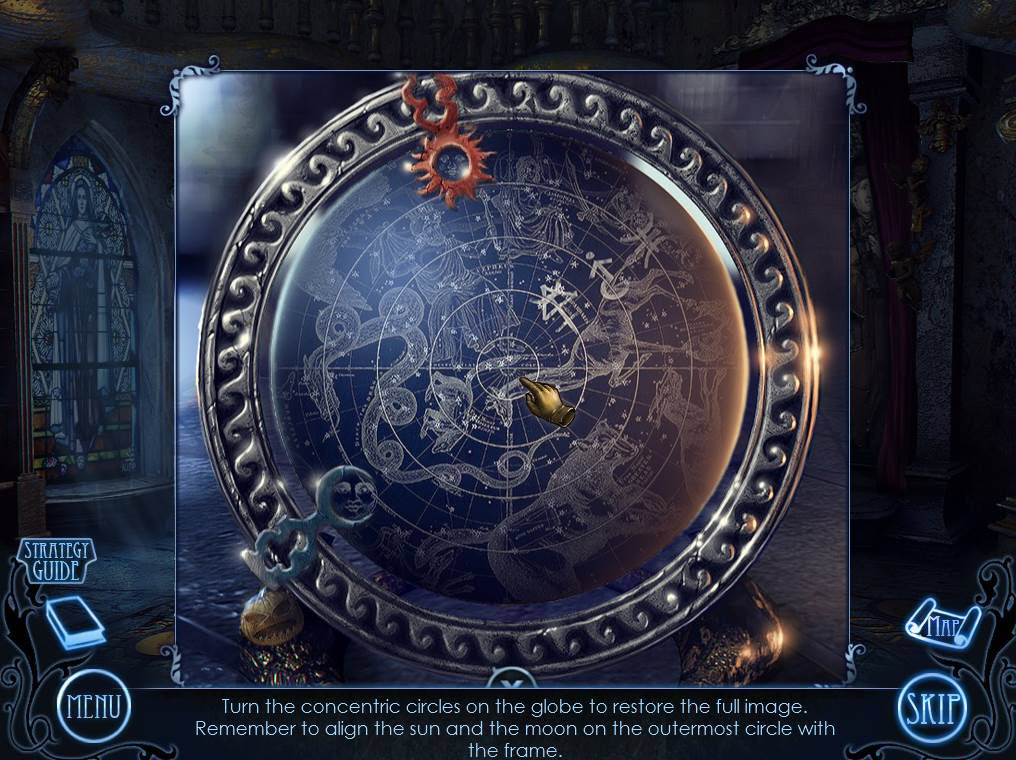
- The goal of the puzzle is to move the rings to restore the image.
- See the screenshot for the solution.
- Go to the Castle Hall.
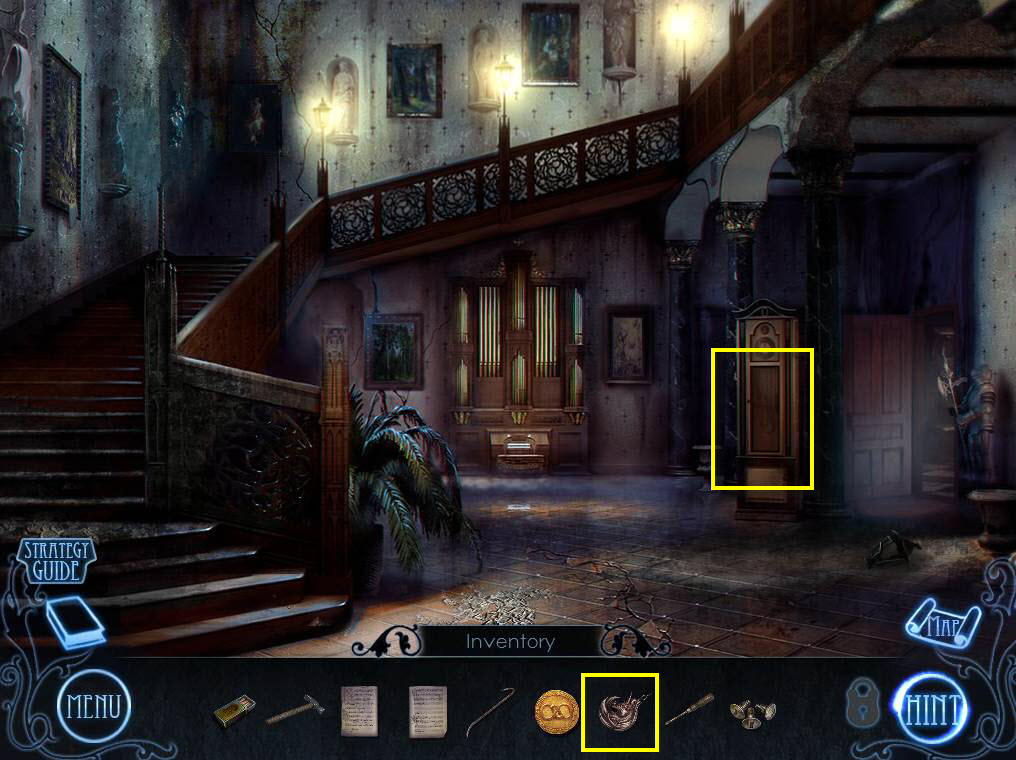
- Click to zoom in on the click.
- Open the clock.
- Use the Balance weight on the clock.
- Take the Cog.
- Go to the Office.
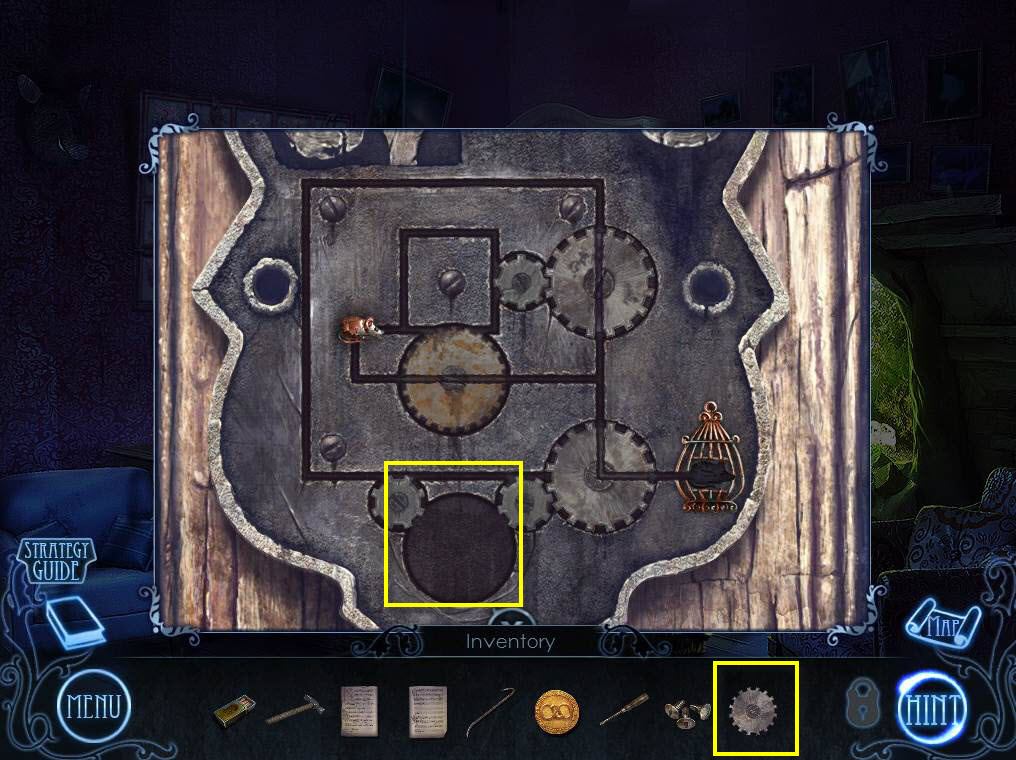
- Click to zoom in on the cabinet.
- Use the Cog.
- Play the min-game.
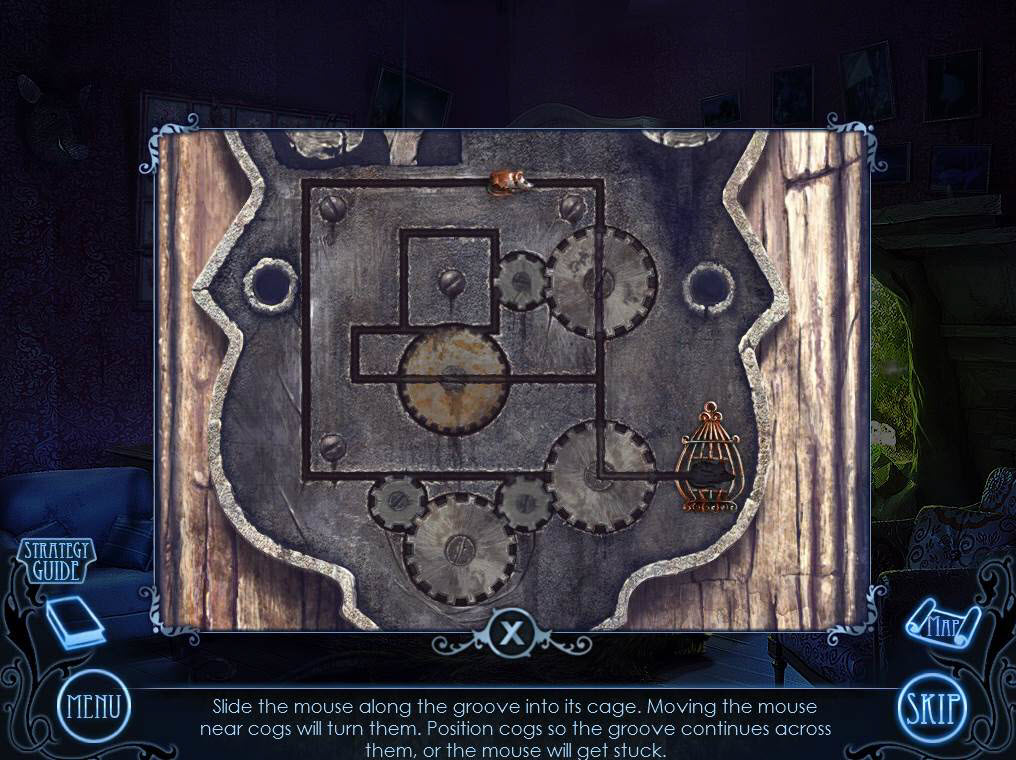
- You need to move the mouse through the slots. When you move the mouse past a gear, it will move the gear. The goal is to get the mouse to the cage.
- See the screenshot for the solution.
- Click on the sparkles to play the HOG.
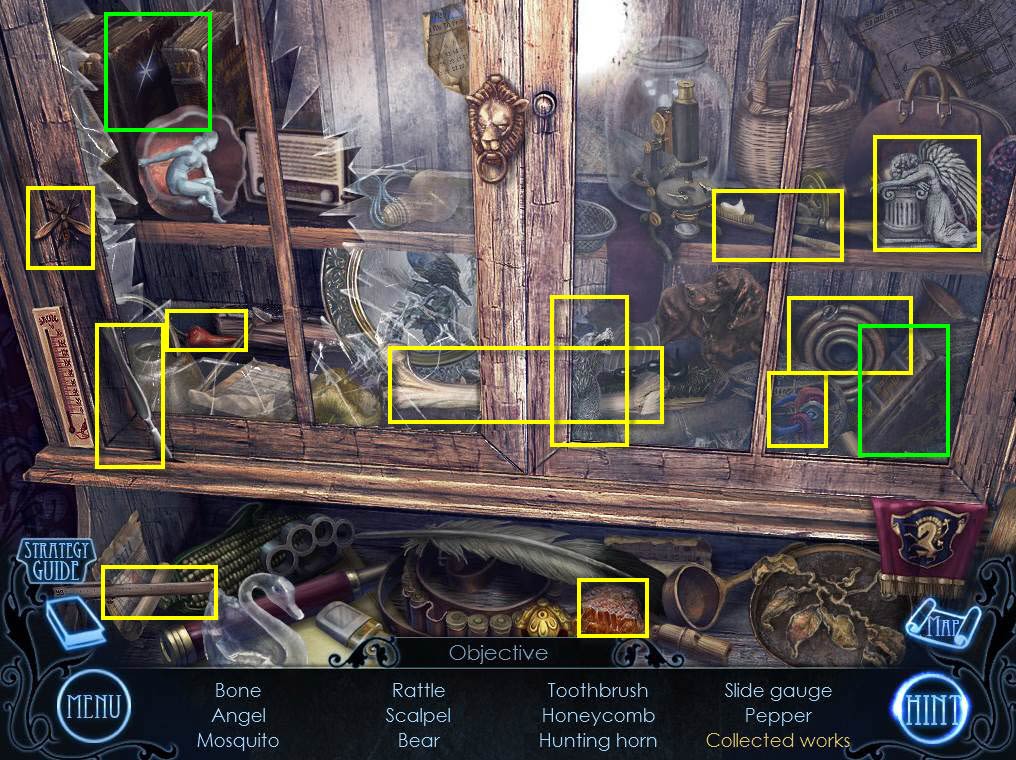
- Find the items on the list.
- You will receive the Blacksmith's Death Sentence.
- Go to the Smithy.

- Use the Blacksmith's Death Sentence on the blacksmith.
- You will receive the Blacksmith's Ring.
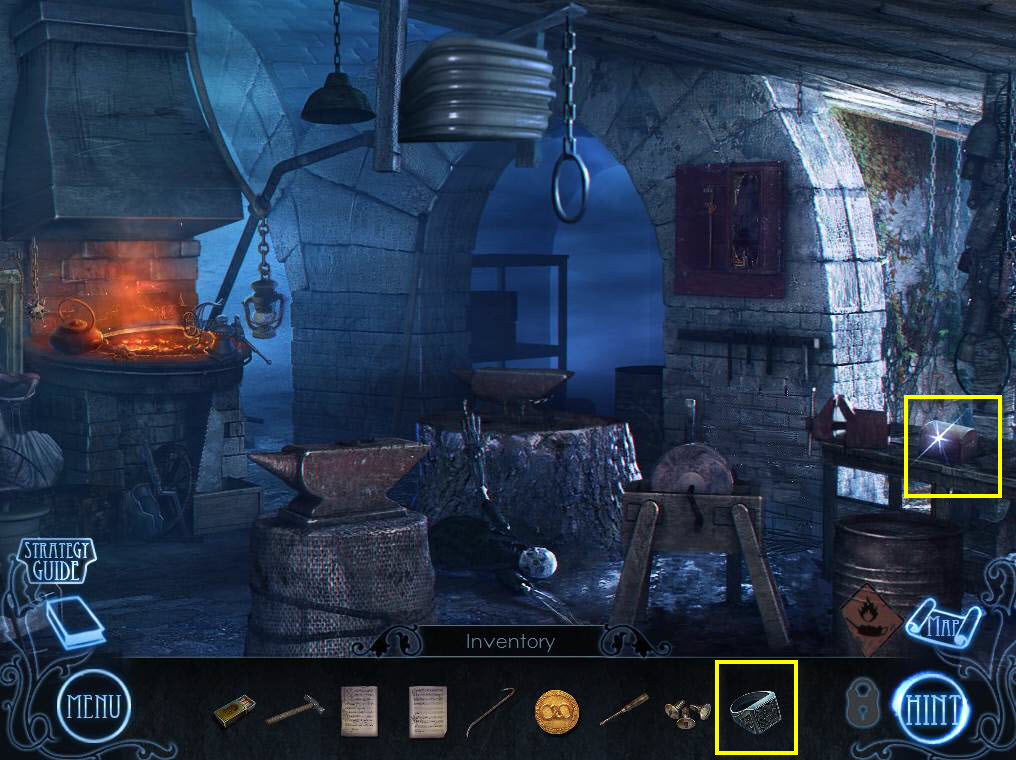
- Use the Blacksmith's Ring.
- Click to turn it.
- Play the mini-game.
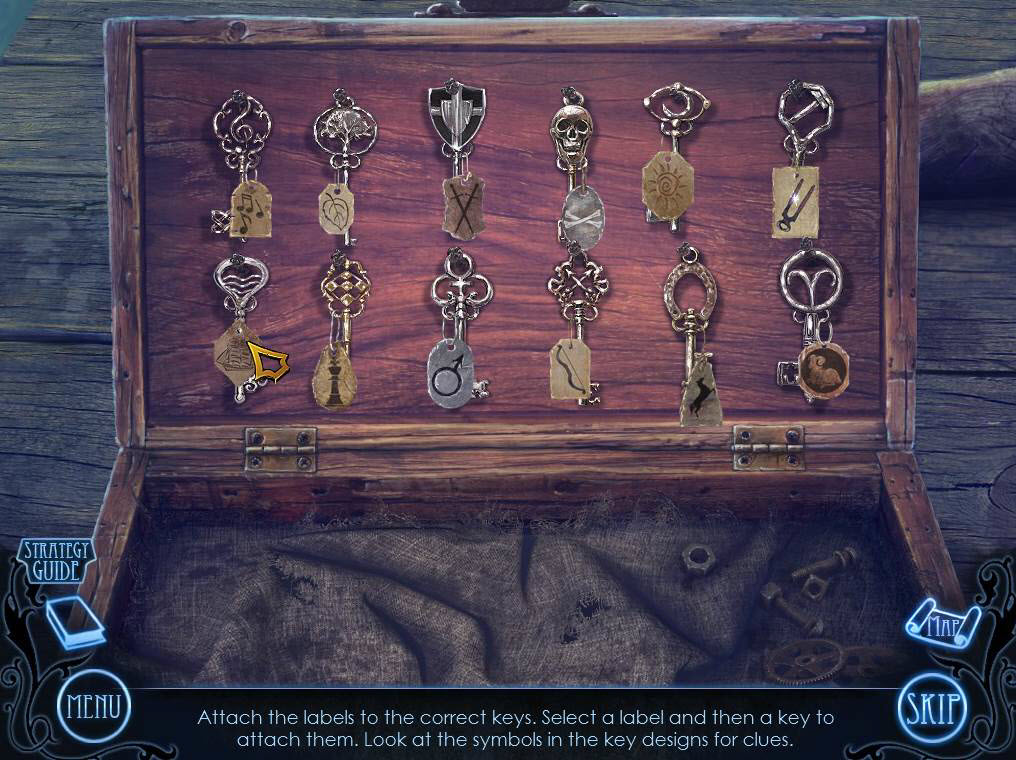
- See the screenshot for the solution.
- You receive the Key with Leaf Label.
- Go to the Greenhouse.
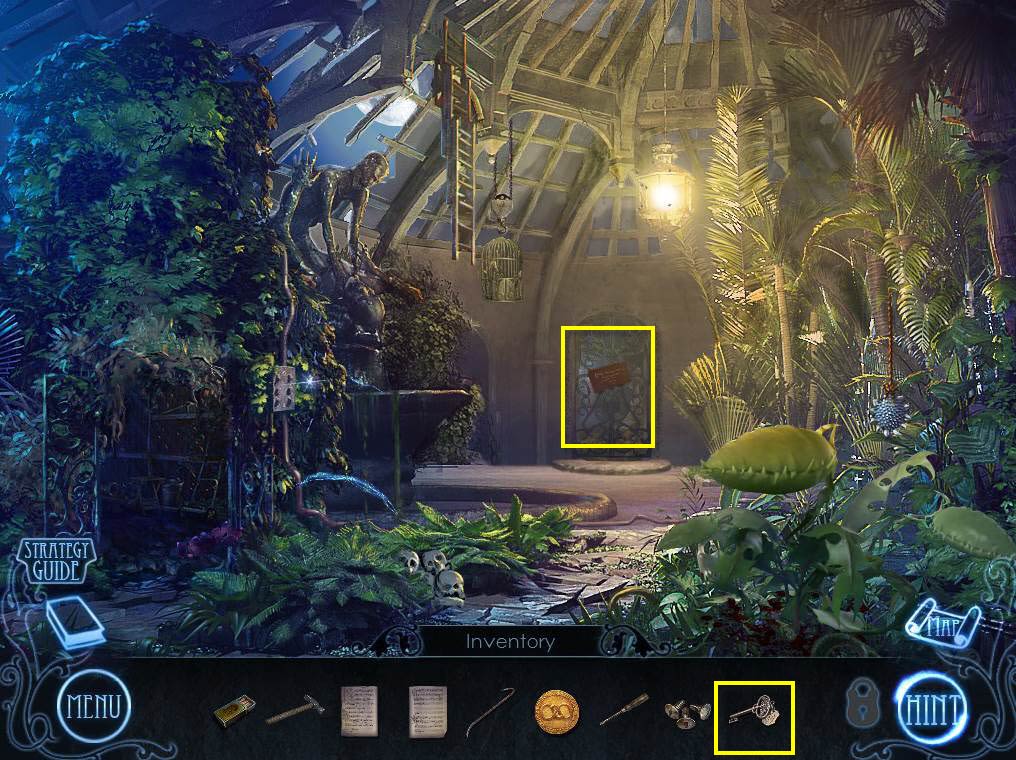
- Click to zoom in on the door.
- Use the Key with Leaf Label.
- Go forward to the Stone Circle.
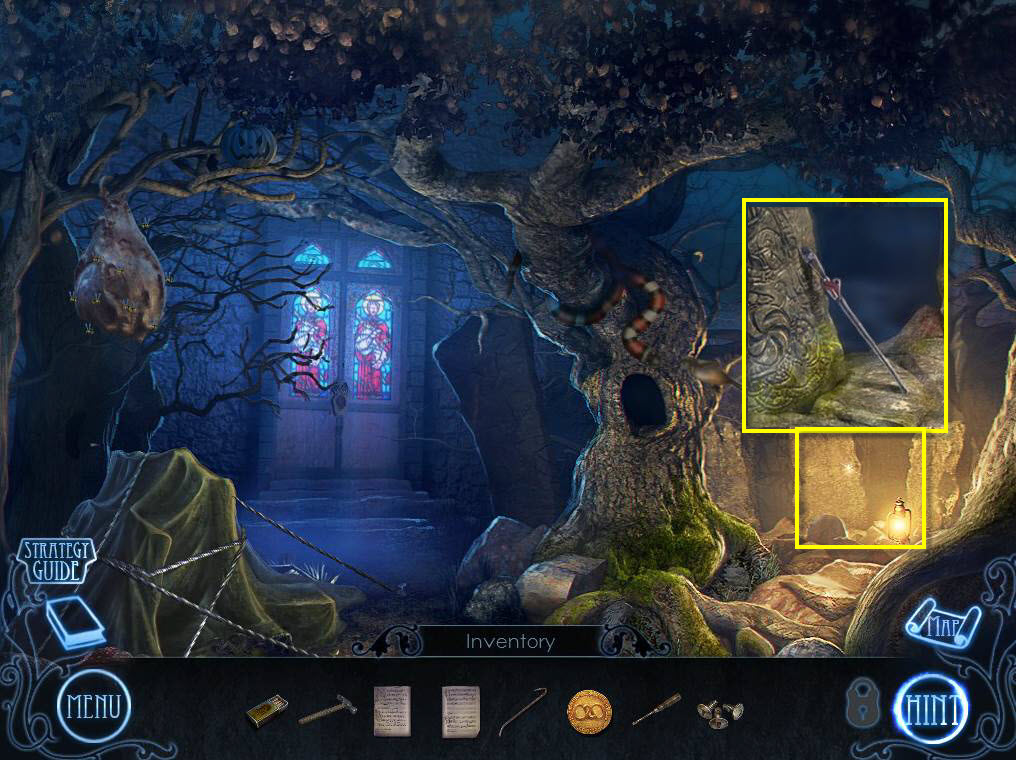
- Click to zoom in on the right.
- Take the Bolt Cutter Half.
- Go to the Smithy.
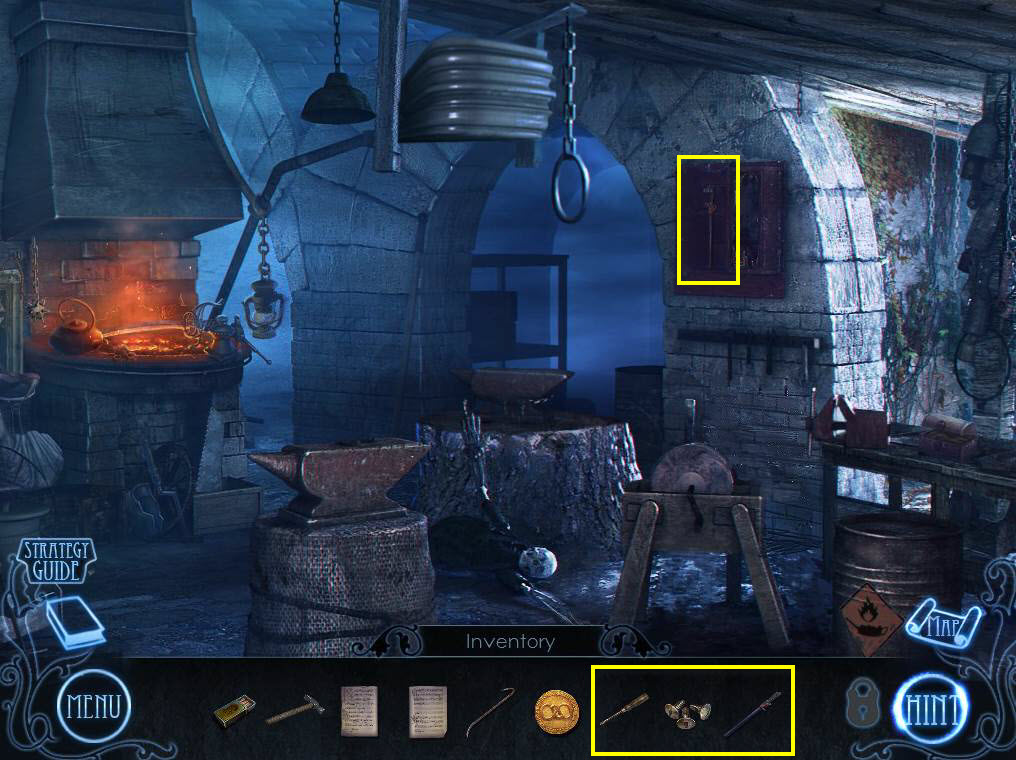
- Click to zoom in on the cabinet.
- Use the Bolt Cutter Half.
- Use the Screws.
- Use the Screwdriver to tighten the screws.
- Take the Bolt Cutters.
- Go to the Stone Circle.
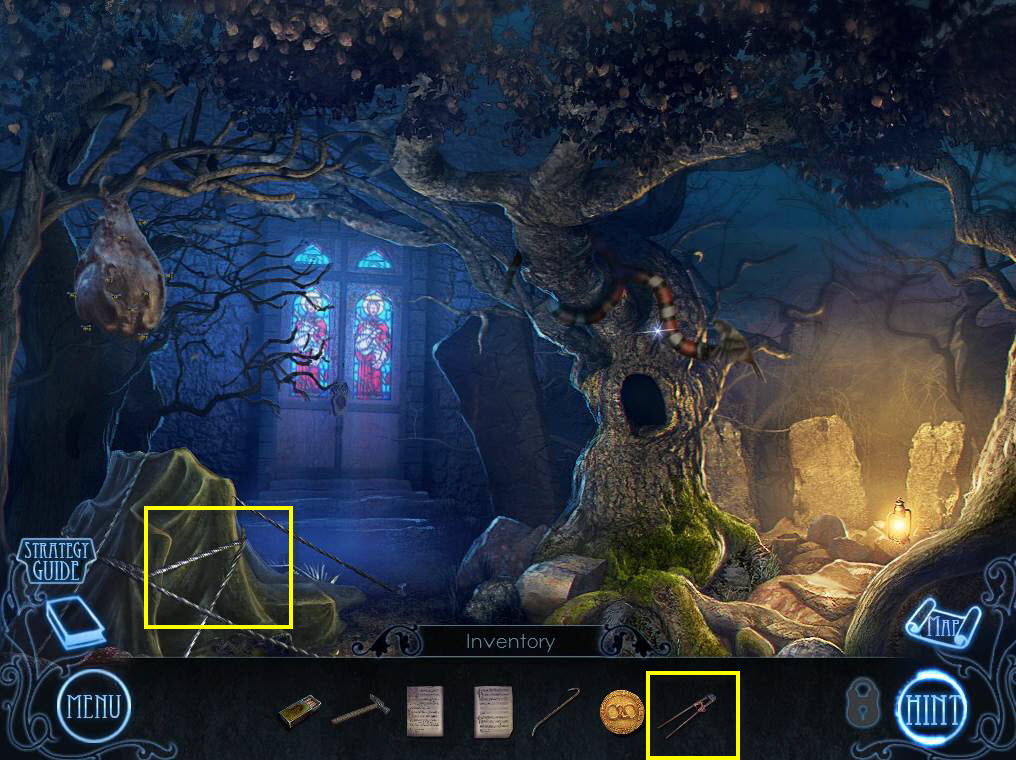
- Use the Bolt Cutters on the wires.
- Click to move the cloth.
- Click to zoom in on the pile.
- Take the Organ Keys.
- Go to the Castle Hall.
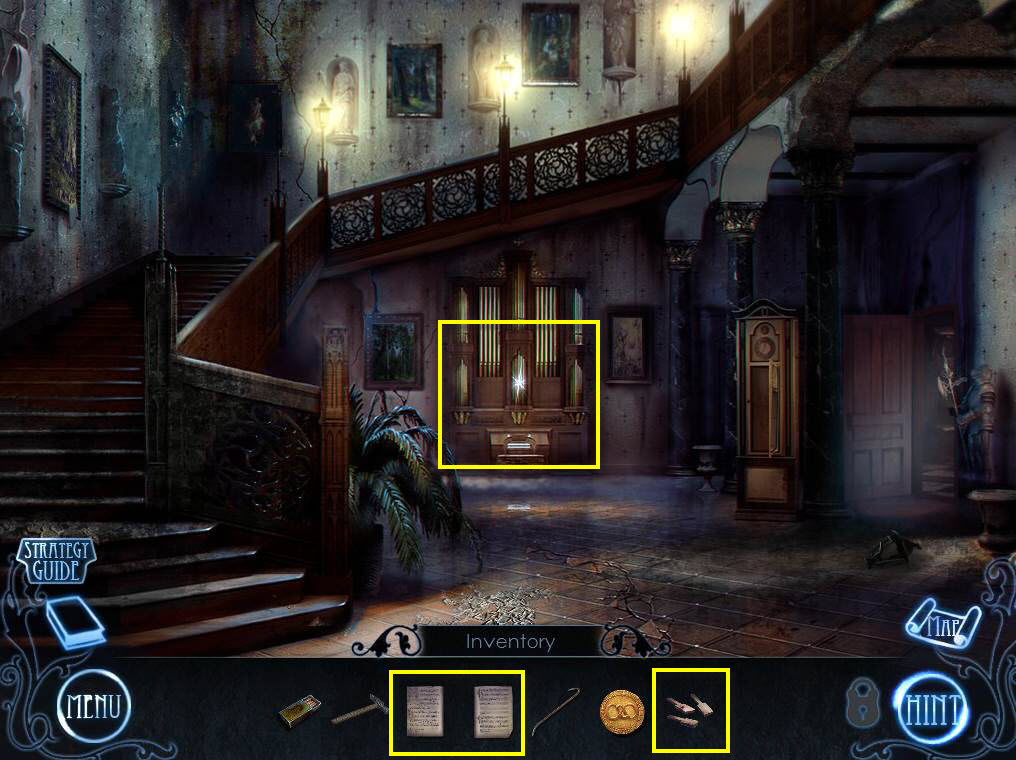
- Use the Organ Keys and the 2 Pages of Sheet Music.
- Take the Metal Skull.
- Go to the Stone Circle.
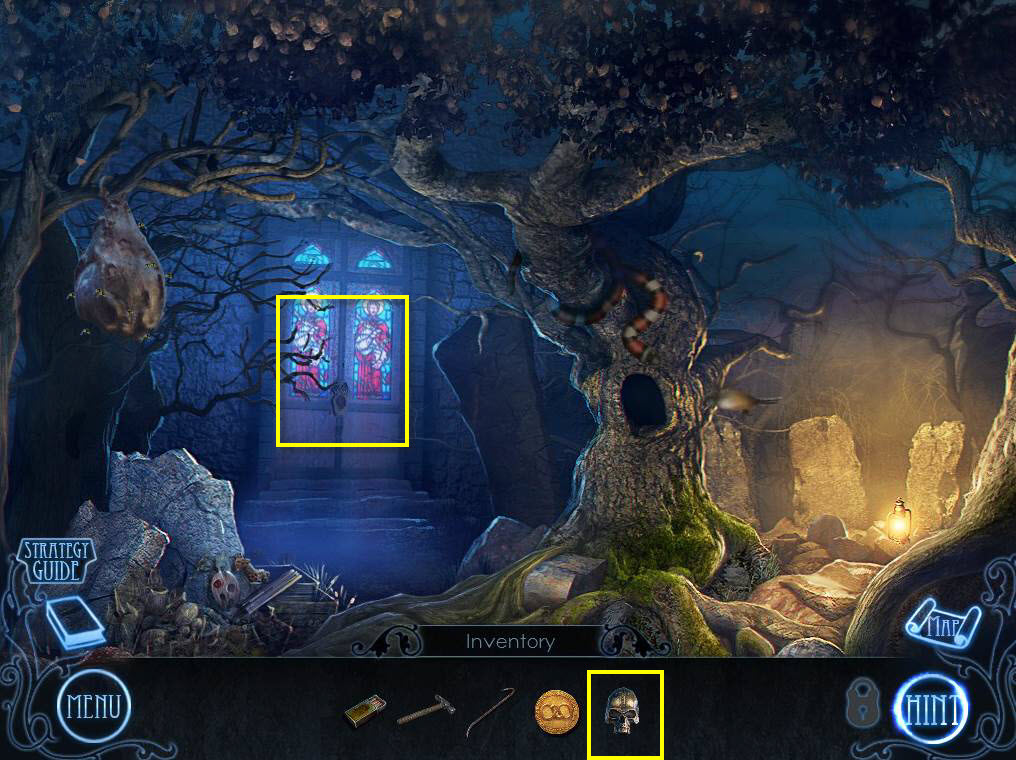
- Click to zoom in on the door.
- Use the Metal Skull.
- Enter the Chapel.