Mystery of Unicorn Castle: The Beastmaster: Chapter Two: Inside the Castle
Our Mystery of Unicorn Castle: The Beastmaster Walkthrough is a comprehensive guide prepared to help you overcome the obstacles and traps you'll face as you enter the castle of the Beastmaster in search of young Sophie. Put your trust in our detailed, step-by-step instructions, our simple puzzle solutions, and our custom marked screenshots as you attempt to restore the unicorn and save Sophie from the Lord of Beasts.
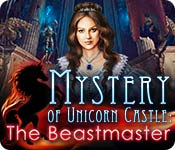
- Click to zoom in on the organ.
- Take the Hammer.
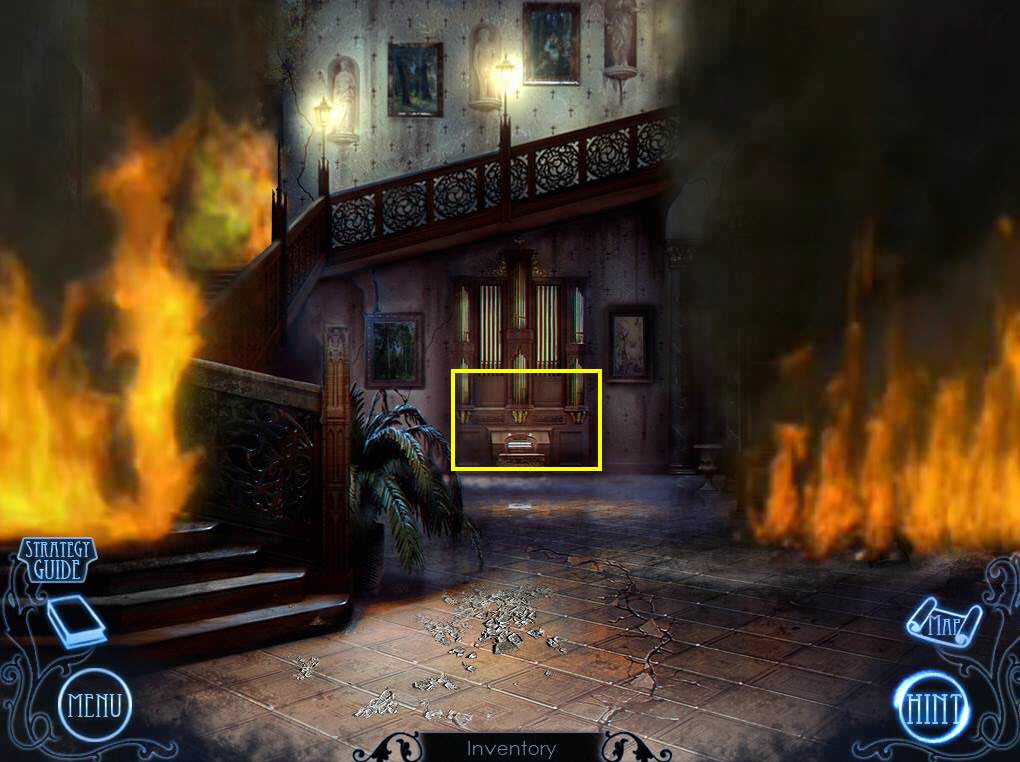
- Go to the Smithy
- Click to zoom in on the cabinet.
- Use the Hammer on the glass three times
- Take the Fire extinguisher.
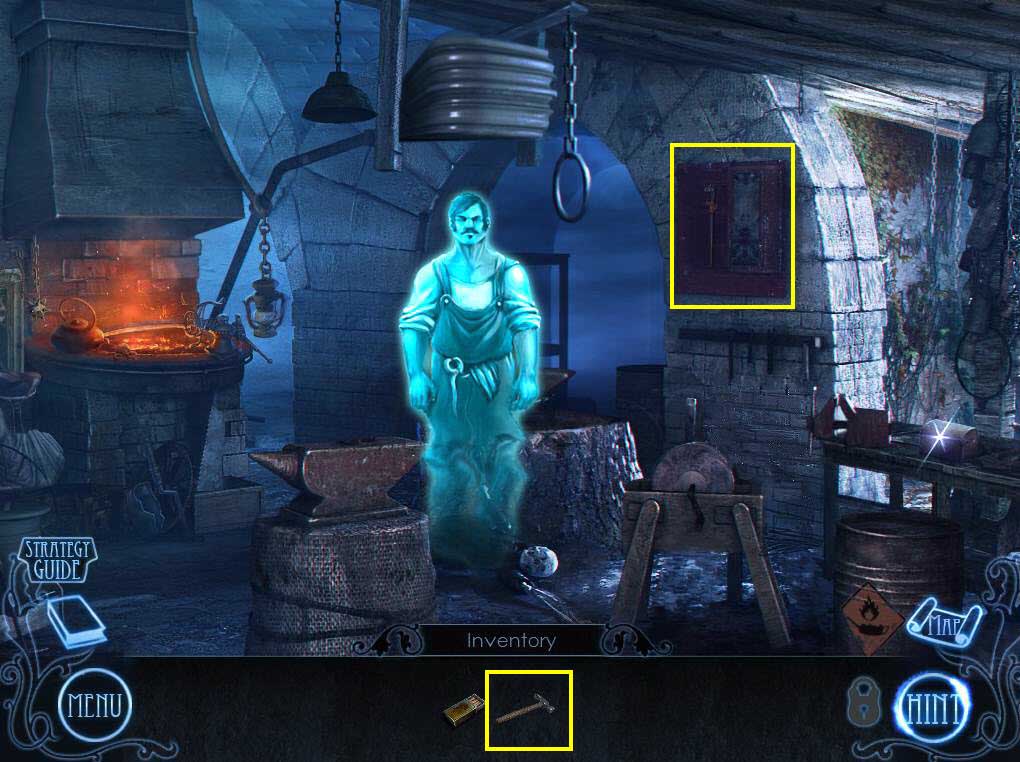
- Go down one screen.
- Use the Fire extinguisher on the rat.
- Go to the Castle Hall.
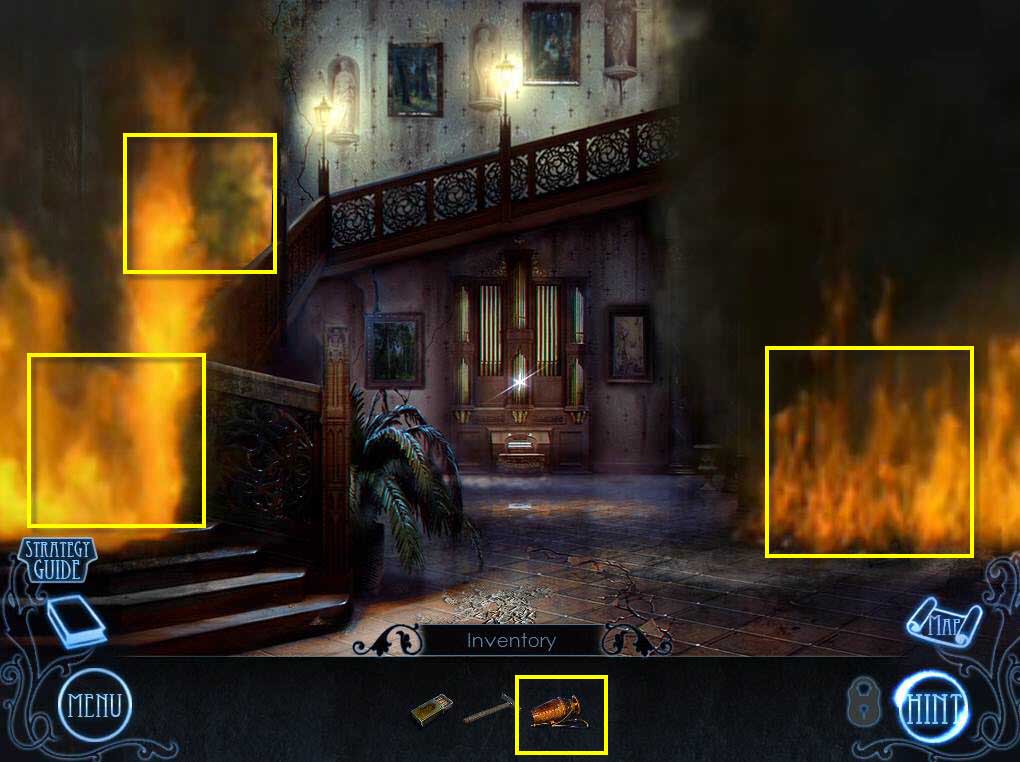
- Use the Fire extinguisher on the flames.
- This will start a mini-game.
- Extinguish all three fires making sure to get all the flames.
- Go up the stairs.
- Click to zoom in on the right.
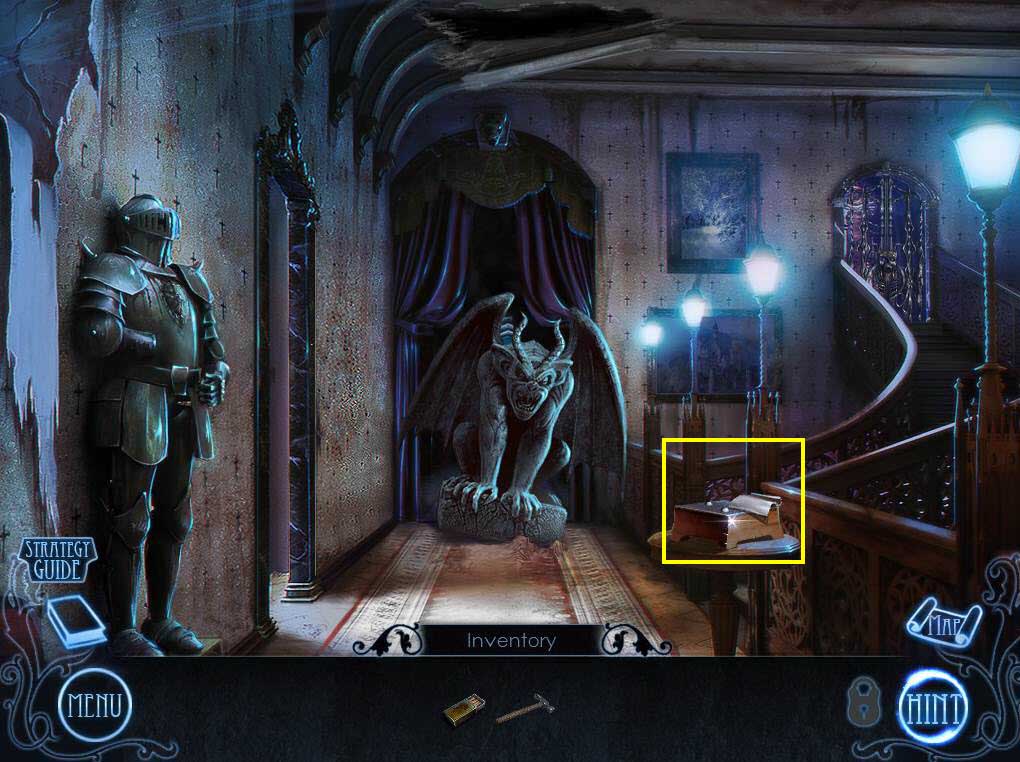
- Take the Page of Sheet Music
- Go to the left to the storage room.

- Click to zoom in on the dresser.
- Take the Silver Key.
- Click to deal the cards.
- Use the Box of Matches on the cobwebs.
- Use the Silver Key on the wardrobe and click to turn it.
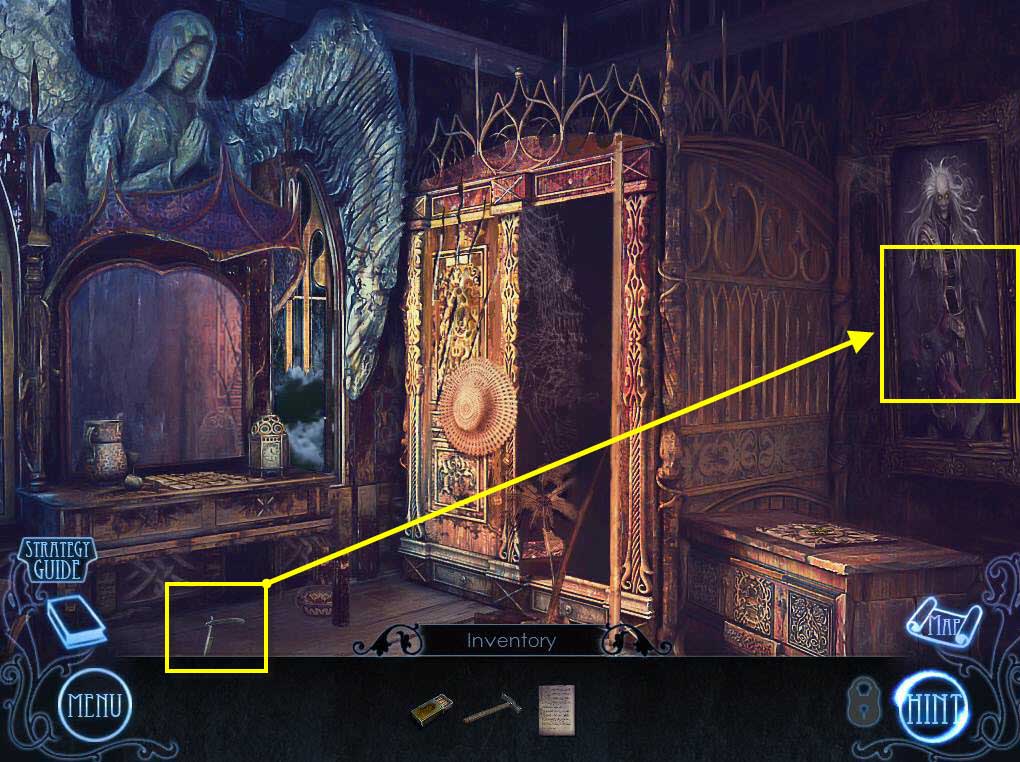
- Take the Straight Razor that fell on the floor.
- Click to zoom in on the portrait on the right.
- Use the Straight Razor to cut the canvas.
- Take the Metal Unicorn Insignia.
- Go down one screen.
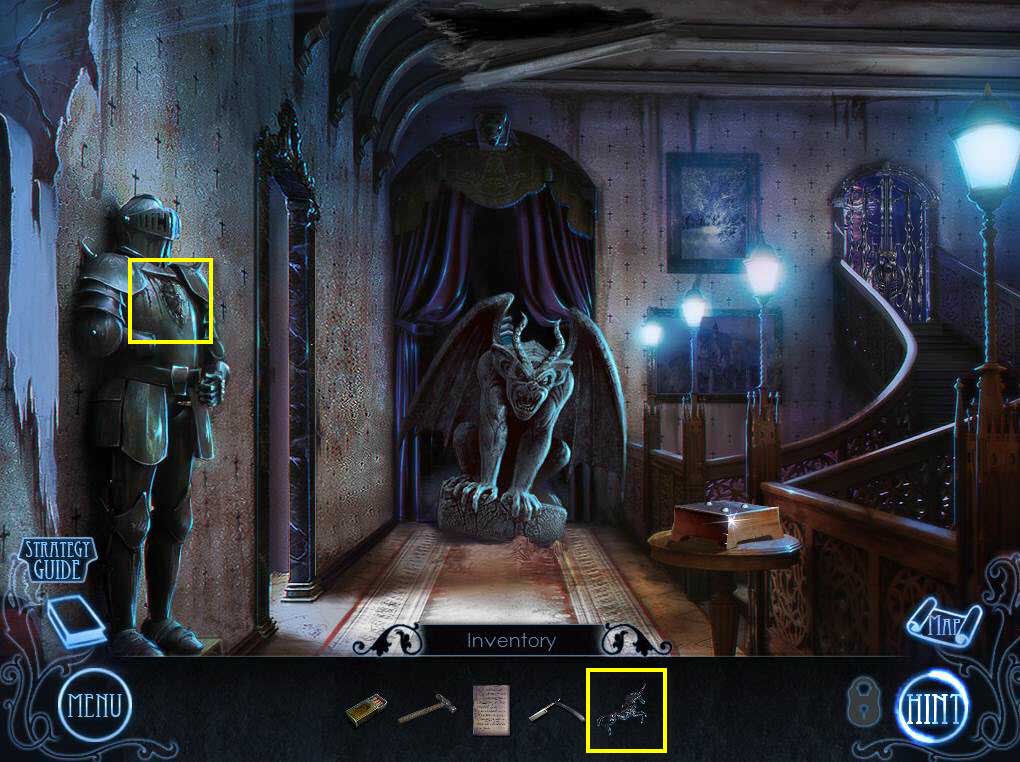
- Click to zoom on the armor.
- Use the Metal Unicorn Insignia.
- Click on the armor to play the mini-game.
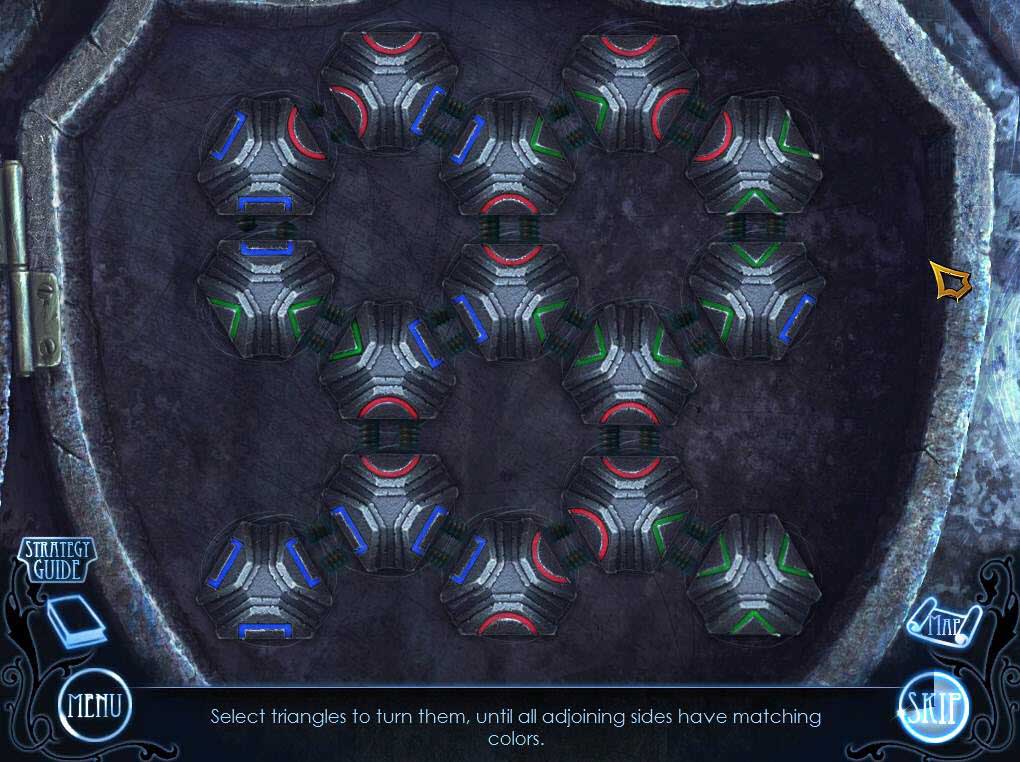
- Move the cogs so that the colors on each match up.
- See the screenshot for the solution.
- Take the Sapphire.
- Go to the right to the third floor.
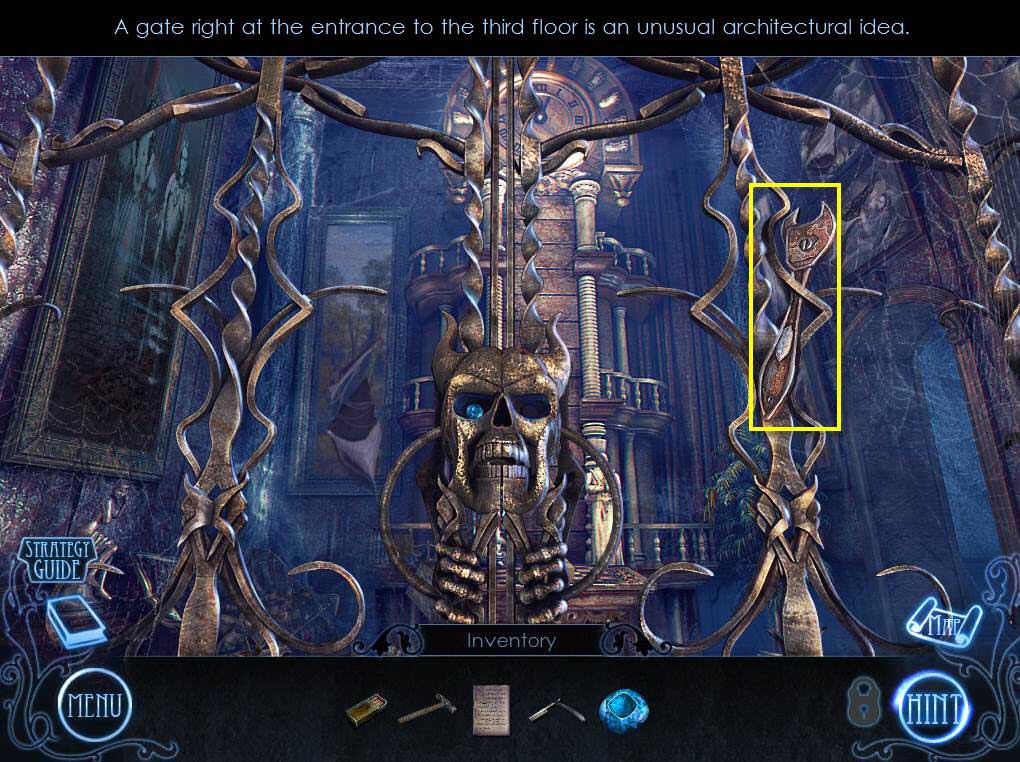
- Take the Wrench.
- Go down twice and then turn to the right to the kitchen.

- Click to zoom in on the right.
- Use the Wrench to remove the bolts.
- Click to remove the panel.
- Play the mini-game.
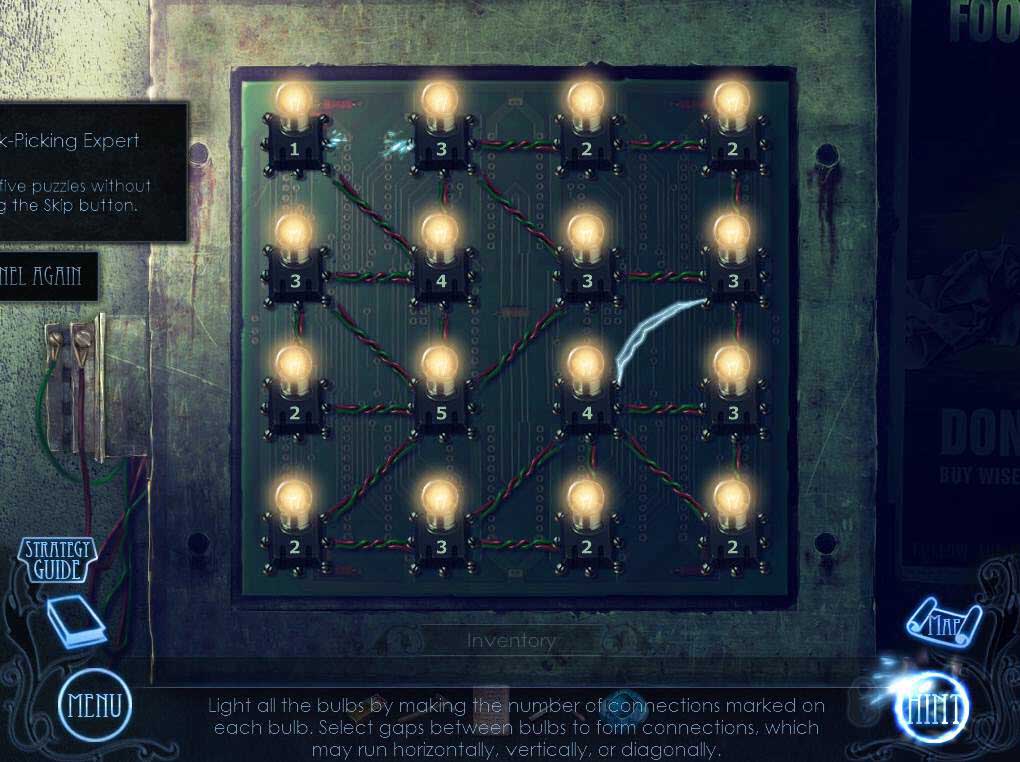
- Connect each bulb with the number of wires it's labeled with in order to light it.
- See the screenshot for the solution.
- Click on the sparkles to play the hidden object game.
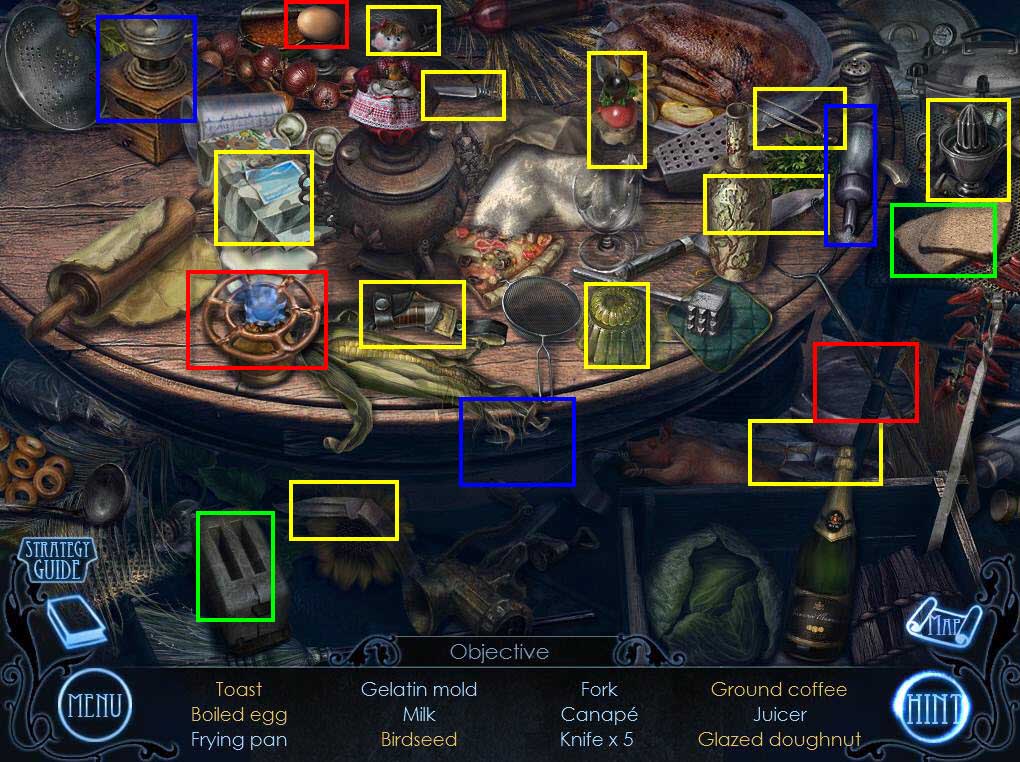
- Find all the items on the list.
- You will receive the Birdseed.
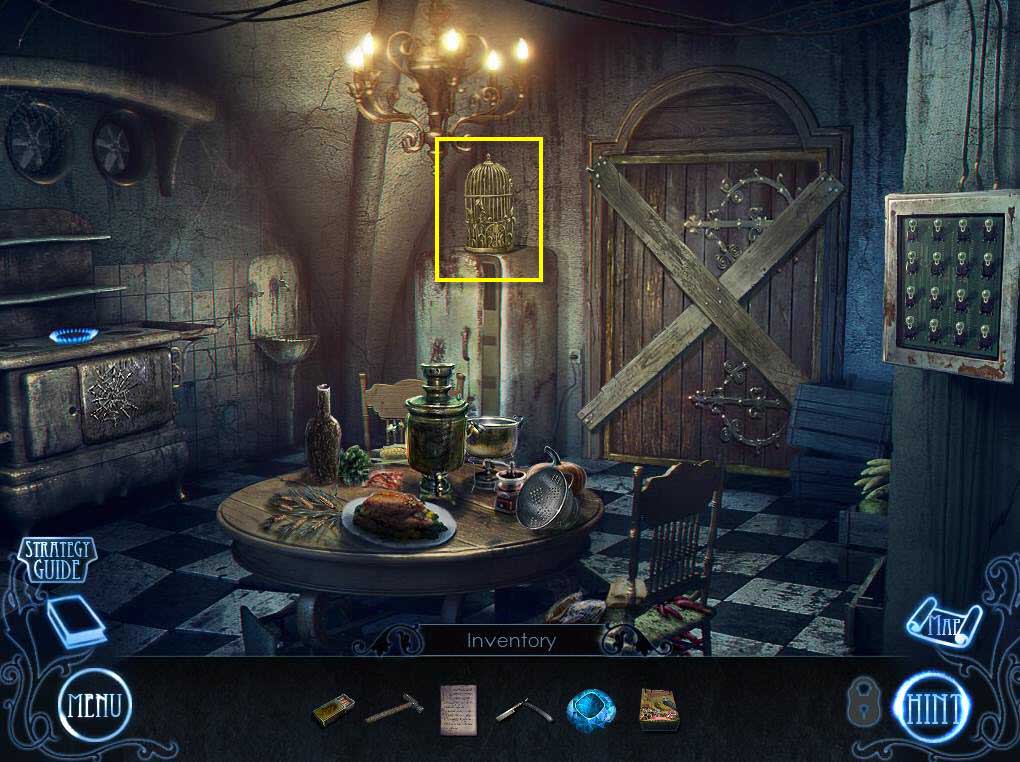
- Take the Birdcage.
- Go to the greenhouse.
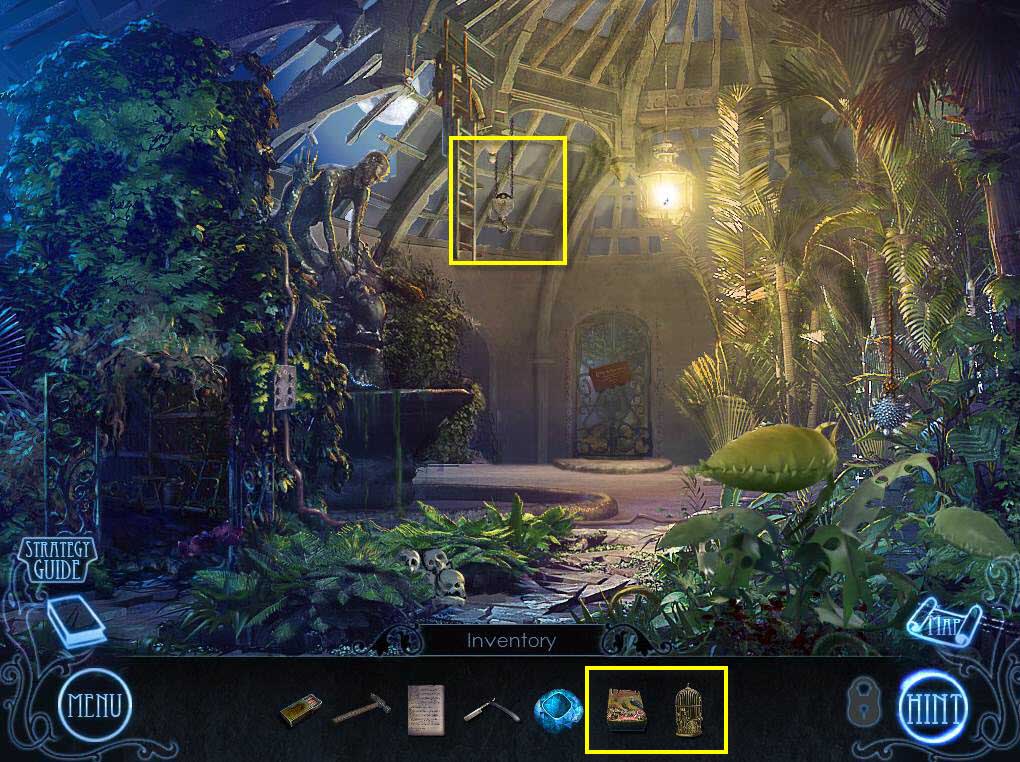
- Click to zoom in on the hook.
- Use the Birdcage on the hook.
- Use the Birdseed on the cage to lure the parrot.
- Take the Demon Key.
- Go to the Third Floor.
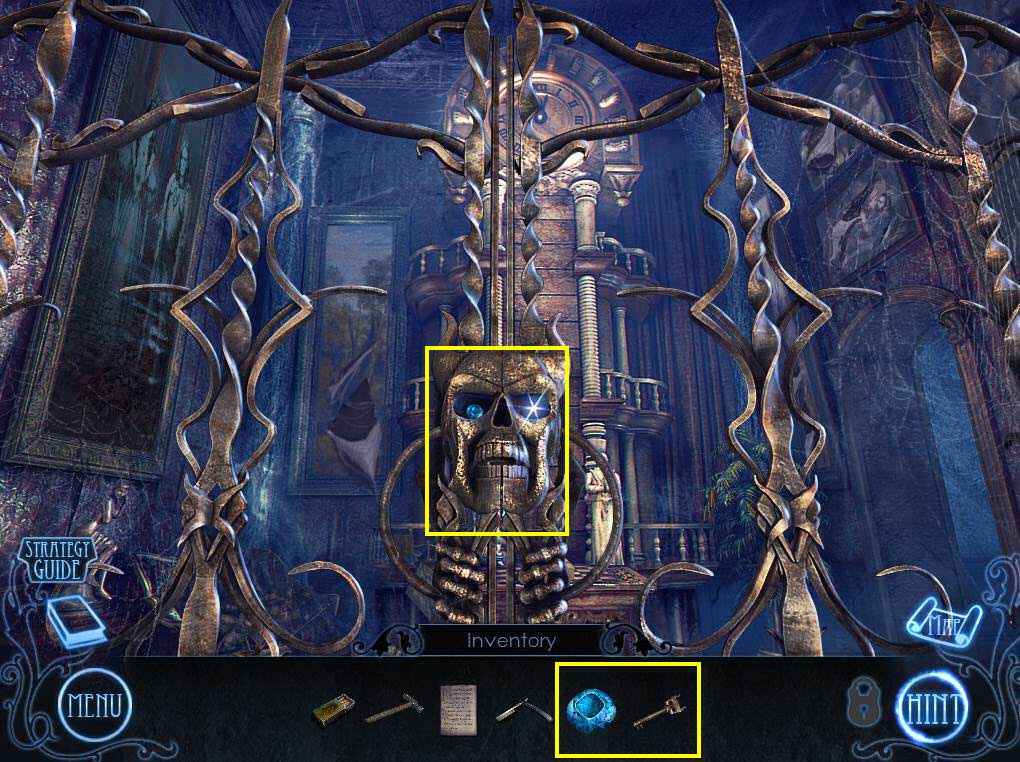
- Use the Sapphire on the skull.
- Use the Demon Key on the lock.
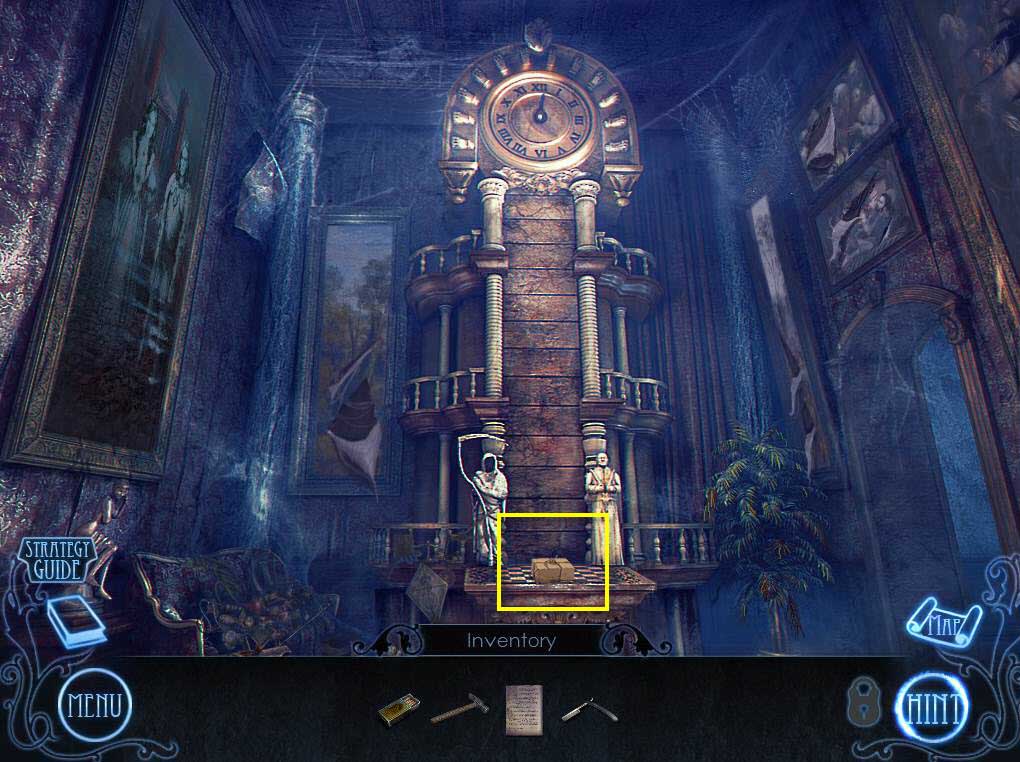
- Click to zoom in on the package and then click to open it.
- Take the Note.
- Take the Strange Battery.
- Go to the right to the office.
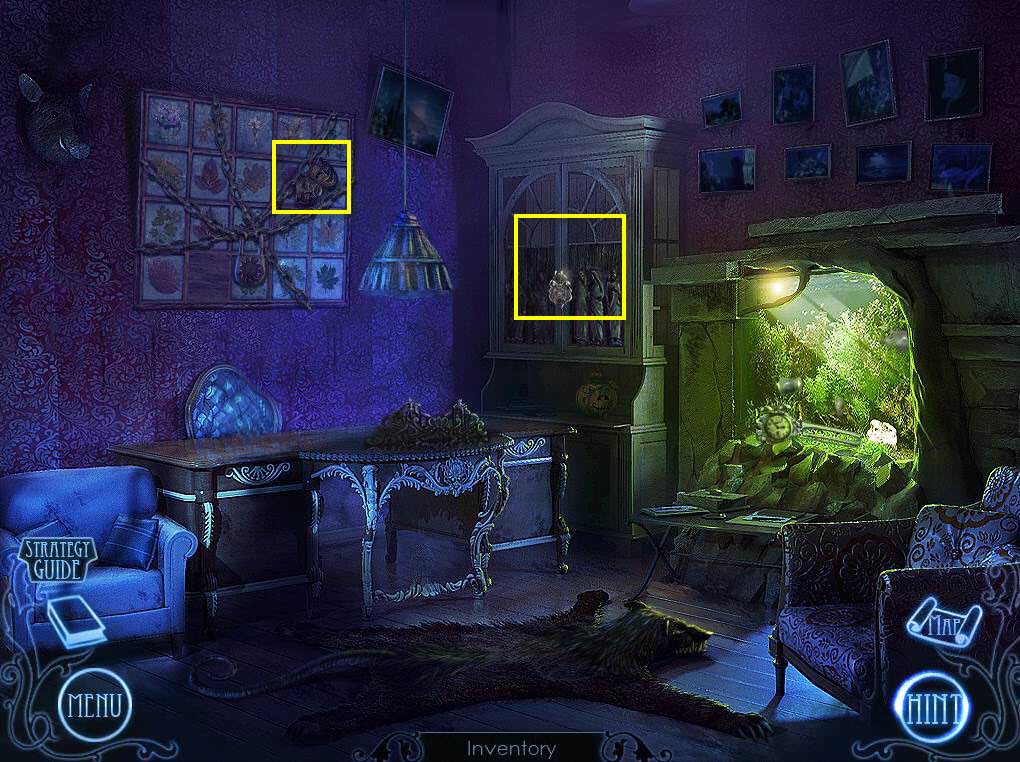
- Click to zoom in on the chained image.
- Take the Theater Masks.
- Click to zoom in on the cabinet.
- Take the Spool of String that's in the top right corner.
- Go to the Storage Room.
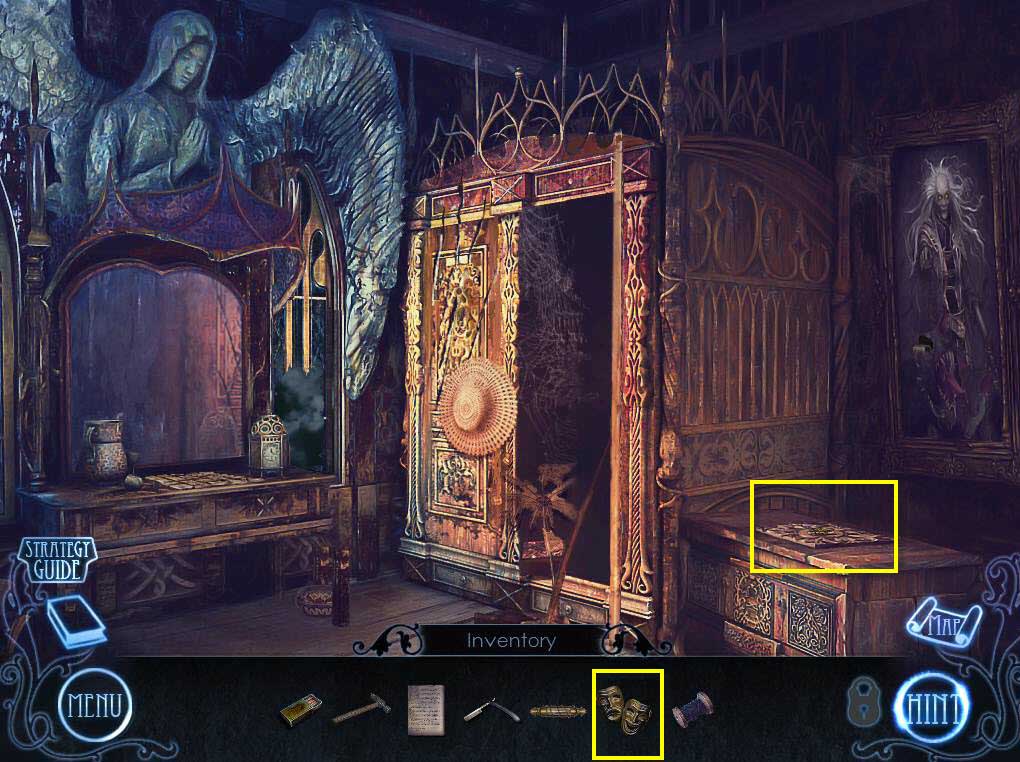
- Click to zoom in on the chest.
- Use the Theater Masks.
- Make a Karmic Decision.
- Click to zoom in on the castle.
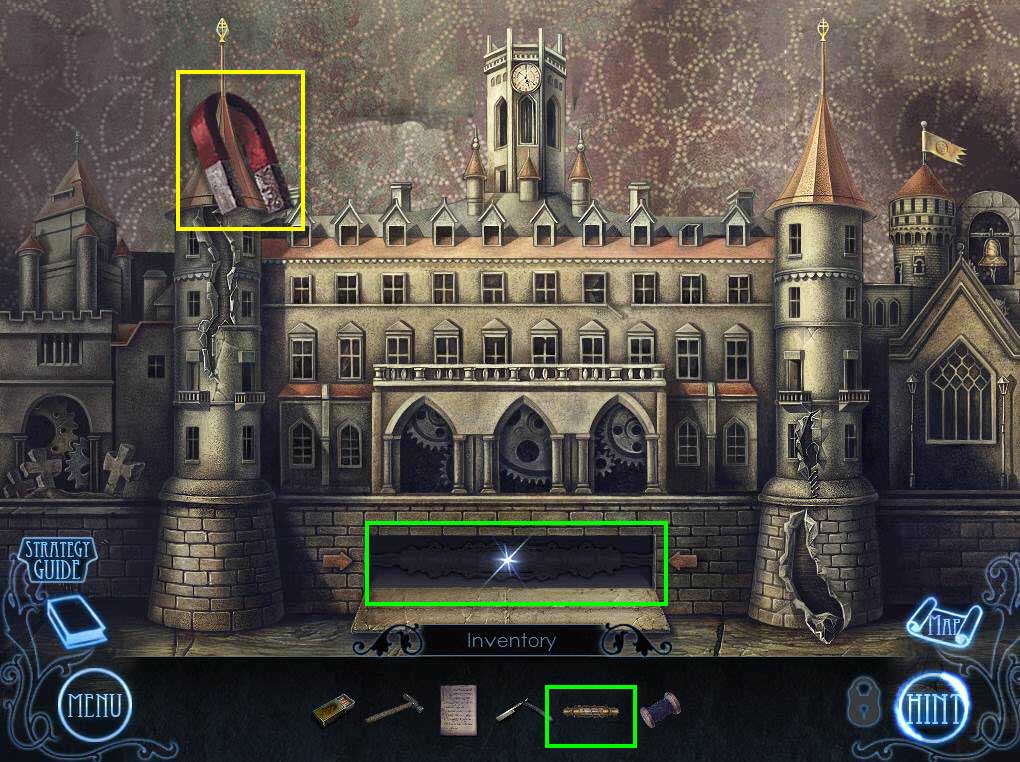
- Take the magnet and it will combine with the thread to create a Magnet on a String.
- Use the Strange Battery on the empty slot.
- Play the mini-game.
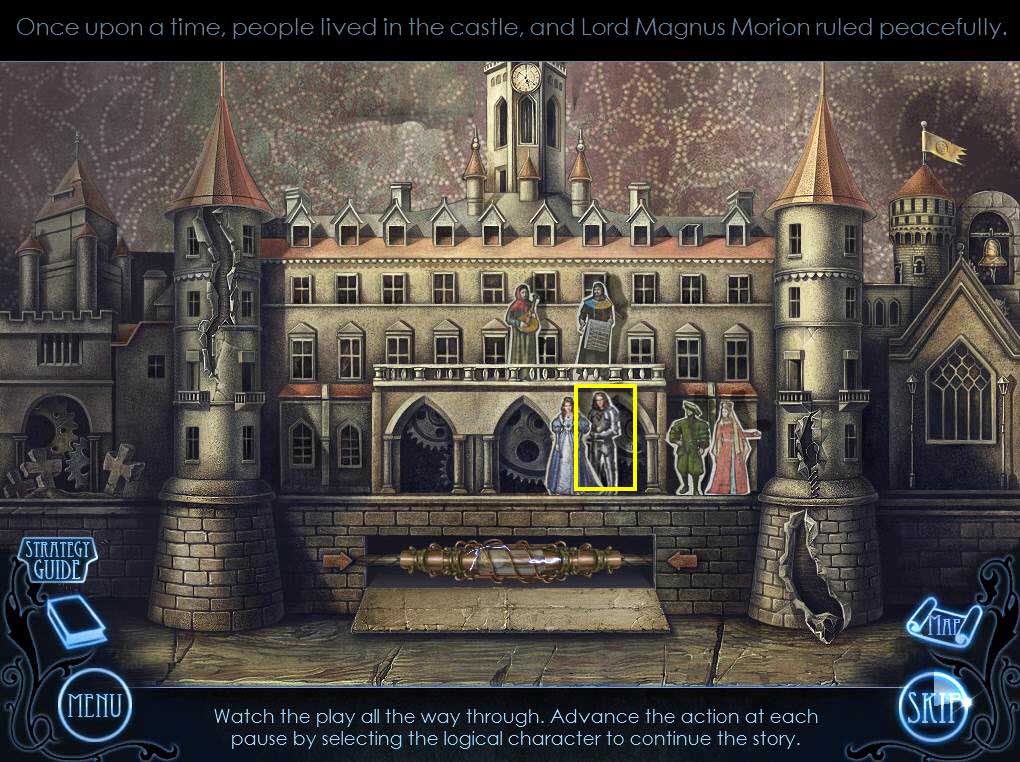
- Click on the lord.
- Click on the rats.
- Click on the unicorn.
- Take the Dynamite.
- Go to the Office.
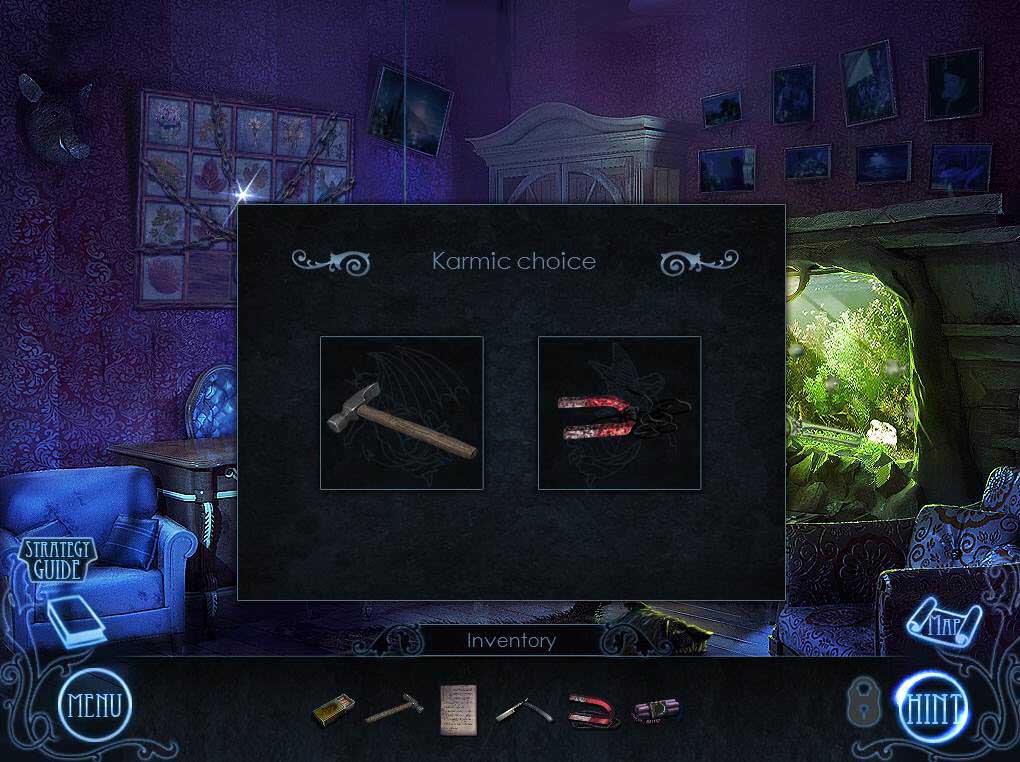
- Click to zoom in on the fish tank.
- You can either choose the Hammer or the Magnet on a String to get the Bomb.
- Go back twice to the second floor.
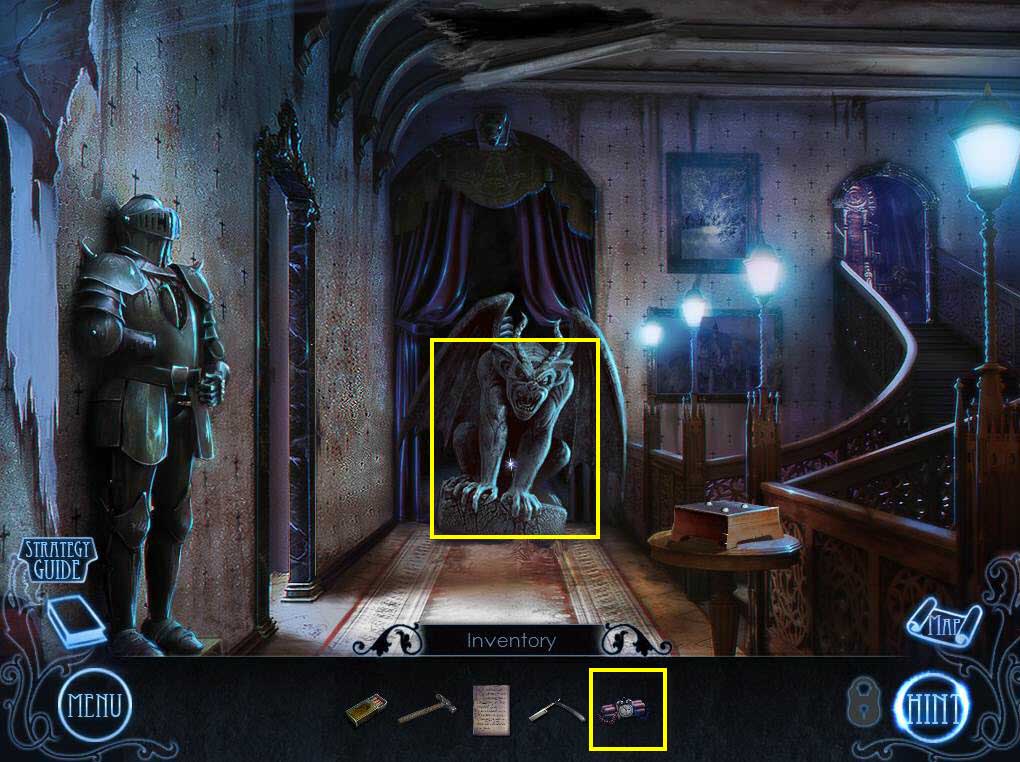
- Use the Bomb on the gargoyle.
- Go back one screen so the bomb will go off.
- Go back up the stairs and then move forward.
- Click to talk to Sophie.