
House of 1000 Doors: Serpent Flame: Chapter Two: Feel the Air
Our House of 1000 Doors Serpent Flame Walkthrough is your survival guide as you attempt to discover what ancient evil unleashed a slew of powerful serpents onto the world. Make use of our detailed chapter-by-chapter directions, our custom screenshots, and our puzzle solutions to ensure that these are not the end of days for the world as we know it.

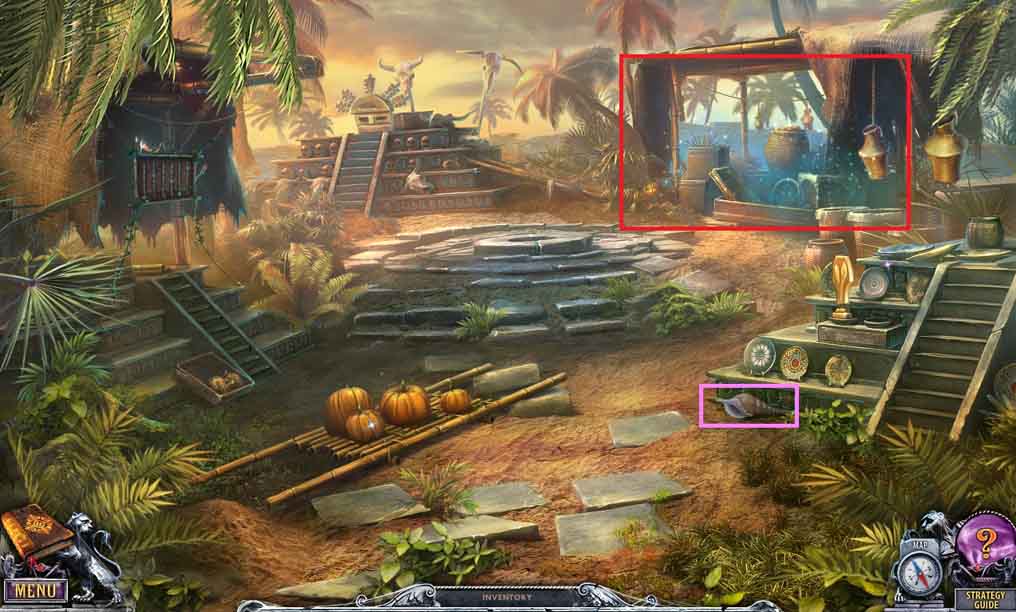
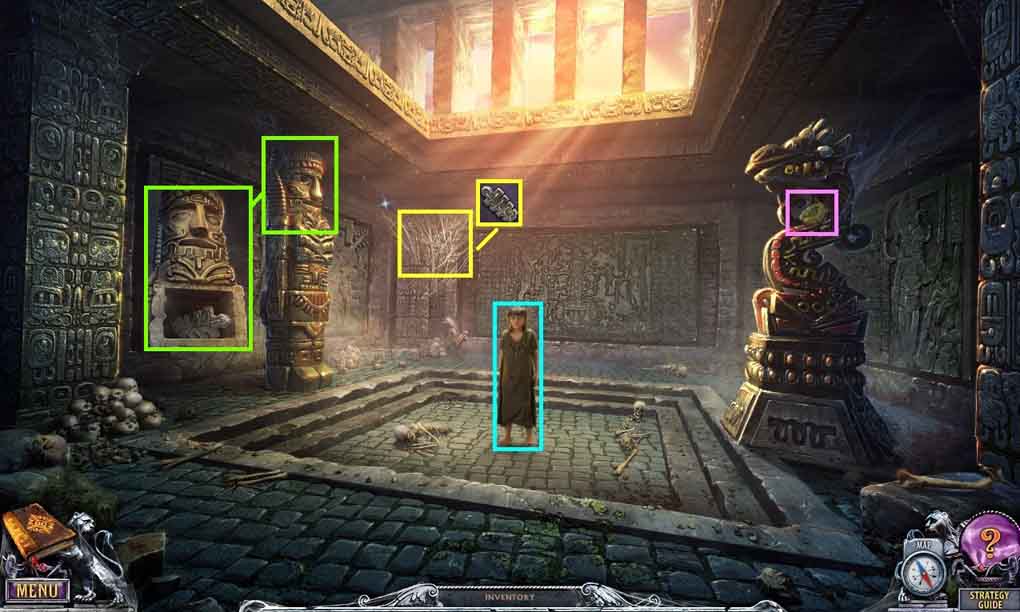
- Collect the 11th beyond object.
- Collect the ramrod and the wooden eye.
- Move to the City Gate.
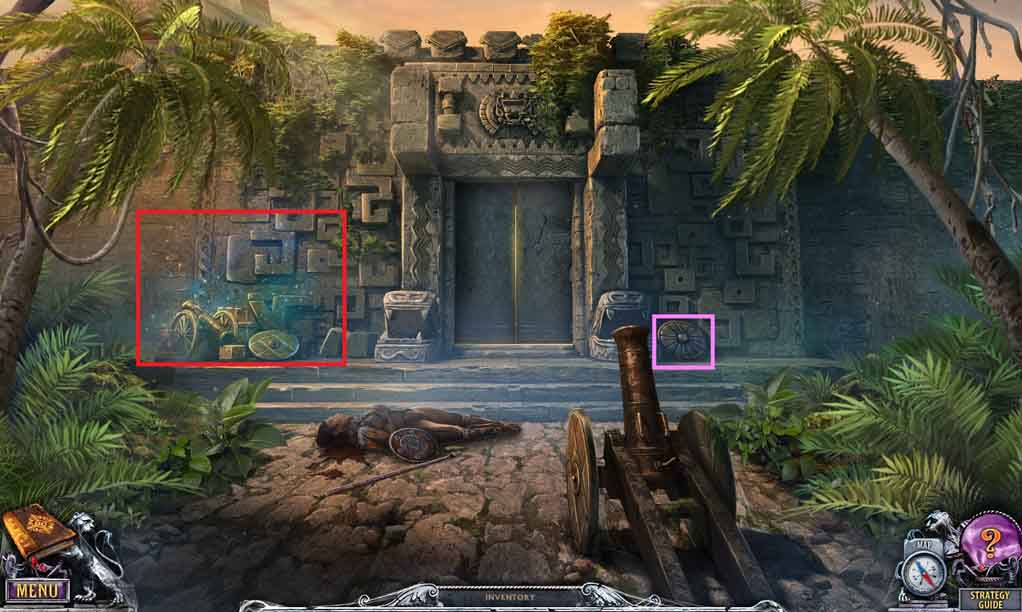
- Collect the 12th beyond object.
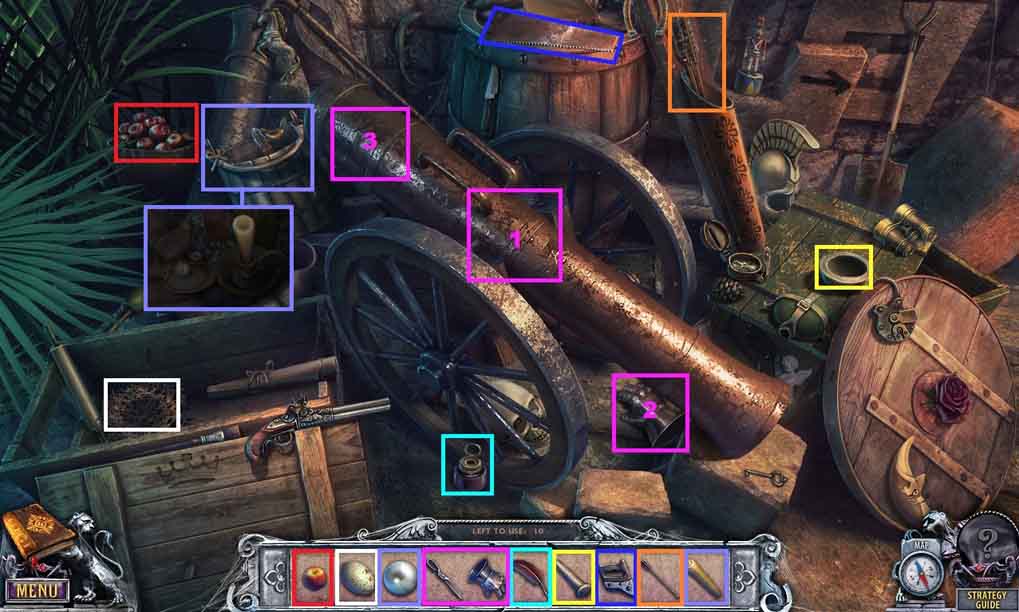
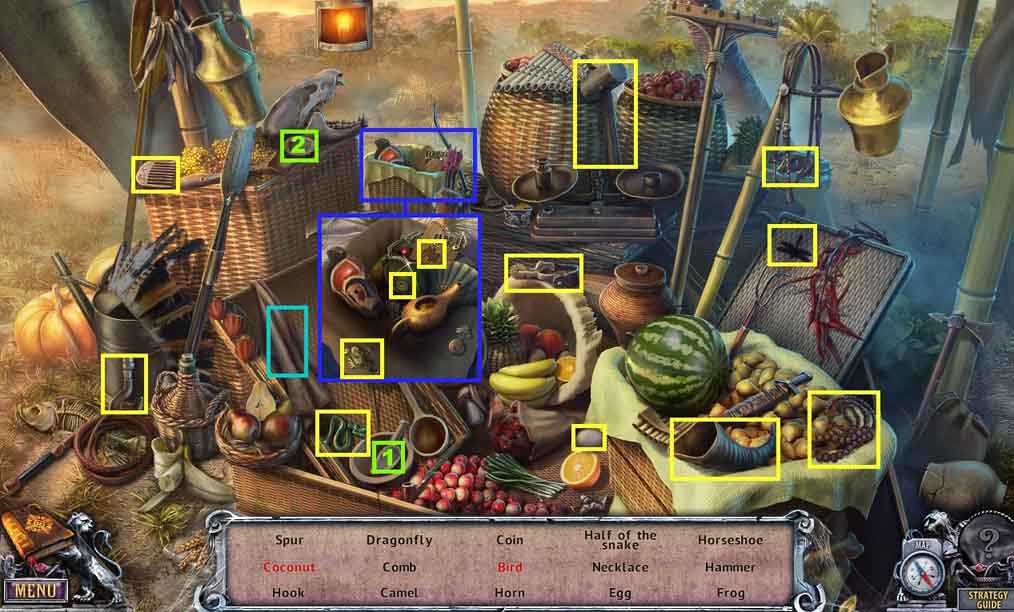
- Click the hidden objects area.
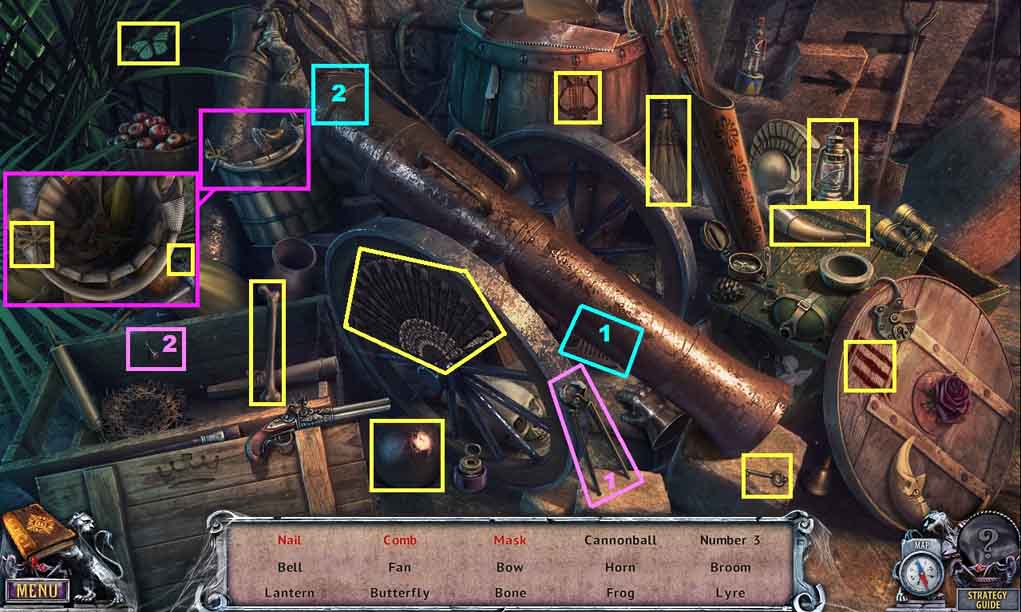
- Find the listed items.
- Select the nail puller and use it to remove and collect the nail.
- Click the barrel of the cannon; collect the comb and the mask.
- Click the bucket; collect the bow and the frog.
- Collect the cannon ball.
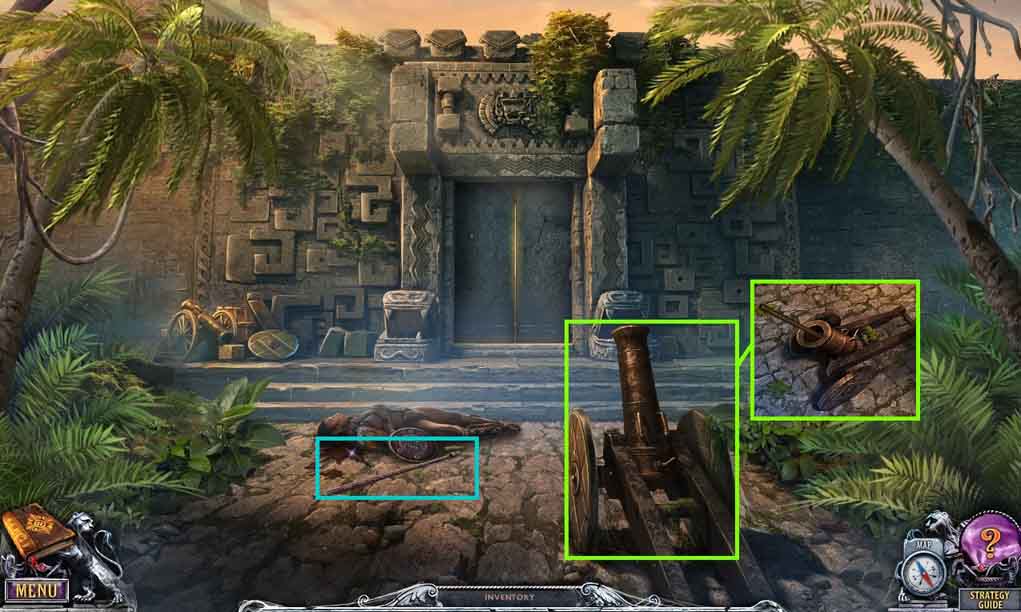
- Insert the gunpowder and the cannonball into the cannon using the ramrod.
- Select the lighter to ignite the fuse.
- Collect the spear and canteen.
- Move to the Village Square.
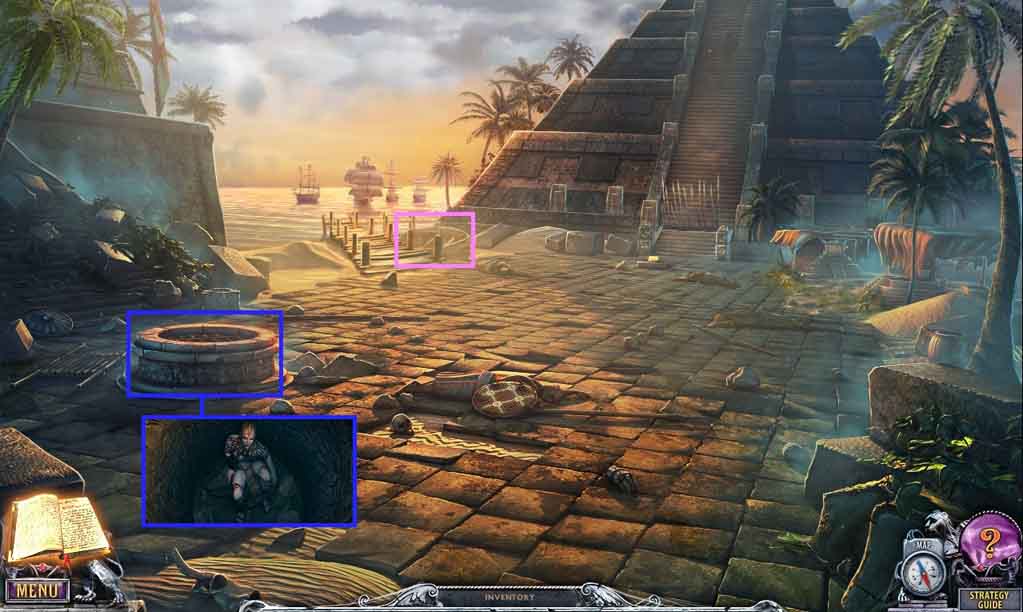
- Collect the 13th beyond object.
- Give the prisoner the canteen; collect the key.
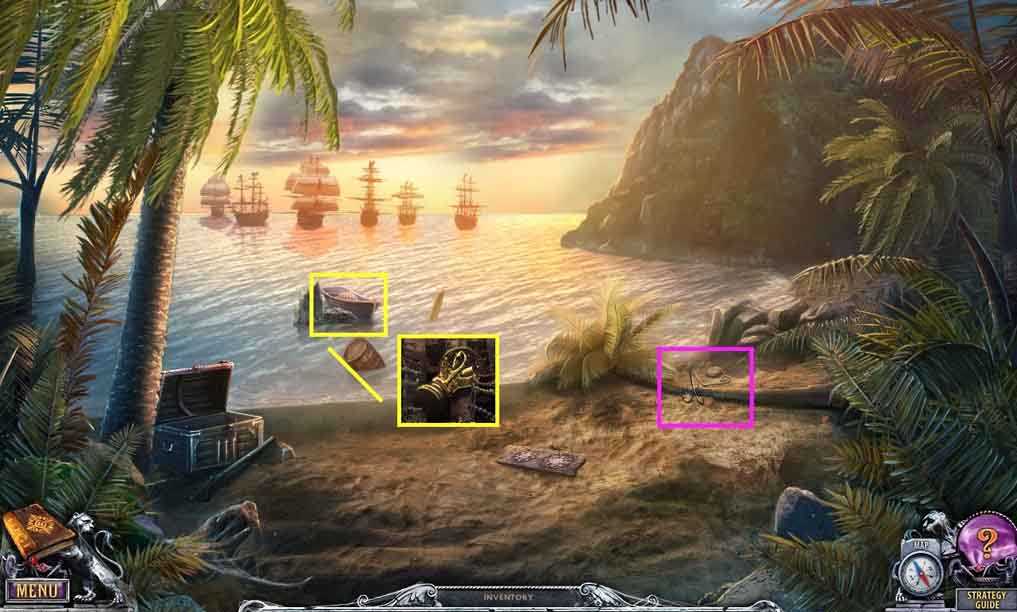
- Move to the dock.

- Collect the 14th beyond object.
- Collect the coin.
- Collect the grass.
- Insert the key into the lock and open the chest.
- Collect the coin and read the journal.
- Select the screwdriver to loosen the screws holding the bayonet blade; collect the bayonet.
- Move to the Market.
- Collect the 15th beyond object.
- Click the hidden objects area.
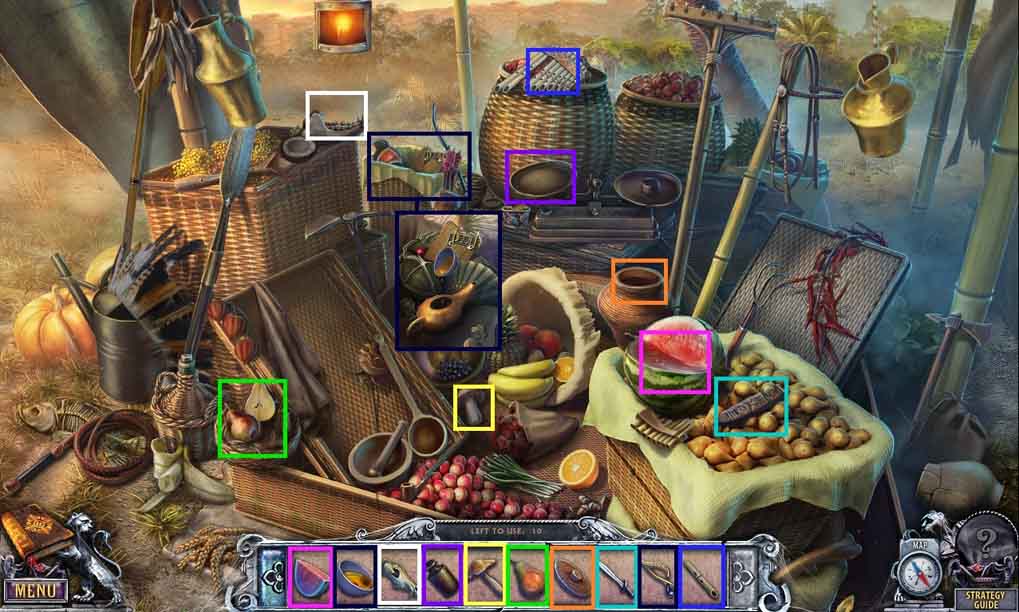
- Arrange the objects into the correct areas.
- Collect the oiler.
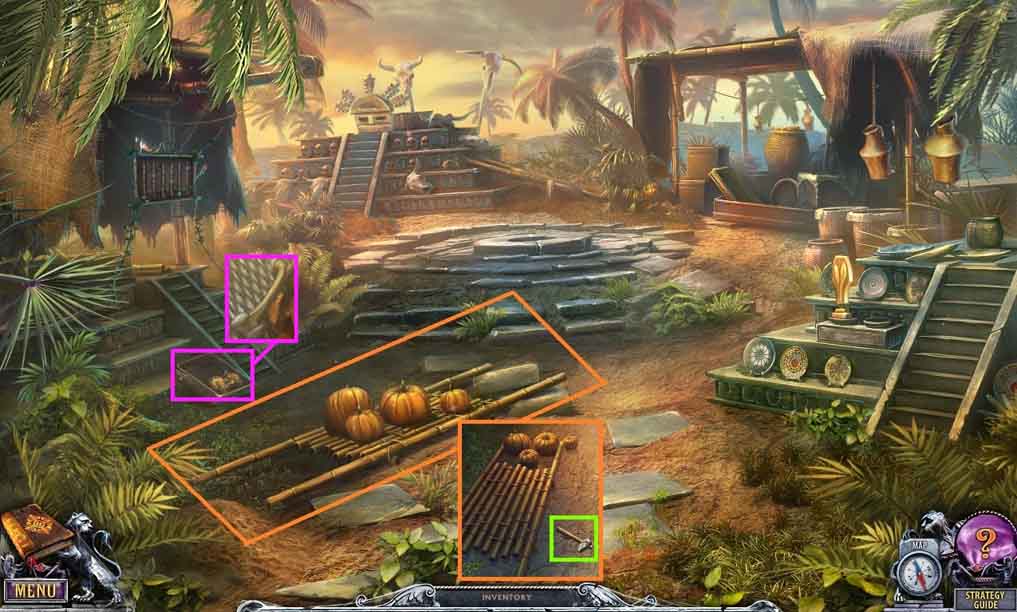
- Click the pumpkins then click the stretcher.
- Collect the hammer.
- Click the basket and collect the bone.
- Move to Simon’s room.
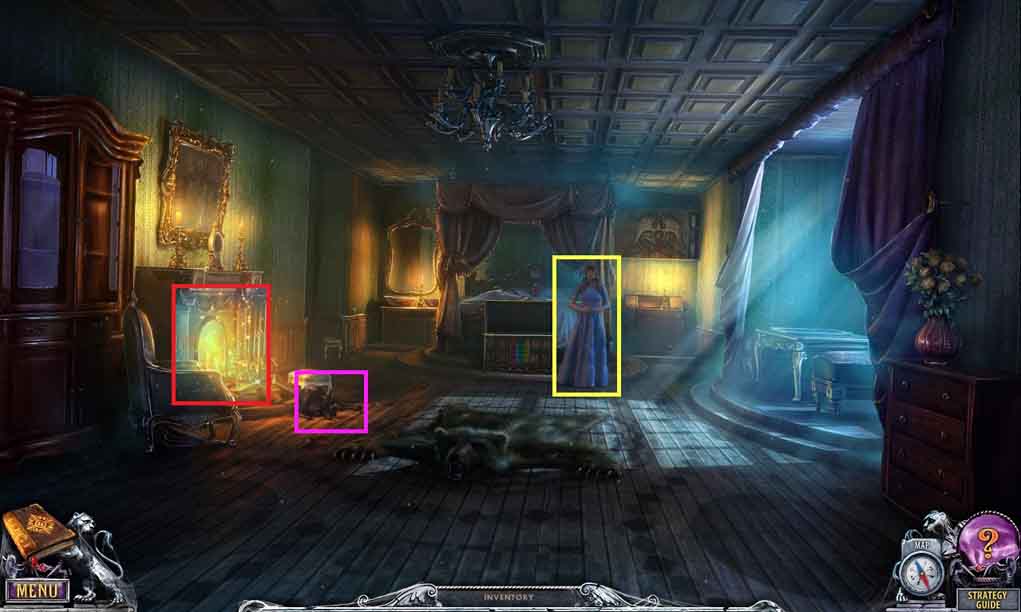
- Speak to Amanda.
- Give the dog the bone.
- Click the hidden objects area.
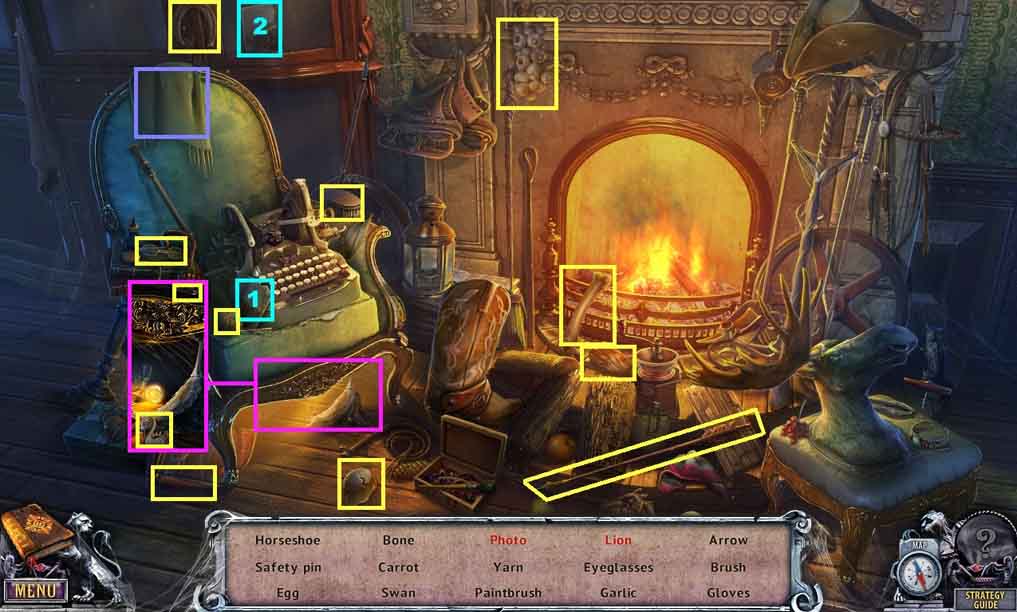
- Find the listed items.
- Select the photo piece and place it with the other piece; collect the photo.
- Click the shawl; collect the lion.
- Click the area under the chair; collect the safety pin and the swan.
- Collect the butterfly net.
- Move to the Passage.
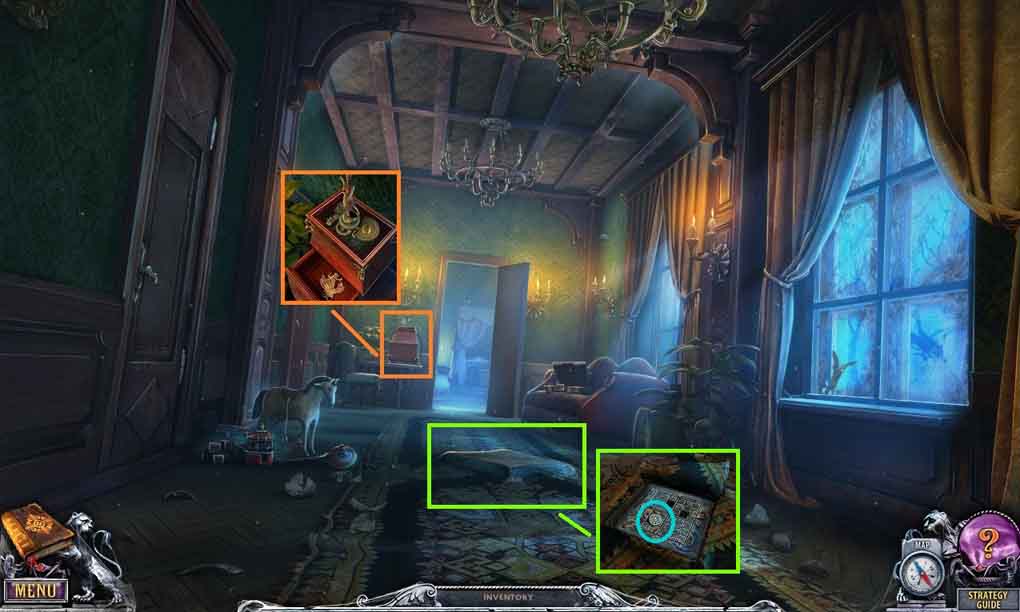
- Select the oiler and pour it onto the ballerina case.
- Collect the amulet.
- Select the bayonet to slice the rug.
- Click the rug to uncover a secret compartment and collect the coin.
- Move to the First Room.

- Select the lighter and use it to melt the candle wax; collect the spoon.
- Move to the Jungle.
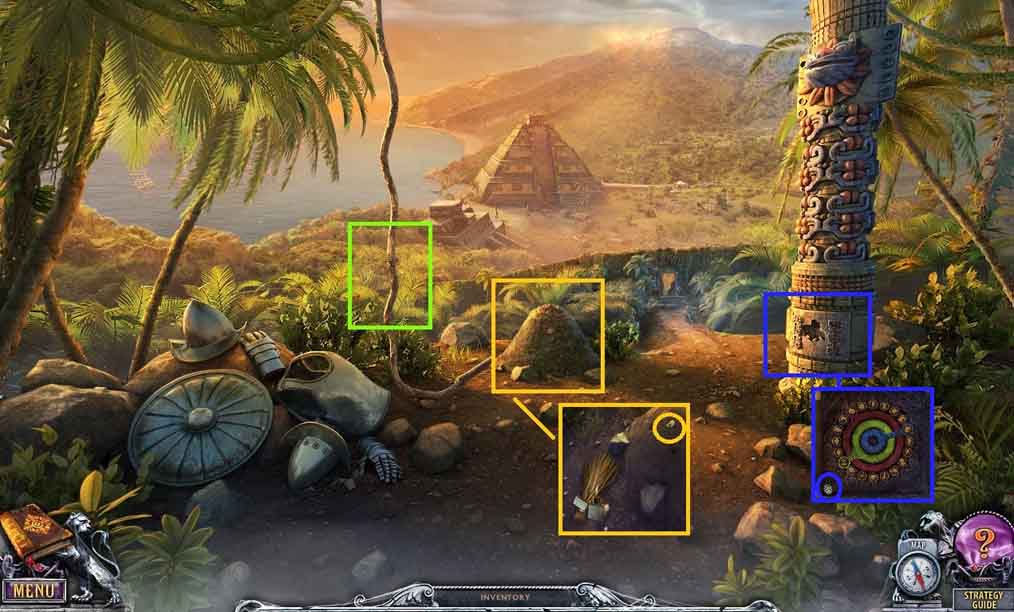
- Select the bayonet to cut and collect the vine.
- Lay the grass near the anthill.
- Select the lighter to ignite the anthill; collect the coin.
- Insert the amulet into the column; collect the coin.
- Move to the Village Square.

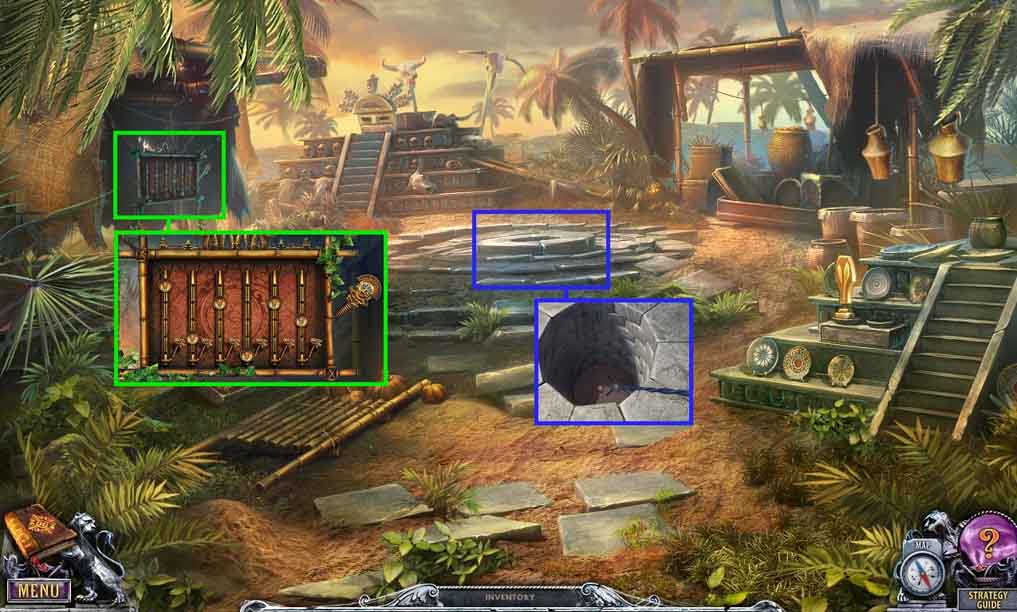
- Select the hammer and use it to loosen the peg in the lock.
- Click the bars.
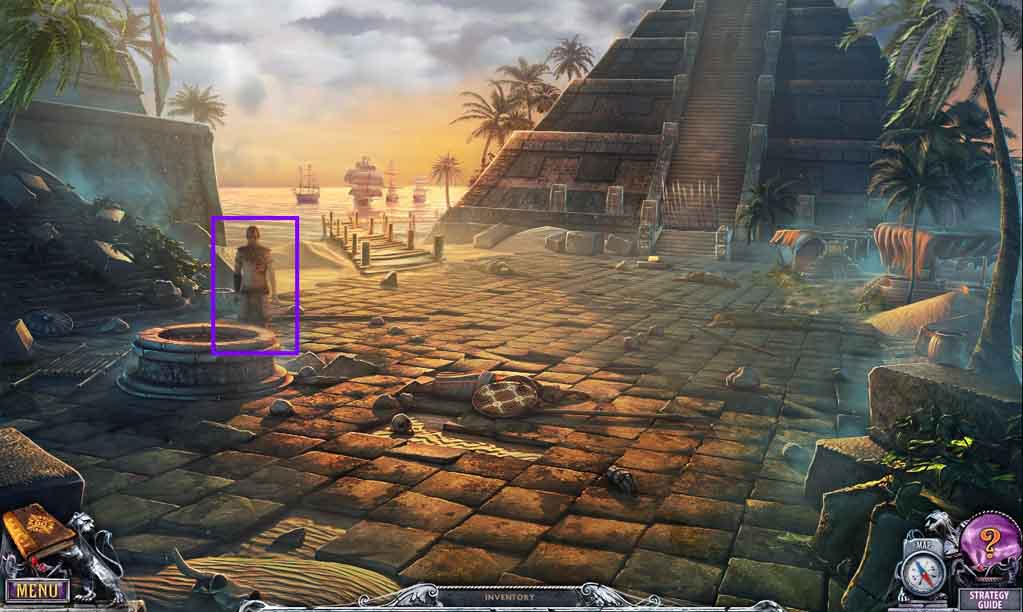
- Lower the vine to the priest.
- Speak to the priest.
- Collect the bamboo reed.
- Move to the Market.
- Scoop the wooden eye using the butterfly net.
- Insert the bamboo reed into the instrument.
- Align the sliders correctly as shown; click the lever to play the melody.
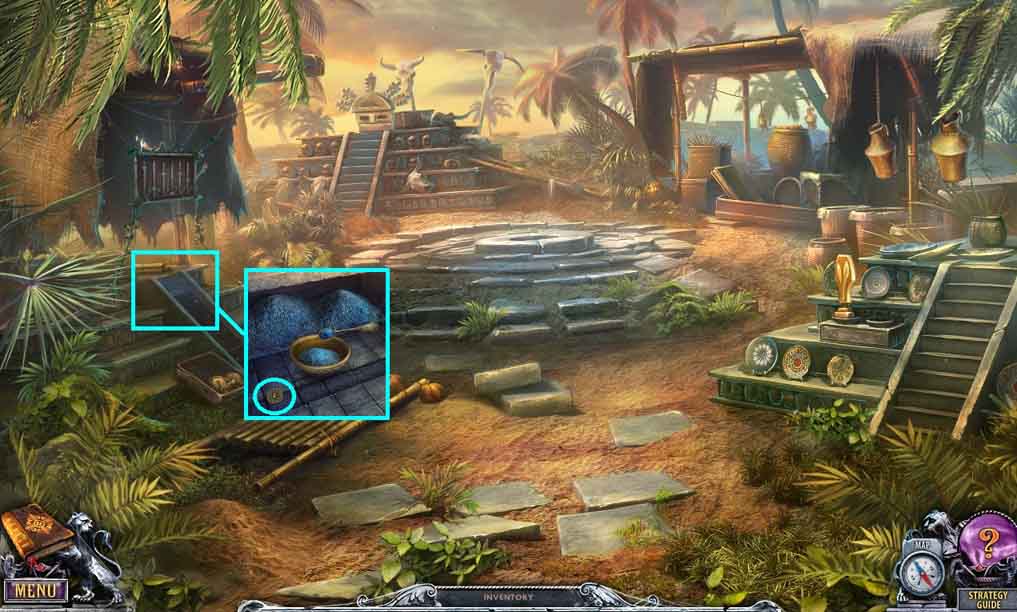
- Collect the coin.
- Lay the bowl near the sand.
- Select the spoon to scoop the sand into the bowl; collect the Dead Sand.
- Move to the Village Square.
- Give the priest the Dead Sand; collect the coin.
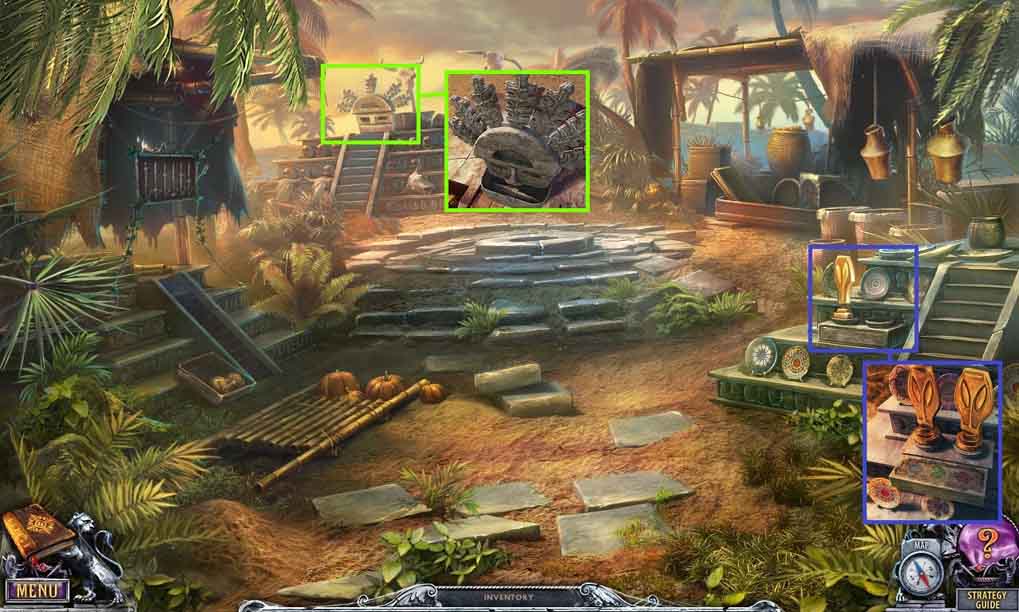
- Move to the base of the Pyramid.
- Collect the 16th beyond object.
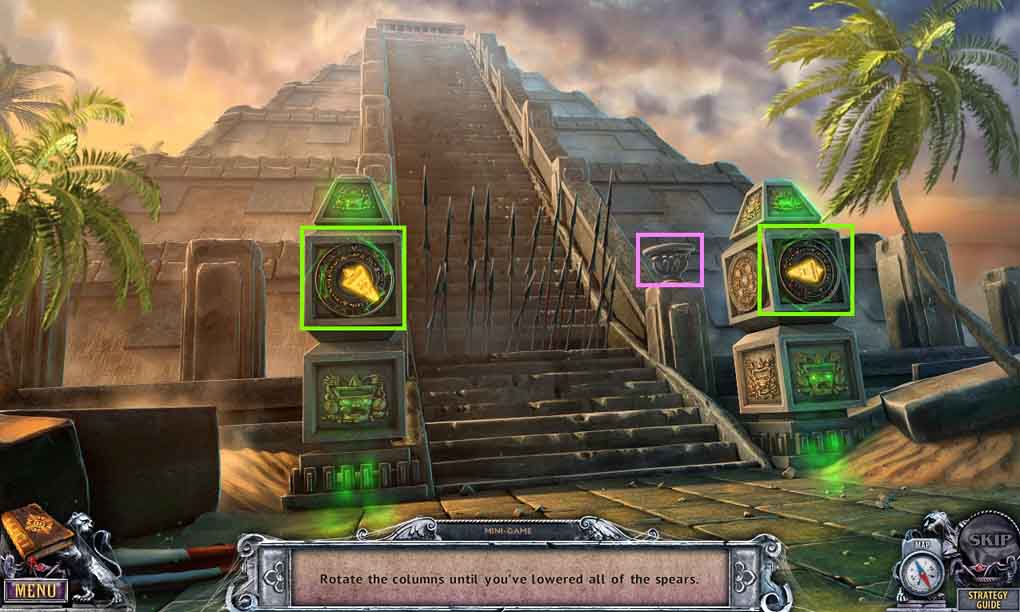
- Insert the coins into the columns.
- Click the columns until all the spears are lowered.
- Move to the Top of the Pyramid.
- Collect the 17th beyond object.
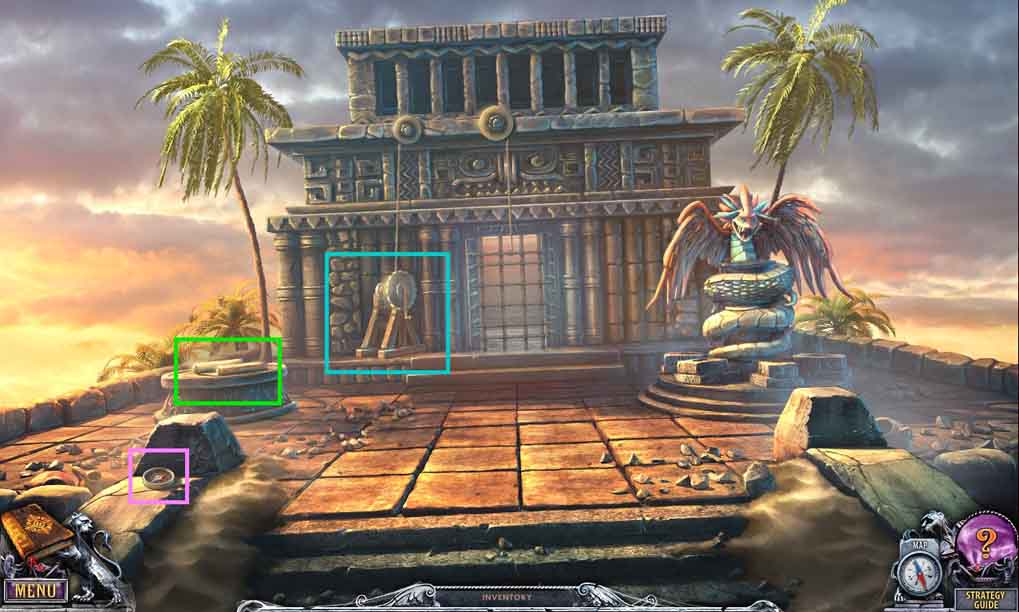
- Read the note on the pedestal.
- Click the prison gate lever and go into the Prison.
- Speak to the girl.
- Collect the stone rod.
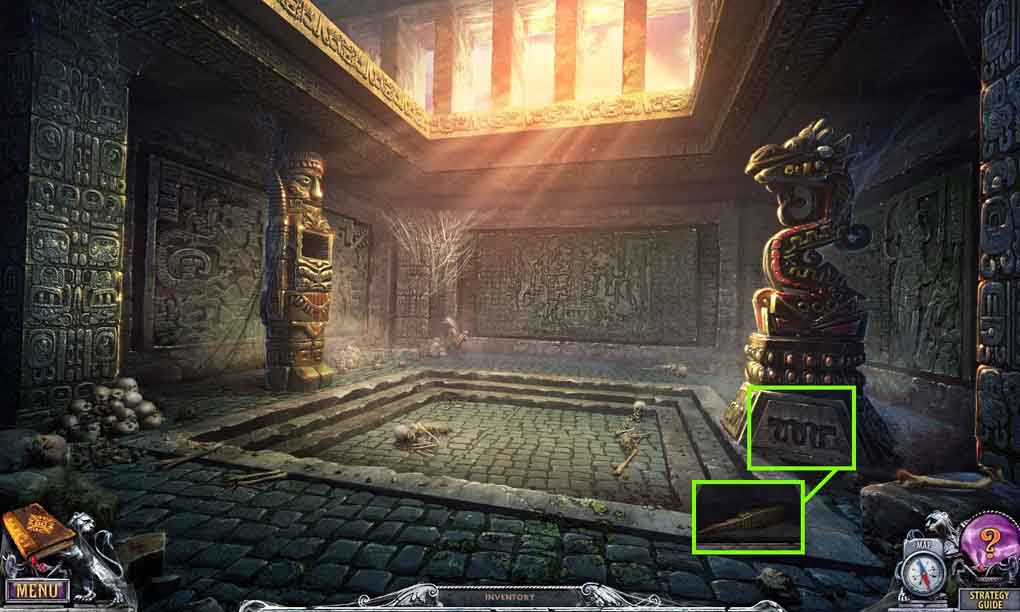
- Collect the 18th beyond object.
- Select the spear to knock the stone feather from the cobwebs.
- Collect the stone feather.
- Insert the wooden eyes into the statue.
- Collect the stone feather from the cache.
- Move to the City Gate.
- Click the hidden objects area.
- Place the items into the correct areas.
- Click the barrel of the cannon; place the glove with the other glove and the scissor half with the other scissor half.
- Collect the hacksaw.
- Zoom into the shield.
- Click the symbols on the shield in the correct order.
- Collect the half of the snake.
- Move to the dock.
- Select the hacksaw to cut the fallen palm tree; collect the grappling hook.
- Use the grappling hook to move the boat to the shore.
- Select the bayonet to slice the net at the boat bottom; collect the figurine.
- Move to the Market.
- Click the hidden objects area.
- Find the listed items.
- Click the rag; collect the bird.
- Select the coconut half and place it with the other coconut half; collect the coconut.
- Collect the half of a snake.
- Place the figurine in the correct area.
- Pour the acid onto the stone.
- Click the monument; insert the stone feathers and collect the stone rod from the cache.
- Move to the Jungle.
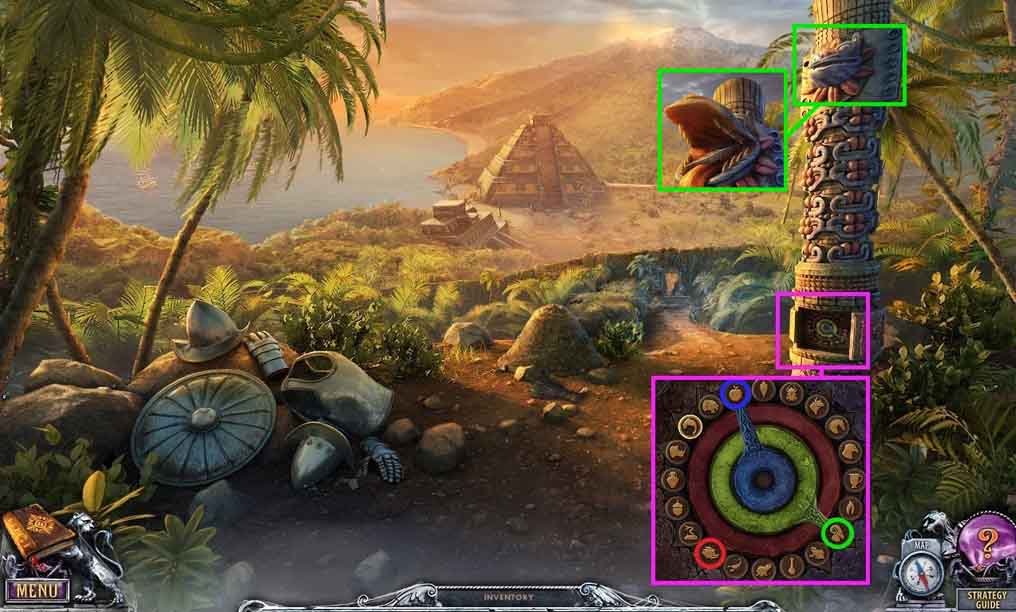
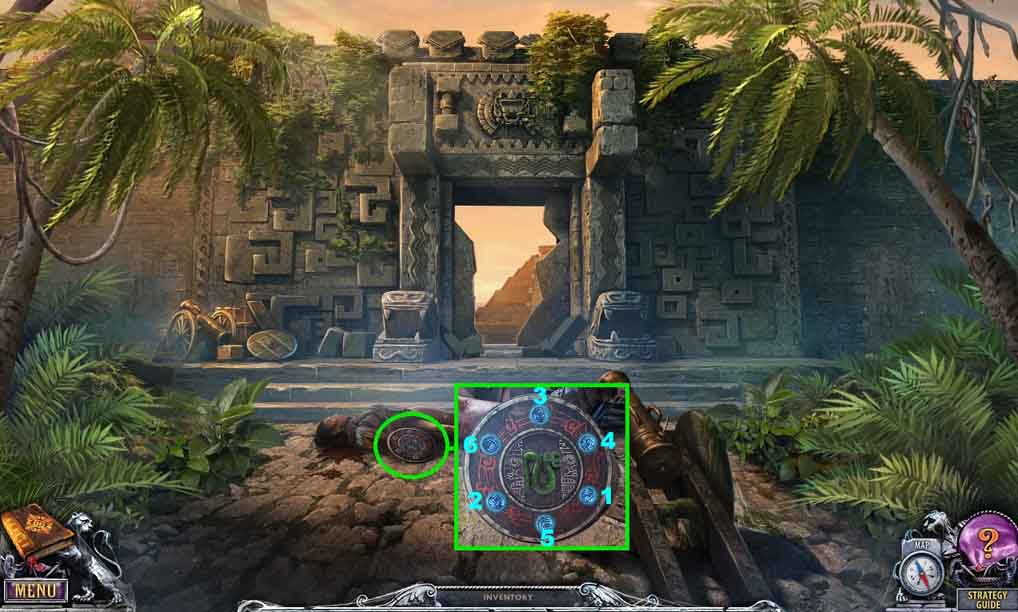
- Click the column to play the game.
- To solve the game place each ring over its matching symbol.
- Collect the stone rod.
- Move to the Prison.
- Insert the 2 halves of a snake into the statue and click them.
- Collect the stone rod.
- Move to the Top of the Pyramid.

- Insert the stone rods around the statue of the Feathered Serpent.
- Collect the air element.
- Move to the Top of the Tower.
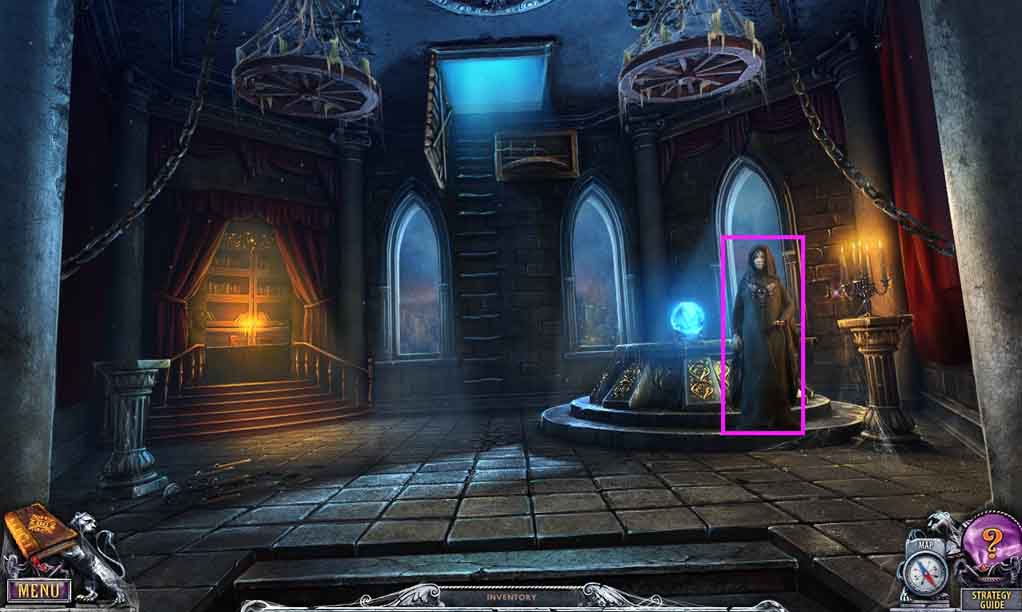
- Speak to the oracle.
- Collect the key.
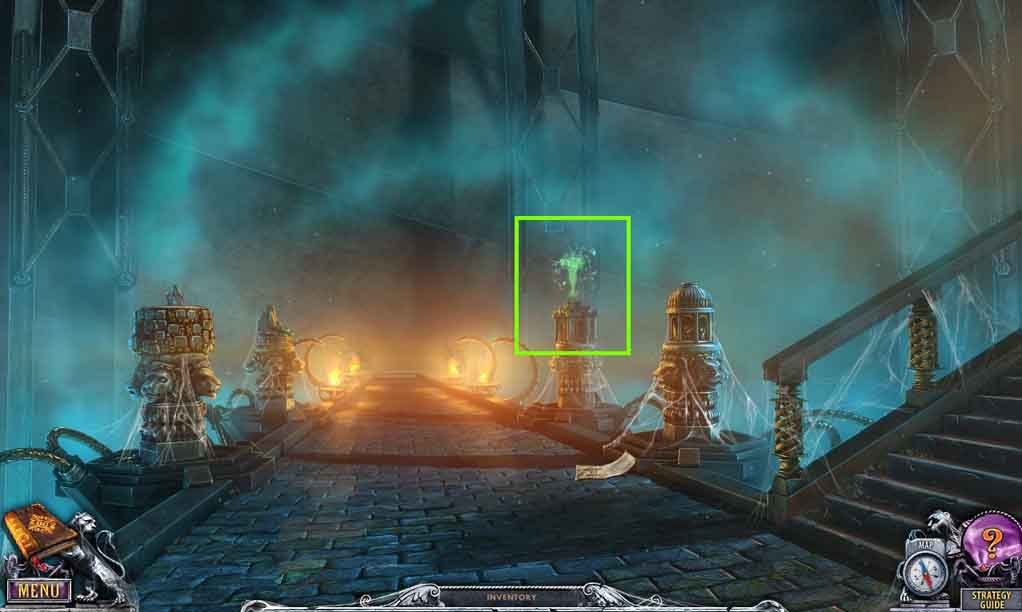
- Move to the Mechanism.
- Insert the air element into the machine.
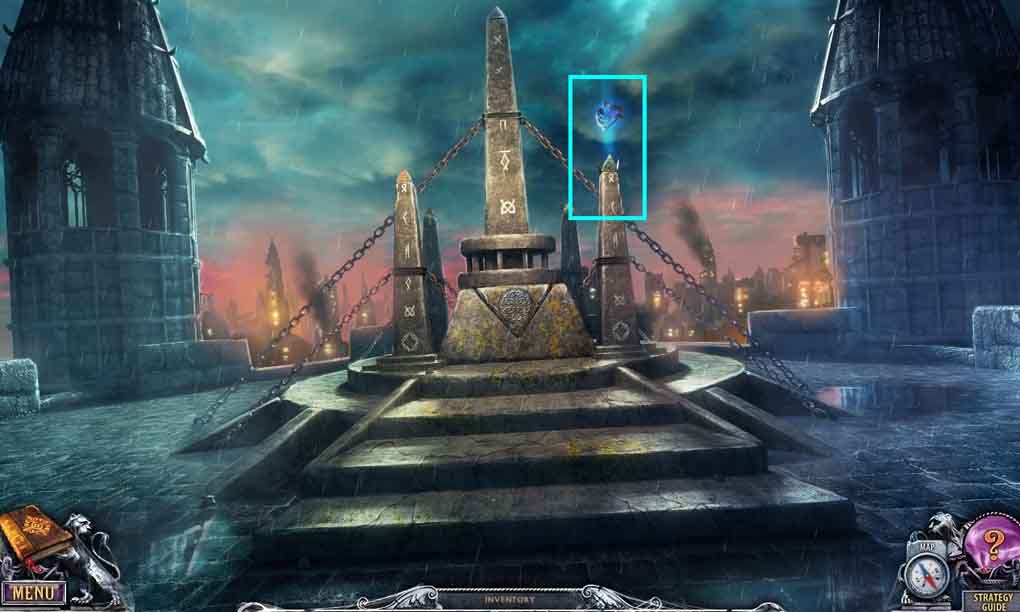
- Move to the Portals.
- Insert the key to trigger the 2nd portal.
- Enter the portal.
- Move to the Town Square.