
Hidden Expedition: Smithsonian Hope Diamond: Chapter Seven: Touring the Temple
Our Hidden Expedition: Smithsonian Hope Diamond Walkthrough will act as your faithful companion as you embark upon an amazing adventure filled with danger and excitement as you search for the famed Hope Diamond. Rely on our custom marked screenshots, our detailed step-by-step instructions, and our simple puzzle solutions to find the missing shards before a band of notorious thieves can get their hands on them!
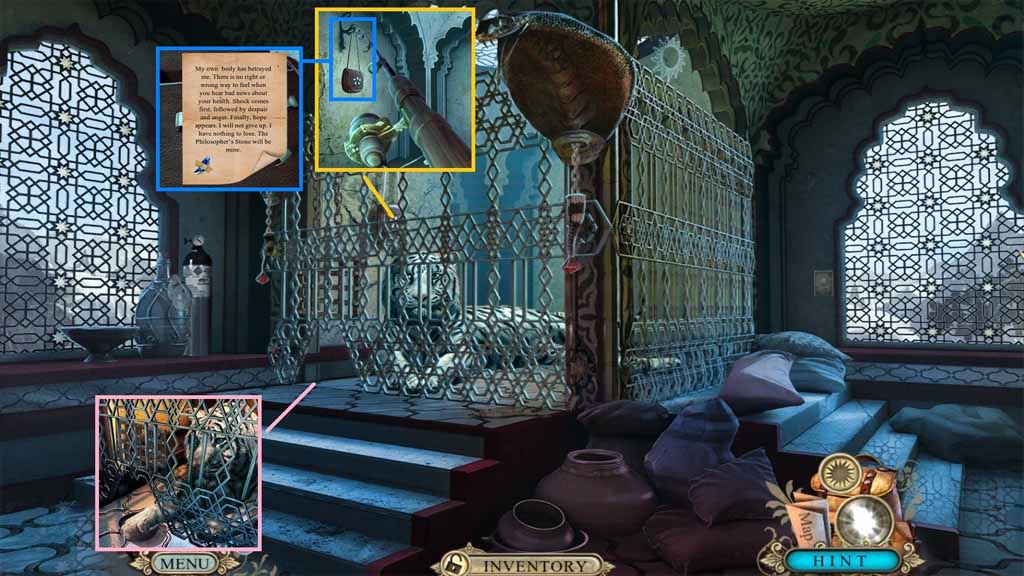
- Please the water with sleeping powder down.
- Select the fish rod to collect the satchel and click buckles 1 and 2 to open it.
- Click the note and collect the 3/3 diamond shards.
- Move to the Study.

- Insert the three diamond shards into the lamp to trigger a puzzle.
- Solve the puzzle by aligning the stars correctly.
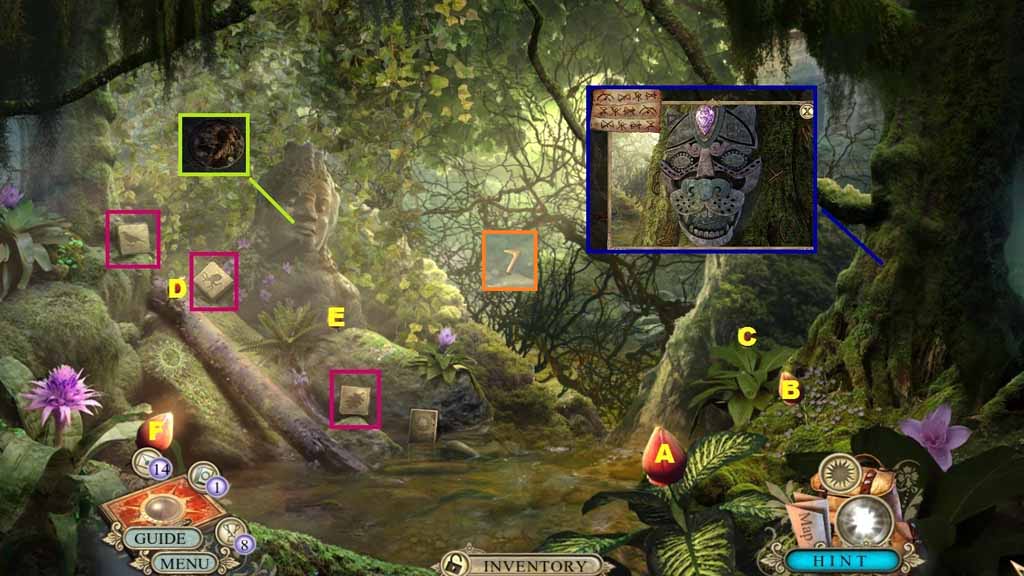
- Collect 3 of 6 stone tablets.
- Click the flowers in ABC order.
- Select the matches to clear the moss and place the 3 Temple entrance codes onto it to trigger a puzzle.
- Solve the puzzle by clicking the symbols in the correct order then finding the 8 symbols in the scene and by matching the four pairs.
- Click the button.
- Speak to the man.
- Collect the boomerang.
- Move ahead.
- Use the boomerang on the rock.
- Collect the fourth and fifth stone tablets.
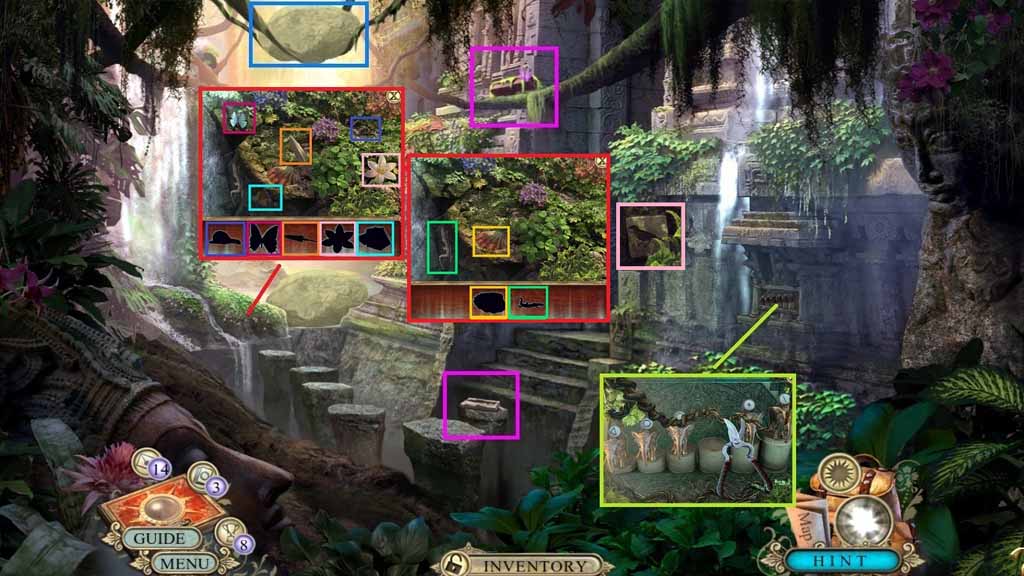
- Use the vineyard shears to clip the vines.
- Click the hidden objects area.
- Find the items and collect the 6th stone tablet.
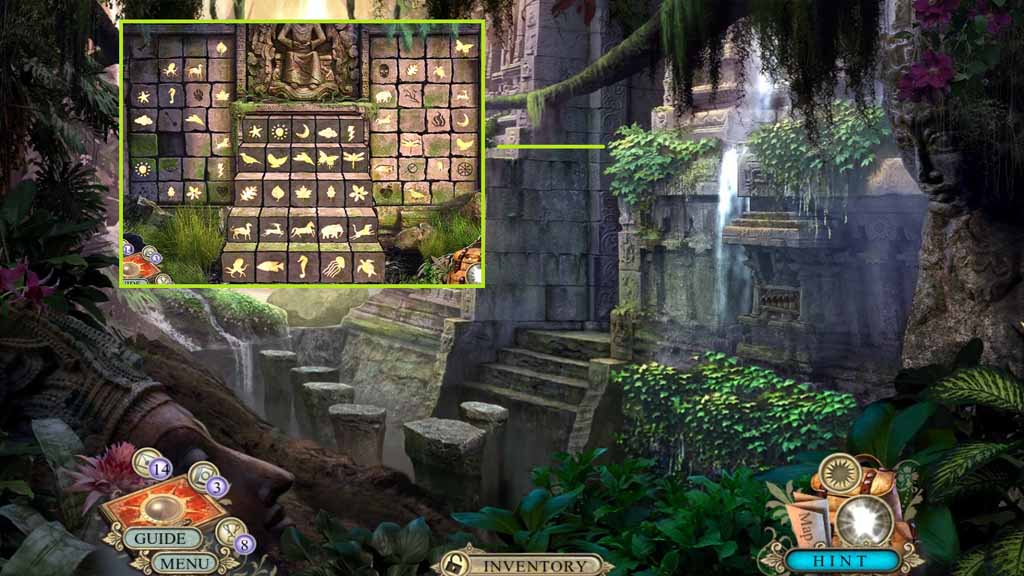
- Insert the six stone tablets into the wall to trigger a puzzle.
- Solve the puzzle by clicking the symbols in the same way they appear on the steps.
- Move ahead.
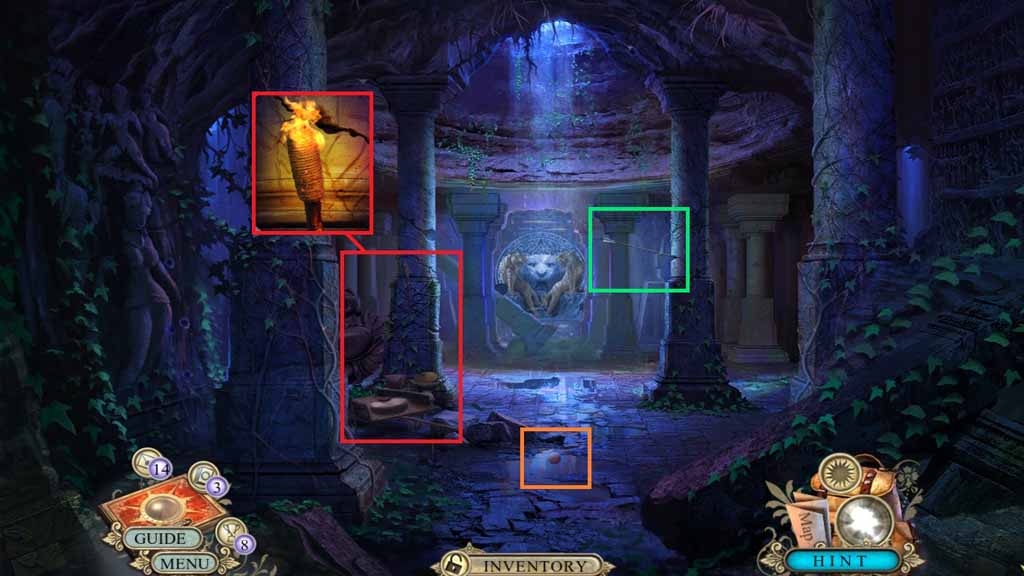
- Toss the orange.
- Collect the arrow.
- Use the matches to ignite the torch and trigger a hidden objects area.
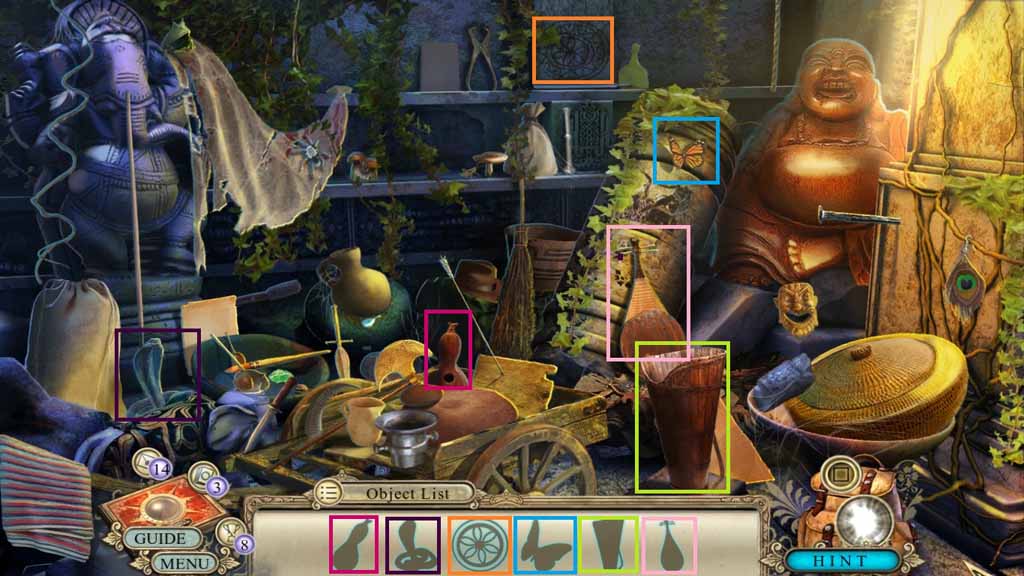
- Find the silhouetted items.
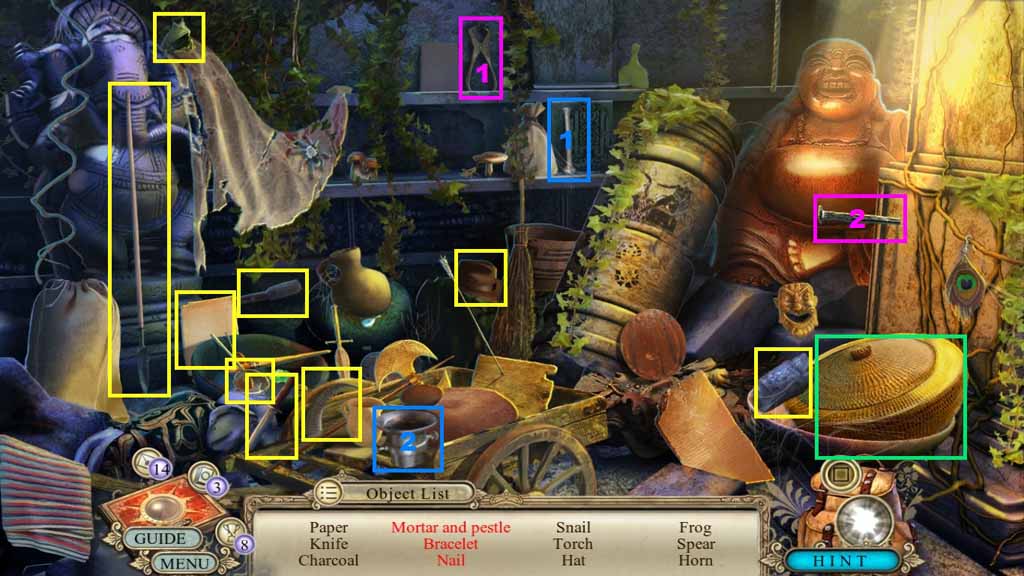
- Find the listed items.
- Select the pestle and place it into the mortar; collect the mortar and pestle.
- Click the basket; collect the bracelet.
- Select the nail puller and use it to remove and collect the nail.
- Collect the charcoal.
- Collect the elephant figurine.
- Place the charcoal paper onto the wall and use the charcoal to collect the paper with code.
- Move down one time.
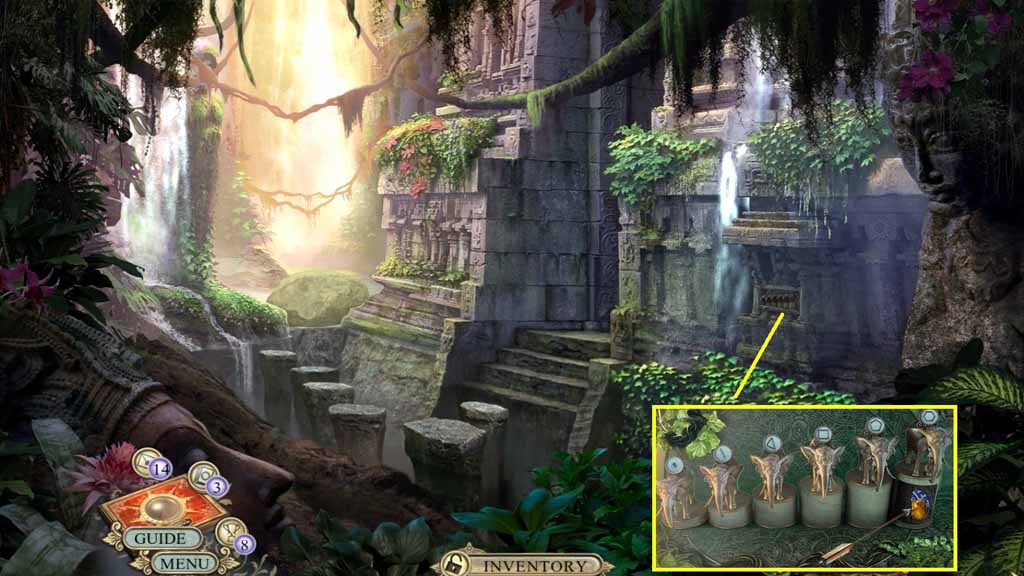
- Place the elephant figurine onto the stand to trigger a puzzle.
- Align the symbols that are shown to solve the puzzle.
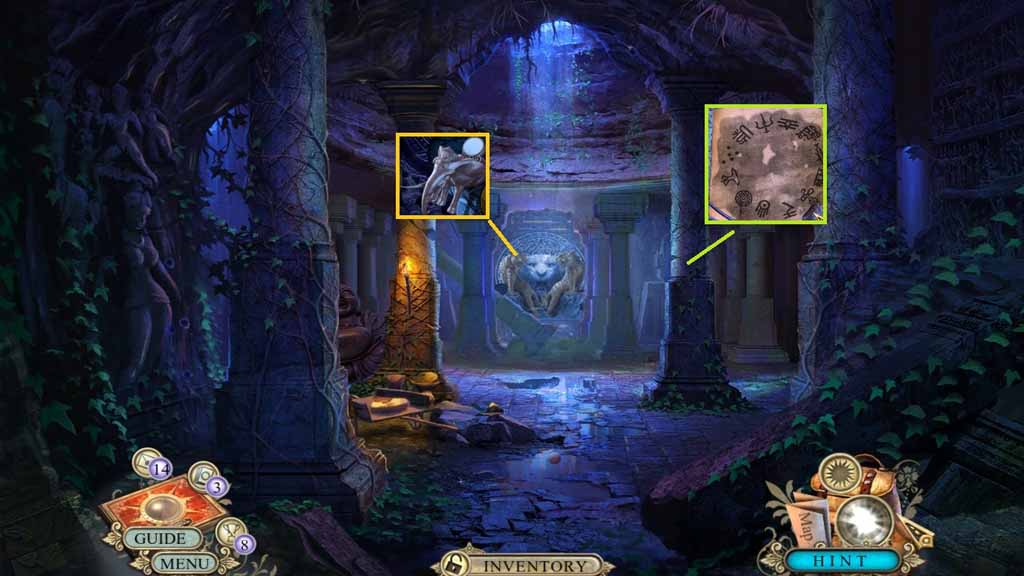
- Use the arrow to remove the stone disc.
- Move to the Temple interior.
- Place the stone disc onto the statue to trigger a puzzle.
- Solve the puzzle by arranging the discs as shown.
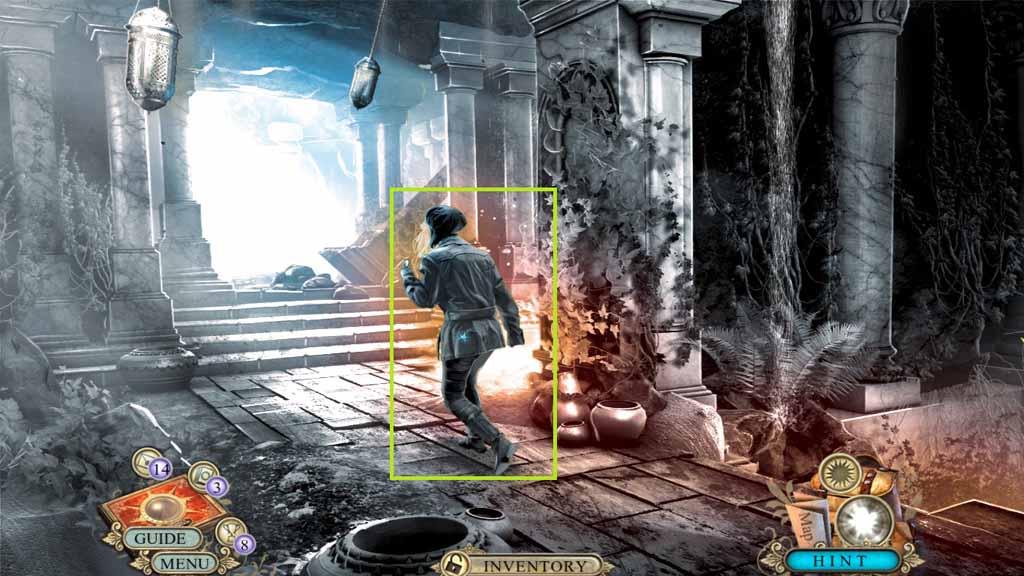
- Move ahead.

- Locate all of the symbols in the scene.
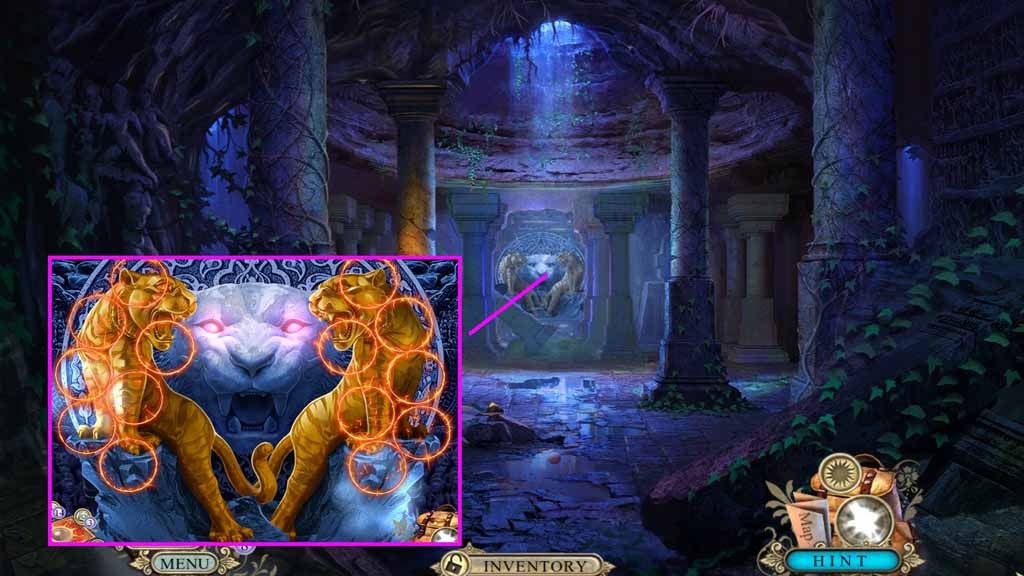
- Zoom into the statue and place the paper with the code onto it to trigger a puzzle.
- Solve the puzzle by rotating the rings so that the correct symbols are aligned.
- Select the vines to capture the lady.
- Congratulations! You have completed the main game of Hidden Expedition: Smithsonian Hope Diamond