Hallowed Legends: Ship of Bones: Chapter Seven : The Ship of Bones
Depend on our Hallowed Legends Ship of Bones Walkthrough to guide your steps as you attempt to discover the secrets of the cursed village of Erlenbourg. But beware, every step you take is stalked by the woman in white who feeds off the souls of the living. Use our detailed instructions, custom screenshots, and puzzle solutions to reveal the truth behind this chilling mystery.
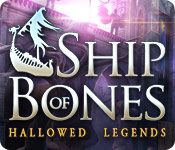
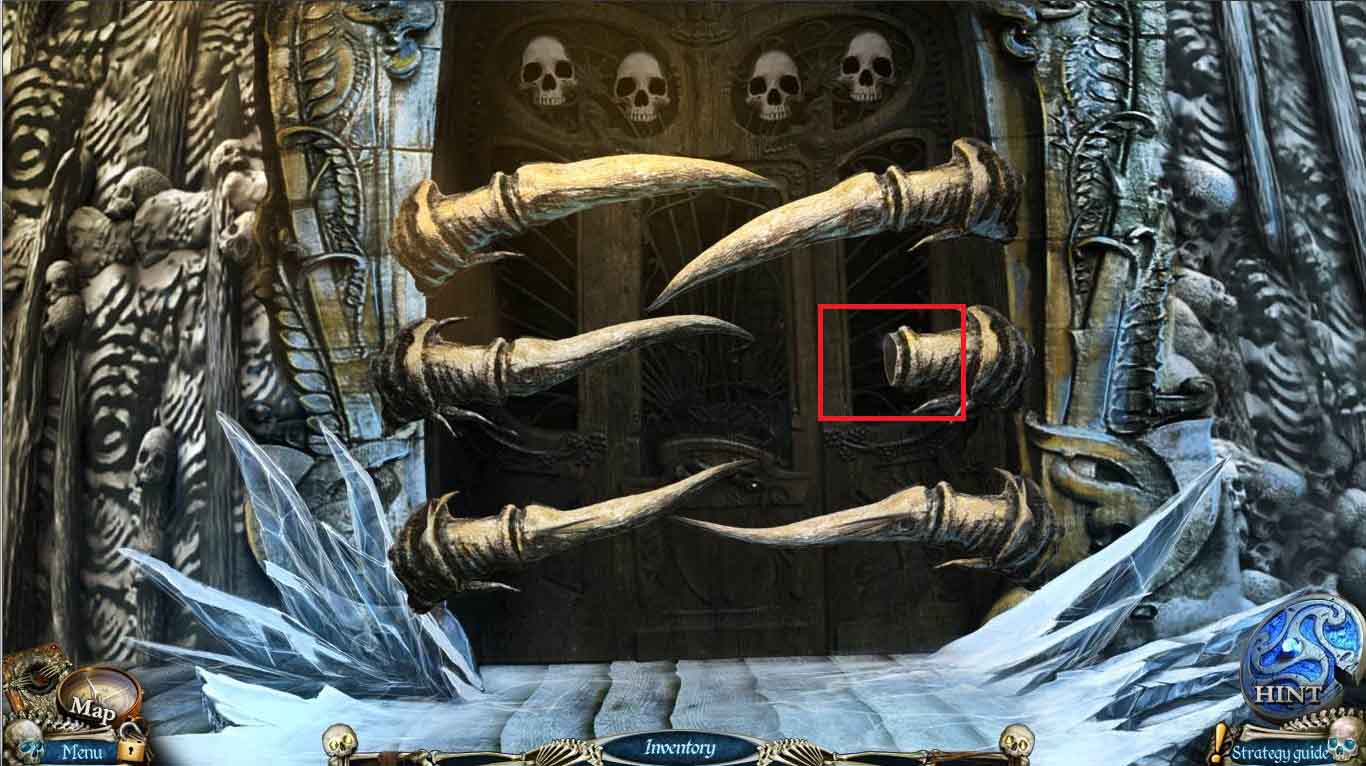
- Click on the quiver and use the boathook to move it closer
- Take the ARROW
- Go to the second floor room
![]()
- Click on the bed and use the knife on the sheets to make a rope
- Place the arrow on the rope to make ARROW WITH ROPE
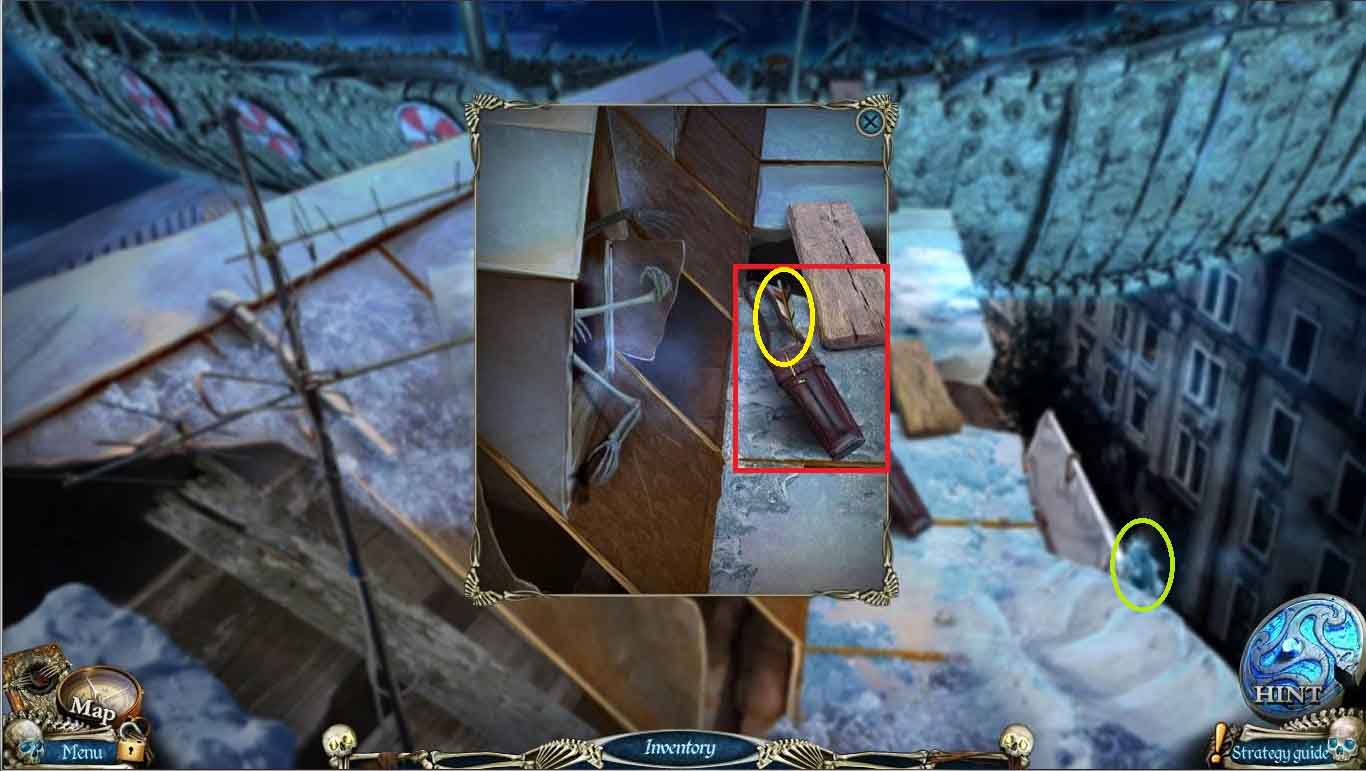
- Click on the crossbow and use the ARROW WITH ROPE to get the BUCKET
- Go to the garage
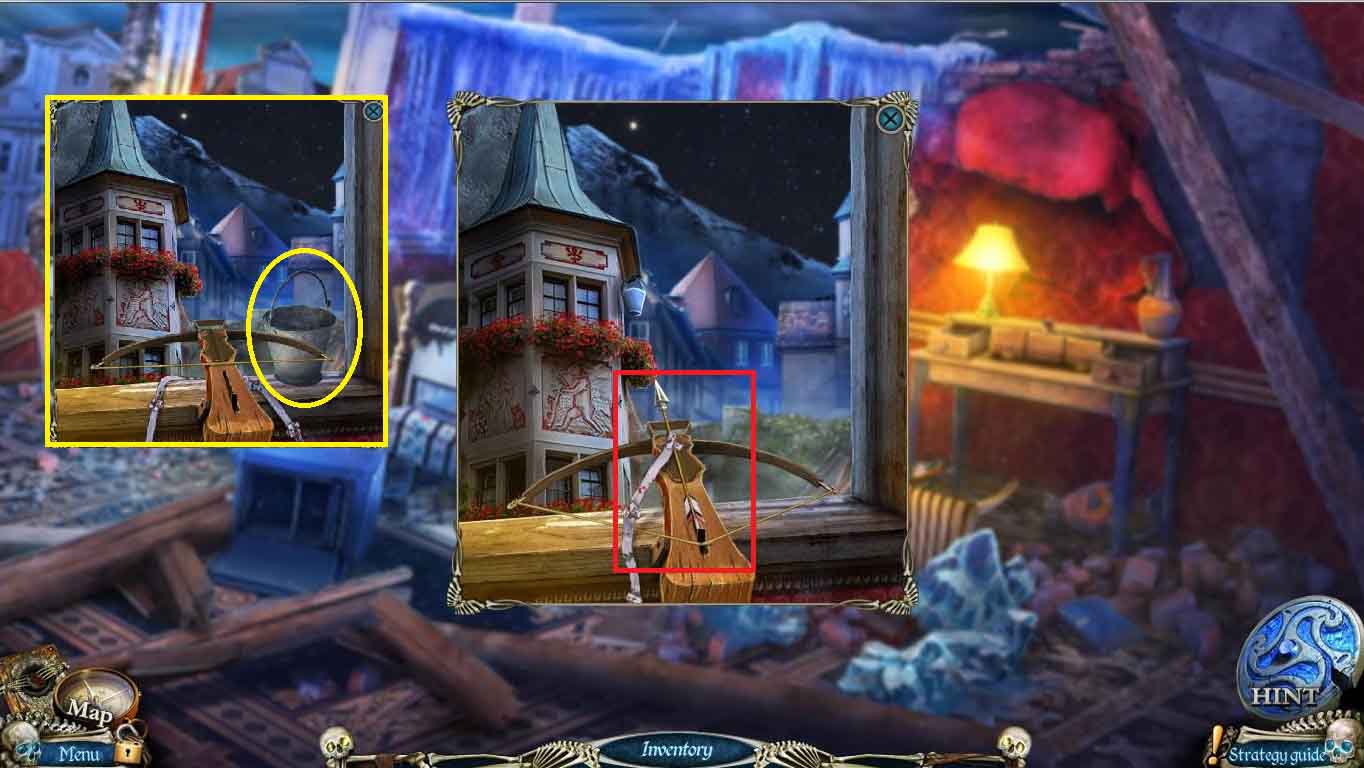
- Click on the tool box on the far side of the car and use the SANDCASTLE AMULET to open the lid
- Use the BUCKET in the sand to get a BUCKET WITH SAND
- Go to the chapel
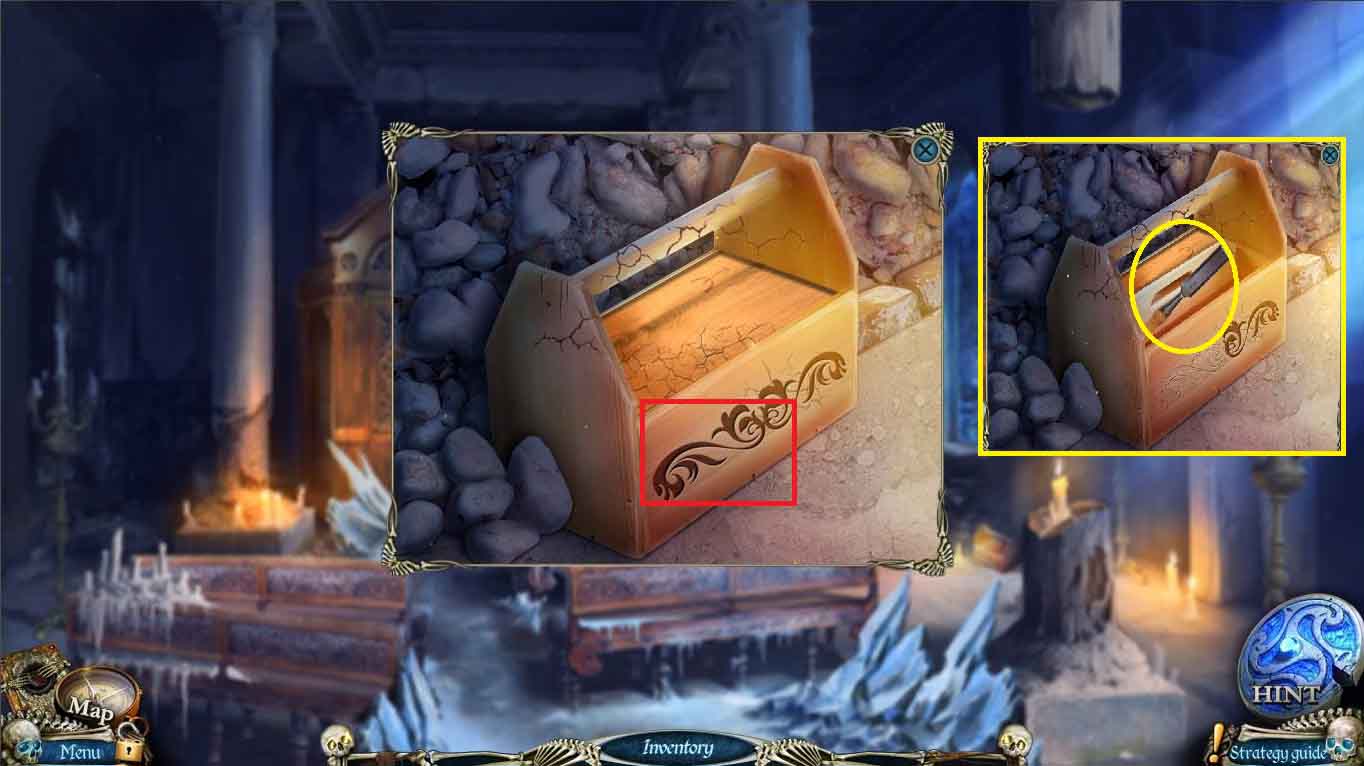
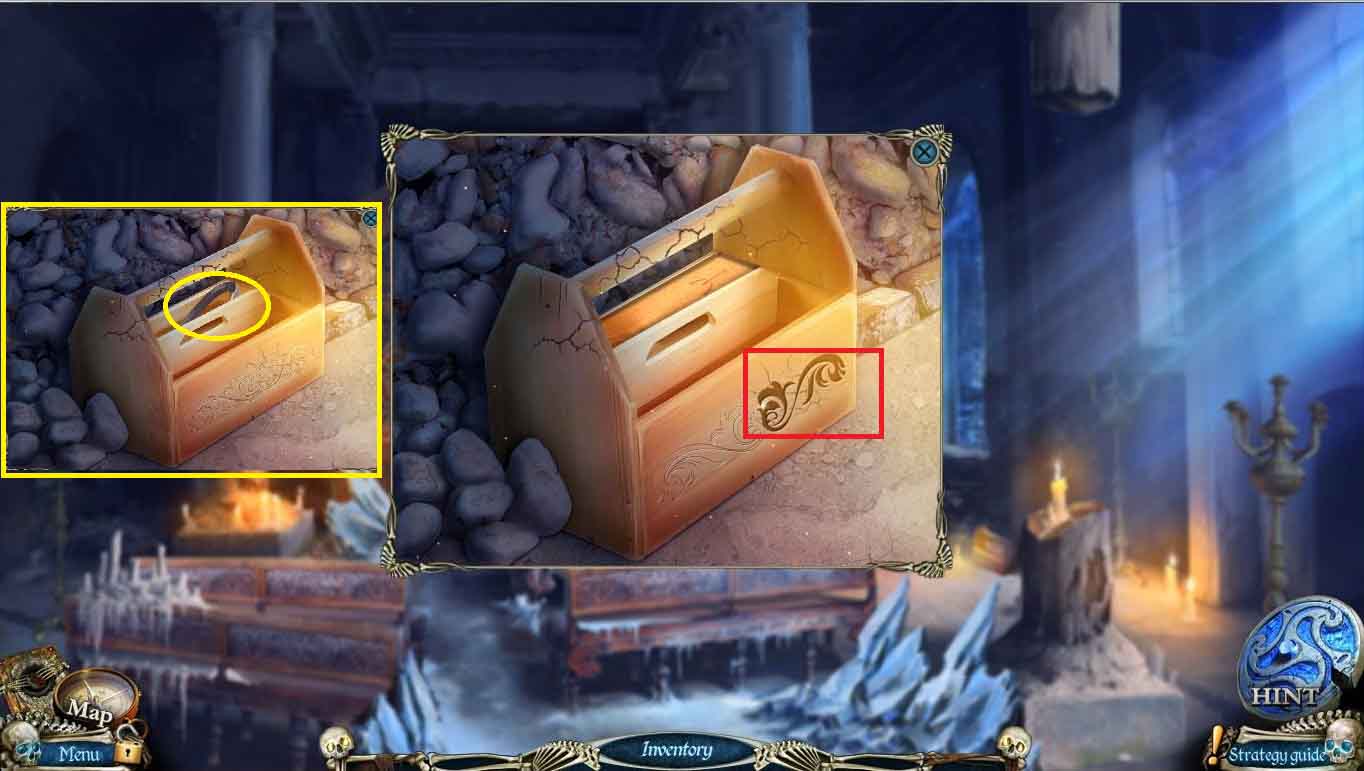
- Click on the toolbox on the right and use the WOODEN PART to unlock the box and take the CHISEL
- Go back to the roof

- Use the BUCKET WITH SAND on the icy roof to walk across towards the wooden board
- Click on the board to activate a puzzle
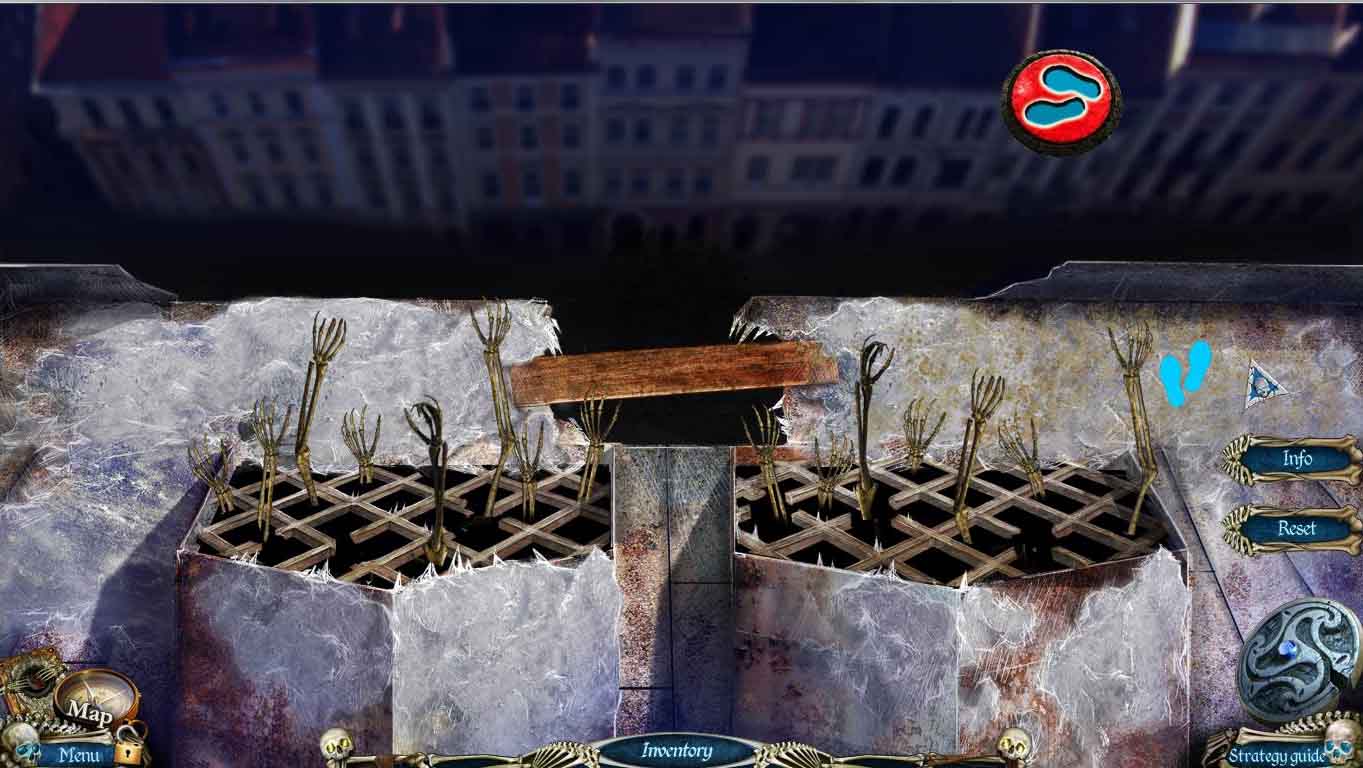
- The object of the game is to get across without a skeleton hand grabbing you.
- When the hands go down, click the foot symbol to advance one step.
- If a skeleton hand touches your footprint you reverse a step.
- When crossing the board in the middle you can only advance when the meter is in the green zone.
- Go across and enter the ship’s deck.
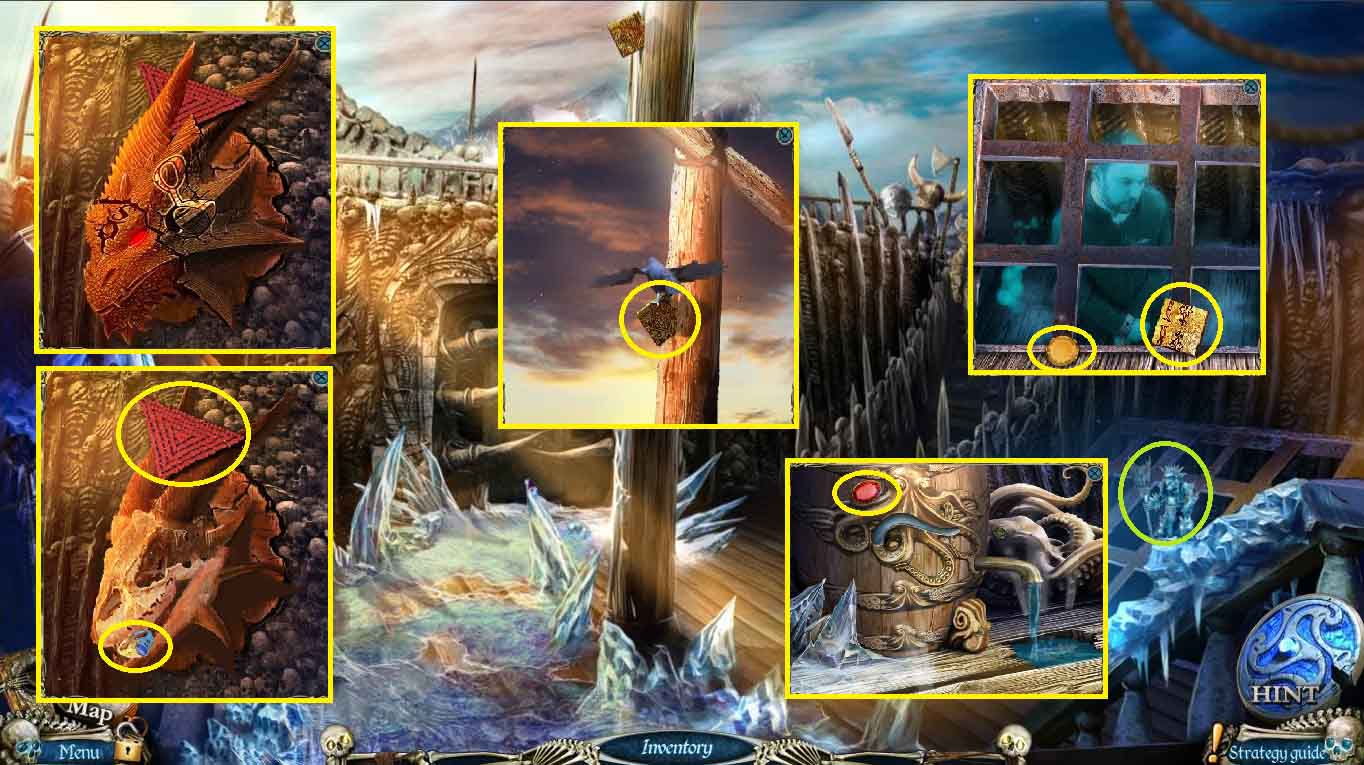
- Click on the mounted head on the left and use the chisel to get the RING and TRIANGLE 1/2
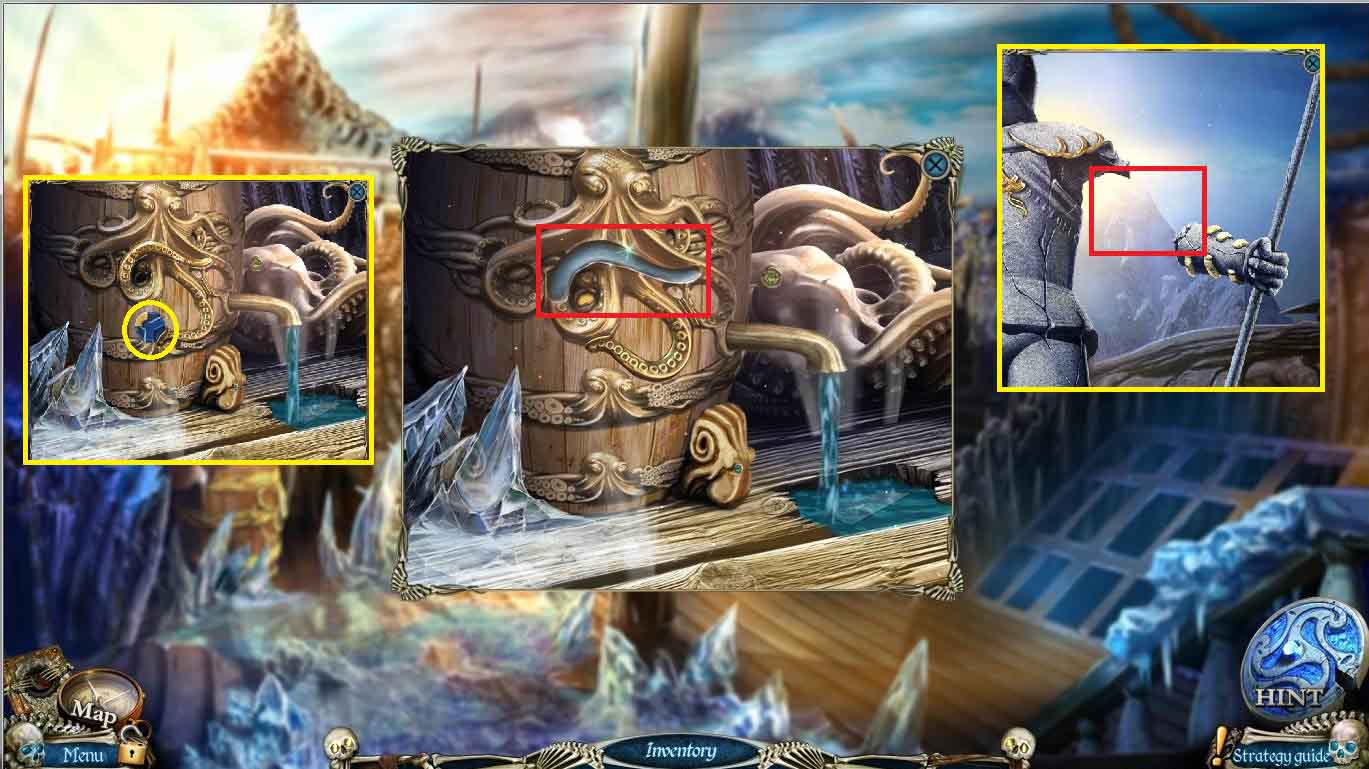
- Click on the pole and use the raven to get the OFFICE AMULET 2/3
- Click on the ship hold and take the YELLOW CRYSTAL 1/3 and the OFFICE AMULET 2/3
- Click on the barrel and take the RED CRYSTAL 3/3
- Go to the attic
- Zoom in on the gauntlet and place the RING on the hand to get the GEM
- Go to the chapel yard
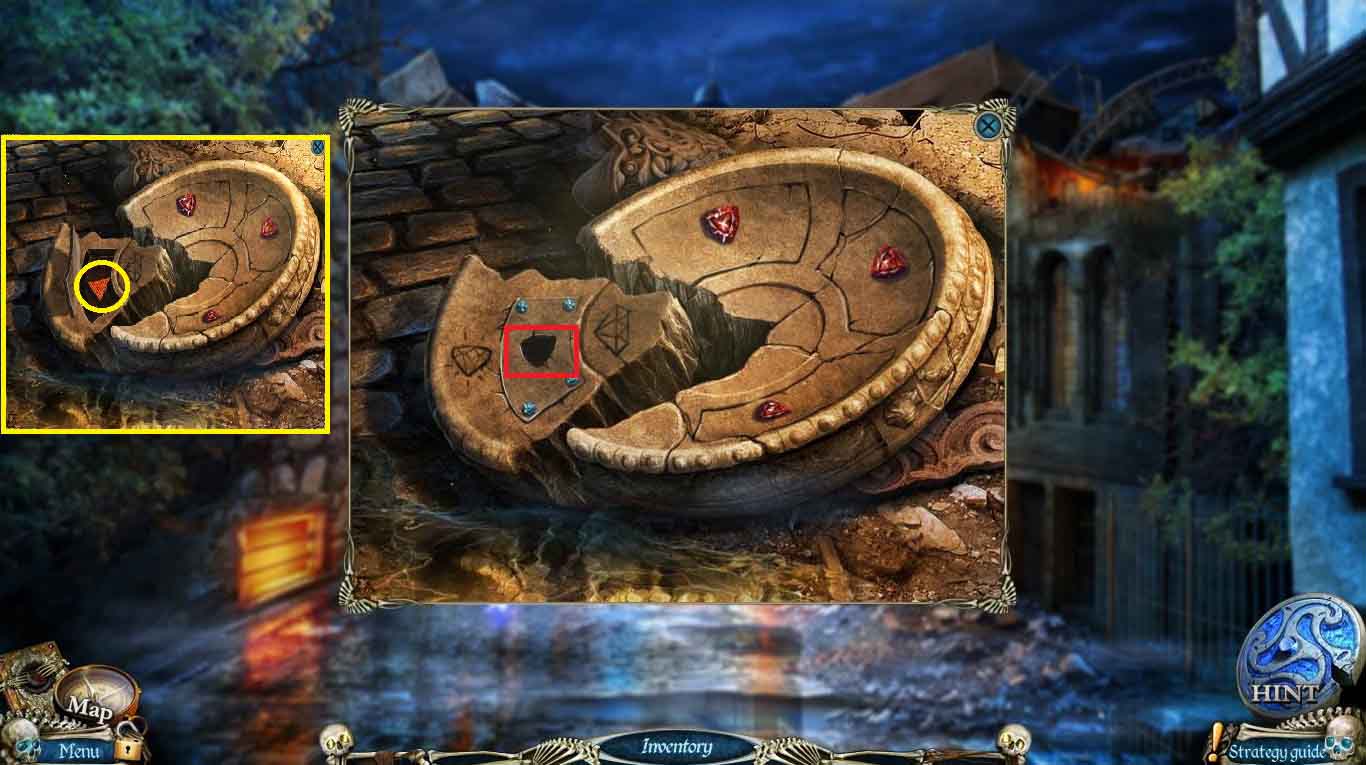
- Click on the disk and place the GEM in the slot to get the TRIANGLE 2/2
- Go to the second floor room
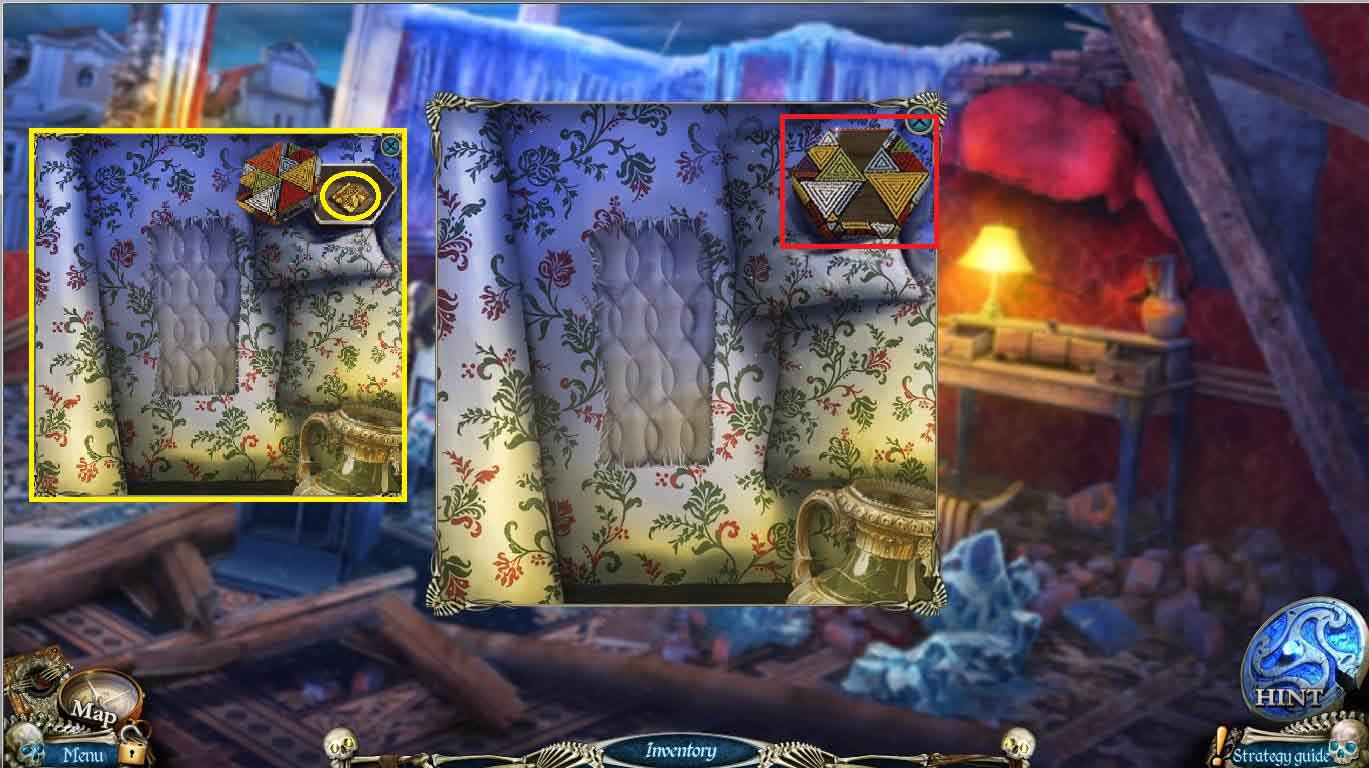
- Click on the bed and use the two TRIANGLES on the box and take the OFFICE AMULET 3/3
- Go to the museum
- Click on the door to the right and use the three OFFICE AMULETS to open a puzzle
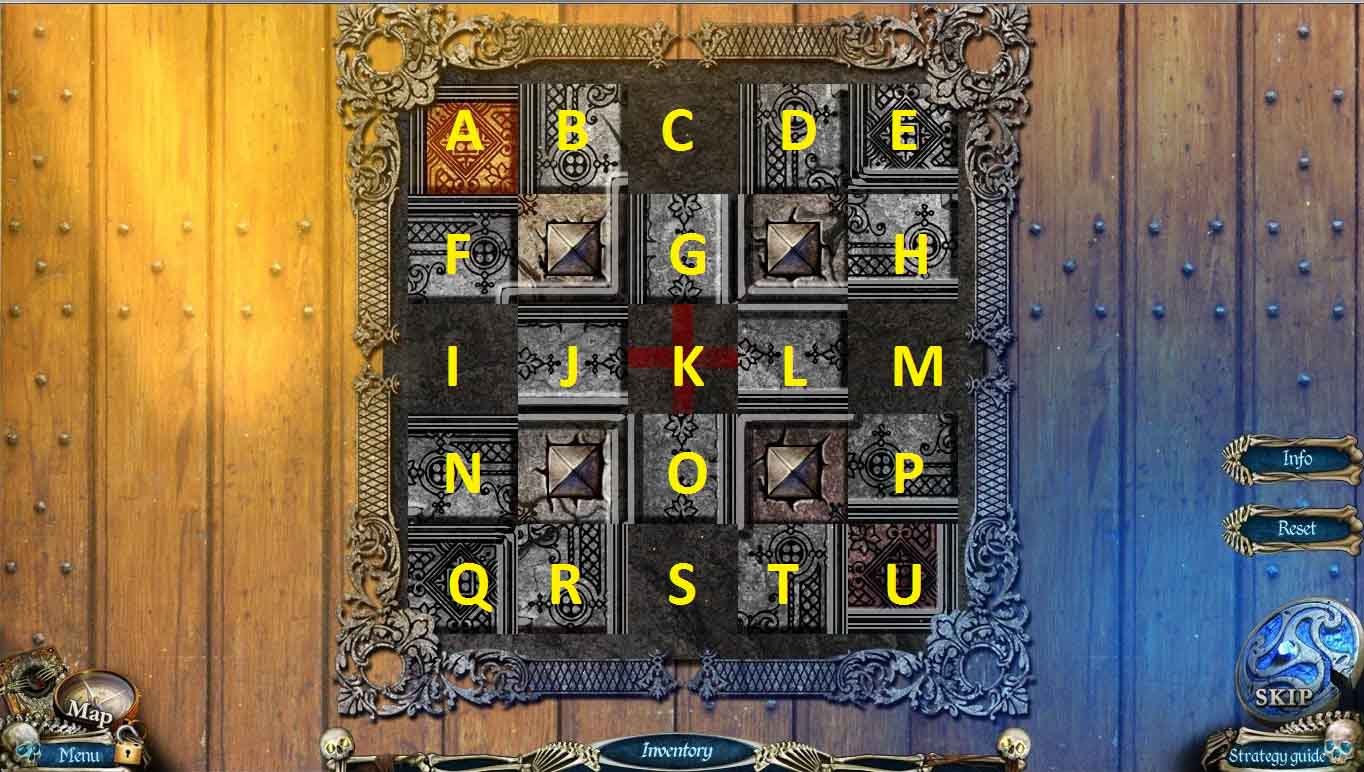
- Slide the tiles to complete the pattern with the following moves:
- L-M, J-L, O-S, F-O, G-F, B-I, O-B, D-J, S-G, R-K, Q-O, N-S, I-Q, F-N, J-F, K-I, G-J, E-G,
- H-C, M-D, L-E, P-K, E-L, D-P, C-M, G-H, K-E, O-D, S-C, L-G, M-K, T-O, U-S, P-T, H-U,
- K-P, E-M, O-L, S-K, T-O, D-E, C-D, G-C, K-G, O-R, L-T, M-S, J-O, I-H, O-M, F-O, N-L, Q-F,
- R-J, S-N, O-Q, J-S, L-I, S-J, T-L, Q-T, N-K, T-N, U-Q, P-R, M-O, L-S, K-T, G-U, O-G, S-P, G-M, J-S
- Go through to the office
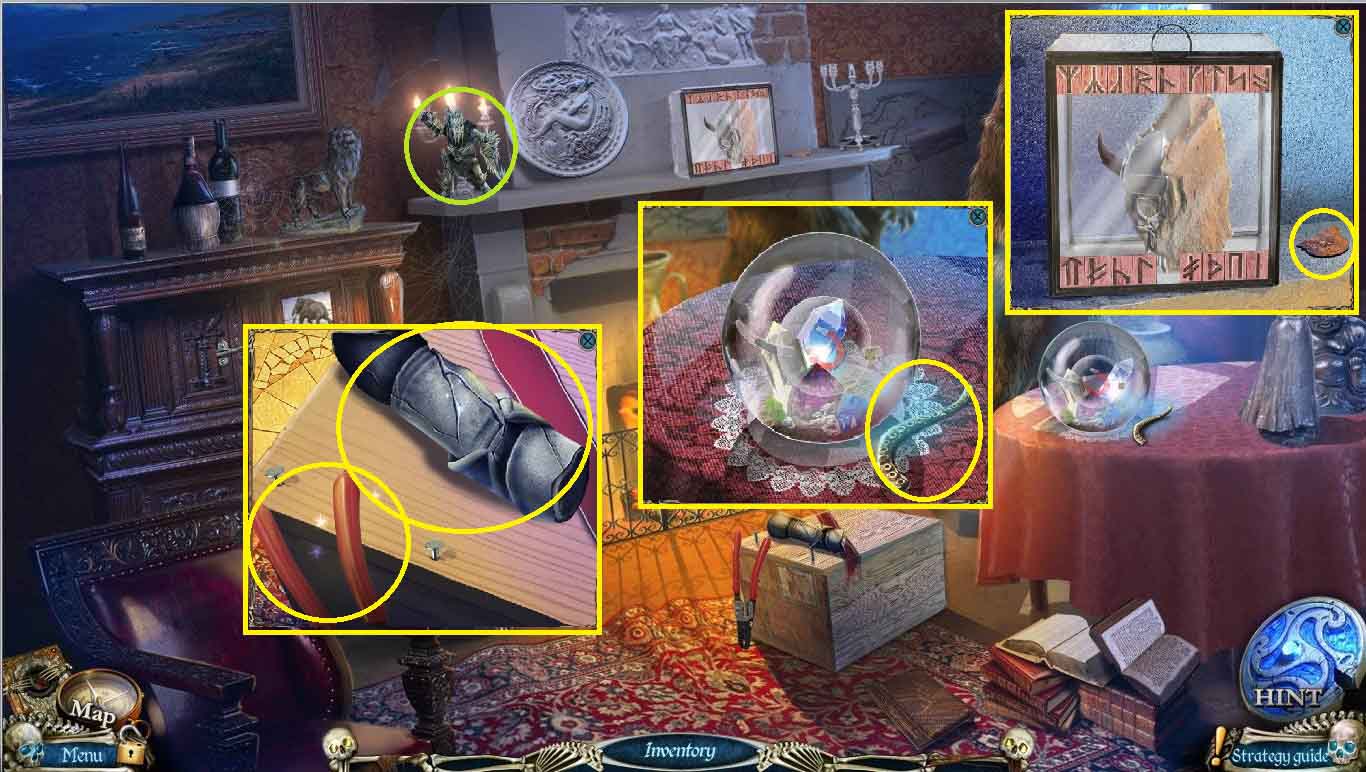
- Click on the crate and take the GUARD’S ARM and CUTTERS
- Click on the globe on the table to get the OCTOPUS TENTACLE
- Click on the glass display on the mantle and take the BAS-RELIEF ½
- Go back to the ship’s deck
- Click on the barrel and use the OCTOPUS TENTACLE to get the CASTLE AMULET ½
- Click on the guard and use the GUARD’S ARM to open the passageway and find a hidden object scene
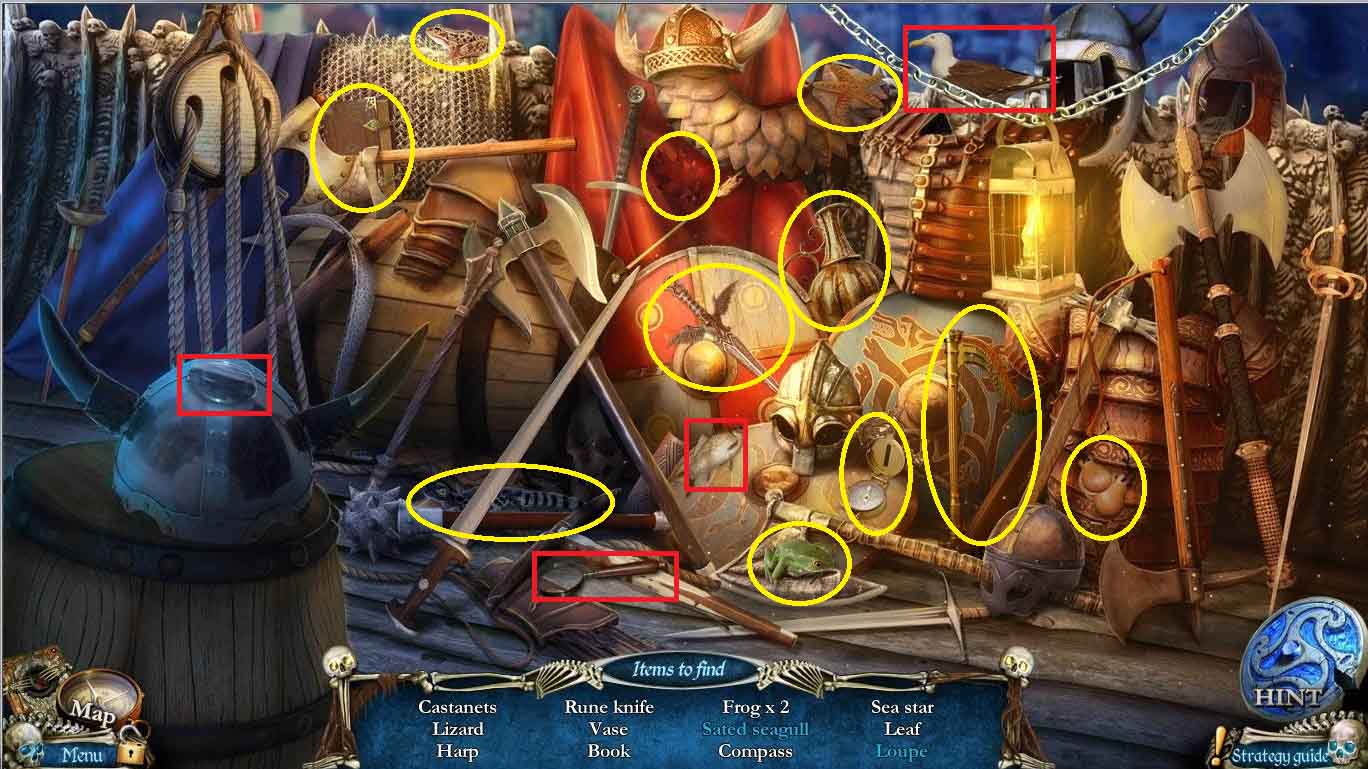
- Find all obejects in the list – feed the fish to the seagull to get a sated seagull and place the lens in the handle to get a loupe
- Go back to the attic

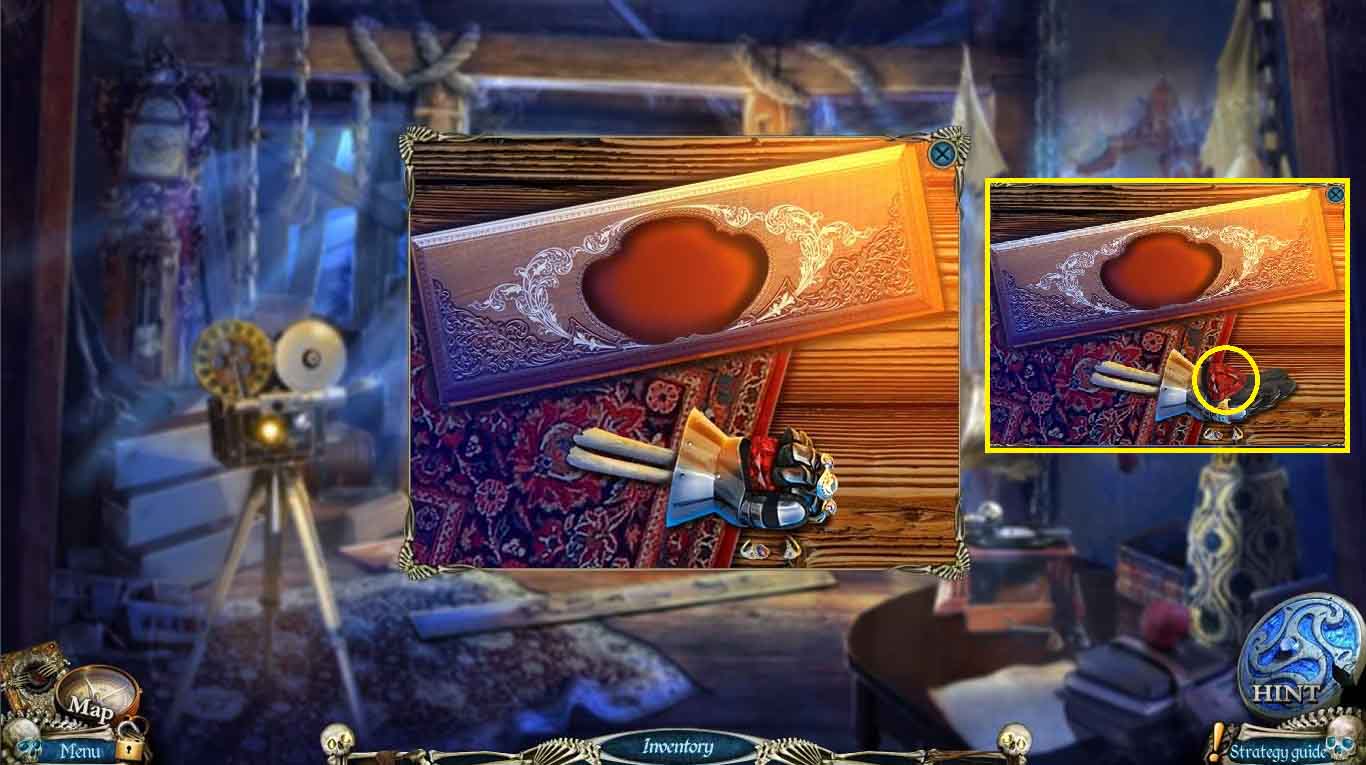
- Click on the disk and use the DAGGER and KNIFE to free the WOODEN PART and CRYSTAL 1/5
- Go back to the chapel
- Click on the toolbox and use the WOODEN PART to get the crowbar
- Go back to the office
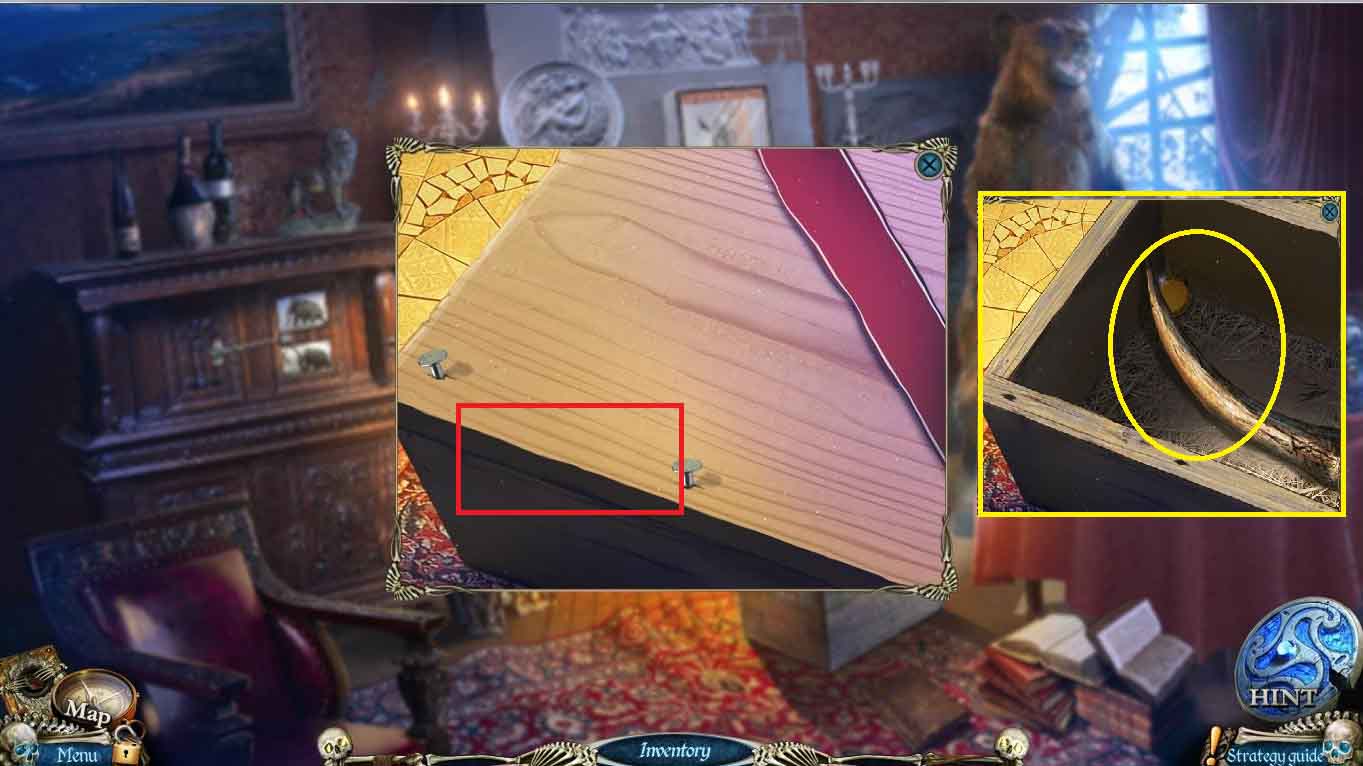
- Click on the crate and use the crowbar to get the TUSK
- Go back to the ship’s deck
- Click on the doorway and use the TUSK to trigger a puzzle.
- They will light up randomly, follow the sequence and repeat it to open the access to the cabin
- Enter the cabin