
Grim Facade: The Artist and the Pretender: Chapter Two: Secret
Our Grim Facade: The Artist and the Pretender Walkthrough will be a powerful ally and the key to the resistance force fighting to protect art and science from a man determined to destroy all traces of them from the face of the earth. Trust that our detailed, step-by-step instructions, insider hints, custom screenshots, and puzzle solutions will see you through this exciting new addition to the Grim Facade games!
General Information & Tips
Chapter One: Decree
Chapter Two: Secret
Chapter Three: Garden
Chapter Four: The House
Chapter Five: Resist
Chapter Six: The Mage
Ask for help in the comments below!
Chapter One: Decree
Chapter Two: Secret
Chapter Three: Garden
Chapter Four: The House
Chapter Five: Resist
Chapter Six: The Mage
Ask for help in the comments below!
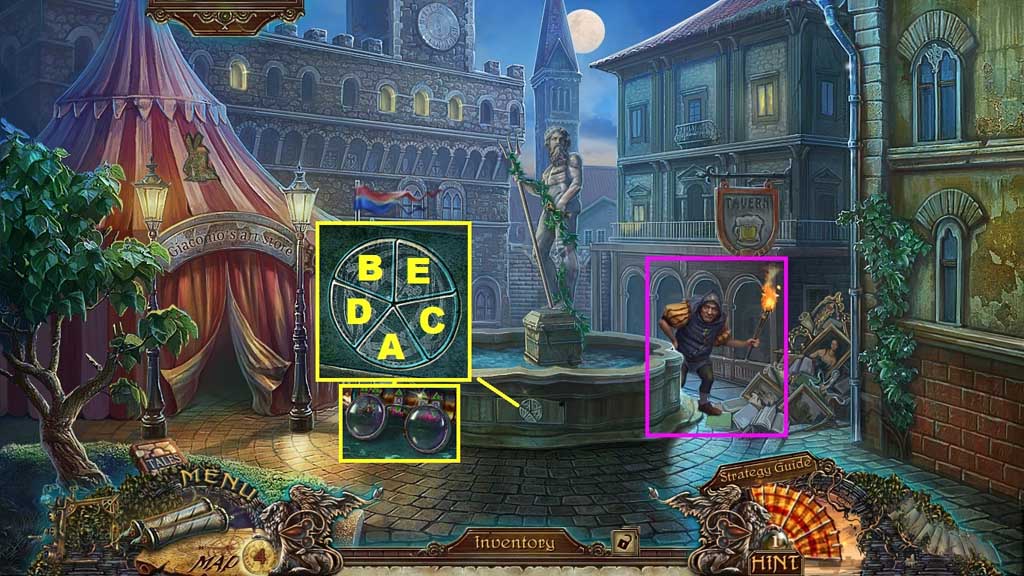
- Speak to Gobbo.
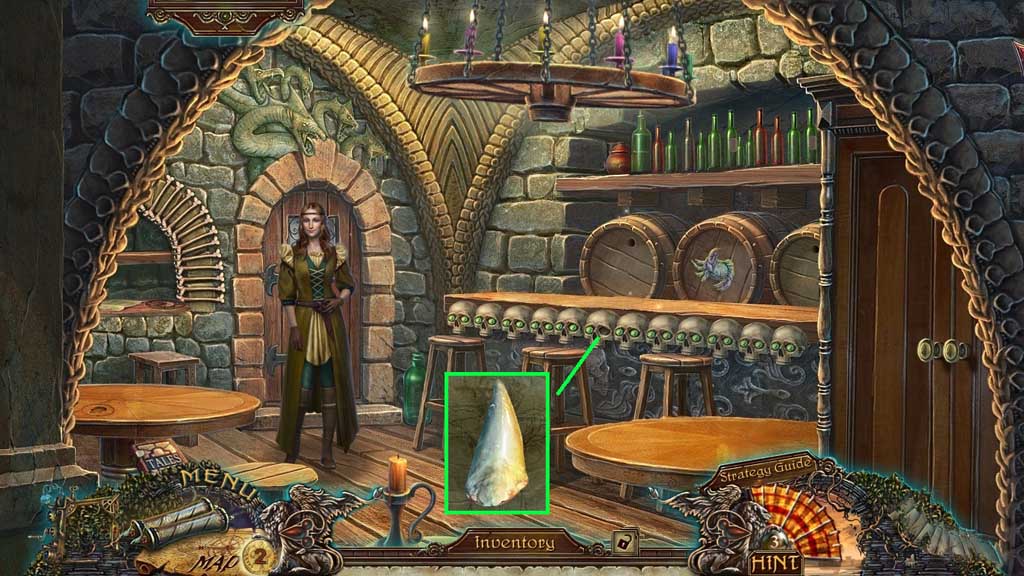
- Click the buttons in the correct order; collect the glasses.
- Move to the left.
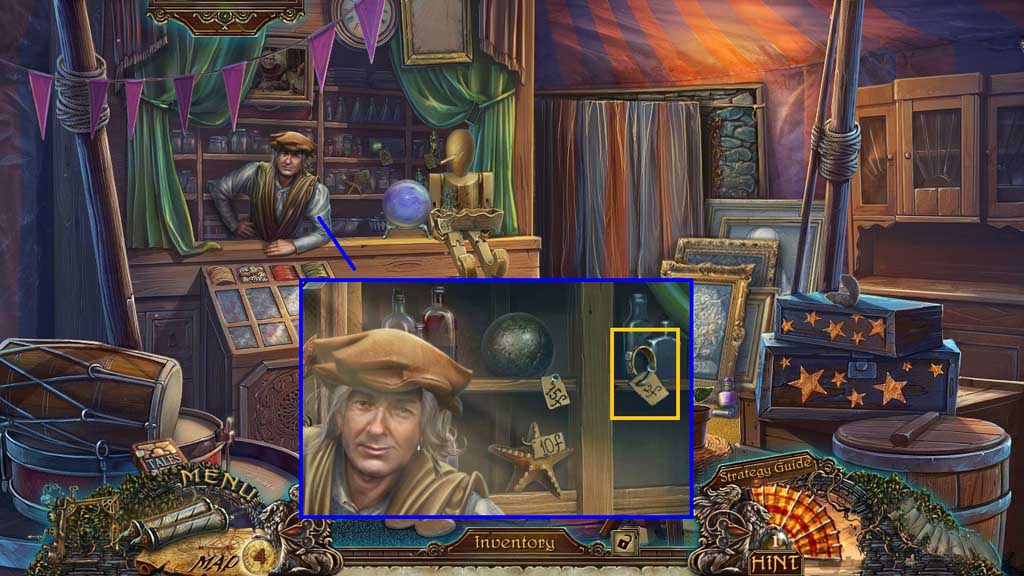
- Speak to the vendor.
- Click the ring.
- Give the vendor the 2 coins; collect 2 /3 metal rings.
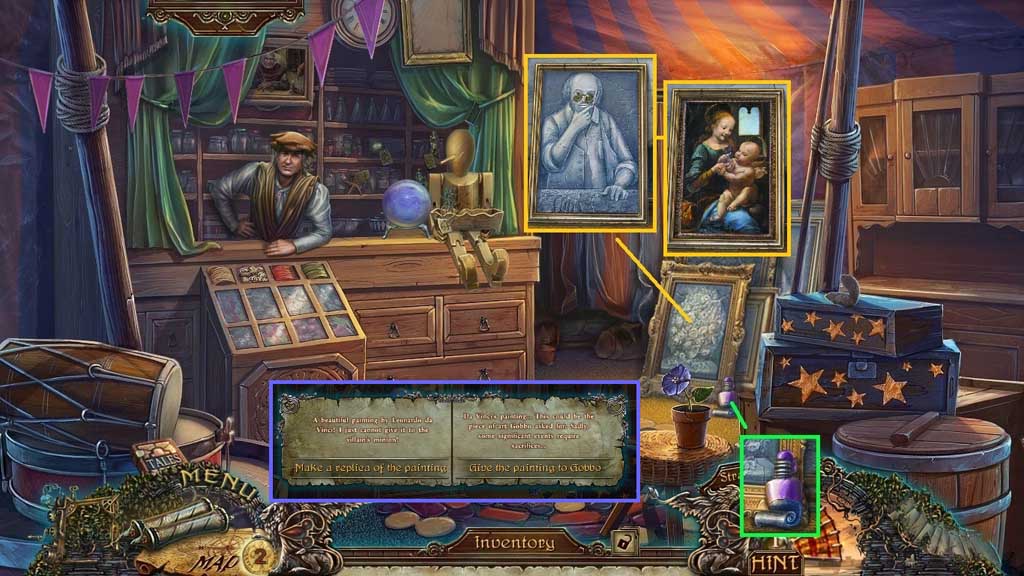
- Collect the purple paint.
- Click the paintings and insert the glasses.
- Collect Da Vinci’s Benois Madonna.
- Click the make a replica of the painting selection.

- Place Da Vinci’s Benois Madonna and the purple and brown paints down to trigger a mini game.
- Solve the game by completing and collecting the painting replica and Da Vinci’s Benois Madonna.
- Use the following sequence to solve: 1 A right arrow – 2 B right arrow – 2 C right arrow – 5 D – 3 E – 4 F right arrow – 2 G
- Move down once.

- Give Gobbo the painting replica.
- Collect the golden pigeon.
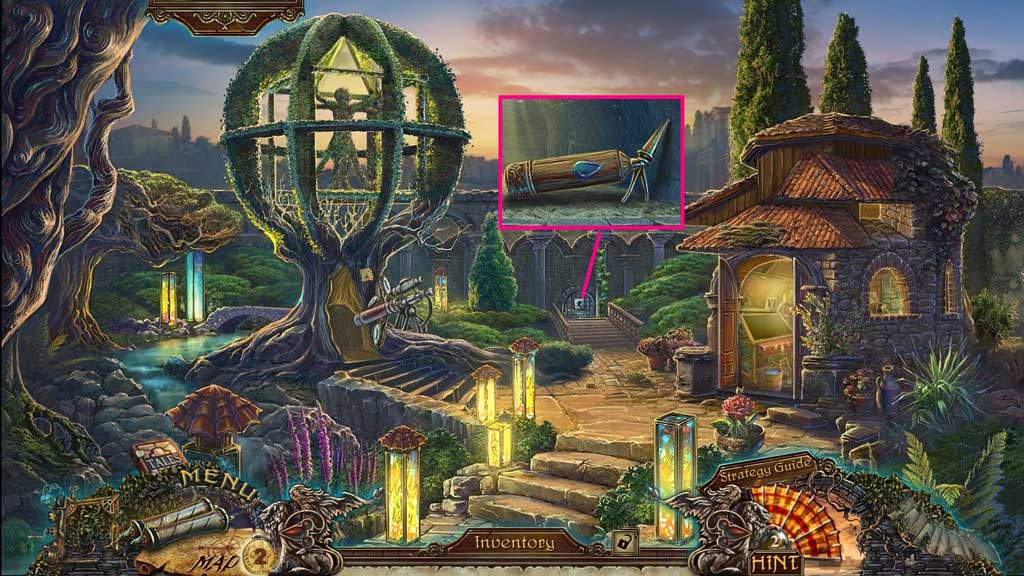
- Move down once and click the hidden objects area.
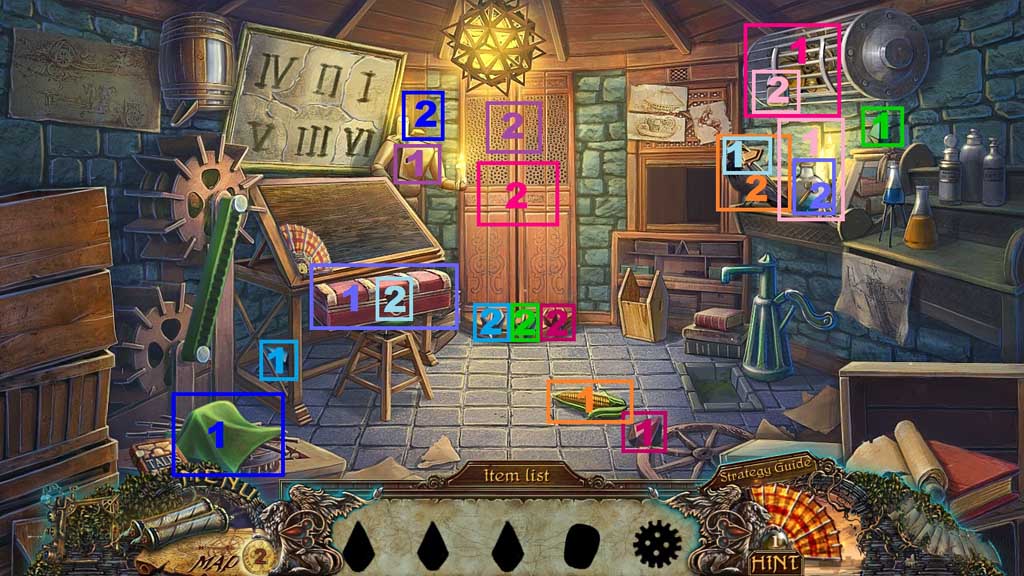
- Find the items.
- Collect the gems and place them into the prongs; the doors will open.
- Select the corn and give it to the bird; collect the box key and insert it into the tool box.
- Collect the hammer and use it to smash the beaker; collect the key and place it into the lock.
- Collect the mechanical squirrel and place it into the wheel.
- Click the cloth; collect the head and place it onto the mannequin.
- Collect the gear and place it into the mechanical wheel.
- Collect 3 /3 metal rings.
- Insert the golden pigeon; collect the fire extinguisher.
- Move to the left.
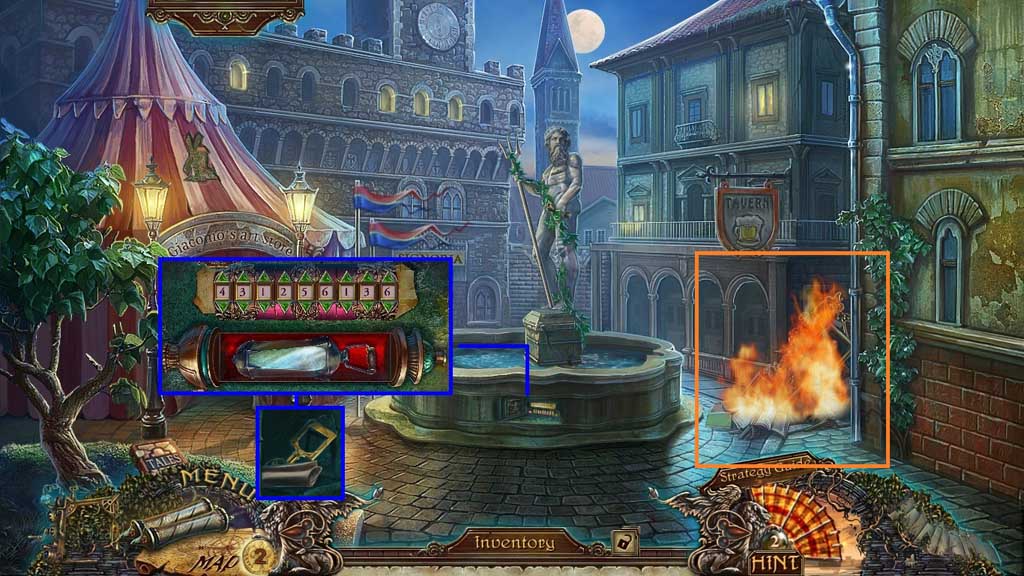
- Insert the metal rings to trigger a mini game.
- Solve the game by entering the code correctly: 4 – 3 – 1 – 2 – 5 – 6 - 1 – 3 - 6
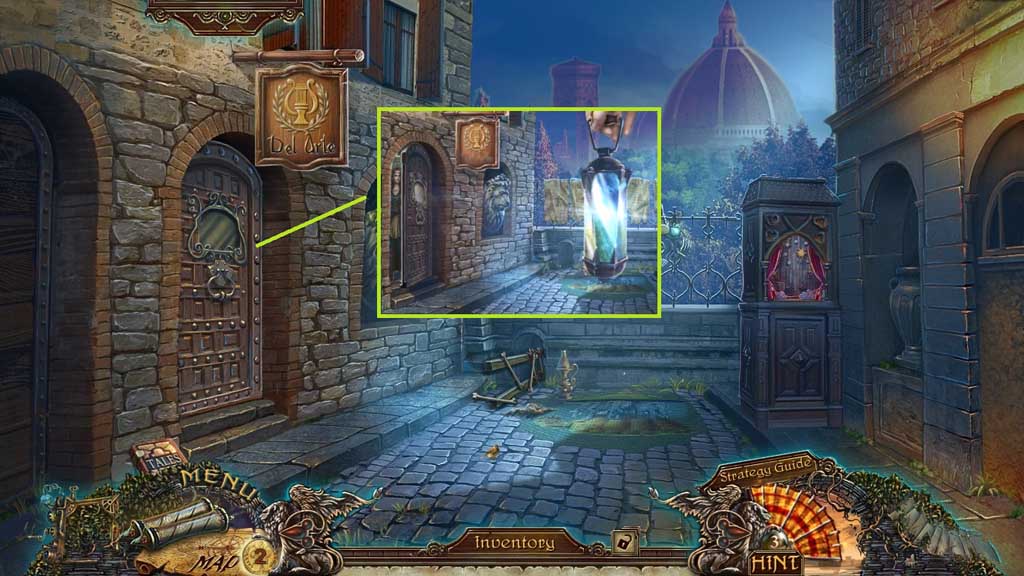
- Collect the note and the mirror lantern.
- Collect the note and Da Vinci’s Vitruvian key.
- Select the fire extinguisher to quench the flames.
- Move to the right.
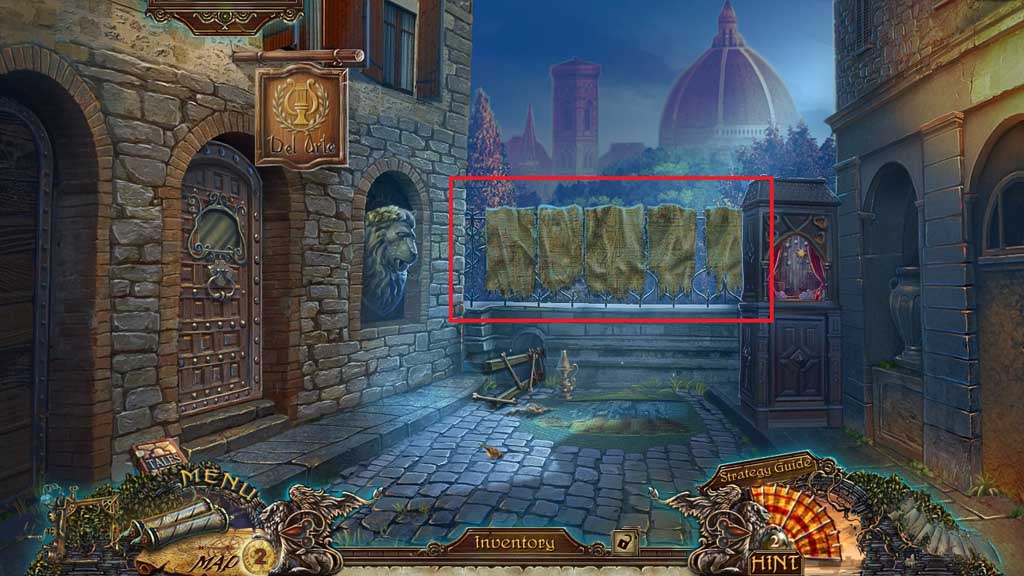
- Click the rags to trigger a hidden objects area.
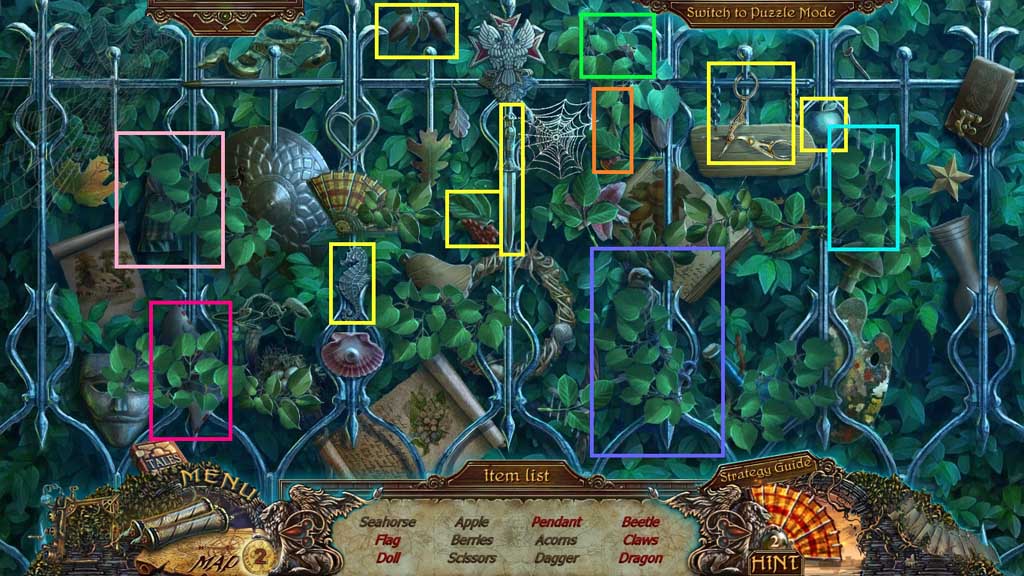
- Find the items.
- Click the leaves; collect the flag.
- Click the leaves; collect the doll.
- Click the leaves; collect the pendant.
- Click the leaves; collect the beetle.
- Click the leaves; collect the claws.
- Click the leaves; collect the dragon.
- Collect the scissors.
- Select the mirror lantern to signal Lisa.
- Move to the left.
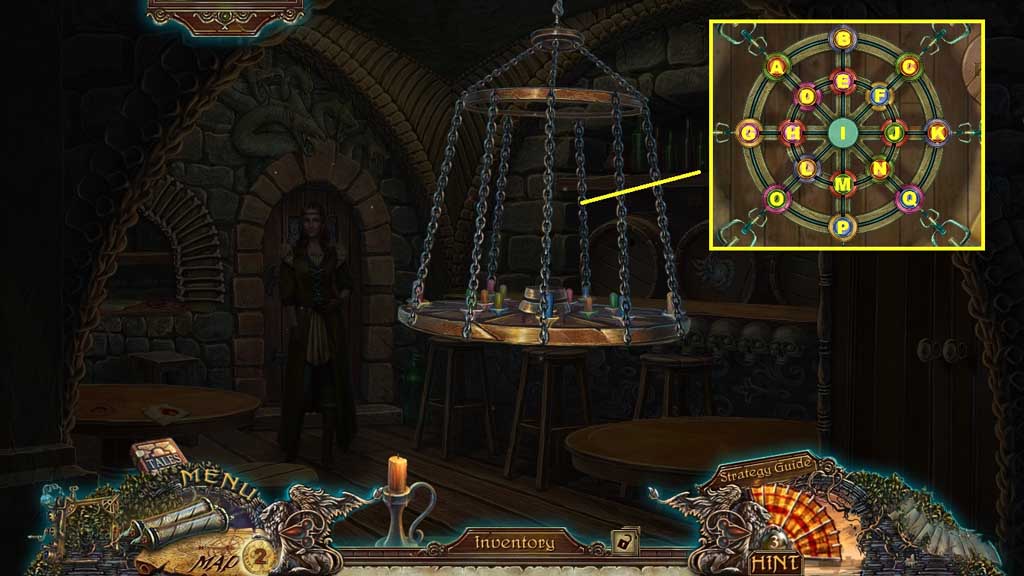
- Click the chandelier to trigger a mini game.
- Solve the game by moving the candles around to their color matched holders.
- Use the following sequence to solve: M – L – O – P – M – L – H – G – O – l –H – D – I – E – B – A – D – H – F – J – K – C – F – J – I – L – M – N – Q – K – J – I – N – Q – K – J – I – N – Q – K – J – I – F – E – I – L – M – N – I – L – M – I
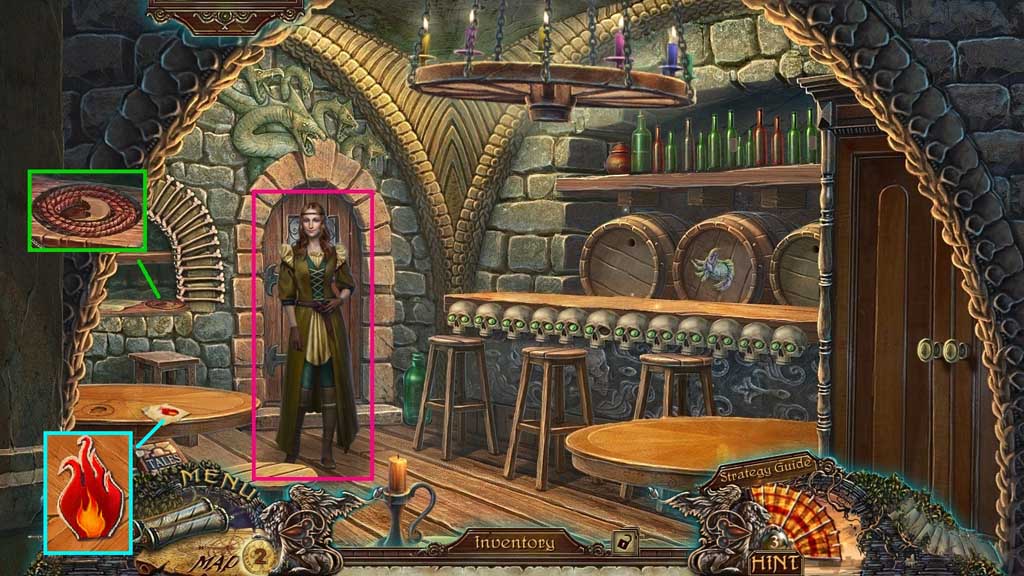
- Speak to Lisa.
- Collect the rope.
- Select the scissors to cut the paper; collect the fire symbols.
- Move down once.
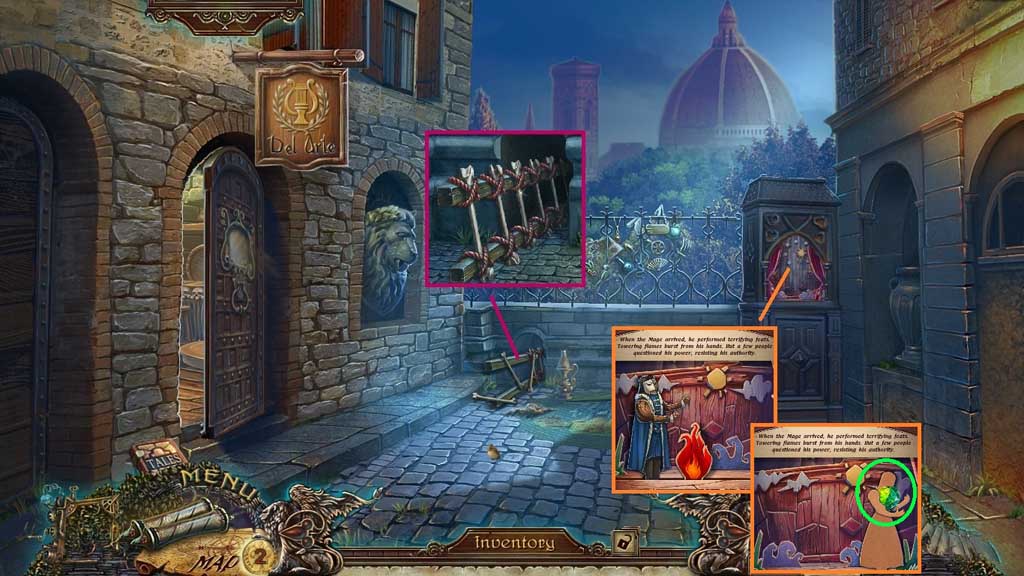
- Attach the rungs and use the rope to secure them; collect the ladder.
- Insert the fire symbol; collect the green gem.
- Move left.
- Insert the green gem; receive the fang.
- Move down once.
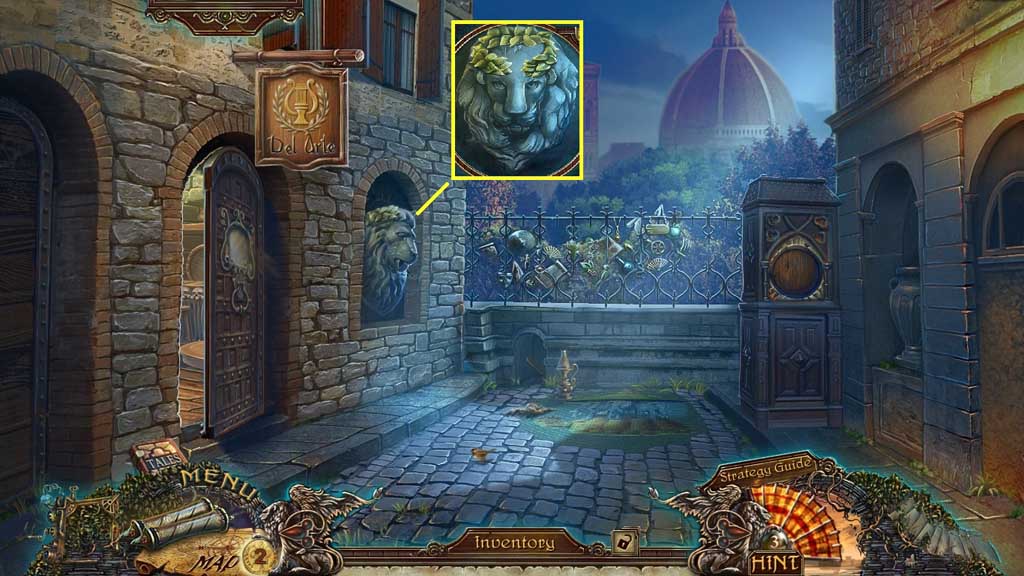
- Insert the fang; collect the wreath.
- Move down once.
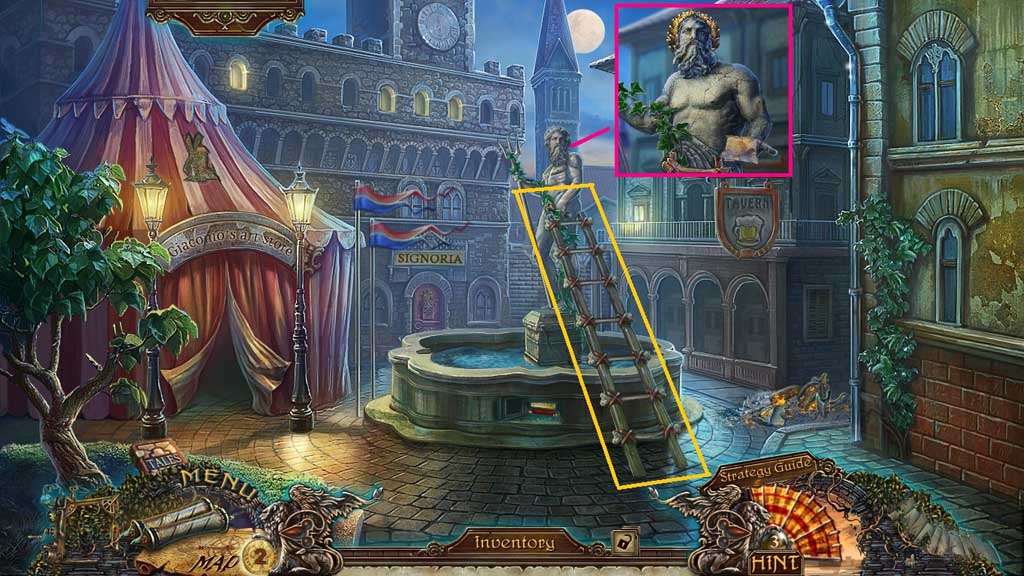
- Lean the ladder onto the fountain and place the wreath.
- Collect the note and the poison.
- Move to Leonardo’s Workshop.

- Insert Da Vinci’s Vitruvian key.
- Move to the right.
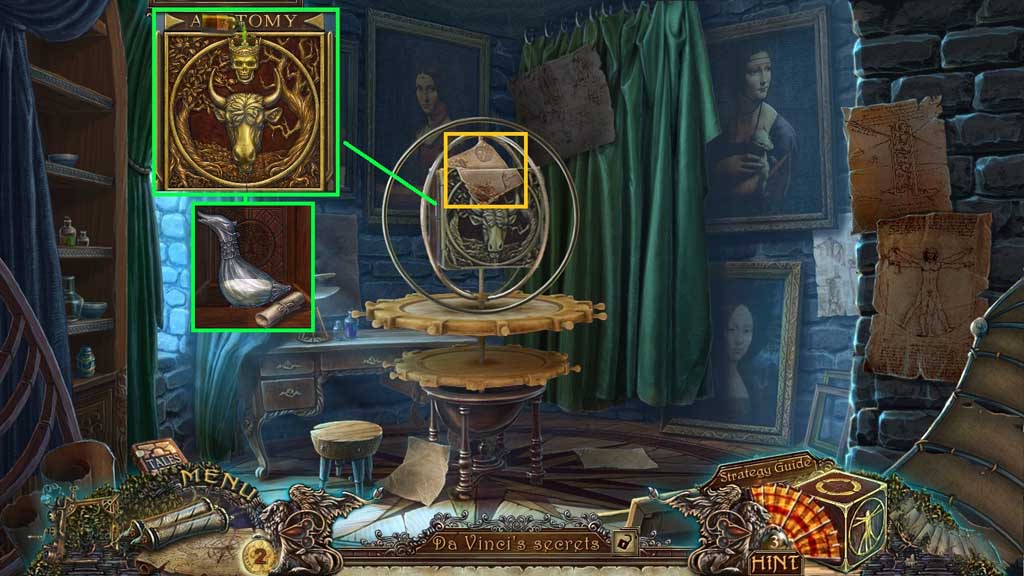
- Collect the note.
- Select the poison to pour into the crown.
- Collect the pharmacist’s note and the universal antidote.
- Move to the Tavern.
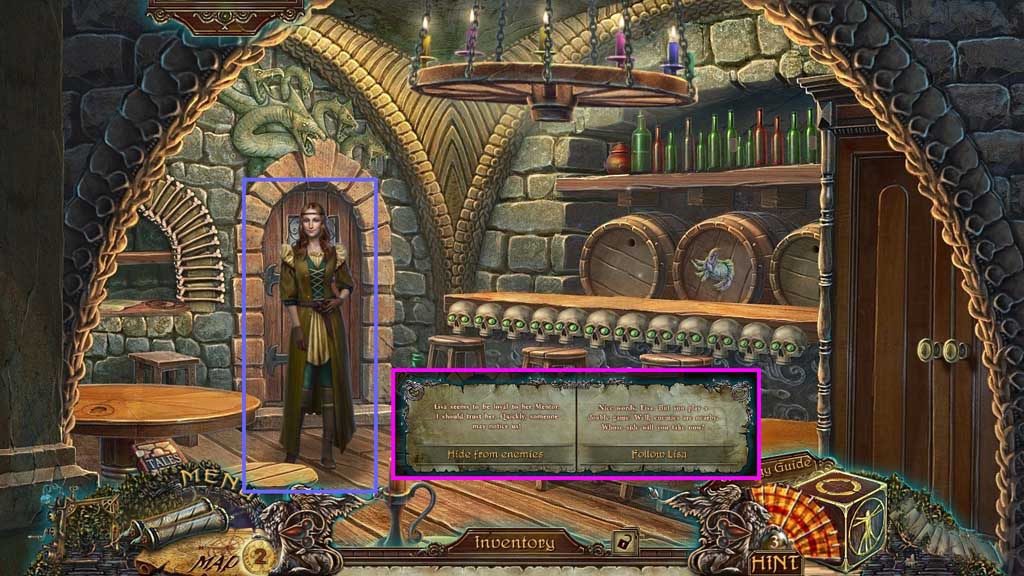
- Speak to Lisa.
- Click an option.
- Attempt to move ahead.
Chapter-2-21-Flint
- Collect the note and the flint and steel.
- Move down once and click the hidden objects area.

- Find the items.
- Click the leaves; collect the sparrow.
- Click the leaves; collect the peacock.
- Click the leaves; collect the nest.
- Click the leaves; collect the feathers.
- Click the leaves; collect the gear.
- Click the leaves; collect the splash.
- Collect the eagle medal.
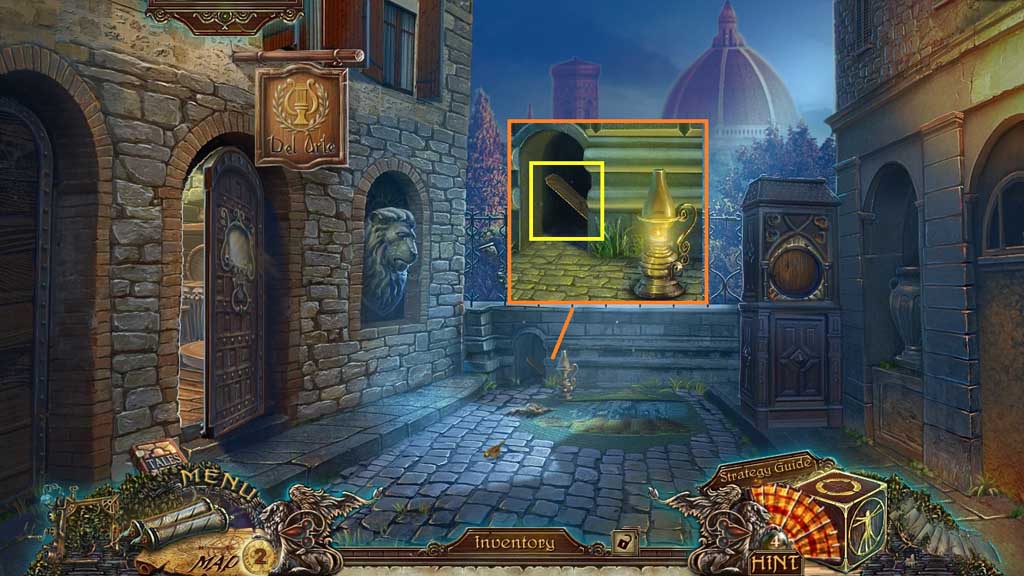
- Select the flint and steel to ignite the lamp.
- Collect the Signoria access card.
- Move down once.
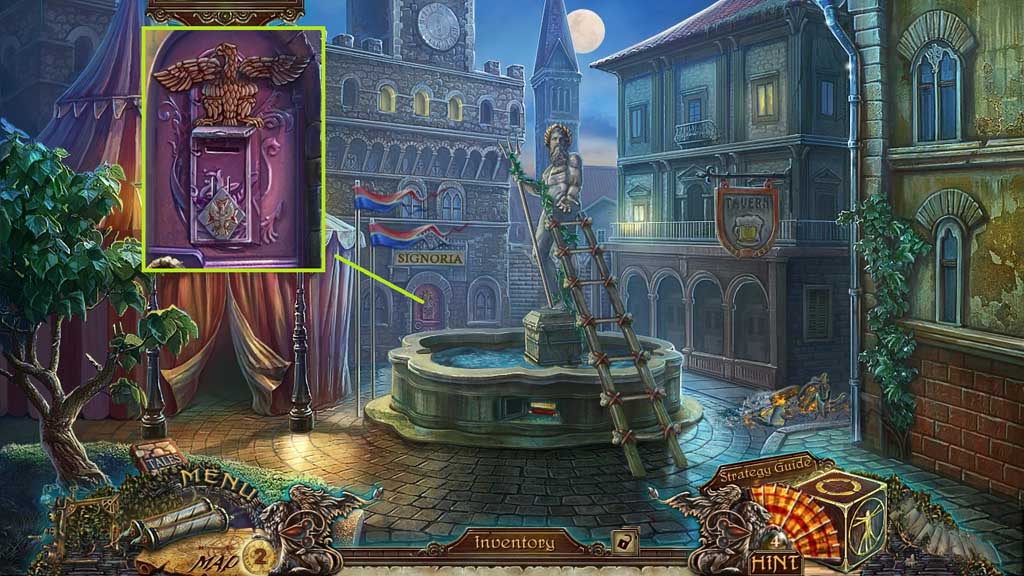
- Insert the eagle medal.
- Click the flap and insert the Signoria access cars.
- Move ahead.

- Speak to the mayor and give him the pharmacist’s note.
- Receive the pump handle and click the hidden objects area.

- Find the items.
- Collect the signoria key.
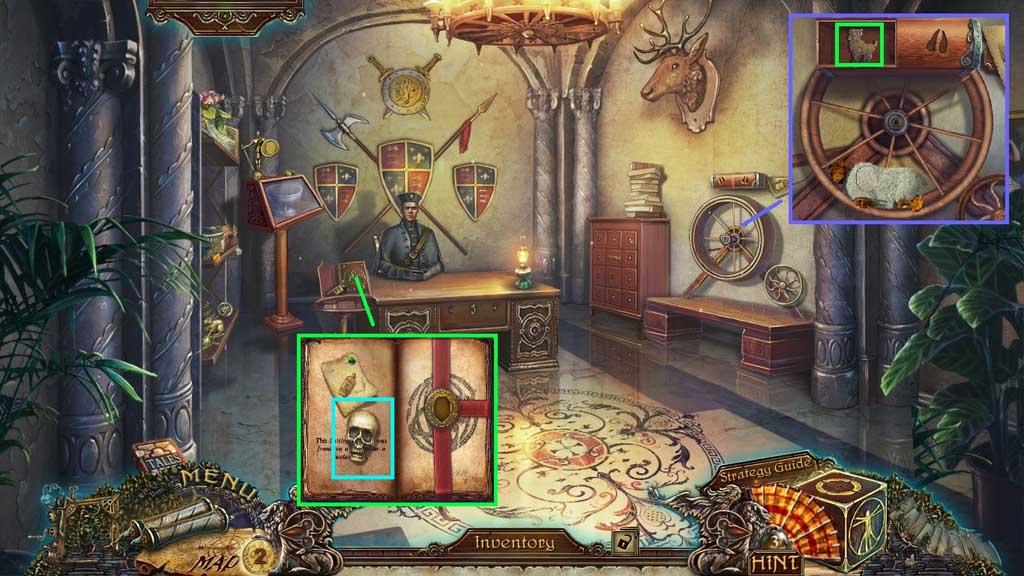
- Select the pet sheep to place onto the wheel; collect the Aries symbol.
- Select the universal antidote to use on the book.
- Click the book; collect the skull.
- Move to the Tavern.
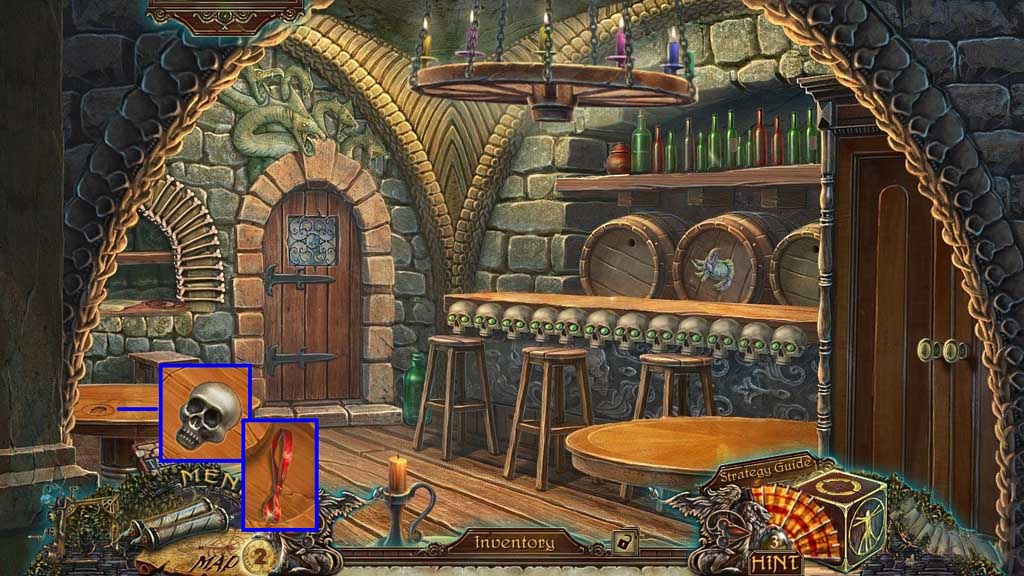
- Place the skull.
- Collect the scarlet ribbon.
- Move down once.
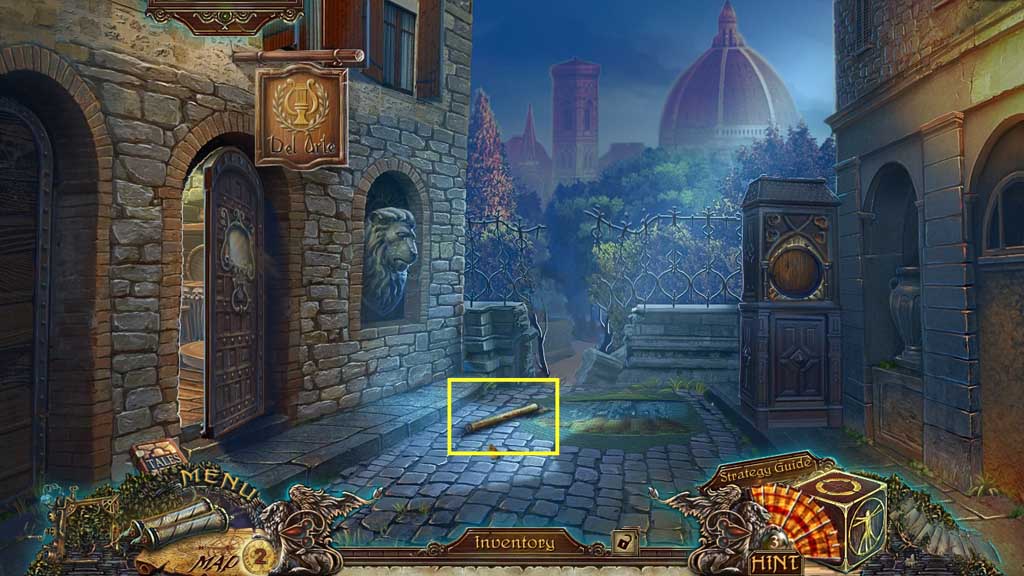
- Collect 1 /3 bridge timbers.
- Move ahead.
General Information & Tips
Chapter One: Decree
Chapter Two: Secret
Chapter Three: Garden
Chapter Four: The House
Chapter Five: Resist
Chapter Six: The Mage
Ask for help in the comments below!
Chapter One: Decree
Chapter Two: Secret
Chapter Three: Garden
Chapter Four: The House
Chapter Five: Resist
Chapter Six: The Mage
Ask for help in the comments below!