
Dreampath: The Two Kingdoms: Chapter Six: Dragonfang Palace
Our Dreampath: The Two Kingdoms Walkthrough is fully prepared to aid you on your journey to the faraway Kingdom of Goldthorne where it's rumored a golden dragon lives who knows the secret to curing your sister. But beware, something sinister blocks your advances, and you'll need all the help you can get from our detailed instructions, custom marked screenshots, and simple puzzle solutions if you're ever going to find the cure and make it back in time to save your sister.
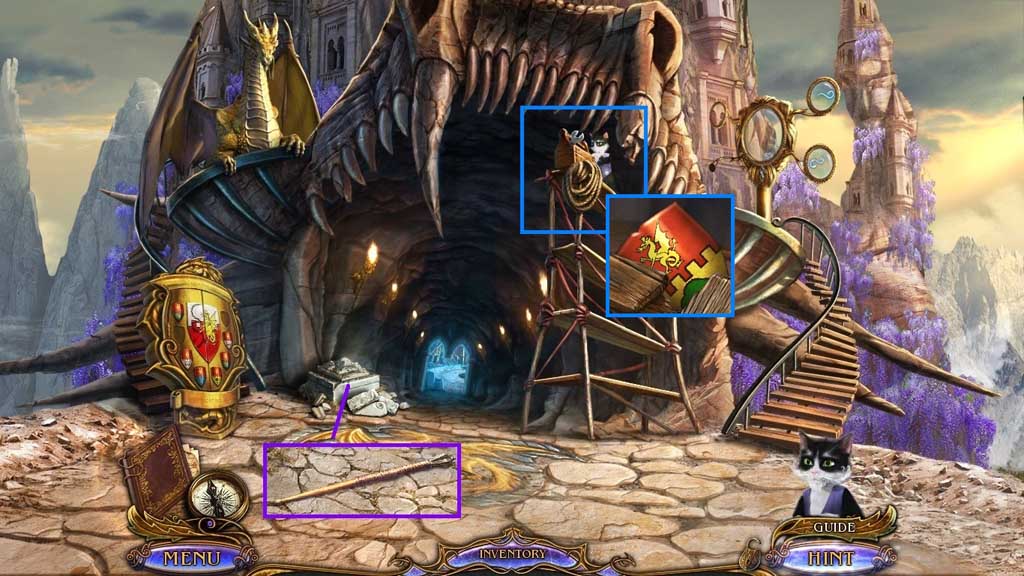
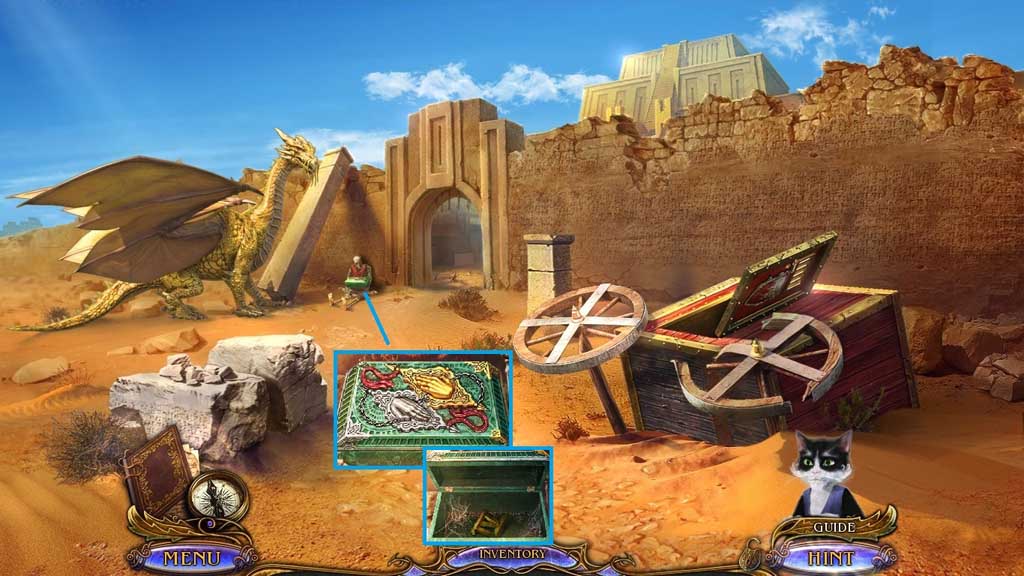
- Click the stones; collect 1 /2 drumsticks.
- Select Muir to use on the toolbox.
- Collect the crest.
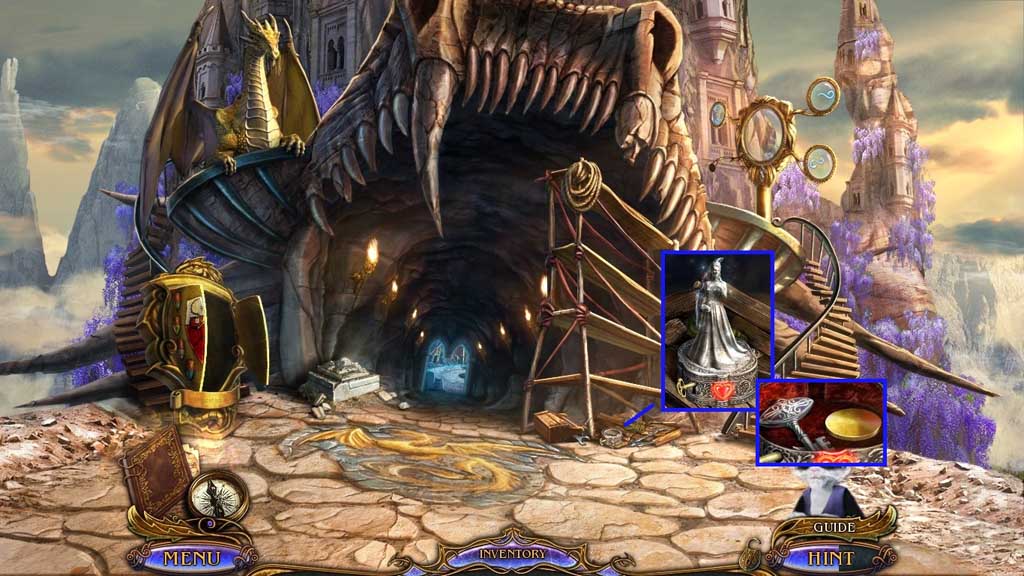
- Move ahead and go to the right and click the hidden objects area.

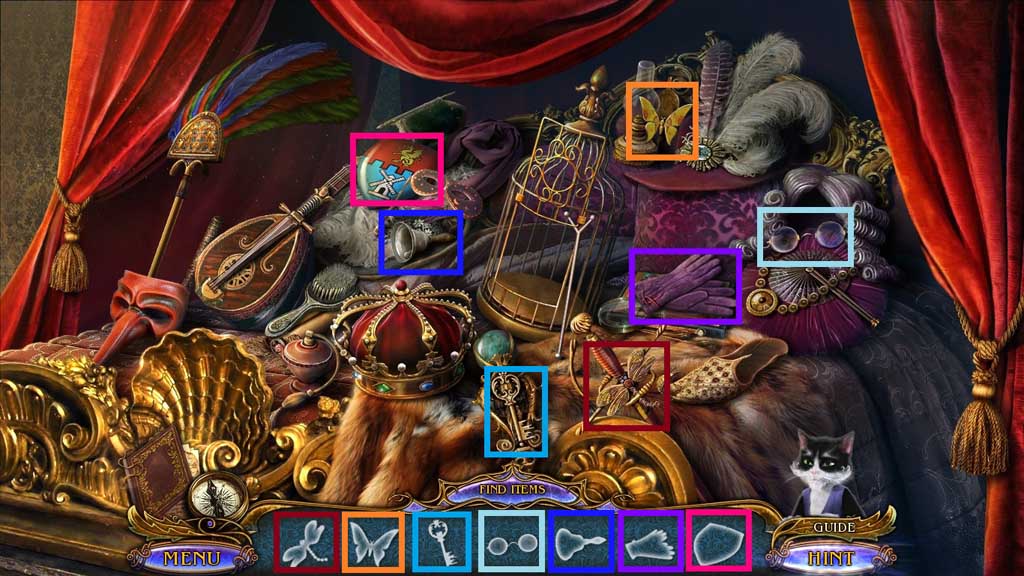
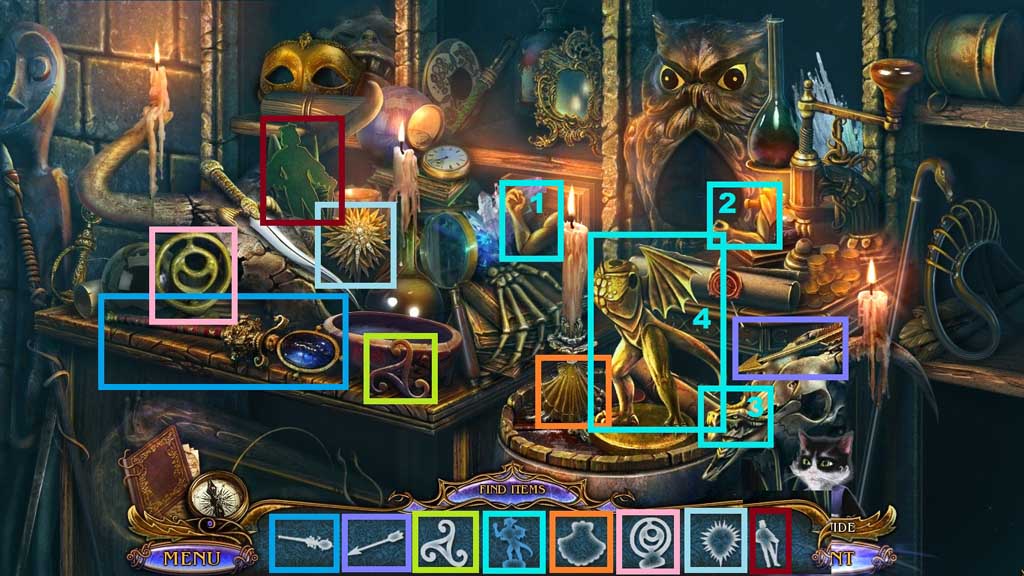
- Find the items.
- Select the rod and use it to prop the cage door up; collect the doll.
- Select the fuzz ball and place it onto the hat; collect the hat.
- Collect the crest.
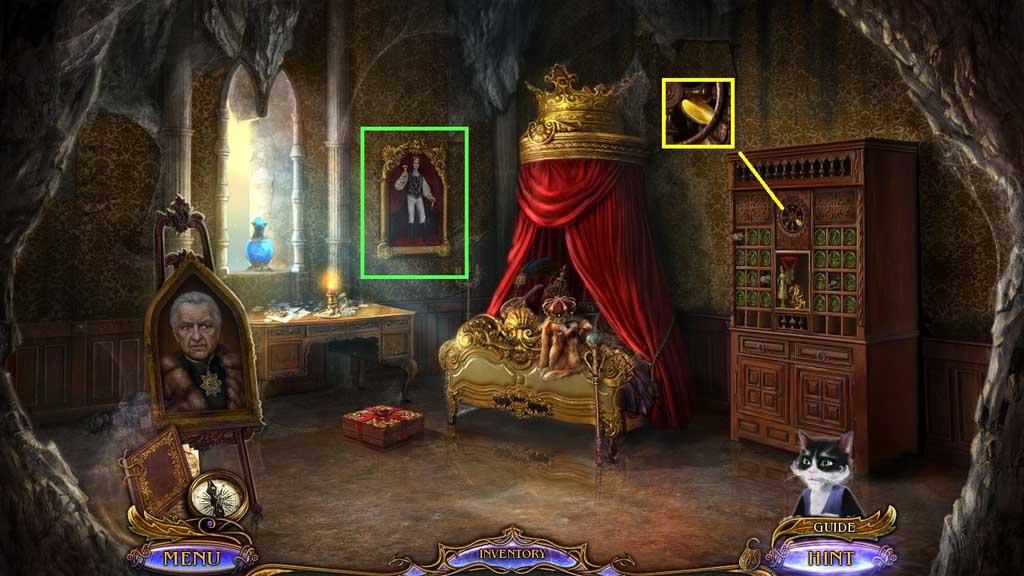
- Click the portrait.
- Collect 1 /3 golden discs.
- Move down 2x’s.

- Insert the 2 crests to trigger a mini game.
- Click the matching crests to solve.
- Collect the horn.
- Move ahead.
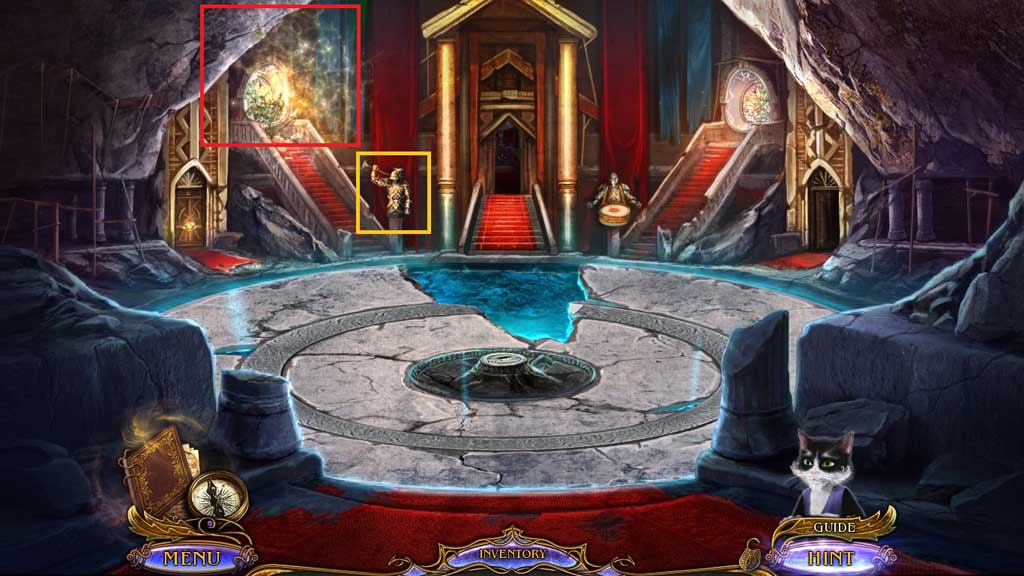
- Place the horn onto the statue.
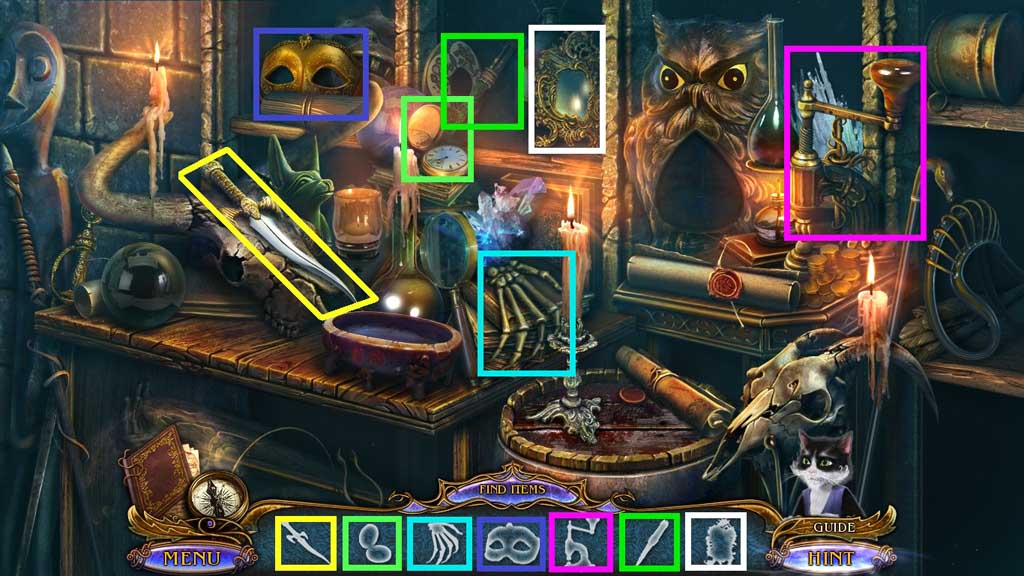
- Click the hidden objects area.
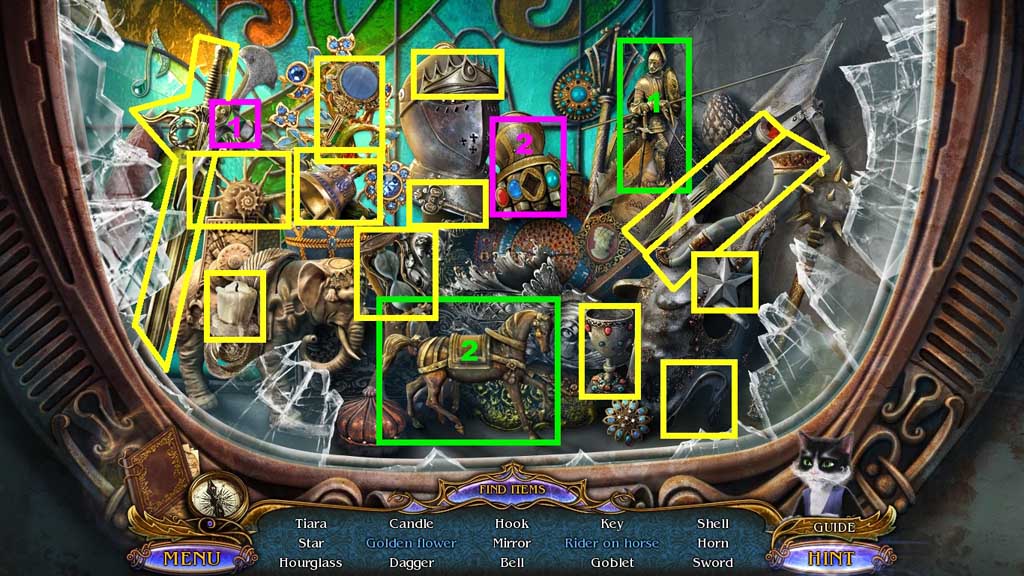
- Find the items.
- Select the emerald and insert it into the gauntlet; collect the golden flower.
- Select the rider and place it onto the horse; collect the rider on the horse.
- Collect the sword.
- Insert the sword; click it once.
- Move ahead.
- Receive the arc of fire and place it with the arc of ice to create the elemental amulet.
- Select Muir to collect the piece of paper.
- Move down once and go to the right.
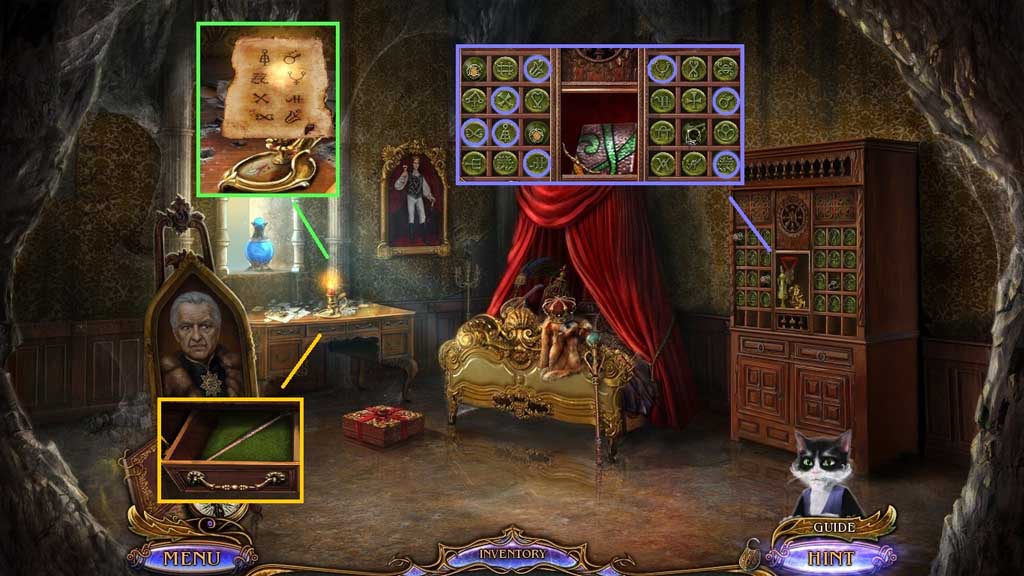
- Place the piece of paper over the candle flame.
- Notice the symbols.
- Zoom into the chest to trigger a mini game.
- Click the symbols as shown on the diagram to solve the game.
- Collect the stained glass fragment and the drawer handle.
- Attach the drawer handle and click it open.
- Collect 2 /2 drumsticks.
- Move down once.
- Chapter-6-10-Stained-Glass
- Insert the stained glass fragment and complete the image.
- Collect the lens.
- Place the 2 drumsticks onto the statue; collect the feather duster.
- Move down once.
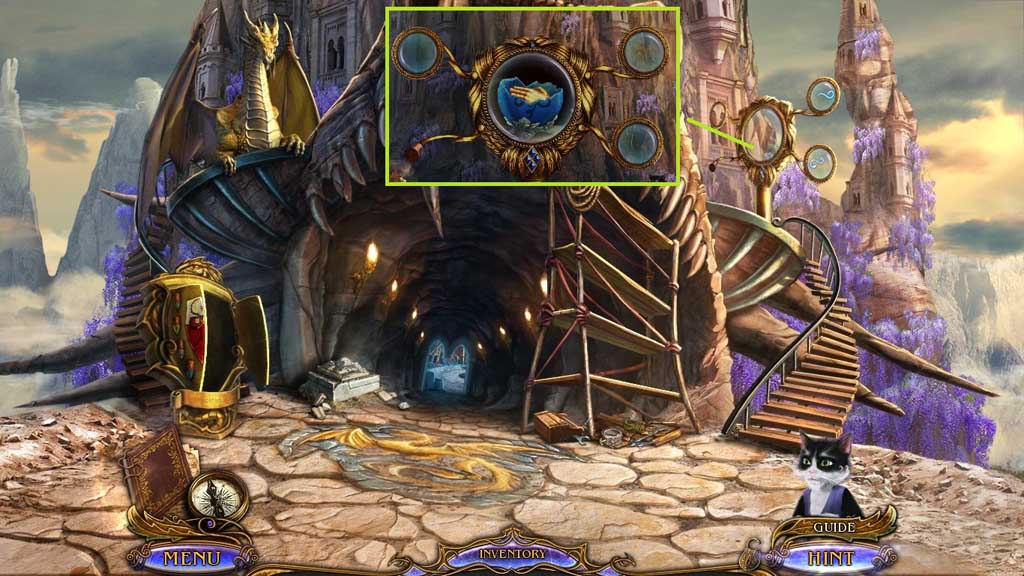
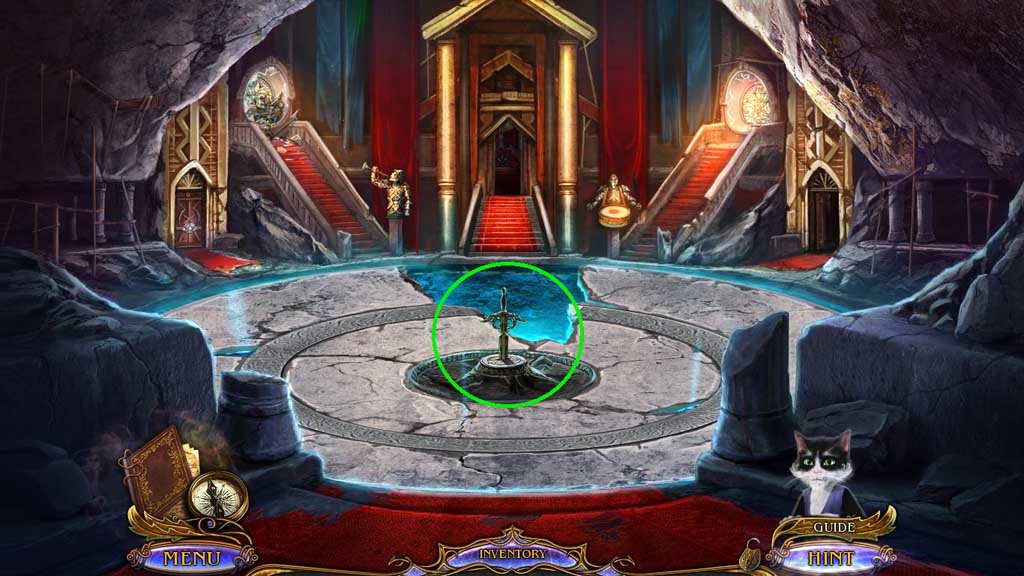
- Insert the lens to trigger a mini game.
- Solve the game by recreating the image.
- Move to the Royal Apartments.
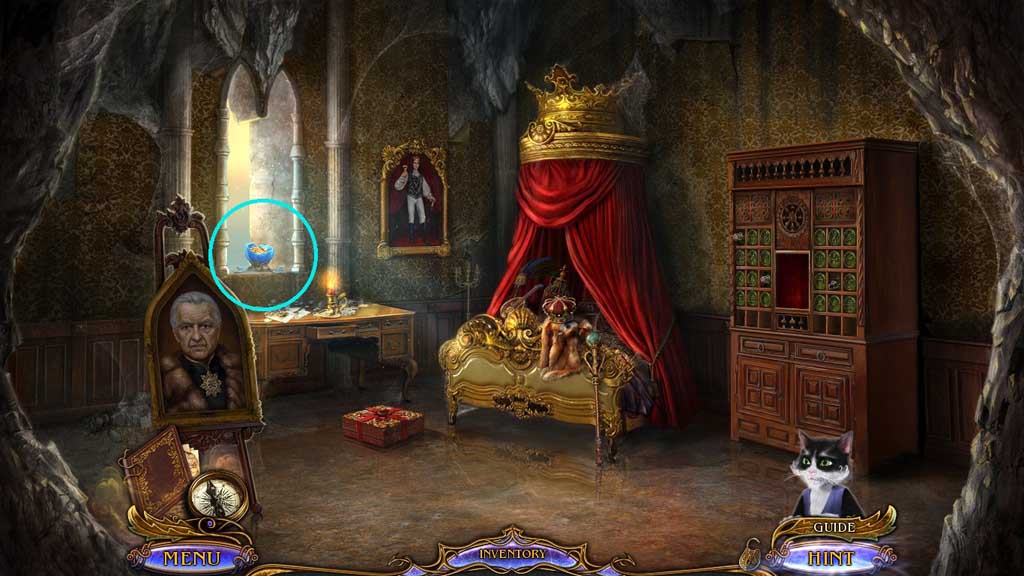
- Collect the golden hand.
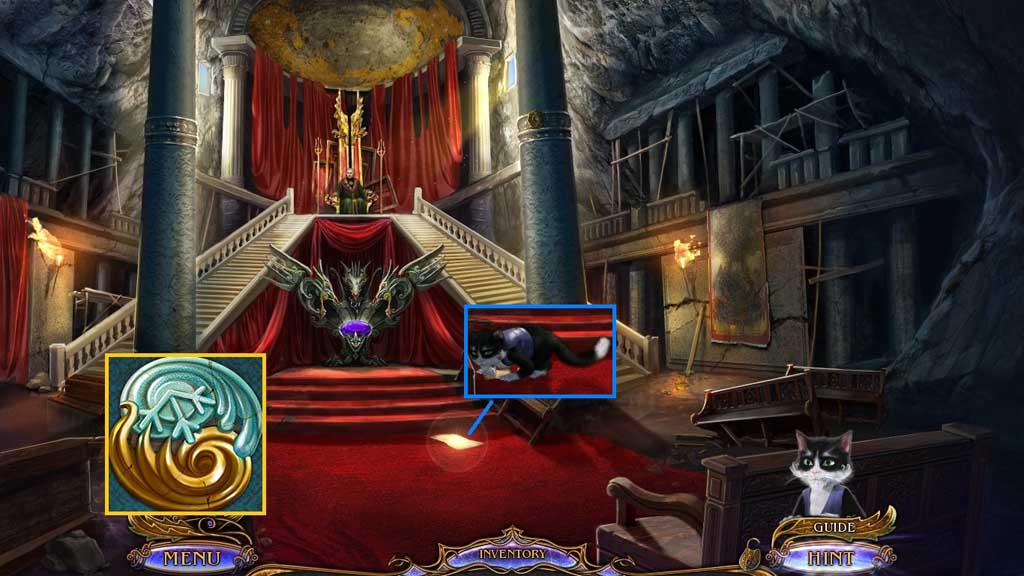
- Move to the Throne Room.
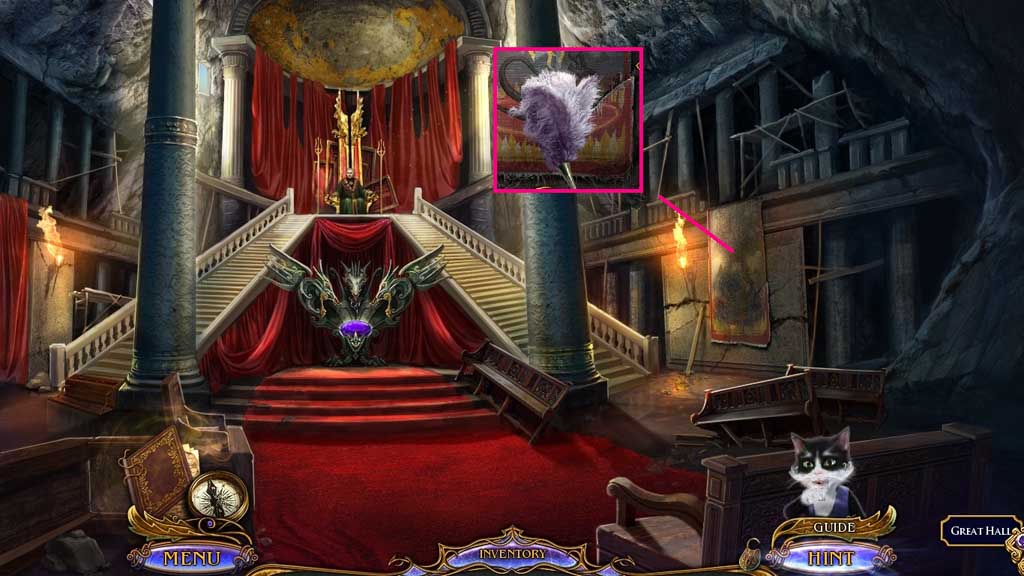
- Select the feather duster to use on the rug; collect the piece of cloth.
- Move to the Royal Apartments.
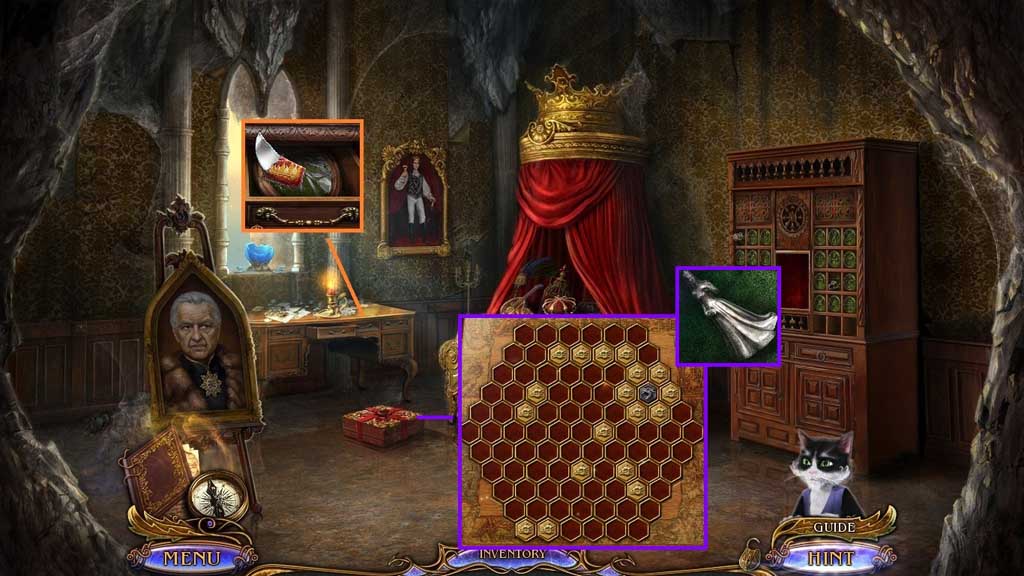
- Click the drawer.
- Select the piece of cloth to collect the improvised knife.
- Select the improvised knife to slice the box and trigger a mini game.
- Solve the game by surrounding the black coin by gold coins.
- Collect the silver statuette.
- Move down 2x’s.
- Insert the silver statuette; click the key 4x’s.
- Collect 2 /3 golden discs and 1 /2 treasury keys.
- Move to the Shipwreck.
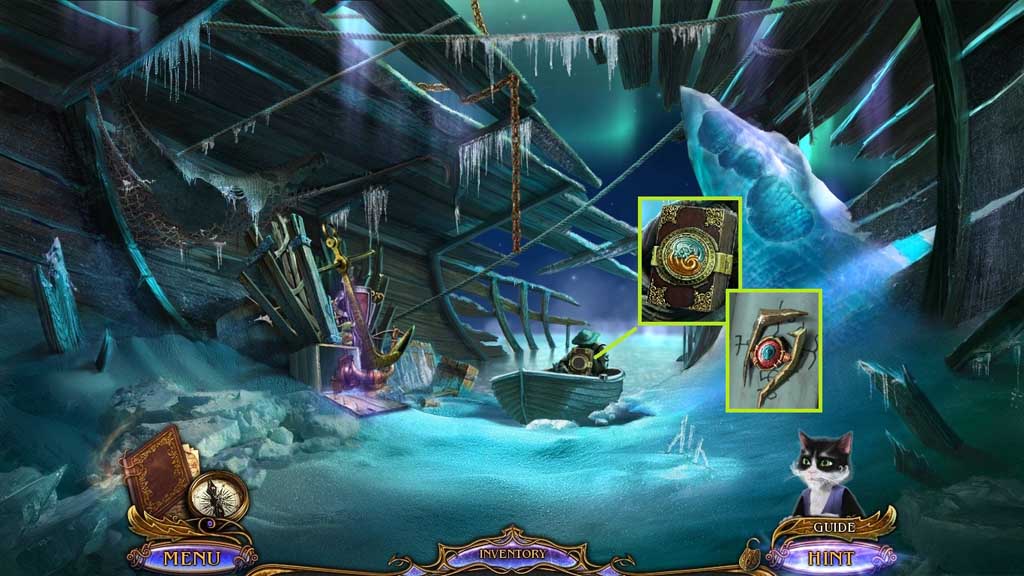
- Insert the elemental amulet; collect the rune key.
- Move to the Lighthouse.
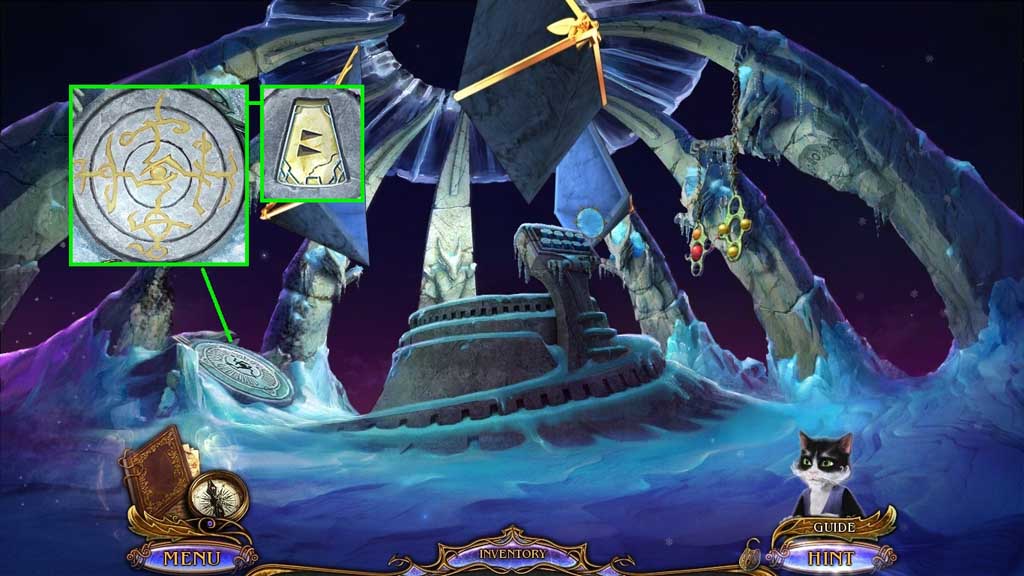
- Insert the rune key; arrange the rings correctly.
- Collect the chiseled stone.
- Move to the Dead Garden.
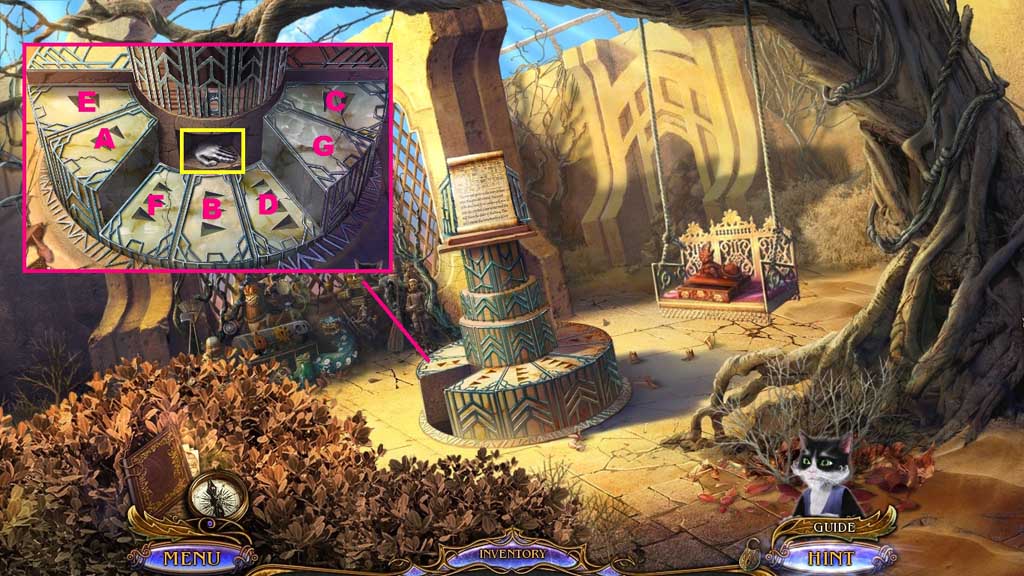
- Insert the chiseled stone to trigger a mini game.
- Solve the game by selecting the steps in the correct sequence.
- Collect the silver hand.
- Move to the Town Walls.
- Insert the gold and silver hands; collect the fourth sign.
- Move to the Laboratory; click the hidden objects area.
- Find the items.
- Collect the parts and place them onto the statue; collect the statue.
- Collect the king silhouette.

- Insert the fourth sign; collect the silver crystal flame.
- Move to the Throne Room.
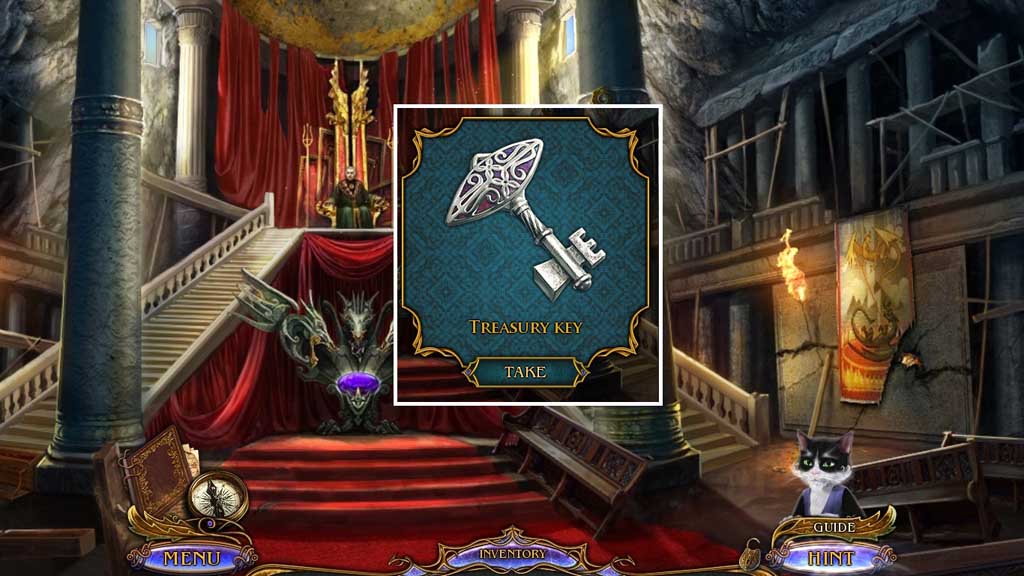
- Receive 2 /2 treasury keys.
- Move down once.
- Insert the 2 treasury keys.
- Select Muir to use on the lock.
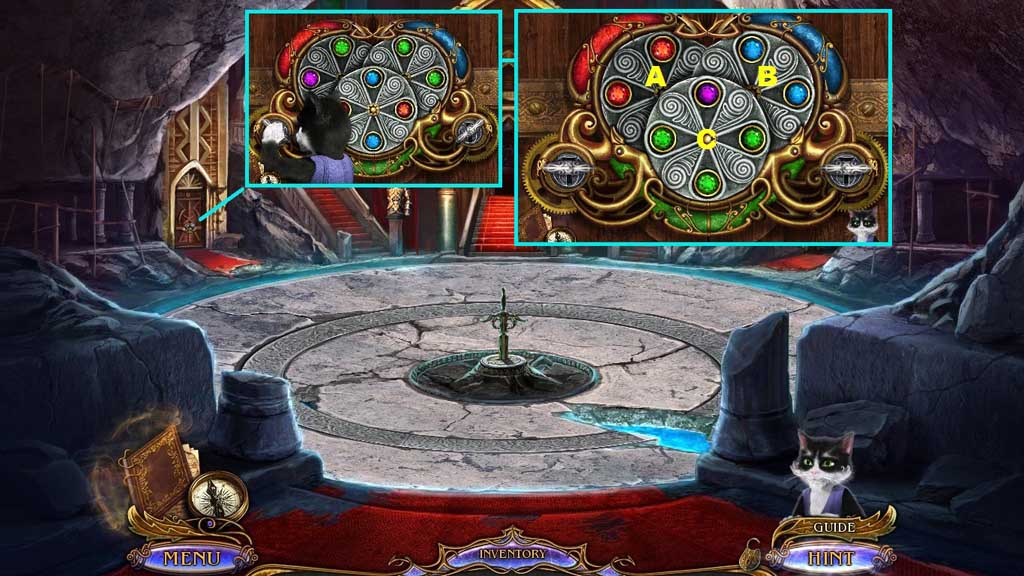
- Click the key to trigger a mini game.
- Solve the game by rotating the discs and placing the colored crystals into the correct alignment.
- Click the discs in the following sequence: B – C x 2 – B – A – C – A x 2 – C
- Move to the left.
- Collect 3 /3 golden discs.
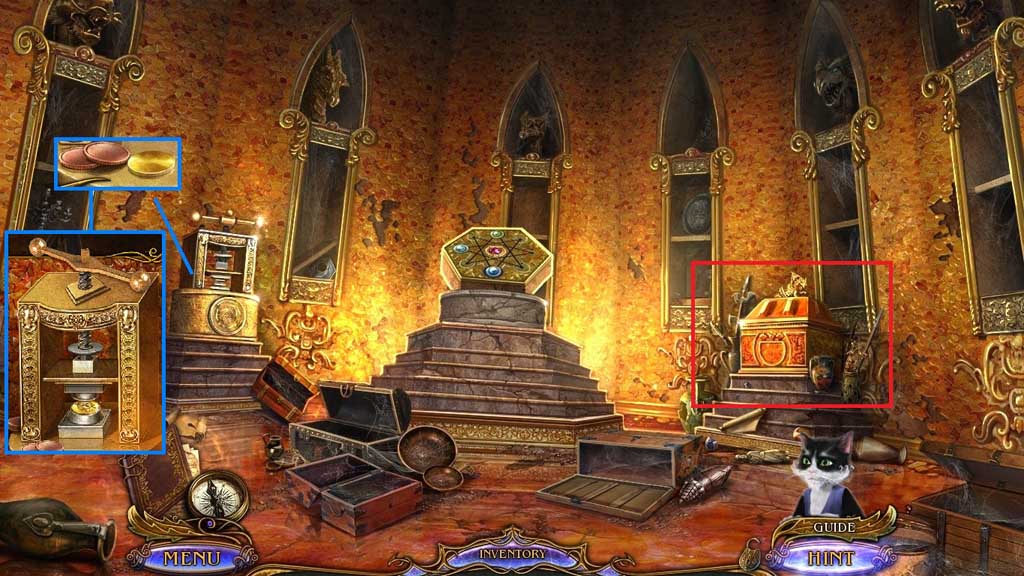
- Insert a golden disc into the device and click the handle.
- Collect the golden coin.
- Repeat the process with the remaining 2 golden discs.
- Insert the 3 golden coins into the chest to trigger a hidden objects area.
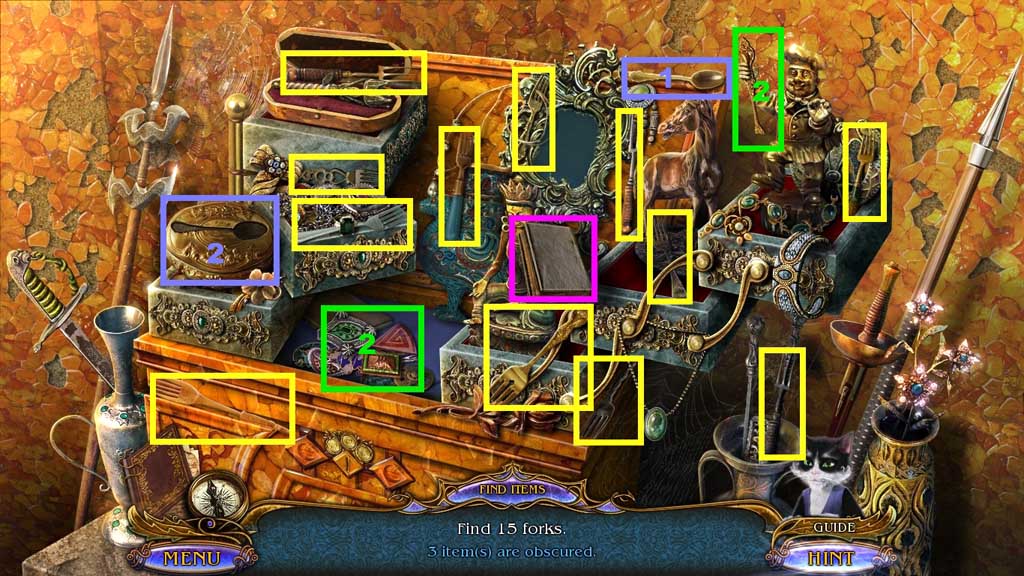
- Find the items.
- Select the spoon and insert it into the groove; collect the fork.
- Click the book; collect the fork.
- Click the fragments to select the tines; attach them to the handle and collect the fork.
- Collect the silver fork.
- Move to the Throne Room.
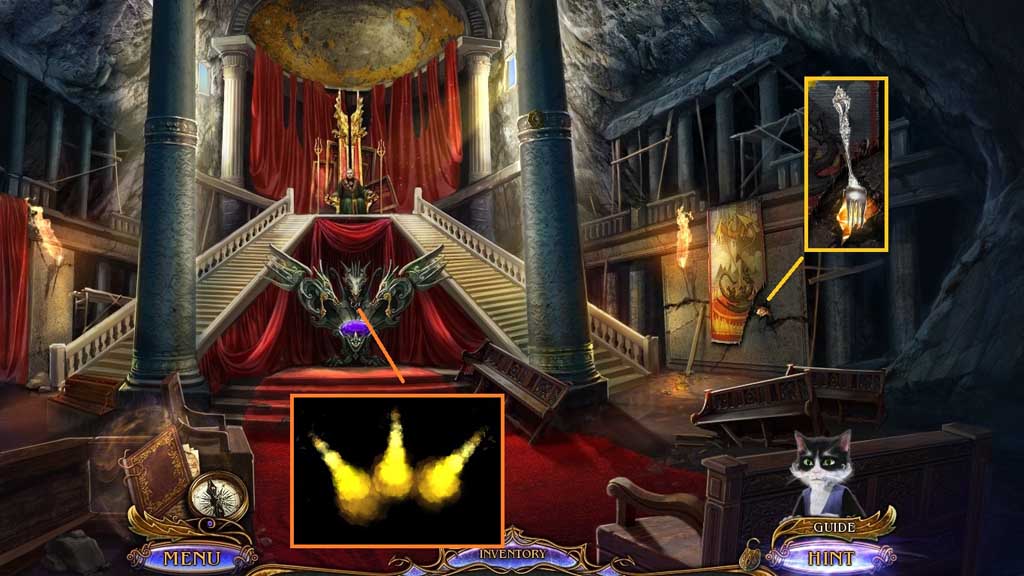
- Select the silver fork to collect the golden crystal flame.
- Insert the silver and golden crystal flames into the statue.
- Click the flames until they turn yellow; collect the lever tip.
- Move to the Treasury.
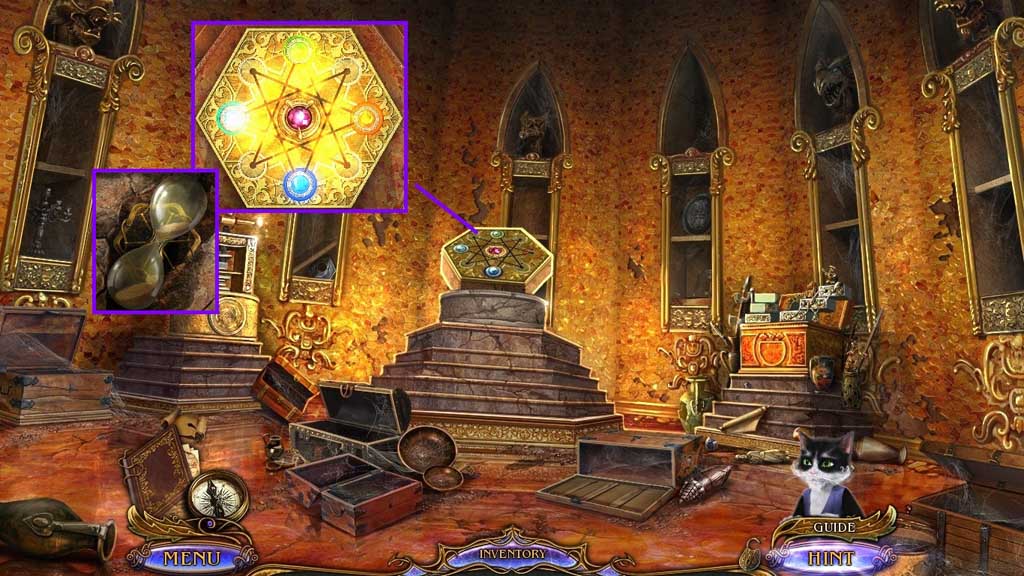
- Insert the lever tip to trigger a mini game.
- Solve the game by
- Collect the hourglass.
- Move to the Queen’s Bedroom.

- Insert the hourglass; collect the princess silhouette.
- Click the cloth.
- Insert the cat, the king and the princess silhouettes into the mirror; collect the marker: The Temple of Chains.
- Move down 2x’s.
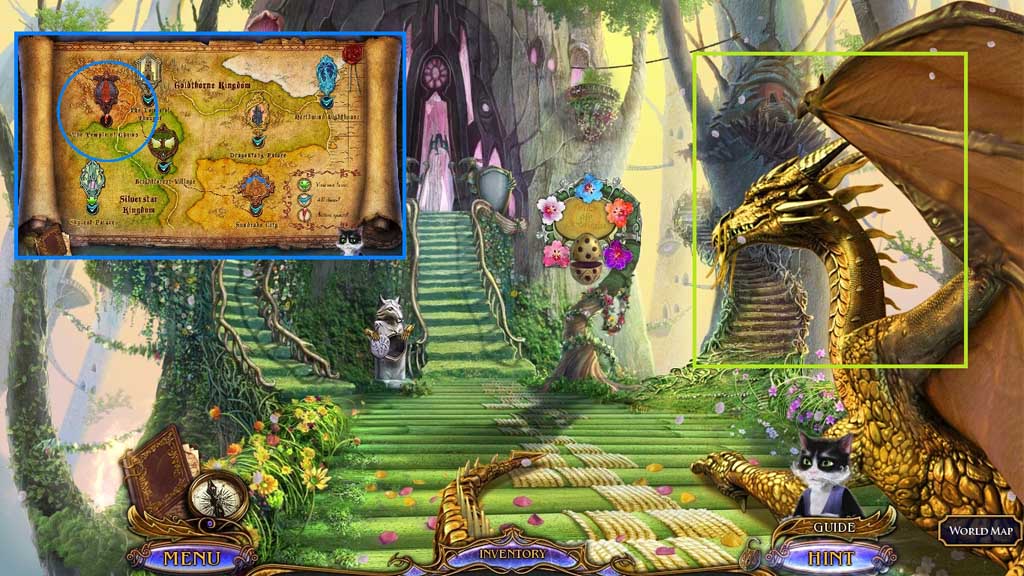
- Click Raid.
- Insert the marker: The Temple of Chains.
- Click it once.